
This post may contain affiliate links. Please read our disclosure policy.
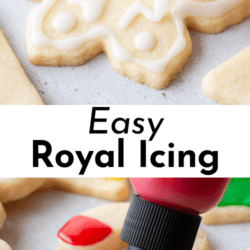
Most royal icing calls for meringue powder or raw egg whites. Mine uses neither, just four pantry ingredients, and it’s the royal icing I make every holiday season. The tricky part is the balance: too much corn syrup or milk and it runs right off the cookie, too much powdered sugar and it won’t squeeze through a piping bag. Once you find that balance, the fix is easy: a pinch more water or a little more powdered sugar.
This was the best, easiest and most FUN icing! Thank you for making my mommying life easier while getting to make memories with my kiddos!
-Hope

How I Tested this Recipe
I used to buy the big tub of meringue powder from Michaels, the only place near me that sold it. That container is absurdly large for a home kitchen, and mine always expired before I could finish it. Most home bakers don’t keep meringue powder on hand, so I went looking for a royal icing without meringue powder that used what’s already in the pantry. This recipe came out of need and convenience, for me and for you.
My first batch was way too liquidy and didn’t hold its shape at all. So I went the complete opposite direction and added so much powdered sugar it got too thick. From there I started on the thick side and slowly worked my way toward the consistency I wanted. It took one sitting and about 30 minutes of trial and error.
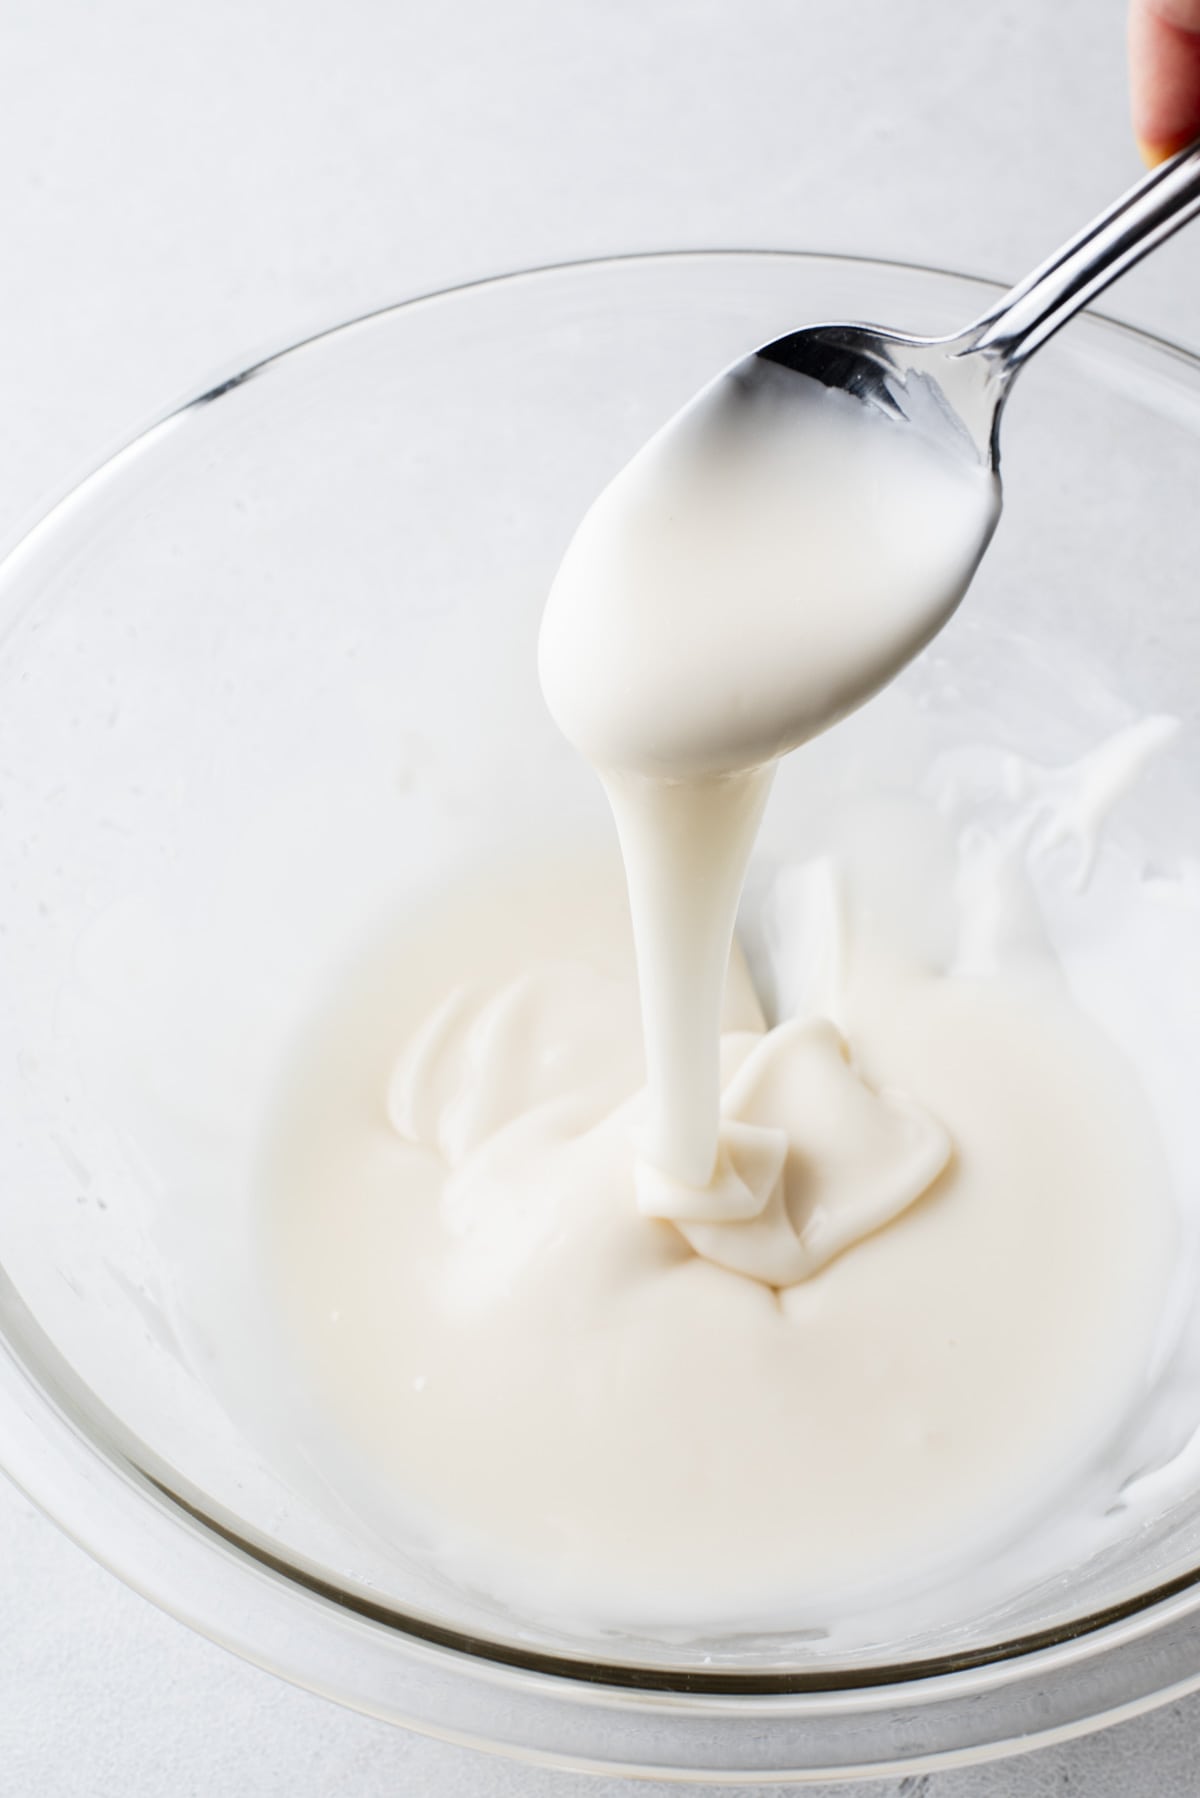
It all comes down to balancing three ingredients: powdered sugar, corn syrup, and milk or water. Too much corn syrup or milk and it runs right off the cookie, and too much powdered sugar won’t make it through a piping bag. The right consistency also looks different depending on whether you’re outlining or flooding.
Then there’s the corn syrup. Without it, the icing dries dull instead of shiny. With too much, it stays tacky and takes forever to dry. The right amount gives you icing that floods smoothly and levels out on its own.
Luckily, it’s easy to fix as you go. Too thick? Add a pinch more water. Too thin? Stir in more powdered sugar.
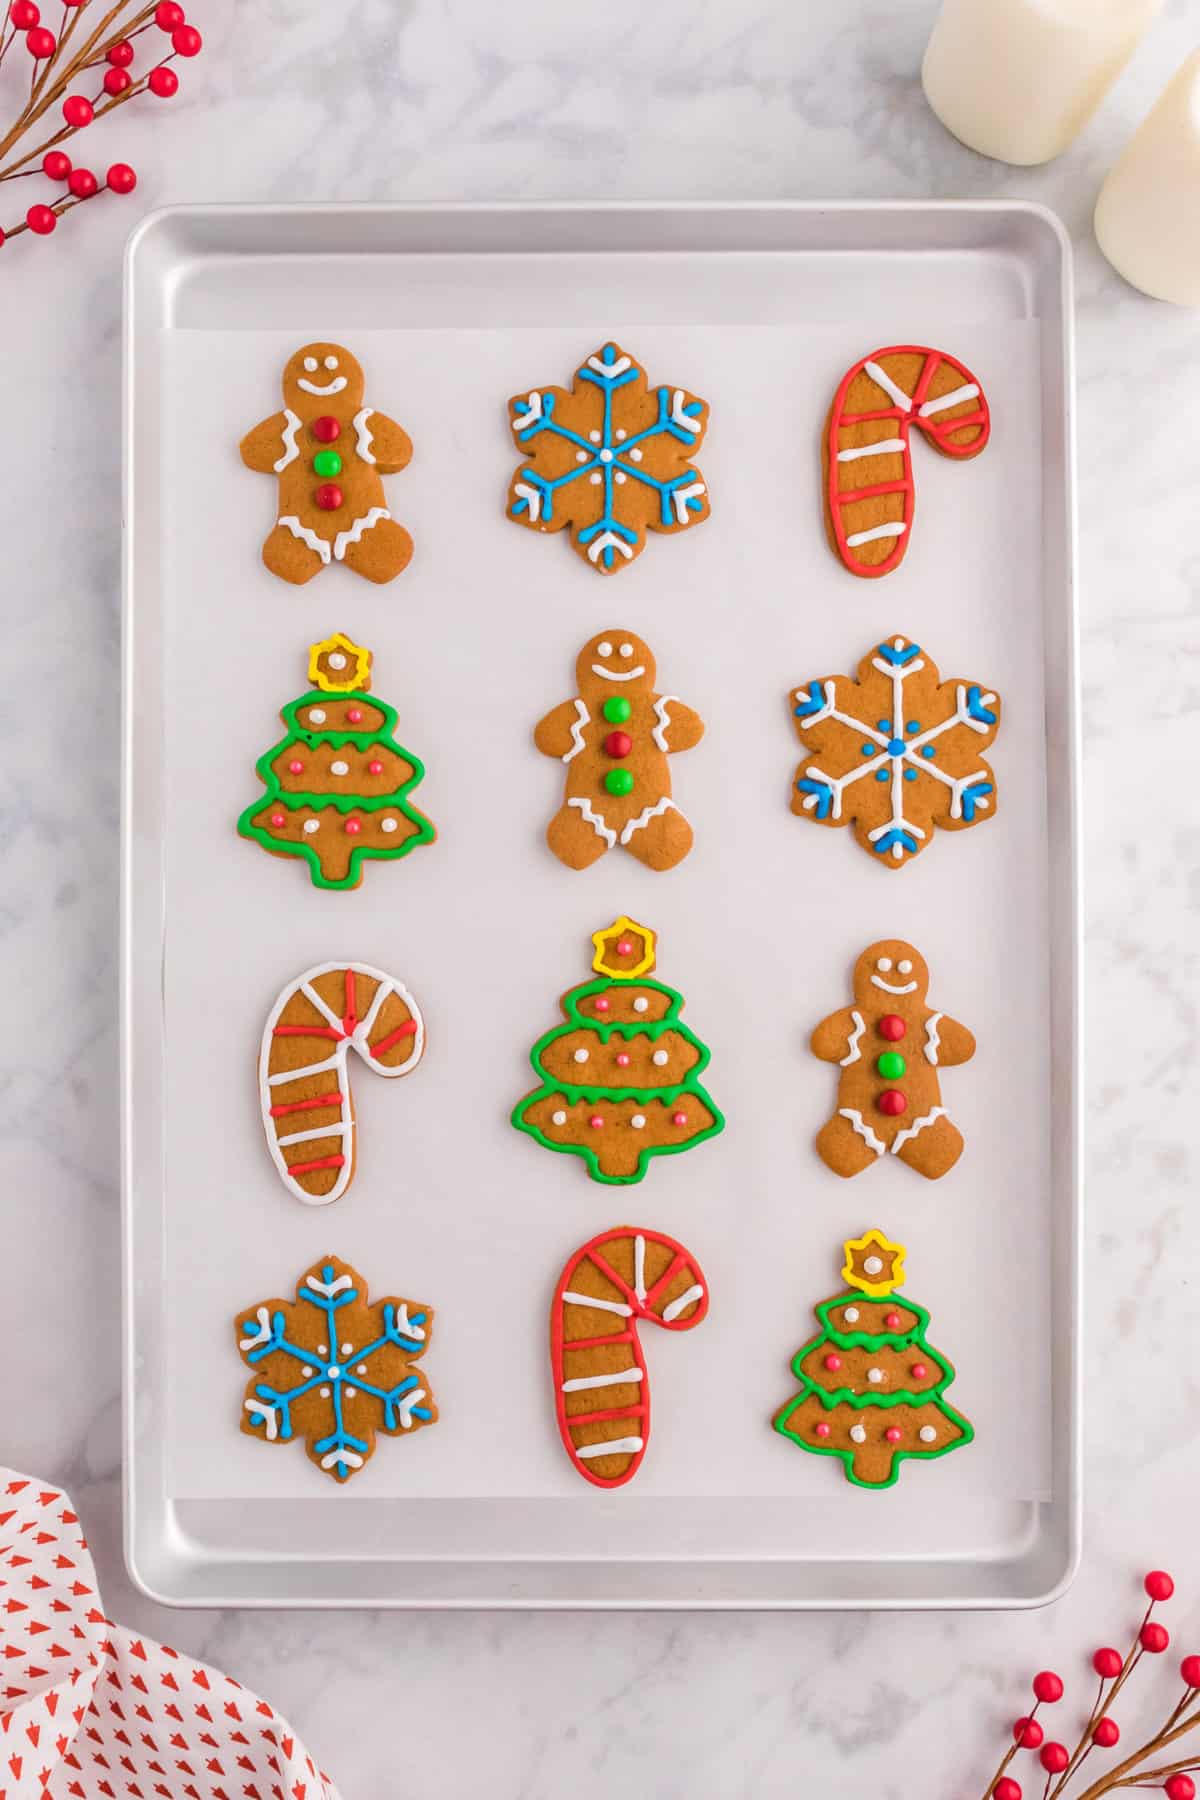
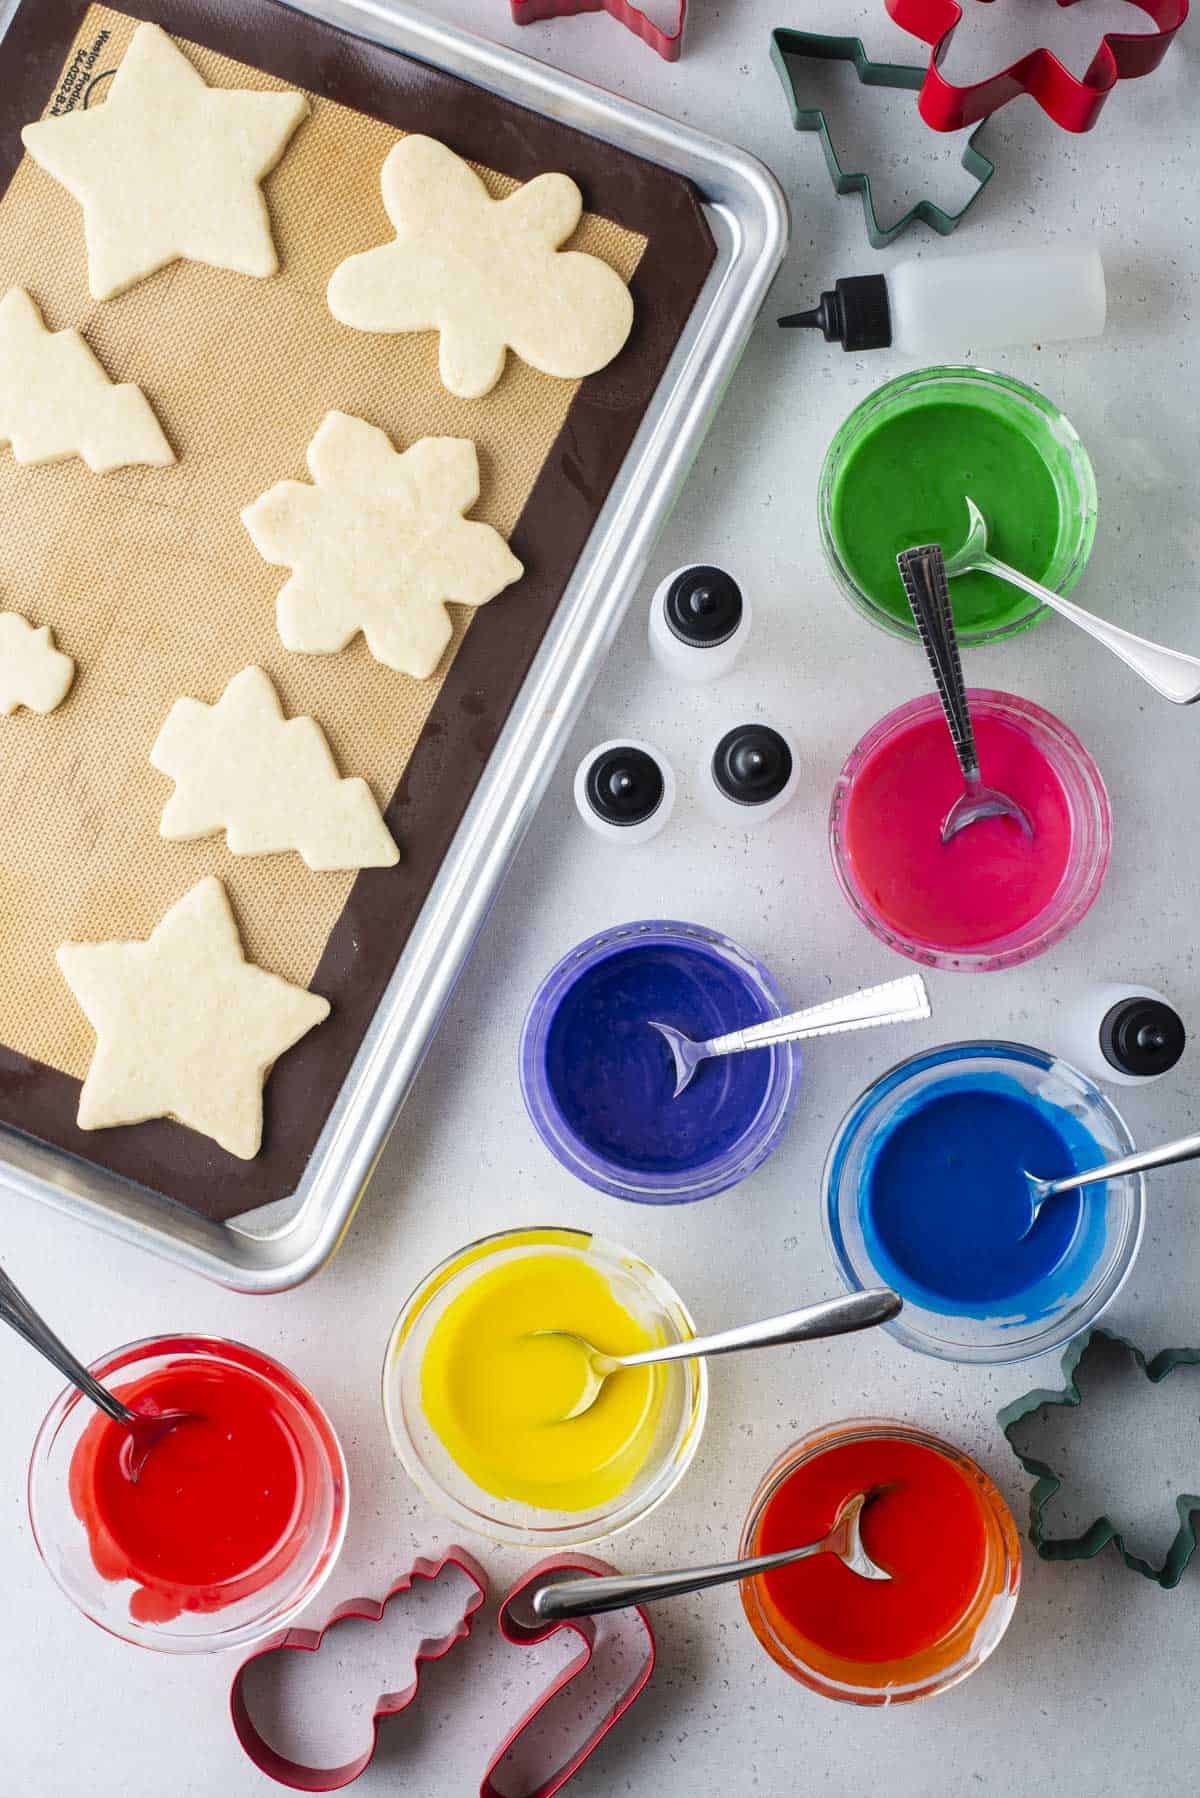
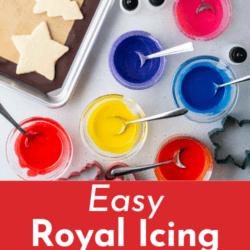
I make this royal icing every holiday season with my kids to decorate gingerbread cookies. It’s easy to triple and divide into bowls, so we end up with at least 10 colors because my kids can never decide on just a few. I always use gel food coloring for it. It’s super pigmented, so even a little gives you bright color.
After trying several different options of royal icing, my daughter and I decided this one is the best!! It not only looks amazing and glistening it tastes delicious. It is also easy to change up the consistency for flooding or piping!
-Katie
What is Royal Icing?
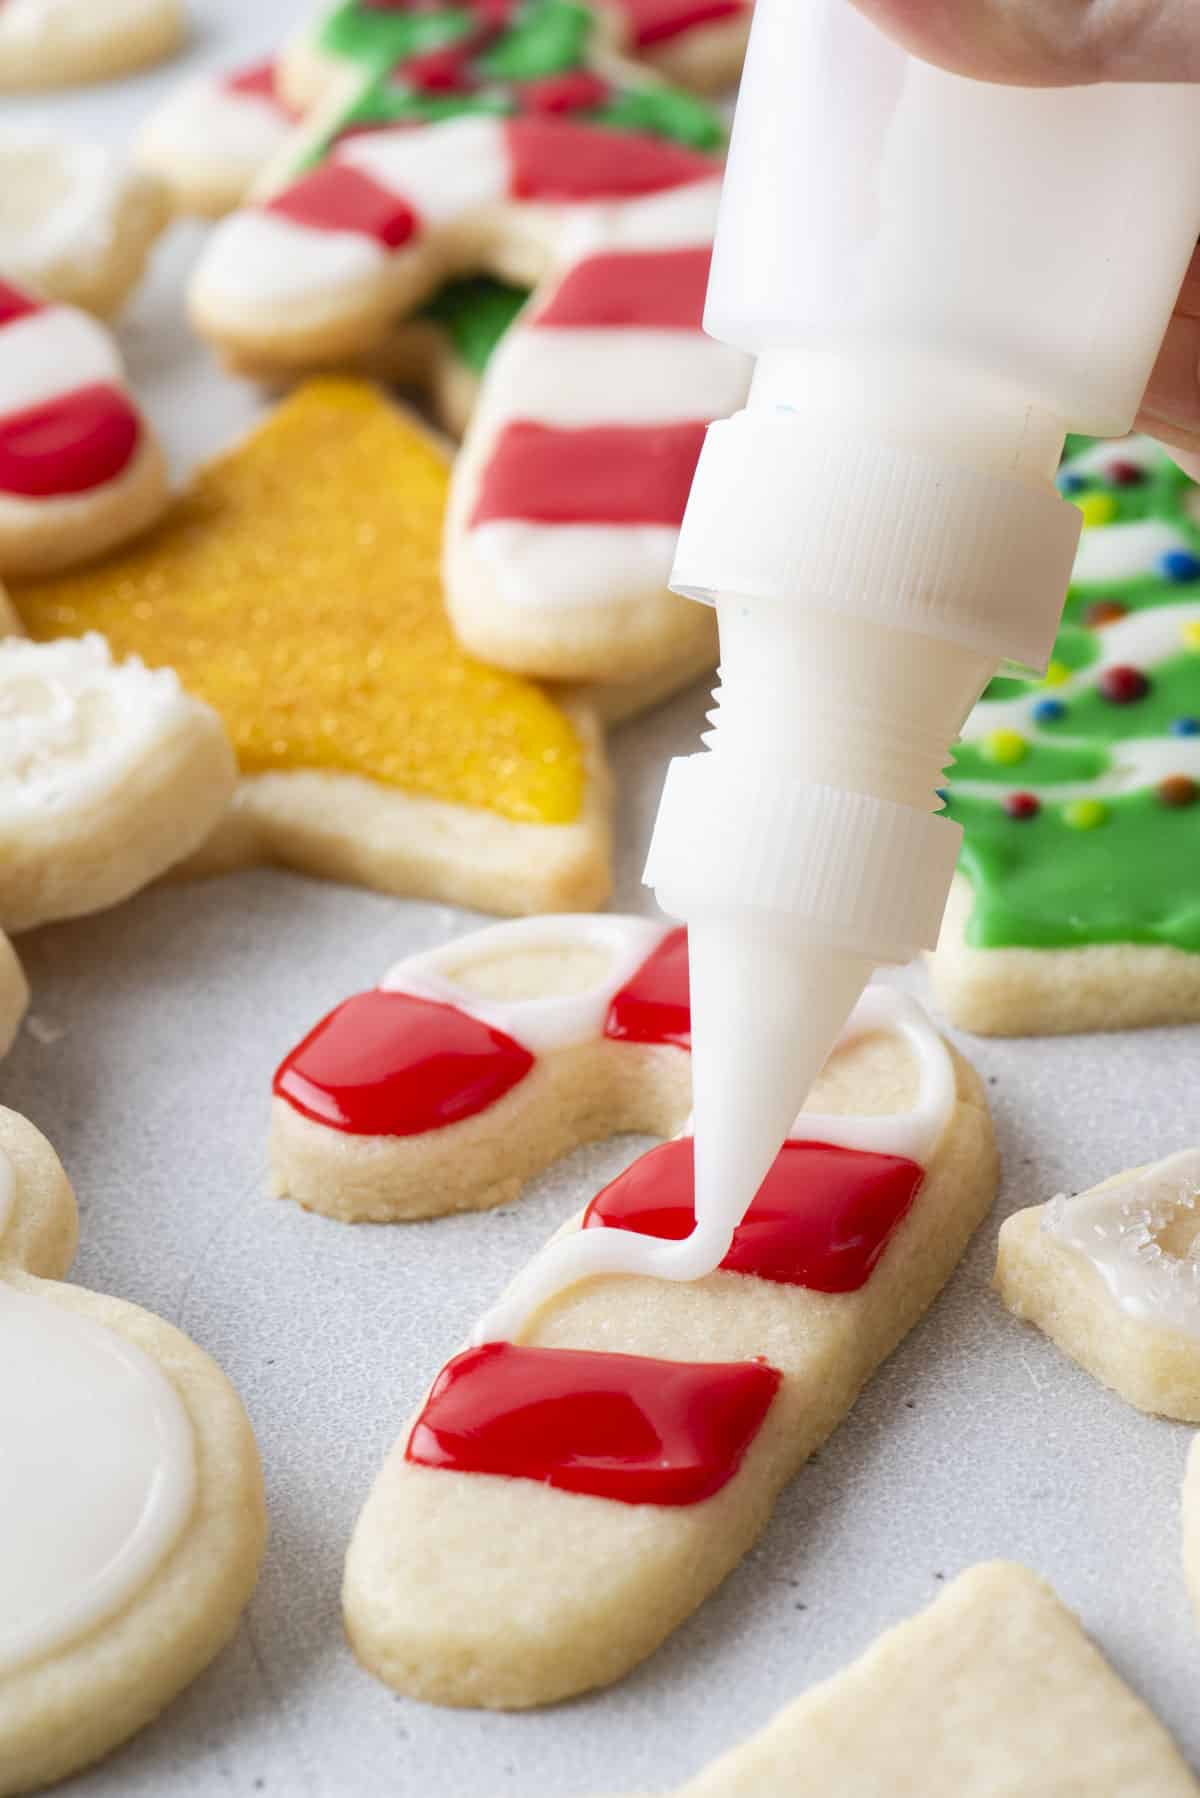
Royal icing is a sweet icing that dries hard. It’s most often used to decorate sugar cookies, gingerbread cookies, and gingerbread houses, sometimes with really detailed designs. Because you can color it and it sets firm, it holds those designs in place. It’s probably best known for decorated sugar cookies.
Key Ingredients for Royal Icing
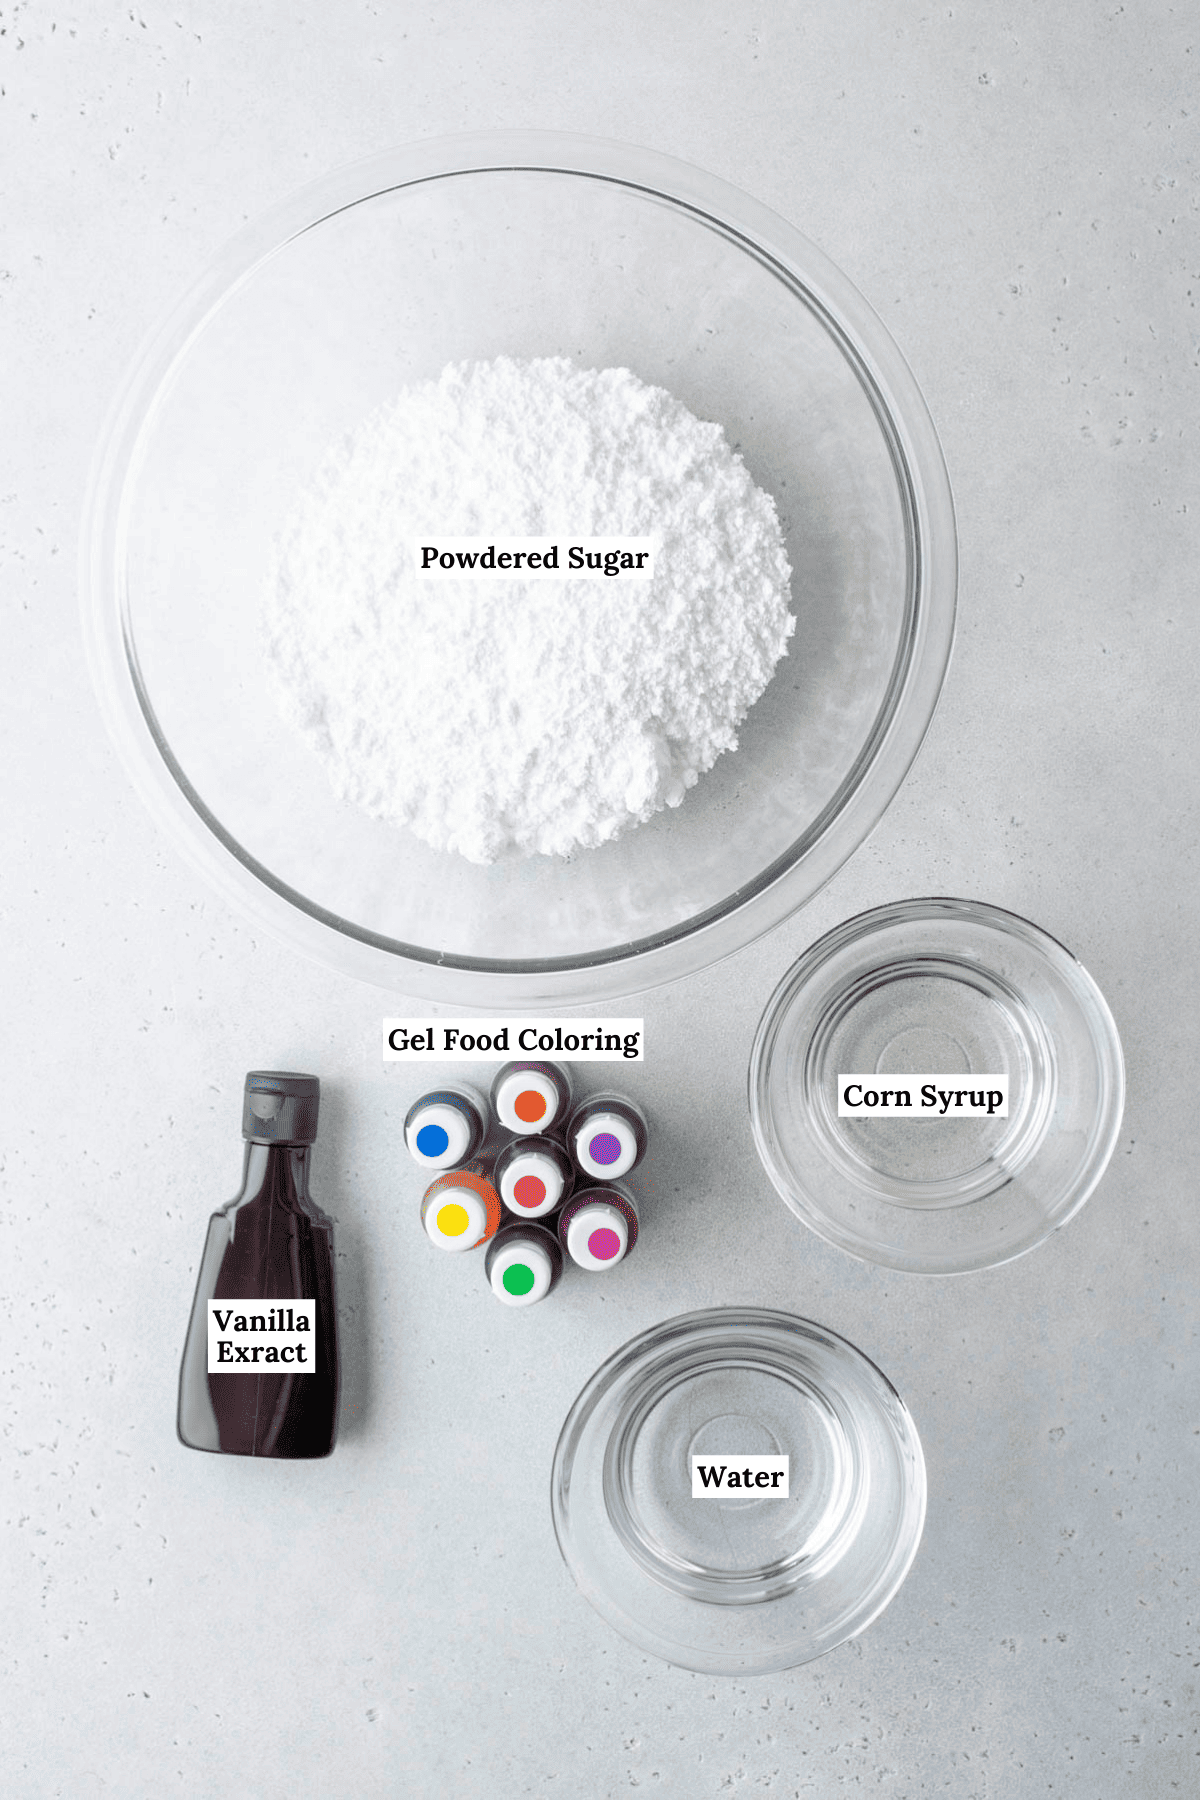
Traditional royal icing gets its structure from egg whites or meringue powder. This one uses neither, so each of these ingredients is doing real work. Get the full recipe with measurements in the recipe card below.
- Powdered sugar: Without egg protein holding things together, the icing sets as the sugar dries. That’s why getting the ratio of sugar to liquid right matters most.
- Corn syrup: This is why the icing dries smooth and shiny instead of gritty and dull. Corn syrup is mostly glucose, which gets in the way of the sugar crystals re-forming as the icing dries. Fewer, smaller crystals give you a glossy surface, and the icing floods and levels out more cleanly. Just don’t overdo it, because too much keeps the icing tacky and slow to dry.
- Milk or warm water: Use it to control consistency. The recipe starts on the thick side, so add more 1 tsp at a time until it’s right for outlining or flooding.
- Vanilla or almond extract: Either works, so use whichever flavor you like.
- Gel food coloring (optional): I always use gel because it’s super pigmented. Liquid food coloring works too, but the colors may not come out as bright.
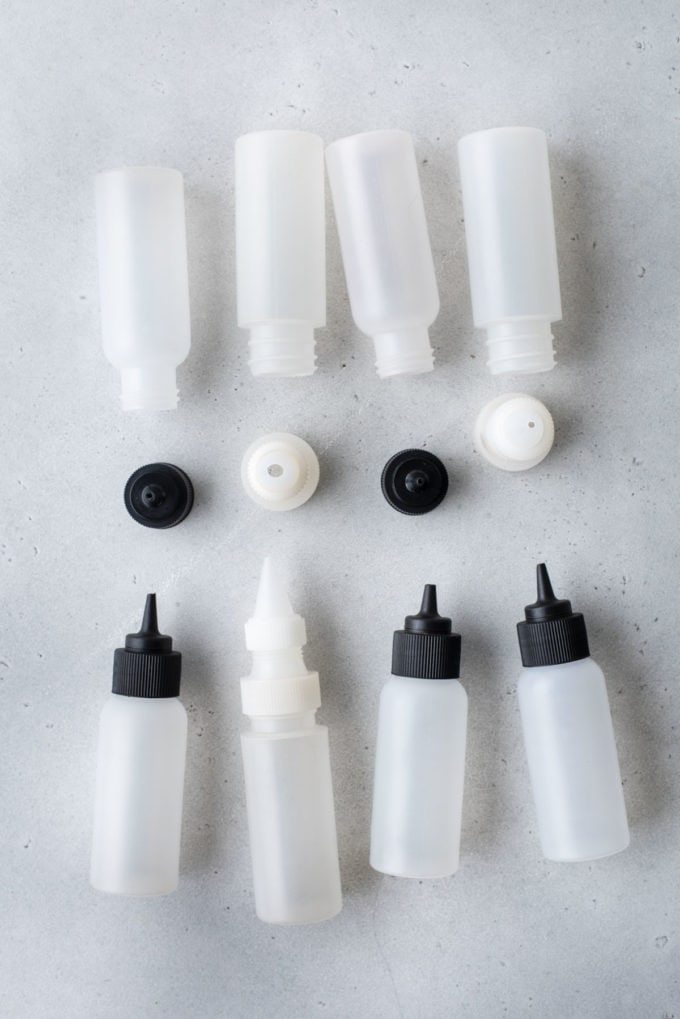
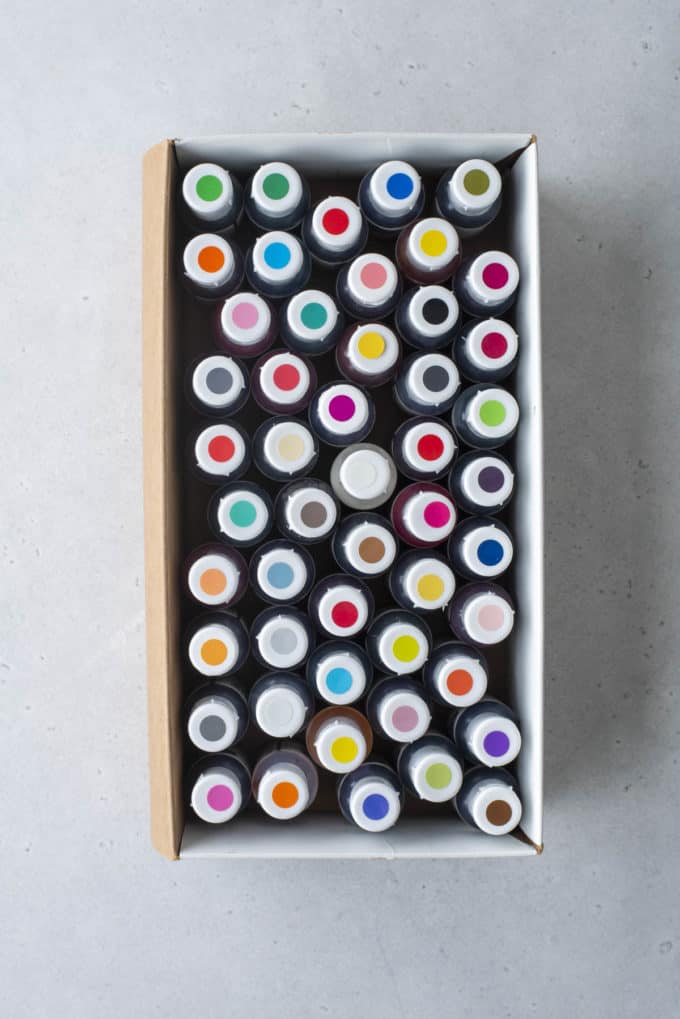
Optional Supplies
How to Make Royal Icing without Meringue Powder
My easy recipe has just 4 steps, and the 4th is really just tips for storage.
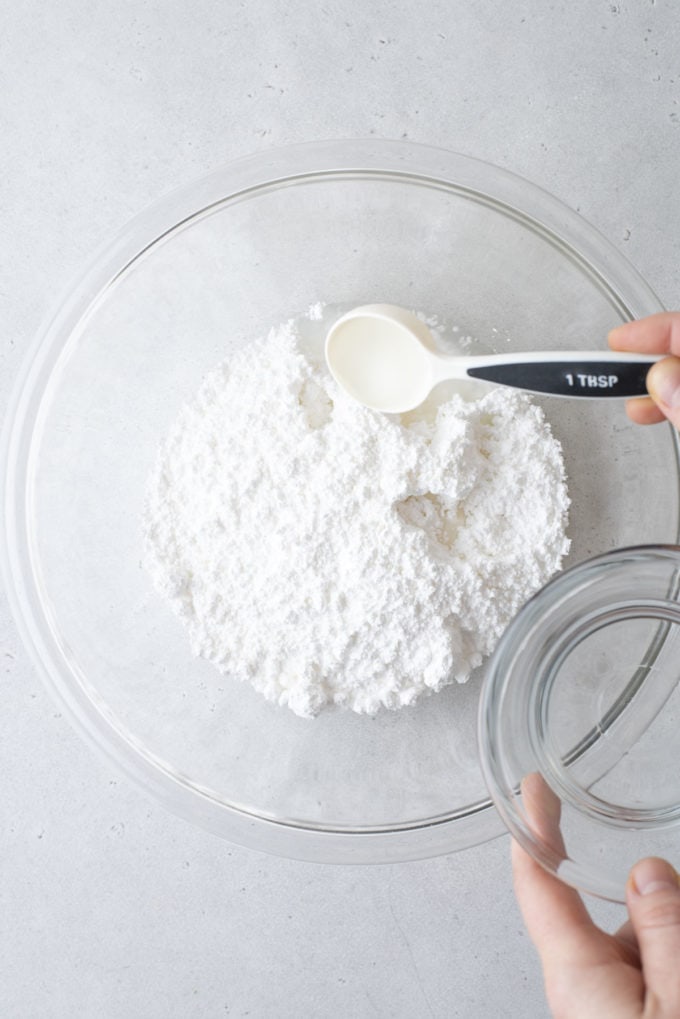
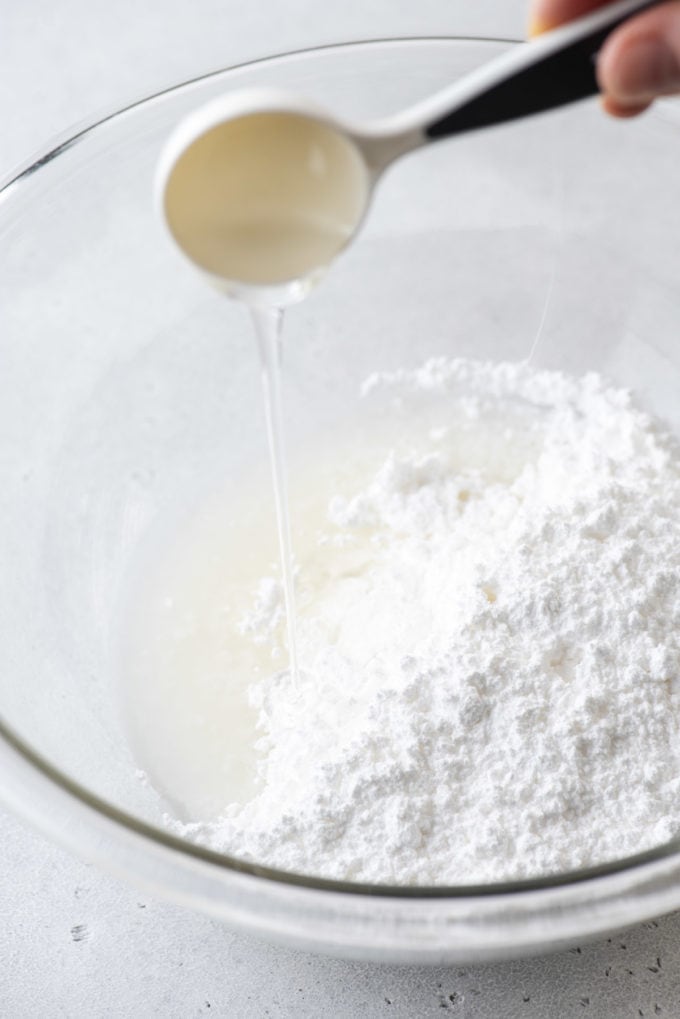
- Combine ingredients except food coloring. In a medium to small sized mixing bowl, combine all of the ingredients (minus the gel food coloring) and mix with a spatula or mixer until smooth.
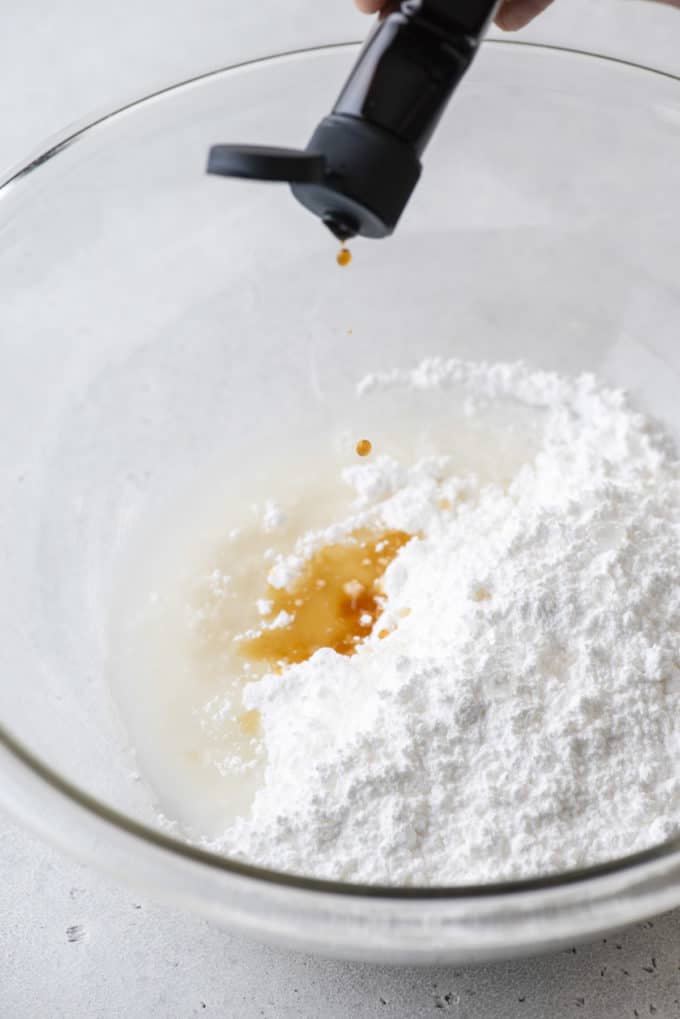
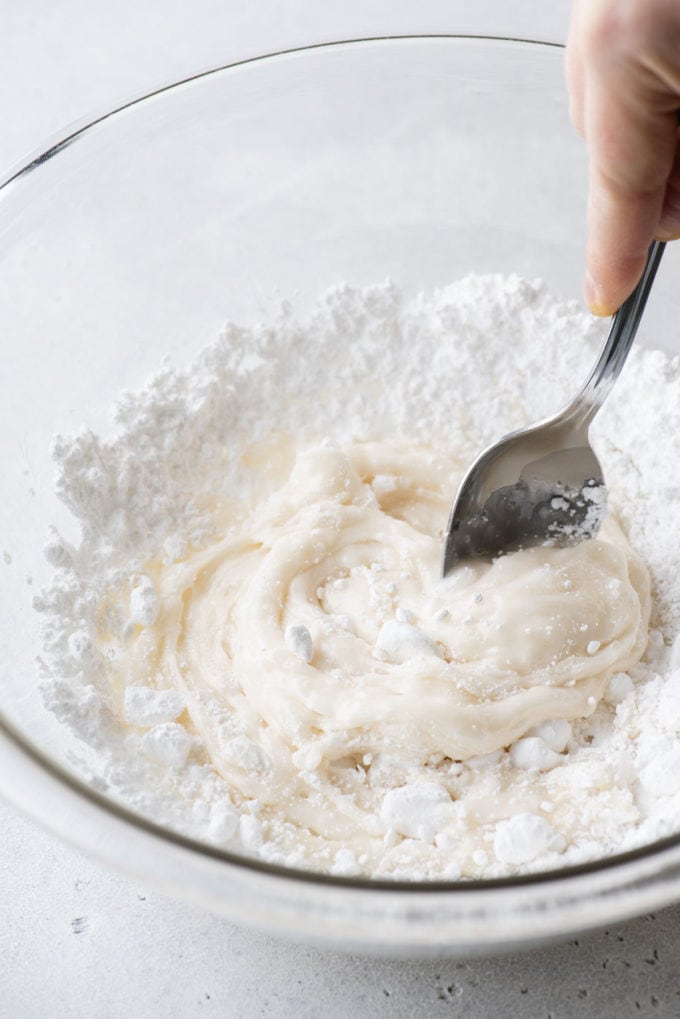
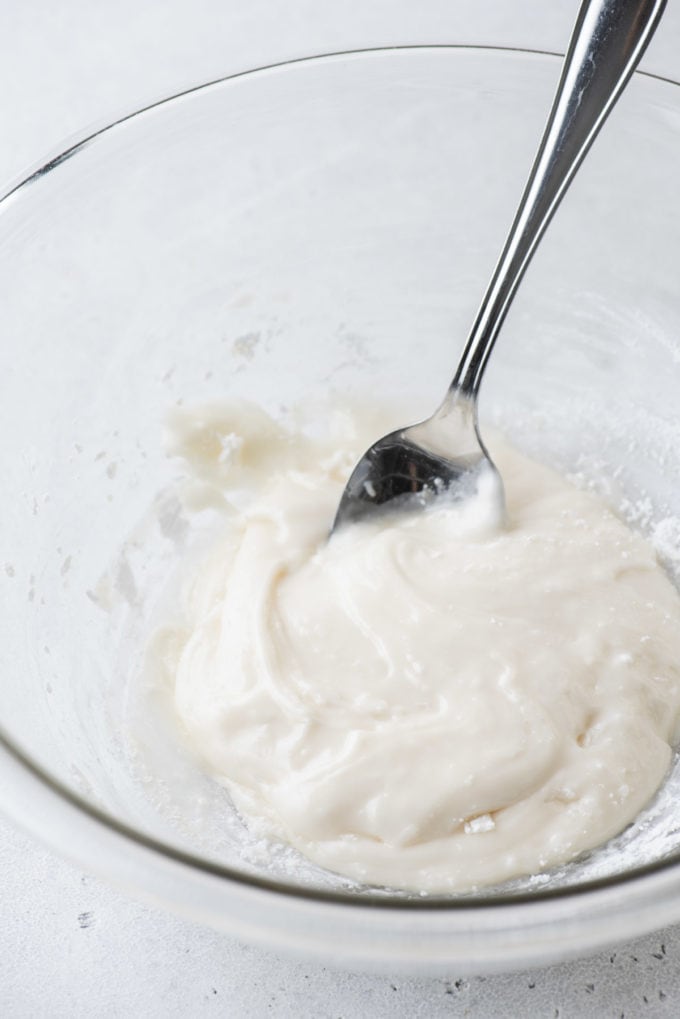
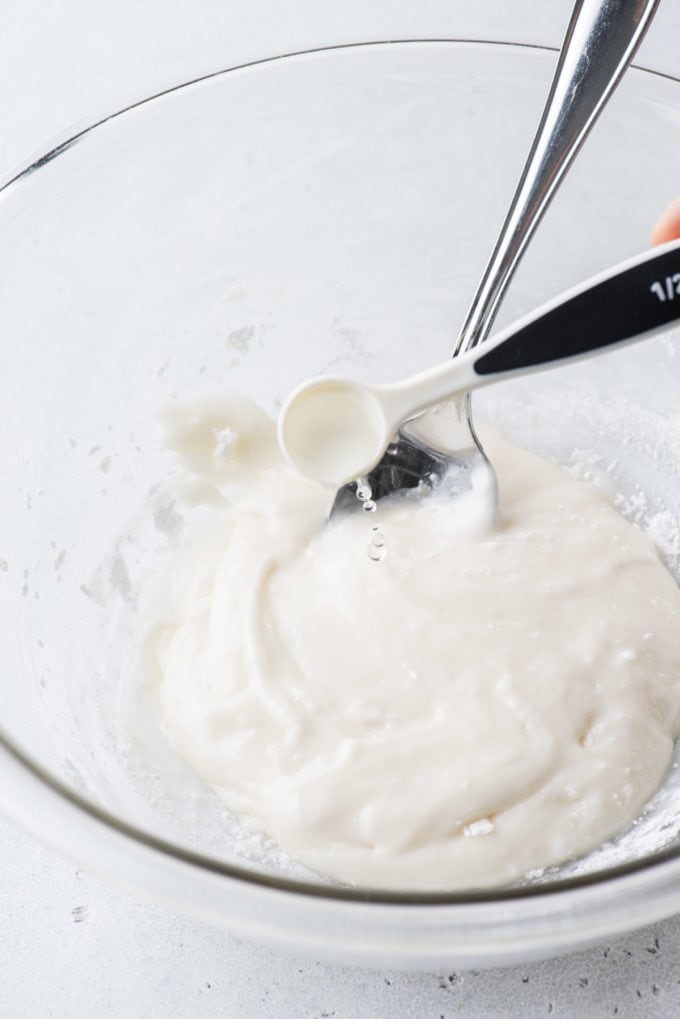
- Adjust consistency. Add more milk or water, 1 tsp at a time, if the frosting is too thick. You can pick your desired consistency and manipulate it by adding a little water or more powdered/confectioners’ sugar. Ideally, when you lift the spoon or mixing utensil up, you want the royal icing that falls into the bowl to disappear within 5-10 seconds.
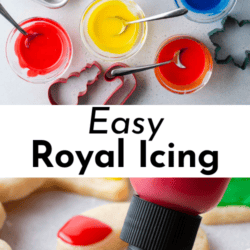
- Divide and color. Divide into bowls and add gel food coloring. Transfer to piping bags, pastry bag or squeeze bottles to easily decorate the cookies.
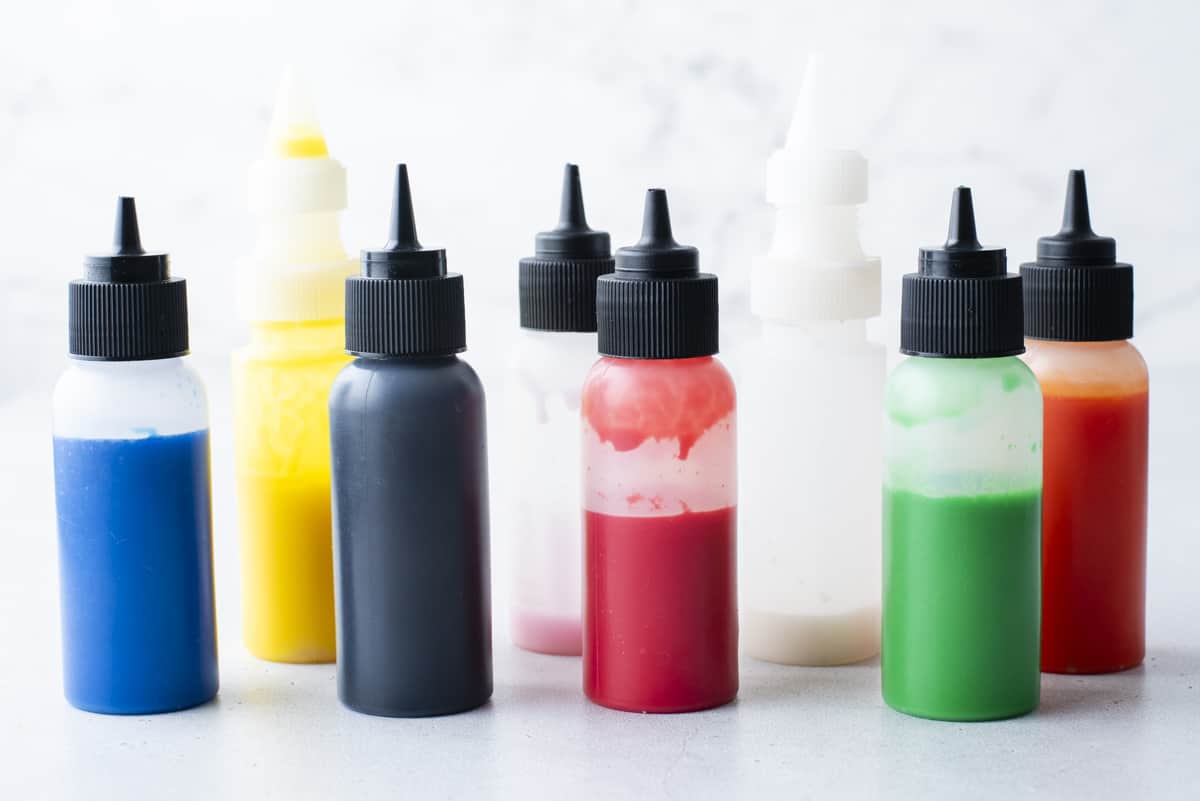
- Store. I really like these squeeze bottles because you can cut the tips to varying widths and they come with caps. However, if you don’t have caps, cover the tops of the squeeze bottles with a wet paper towel to prevent them from drying out if storing overnight.
Royal Icing Consistency Guide
You only need two consistencies to decorate cookies: one for drawing lines and one for filling them in. That’s it.
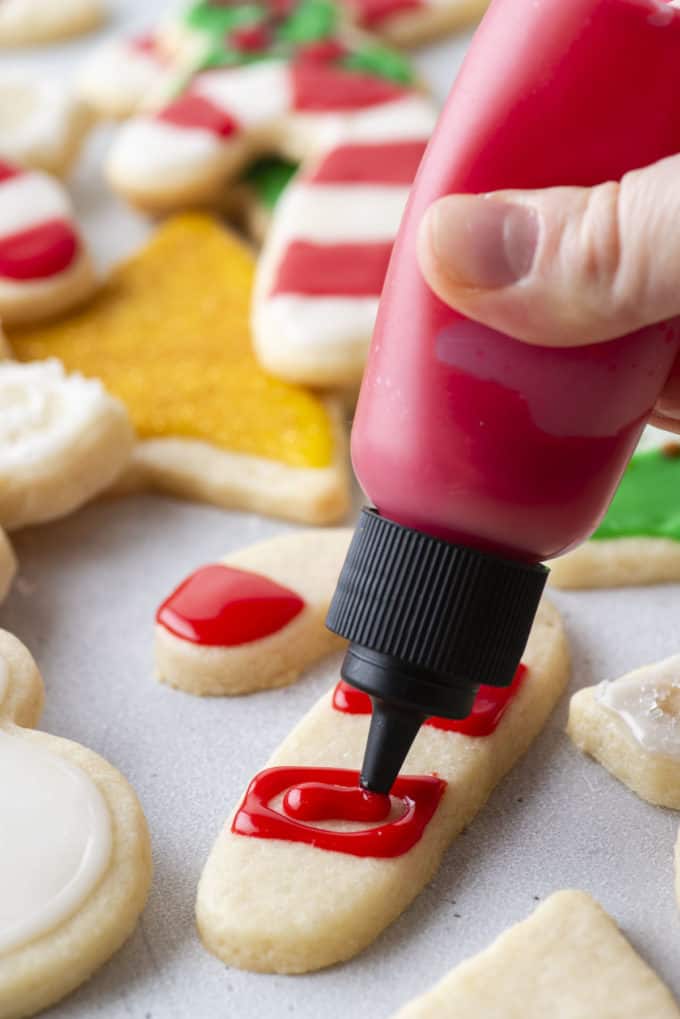
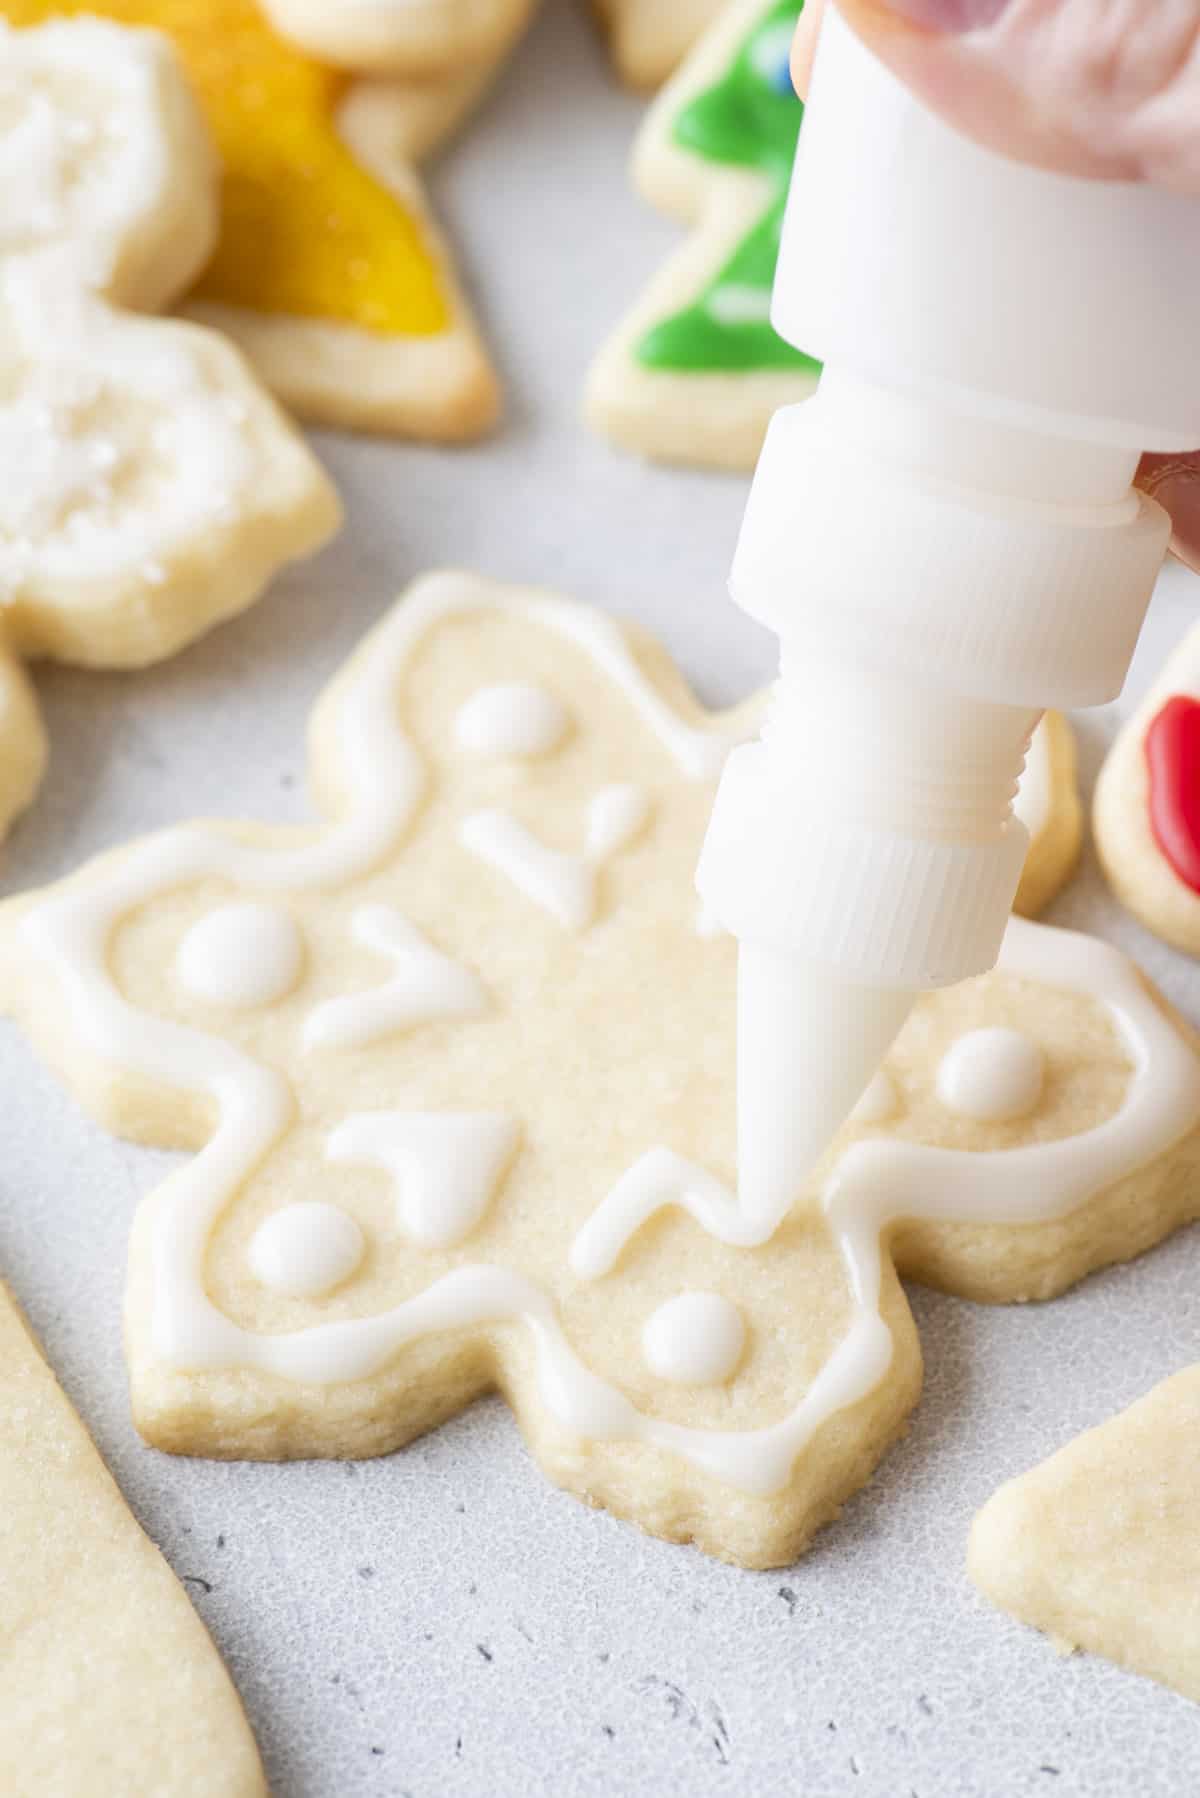
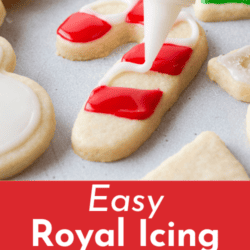
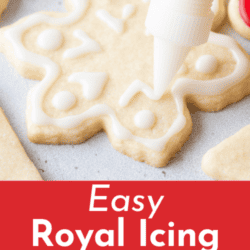
For outlines and details: Your icing should be like toothpaste. Pipe a practice line on a plate or piece of parchment. If it holds its shape and doesn’t spread, it’s perfect. Use this same icing for dots, writing, and any little details.
For filling in: Stir in water a few drops at a time until the icing is like honey or shampoo. Drag a spoon through it or drizzle a line across the top, and it should sink back in and disappear in about 10 seconds.
If it’s off: Too fast? Add more icing. Too slow? Add a drop more water.
Putting it together: Start with your outline, let it set for a few minutes, then fill in the middle. The outline works like a little wall that keeps everything neat.

How to Use This Royal Icing Recipe without Meringue Powder
I use this royal icing on way more than sugar cookies. Here are a few of my favorite ways to use it:
- Decorate sugar cookies: Try my sugar cookie recipe, these cut-out sugar cookies, or my equally tasty and easy-to-make gluten-free sugar cookies!
- Decorate gingerbread cookies: Try my soft and chewy gingerbread cookies
- Decorate a gingerbread house: Check out all of my gingerbread house decorating tips here.
- Decorate oreo balls: Try my gingerbread men oreo balls, candy cane oreo balls and Christmas present oreo balls.
- Get creative: Try getting creative with different recipes like my easter egg rice krispies, nilla wafer snowman cookies, or these adorable maple acorn cookies.
My Pro Tips for Royal Icing
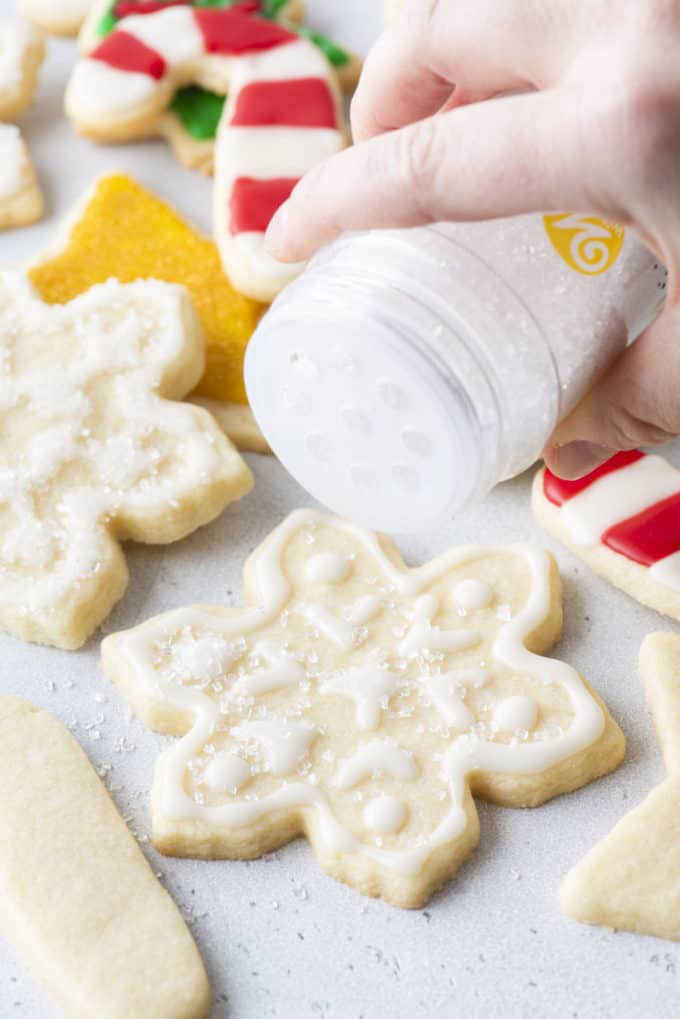
- Start thick and thin it out. That’s how I landed on this recipe. Start on the thick side, then add water a little at a time until it’s right.
- Know what you’re making it for. The right consistency looks different for outlining than it does for flooding.
- Use gel food coloring. It’s super pigmented, so a little goes a long way.
- Scale it up for lots of colors. This recipe doubles or triples easily, and dividing it into bowls lets you make as many colors as you want. When I decorate gingerbread cookies with my kids, we make at least 10.
- Keep a toothpick handy. It helps you spread the icing and keep the small details clean.

How to Store, Make Ahead, and Freeze Royal Icing
To store: Keep leftover icing in squeeze bottles with the caps on. No caps? Cover the tips with a damp paper towel so the icing doesn’t dry out.
To make ahead: Make it up to 3 days ahead and keep it sealed in the fridge. The FAQ below walks through bringing it back to the right consistency.
To freeze the icing: Freeze leftover icing in a freezer bag or airtight container for up to 2 months, with each color in its own bag. Thaw it overnight in the fridge, then bring it to room temperature.
To freeze decorated cookies: Stack like shapes 4 to 5 high with a small piece of parchment between each cookie. Wrap each stack well in plastic wrap, then put the bundles in a freezer bag or container. To thaw, set them on the counter still wrapped.
This is much easier to make than royal icing and was very easy for my 4 year old to decorate with! Will definitely be making this again!
-Heather
Royal Icing without Meringue Powder FAQs
Yes, this royal icing dries hard enough to stack your cookies. Give it time, though. Let decorated cookies dry for about 24 hours before you stack them.
Adjust it for whatever you’re doing: outlining, flooding, or piping. The recipe starts on the thicker side, close to outline icing. Add a few drops of water to thin it. To thicken it, add more powdered sugar a little at a time so it doesn’t end up too sweet.
No, it doesn’t.
Yes, but gel or liquid gel coloring is usually better. Liquid coloring can come out less bright.
Make it up to 3 days ahead, then move it to a smaller container, seal it tight, and keep it in the fridge. When you’re ready, let it come to room temperature and give it a few good whisks, since it can separate. If it thickened up, whisk in a few drops of water.
More Christmas Cookies
- Maraschino Cherry Chocolate Chip Cookies
- Chocolate Turtle Cookies
- Chocolate Candy Cane Cookies
- Easy Mexican Wedding Cookies
- Butter Cookies


Tap stars to rate!
Royal Icing without Meringue Powder
Video
Ingredients
- 2 cups (227g) powdered sugar
- 2 Tbsp milk or warm water
- 1 Tbsp corn syrup
- ½ tsp vanilla or almond extract
- Gel food coloring
- Squeeze bottles
Instructions
- In a medium to small sized mixing bowl, combine all of the ingredients (minus the gel food coloring) and mix with a spatula or mixer until smooth.2 cups (227g) powdered sugar, 2 Tbsp milk or warm water, 1 Tbsp corn syrup, ½ tsp vanilla or almond extract
- Add more milk or water, 1 tsp at a time, if the frosting is too thick. You can pick your desired consistency and manipulate it by adding more water or more powdered sugar. Ideally, when you lift the spoon or mixing utensil up, you want the royal icing that falls into the bowl to disappear within 5-10 seconds.
- Divide into bowls and add gel food coloring. Transfer to piping bags or squeeze bottles (https://amzn.to/3SvF85D) to easily decorate the cookies.Gel food coloring
- I really like these squeeze bottles because you can cut the tips to varying widths and they come with caps. However, if you don’t have caps, cover the tops of the squeeze bottles with a wet paper towel to prevent them from drying out if storing overnight.Squeeze bottles
Last Step: I’d love to hear what you think. Leave a rating and comment here.










Can you make this up a day or two before you decorate your cookies?
Yes, but it will become crusty, so you will really need to mix it well after it’s been sitting.
Amazing! No meringue powder and didn’t want to chance using egg whites. This recipe was perfect. Thanks so much for posting!