
This post may contain affiliate links. Please read our disclosure policy.
I’ve tested cheesecakes for years, and this mini version is the easiest, most reliable way to get creamy, bakery-worthy results. They bake and chill in a fraction of the time, so you can serve perfect cheesecakes without stress. Every step has been tested to guarantee smooth, crack-free minis. You can trust this recipe to deliver foolproof results and impress every time.
So delicious! Daughter LOVES cheesecake and she devoured these. Even asked for them to be at her birthday party instead of cake. Thanks so much!!
-Katy B
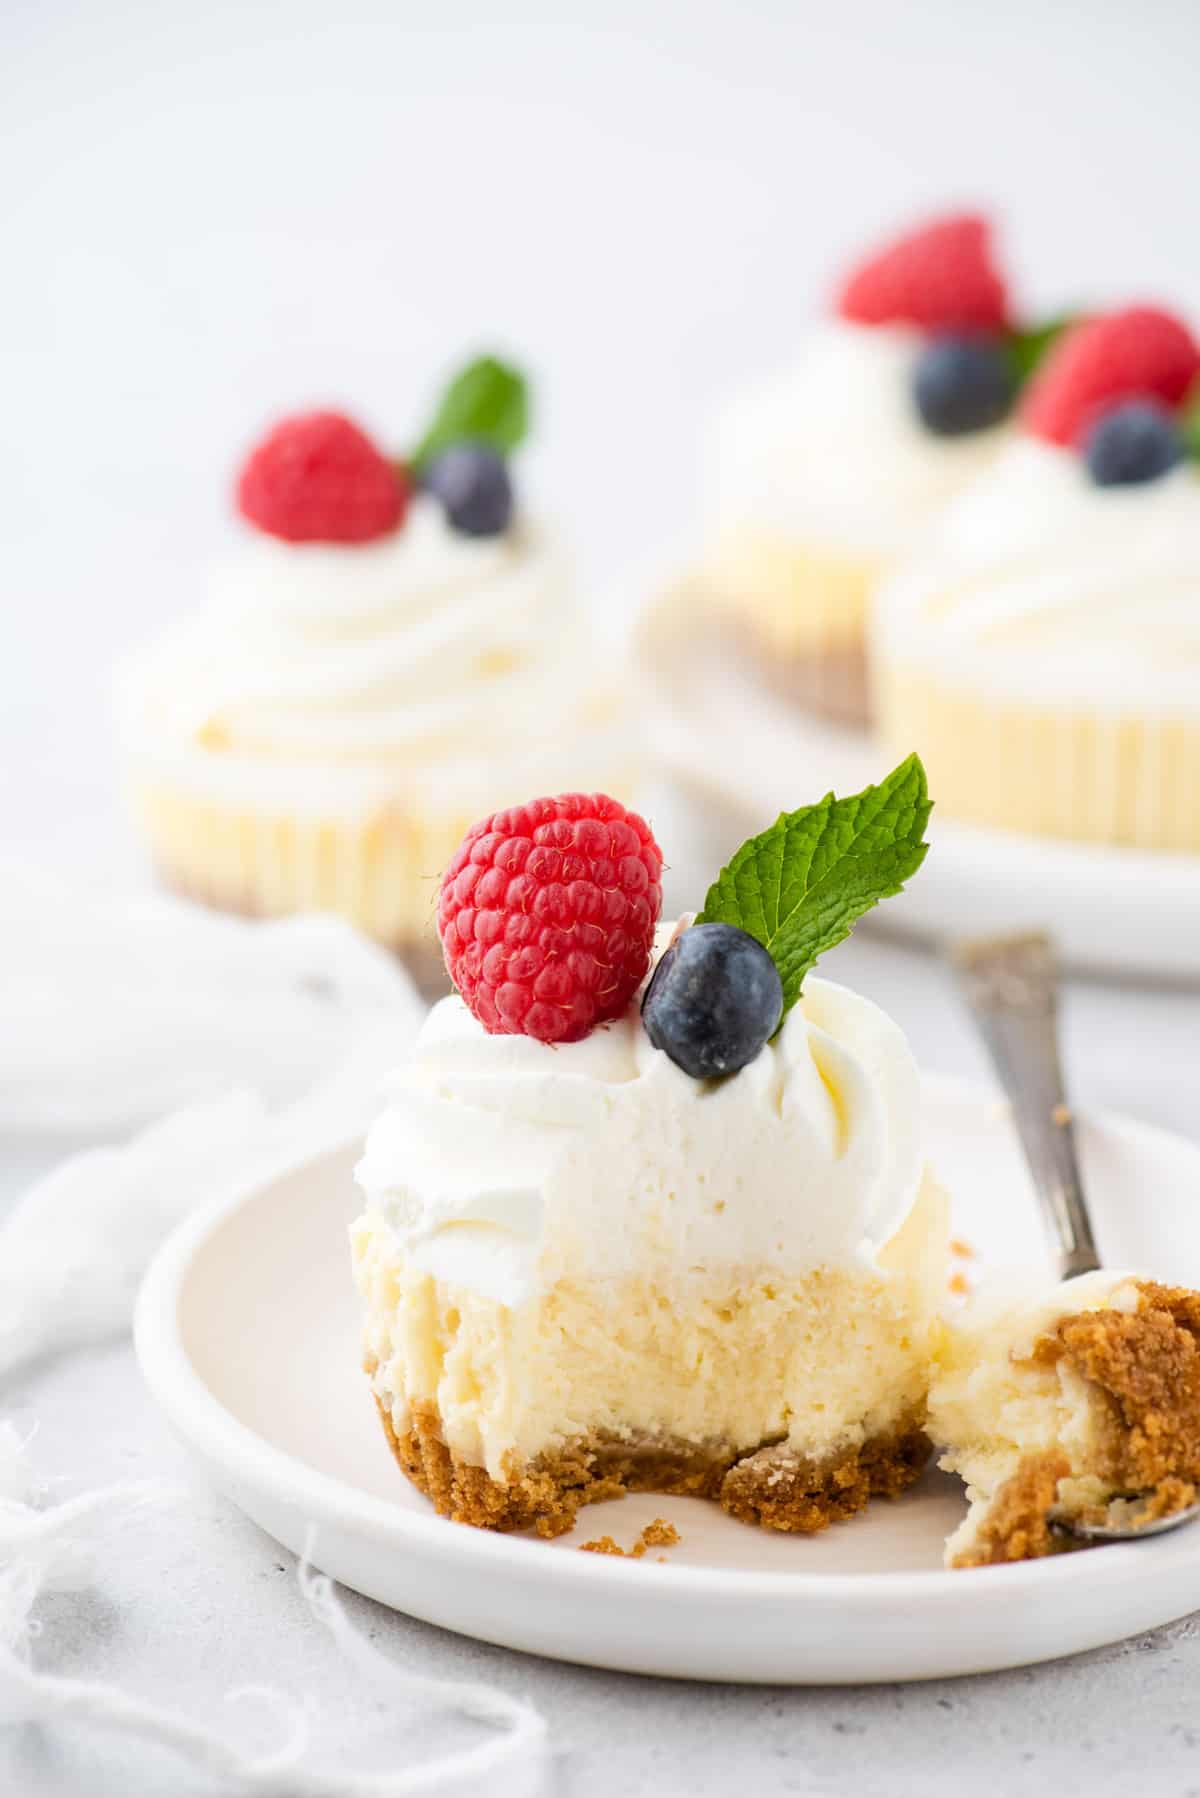
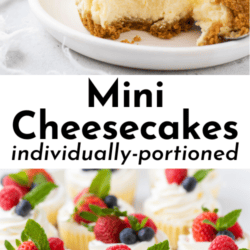
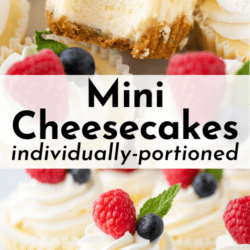
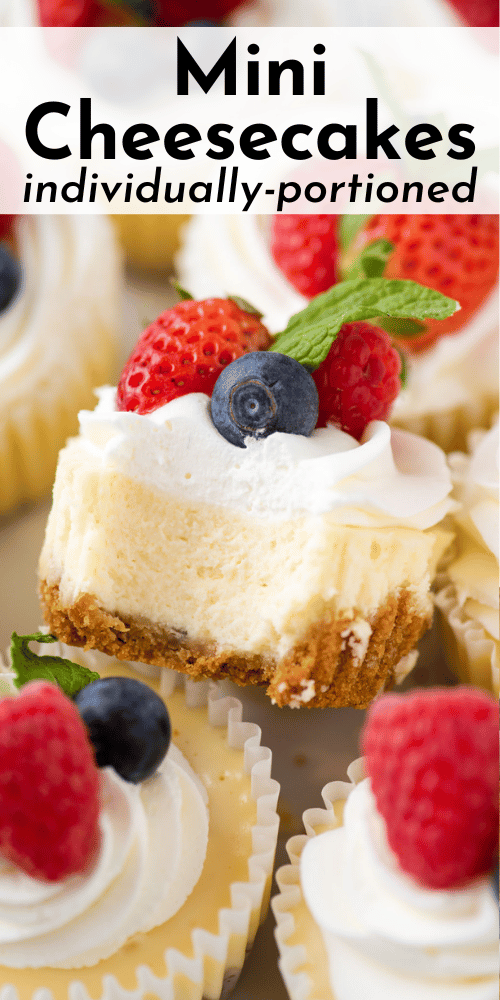
This is the Best Mini Cheesecake Recipe
Mini cheesecakes are the ultimate entry point into cheesecake baking. They deliver everything you love about a classic cheesecake: creamy texture, rich flavor, and endless topping possibilities, in a fraction of the time. Because they bake faster and chill quickly, they’re ready to serve in about a third of the time it takes to make a full-sized cheesecake. That means you can get bakery-worthy results without the stress of a water bath or hours of waiting.
I’ve tested cheesecakes for years, and this recipe brings together all of my best pro tips in one foolproof method. From choosing the right cream cheese to perfecting the crust-to-filling ratio, every step is streamlined so home bakers can succeed on the first try. I also tested multiple mixing methods and bake times to ensure that these minis turn out smooth and crack-free, no guesswork needed!
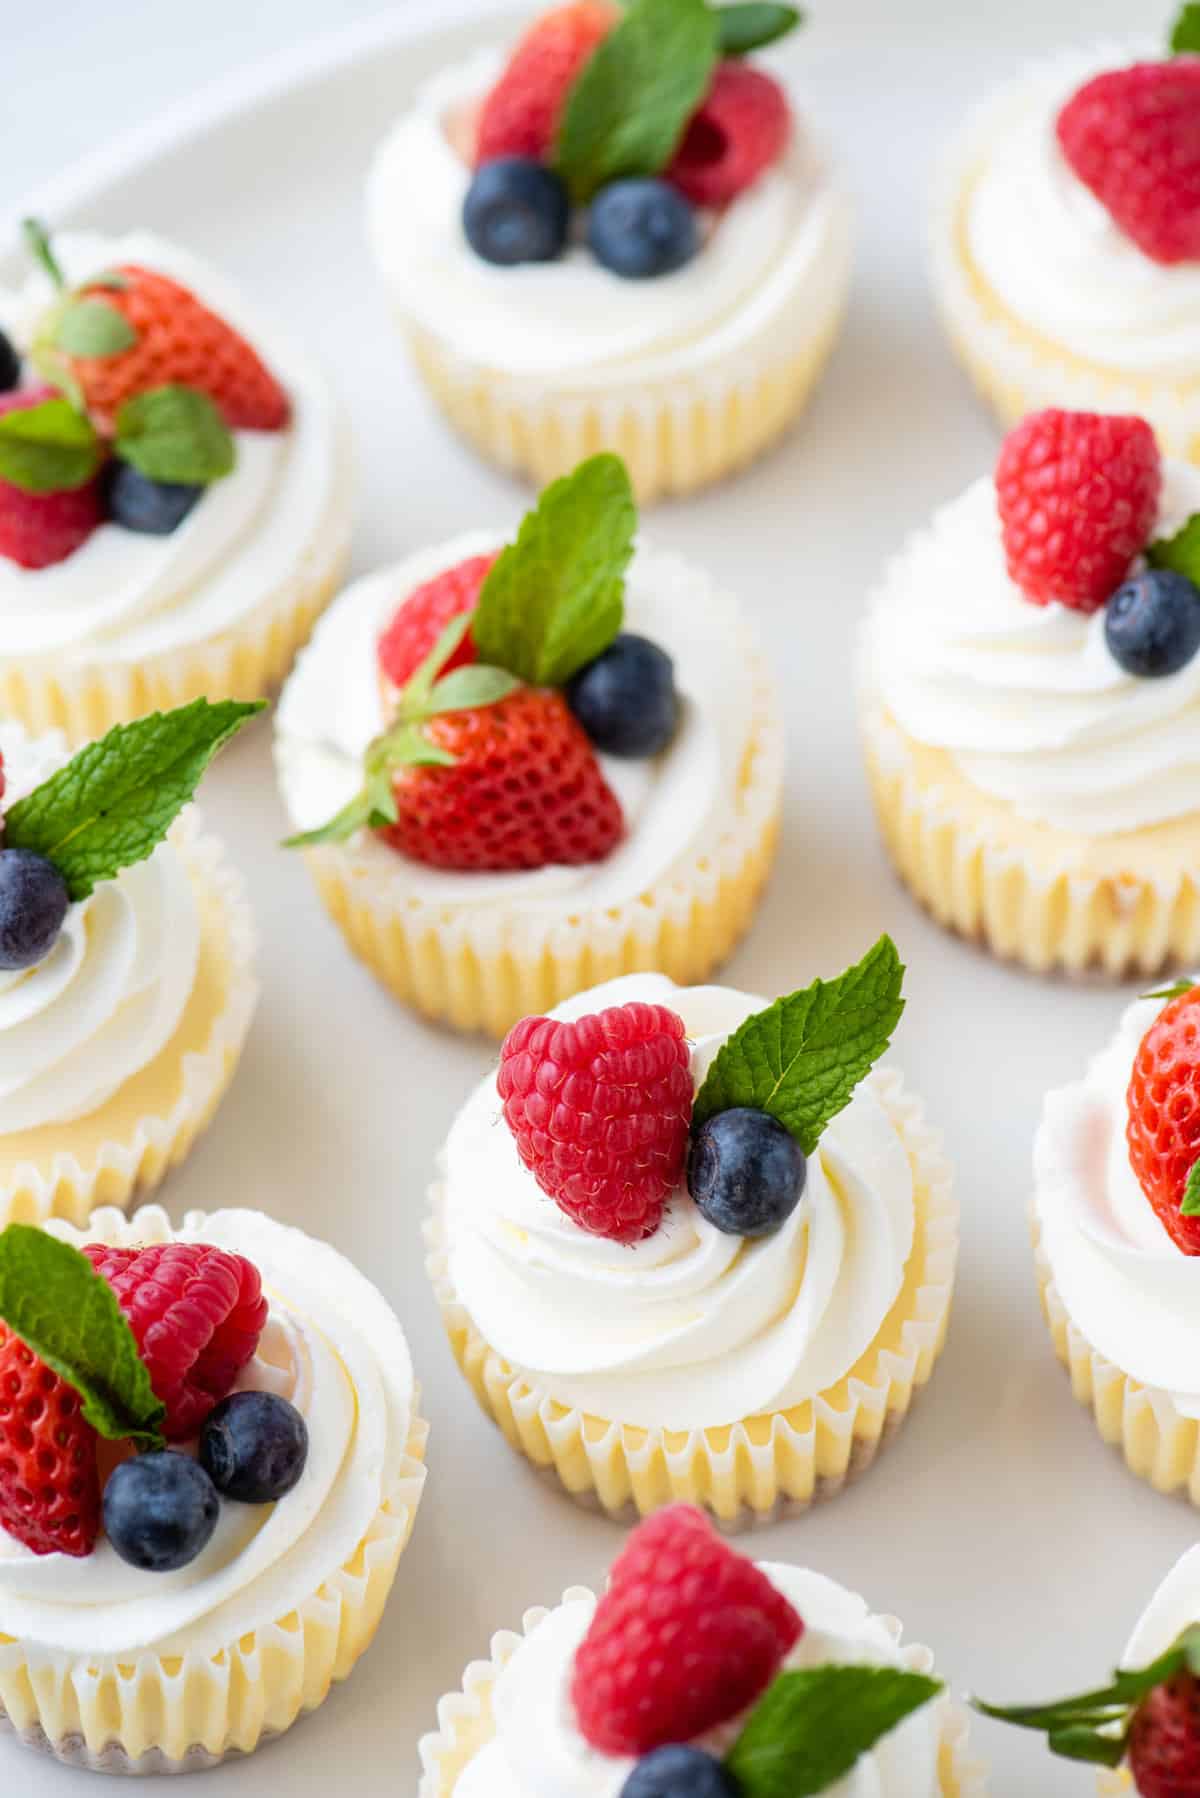
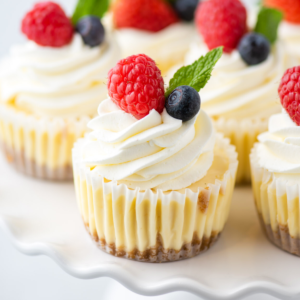
What I love most is how versatile they are. Think of these cheesecakes as a blank canvas! You can top them with fruit, chocolate, caramel, or whipped cream and instantly customize them for any occasion. And because this recipe is tested and perfected, you can feel confident that every batch will come out consistently delicious.
Why You’ll Love These Mini Cheesecake Cups
- Feeds a crowd
- Can make ahead & freeze
- Customize with a variety of toppings
- Faster and easier to make than a large cheesecake

Ingredients For Individual Cheesecakes
Scroll down to the recipe card below this post for ingredient quantities and full instructions.
For the Crust
- Graham cracker crumbs – You can make these yourself by pulsing whole graham crackers in your food processor, or buy a box of crumbs at the grocery store.
- Unsalted butter – Melt this in the microwave or in a small saucepan on your stove.
For the Cheesecake
- Full-fat cream cheese – Let the cream cheese come to room temperature so it’s easy to whip up into a smooth filling. Also note that you’ll need bars of cream cheese, not the kind that comes in tubs.
- Granulated sugar
- Vanilla extract
- Eggs – Let these come to room temperature, too.
For the Topping
- Whipped cream – You can use homemade whipped cream, the refrigerated kind that comes in a can, or frozen whipped topping. If you’re assembling your mini cheesecakes in advance, frozen whipped topping will last longer in the fridge.
- Fresh fruit – You can never go wrong with fresh berries, but use whatever is in season and looks good at the grocery store or farmers’ market!
Can I Substitute the Graham Crackers?
You sure can! Use Oreos or chocolate wafers for a chocolate crust, or try vanilla wafers or ginger snaps for something different. These mini cheesecakes can also be made without a crust at all, but they’re not as easy to eat with your hands this way.
Recommended Tools For Mini Cheesecakes
- standard size muffin pan
- paper muffin / cupcake liners
Making individual cheesecakes in a muffin pan is a great way to scale down a regular cheesecake recipe. Mini cheesecakes don’t require a water bath or any special tools, plus they bake faster than regular cheesecake.
How to Make Mini Cheesecakes
This is the kind of effortless dessert you’ll find yourself turning to whenever you’re entertaining a crowd. Here’s what you’ll need to do.
To make the crust
- Prepare. Preheat your oven to 350º F and line a standard-sized muffin pan with paper muffin liners.
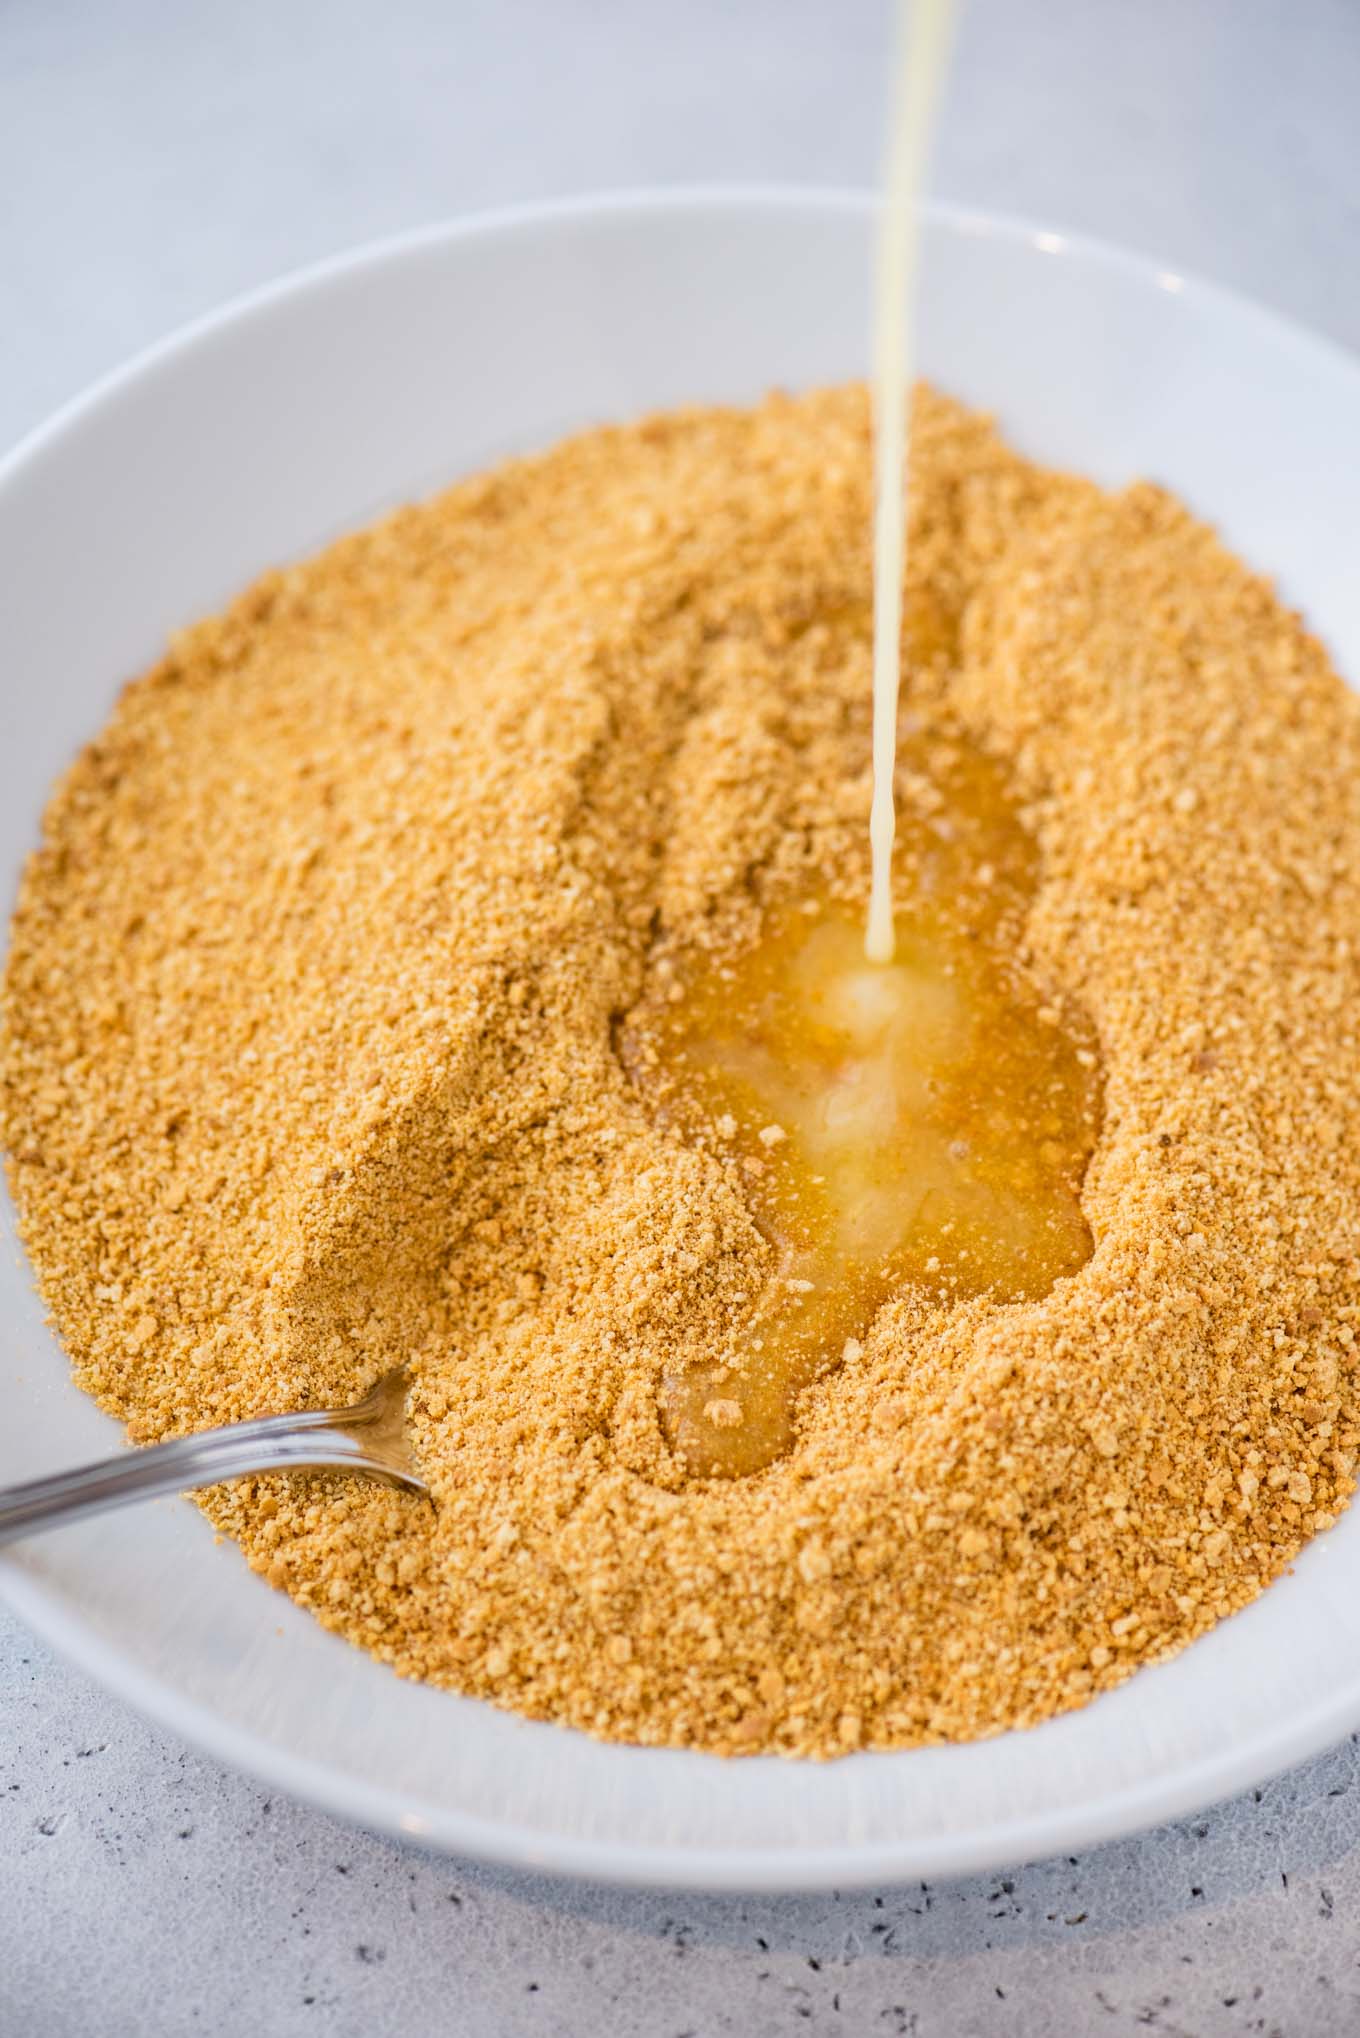
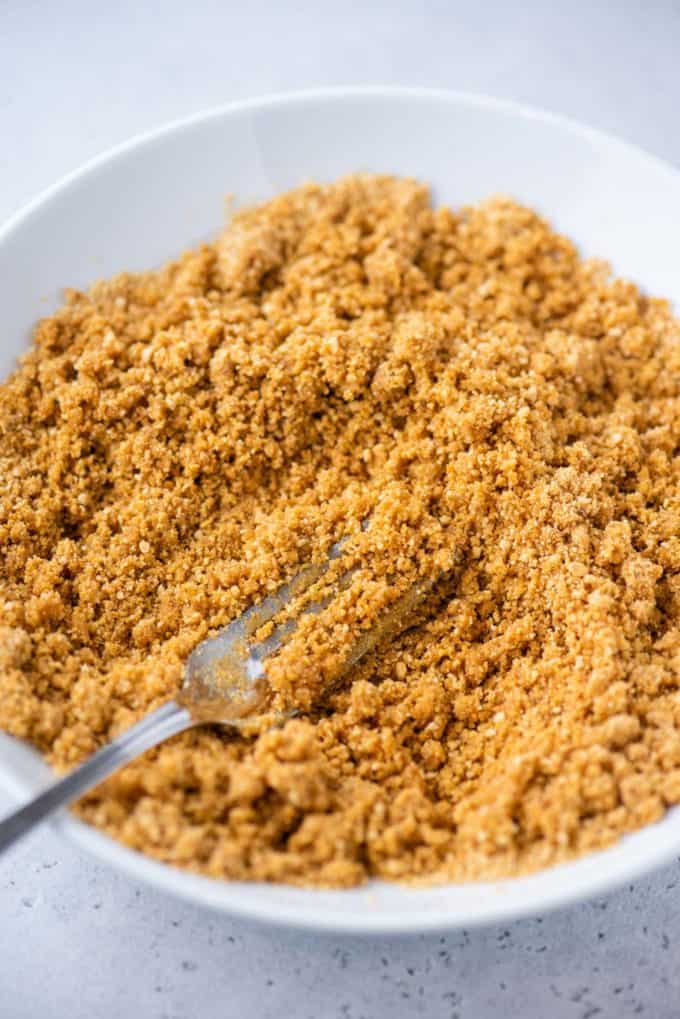
- Make the crust mixture. In a mixing bowl, stir together the graham cracker crumbs and melted butter until the mixture resembles coarse sand.
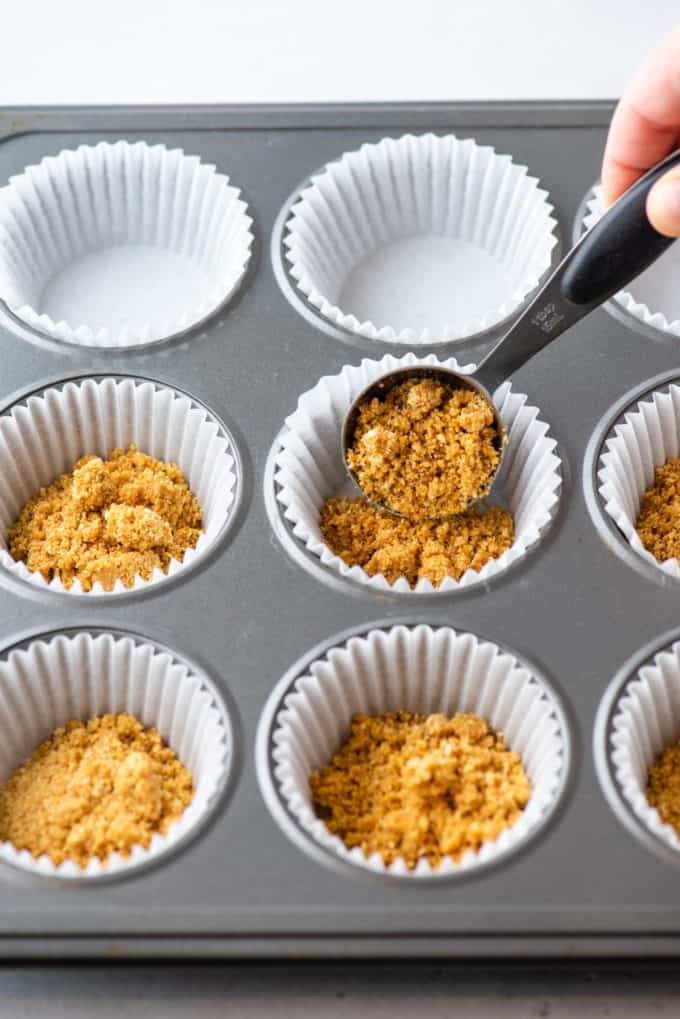
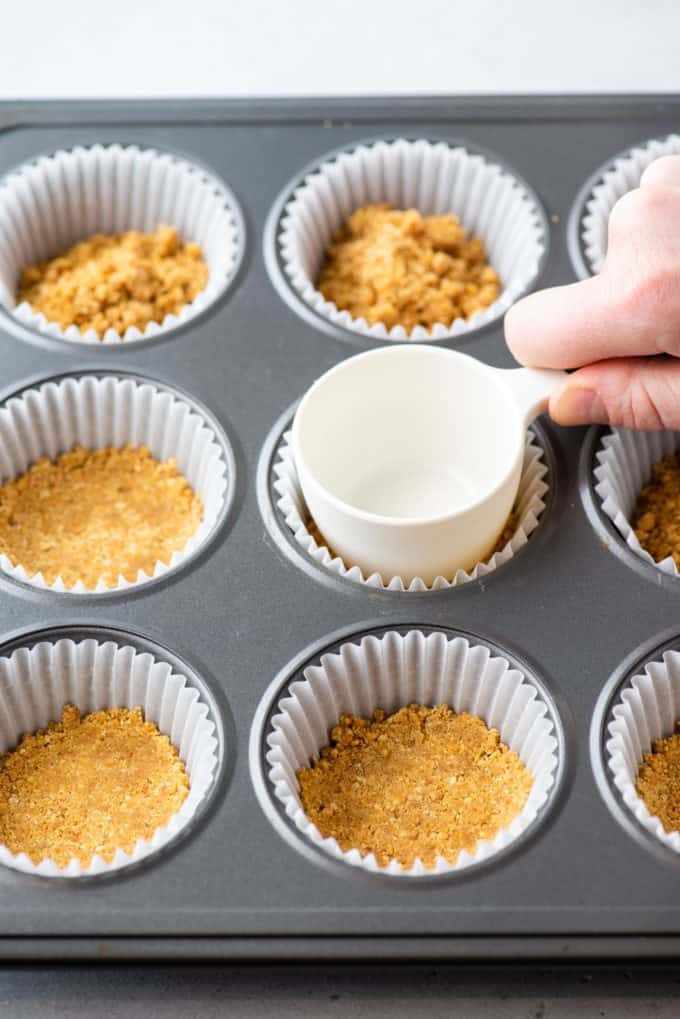
- Form the crusts. Press 1 to 2 tablespoons of the crumb mixture into each muffin cup using the bottom of a 1/3 cup (or similar) to create a flat, even surface.
- Bake. Place the pan in the oven and bake the crust for 5 minutes. Let the crusts cool while you work on the rest of the recipe.
To make the cheesecakes
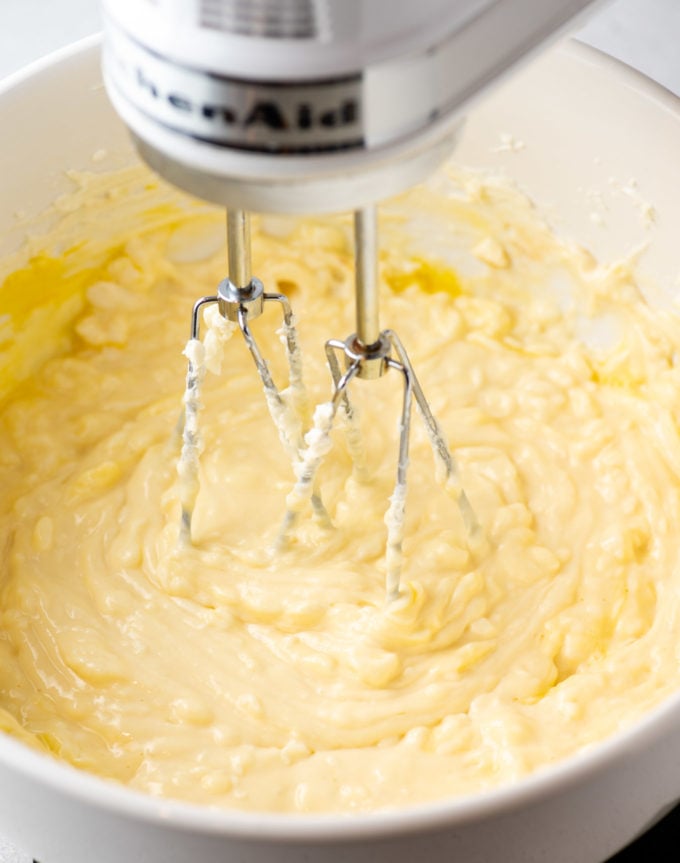
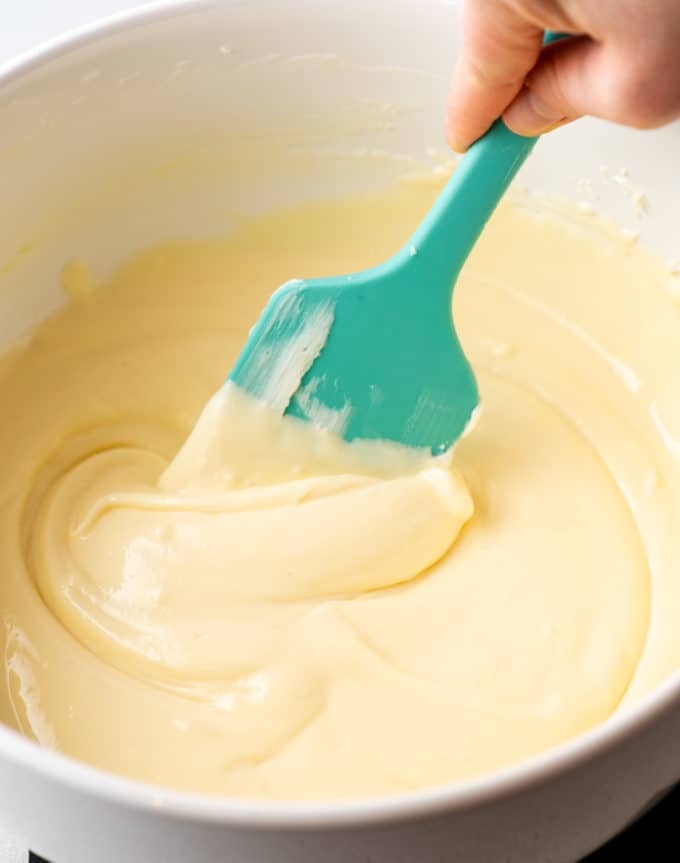
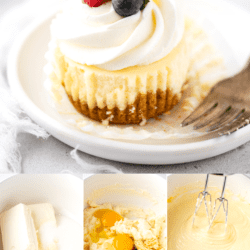
- Cream the cheese and sugar. In a mixing bowl, use a hand mixer to beat the cream cheese and sugar with an electric mixer for a minute or two, or until the mixture is smooth.
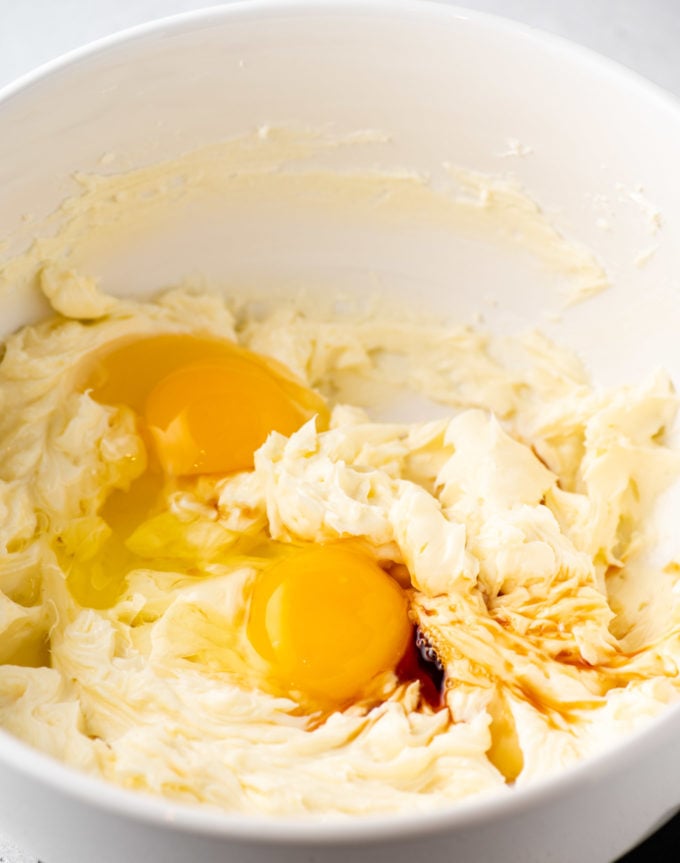
- Finish the cheesecake batter. Beat in vanilla extract, followed by the eggs.
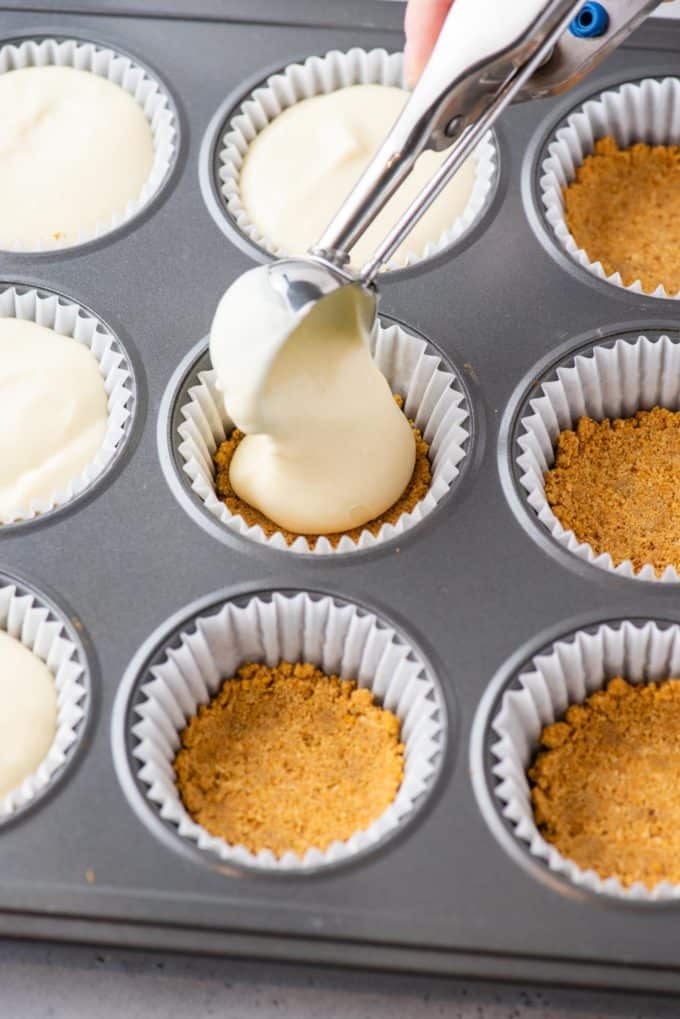
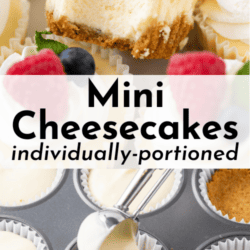
- Assemble. Divide the cheesecake batter among the muffin cups, filling the liners full.
- Bake. Return the pan to the oven and bake for 15 to 17 minutes, or until the centers of the cheesecakes are slightly jiggly.
- Cool. Let the cheesecakes cool to room temperature, then refrigerate them for at least 4 hours before serving. Loosely cover the cheesecakes in plastic wrap if you’re chilling them overnight or longer.
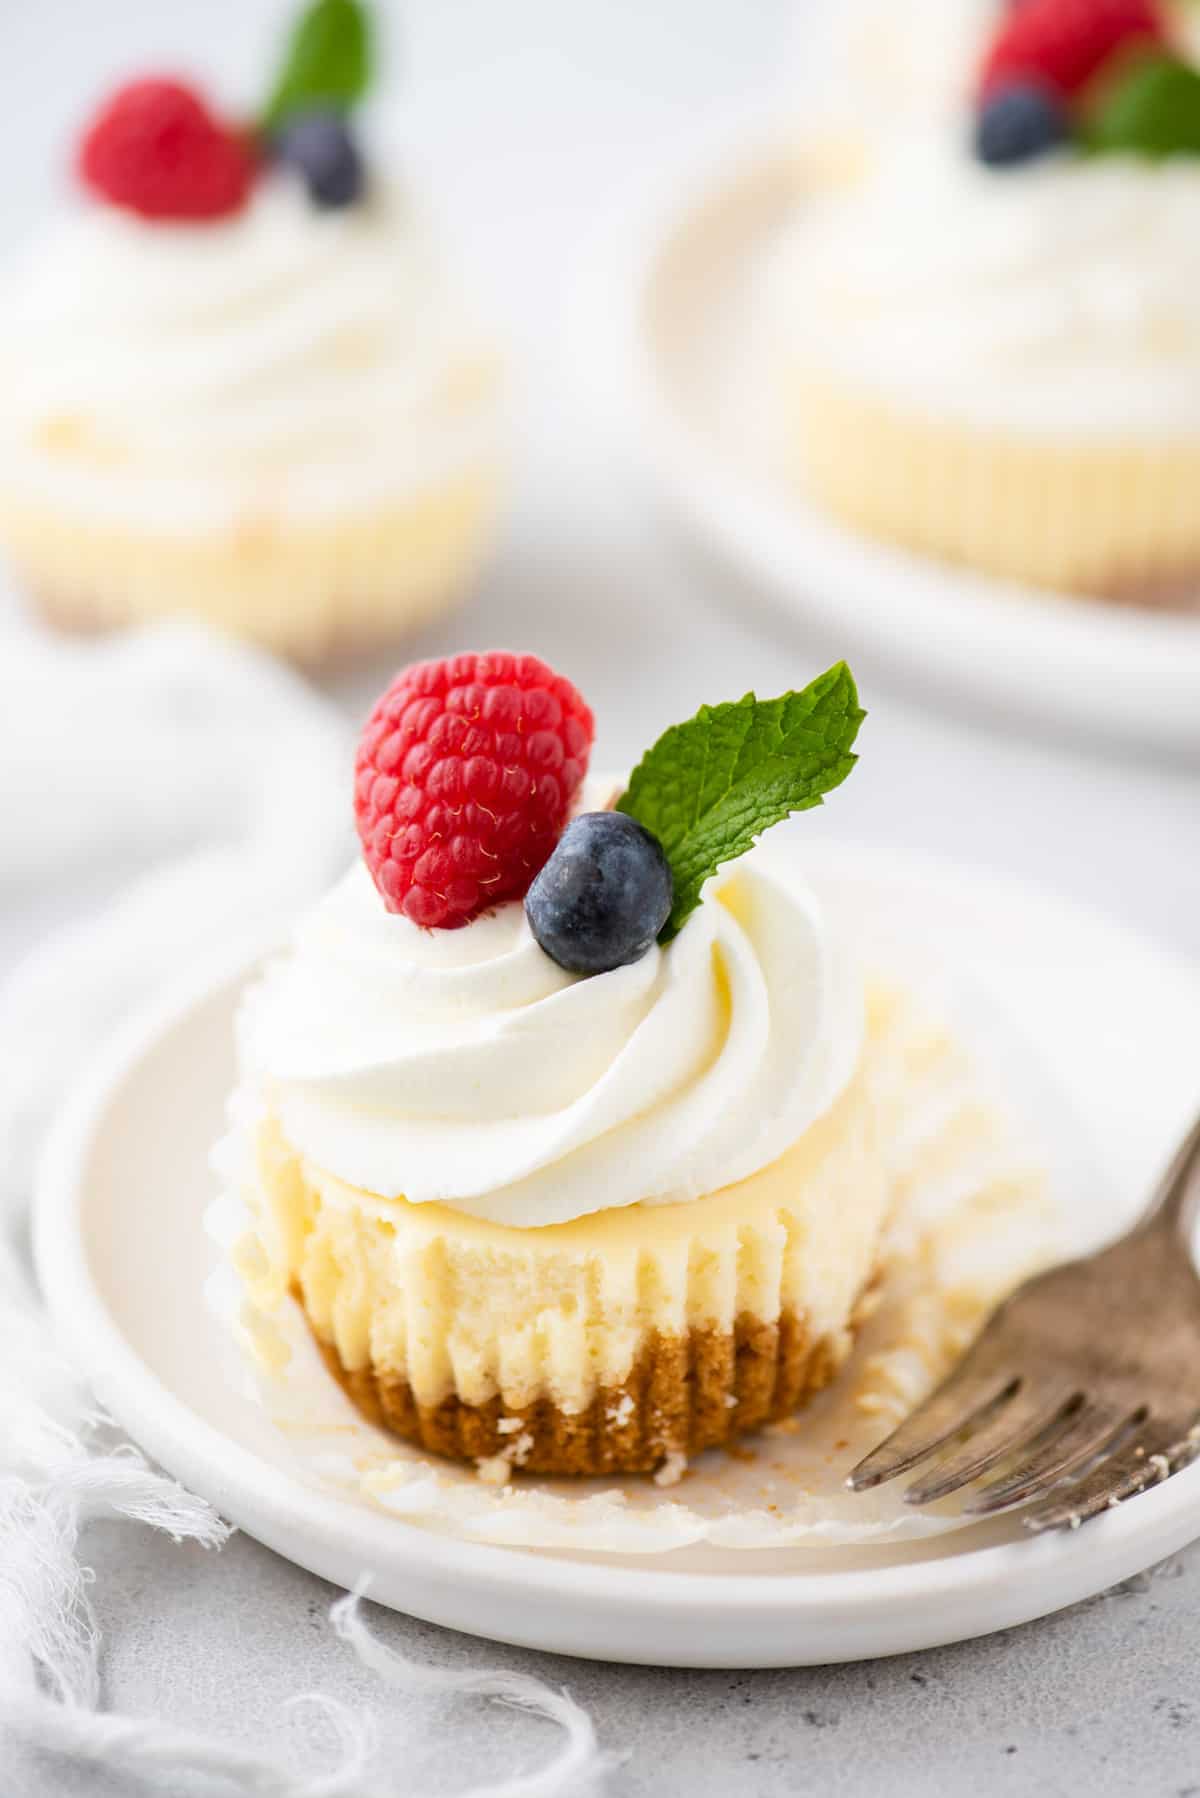
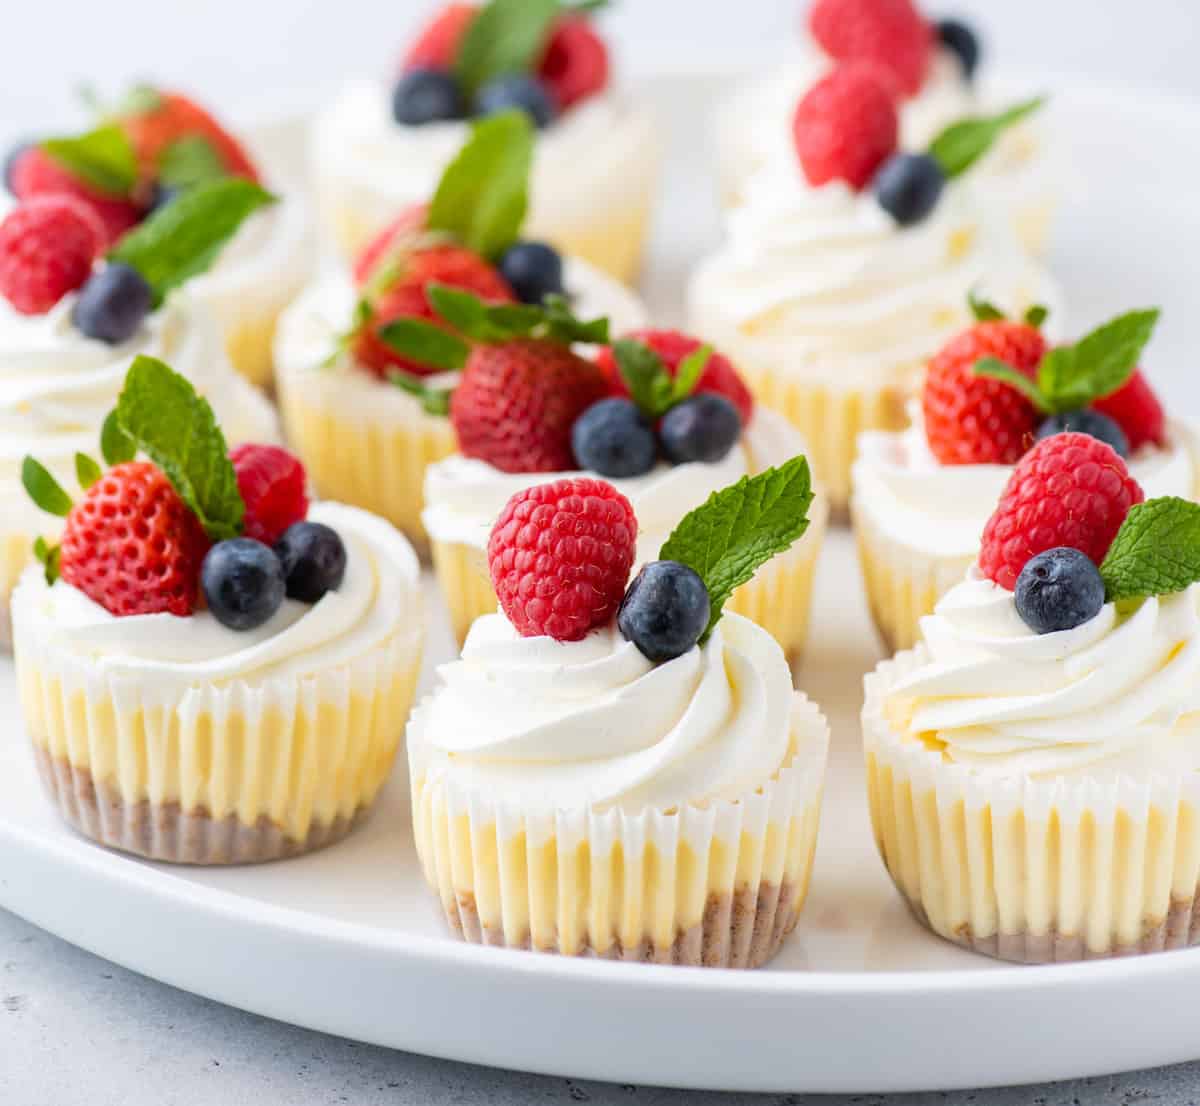
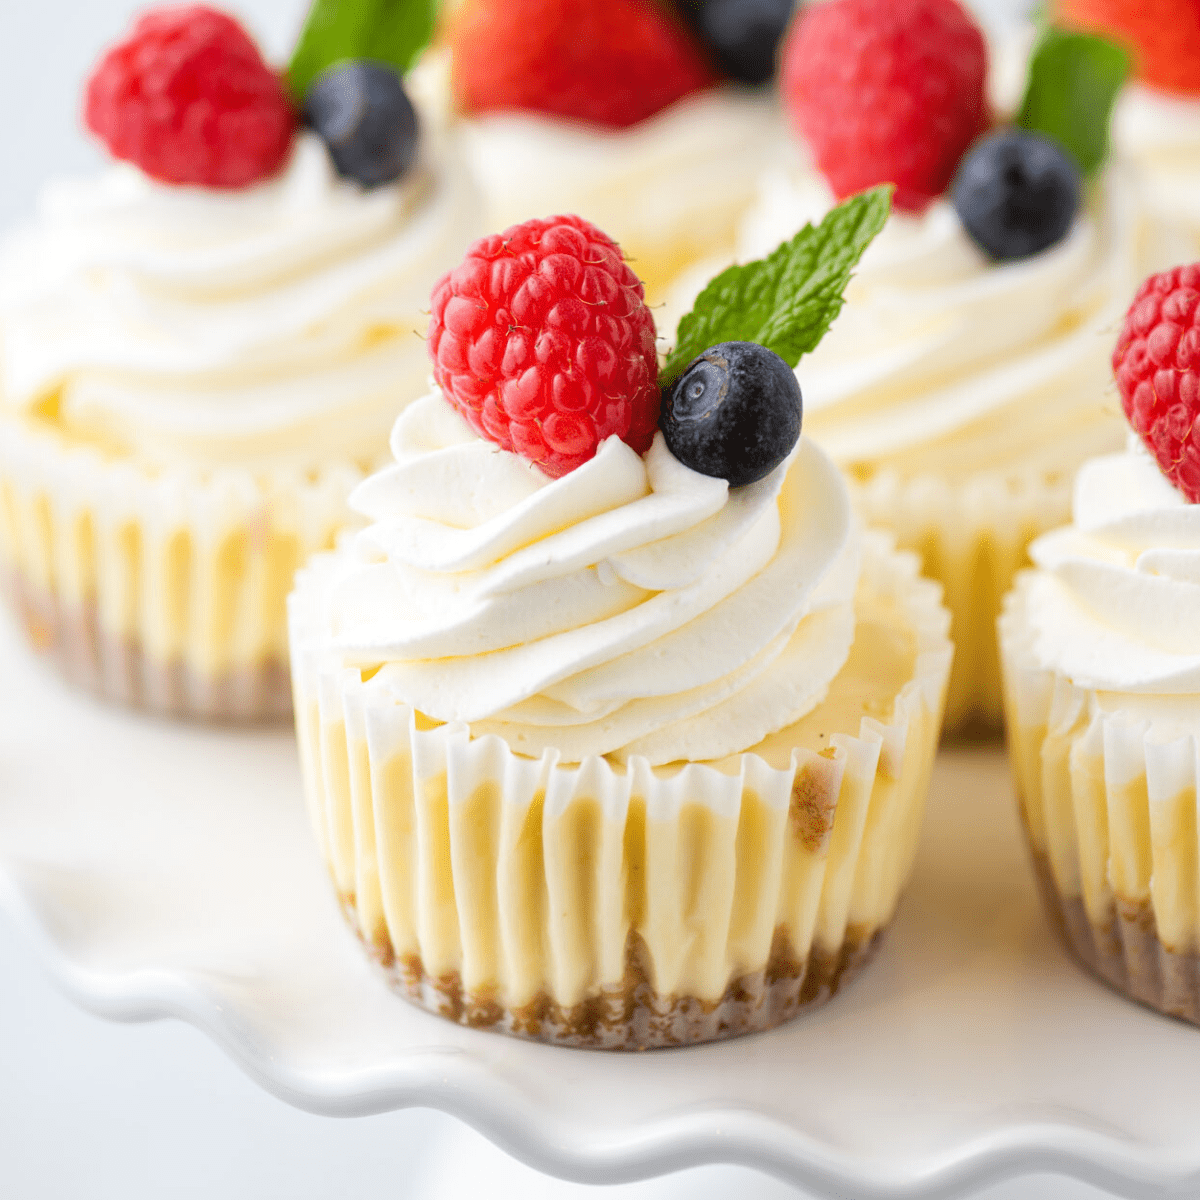
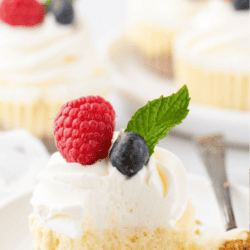
- Garnish. Top the mini cheesecakes with whipped cream, fresh fruit, or chocolate ganache just before serving.

The Best Mini Cheesecake Recipe tips for success
Mini cheesecakes are a lot less fussy than making a big, traditional cheesecake, which is good news if this is your first time making a cheesecake recipe! These tips will help you make sure they turn out perfect.
- Don’t over-mix the cheesecake batter. Once you add the eggs, beat them in just until the yolk breaks. Over-beating the eggs is the most common cause of air bubbles and cracking.
- Don’t over-bake either. When you (gently!) shake the baking pan back and forth, the centers should jiggle slightly. If, instead, the centers move like a liquid, they need more time in the oven.
- Allow enough time for chilling. Warm cheesecake is not very appetizing, so be sure to account for the chilling time needed when planning your baking.
- You do have a back-up plan. If the tops crack or have some bubbles, no worries! Once you add the toppings, no one will notice.
How do you keep Mini Cheesecakes from sinking in the middle?
There are a few reasons why your mini cheesecakes might be sinking in the middle. It could be because you mixed the batter too much. When you overmix cheesecake batter, especially after adding the eggs, you incorporate too much air. That air expands in the oven and then collapses as the cheesecakes cool, causing sinking centers.
Cheesecake hates sudden changes in temperature. If you pull your mini cheesecakes out of the oven and into a cool kitchen, the quick drop in heat can cause the centers to collapse.
Fix: Let the cheesecakes cool gradually. Turn off the oven, crack the door, and let them sit for 15–20 minutes before moving them to the counter. Then cool completely at room temp before refrigerating.
Serving the Best Mini Cheesecake Recipe
Here are some more mini cheesecake topping ideas to try:
- Mini chocolate chips or chopped dark chocolate (you can mix these into the batter too!)
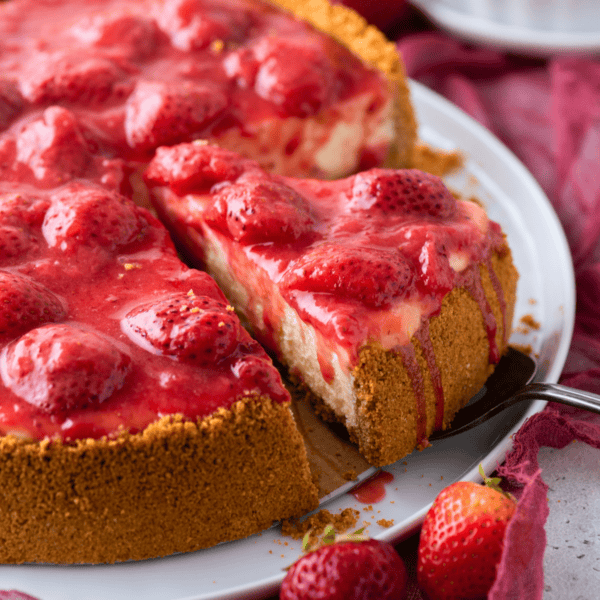
- Pie filling
- Chopped candy bars
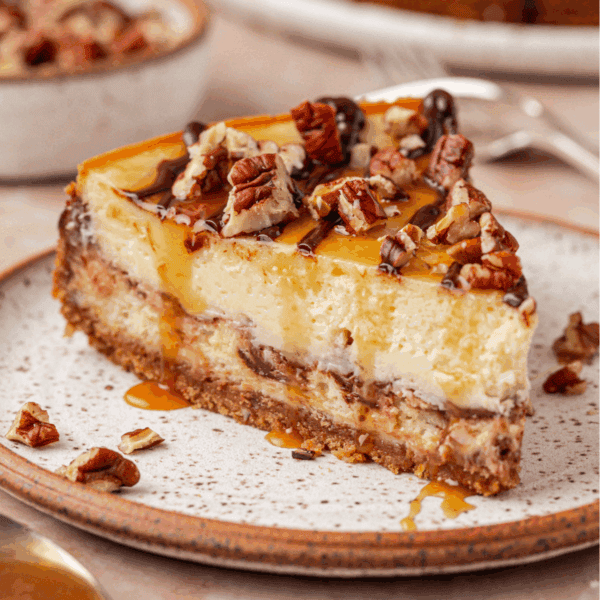
- Salted caramel
- Fresh seasonal fruit (berries in the spring, sliced peaches or nectarines in the summer, pomegranate arils in the fall)
- Crushed Oreos
- Candied citrus peels
- One of my flavored whipped cream recipes: Neapolitan Whipped Cream, Coffee Whipped Cream, or Chocolate Whipped Cream are just a few options!
If you’re looking for a keto option, try keto cheesecake.
How to Store Mini Cheesecake Cups
Refrigerate your mini cheesecakes in an airtight container for up to a week. (While leftovers will last a week in the fridge, if you’re making these for a party, I recommend making them no more than 3 to 4 days in advance for maximum freshness!)
How to Freeze Easy Mini Cheesecakes
You can freeze mini cheesecakes for up to 3 months. They can be individually wrapped, or you can place them in an airtight storage container or freezer bag with parchment paper between the layers to keep them from sticking. Let them thaw in the refrigerator before serving.
Now that you have a five star dessert, make a five star dinner. Serve smoked whole chicken with crusty bread and homemade butter.
First time making a cheesecake. I was in a baking competition and won first place. Very simple to follow and my cheesecake looked beautiful.
-Luz
More Decadent Cheesecake Recipes
Tap stars to rate!
The Best Mini Cheesecake Recipe
Ingredients
Crust
- 1 cup (113g) graham cracker crumbs
- 4 Tbsp unsalted butter, melted
Cheesecake
- 16 oz full fat cream cheese, softened to room temperature
- ½ cup (99g) granulated sugar
- 1 tsp vanilla extract
- 2 large eggs
Topping
- whipped cream
- fresh fruit
Video
Instructions
Crust
- Preheat the oven to 350º F. Line a regular sized muffin pan with paper muffin liners. In a mixing bowl, combine the graham cracker crumbs and melted butter until it resembles coarse sand. Put 1-2 tbsp of crumbs in each muffin cup. Use a 1/3 cup (or similar) to press the crumbs down firmly into the pan. Bake the crust for 5 minutes. Remove the pan from the oven and allow it to cool while prepping the cheesecake.1 cup (113g) graham cracker crumbs, 4 Tbsp unsalted butter
Cheesecake
- In a mixing bowl, beat the cream cheese and sugar with an electric mixer until smooth, 1-2 minutes.16 oz full fat cream cheese, ½ cup (99g) granulated sugar
- Beat in vanilla extract and eggs, until smooth. The eggs are the last ingredient that get mixed into the cheesecake batter. Be sure to mix them in just until the yolk breaks. Over beating the eggs is the number one cause of air bubbles and cracking.1 tsp vanilla extract, 2 large eggs
- Evenly divide the cheesecake batter among the muffin cups, filling the liners full. Bake for 15-17 minutes or until the center of the cheesecake is only slightly jiggly.
- Allow the cheesecakes to cool to room temperature then place them in the fridge for at least 4 hours to chill before serving. If refrigerating overnight, loosely cover the cheesecakes in plastic wrap.
- Top with whipped cream, fresh fruit or chocolate ganache before serving.whipped cream, fresh fruit
Notes


Eye-catching and mouth-watering! Beth, I need to make these cute mini cheesecakes gluten free. What is your recommendation for the best gluten free graham crackers to use for the crust? Thanks!
I actually recommend using Simple Mills Honey Cinnamon Sweet Thins! They are awesome gluten free graham crackers.