This post may contain affiliate links. Please read our disclosure policy.
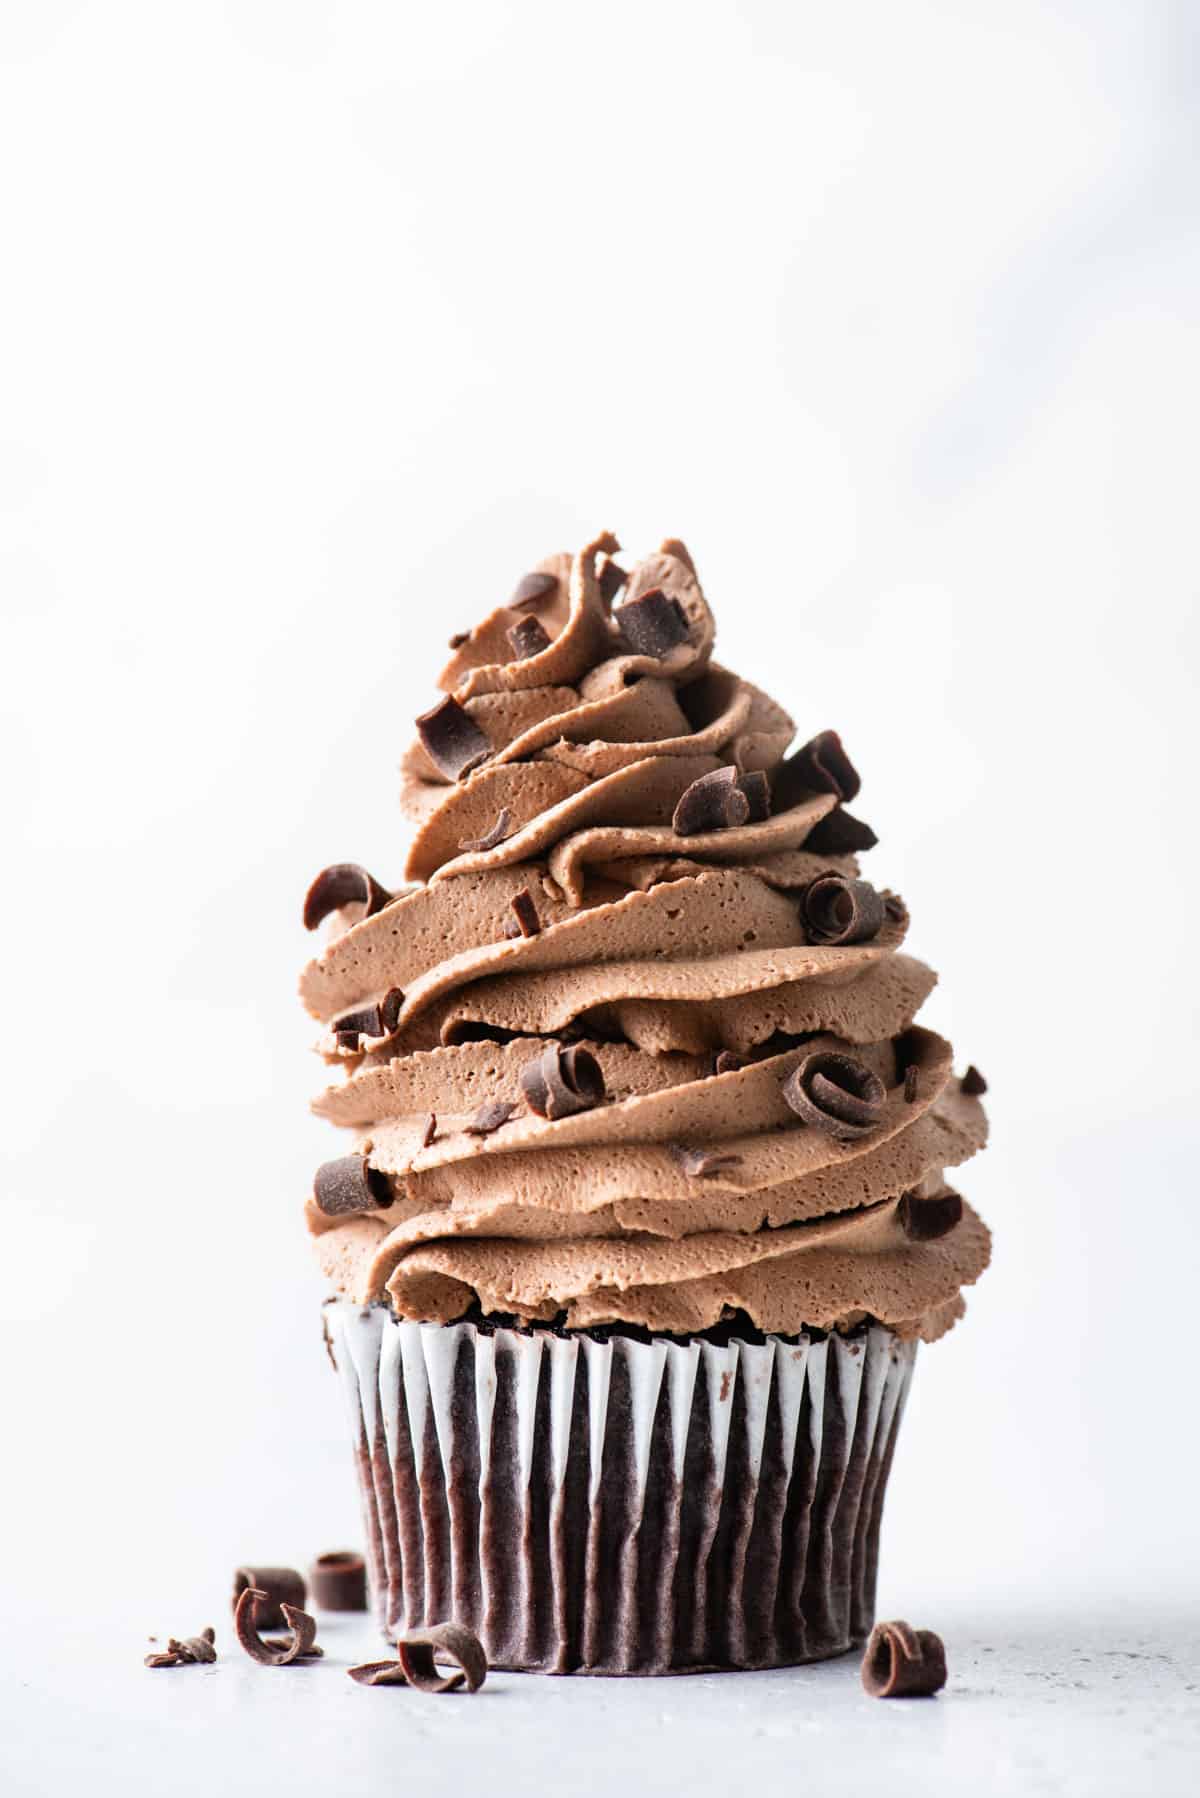
This chocolate whipped cream recipe has been made hundreds of thousands of times. When you follow my easy 3 ingredient recipe, you’ll become a chocolate whipped cream expert!
This is hands down the BEST chocolate whipped cream I have ever tasted! It is so great for cakes! The instructions were so well written! I am such a visual person that the video made it super easy as well!
-Olivia
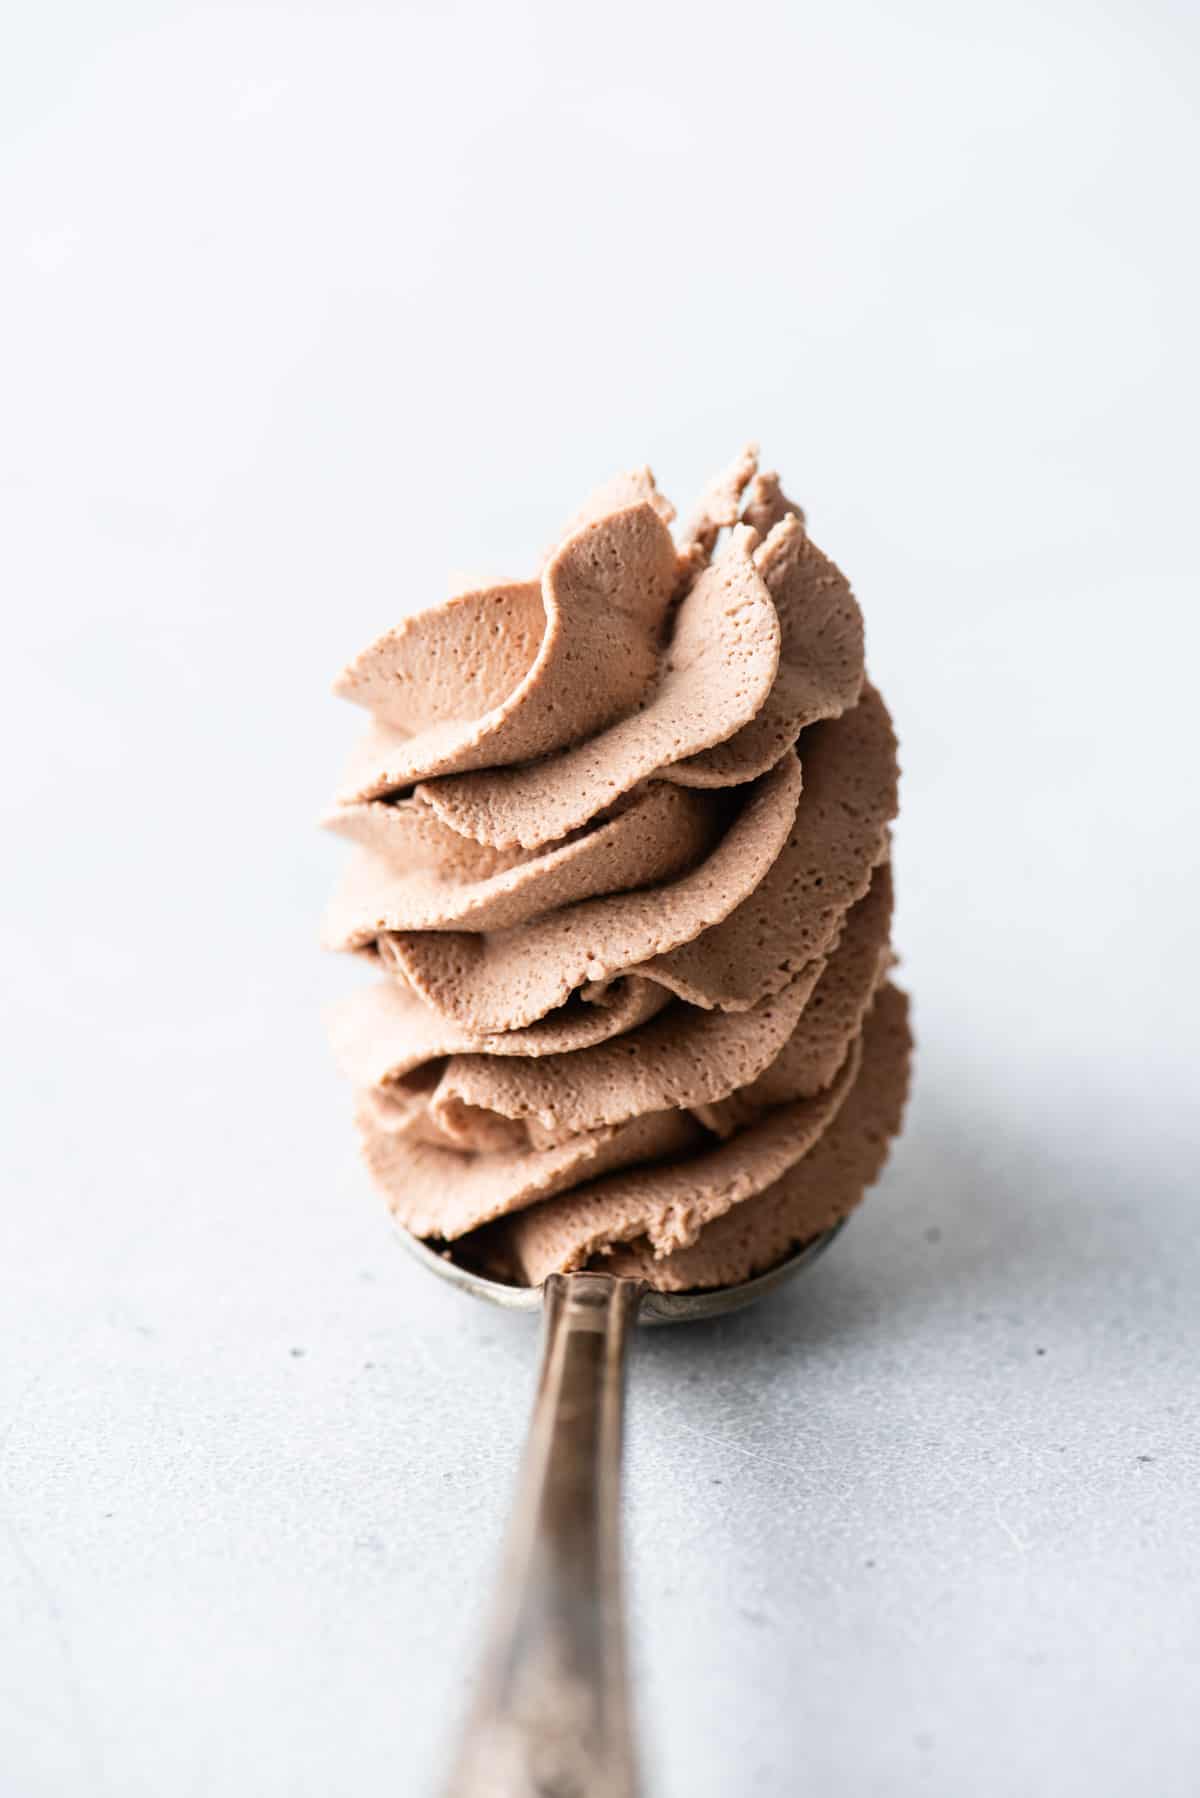
Chocolate Whipped Cream
Can I make a confession? I like cool whip.
I know.. I’m a dessert blogger. I should probably like homemade whipped cream more than cool whip. But cool whip is easy.
However, everything changed when I tried homemade CHOCOLATE whipped cream.
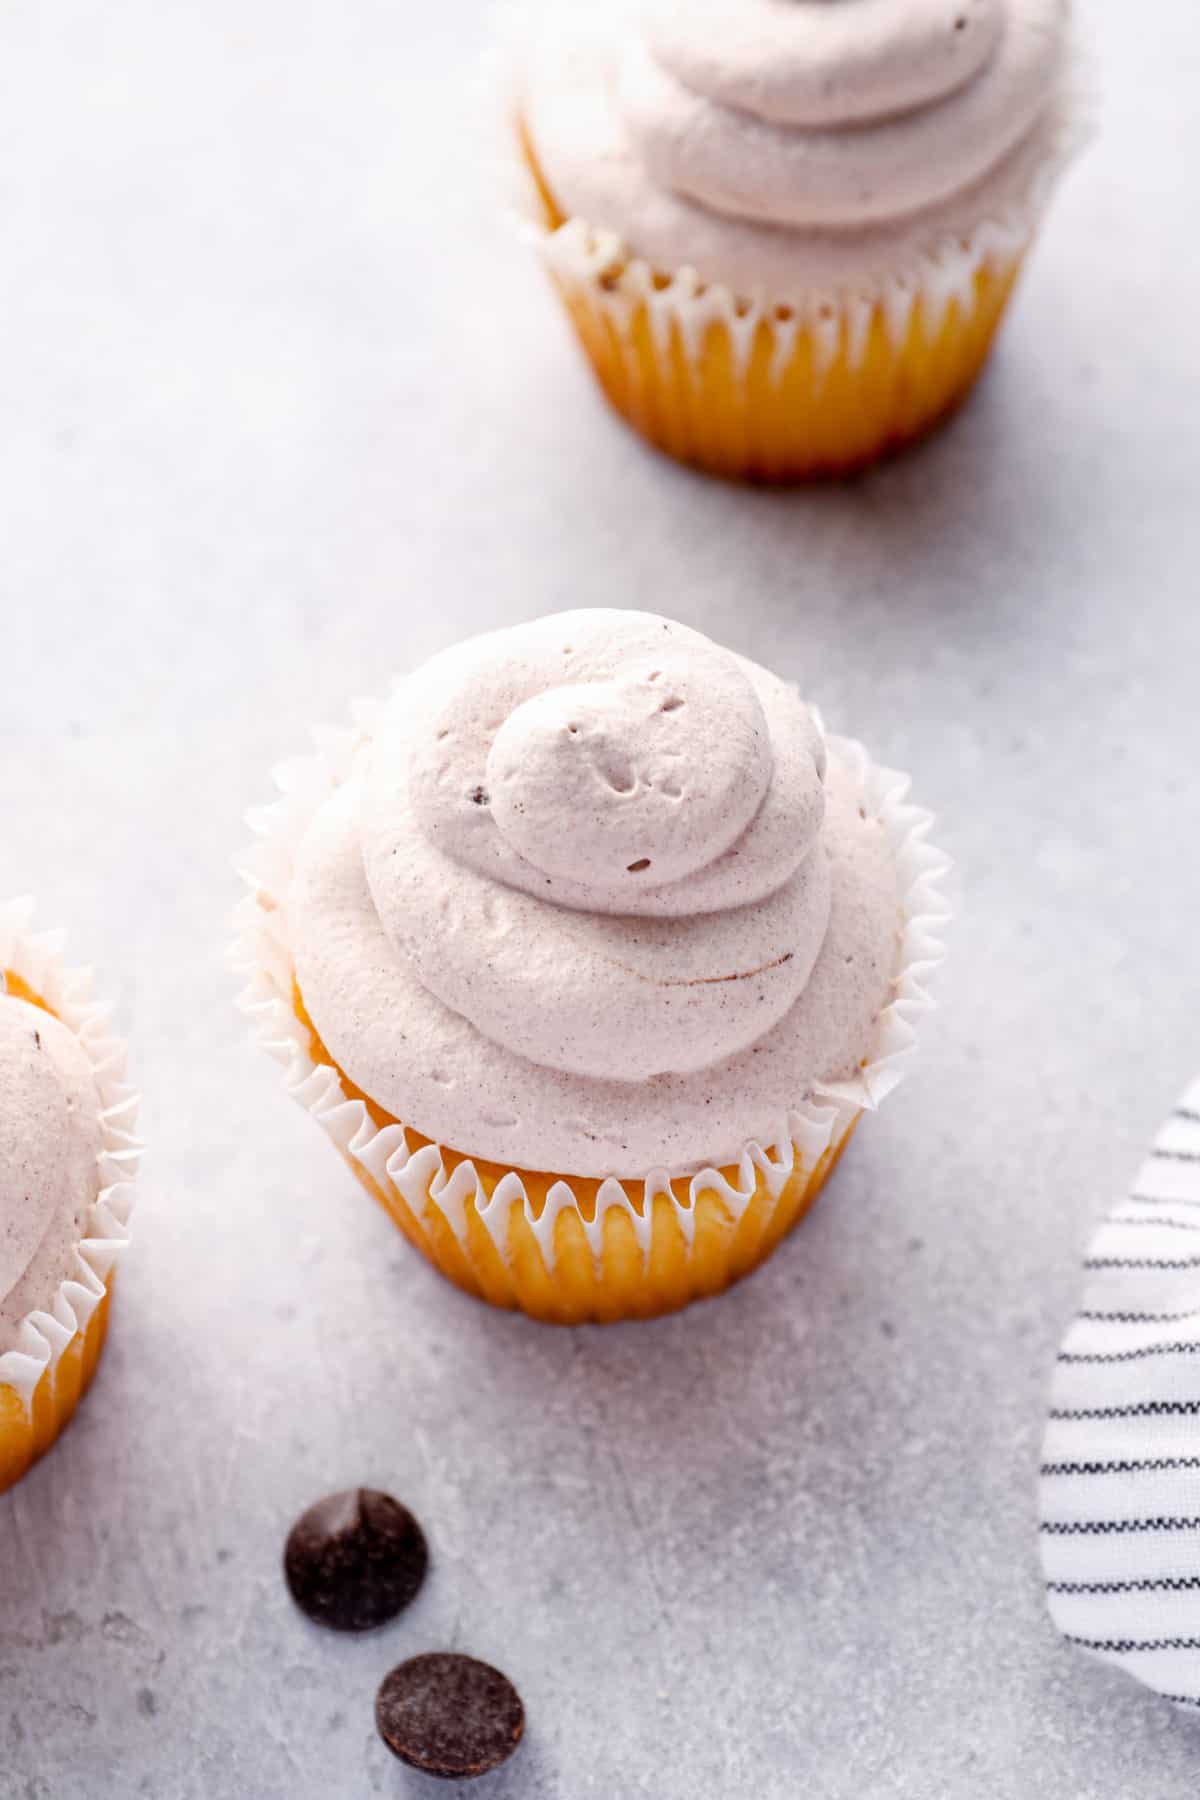
I’m obsessed. You can put it on everything. Peanut butter cupcakes, chocolate cupcakes, use as a topping for brownies, on pancakes or waffles, as a fruit dip for strawberries… eat it with a spoon!
Of course everything is better with chocolate. It’s SUPER good with chocolate pudding.
Why you’ll love this Chocolate Whipped Cream Recipe
- 3 ingredients
- ready in 5 minutes or less
- the perfect frosting or topping for any dessert
- will be your new favorite whipped cream flavor
I used to think whipped cream was too complicated. If you can hold a hand mixer while scrolling tiktok, you can make this recipe!
Even better if you have a stand mixer, set it to medium-high speed and walk away for a few minutes and you’ll come to the the most magical whipped topping.
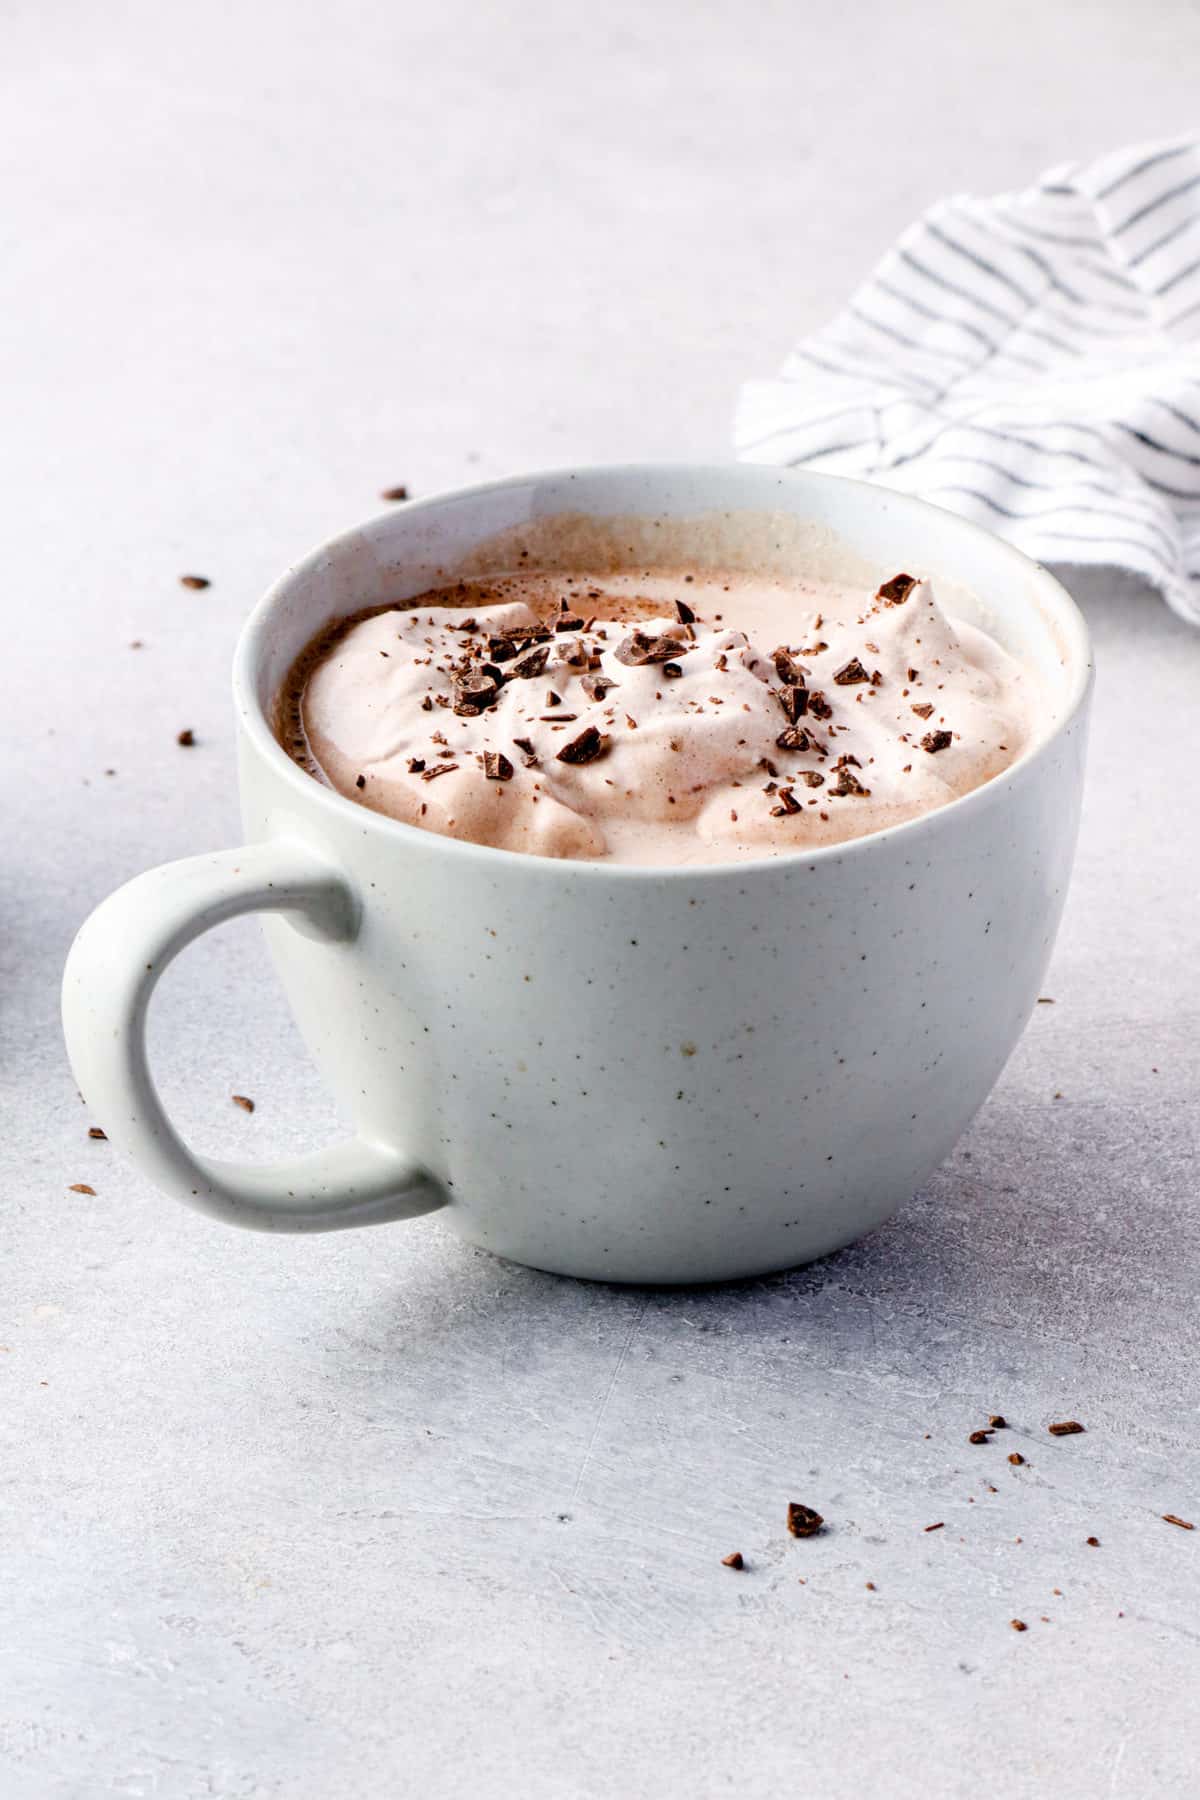
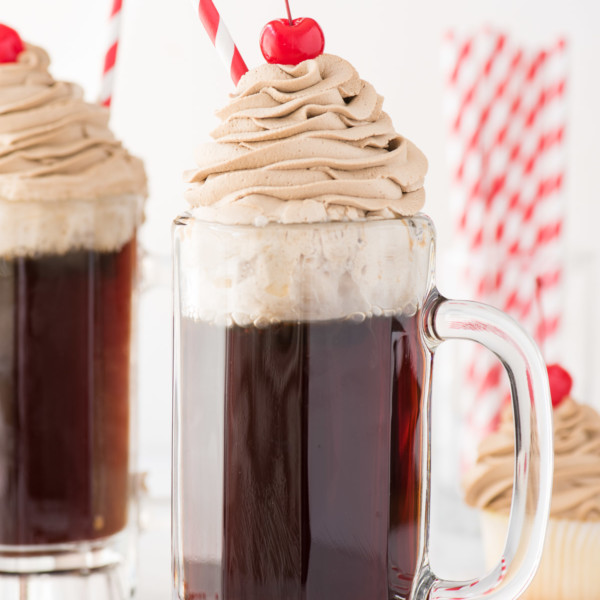
You can use it to top a pie, in hot cocoa, use it to ice cupcakes or a cake, or use it as the filling in cookies sandwiches. Chocolate whipped cream is a staple recipe that every home baker should know how to make.
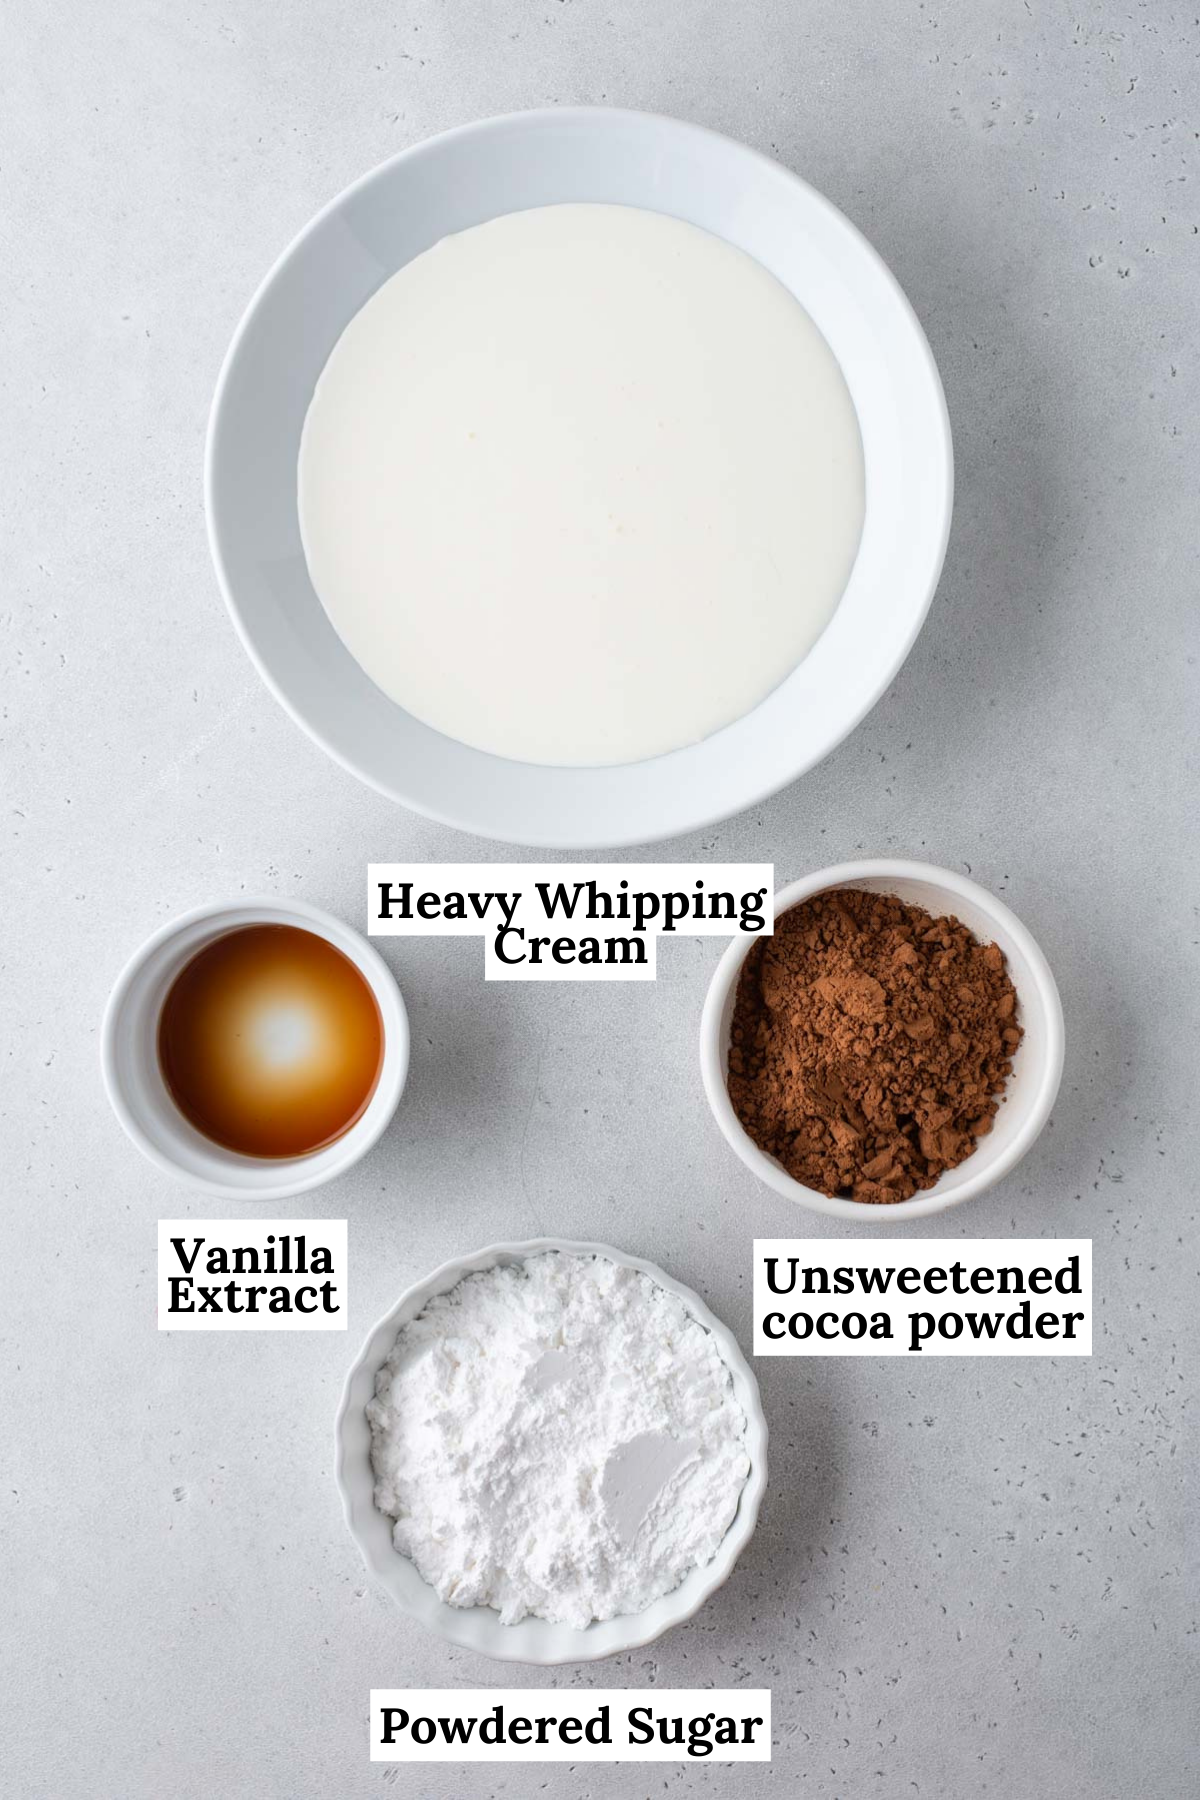
Chocolate Whip Cream Frosting Ingredients
- heavy whipping cream (36% milk fat)
- natural unsweetened cocoa powder
- powdered sugar (also called confectioners sugar)
What is heavy whipping cream?
Heavy whipping cream, also known as heavy cream or simply whipping cream, is a dairy product that is rich in fat and is used primarily in cooking and baking. It is made by separating the high-fat content from fresh cow’s milk.
Heavy whipping cream contains a minimum of 36% milk fat, although it can sometimes have a slightly higher fat content depending on the brand and region. The high fat content gives it a thick and creamy texture, making it ideal for various culinary applications.
Types of Cocoa Powder
When it comes to baking, there are primarily two types of cocoa powder: natural cocoa powder and Dutch-processed cocoa powder.
- Natural Unsweetened Cocoa Powder: This type of cocoa powder is made from roasted cocoa beans that have been ground into a fine powder. It is acidic in nature and has a lighter color and slightly fruity, tangy flavor.
- Dutch-Processed Cocoa Powder: Dutch-processed cocoa powder, also known as alkalized cocoa powder, undergoes additional processing. It is treated with an alkali solution to neutralize its acidity. This process results in a darker color and a milder, smoother flavor compared to natural cocoa powder. Dutch-processed cocoa powder has a less pronounced acidic taste and often offers a deeper, more complex chocolate flavor.
- Black Cocoa Powder: Black cocoa powder, also known as black cocoa or ultra-Dutch cocoa, is a highly processed and strongly alkalized cocoa powder. It undergoes an extensive Dutch-processed treatment to reduce its acidity and intensify its flavor and color.
What’s the best cocoa powder for chocolate whipped cream?
Natural Unsweetened Cocoa Powder or Dutch-Processed Cocoa Powder will both taste great. Unsweetened will give the whipped cream a traditional chocolate flavor and dutch-processed will offer a deeper, richer chocolate flavor.
How To Make Chocolate Whipped Cream
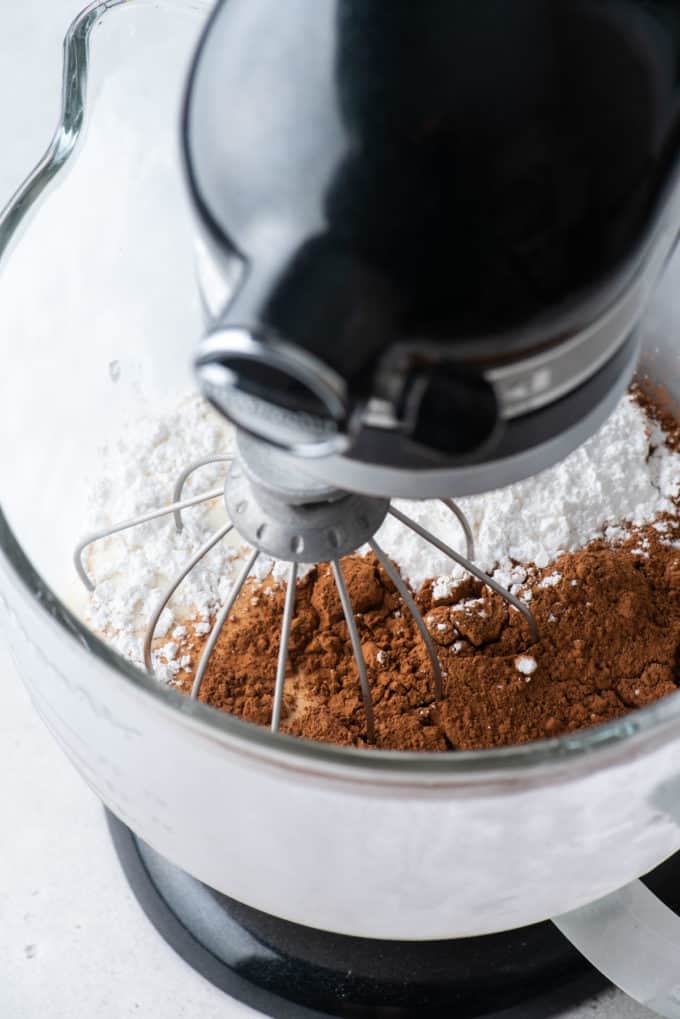
- Place a metal mixing bowl and beaters in the freezer for 15 minutes.
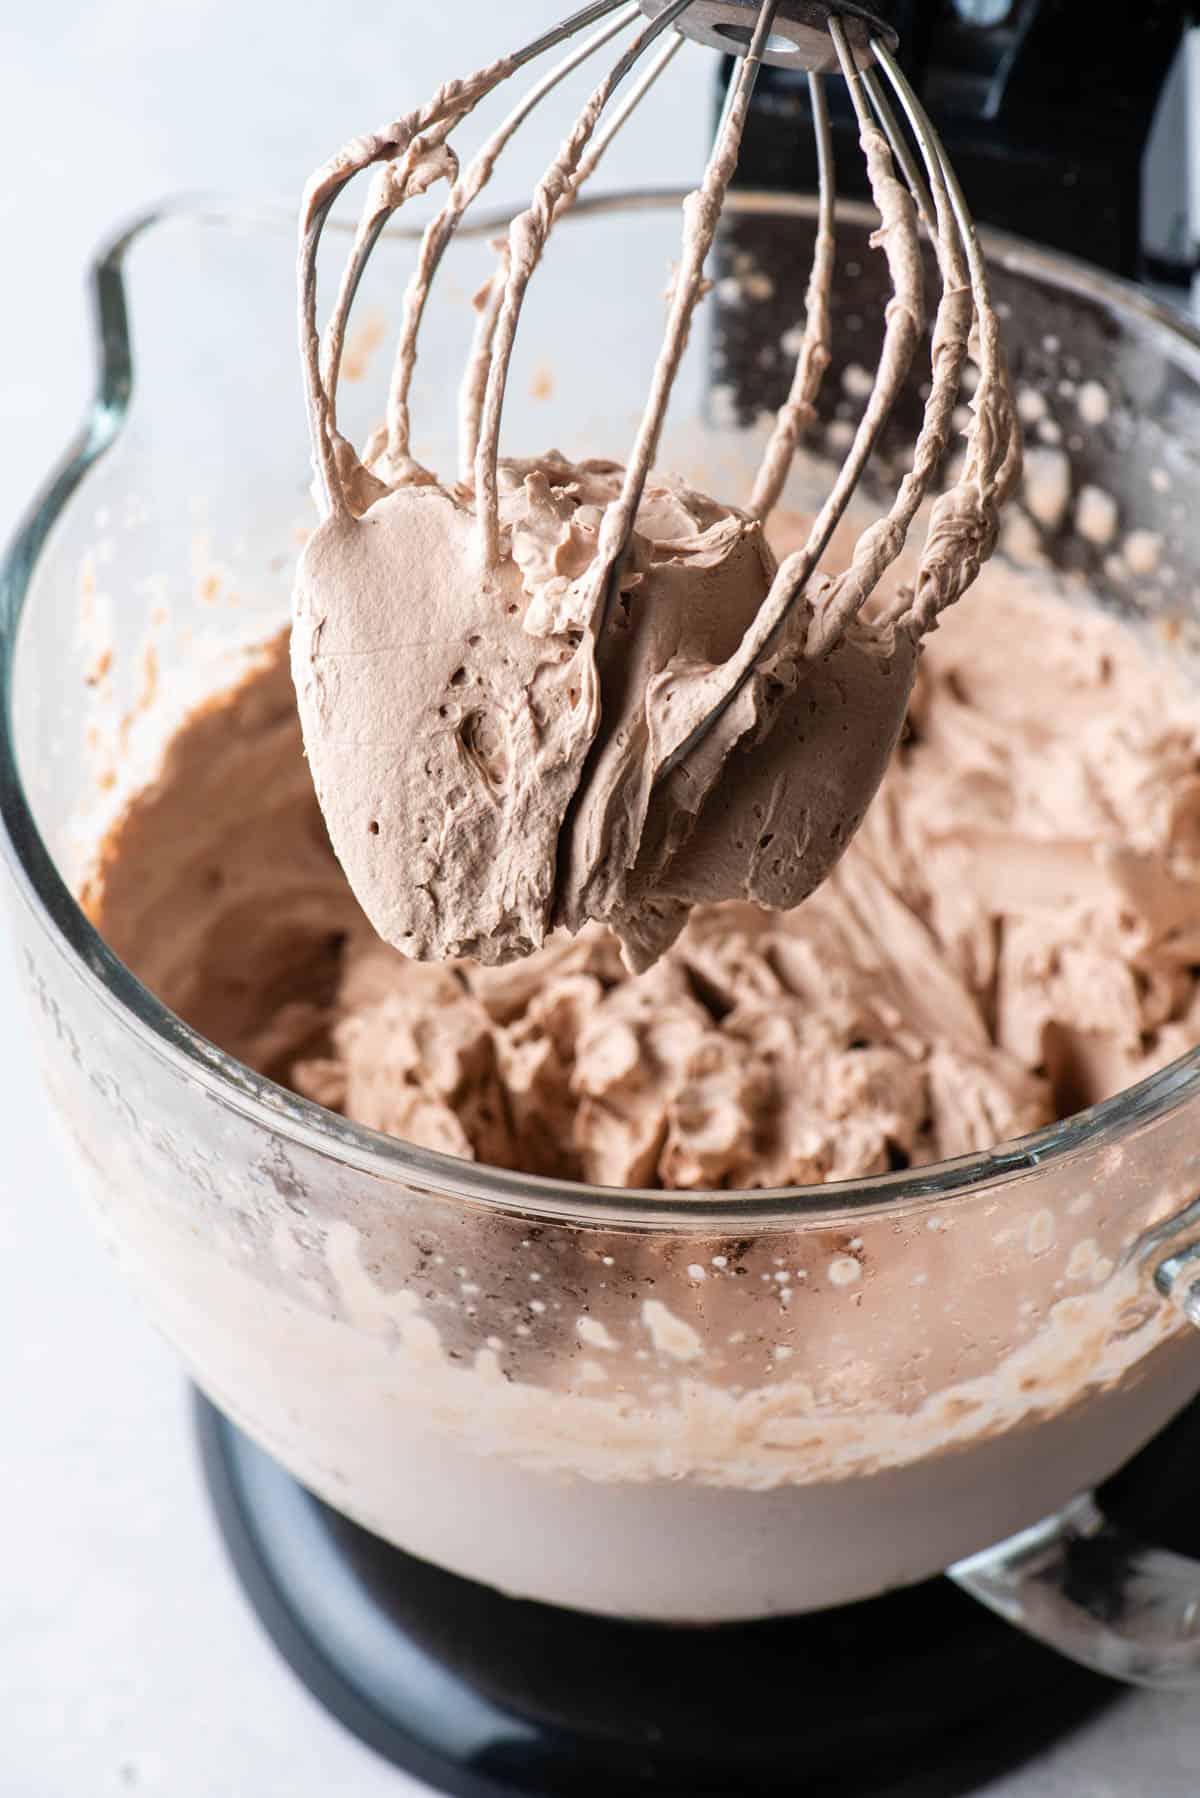
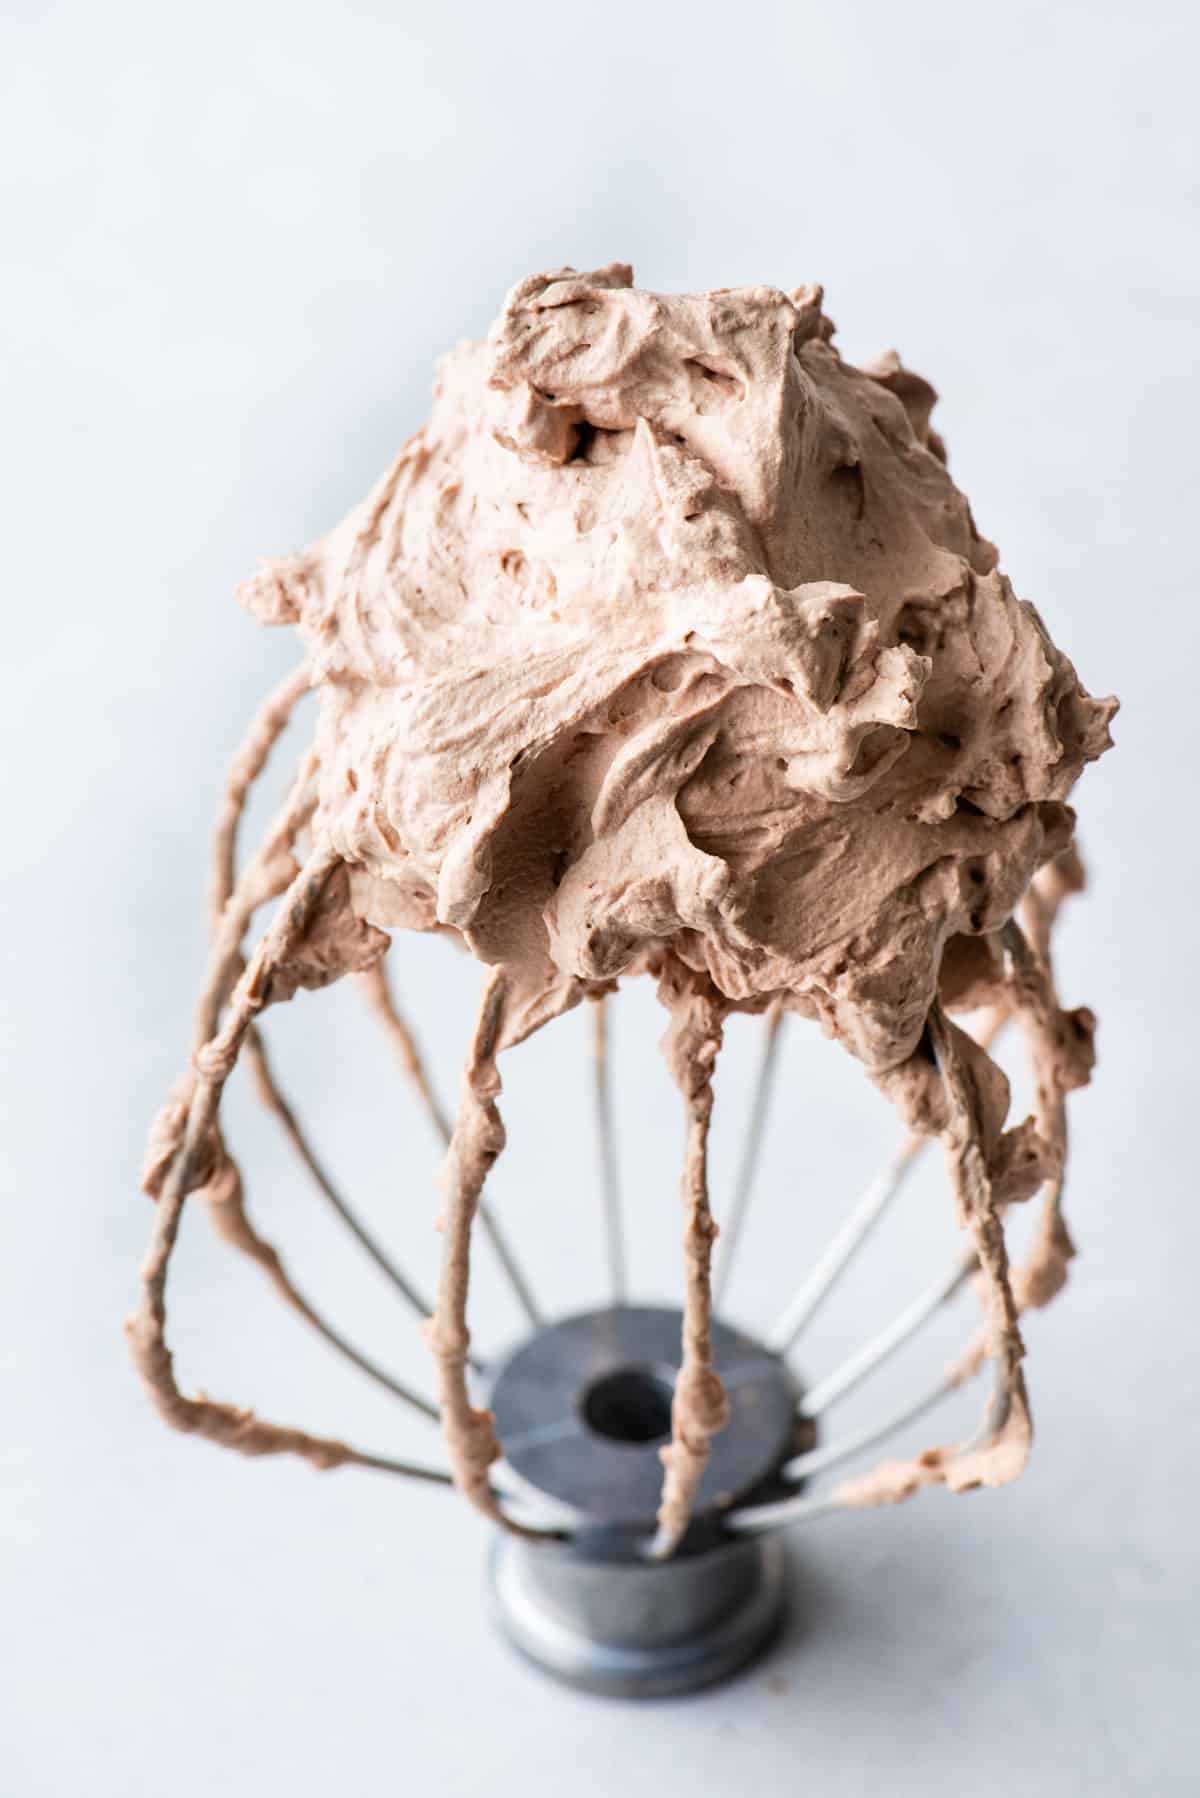
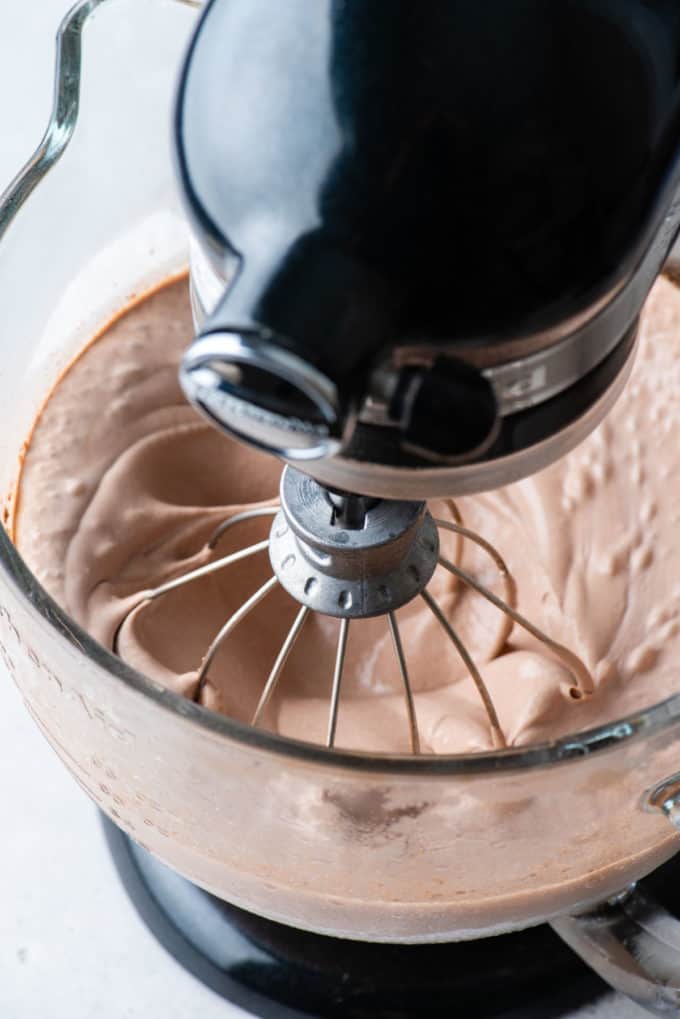
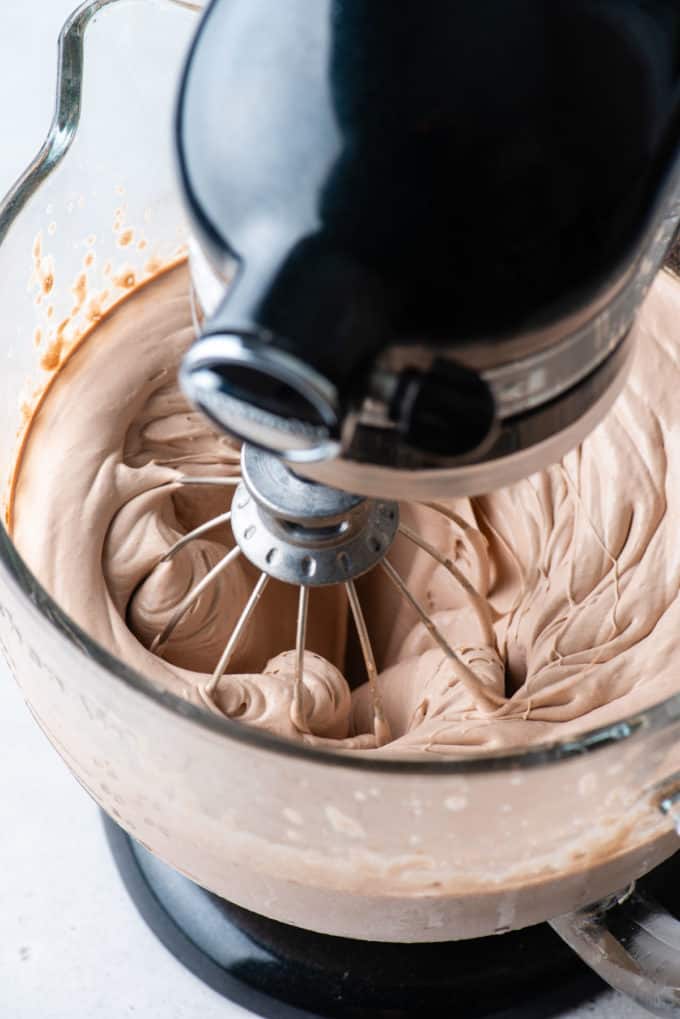
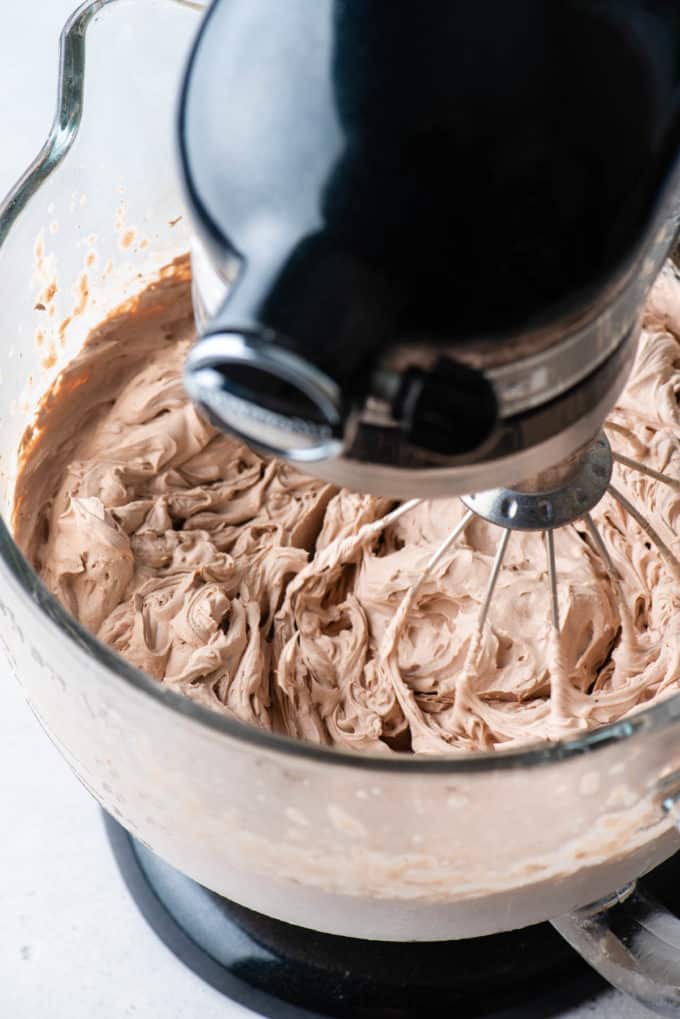
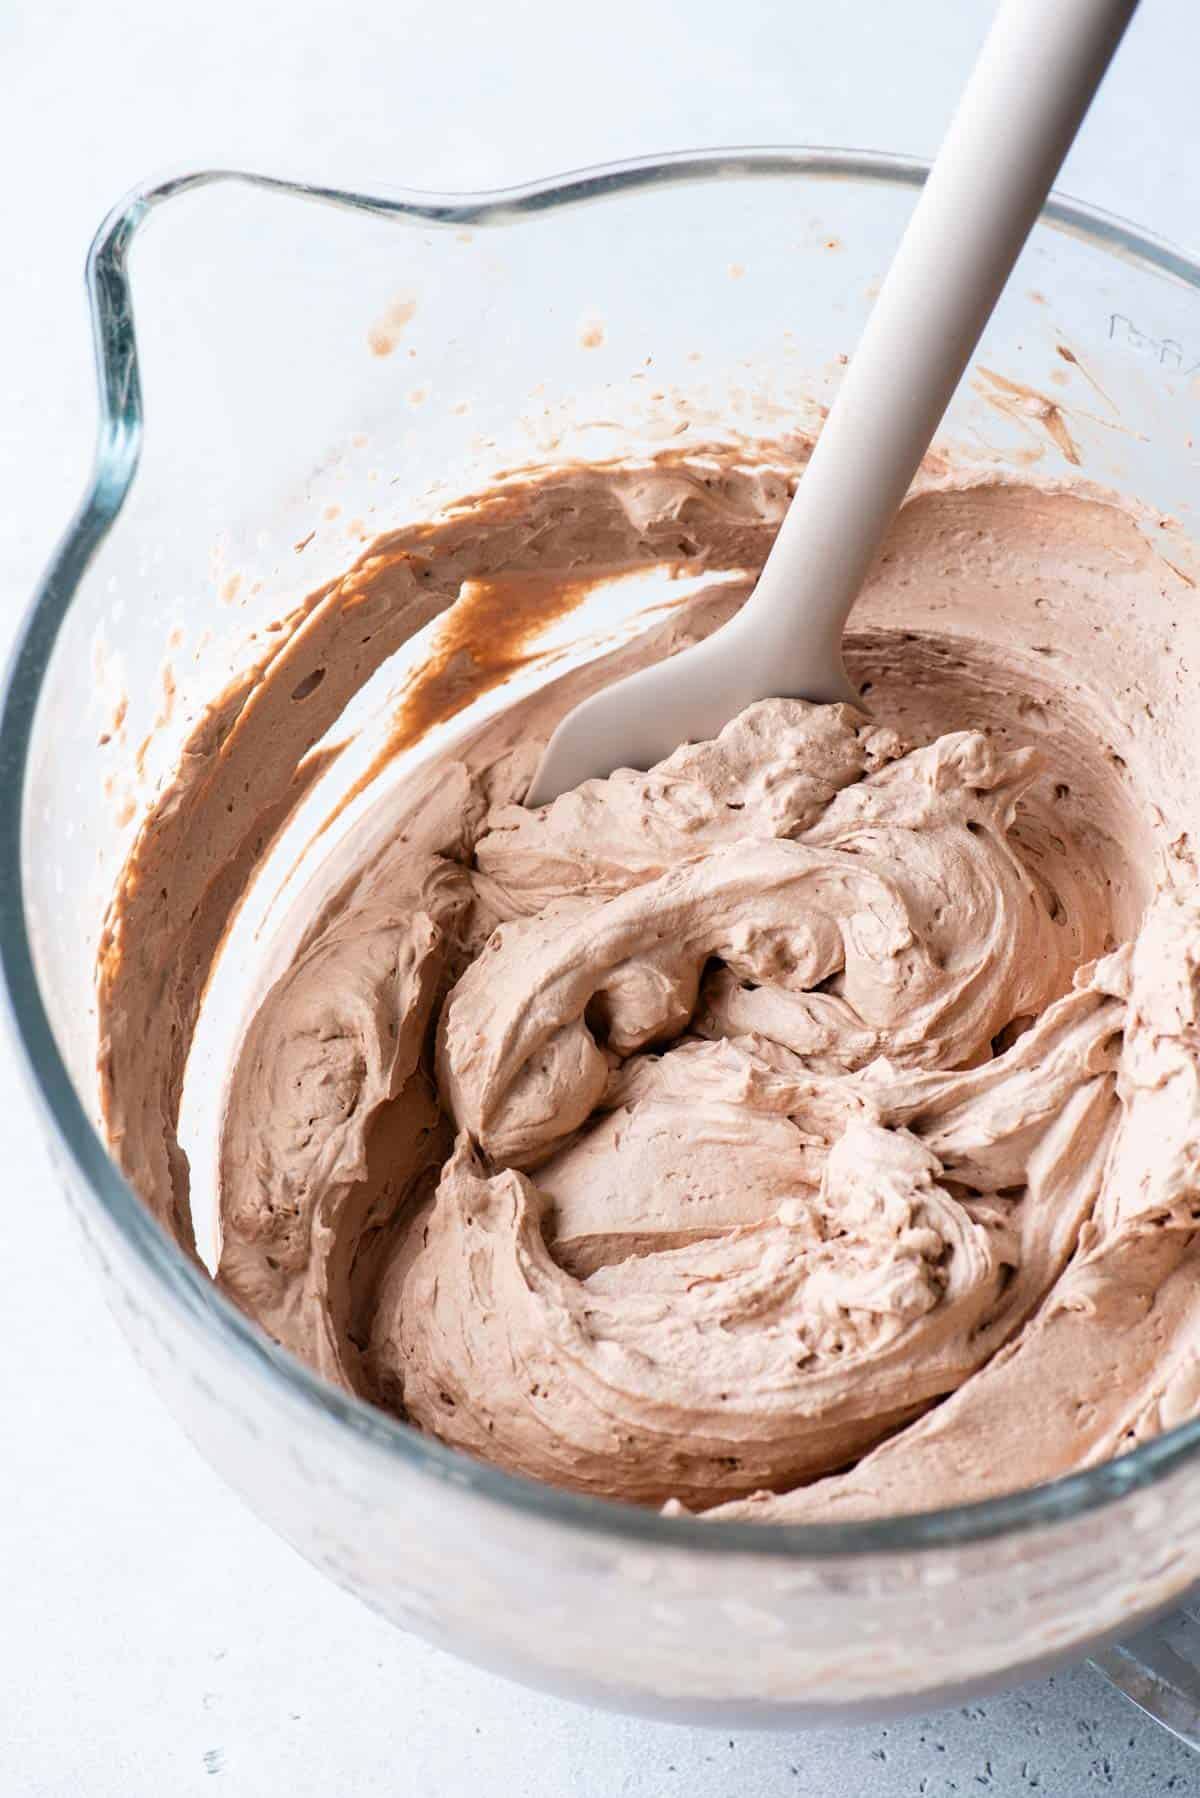
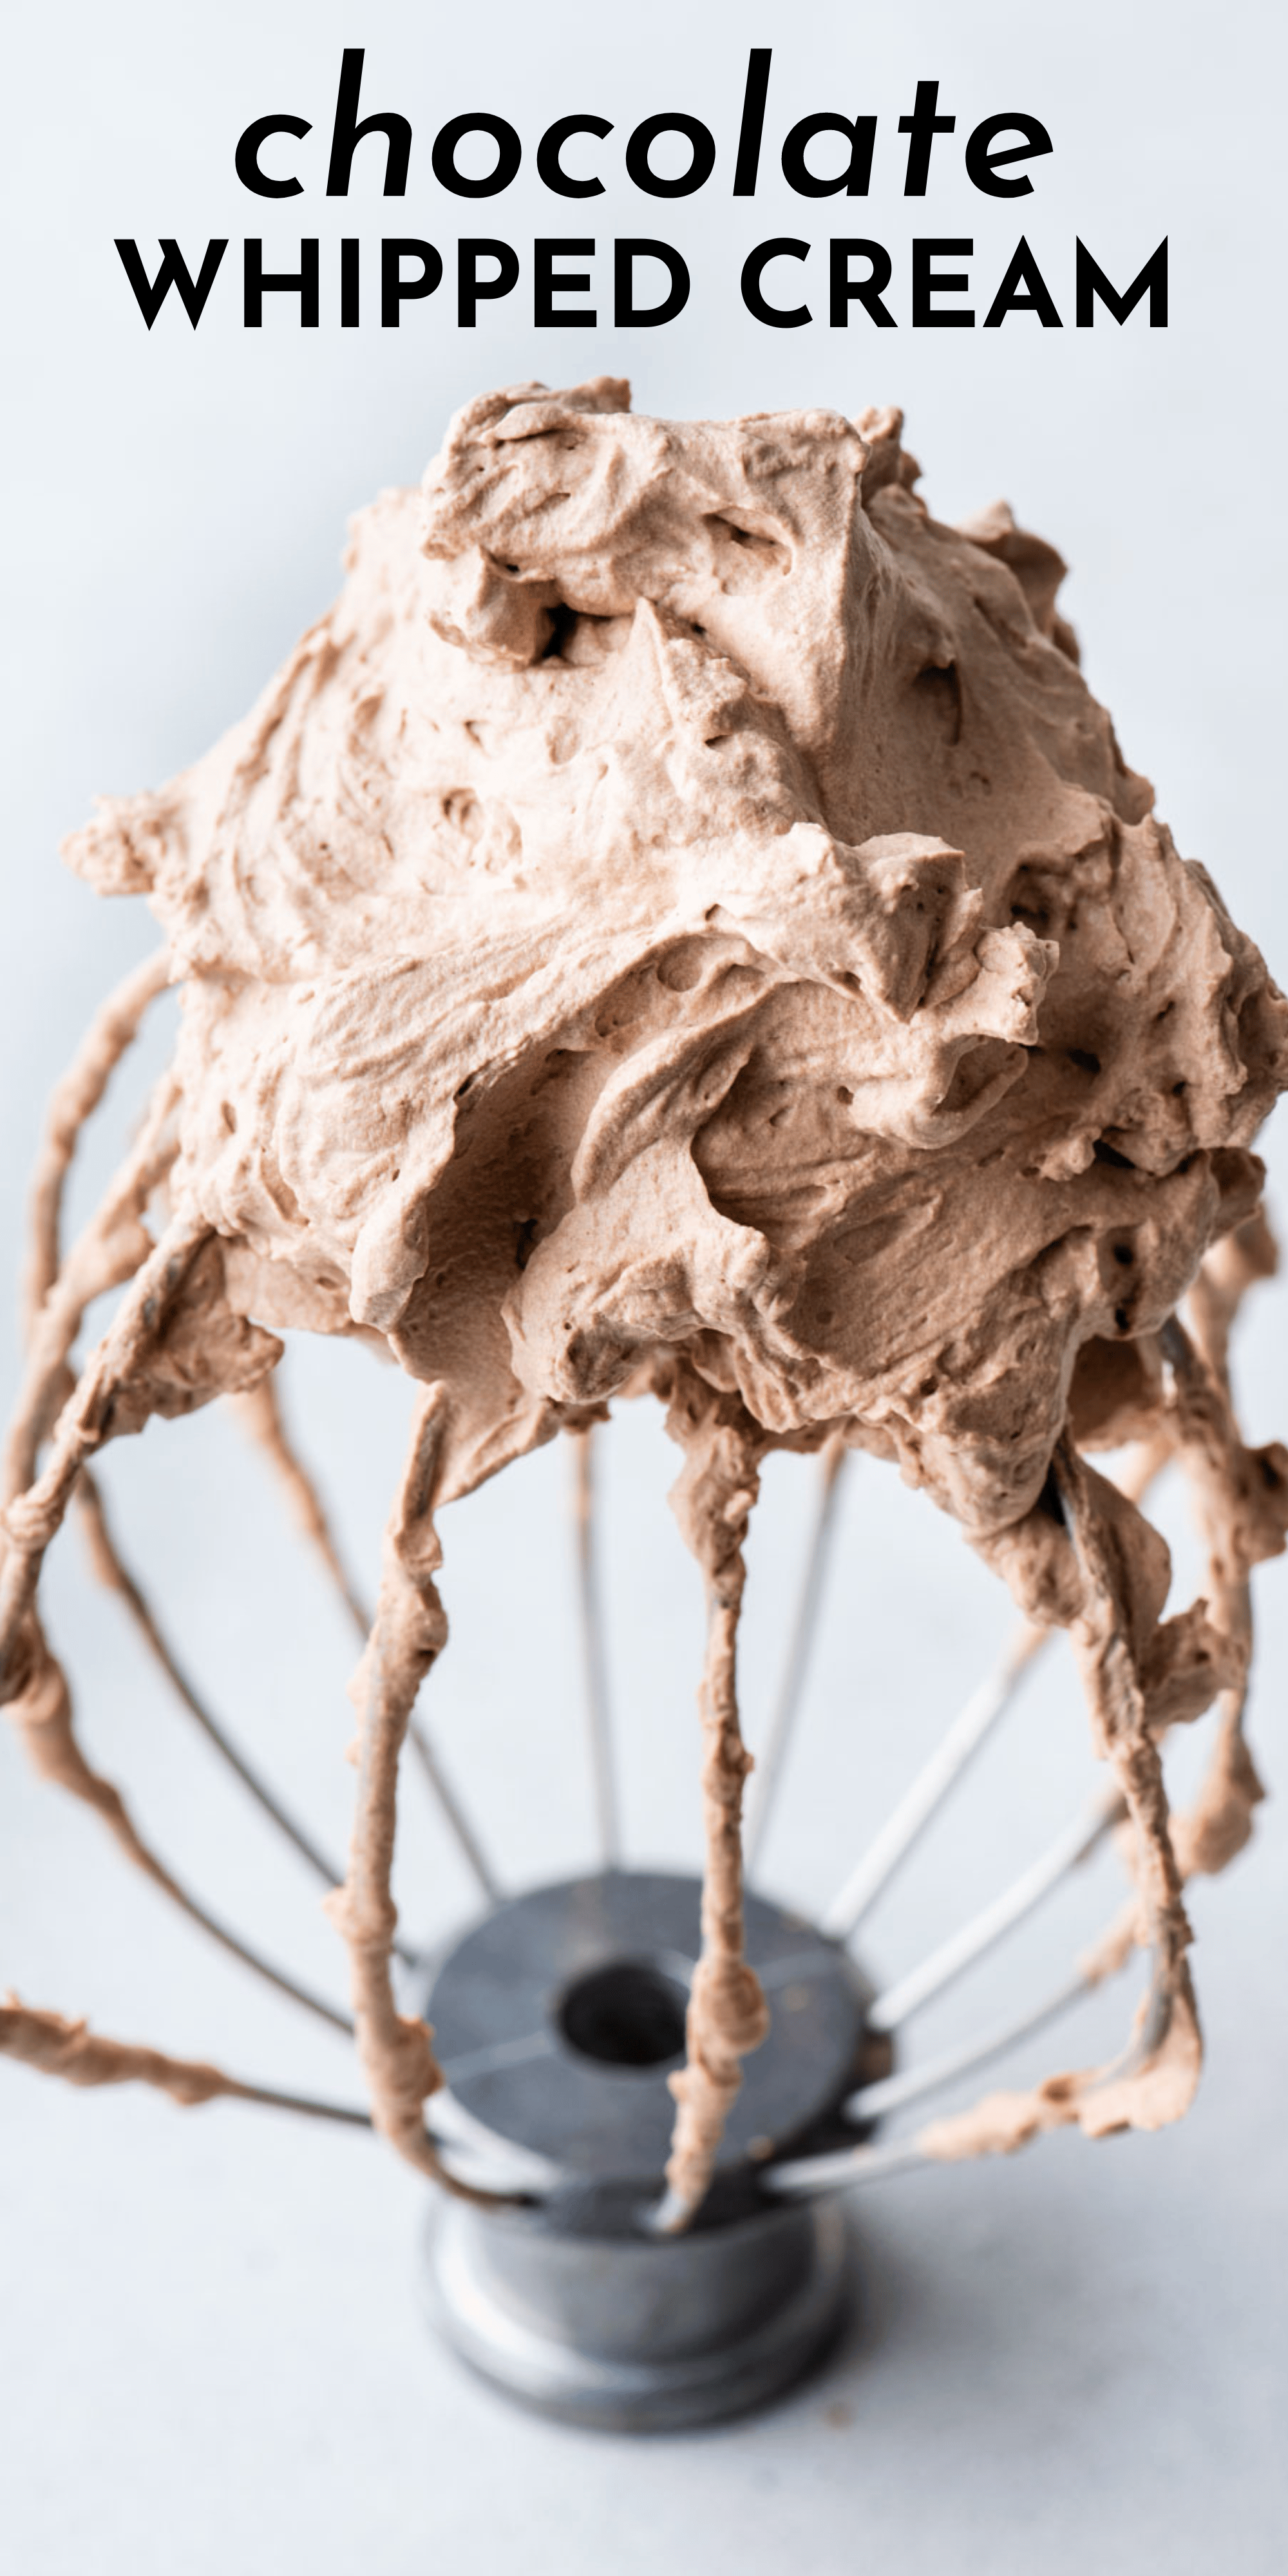
- Remove the bowl from the freezer. Add the heavy cream, cocoa powder, and powdered sugar, and beat with an electric mixer for 4-5 minutes, or until stiff peaks form / it’s scoop-able with a spoon and holds its shape.
What are Stiff Peaks
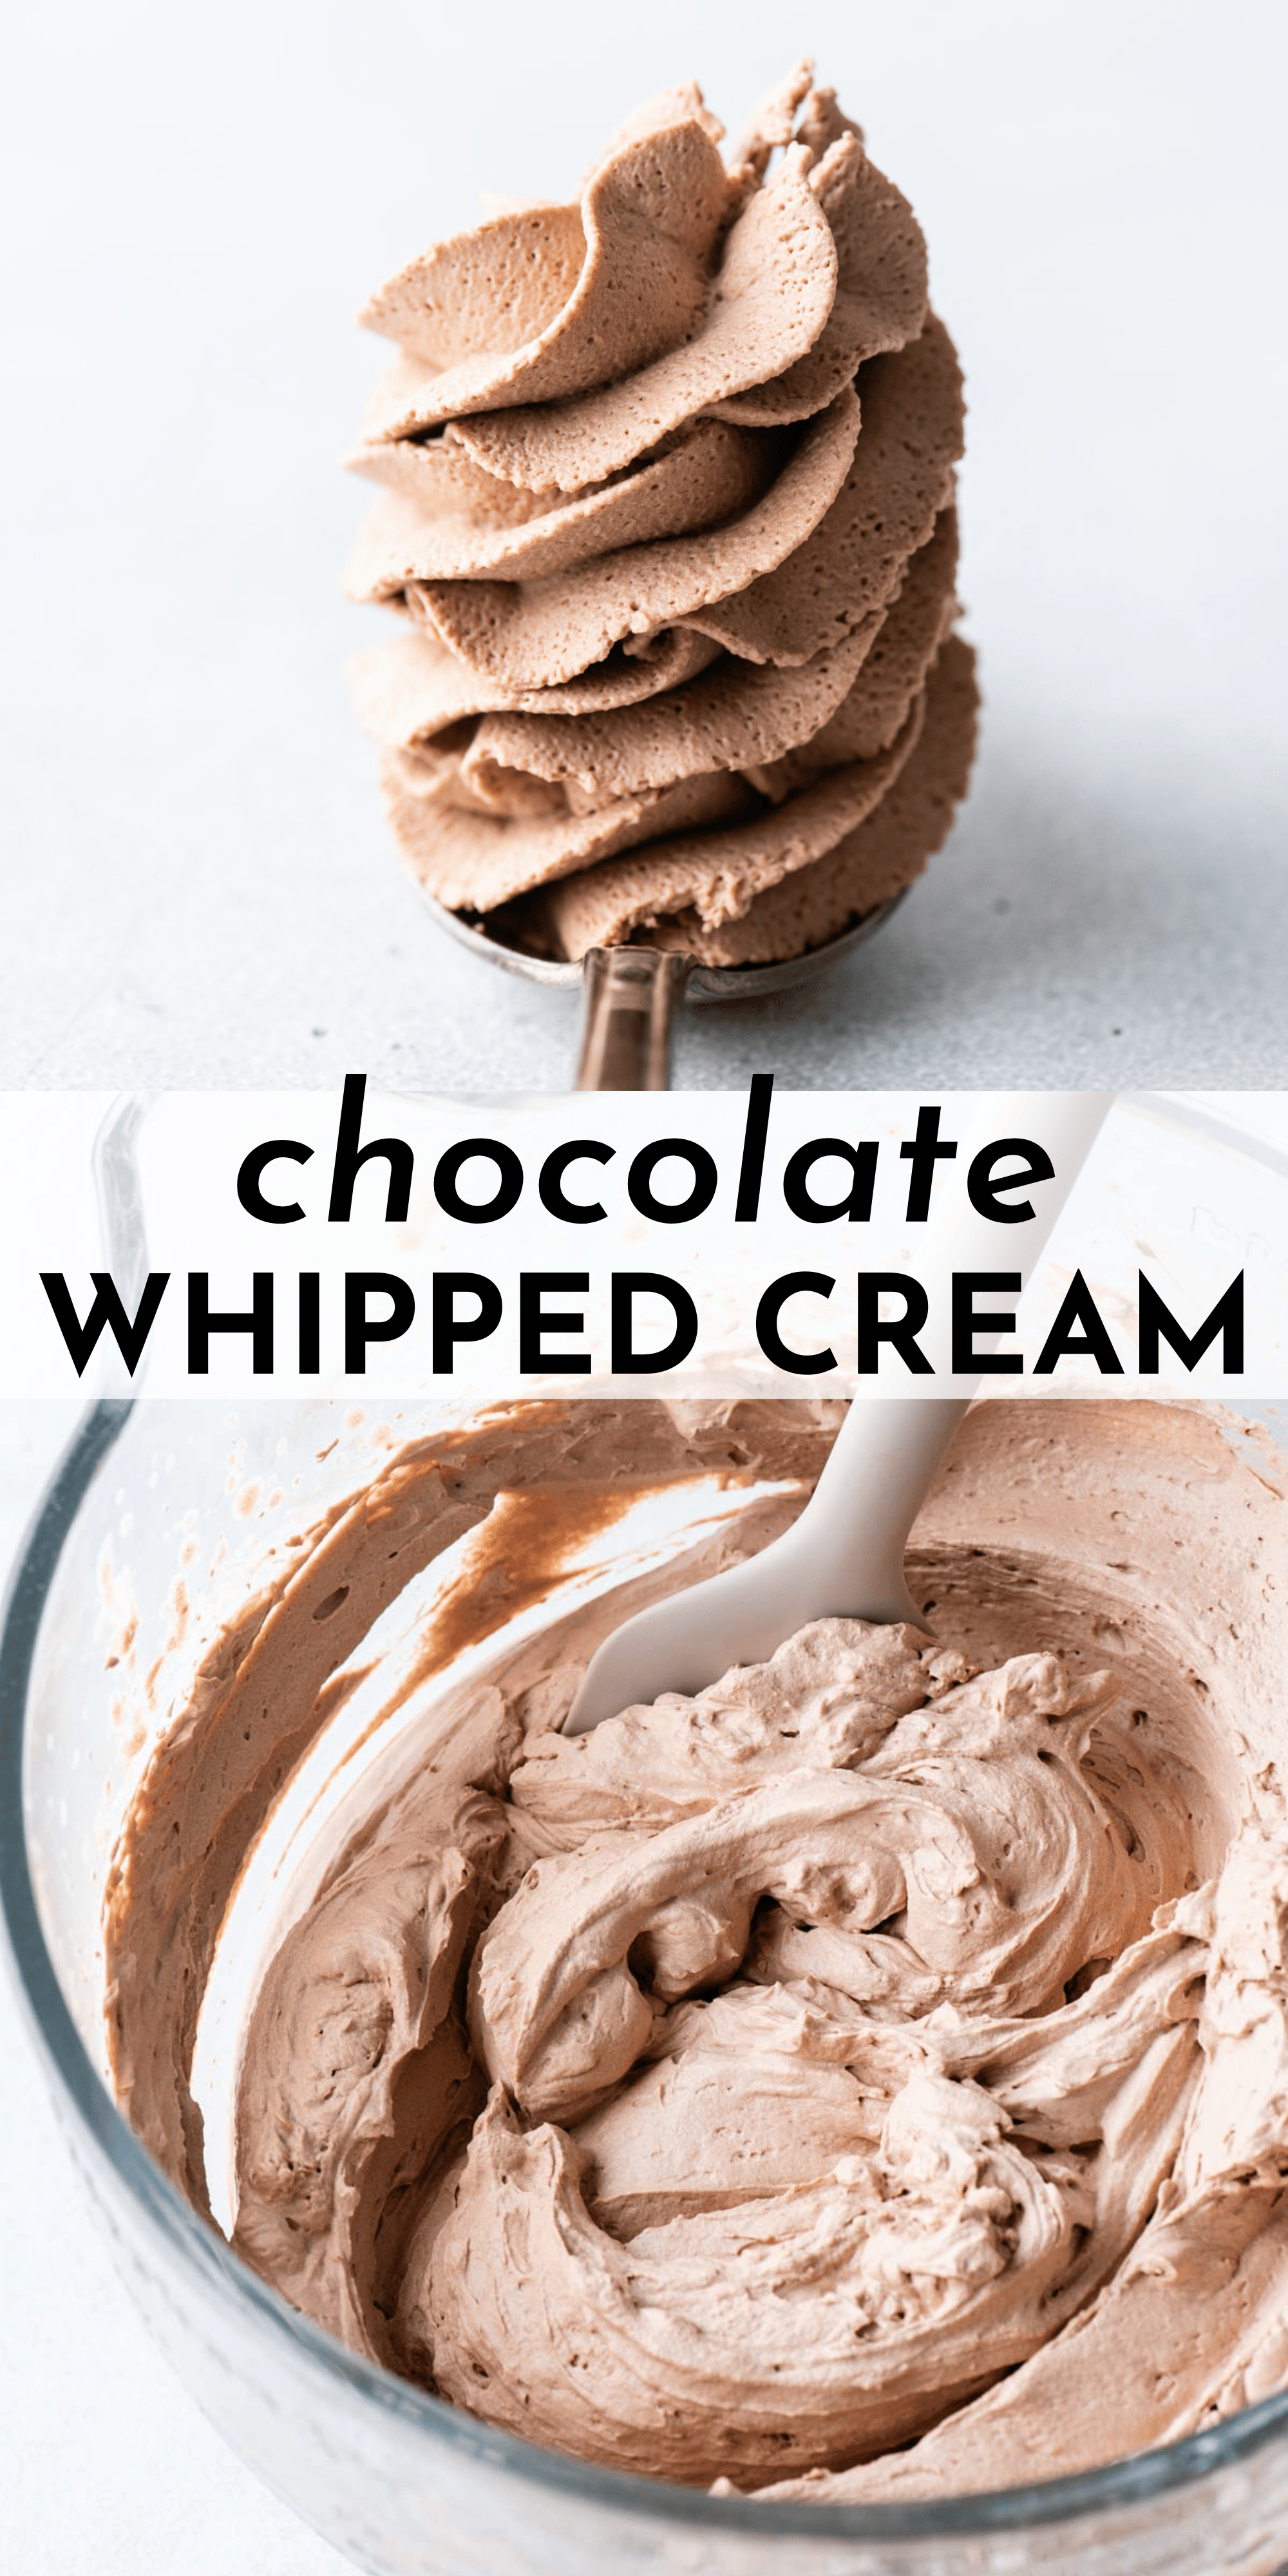
Stiff peaks in whipped cream refer to a stage where the cream holds its shape firmly and stands upright when the beaters are lifted, with the peaks maintaining their sharpness and not drooping over. It is a crucial point of whipping, indicating that the cream is thick, fluffy, and ready to be used for piping or topping desserts.
Chocolate Whip Cream Frosting Tips
Freeze Your Bowl Before Making Whipped Cream
Chill a metal or glass mixing bowl and beaters in the freezer for 15 minutes.
You’re wondering if this step is necessary. I have made whipped cream by sort of chilling the bowl ahead of time.. meaning last minute I stick it in the freezer or I pull it out of the freezer too early and by the time I actually whip the cream, the bowl isn’t chilled anymore.
Here’s what I’ve observed – chilling the bowl and beaters ahead of time produces whipped cream that has stiffer peaks, that’s a fancy way of saying it’s more stable.
How to make Chocolate Whipped Cream Frosting without Gelatin
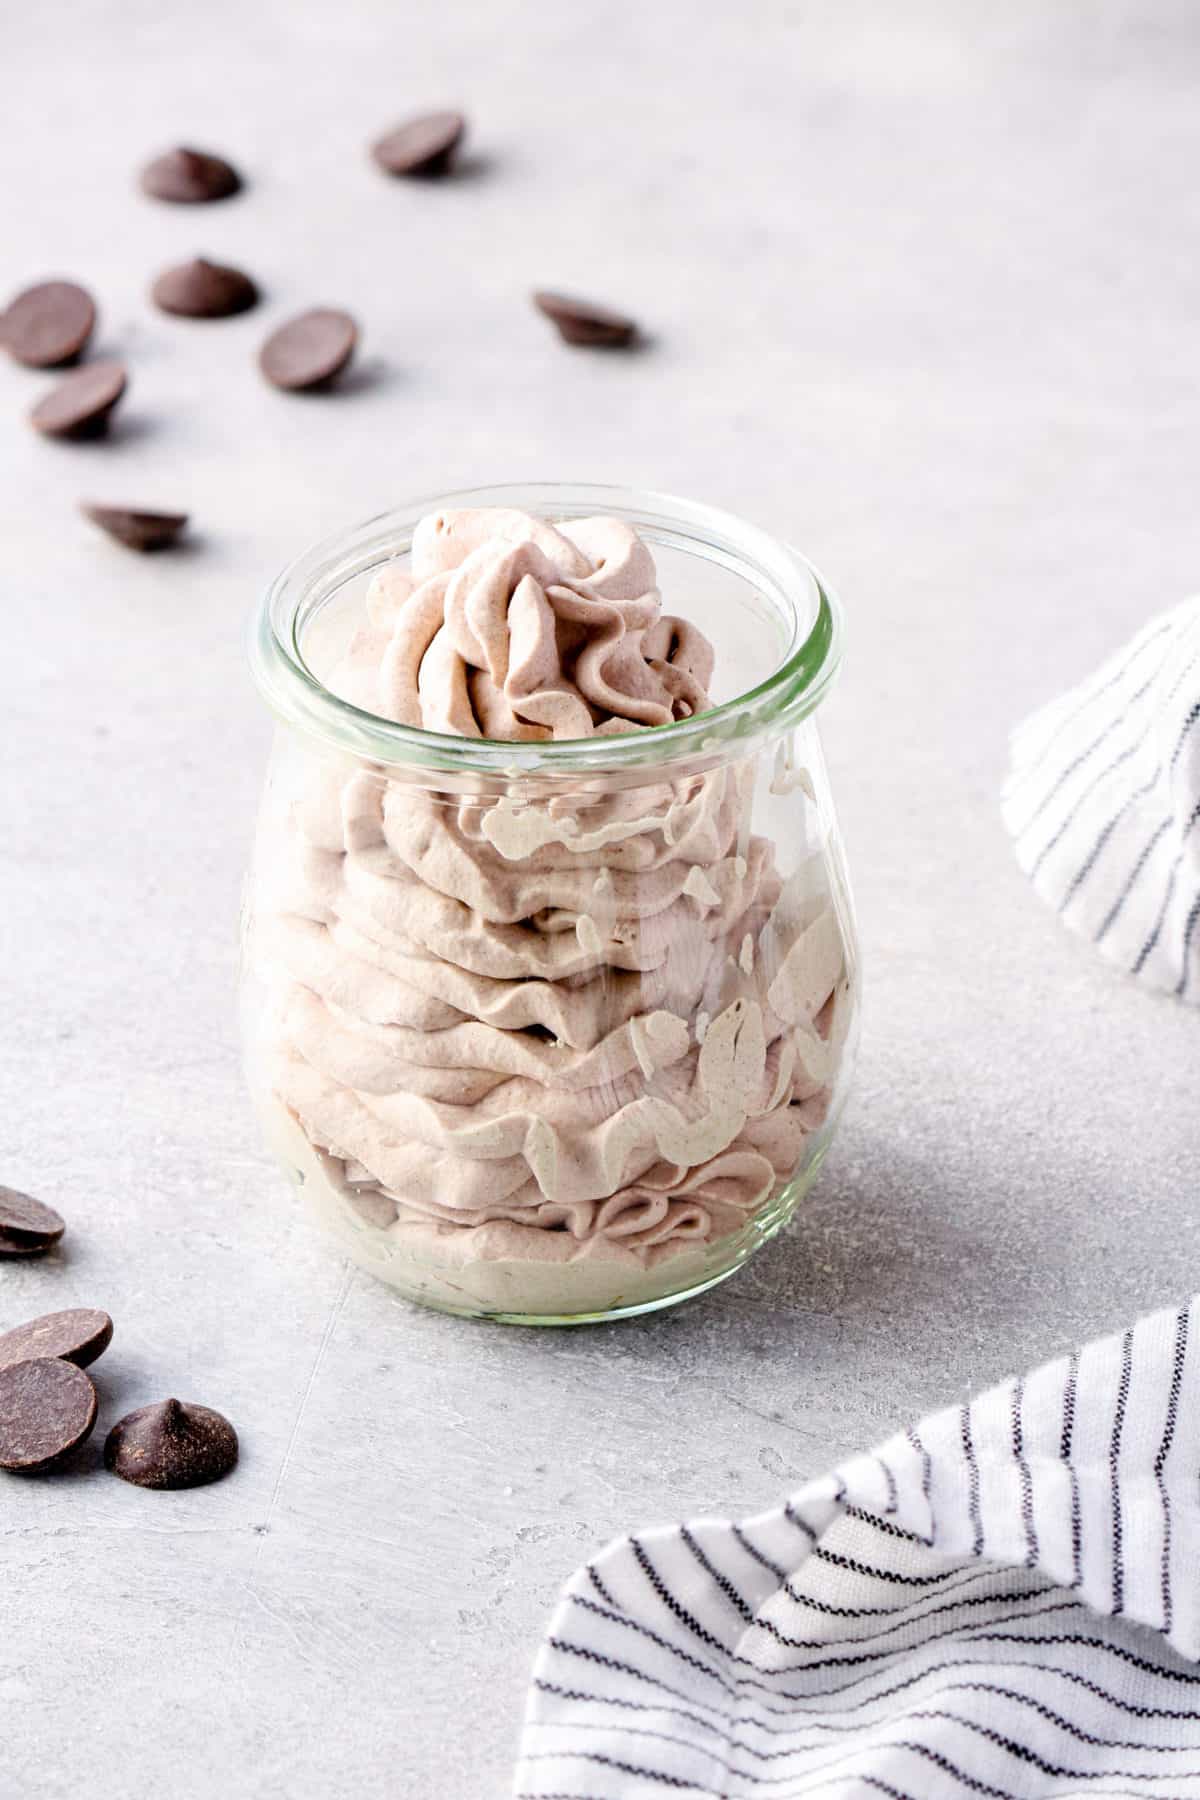
If you want to make stabilized chocolate whipped cream, all you have to do is add in 2 oz of room temperature cream cheese! This will help to thicken and stabilize the whipped cream, making it firm.
Instructions for Stabilized Chocolate Whipped Cream
- Place a metal or glass mixing bowl and beaters in the freezer for 15 minutes.
- Remove the bowl from the freezer. Add the cream cheese and powdered sugar, beat with an electric mixer for 1 minute or until smooth and creamy.
- Add in the heavy whipping cream, cocoa powder and vanilla extract, beat with an electric mixer for 4-5 minutes on high speed, or until stiff peaks form / it’s scoop-able with a spoon and holds its shape.
Troubleshooting Chocolate Whipped Cream
Doesn’t hold its shape / too soft: You probably haven’t whipped it long enough. Set a timer and continue to beat on high speed for 2-3 minutes.
Over whipped / curdling: This is when it starts to look gross. You can try to remedy it by adding a small amount of heavy whipping cream while beating, but honestly, it’s better to start over.
The taste is off: First, let’s remember taste is a personal preference. If it doesn’t taste chocolate-y enough, try using dutch-processed cocoa next time. Too sweet or not sweet enough? You can subtract or add 2 tablespoons of powdered sugar.
Chocolate Whipping Cream Frosting FAQs
I prefer to use a stand mixer or hand mixer. Using this preparation method, it will take about 4-6 minutes for the heavy cream to produce stiff peaks.
Homemade whipped cream lasts up to 1 day. It will keep its shape for about 2-3 hours depending on the weather. In warm weather, it will lose its shape faster.
Add in 2 oz of room temperature cream cheese for a thicker, more stable whipped cream.
Yes. If you whip the whipped cream past the stiff peak stage, the whipped cream will deflate and start to look curd-like in texture.
Homemade whipped cream will stay fluffy for up to 1 day when stored properly in the refrigerator.
If you’re making whipped cream and it goes flat, it could be from whipping it too much, using low-fat cream, or it getting warm while you’re whipping. Storing it wrong, like leaving it out, can also deflate it. Whipping too long breaks down the fats, making it grainy, and low-fat cream doesn’t hold up well. Warm spots mess with getting those nice peaks, and leaving it out doesn’t help either.
If your whipped cream isn’t getting fluffy, a few things might be happening. Perhaps the cream isn’t cold enough or the bowl and whisk you’re using aren’t chilled. Another possibility is that you’re not whipping it long enough to reach stiff peaks
More Recipes
Tap stars to rate!
Chocolate Whip Cream
Ingredients
- 2 cups (473ml) heavy whipping cream
- ¼ cup (59ml) natural unsweetened cocoa powder
- ½ cup (56g) powdered sugar
- 1 tsp vanilla extract

Instructions
- Place a metal or glass mixing bowl and beaters in the freezer for 15 minutes.
- Remove the bowl from the freezer. Add the heavy cream, cocoa powder, powdered sugar, and vanilla extract, beat with an electric mixer on medium-high speed for 4-5 minutes, or until stiff peaks form / it’s scoop-able with a spoon and holds its shape.2 cups (473ml) heavy whipping cream, 1/4 cup (59ml) natural unsweetened cocoa powder, 1/2 cup (56g) powdered sugar, 1 tsp vanilla extract
- Use on cakes, cupcakes, pies, hot cocoa, etc. Place leftovers in a container and store in the fridge for up to 3 days.
Video
Notes
- Place a metal or glass mixing bowl and beaters in the freezer for 15 minutes.
- Remove the bowl from the freezer. Add the cream cheese and powdered sugar, beat with an electric mixer for 1 minute or until smooth and creamy.
- Add in the heavy whipping cream, cocoa powder and vanilla extract, beat with an electric mixer for 4-5 minutes on high speed, or until stiff peaks form / it’s scoop-able with a spoon and holds its shape.



After frosting the cake or cupcakes do they need to be refrigerated
For best results, yes, I recommend refrigerating until serving!
Added the cream cheese to recipe. Texture and taste were perfect. Not too sweet, that pleased my guests! Will definitely make again. Exactly enough for 8” cake, double layer
Love this recipe
hi can i freeze the whipped cream?