This post may contain affiliate links. Please read our disclosure policy.
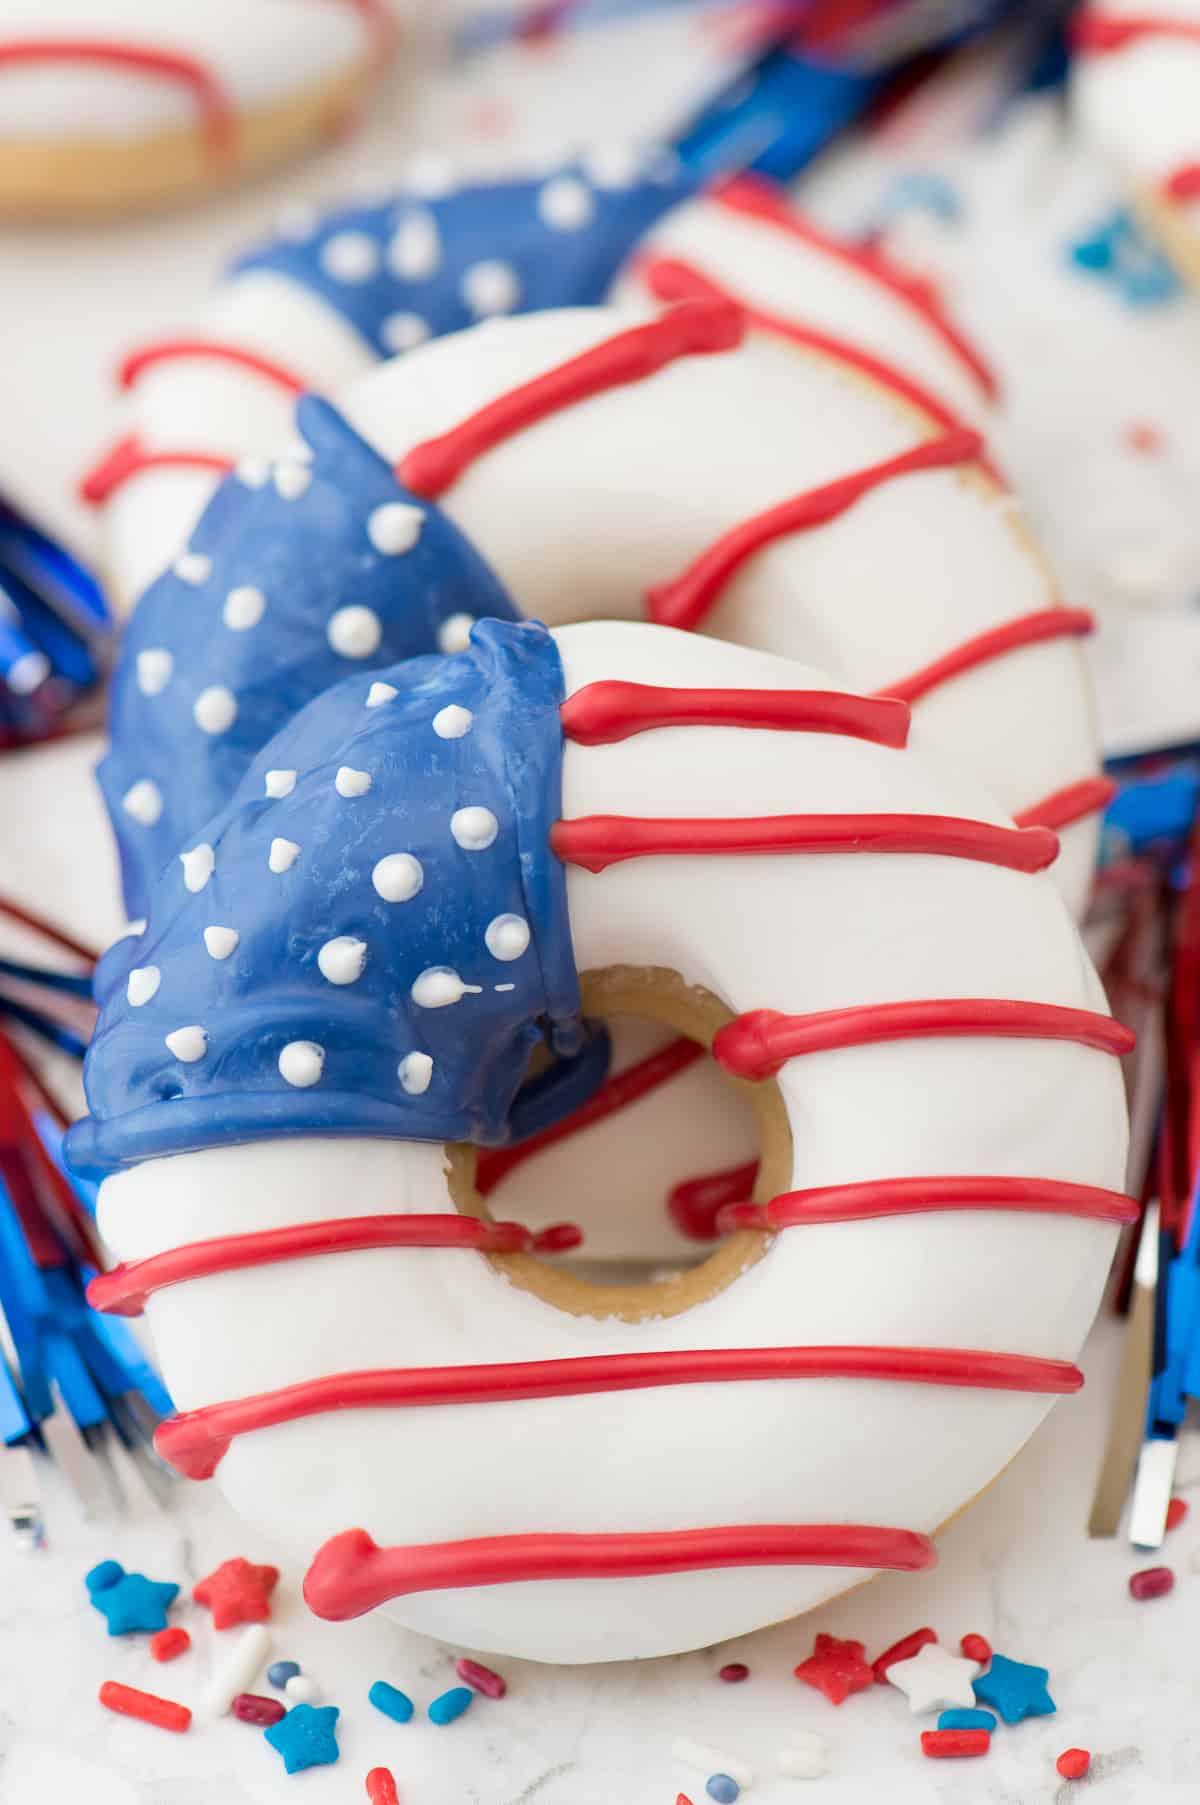
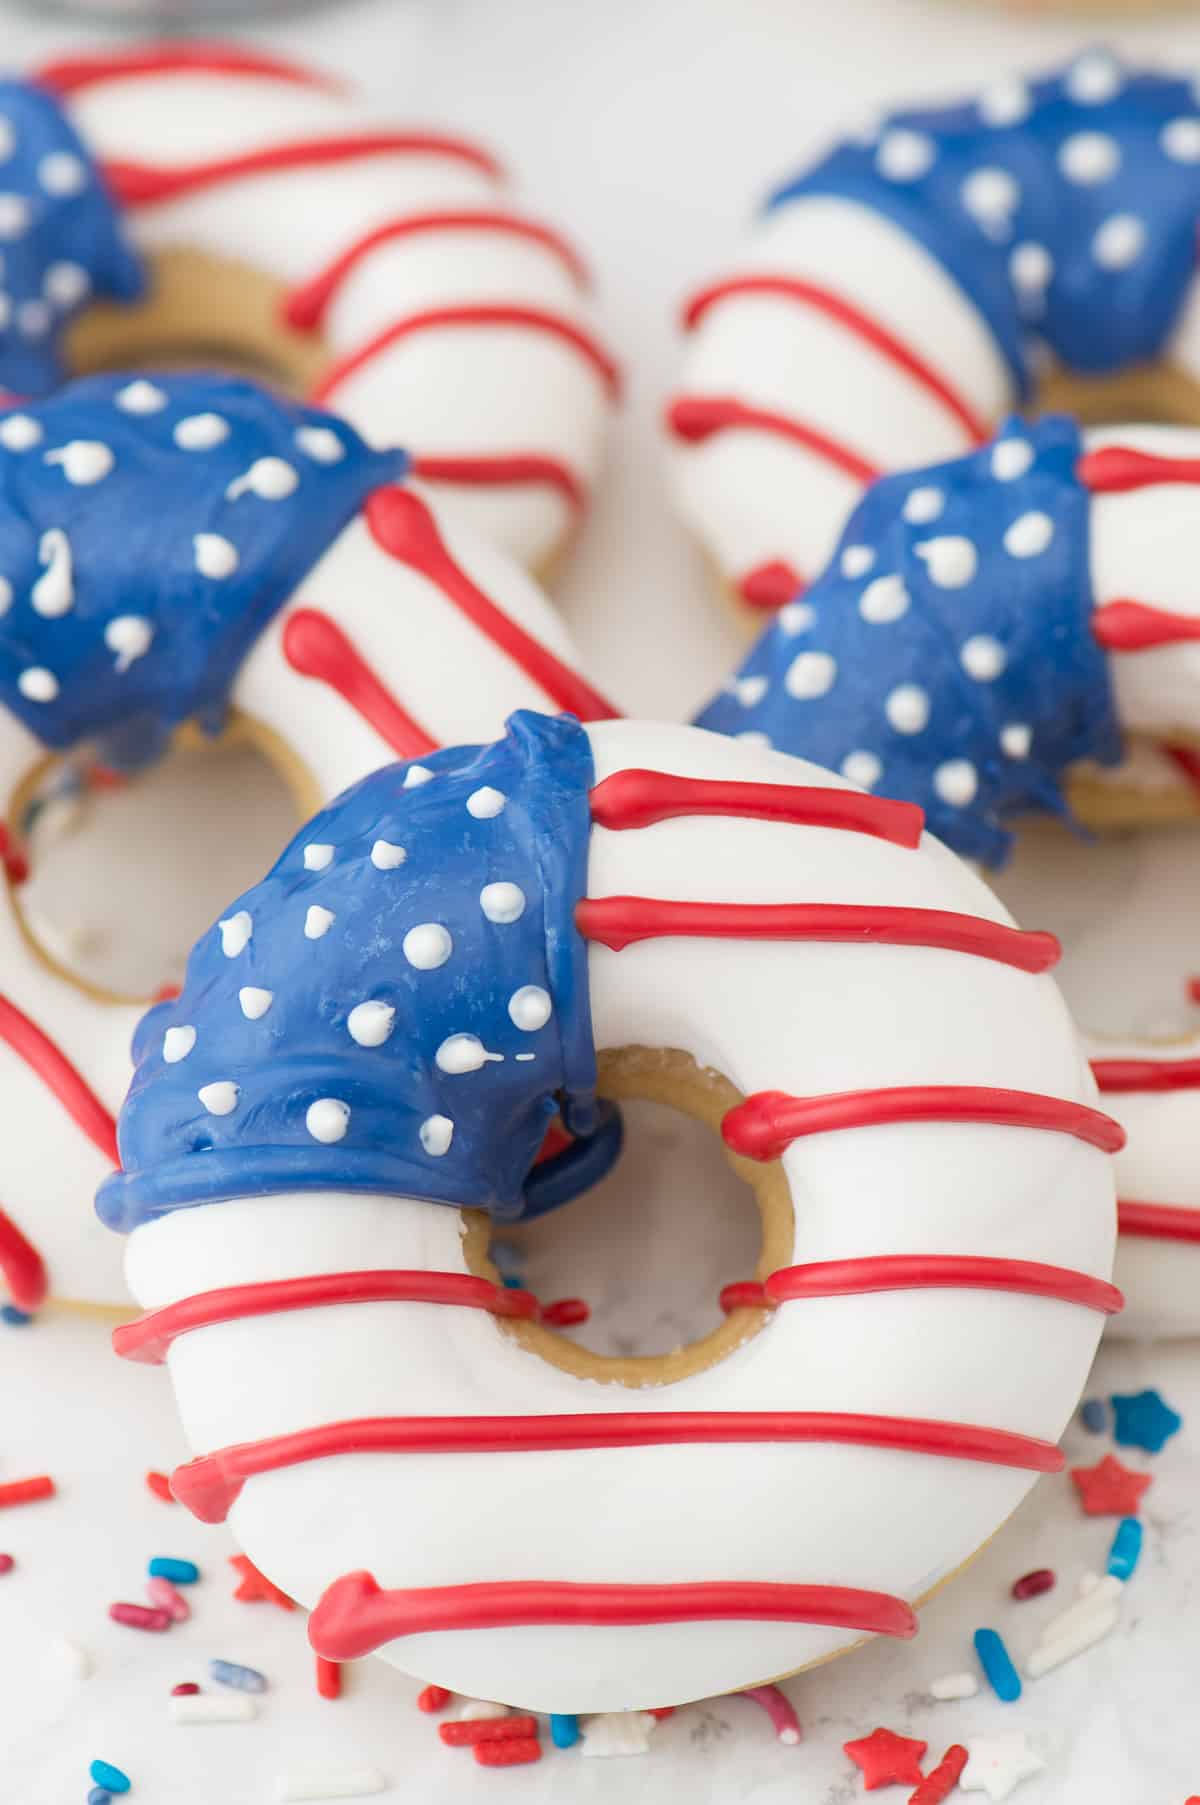
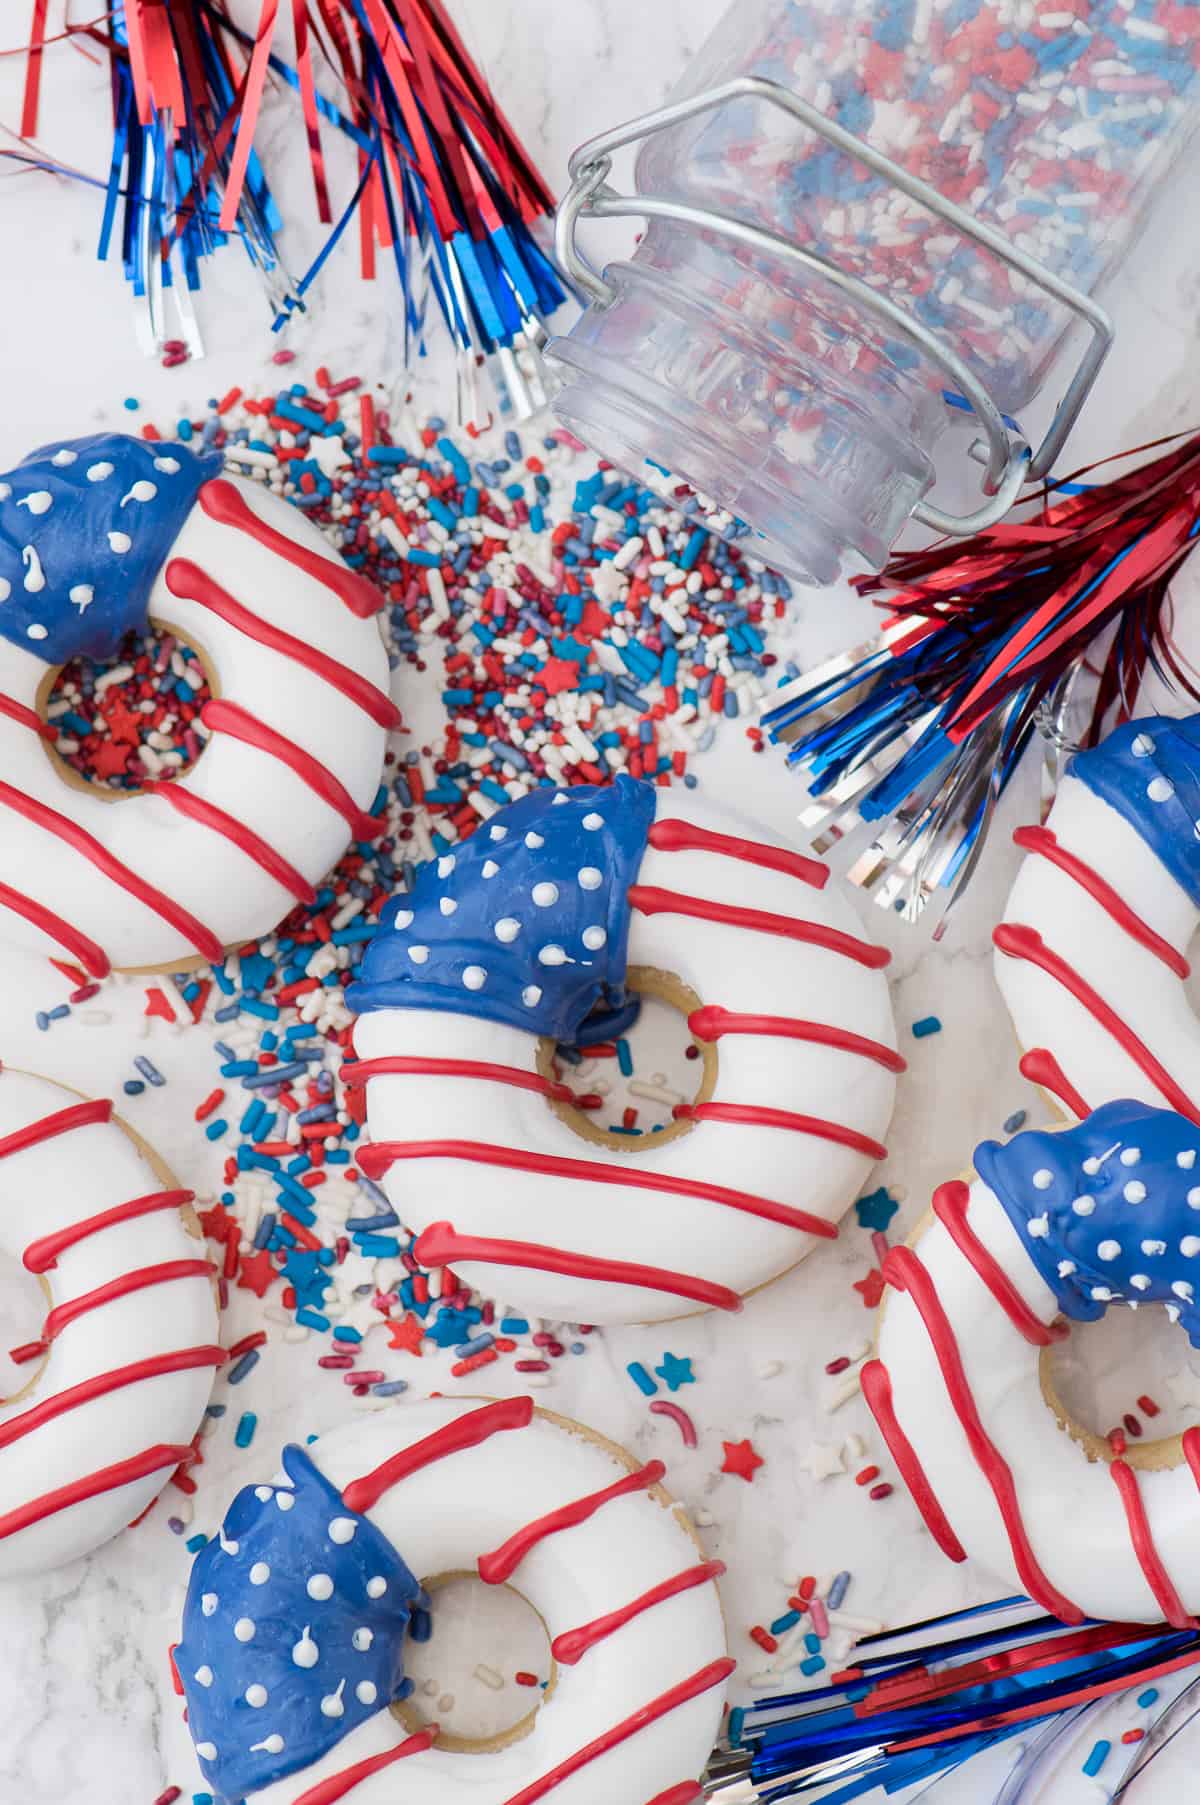
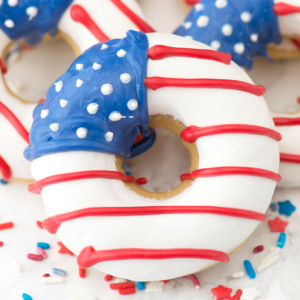
These American Flag Donuts are an easy 4th of July dessert! Turn baked vanilla donuts into a patriotic dessert. Use candy melts to make red, white and blue donuts!
I have fond memories of 4th of July growing up.
When I was in middle school I would wear red, white and blue socks to the 4th of July parade. I would like to point out that I wore 3 separate pairs of socks to achieve the red, white, and blue pattern. It was so hot, but cool at the time, haha!
My birthday is a few days after the 4th, so it kind of feels like a big party for my birthday!
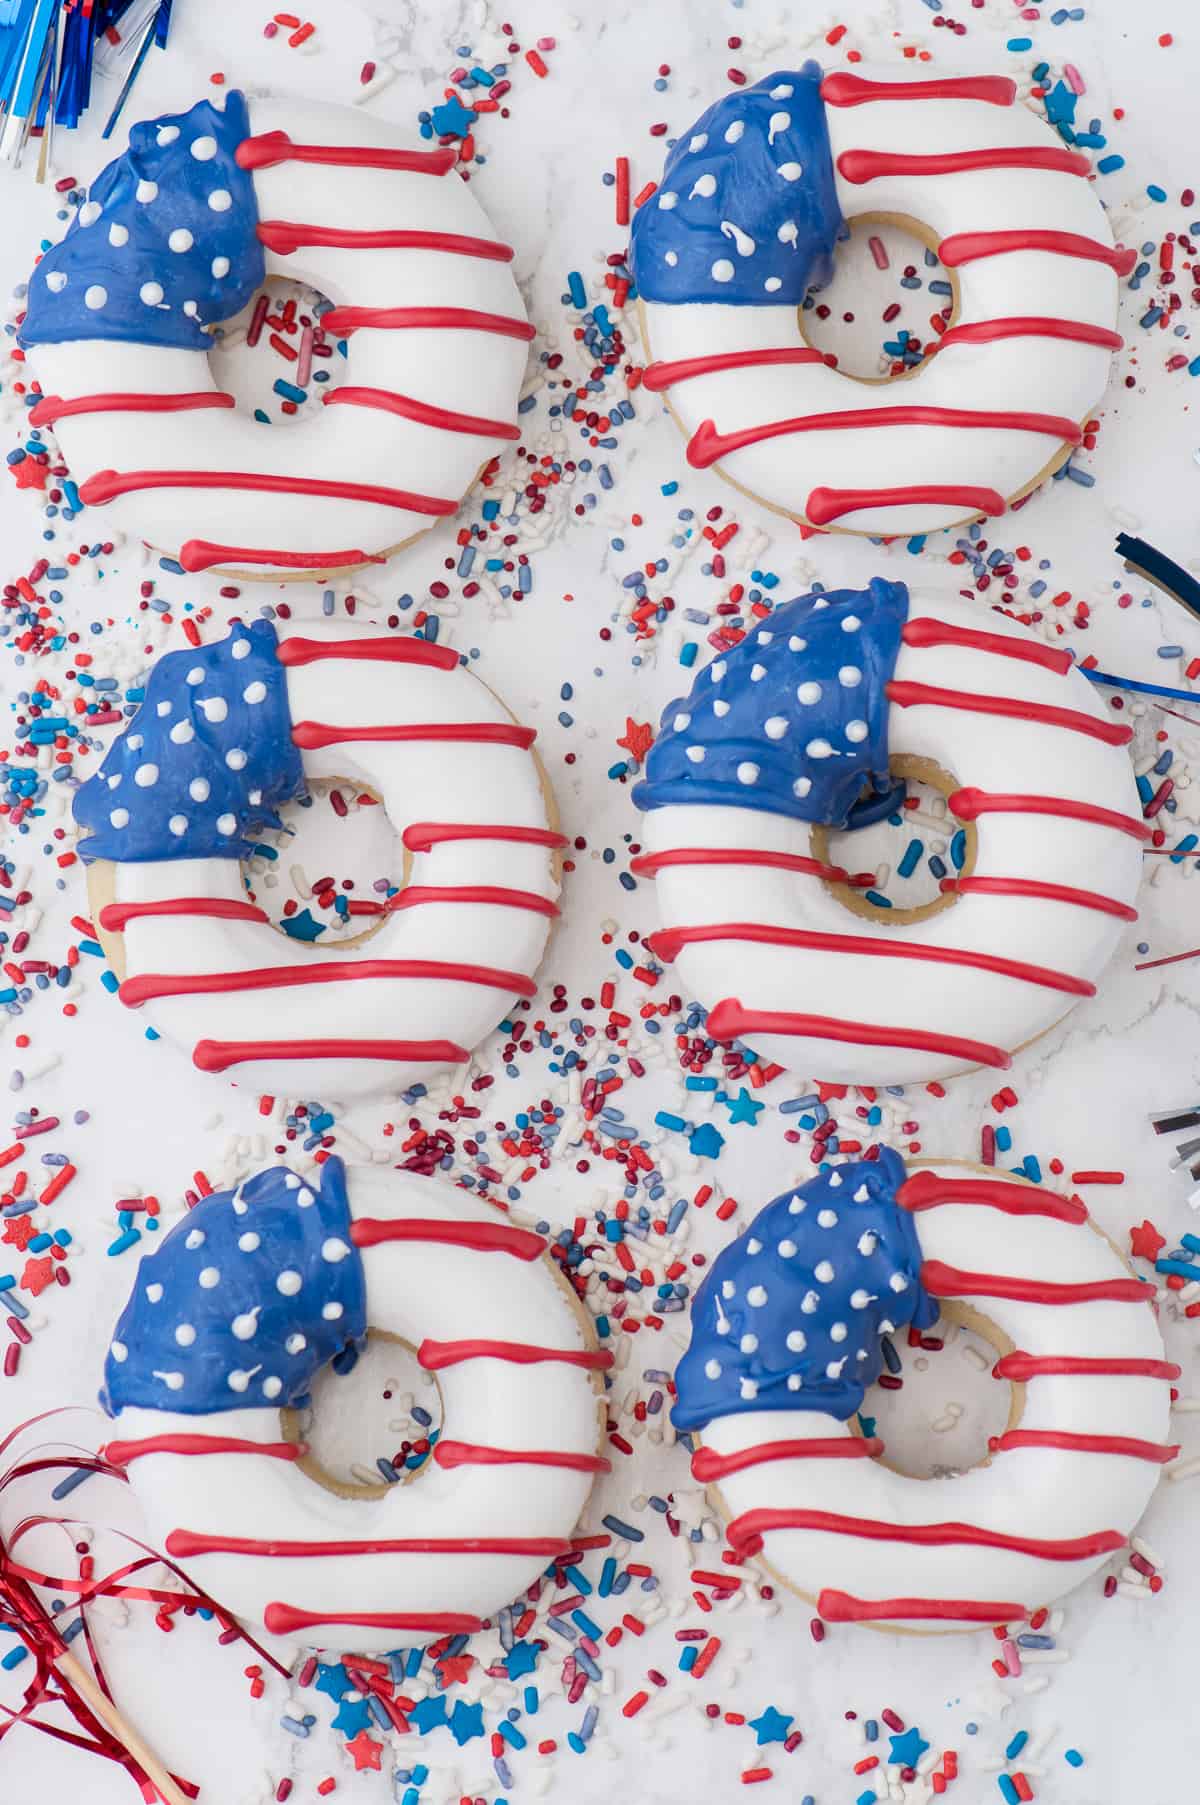
These American Flag Donuts are easy to make and I can guarantee you’ll have some fun while you make them!
Start by baking our classic vanilla donut recipe. If you want to jazz up the vanilla donuts with a different extract (like lemon, almond, etc.) add that to the batter to create a different flavor!
Once the donuts are baked and cooled, you can start decorating them to look like the American Flag.
Supplies to Make 4th of July Donuts
You’ll need red, white and blue candy melts. Michael’s and Walmart both carry Wilton products, so you should be able to find the candy melts there.
Small squeeze bottles coming in handy for adding the dots and stripes.
How to Assemble American Flag Donuts
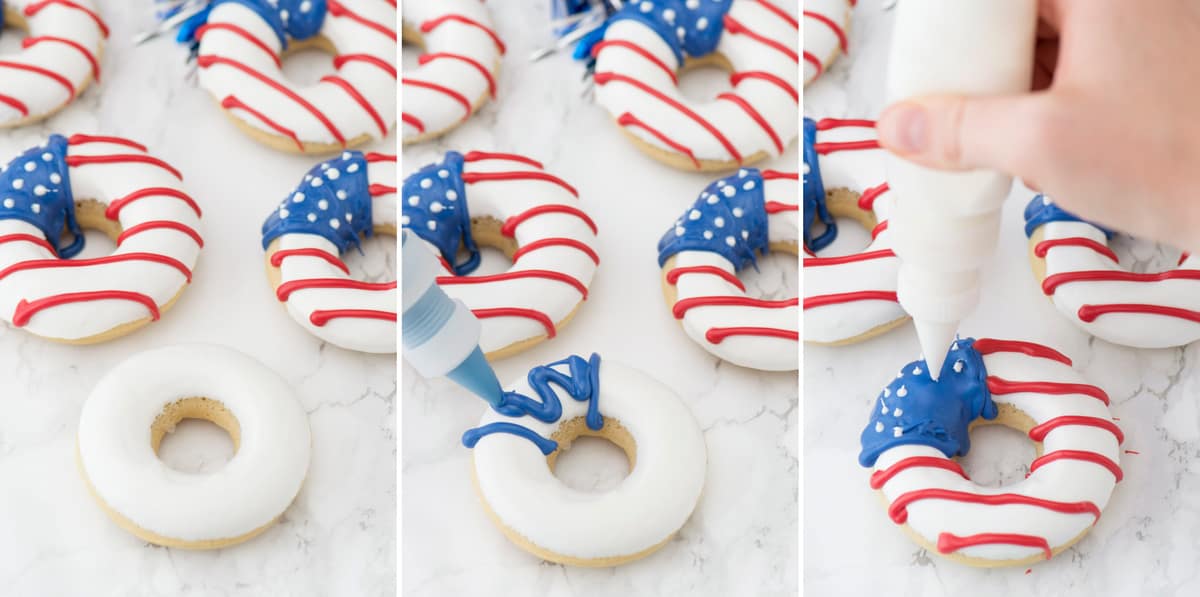
- Once the donuts are baked and cooled, dip each donut into the melted white candy melts. Allow the white chocolate to set slightly, about 10 minutes.
- Use a squeeze bottle filled with melted blue candy melts to form the upper left hand corner of the flag on each donut.
- Use a squeeze bottle filled with melted red candy melts to draw stripes across each donut.
- Use a squeeze bottle filled with melted white candy melts to add dots to the blue section.
Total Time
- 10 minutes to prep the donut batter
- 10 minutes to bake the donuts
- 30 minutes to cool the donuts
- 20 minutes to decorate the donuts
Tips for Melting Candy Melts
They can be microwaved or you can melt them on the stove top, whatever your preference.
If microwaving, place each color (about 1/3 of the bag) in a microwave safe bowl and melt one color at a time. I like to start with 1 minute at 60% power, then stir and back in the microwave for another minute at 60% power and stir again.
Allow the candy melts to cool for several minutes before adding them to the donuts. If you add the candy melts right away, they may be too runny.
How to Freeze Donuts
Making the donut portion of this recipe ahead of time and freezing them is a great idea. Allow the donuts to cool completely.
Place a small piece of aluminum foil (or parchment paper) between each donut and stack them into a tower. Wrap the donuts well in plastic wrap and place in the freezer.
To thaw: place the donuts in the fridge or on the counter until thawed. Then add the flag decoration. I do not recommend freezing the donuts with the American flag decoration already on them because the candy melt coating can crack when thawing.
More 4th of July Desserts
- 4th of July Jello Cups
- Watermelon Cupcakes
- American Flag Cake
- How to make box brownies better
- Maraschino Cherry Chocolate Chip Cookies
- Healthier Chocolate Cake
Tap stars to rate!
American Flag Donuts
Ingredients
- 1 cup (120g) all purpose flour
- 3 Tbsp granulated sugar
- 1 tsp baking powder
- ½ tsp salt
- 6 Tbsp milk, I used skim
- 1 large egg
- ½ tsp vanilla extract, or other flavor extract
- 3 Tbsp vegetable/canola oil
- 1 bag Wilton red candy melts
- 1 bag Wilton white candy melts
- 1 bag Wilton blue candy melts
Video
Instructions
- Preheat the oven to 325 degrees F. Spray a donut pan with cooking spray, use a paper towel to lightly spread/remove excess spray.
- In a large bowl, combine the flour, sugar, baking powder and salt. In another bowl, combine the milk, eggs, vanilla, and oil. Stir the dry ingredients into the wet ingredients, mix just until combined.1 cup (120g) all purpose flour, 3 Tbsp granulated sugar, 1 tsp baking powder, 1/2 tsp salt, 6 Tbsp milk, 1 large egg, 1/2 tsp vanilla extract, 3 Tbsp vegetable/canola oil
- Transfer the batter to a large piping bag or use a ziploc bag with one corner cut off. Pipe the batter into the donut pan, filling each donut hole about 2/3 full. Tap the donut pan against the counter to release any air bubbles.
- Bake the donuts for 10 minutes, or until a toothpick comes out clean. Remove from the oven and let the donuts sit in the pan for 5 minutes before moving to a wire rack. Allow the donuts to cool completely before moving on.
- Melt 1/3 bag of the white candy melts. They can be microwaved or you can melt them on the stove top, whatever your preference. If microwaving, place each color (about 1/3 of the bag) in a microwave safe bowl and melt one color at a time. I like to start with 1 minute at 60% power, then stir and another minute at 60% power and stir again. Allow the candy melts to cool for about 5 minutes.1 bag Wilton white candy melts
- Transfer the melted white candy into shallow bowl that will easily allow you to dip the donuts into. Dip each donut, allowing the excess to fall off. Place the donuts on a cooling rack and allow them to harden.
- Melt the blue candy melts (about 1/3 to 1/4 of the bag) and allow it to cool for 5 minutes (otherwise it might be too runny). Transfer the blue candy melts into a small squeeze bottle and draw the blue corners onto the donuts. Use a toothpick to help spread out the blue chocolate.1 bag Wilton blue candy melts
- Melt the red candy melts (about 1/3 to 1/4 of the bag) and allow it to cool for 5 minutes (otherwise it might be too runny). Transfer the red candy melts into a small squeeze bottle and draw the red stripes across the donuts.1 bag Wilton red candy melts
- Once the blue corner is semi-set, transfer a small amount of white candy melts into another squeeze bottle and add the white polka dots to the blue corner. Allow the candy melts to harden completely. Store in an airtight container.



I think you should change your name to “Donut Queen” Seriously, you make awesome ones…but these take the cake! er…donut?
My hubby is going to LOVE THESE. Pinned!
Haha, I do like the name “Donut Queen” .. if only it wouldn’t screw up my SEO and make me start all over!
These are so cute and festive! And they actually look manageable to make!
Hi Mallory! They are pretty manageable to make, as long as you let them sit in between each step!
So much fun I stumbled and pinned twice!
Oh gosh! Thank you Patti, I really appreciate it!
Brilliant. Absolutely brilliant. :)
Oh Maggie, thank you so much!
I love 4th of July (US History major here!) and I love donuts!! I will definitely be trying out this recipe this year for the 4th! Thanks for sharing!
Let me know how it goes, wish I could be there to celebrate with you (and snag a donut!)
These are such a fun 4th of July treat, Beth!
I bet your boys would love them!
I don’t think I’d have been brave enough to try something like this! These are super cute, and your instructions are very easy to follow…I might just have to make these for our next family gathering. While I’m perfecting my flags, I’m sure there’ll be plenty of delicious trial runs!!
They really aren’t too terribly hard to make and I bet your family would enjoy them so much!
Just bought a donut pan……I’m set to go! Amazing donuts, look so professional! Thanks for sharing.
Welcome to the wonderful world of donut making!!
These have to be the most adorable donuts I have ever seen! Pinned!
Lisa – thank you!!
Wow these donuts are works of art – literally! I wish we had Vanilla Candiquik in Australia!
Oh goodness, it’s a staple! Can you buy it on Amazon?!