This post may contain affiliate links. Please read our disclosure policy.
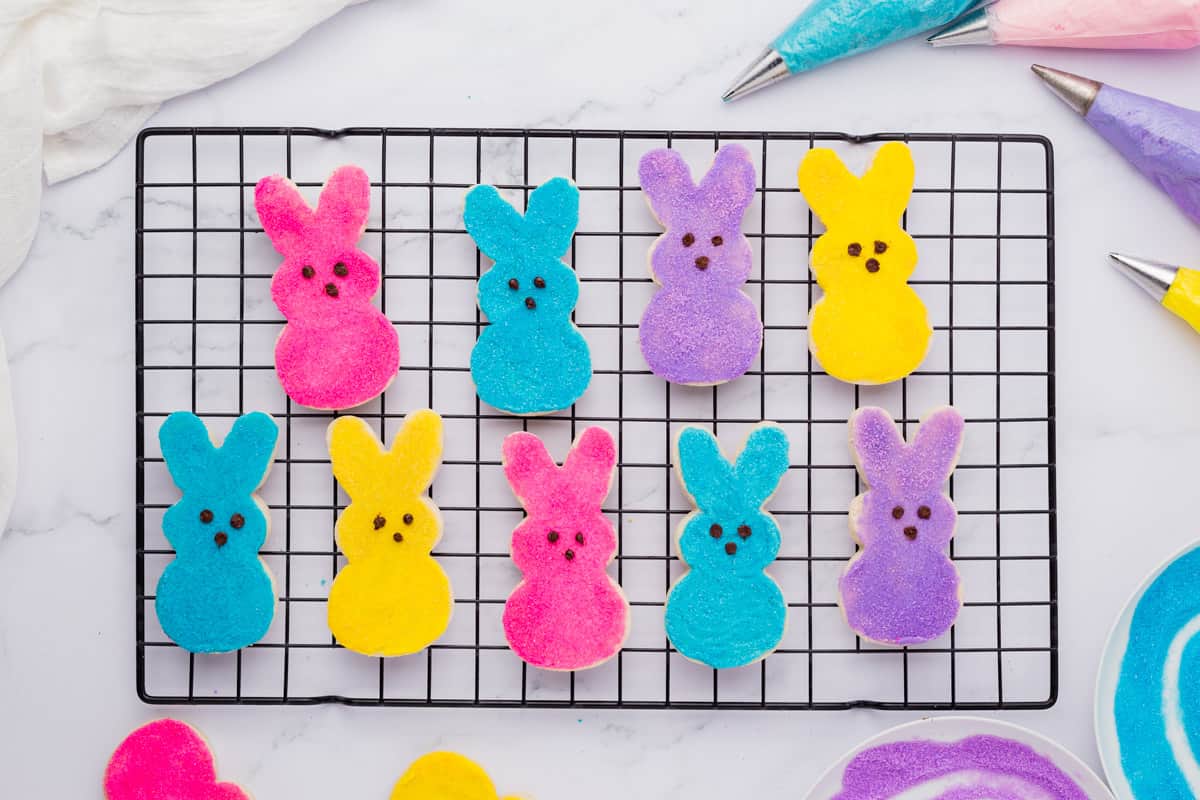
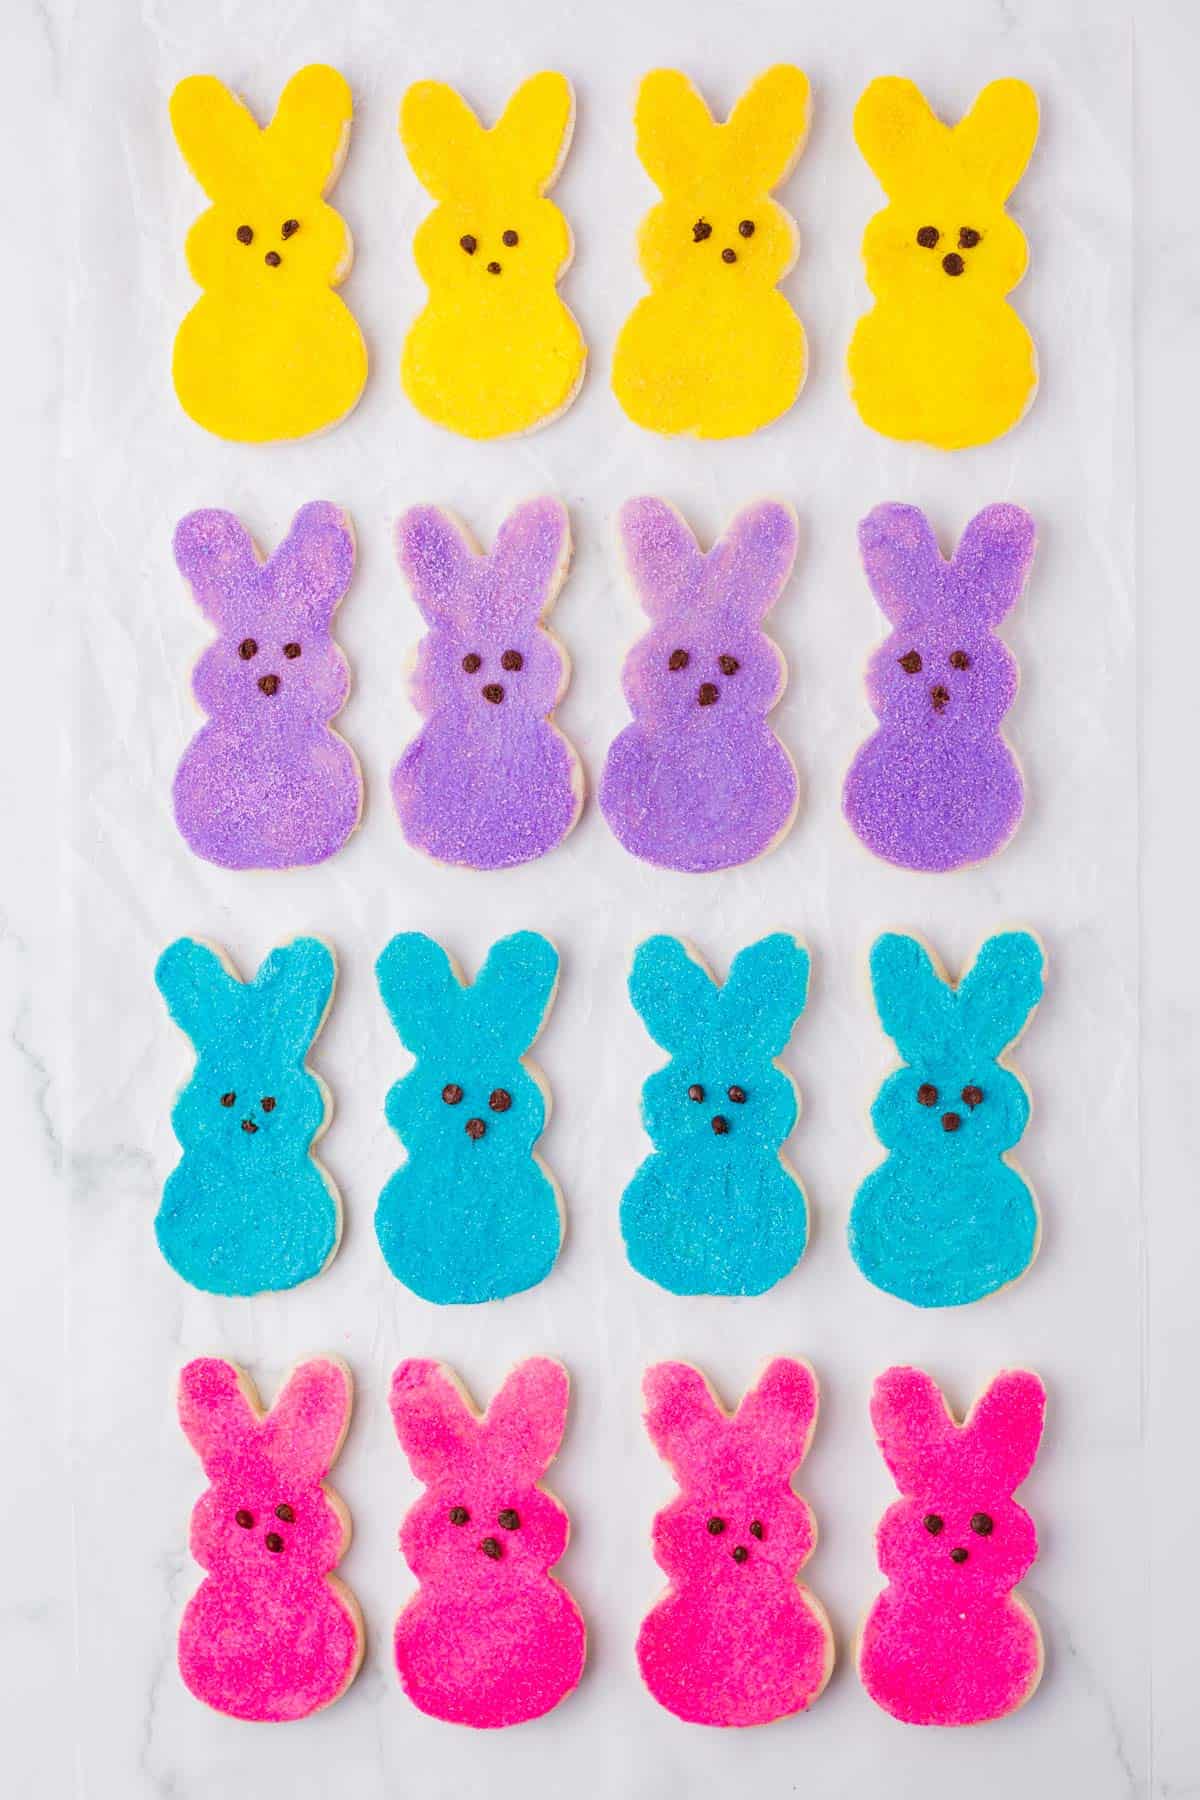
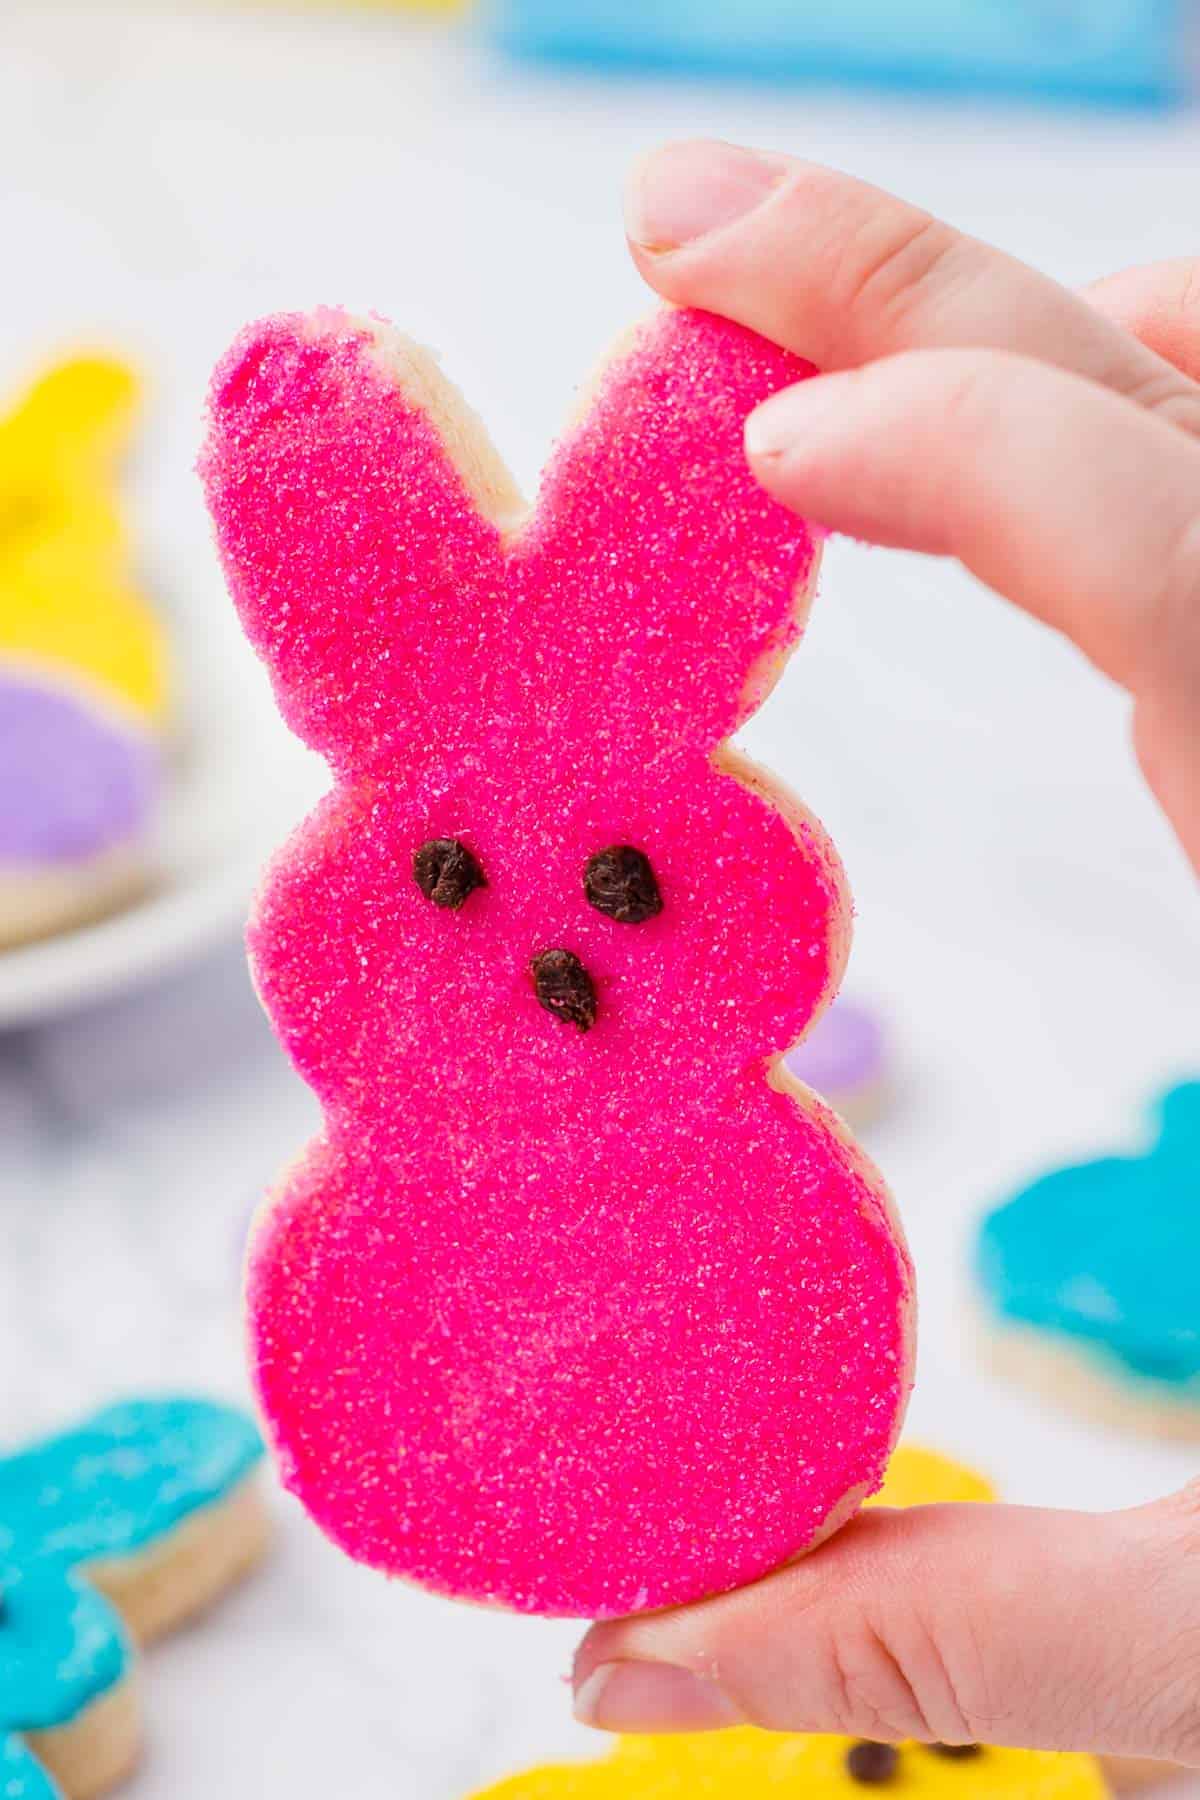
Peeps Bunny Cookies are the perfect Easter treat and look just like the Peeps marshmallows! It’s a sugar cookie base, topped with buttercream, decorative sugar and chocolate eyes and noses.
I feel like people either love Peeps marshmallows or hate them.
If you’re not a fan of eating marshmallow chicks, you’ll probably love these Peeps Sugar Cookies instead! Same shape and color, but in sugar cookie form. How could you not love that?
I used this Peeps cookie cutter to make these fun Easter cookies into the perfect little Peeps bunny shapes.
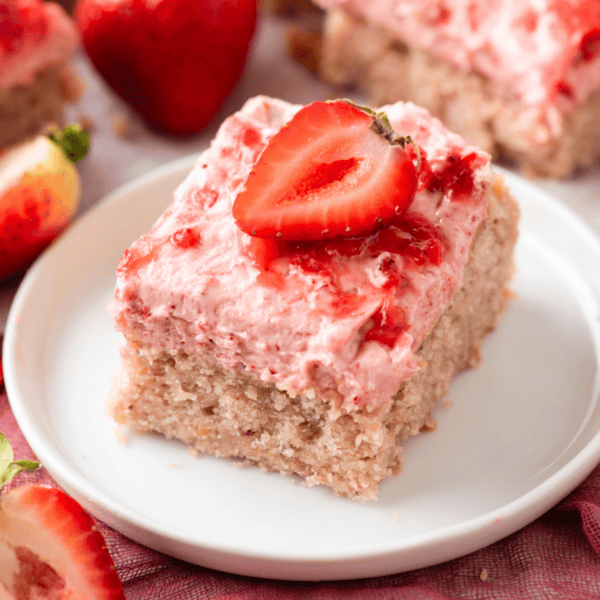
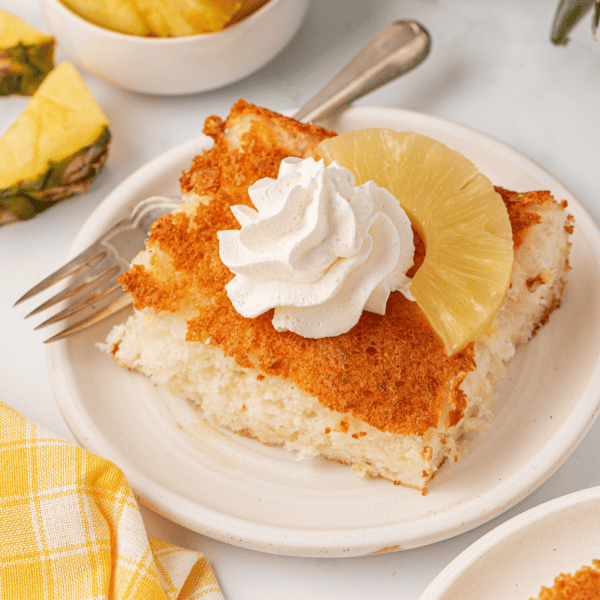
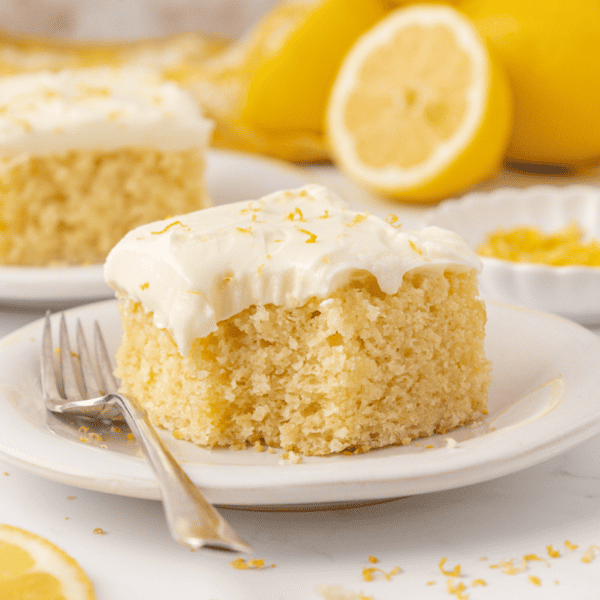
If you want to make a whole spread of fun Easter desserts for a party or family gathering, try these Easter-themed desserts too:
Why You’ll Love These Peeps Cookies
- Adorable Bunny Peep shape
- Easy to make
- No Chill Option
- Gluten Free Option
- Kid friendly – get the whole family involved!

What You’ll Need to Make Peeps Bunny Cookies
Peep cookies are surprisingly easy to make and very customizable. For exact amounts and instructions, check the recipe card below.
Cut Out Sugar Cookies
- All-purpose flour
- Baking powder
- Salt
- Unsalted butter
- Granulated sugar
- Egg
- Vanilla extract
- Almond extract
- Peeps Cookie Cutter – Any other bunny-shaped cookie cutter will work, but of course may not have the distinct Peeps shape.
Buttercream Frosting
- Unsalted butter
- Powdered sugar
- Vanilla extract
- Almond extract
- Milk – Heavy cream works great too!
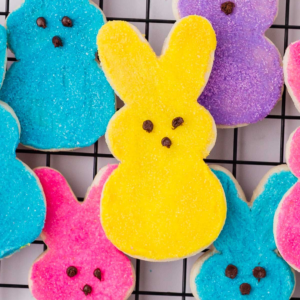
- Gel food coloring – I used yellow, pink, blue, and purple
- Sanding sugar – I used yellow, pink, blue, and purple
- Chocolate chips – for melting, used for the eyes and nose!
How to Make Peeps Sugar Cookies
Making Peeps Sugar Cookies as a family on Easter morning is a great way to spend quality time together and have some fun! Follow these easy steps to make Peep cookies. Get the full recipe in the recipe card below.
Cut Out Sugar Cookies
Mix dry ingredients. In a large bowl, combine the flour, baking powder and salt. Mix with a spoon or fork. Set aside.
Mix butter and sugar. In a mixing bowl, combine the room temperature butter and sugar, beat with an electric mixer for 90 seconds.
Add wet ingredients. Add in the egg, vanilla & almond extracts and beat for 1 minute.
Combine wet and dry ingredients. Add the flour in thirds, mixing just until the flour is incorporated. The dough will initially look crumbly, almost sandy. But continue to mix until the mixture is thick and sticks together. Use your hands to gently knead the dough together at the very end of the mixing process – knead for only 20-30 seconds.
Chill dough. Divide the dough into 2 flat discs, cover each with plastic wrap and place in the fridge for at least 1 hour to chill. The dough can be left in the fridge to chill for up to 2 days.
Preheat oven. After chilling, remove one disc and preheat the oven to 350ºF.
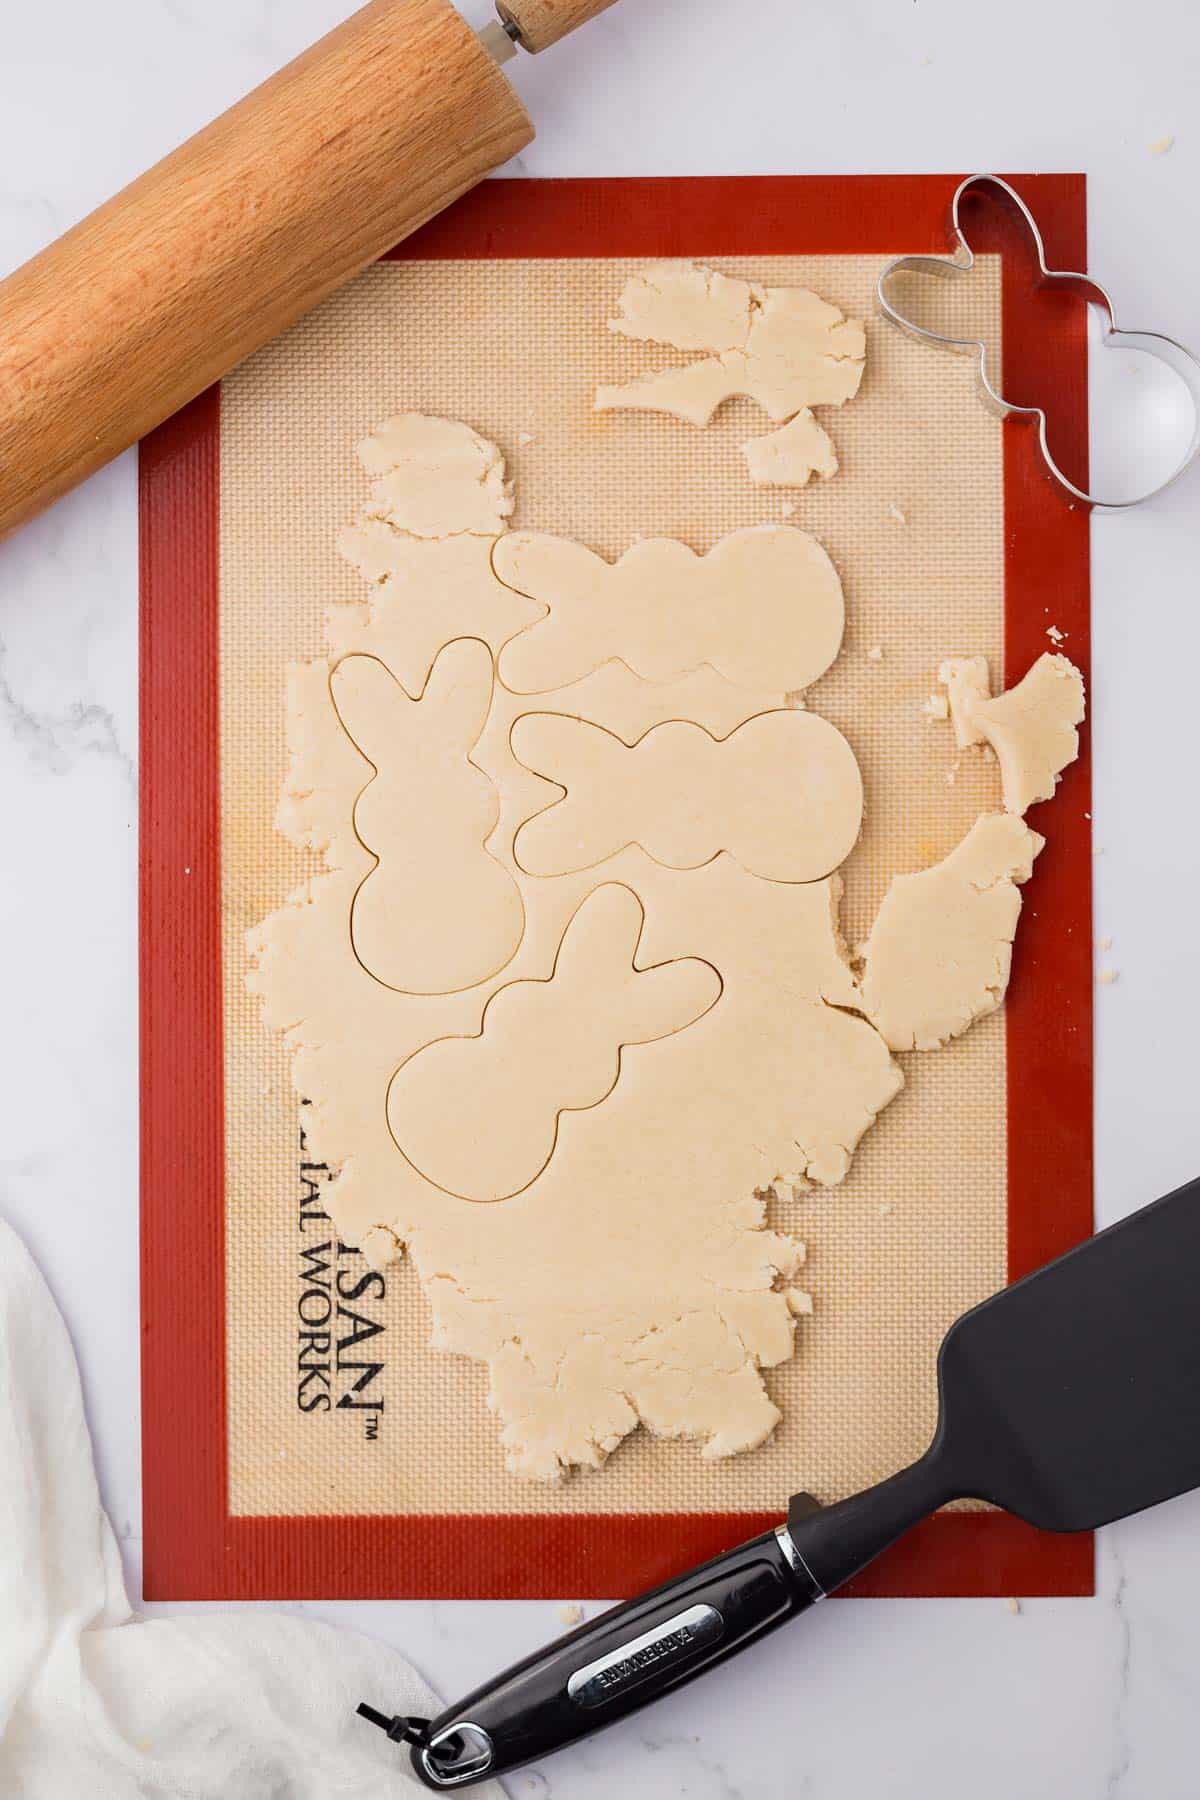
Roll dough. On a very lightly floured surface (and I mean minimal) use a rolling pin to roll the dough to 1/4 inch thick. Frequently I will roll my dough on a silicone baking mat to eliminate the need to use flour.
Cut cookie shapes. Use cookie cutters to cut out your desired shapes. Remove the dough scraps and use a spatula to transfer the shapes to a baking sheet lined with a silicone baking mat or parchment paper.
Bake for 9-10 minutes. If your oven has a hot spot, rotate the cookie sheet halfway through.
Cool cookies. The cookies will be pale in color – but will continue baking slightly once removed from the oven. Allow the cookies to cool on the baking sheet for at least 10 minutes. Then move to a cooling rack.
Repeat process. Repeat the process with the remaining dough. If your dough is out of the fridge for too long, wrap it and chill it in the fridge for 15 minutes.
Cool completely. Allow the cookies to cool completely before frosting them.
Buttercream Frosting
Beat butter. Place the softened butter in a mixing bowl, beat using an electric mixer for 90 seconds.
Add sugar and extracts. Gradually add the powdered sugar, I usually do 2 cups at a time, and add the vanilla and almond extracts, beat again.
Taste and adjust as needed. Taste the frosting to see if you want it sweeter. I liked the way mine turned out with 4 cups of powdered sugar. If the frosting is too thick add 1 tbsp of milk or heavy cream, beat until creamy.
Divide and color. Divide the frosting into 4 small bowls and dye each your desired color.
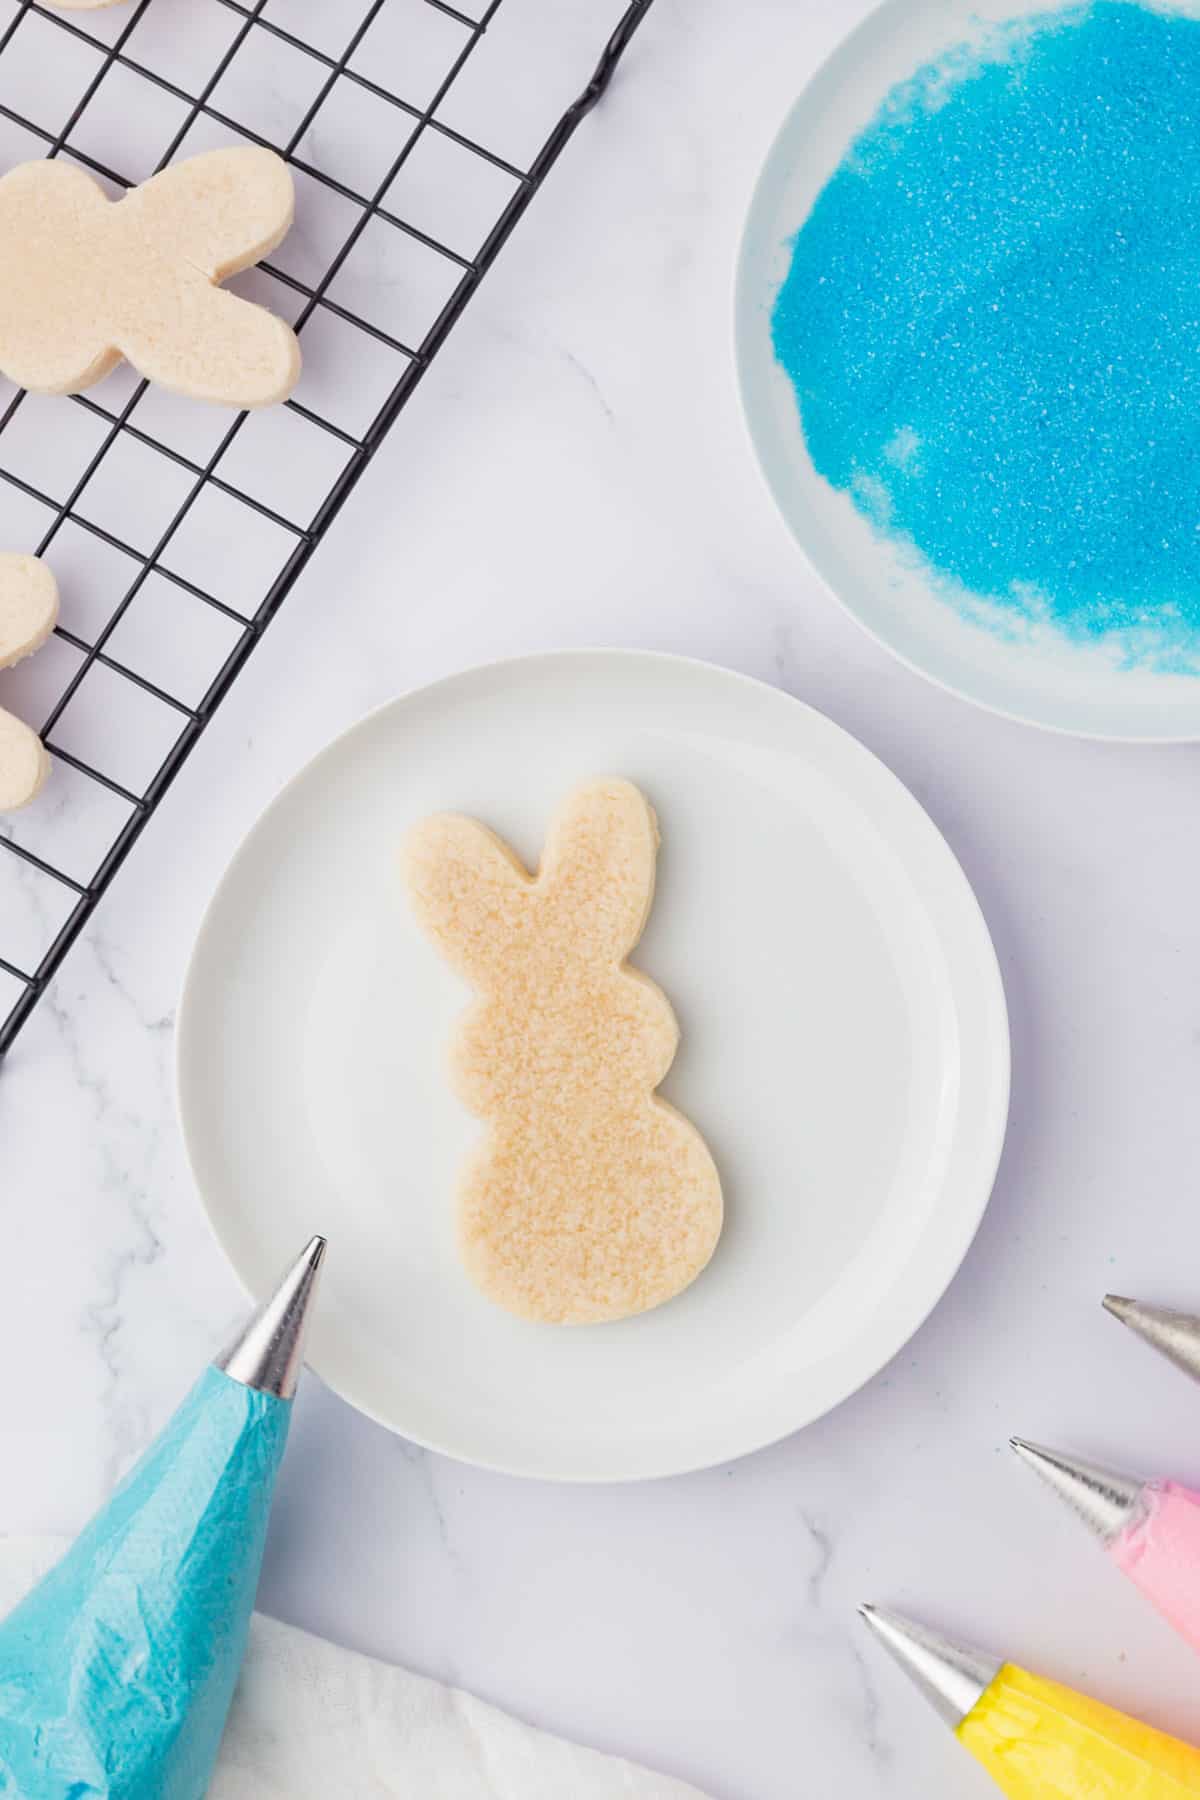
Pipe frosting. Transfer each color into a piping bag fit with a round tip, similar to a Wilton 1A. Hold the tip close to the cookie and pipe the frosting on the cookies, starting with a V shape for the bunny ears. Continue onto the head and body.
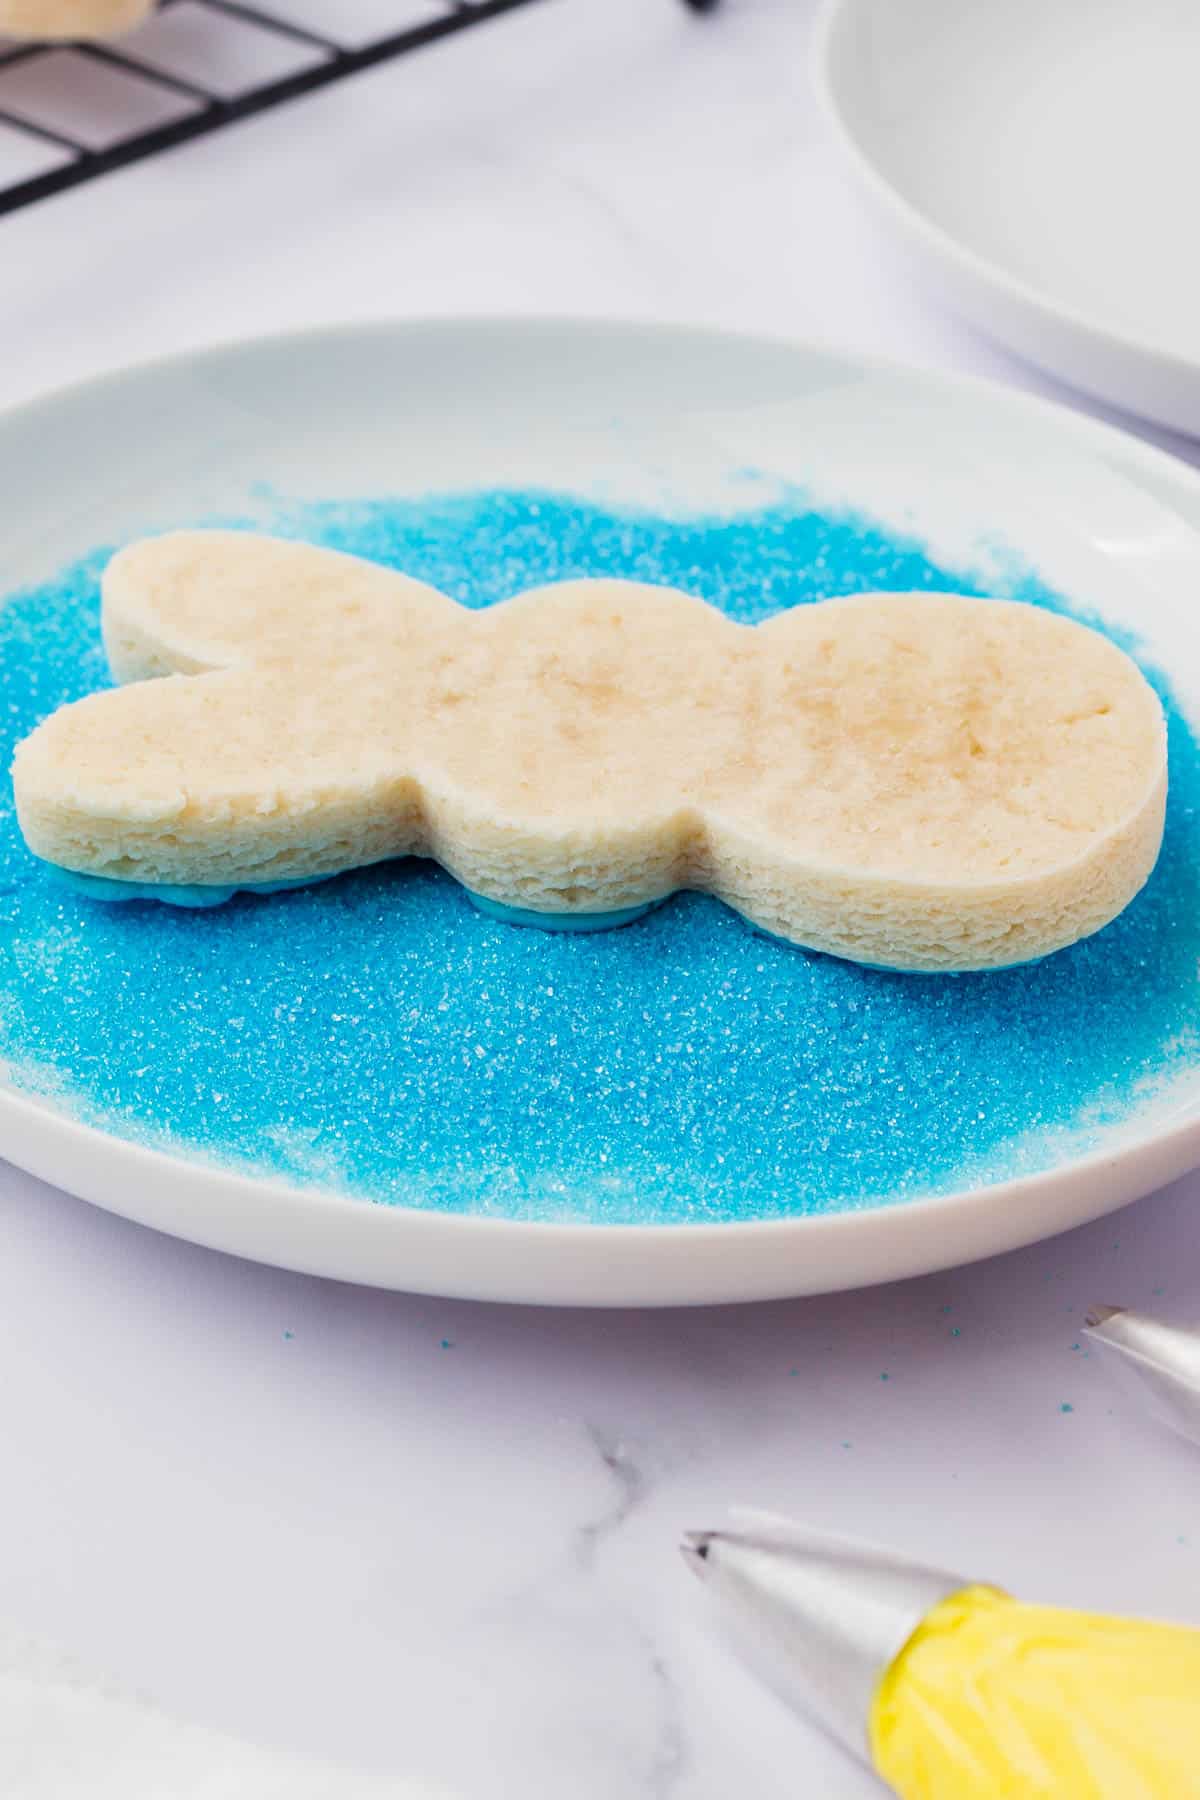
Add sanding sugar. Transfer the sanding sugar to a plate. Press each cookie into the sprinkles, making sure all the frosting is covered. Repeat for all the cookies.
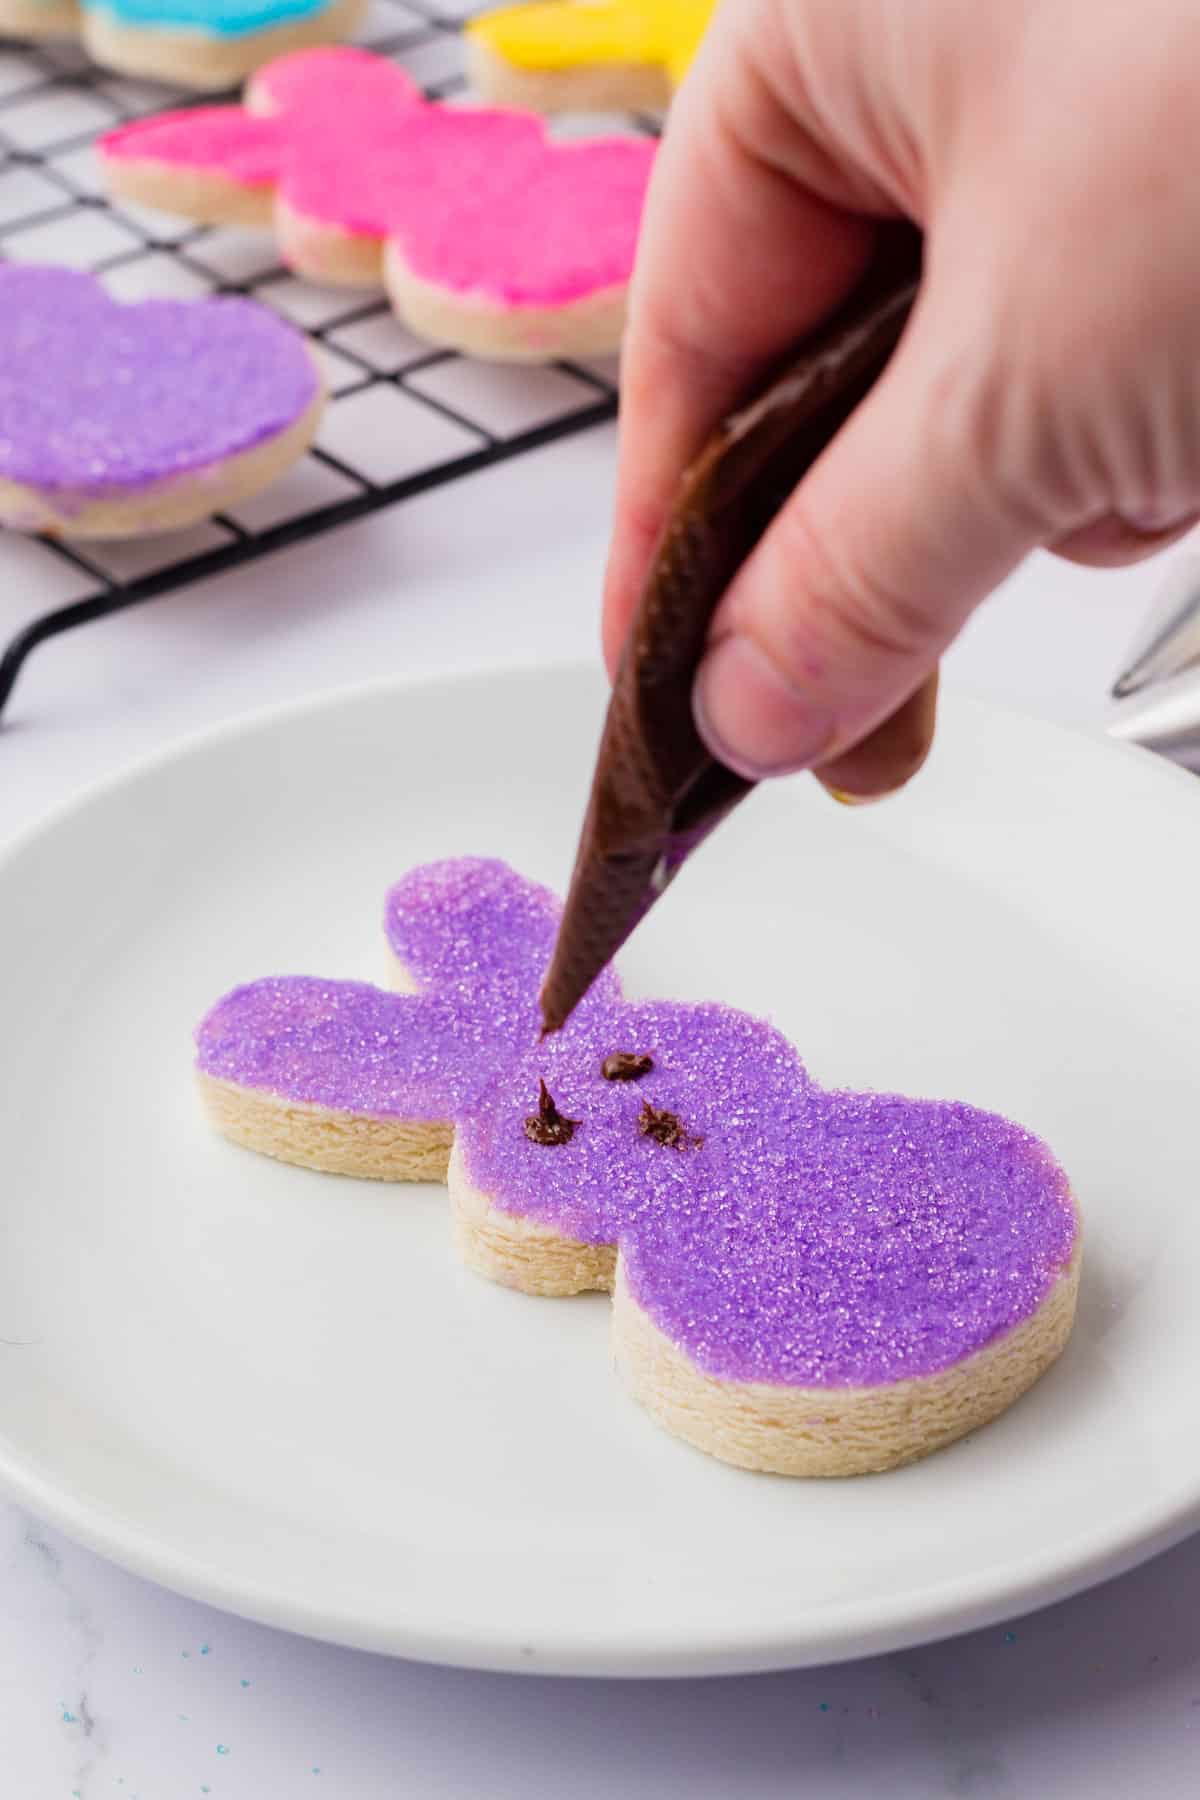
Make chocolate bunny eyes and noses. Melt 2 tablespoons of semi-sweet chocolate chips in the microwave. Transfer the melted chocolate to a piping bag. Cut a very small hole in the bag and pipe 2 eyes and 1 nose on the top of each cookie. You could also dab the melted chocolate on with a toothpick if you feel like that gives you more control.
How to Freeze Easter Bunny Sugar Cookies
The best way to freeze already baked cut-out sugar cookies is to:
- Make sure they are completely cooled first. This method works for undecorated cookies with no frosting.
- Stack the cookies and place a small piece of parchment paper between each cookie. I like to stack mine about 4-5 cookies high.
- Wrap the stacks well in plastic wrap.
- Place the bundles inside a ziplock freezer bag or inside a freezer container.
- To thaw, remove the cookies from the bag (keep them inside their plastic wrap) and thaw on the counter. If you store the cookies inside a container, you can simply place the whole container on the counter to thaw.
How to Freeze Cut Out Sugar Cookie Dough
There are two different ways you can freeze this sugar cookie dough:
1. FREEZING A DISC OF DOUGH
You can freeze this cookie dough by dividing it in half and flattening each half into a disc-like shape. Wrap each disc well with plastic wrap and place it inside a freezer bag or airtight container. To thaw, place the dough in the fridge overnight.
2. FREEZE PRE-CUT SHAPES
You can also freeze pre-cut bunny shapes. To do so:
- Roll out the dough after making it and cut it into bunny shapes
- Place the shapes on a silicone or wax paper lined baking sheet and freezer for 1-2 hours or until frozen.
- Once frozen, remove the bunny cookies from the pan, wrap them together in plastic wrap, and store them inside a freezer bag or container.
- To thaw, unwrap from the plastic, place the shapes on a silicone-lined baking sheet on the counter, and allow them to thaw for 15-25 minutes before baking. You want the shapes to still be cold, but not frozen.
How to Measure Flour
For best results with this sugar cookie recipe, correctly measure the flour using this method:
- Fluff the flour with a fork
- Use a spoon to scoop the flour into your measuring cup
- Use a butter knife to level the measuring cup
You can also measure the flour by weight on a food scale. If you just stick the measuring cup straight into the bag of flour, it will result in too much flour being packed into the cup, which can result in dry cookies.
No-Chill Sugar Cookie Mix Option
Here’s some great news if you’re tight on time and don’t want to wait to chill the dough. You can make these Peeps Bunny Sugar Cookies without chilling the dough! You read that right, a “no chill” option!
There is one crucial change you need to make to the recipe if you can’t chill the dough. You will need to use COLD butter instead of softened butter. If you use cold butter and work fast, the dough will still be cold enough to maintain its shape when baking right away.
I do recommend that you chill the dough between baking the batches, though, so it keeps its shape – either in a disc or pre-cut shapes.
Gluten Free Peeps Sugar Cookies
This recipe turned out awesome using a high-quality gluten free flour. I used King Arthur’s All Purpose Gluten Free Flour. There are no other changes you need to make. Simply substitute the gluten-free flour as a one-for-one replacement with regular flour to make gluten-free Easter sugar cookies.
More Cookie Recipes
Tap stars to rate!
Peeps Bunny Cookies
Equipment
Ingredients
CUT OUT SUGAR COOKIES
- 2 ½ cups (300g) all purpose flour
- 1 tsp baking powder
- ¼ tsp salt
- ½ cup (113g) unsalted butter, softened, 1 stick
- 1 cup (198g) granulated sugar
- 1 large egg
- 1 tsp vanilla extract
- ½ tsp almond extract
BUTTERCREAM FROSTING
- 1 ½ cups (339g) unsalted butter, 3 sticks, softened
- 4 cups (454g) powdered sugar
- 1 tsp vanilla extract
- 1 tsp almond extract
- 1 Tbsp milk, or heavy cream works great too
- Gel food coloring, I used yellow, pink, blue and purple
- Sanding sugar, I used yellow, pink, blue and purple
- 2 Tbsp chocolate chips, melted
Instructions
CUT OUT SUGAR COOKIES
- In a large bowl, combine the flour, baking powder and salt. Mix with a spoon or fork. Set aside.2 ½ cups (300g) all purpose flour, 1 tsp baking powder, ¼ tsp salt
- In a mixing bowl, combine the room temperature butter and sugar, beat with an electric mixer for 90 seconds.½ cup (113g) unsalted butter, 1 cup (198g) granulated sugar
- Add in the egg, vanilla & almond extracts and beat for 1 minute.1 large egg, 1 tsp vanilla extract, ½ tsp almond extract
- Add the flour in thirds, mixing just until the flour is incorporated. The dough will initially look crumbly, almost sandy. But continue to mix until the mixture is thick and sticks together. Use your hands to gently knead the dough together at the very end of the mixing process – knead for only 20-30 seconds.
- Divide the dough into 2 flat discs, cover each with plastic wrap and place in the fridge for at least 1 hour to chill. The dough can be left in the fridge to chill for up to 2 days.
- After chilling, remove one disc and preheat the oven to 350ºF.
- On a very lightly floured surface (and I mean minimal) use a rolling pin to roll the dough to 1/4 inch thick. Frequently I will roll my dough on a silicone baking mat to eliminate the need to use flour.
- Use cookie cutters to cut out your desired shapes. Remove the dough scraps and use a spatula to transfer the shapes to a baking sheet lined with a silicone baking mat. Bake for 9-10 minutes. If your oven has a hot spot, rotate the cookie sheet half way through.
- The cookies will be pale in color – but will continue baking slightly once removed from the oven. Allow the cookies to cool on the baking sheet for at least 10 minutes. Then move to a cooling rack. Repeat the process with the remaining dough. If your dough is out of the fridge for too long, wrap it and chill it in the fridge for 15 minutes.
- Allow the cookies to cool completely before frosting them.
BUTTERCREAM FROSTING
- Place the softened butter in a mixing bowl, beat using an electric mixer for 90 seconds.1 ½ cups (339g) unsalted butter
- Gradually add the powdered sugar, I usually do 2 cups at a time, and add the vanilla and almond extracts, beat again.4 cups (454g) powdered sugar, 1 tsp vanilla extract, 1 tsp almond extract
- Taste the frosting to see if you want it sweeter. I liked the way mine turned out with 4 cups of powdered sugar. If the frosting is too thick add 1 tbsp of milk or heavy cream, beat until creamy.1 Tbsp milk
- Divide the frosting into 4 bowls and dye each your desired color.Gel food coloring
- Transfer each color into a piping bag fit with a round tip, similar to a Wilton 1A. Hold the tip close to the cookie and pipe the frosting on the cookies, starting with a V shape for the bunny ears. Continue onto the head and body.
- Transfer the sanding sugar to a plate. Press each cookie into the sprinkles, making sure all the frosting is covered. Repeat for all the cookies.Sanding sugar
- Melt 2 tablespoons of semi-sweet chocolate chips in the microwave. Transfer the melted chocolate to a piping bag. Cut a very small hole in the bag and pipe 2 eyes and 1 nose on each bunny. You could also dab the melted chocolate on with a toothpick if you feel like that gives you more control.2 Tbsp chocolate chips
Notes