This post may contain affiliate links. Please read our disclosure policy.
I tested this Oreo pie crust until I got the crumb-to-butter ratio perfect. It slices cleanly, tastes amazing, and works for both baked and no-bake desserts. You don’t need to remove the filling, and you can even use golden or gluten-free Oreos. This crust is simple, foolproof, and tested to perfection.
Why Make Oreo Crust From Scratch
This Oreo pie crust is a total dessert game changer. With just two ingredients and five minutes, you can make a rich, chocolatey crust that instantly upgrades any pie or cheesecake. I tested this recipe until I found the perfect crumb-to-butter ratio for a crust that holds together beautifully, slices cleanly, and tastes incredible with every filling.
Why Make It from Scratch
Store-bought Oreo crusts might look convenient, but they don’t compare in flavor or texture. When you make it yourself, you get that fresh Oreo aroma, buttery richness, and a crust that doesn’t crumble apart when sliced. Plus, you don’t need to scrape out the filling—the cream helps bind the crumbs and adds the perfect touch of sweetness.
Key Ingredients
Jump to the recipe card below for the exact measurements.
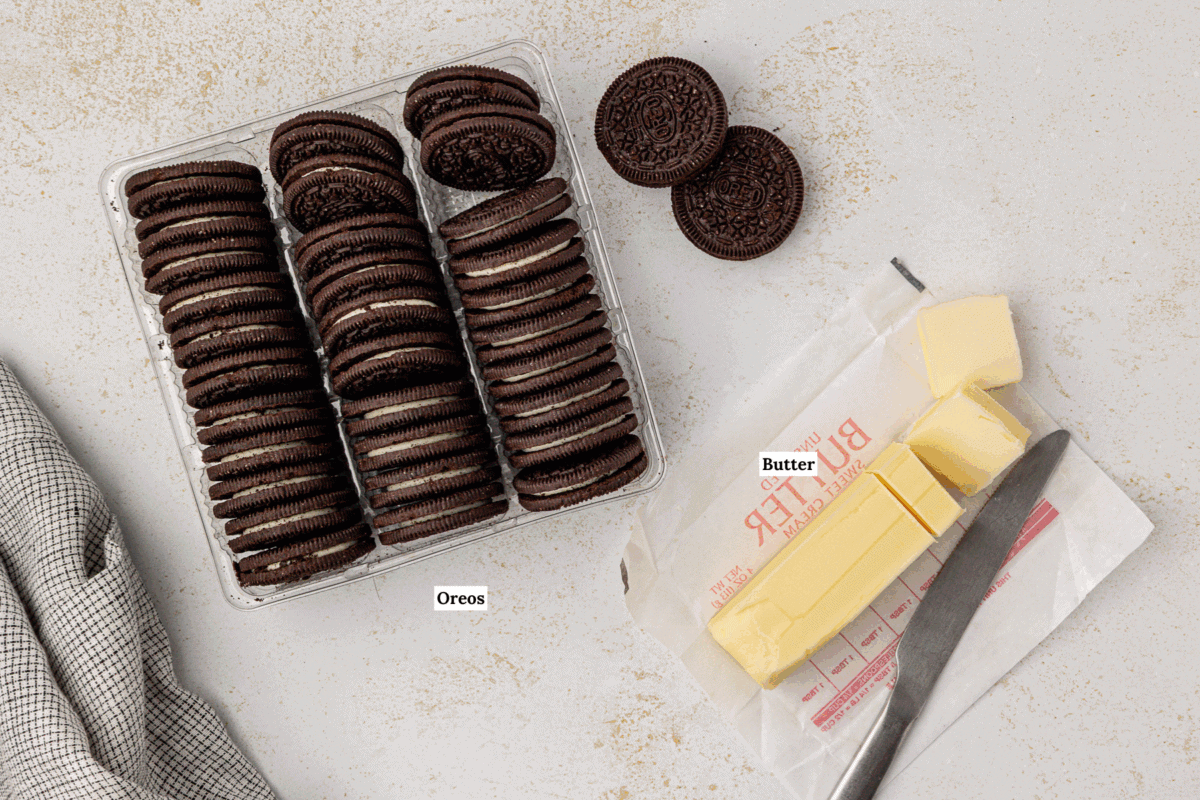
Oreos: Use the whole cookie, filling and all. You’ll need one full package, and yes—it’s perfectly measured so there are no leftovers.
Butter: Melted butter brings everything together and gives the crust its structure and buttery finish.
Variations: Try Golden Oreos for a vanilla twist or gluten-free Oreos for an easy swap that still tastes amazing.
What You’ll Need to Make Oreo Cookie Pie Crust
- Food processor or blender
- Pie dish or springform pan
- Measuring cups or something to pack down the crust
- Spoon for pressing the crust and rounding the edges
How to Make Oreo Pie Crust
Jump to the recipe card for the full instructions.
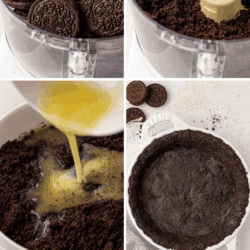
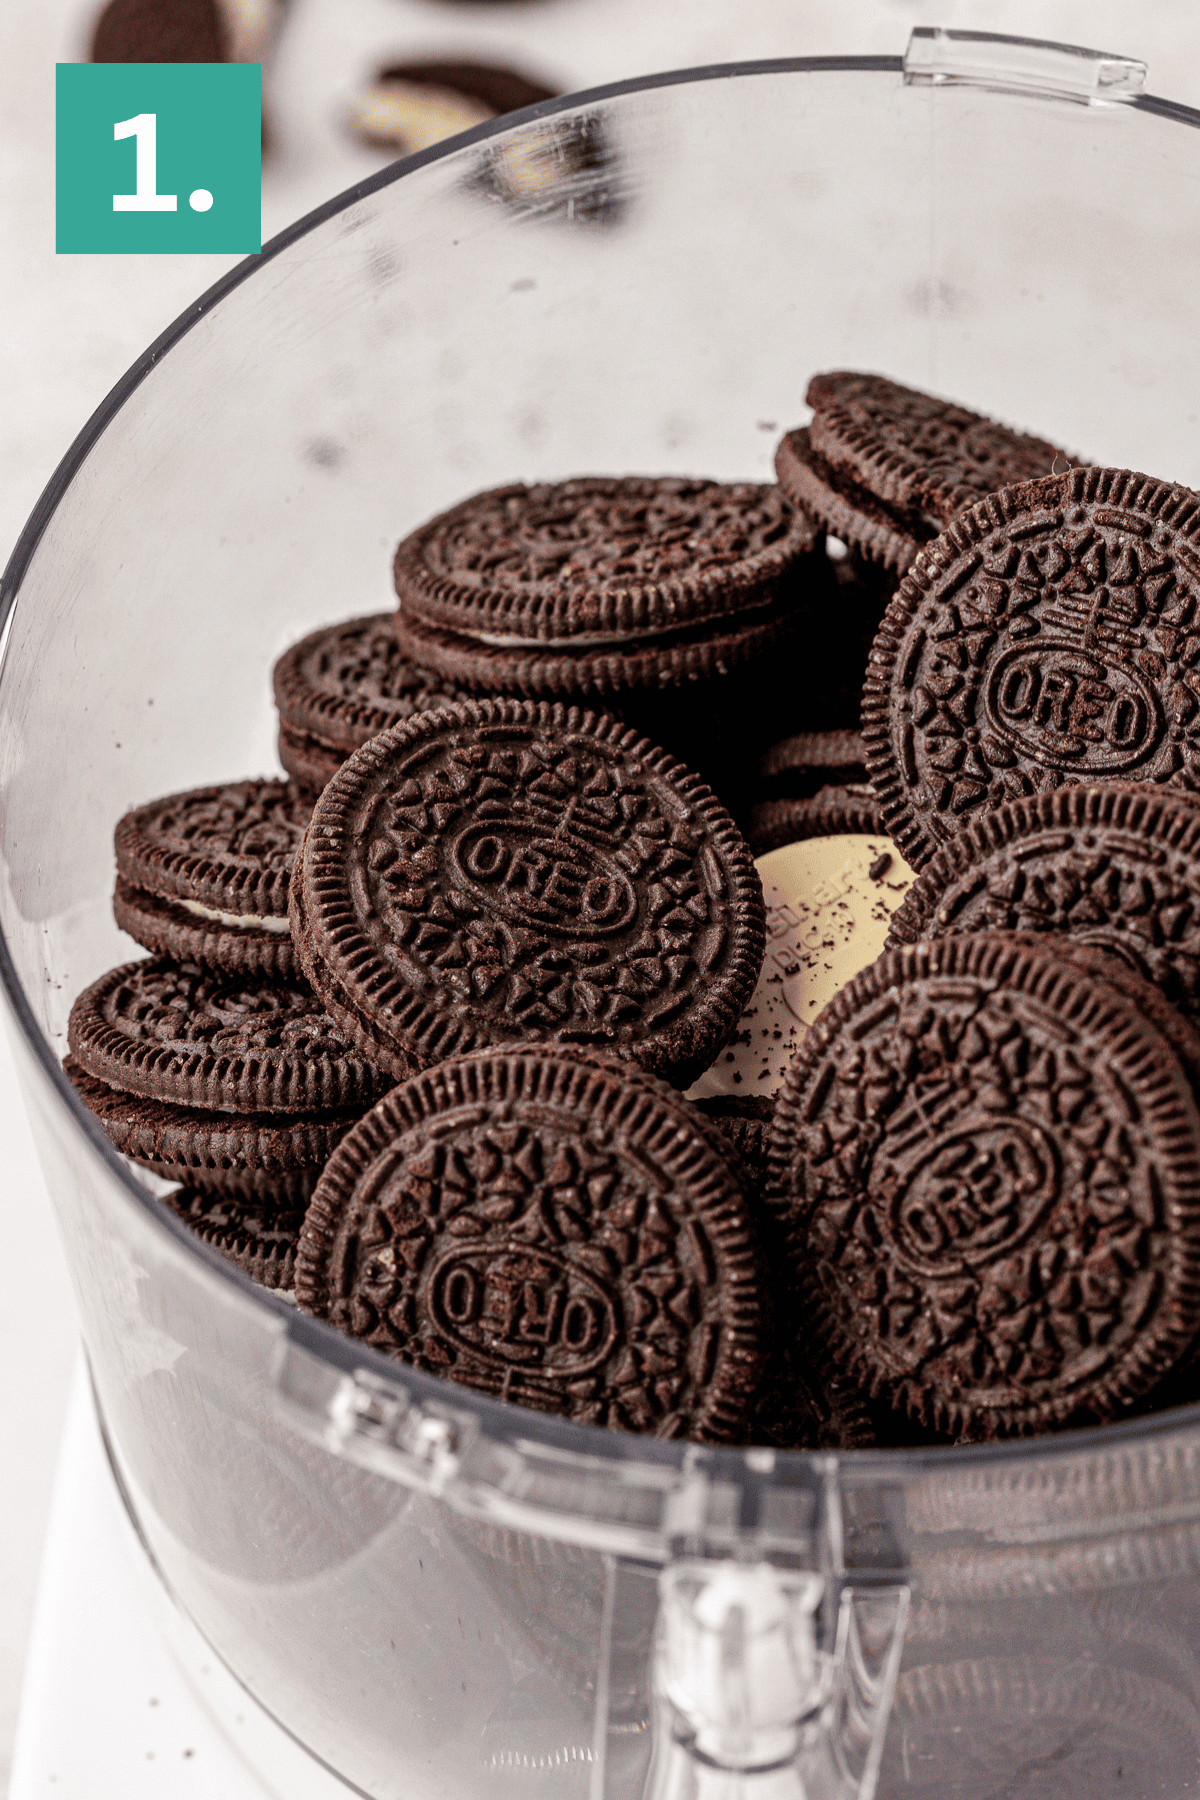
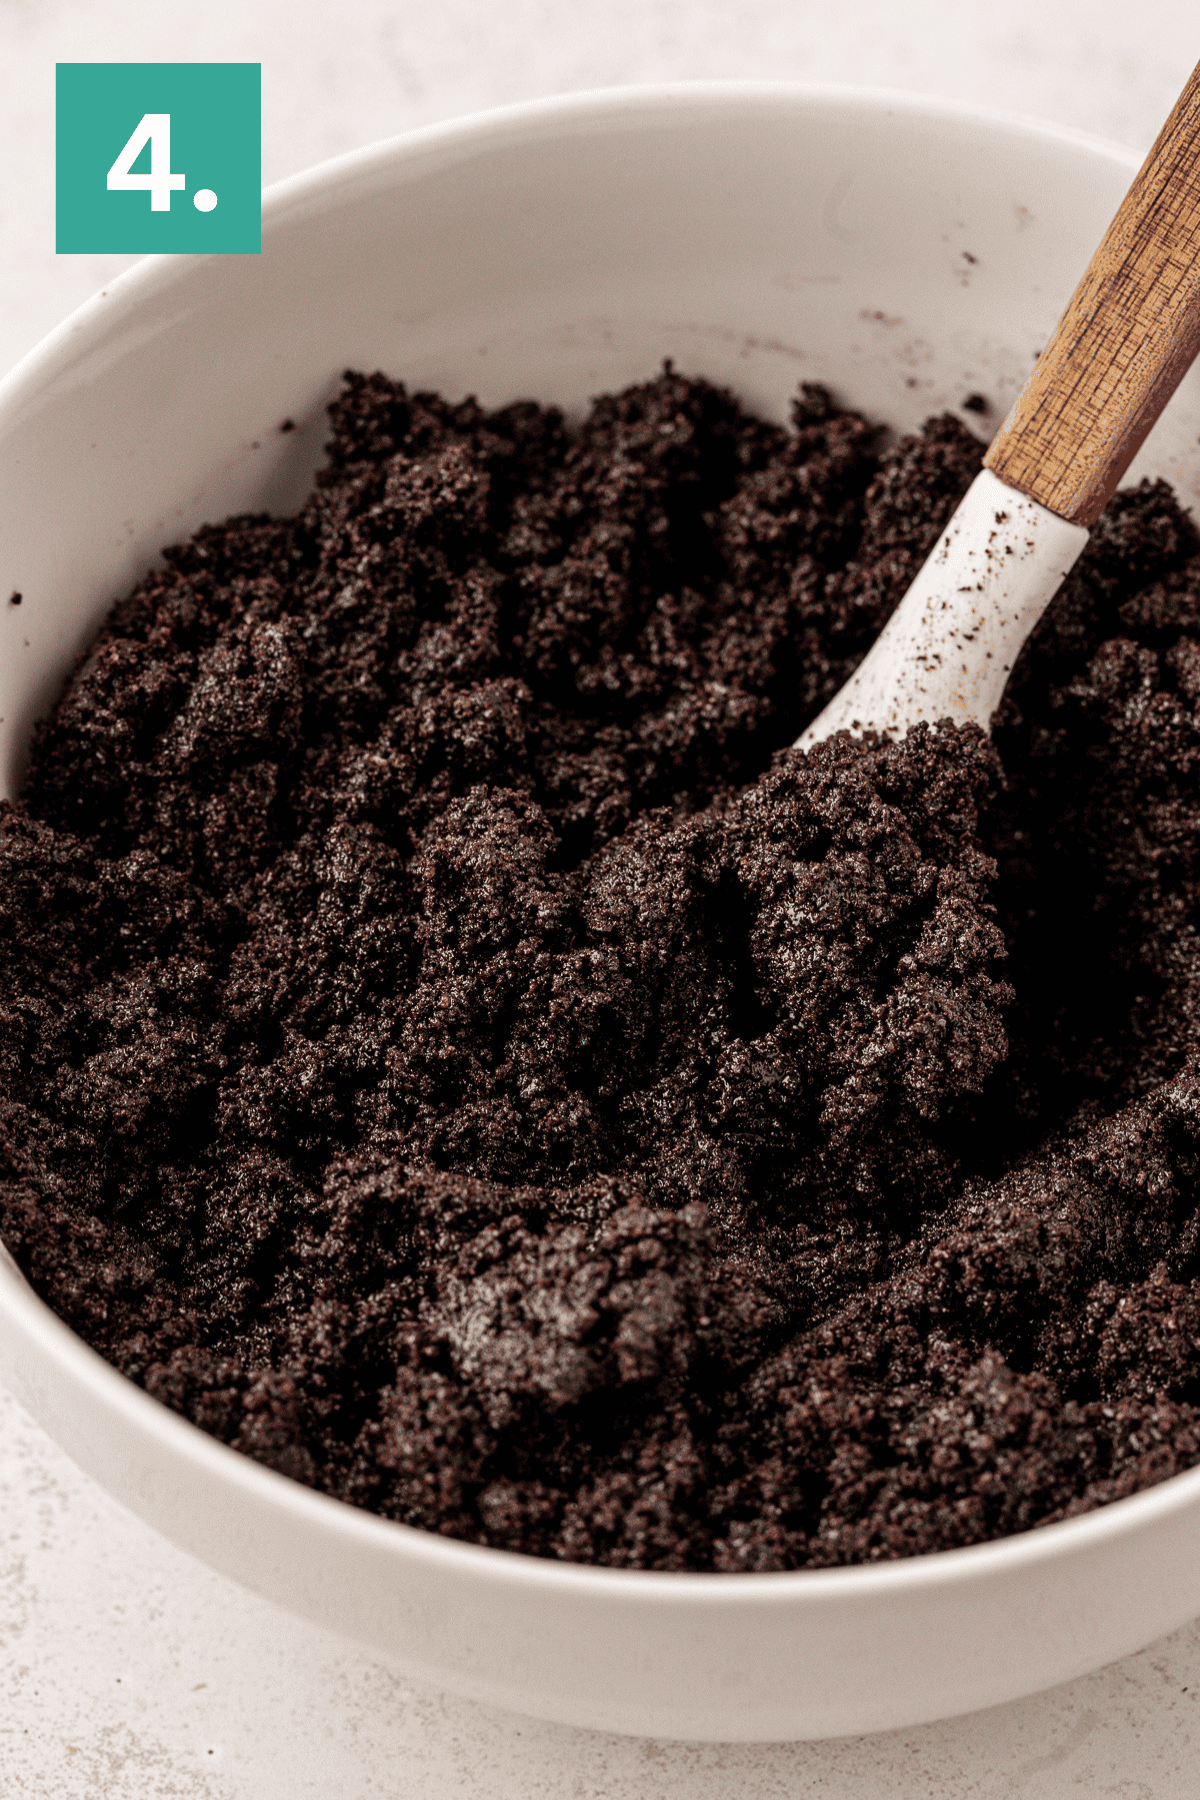
- Crush the Oreos: Add the cookies to a food processor or blender and pulse until fine, even crumbs form. If you don’t have one, seal them in a zip-top bag and crush with a rolling pin.
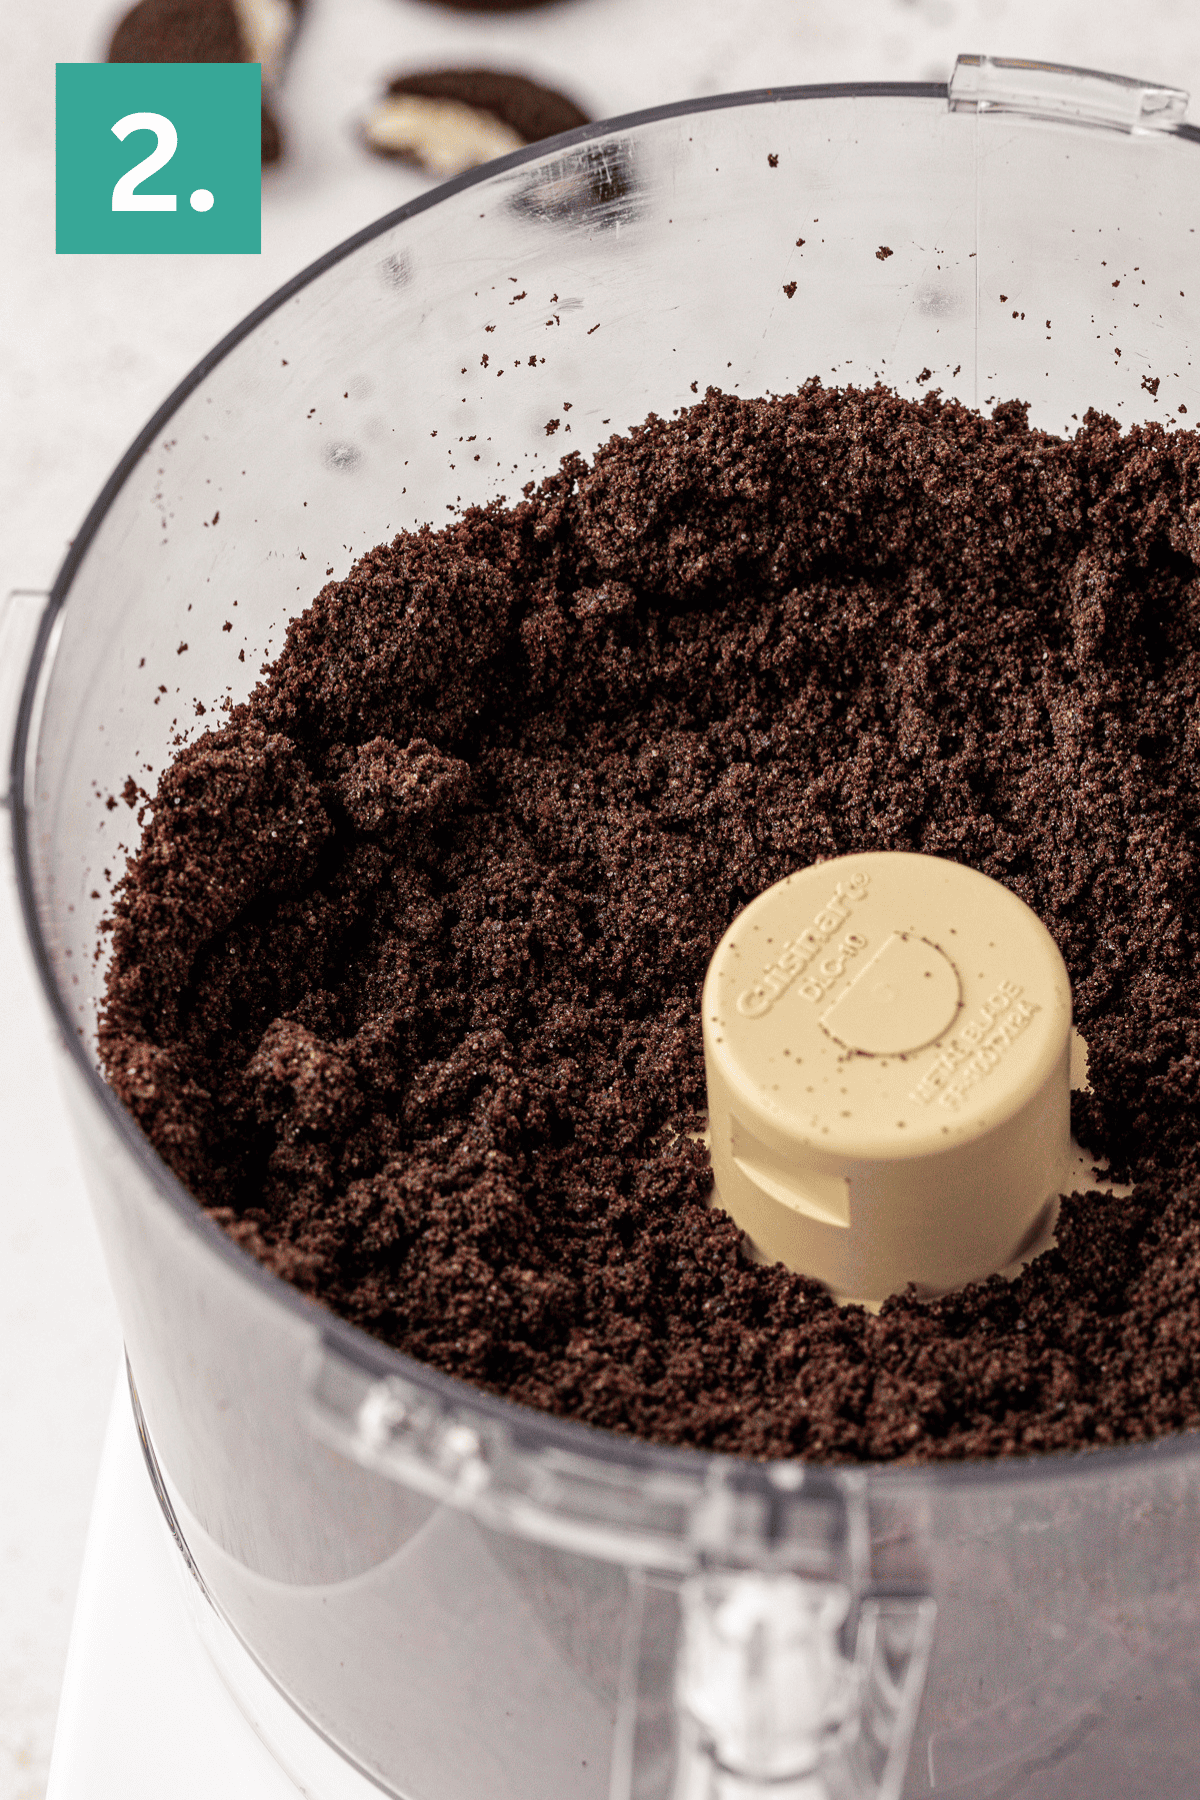
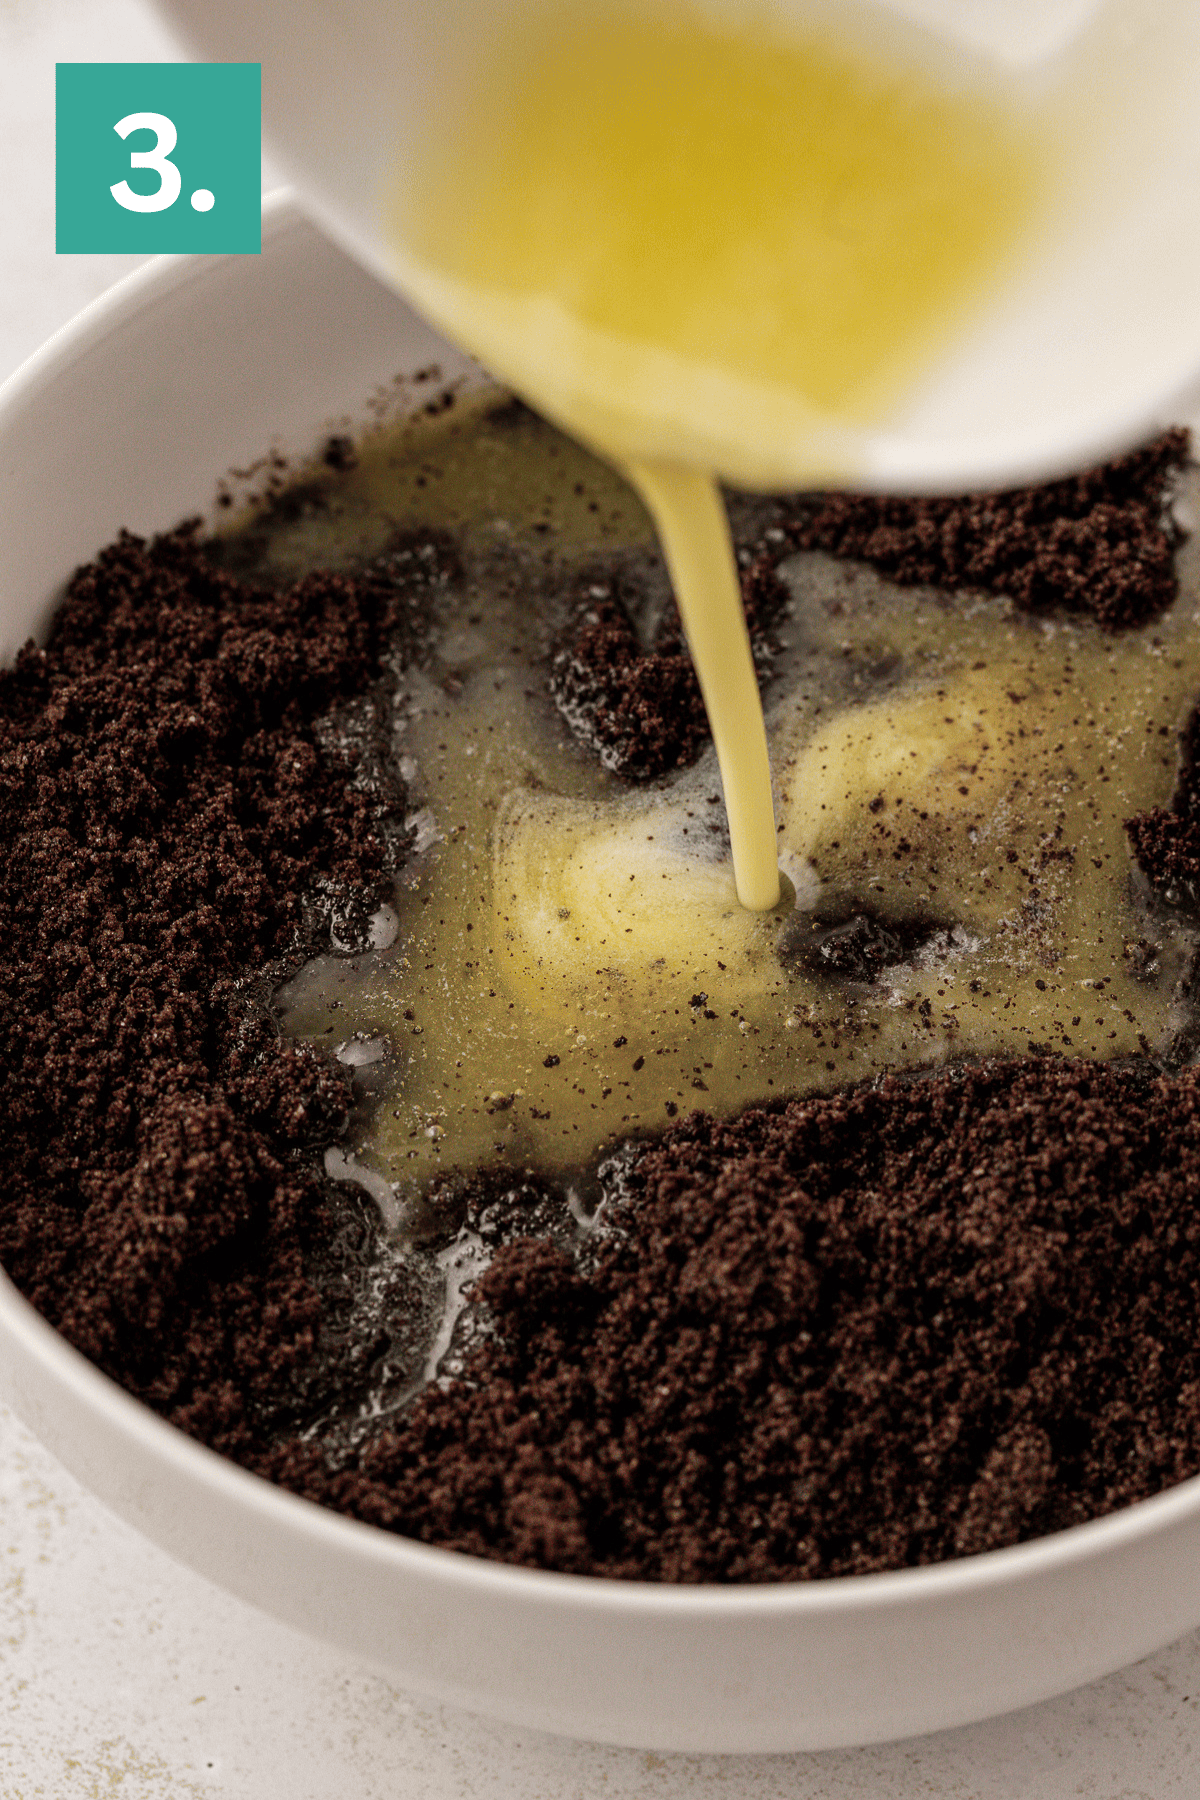
- Combine with Butter: Pour in the melted butter and stir until every crumb is coated. The texture should feel like damp sand when pressed together.
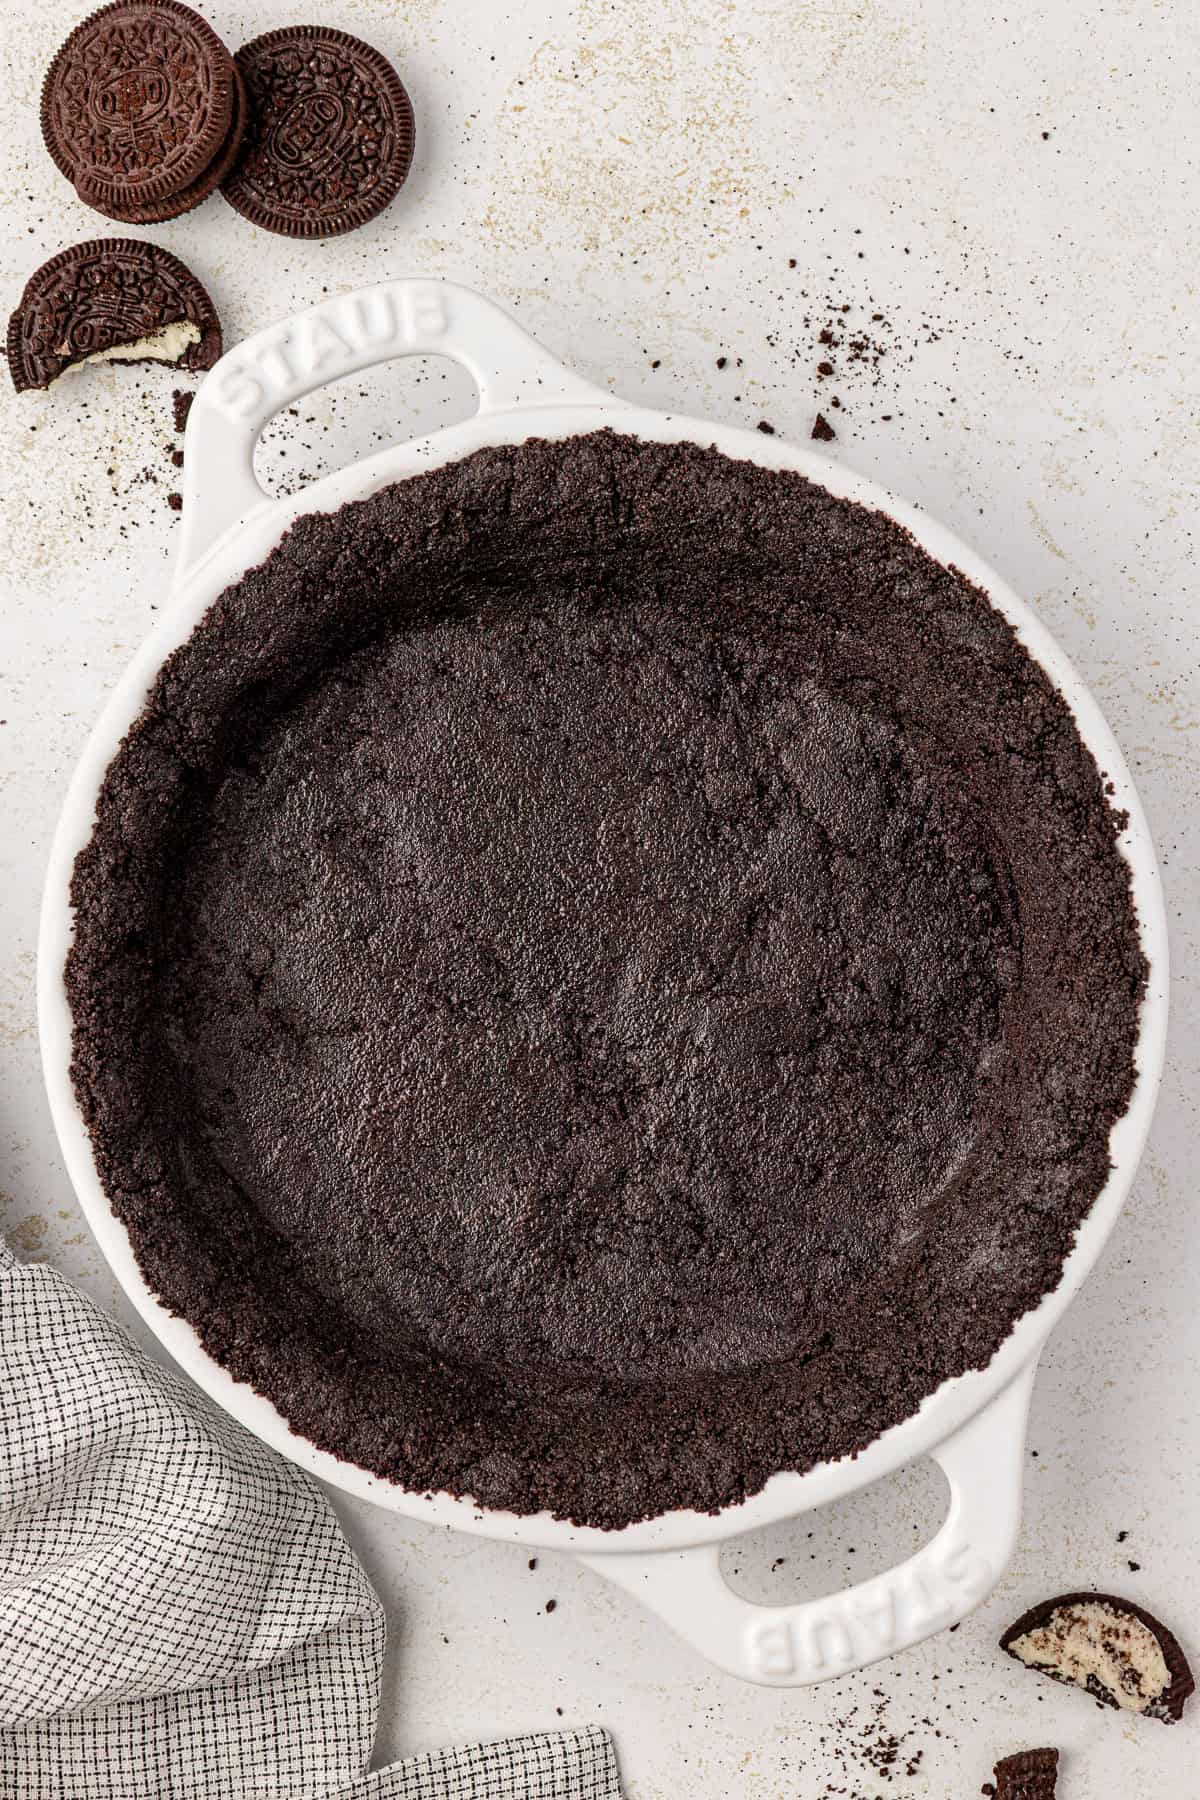
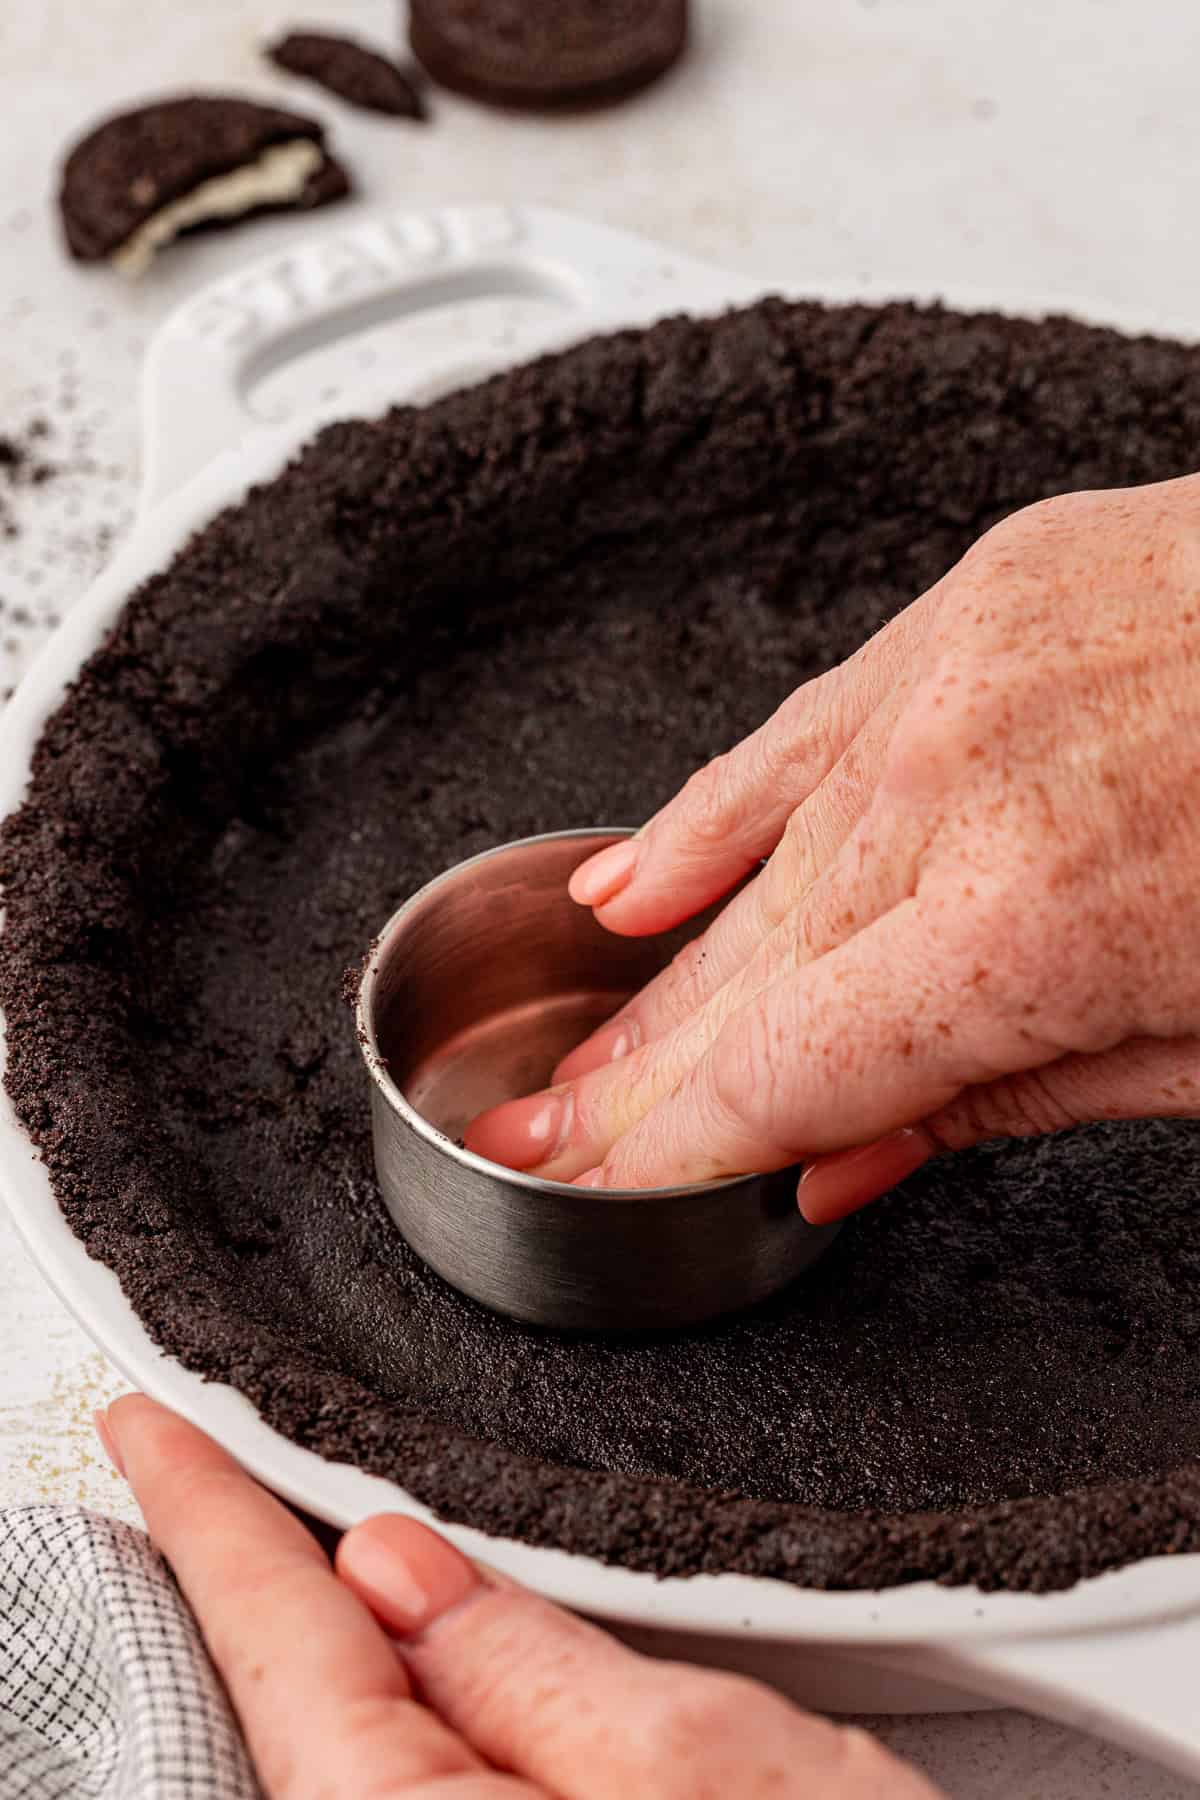
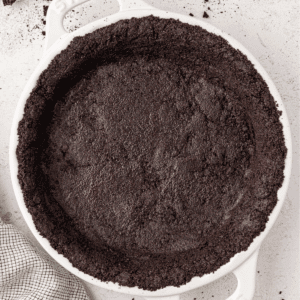
- Press into the Pan: Transfer the mixture into your pie dish and use the back of a spoon or measuring cup to press firmly across the bottom and sides. For an extra sturdy crust, run a spoon around the bottom “corner” where the base meets the sides to create a rounded edge—this helps prevent cracking when slicing.
- Bake or Chill: If you’re making something like cheesecake or pudding pie, this crust works either way. Pre-baking gives it a crisp, toasted flavor that holds up beautifully under creamy fillings. Freezing is perfect for no-bake pies where you just want that chocolate cookie base to stay firm and slice cleanly.
- For baked desserts: Pre-bake for 8–10 minutes at 350°F, then cool before adding your filling.
- For no-bake desserts: Freeze the crust while you prepare your filling.
Oreo Pie Crust Recipe Storage and Make-Ahead Instructions
To Store: Keep the baked or filled crust covered in the refrigerator for up to 4 days.
To Make Ahead: You can prep and refrigerate the crust (unfilled) up to 2 days in advance.
To Freeze: Wrap tightly and freeze for up to 3 months. Thaw in the fridge before filling.
Ways To Use Homemade Oreo Pie Crust
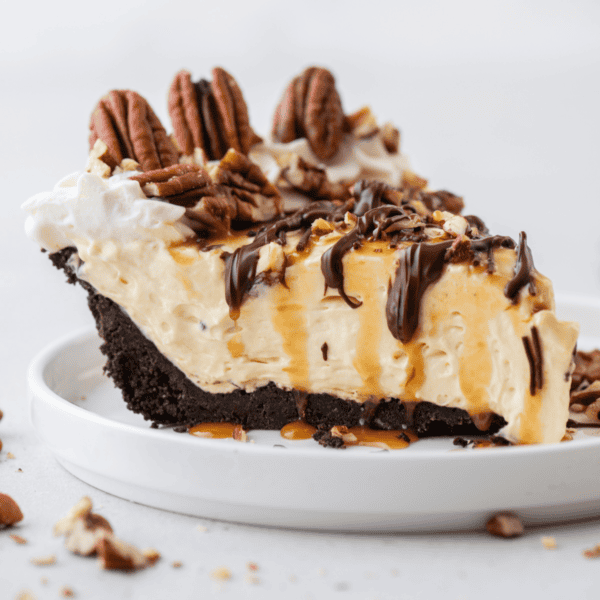
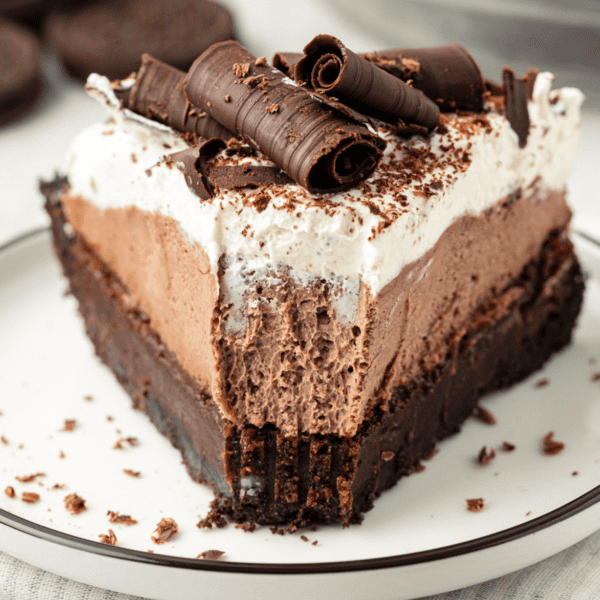
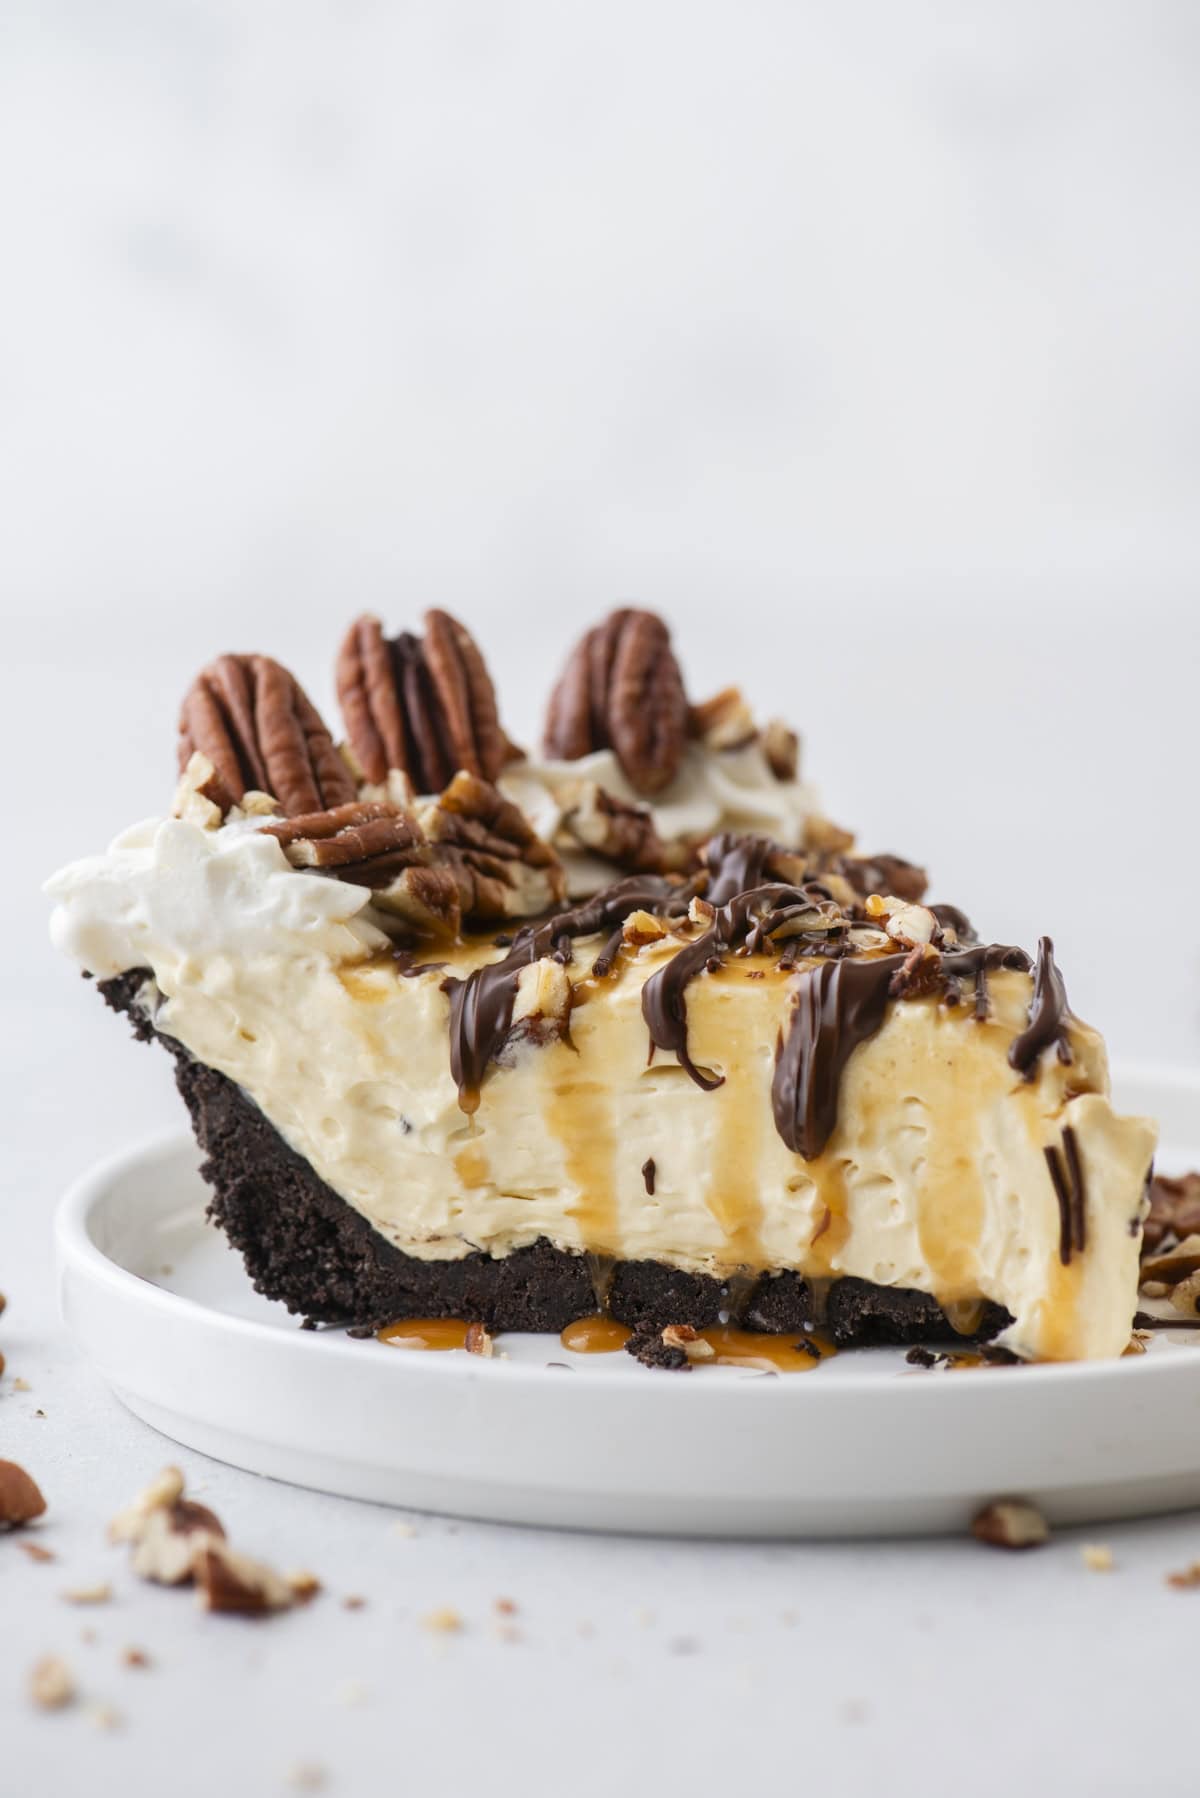
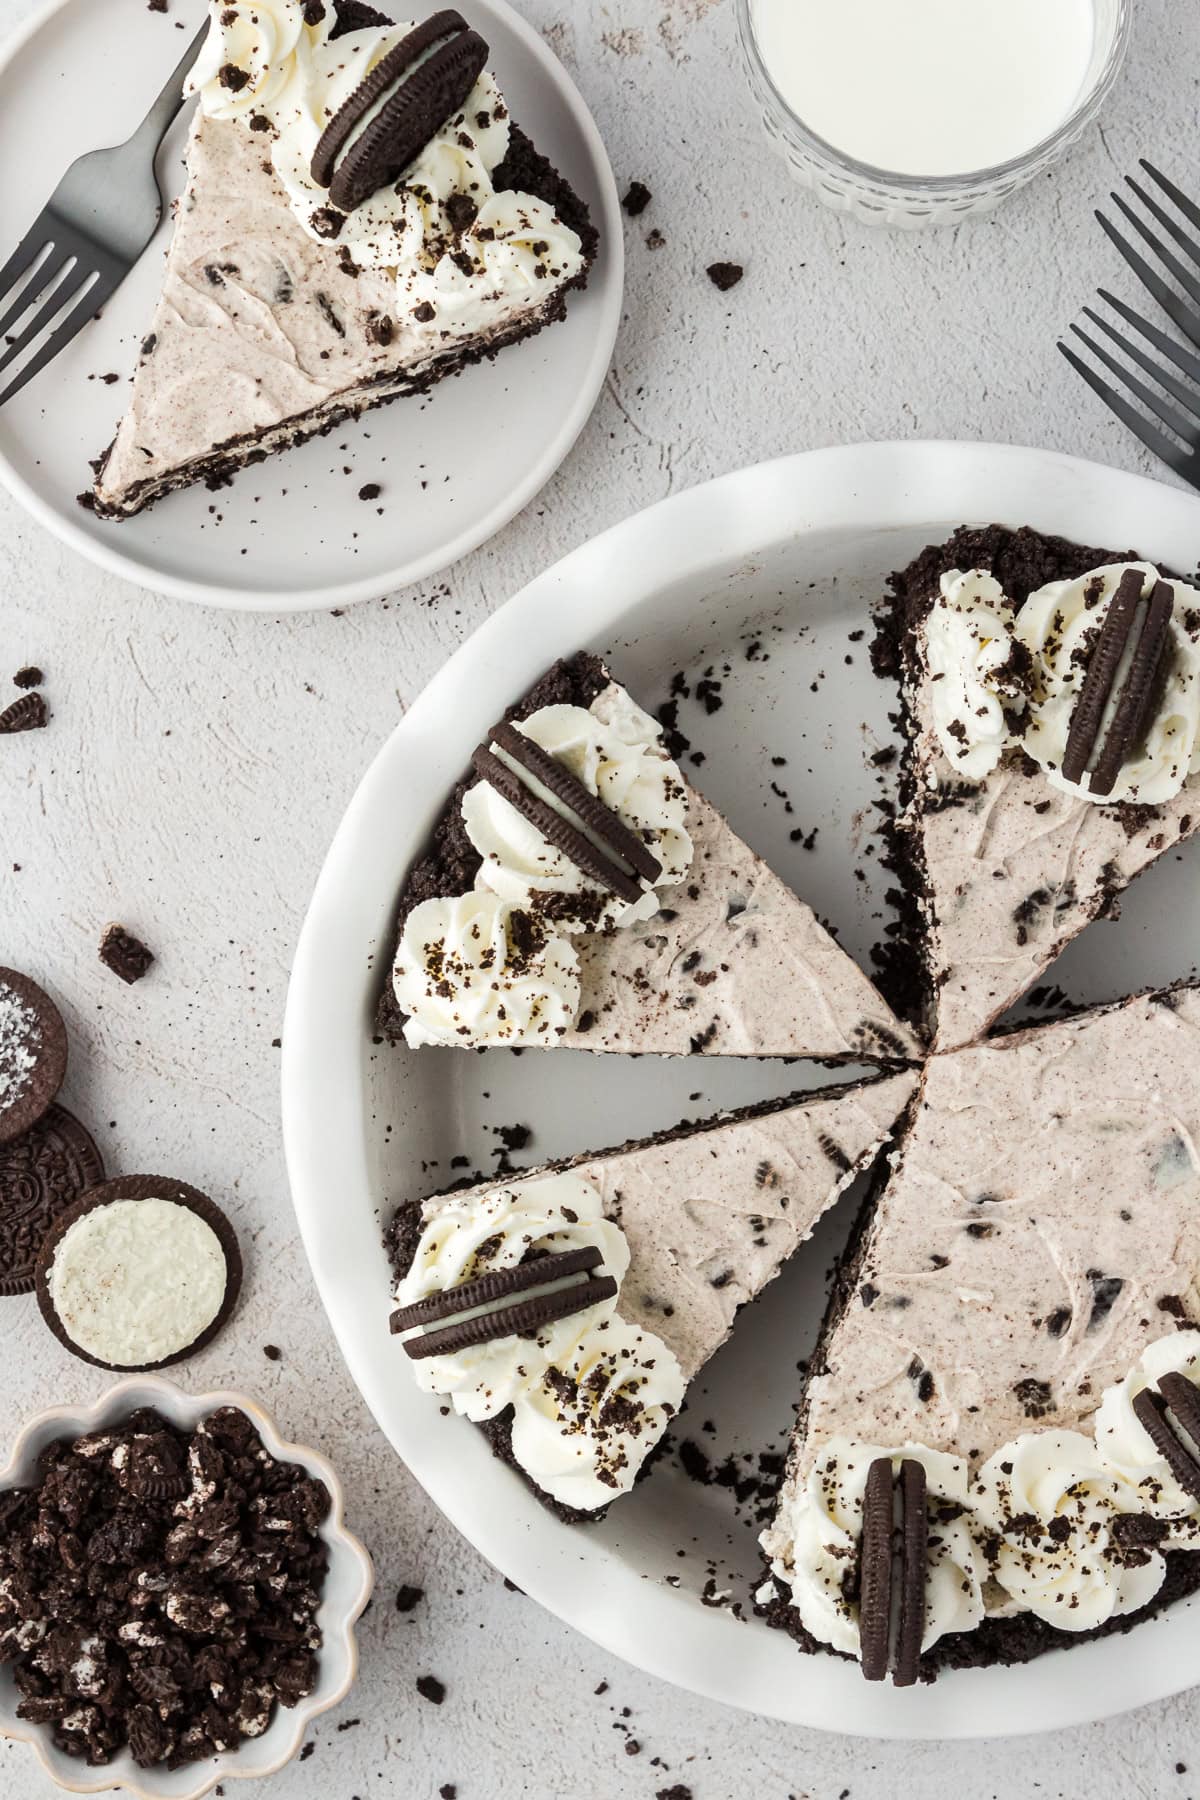
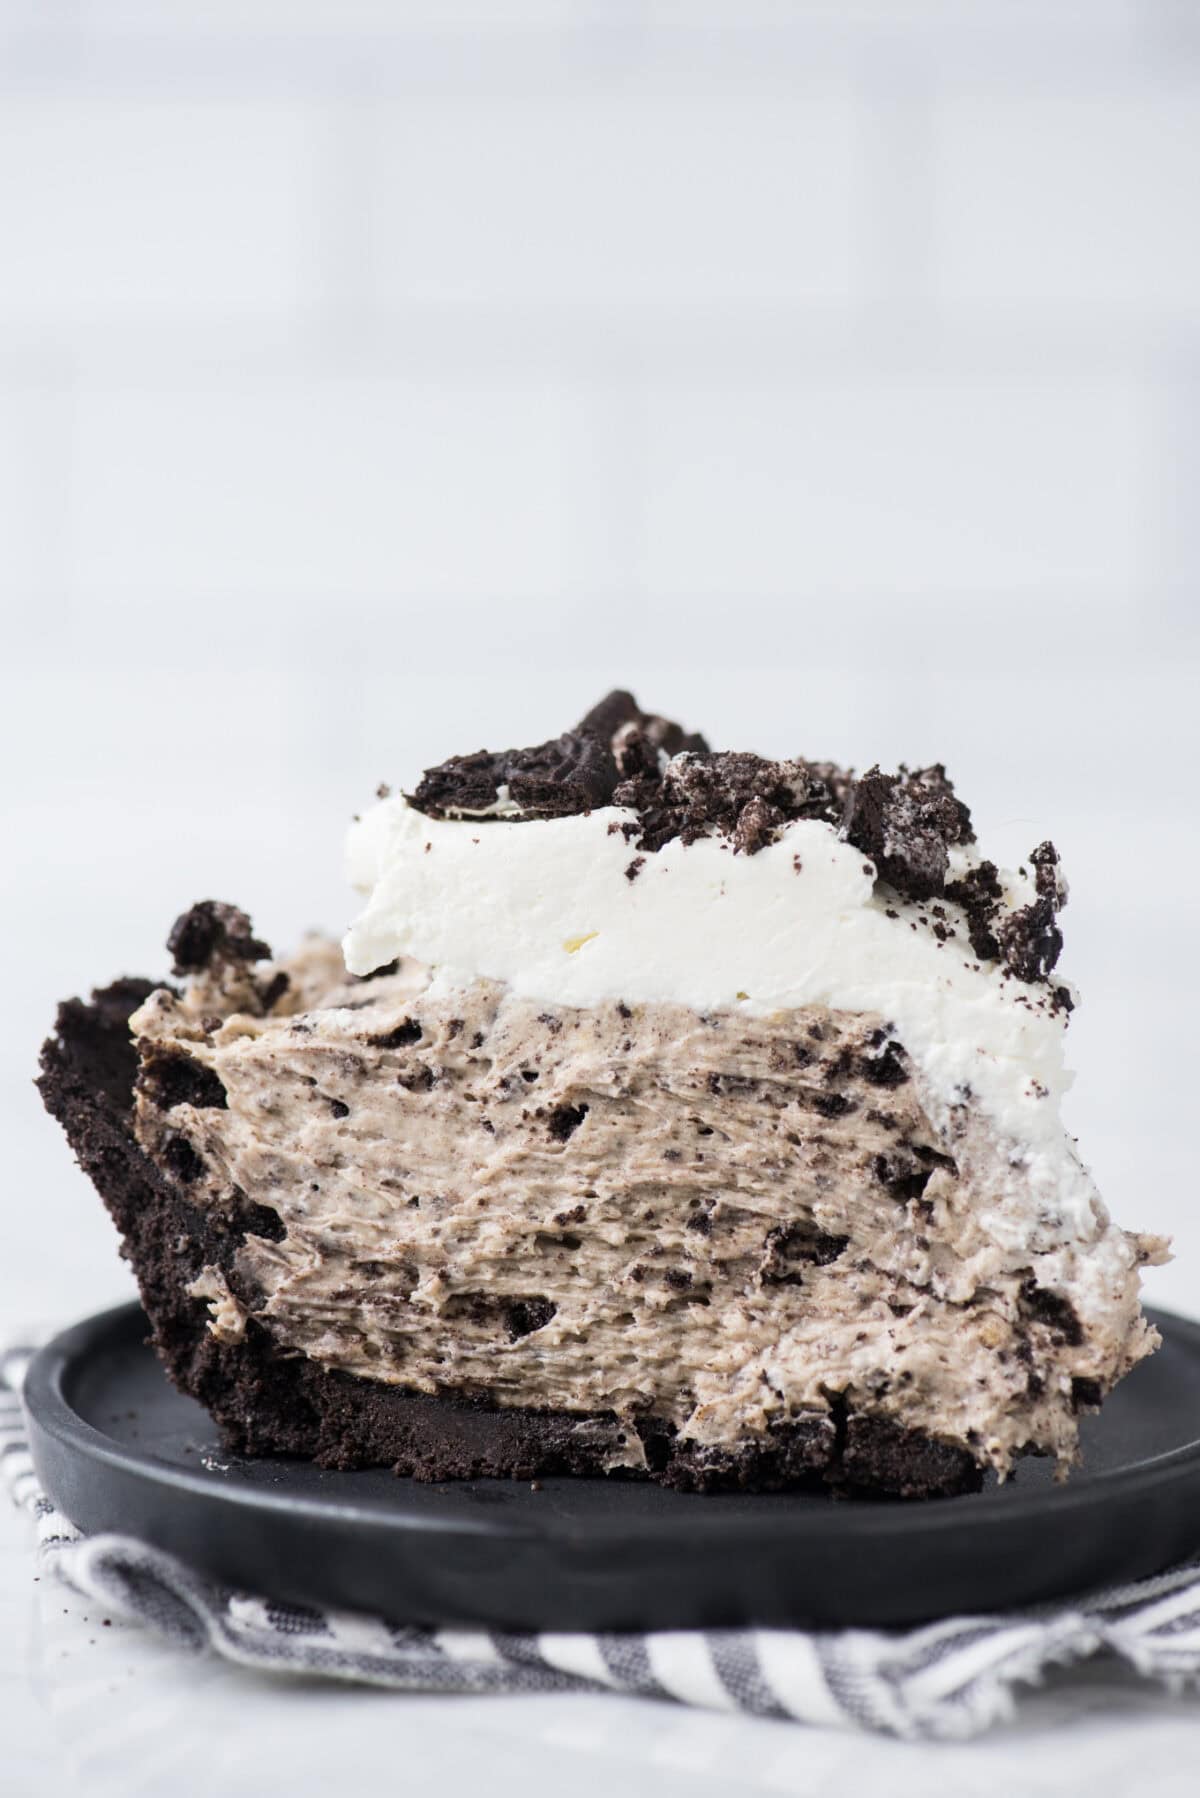
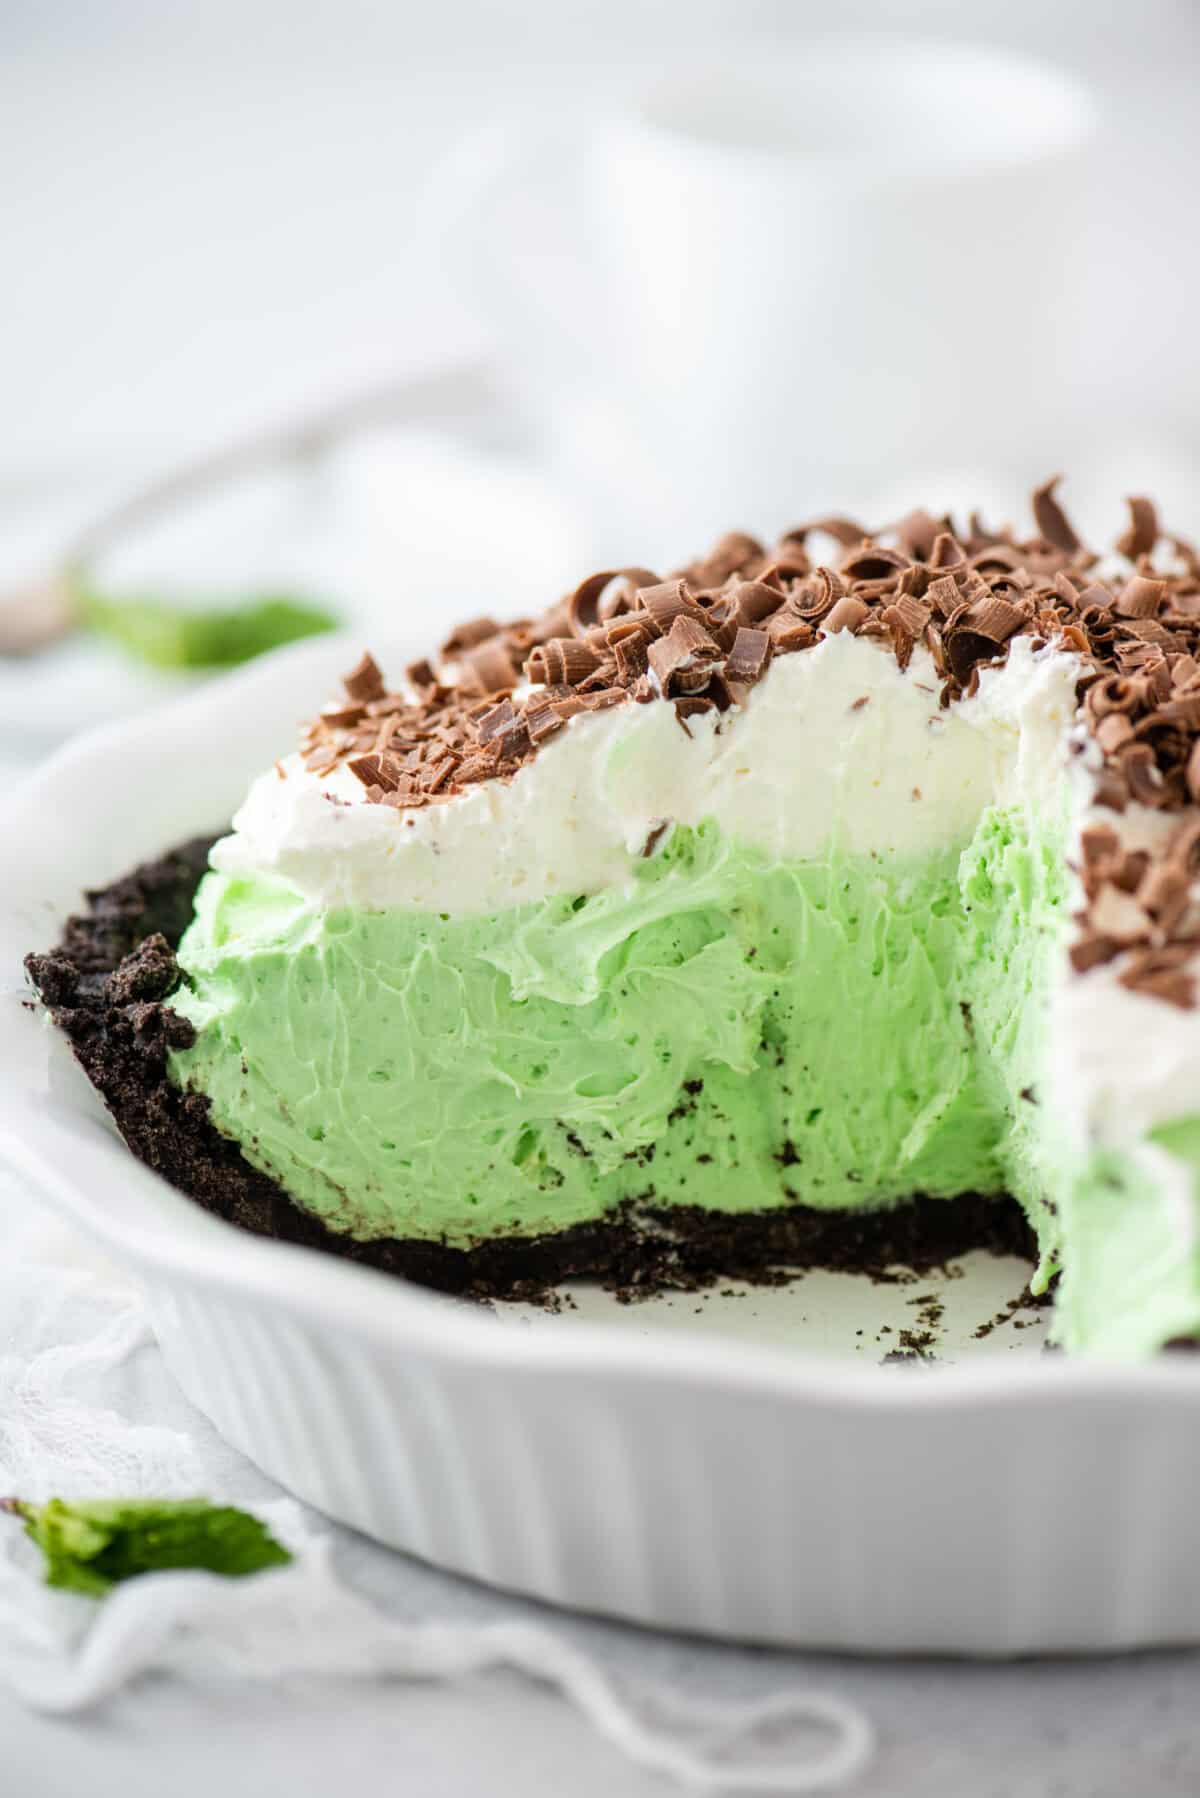
This crust is perfect for cheesecakes, cream pies, pudding pies, or icebox desserts. Try pairing it with peanut butter filling, chocolate mousse, or even a layer of caramel and whipped cream. Once you master this crust, you’ll use it in dozens of desserts.
- No Bake Oreo Cheesecake
- Chocolate Peanut Butter Pie
- Oreo Pie
- No Bake Pumpkin Cheesecake
- Butterfinger Pie
- Classic Cheesecake
- Chocolate Pudding Pie
Oreo Crust Recipe FAQs
Yes! Be sure to blend the cookie and the cream filling. There’s no need to remove the cream filling. The cream filling adds flavor and helps to bind the crust together, along with the butter.
To make one 9 inch oreo pie crust use a 14.3 oz package of oreos, this is equal to 36 oreos. This is the standard package, not the large or family size package.
The most common mistake is not using enough melted butter to bind the cookie crumbs together. If the mixture is too dry, the crust will crumble when sliced. On the other hand, adding too much butter can make it greasy or soggy once chilled. Another easy mistake is overpacking the crust into the pan—press it firmly but not too tightly, or it can set too hard to cut through. Lastly, make sure to crush the Oreos finely so the crust holds together smoothly, and chill it before filling to help it firm up properly.
Tap stars to rate!
Homemade Oreo Pie Crust
Ingredients
- 14.3 oz package oreos , 36 oreos (Regular, not double stuffed)
- 7 Tbsp (98g) unsalted butter, melted
Video
Instructions
- In a food processor or blender, pulse the oreos (the cookie portion and the cream filling) into fine crumbs.14.3 oz package oreos
- In a mixing bowl, use a spatula to combine the crumbs with the melted butter until well combined.7 Tbsp (98g) unsalted butter
- Transfer the crumbs to an ungreased 8, 9, or 10 inch pan. Use the bottom of a measuring cup or drinking glass to pack / tamp the crumbs evenly and tightly into and up the sides of the pan. If making a pie, use the back of a spoon to gently smooth and round the spot where the sides meet the bottom of the pan. This small step helps the crust stay together and slice cleanly.
Notes
To Make Ahead: You can prep and refrigerate the crust (unfilled) up to 2 days in advance.
To Freeze: Wrap tightly and freeze for up to 3 months. Thaw in the fridge before filling.