
This post may contain affiliate links. Please read our disclosure policy.
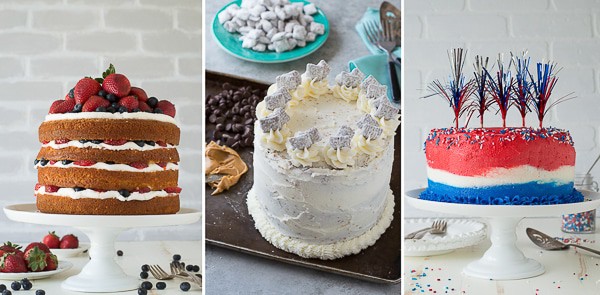
 Now that I’ve overcame my fear of making layer cakes there seems to be an explosion of cake recipes on our blog. While I’ve shared detailed pictures about how to frost a layered cake, I haven’t shared a tutorial for how to bake a cake.
Kind of crucial, I think!
If I share a recipe for a cake, I clearly state the directions in the recipe section about how to prepare the cake batter and how to bake it, but detailed pictures are way better at explaining the process.
So let’s get started – here’s how to bake a cake! Disclaimer: The photos show our white cake recipe, but all of our cake recipes follow very similar, if not the same procedure.
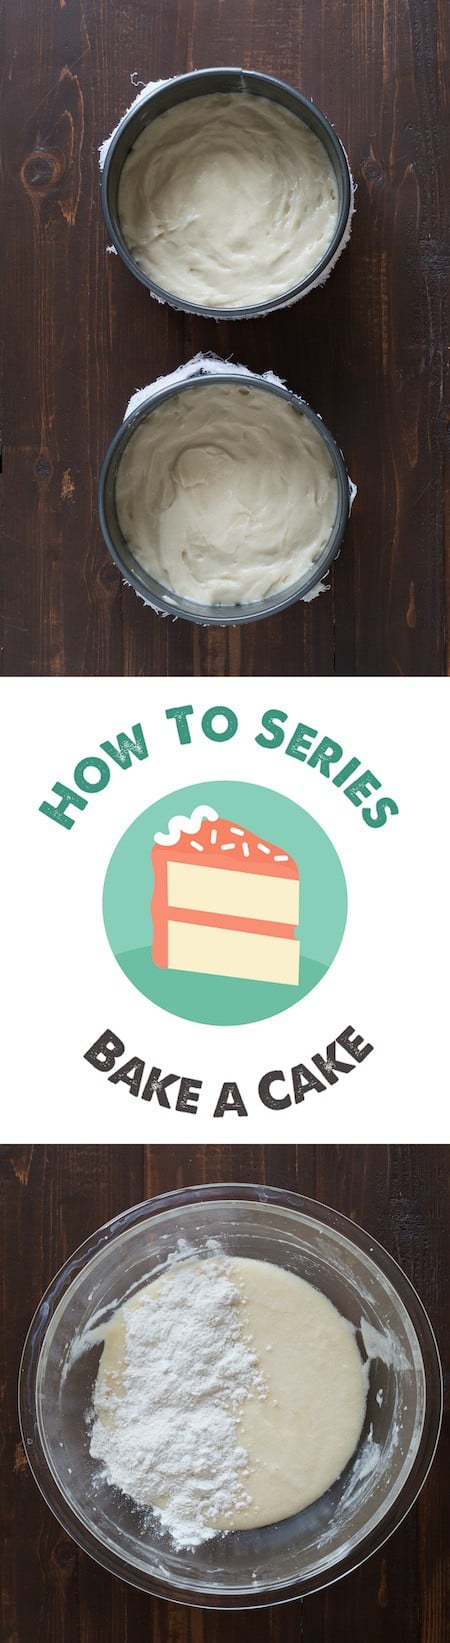
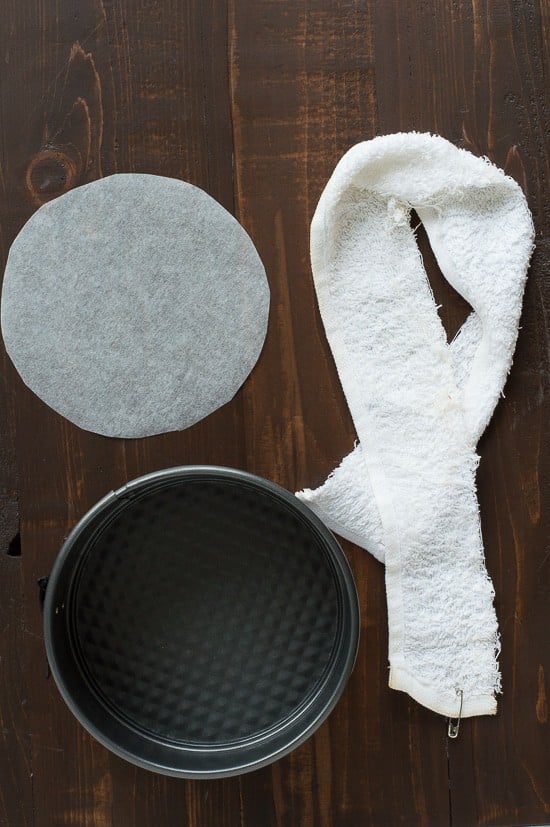 Before you decide you want to bake a cake, you’ll need a few things – a springform pan, a parchment paper circle, and a bake even strip.
A springform pan has a removable bottom and sides. You can find them in tons of stores. I own two 8 inch and two 6 inch springform pans.
A parchment paper circle is literally a circle of parchment paper cut to be the same size as your pan. The parchment paper will make removing your cake from the pan after it’s baked much easier. I never skip the parchment paper.
A bake even strip will help your cakes bake evenly. It’s one of the best tools when it comes to making cakes. You can purchase bake even strips here on Amazon or you can make your own, like I did!
You can make your own homemade bake even strip by cutting a towel to fit the size of your pan, so you’re going to have one long kinda skinny piece. To use the strip, get the fabric really wet, then squeeze out the dripping water but do not squeeze it too dry. Secure the fabric around the edge of the pan with a safety pin. Ta da! Your cakes will bake even.
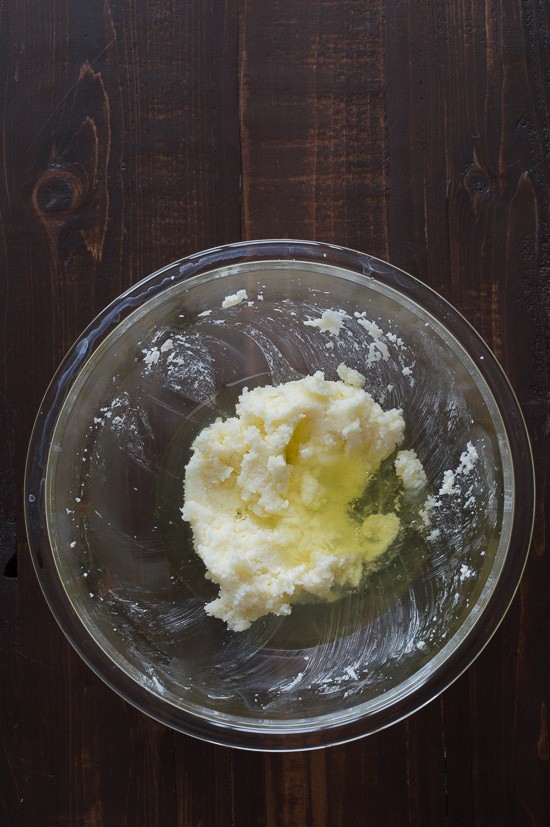
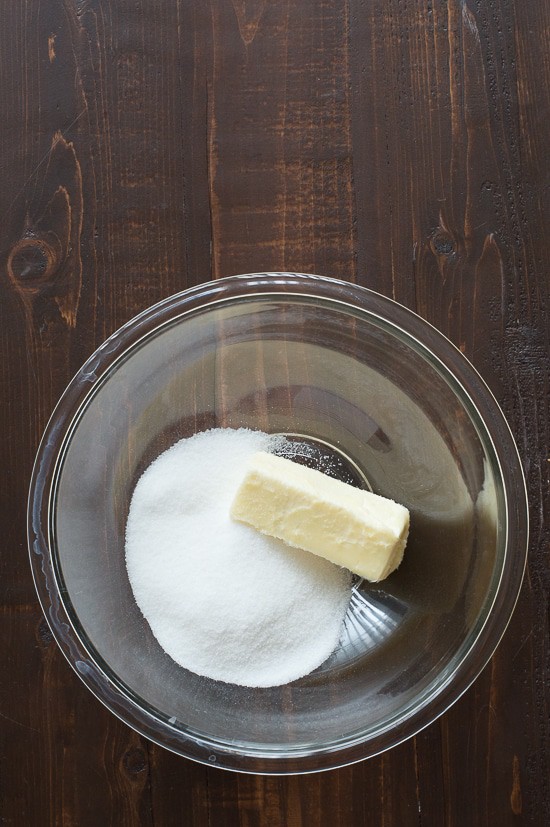 Let’s get started on the cake – All of our layered cake recipes start out by beating the butter and sugar together. Use an electric mixer to beat them until creamy. Definitely at least 1 minute, up to 2 minutes. Scrape the bowl with a spatula as needed to incorporate the bits that get stuck on the sides of the bowl.
A note – always always ALWAYS use room temperature butter when beating in sugar. If you’re not sure what kind of butter you need, follow the recipe, I always include if the butter should be room temperature.
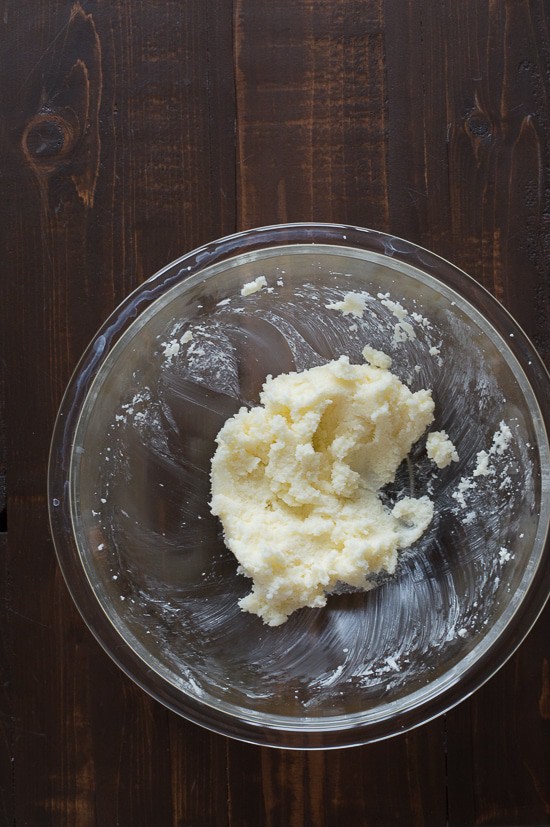 This is what the butter and sugar should look like after it’s been beaten.
 Next, you’re going to add in the eggs. Again, all of our layered cake recipes call for beating in the eggs after the butter and sugar. In this case, our white cake recipe calls for egg whites. Go ahead and add in all of the eggs unless the recipe specifically says to add them in one at a time. Beat until combined, about 1 minute.
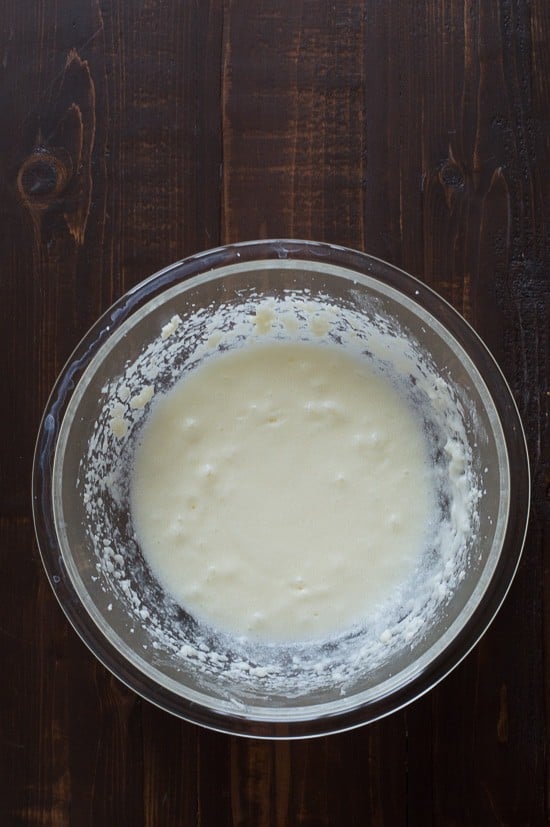 The batter will look more runny after beating in the eggs, but if you use a spatula to scrap down the sides you’ll notice that the batter is more “globby” meaning the eggs are wanting to stick together.
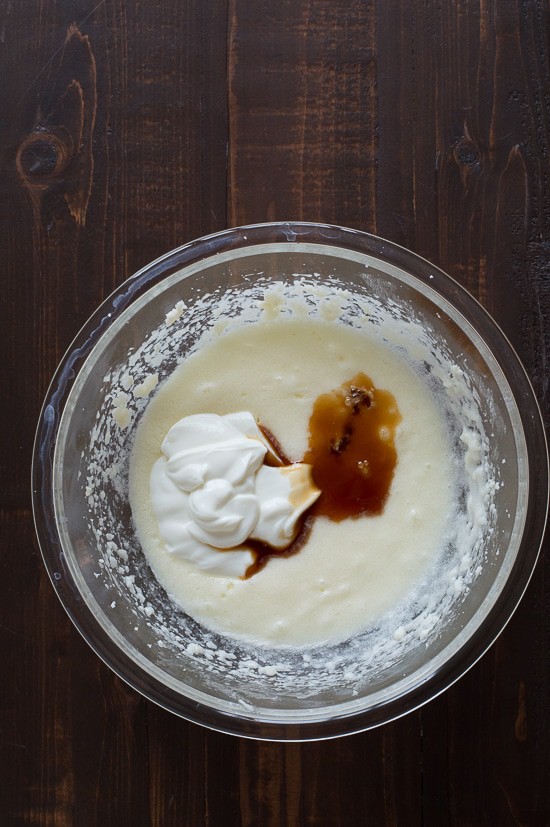 Add in the sour cream and vanilla, stir with a spatula, like 20-30 seconds. In our chocolate cake recipe, you’ll actually add in the eggs and vanilla, beat that, than add in the sour cream and melted chocolate and mix by hand. Just follow each recipe as directed.
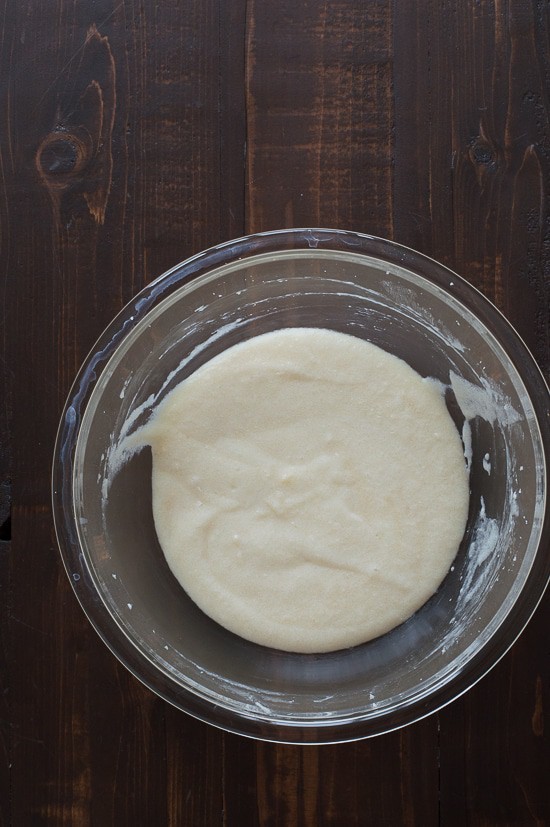 The batter is looking more smooth.
 In a separate bowl, combine all of the dry ingredients. That usually includes flour, baking powder and/or baking soda, and salt. Use a spoon or spatula to gently mix the ingredients, but you want to incorporate them pretty well. If you were making our chocolate cake, you’d add the cocoa powder to the dry ingredients too.
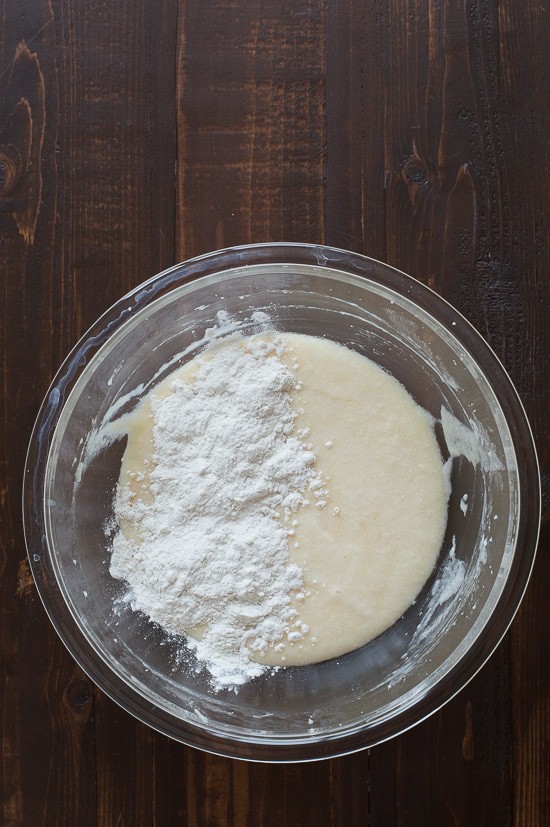 Take a few spoonfuls of the flour mixture and shake it over the batter. Use a spatula to incorporate the flour. Repeat with a few more spoonfuls, mixing again, more flour, and such forth. I usually divide my flour mixture into 3 batches, meaning I add a small amount of flour to the batter 3 different times. Scrap the bottom and sides to fully incorporate all of the flour.
If you’re making the chocolate cake, I like to use a mesh strainer and gently shake the flour mixture over the batter, 3 in batches again. This technique helps to break up the cocoa powder.
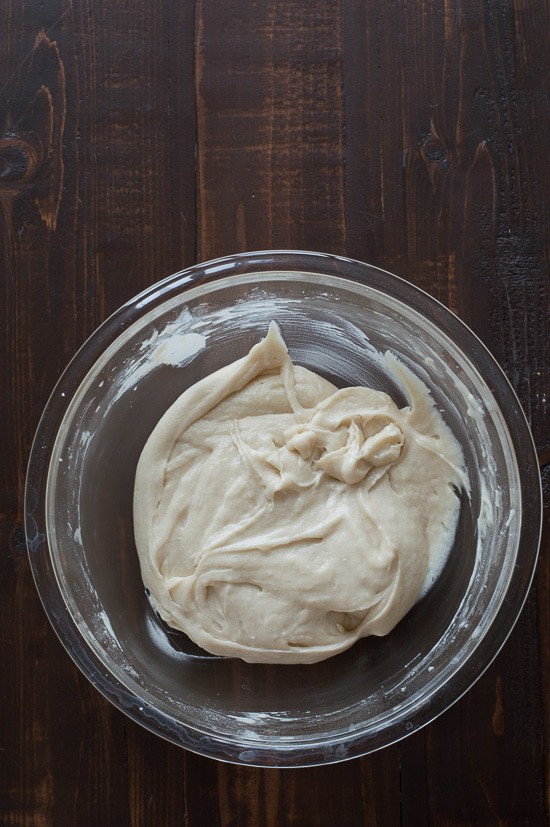 Look! The batter is ready.
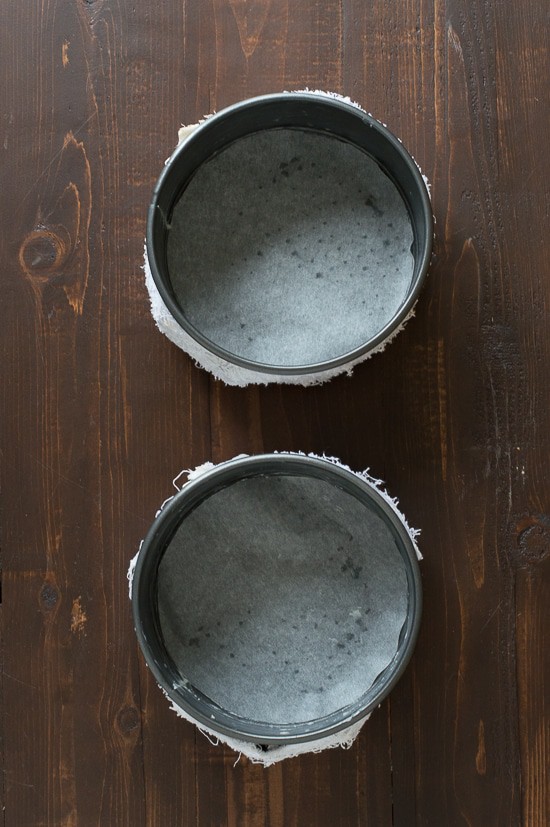 Prepare the pans for the batter. Generously butter the sides and bottom of your springform pans. Add a parchment paper circle to the bottom of the pan, on top of the bottom you just buttered. To use the bake even strip, get the fabric really wet, then squeeze out the dripping water but do not squeeze it too dry. Secure the fabric around the edge of the pan with a safety pin. If you are using a store bought bake even strip, follow the directions on the package.
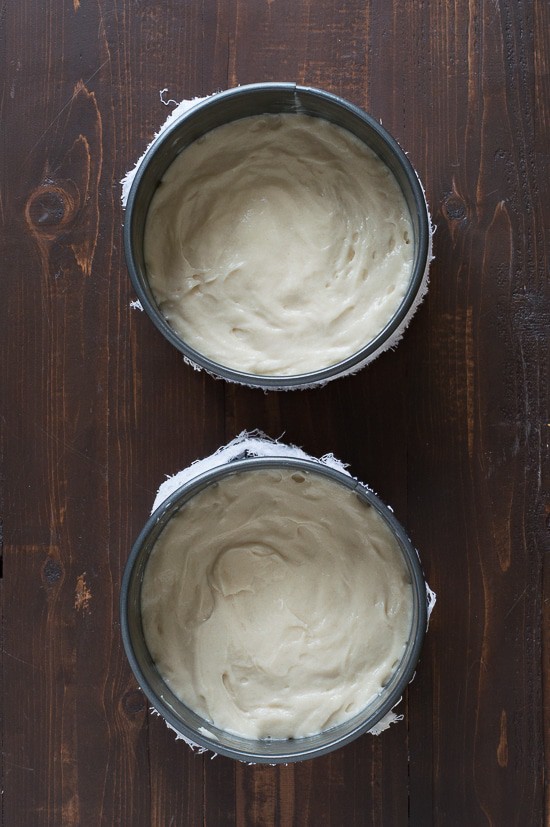 Divide the batter among the pans, that is if the recipe calls for dividing the batter. I actually like to measure how much batter goes into each pan to really make sure the amount in each is the same. Use a spatula to spread the batter to the sides of the pan, smoothly the top as you go.
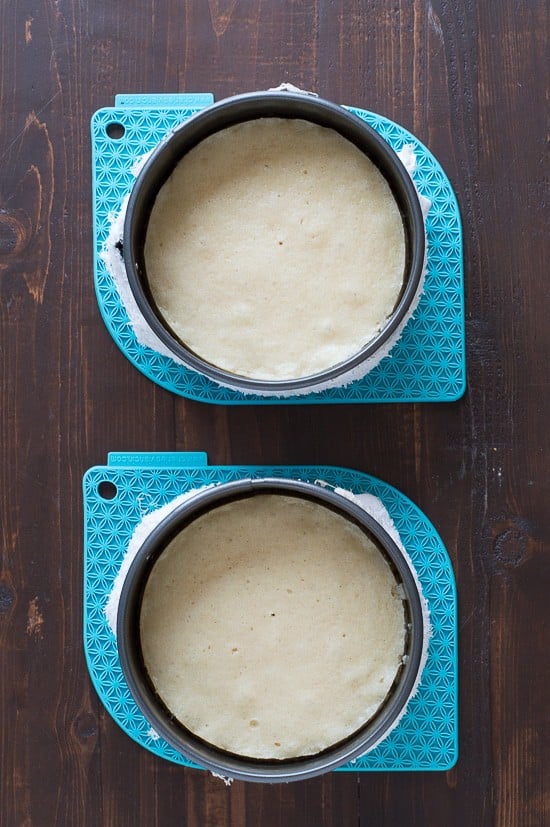 Bake the cakes as directed in the recipe. I bake mine directly in the middle of my oven. I do not open the oven door while they’re baking. Check the cakes by inserting a toothpick in the center to see if they are done. If they are, remove them from the oven and place on a cooling rack or on silicone hot pads.
Allow the cakes to cool for 10 minutes. Then you can run a knife or skinny metal spatula along the sides of the cake. Carefully unclasp the springform pan and remove the side ring. I allow my cakes to cool completely before removing the bottom of the springform pan.
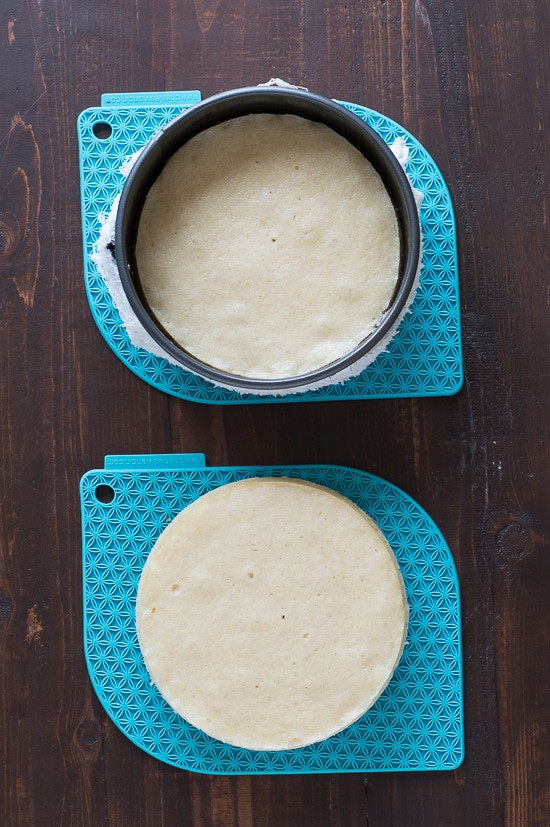 Look how even and nicely baked they are! I don’t even have to level my cakes because they are already so flat.
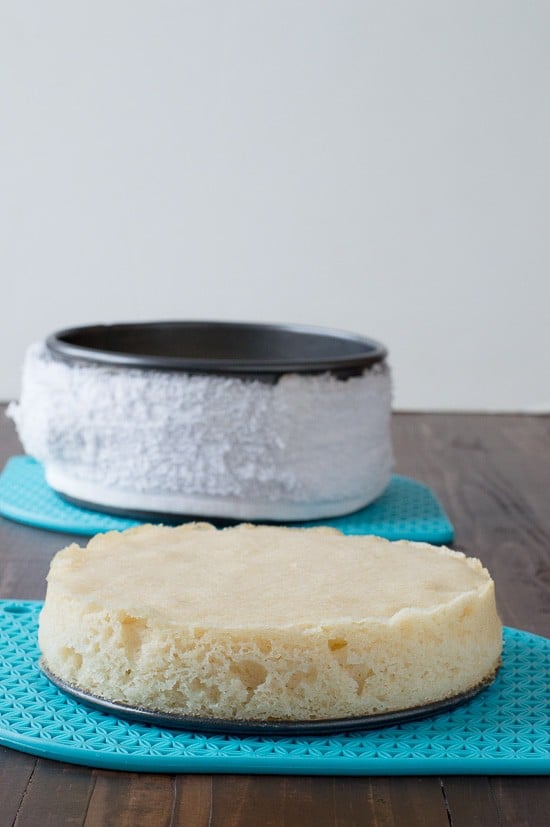 Allow the cakes to cool completely before wrapping each in plastic wrap and placing them in the refrigerator. I highly recommend putting your cake layers in the fridge before you attempt to assemble and frost your cake. Most times I leave mine in the fridge overnight if not for up to 2 days.
I’ve rounded up my favorite baking products including the ones I use day after day on my amazon affiliate store.
Find our cake recipes here:
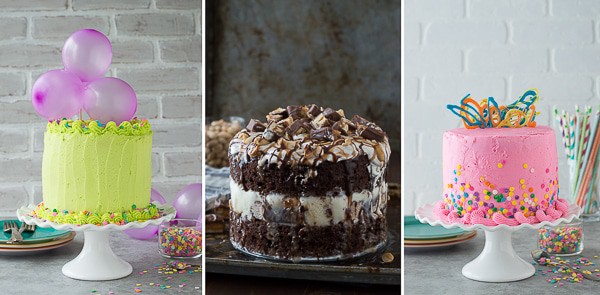 Funfetti cake, Chocolate cake, and Chocolate chip cake
 Vanilla cake, chocolate and peanut butter cake, and white cake.
 Lemon cake, orange poppyseed cake, and maple pecan cake.


Great post, Beth!
Thanks Mary! I hope you found it helpful!
Such a great post! I need to use one of those home-made baking strips! Thanks for the tips!
It’s a life saver for sure!
This is such a great post, Beth! Love all these tips! :)