
This post may contain affiliate links. Please read our disclosure policy.
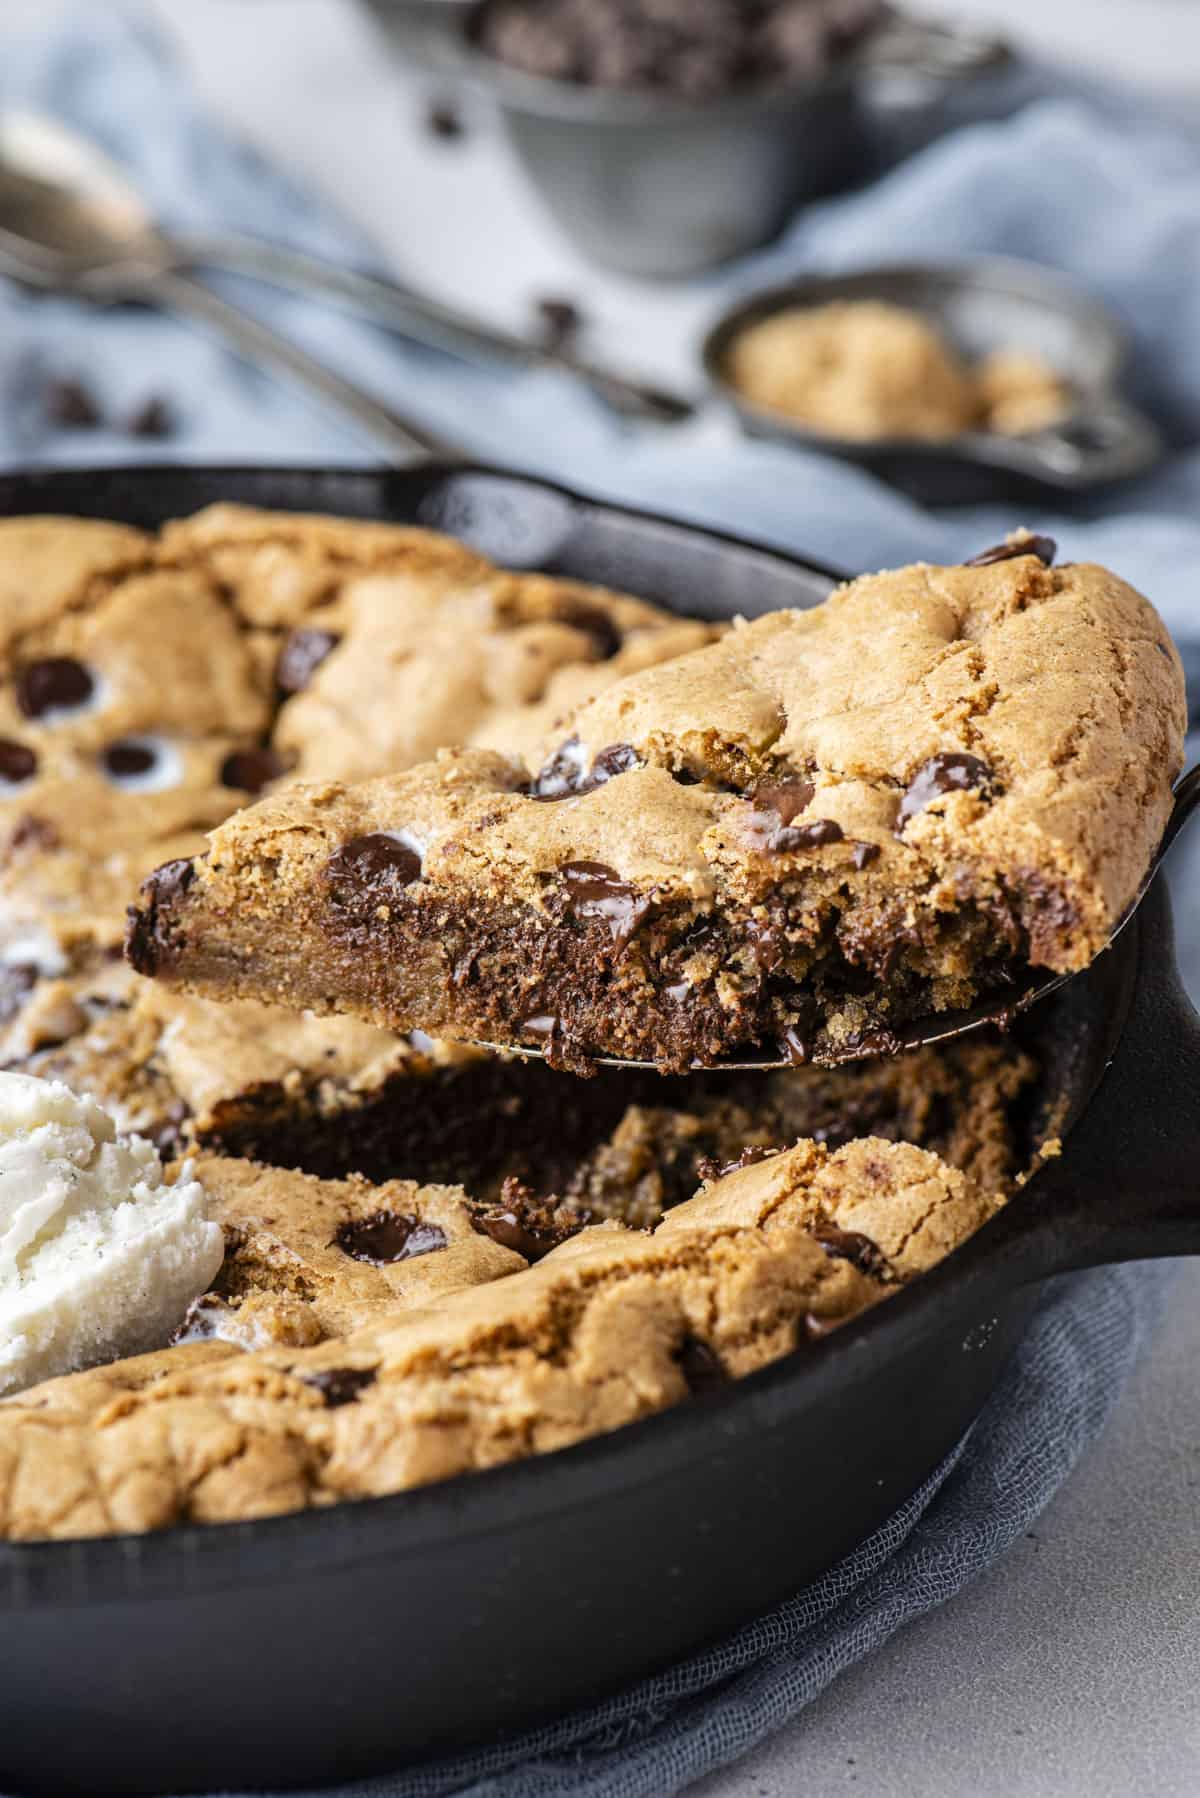
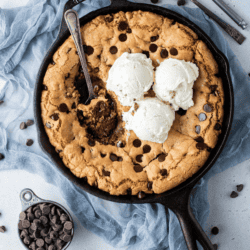
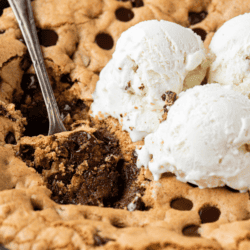
The perfect pizookie has a gooey center, crispy edges, a chocolate chip butterscotch flavor balance, and that signature cookie chewiness. If you’ve ever ended up with a pizookie that’s doughy in the middle or crispy all the way through, this recipe fixes both. I tested the bake time and temperature until I found the exact combination that gives you a golden edge and a gooey center every time.
Heavenly Pizookie Dessert
This chocolate chip pizookie is built around one goal: crispy edges on the outside, a soft gooey center in the middle, every single time. Getting that balance right in a thick skillet cookie took real testing, since the edges and center don’t bake at the same rate. I landed on baking at 325°F, low enough that the center has time to set without the edges going too far.
I paid close attention to more than just texture while testing this recipe. Balance also mattered between the cookie flavor and the ice cream on top, so neither one overpowers the other. That attention to both texture and flavor is what makes this pizookie feel like a finished dessert instead of just a cookie with ice cream dropped on top.
Cornstarch is my secret ingredient in this dough, it’s what gives you that soft, slightly gooey center without ever turning cakey. Browned butter goes in instead of regular melted butter, adding a deeper, almost toffee like flavor to every bite. Together, those two ingredients are what make this pizookie taste like it came from a bakery.
Pizookie Pan
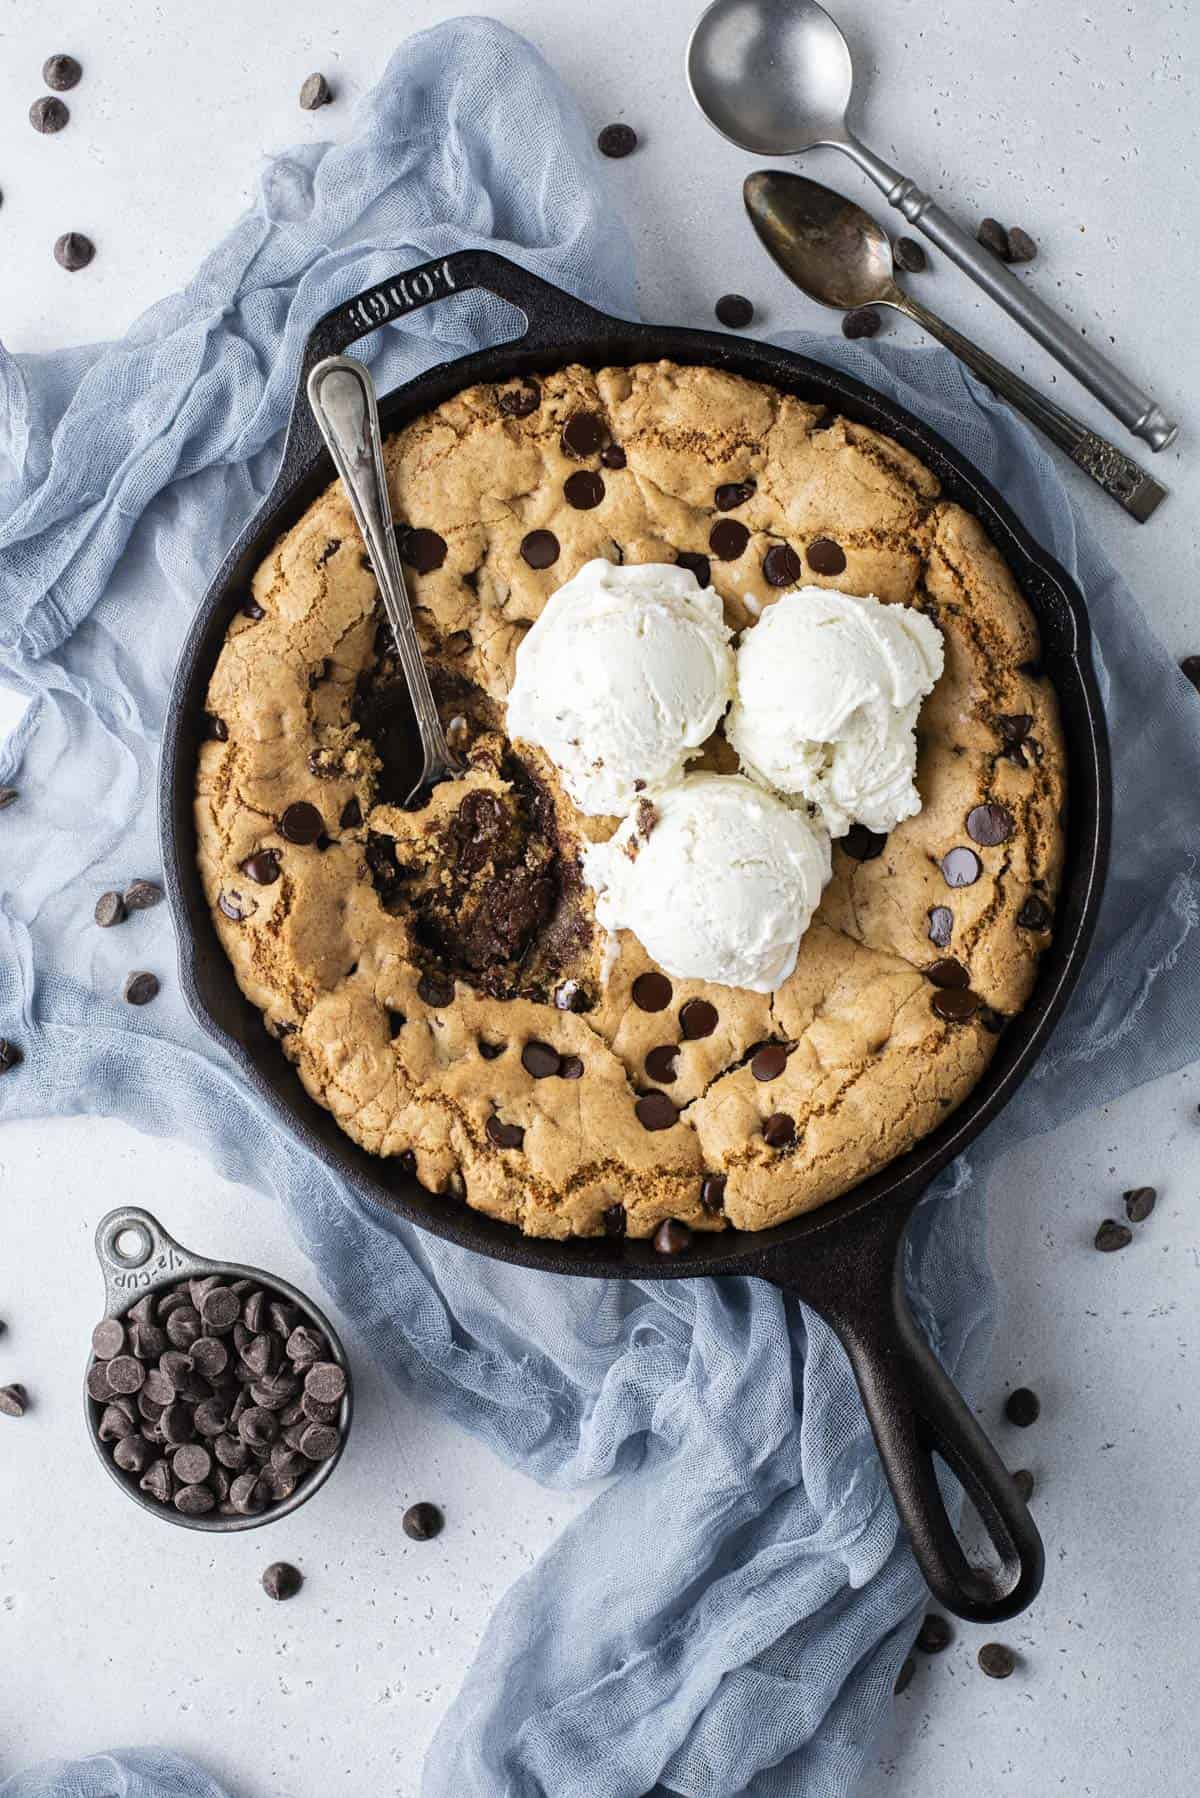
A cast iron skillet is the classic pizookie pan, and it is what I use every time. The heavy base holds heat evenly so the edges turn deep golden while the center stays soft, and it goes straight from oven to table for serving.
No cast iron on hand? A 9 inch round cake pan is your closest substitute, or an oven safe pie dish works too. Just know your bake time will shift a few minutes depending on the pan, so check the notes in the recipe card below for exact timing on each option.
What is a Pizookie?
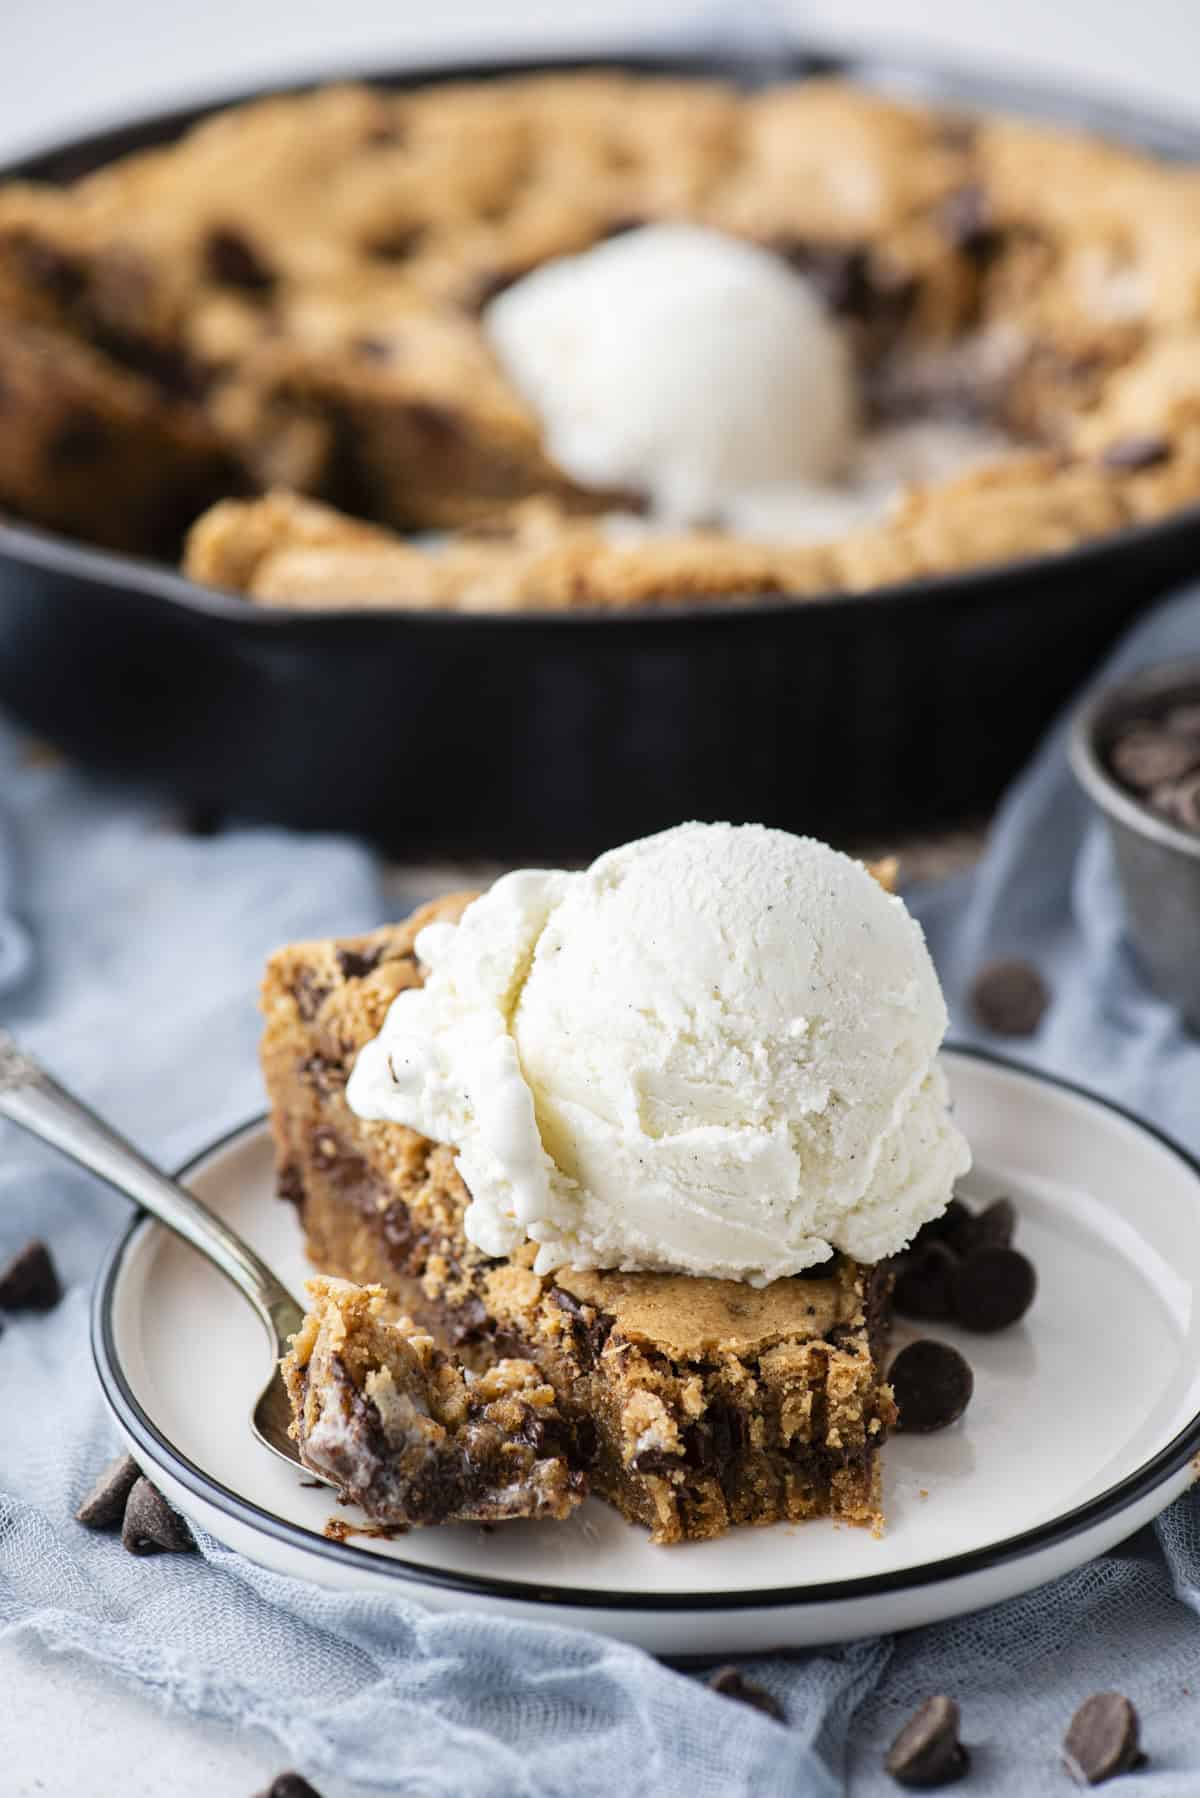
A chocolate chip pizookie is a giant skillet cookie baked until the edges turn golden and the center stays soft, then topped with a few scoops of ice cream. My version uses browned butter and a scoop of cornstarch for that bakery style texture, crispy on the outside and gooey in the middle.
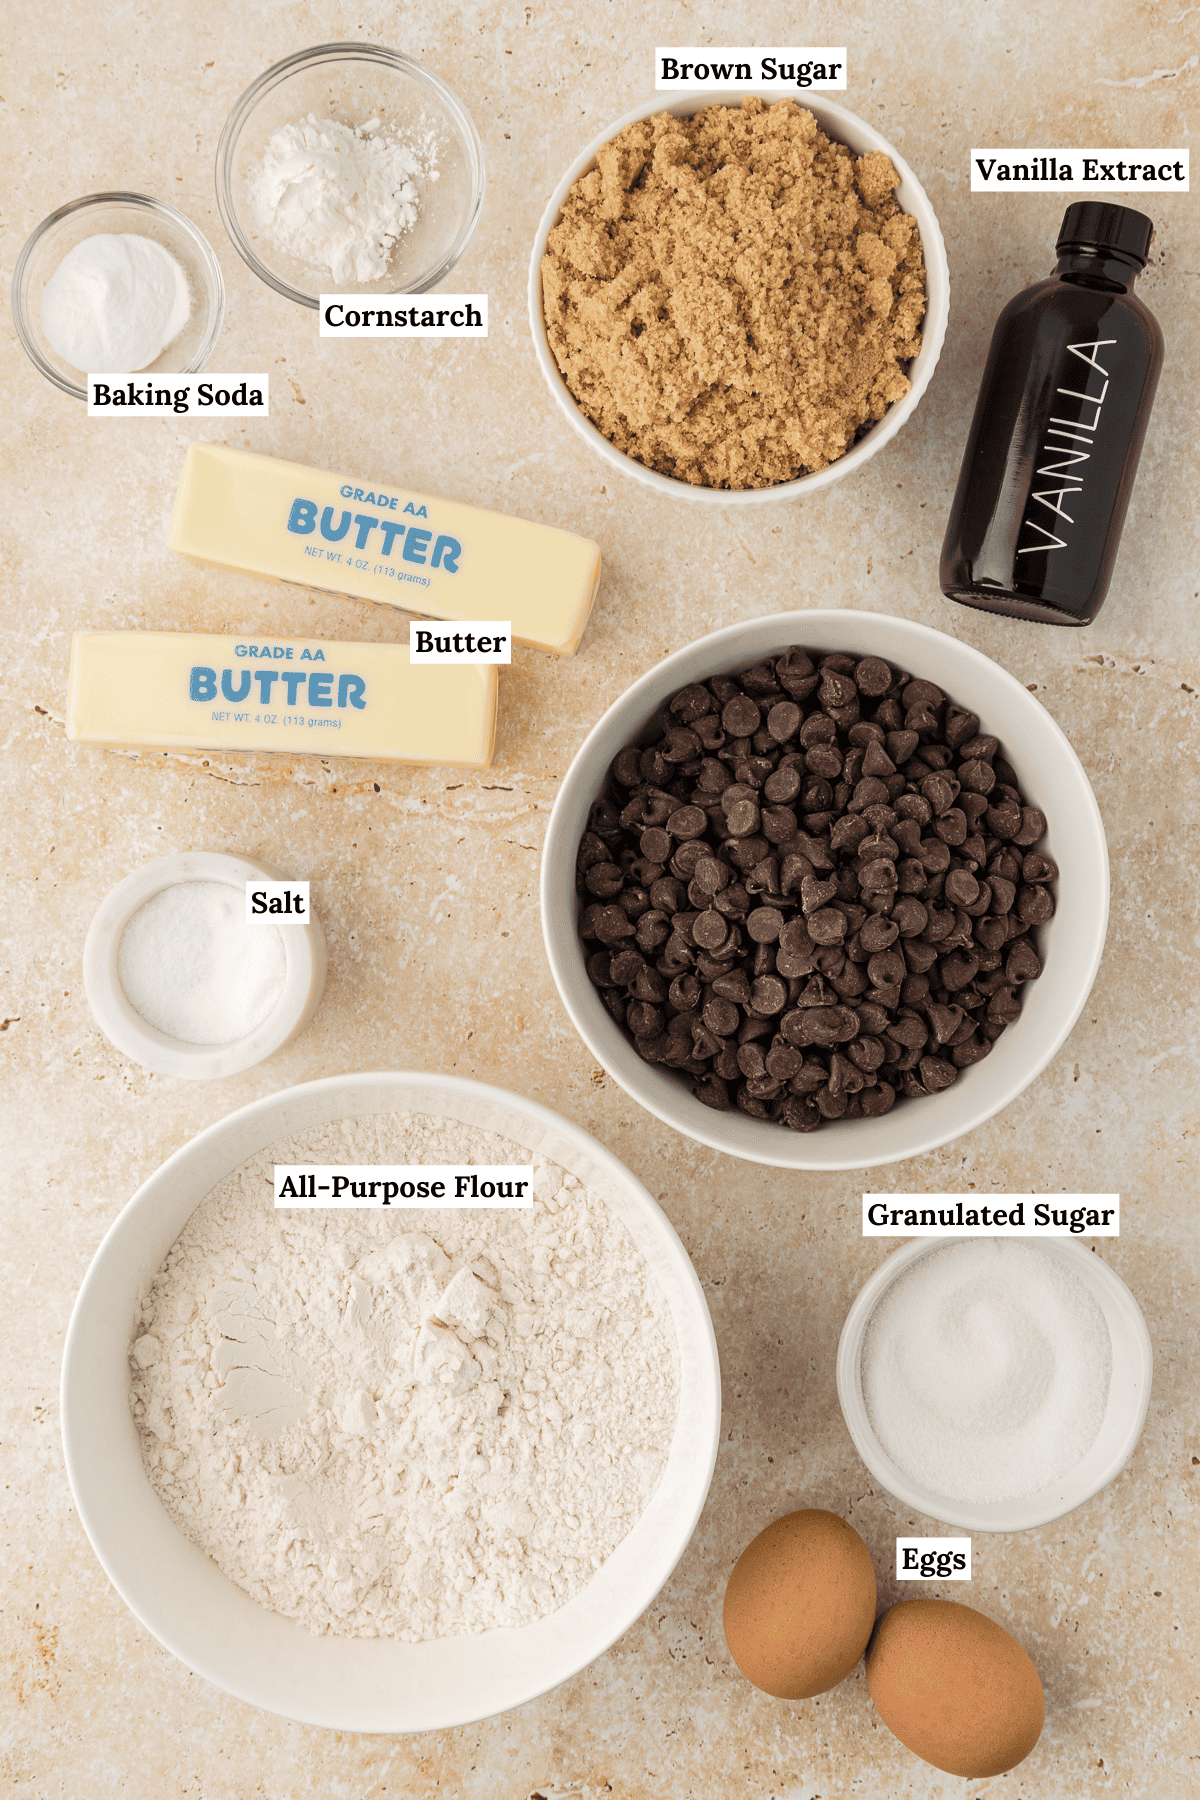
Pizookie Recipe Ingredients
This easy dessert is always a huge hit! Top it with a few scoops of vanilla ice cream and it’s the perfect dessert for a crowd. Plus, it’s made with simple ingredients you likely already have on hand. Keep ready for all my tips and get the full recipe in the recipe card below. Here’s what you’ll need:
- Unsalted butter: room temperature
- Brown sugar
- Granulated sugar
- Eggs: room temperature
- Vanilla extract
- All-purpose flour
- Cornstarch
- Baking soda
- Salt
- Semi-sweet chocolate chips
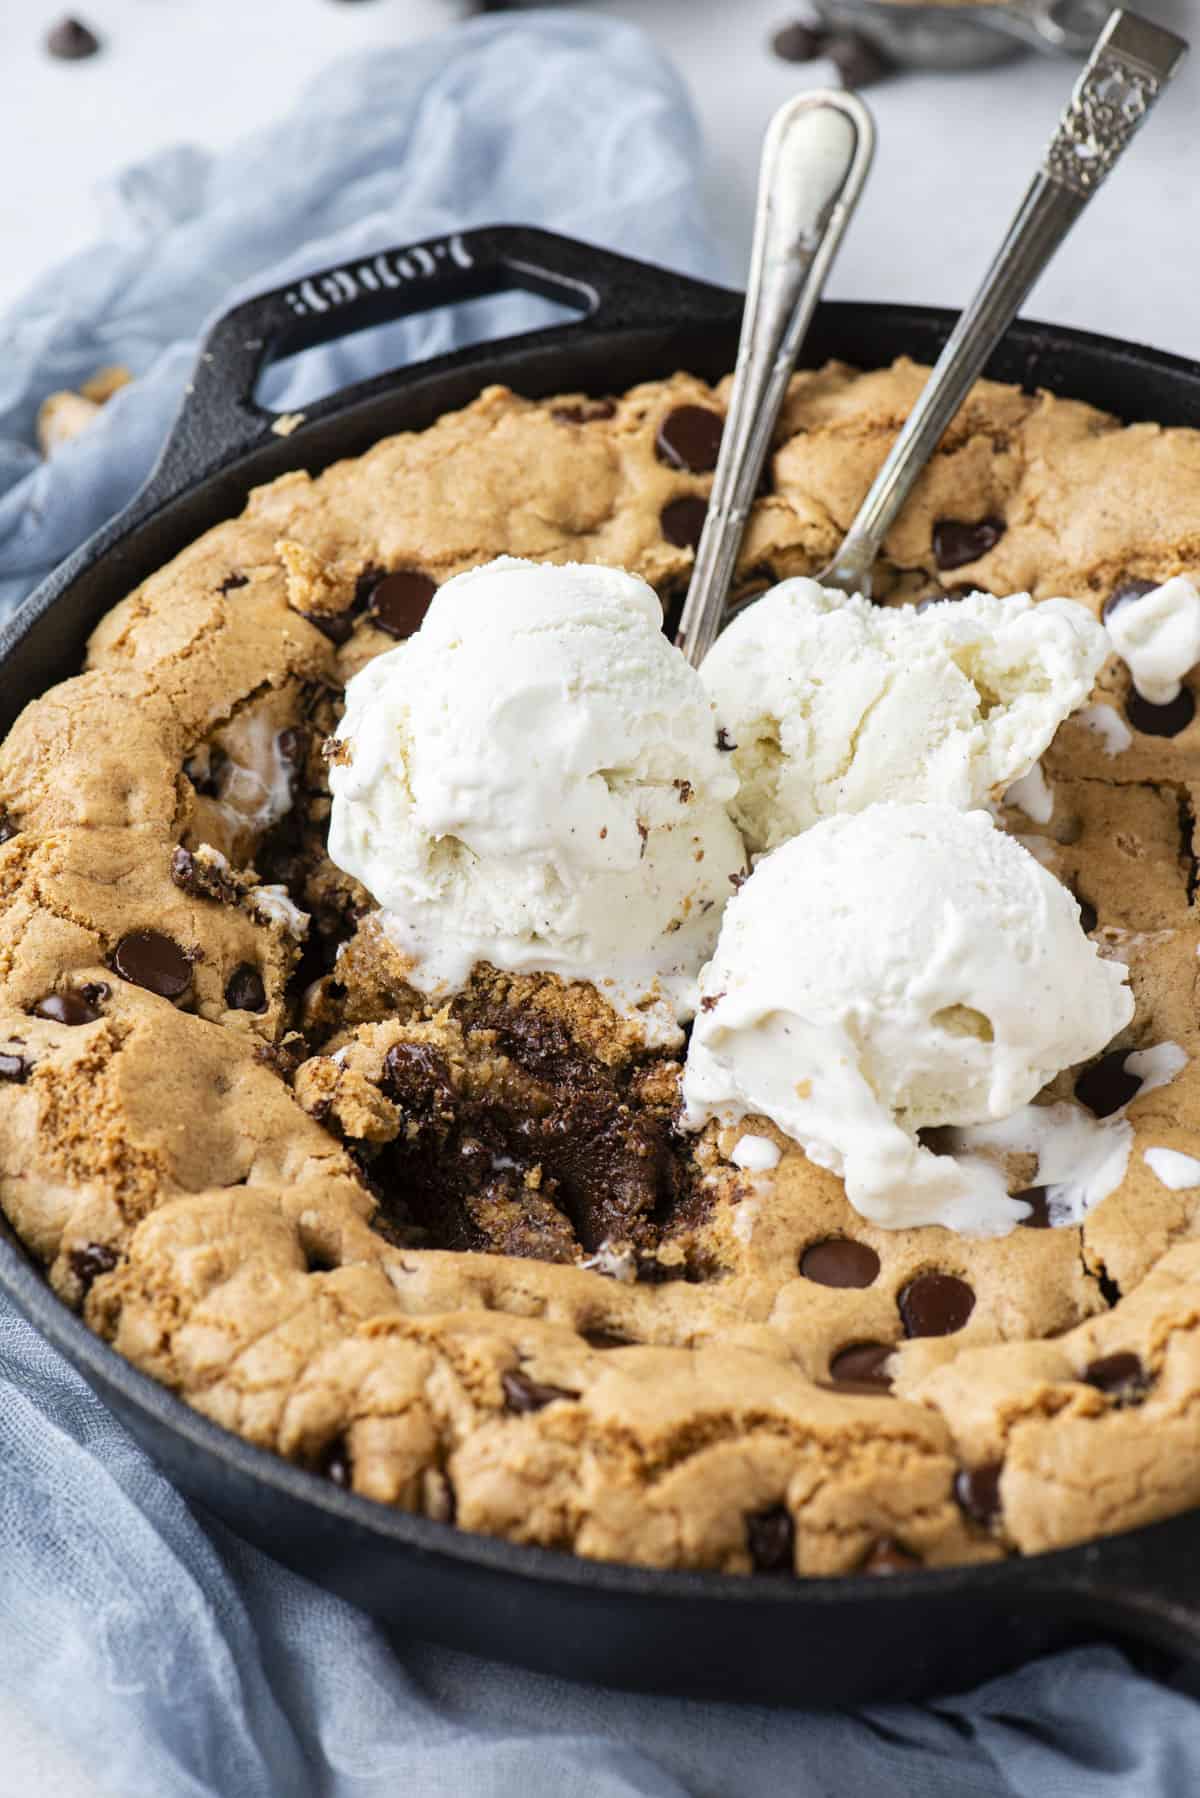
Helpful tools for this Pizookie Dessert
To make this deep dish cookie you’ll need a cast-iron skillet. I used a 10.25 inch skillet. I recommend anything between 9-12 inches, but bake times will vary. See notes on bake time in the recipe card below.
A skillet is classic for a pizookie, but it is very flexible and works in several other pans. The key is pan depth and how thick the cookie layer is, since that affects bake time more than the pan itself.
9 inch round cake pan: This is the closest substitute to a skillet. Bake at the same temperature and expect a similar bake time, usually within a few minutes of the skillet version. Start checking 3 to 5 minutes earlier.
8 inch square pan: This pan creates a slightly thicker cookie, so it usually needs a little more time. Add about 3 to 6 extra minutes and watch the center closely.
9 by 13 inch pan: This spreads the dough thinner, so it bakes faster. Reduce the bake time by about 8 to 12 minutes and check early to avoid overbaking.
Pie plate: A standard pie dish works well and gives a medium thickness. Bake time is usually close to a skillet, but start checking a few minutes early, especially if using glass.
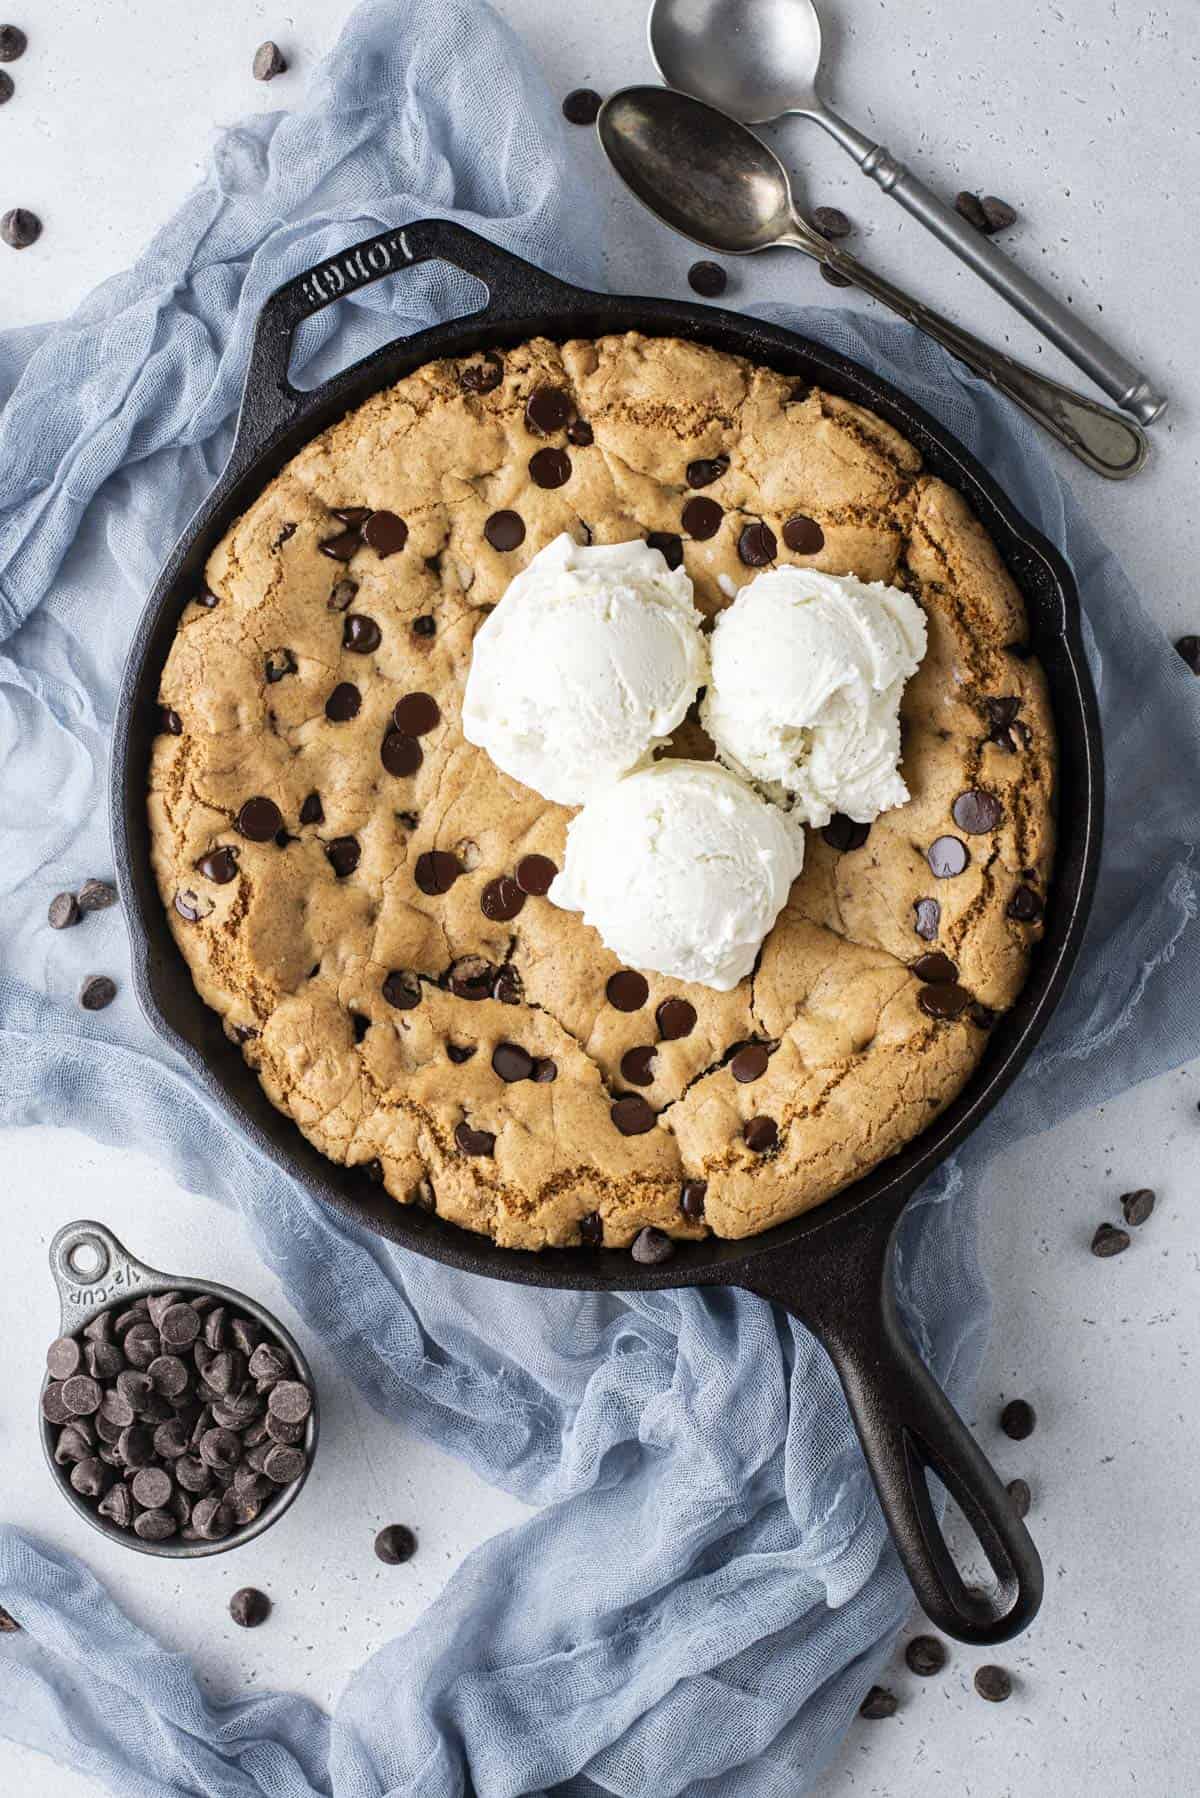
How to make a Pizookie
This brown butter pizookie only takes 10 minutes of active prep time, and makes a delicious, gooey pizookie! Keep reading for more tips and get the full recipe in the recipe card below. Here are the easy step-by-step instructions:
Brown the Butter
- Melt butter. Start by melting butter in a small, heavy saucepan over medium heat. Make sure it doesn’t burn by using a thick-bottomed saucepan. Keep the heat at medium to ensure even browning, stirring constantly with a whisk or spatula for about 6 to 8 minutes to prevent milk solids from sticking.
- Stir as butter cooks. As the butter melts, bubbles will appear, signaling the start of the browning process. Keep stirring until the butter turns golden brown. If the bubbling gets too intense, briefly take it off the heat to check the color accurately. You’ll notice a scent resembling toasted graham crackers or nuts.
- Remove from heat. Once you see golden-brown specks in the butter, take it off the heat immediately and transfer it to a heatproof bowl to stop the cooking. Remember, the butter will continue to brown even off the heat, so it’s better to be cautious. Set the butter aside to cool while you prep the cookie dough.
Pizookie
- Prep oven. Preheat the oven to 325ºF.
- Mix dry ingredients. In a mixing bowl combine the flour, cornstarch, baking soda, salt, and 1 ½ cups of chocolate chips. Set aside.
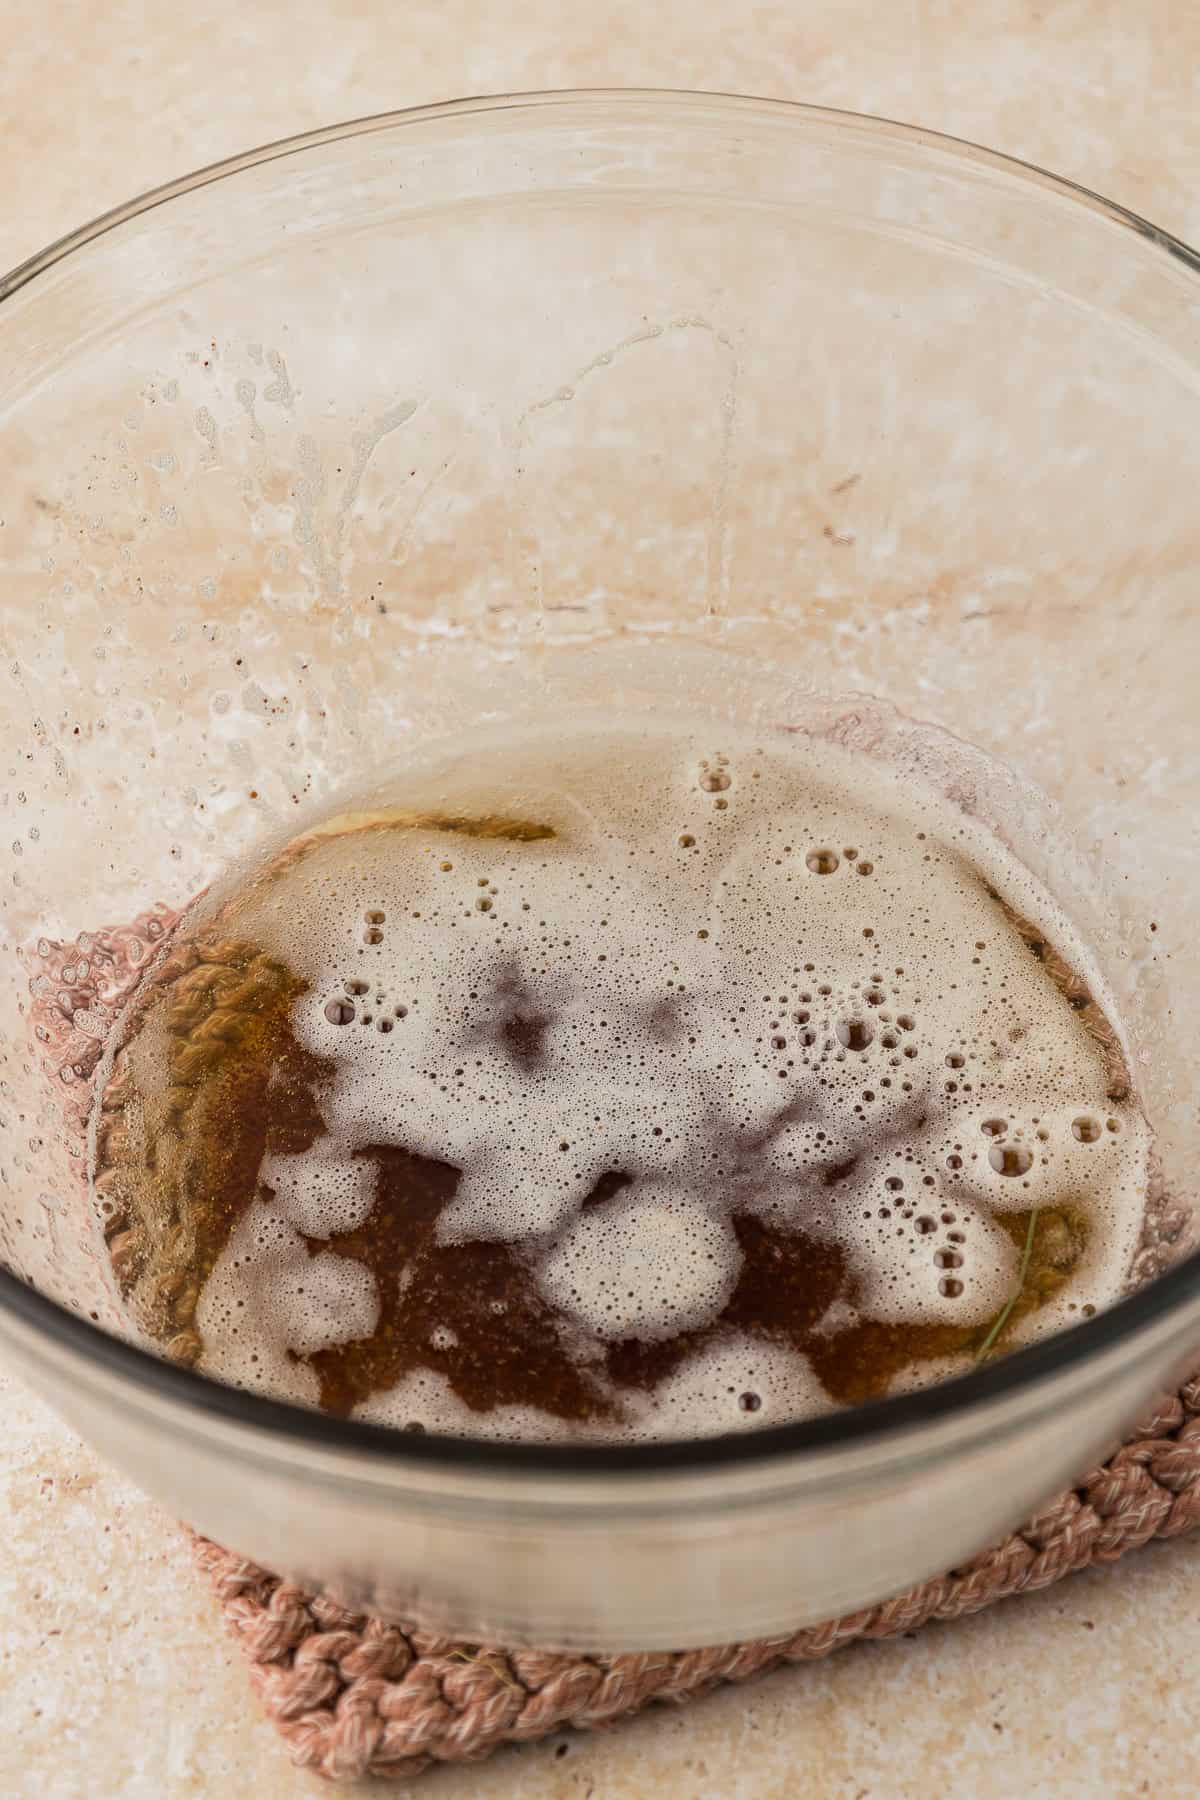
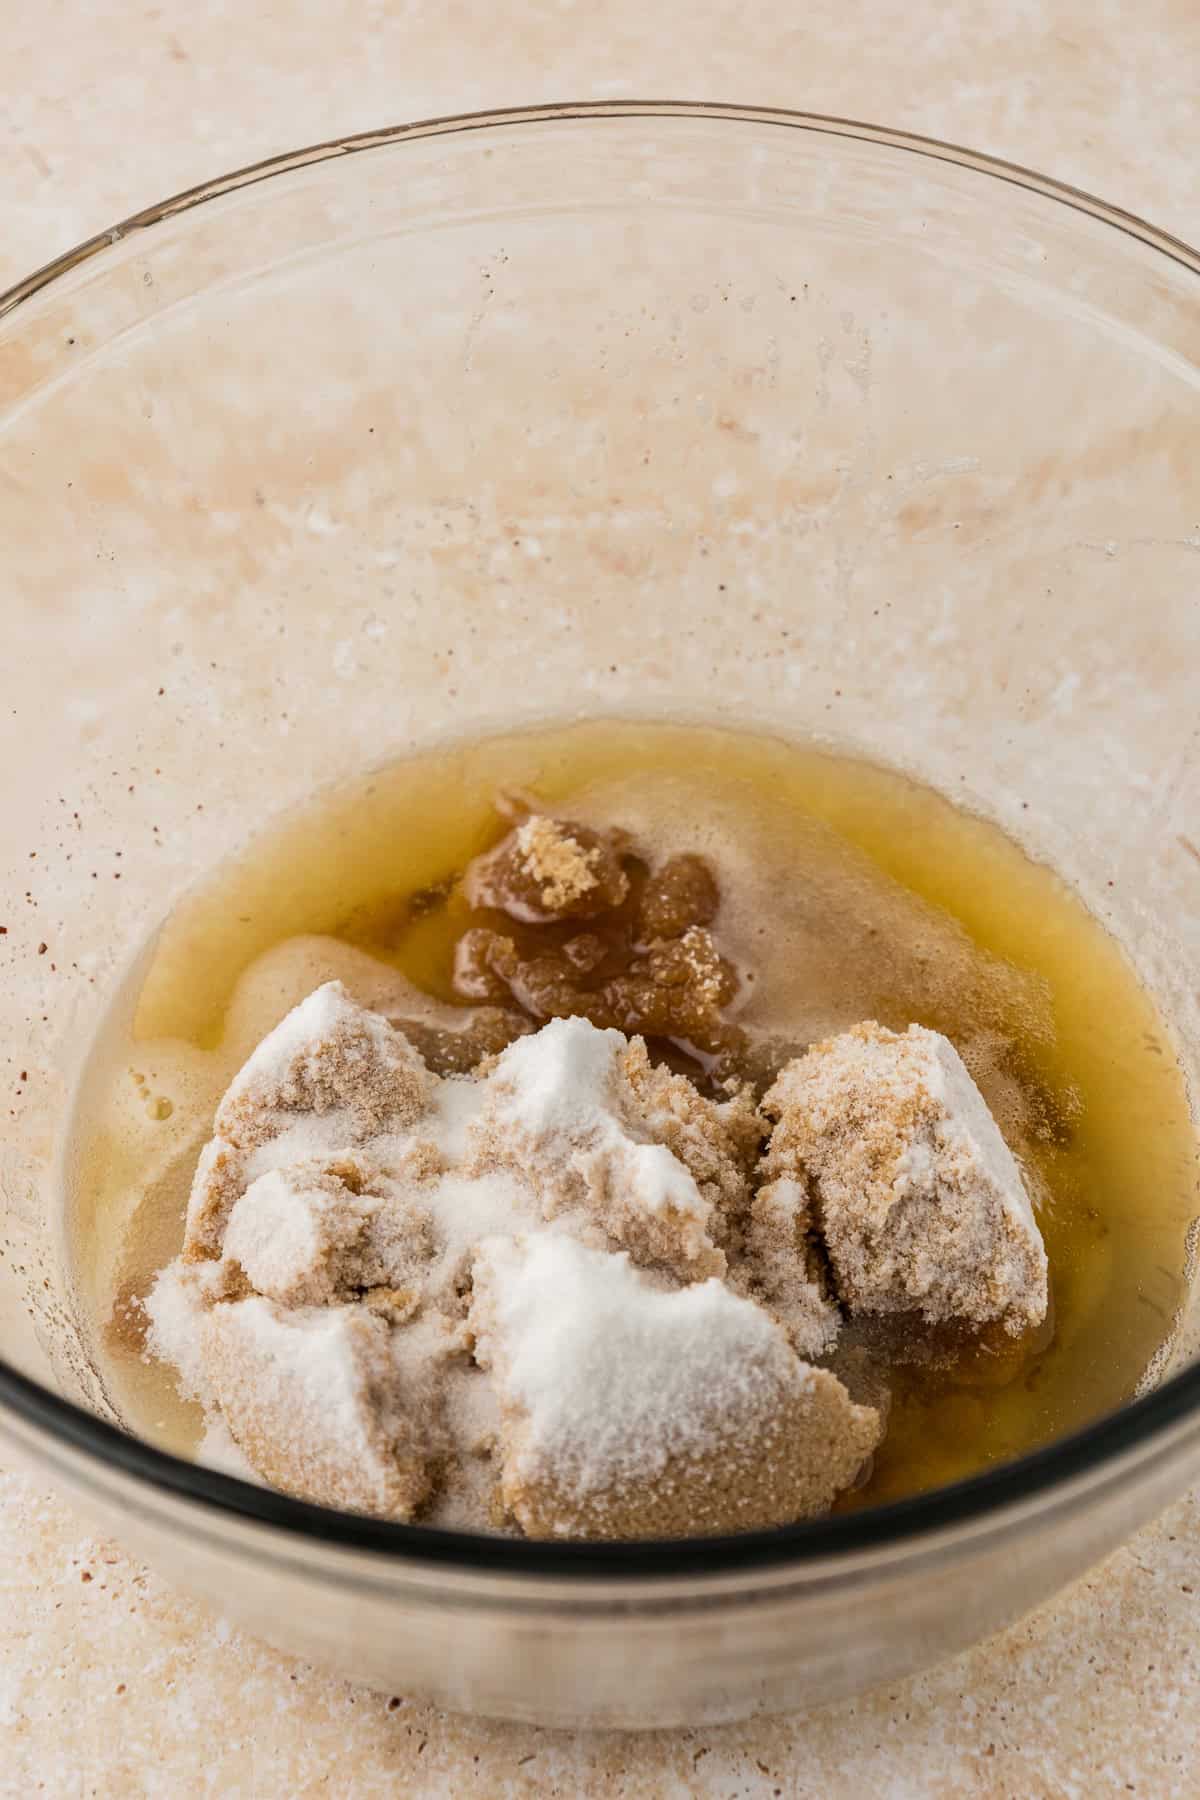
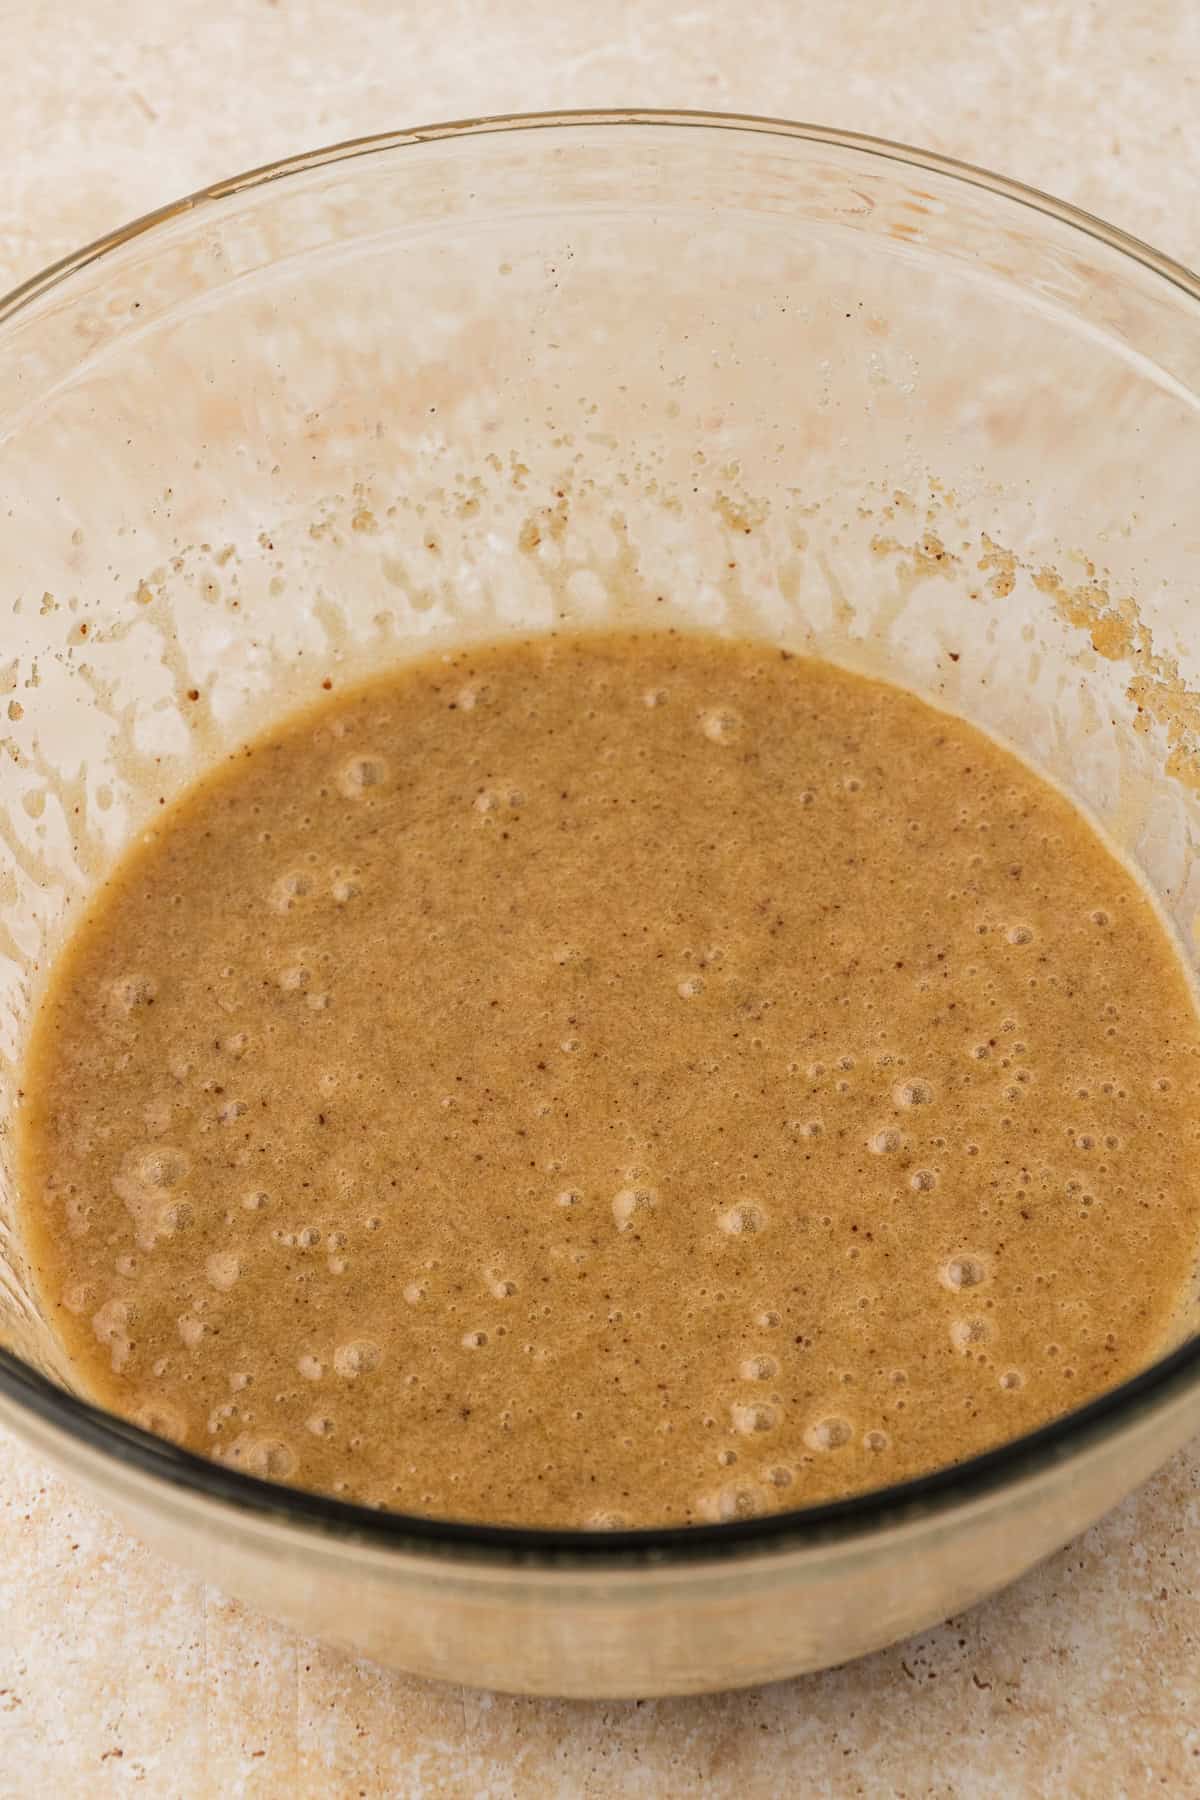
- Mix butter and sugars. In a large mixing bowl combine the browned butter, brown sugar, and granulated sugar. Beat on medium speed for 60 seconds.
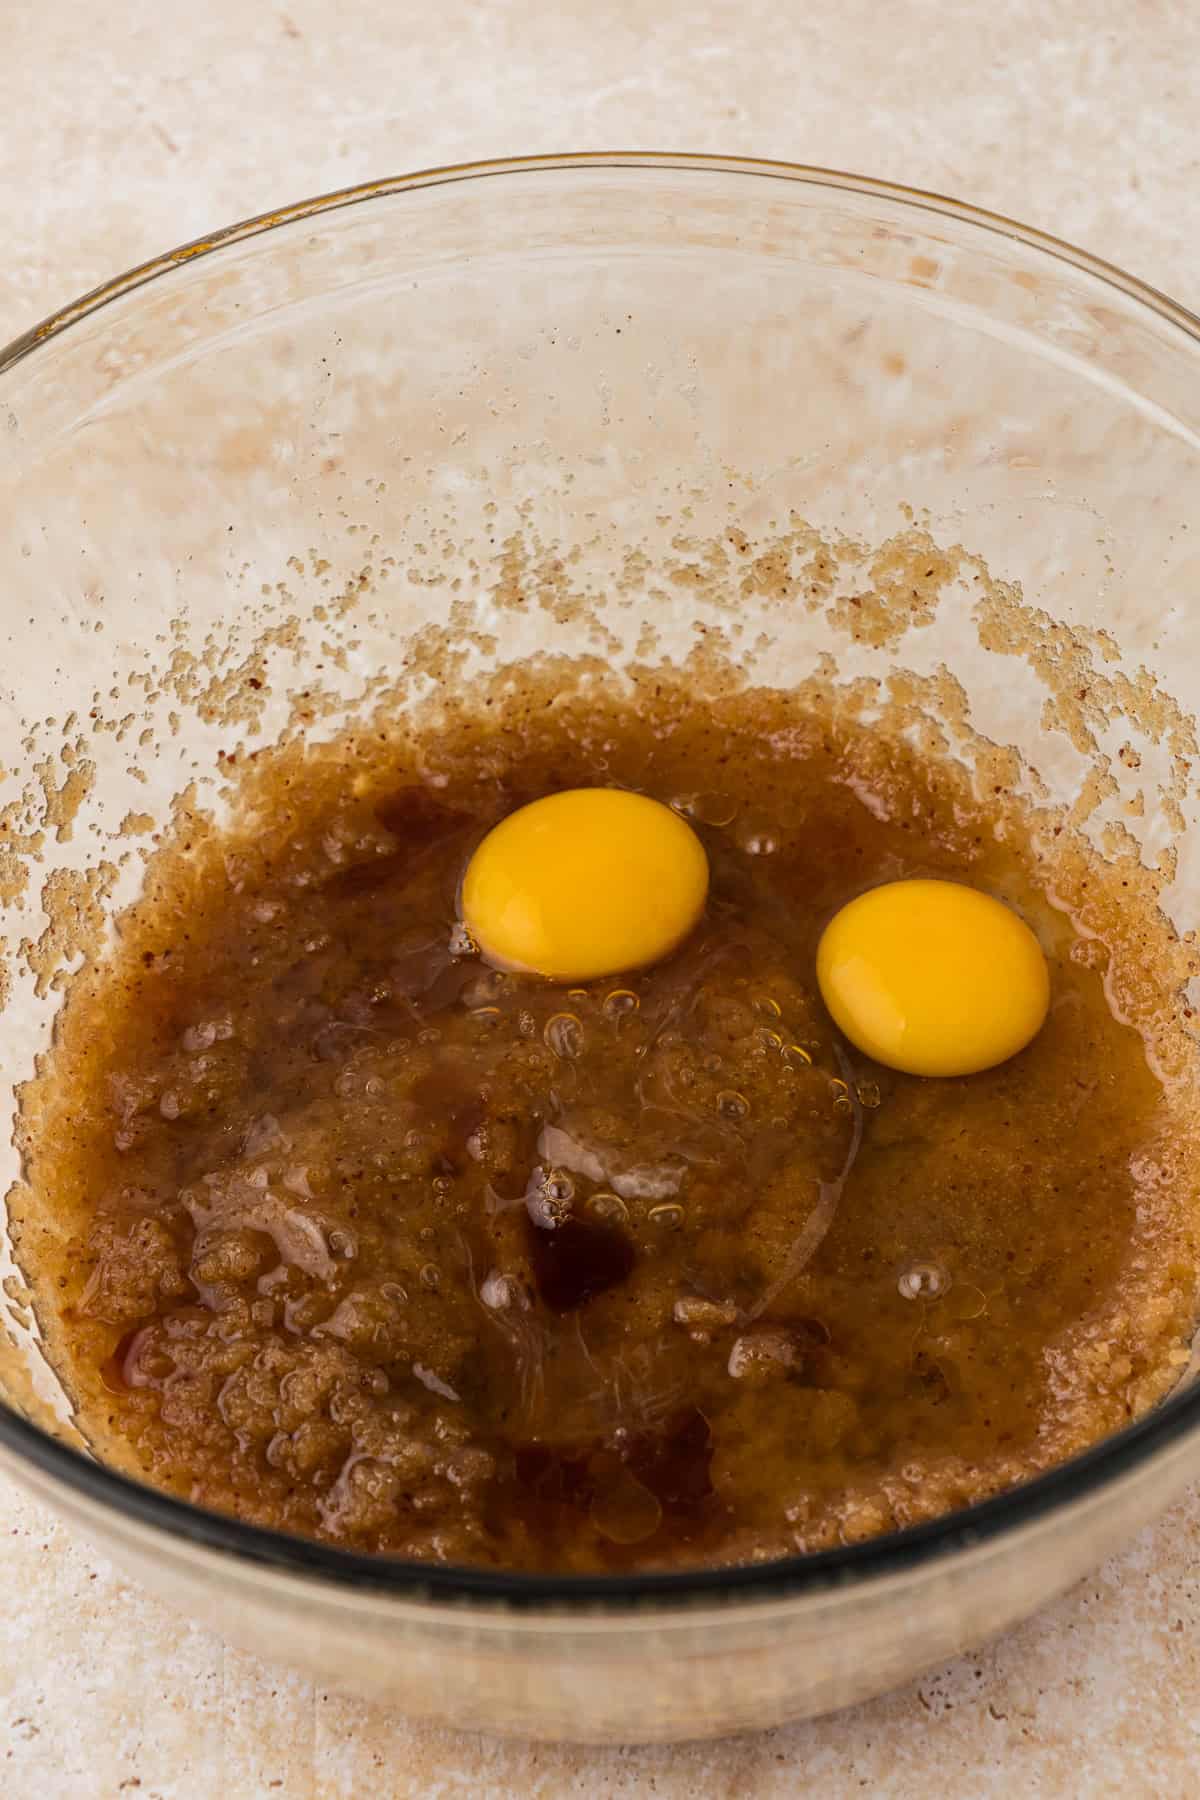
- Mix in the remaining wet ingredients. Add in the eggs and vanilla extract, beat for 30 seconds.
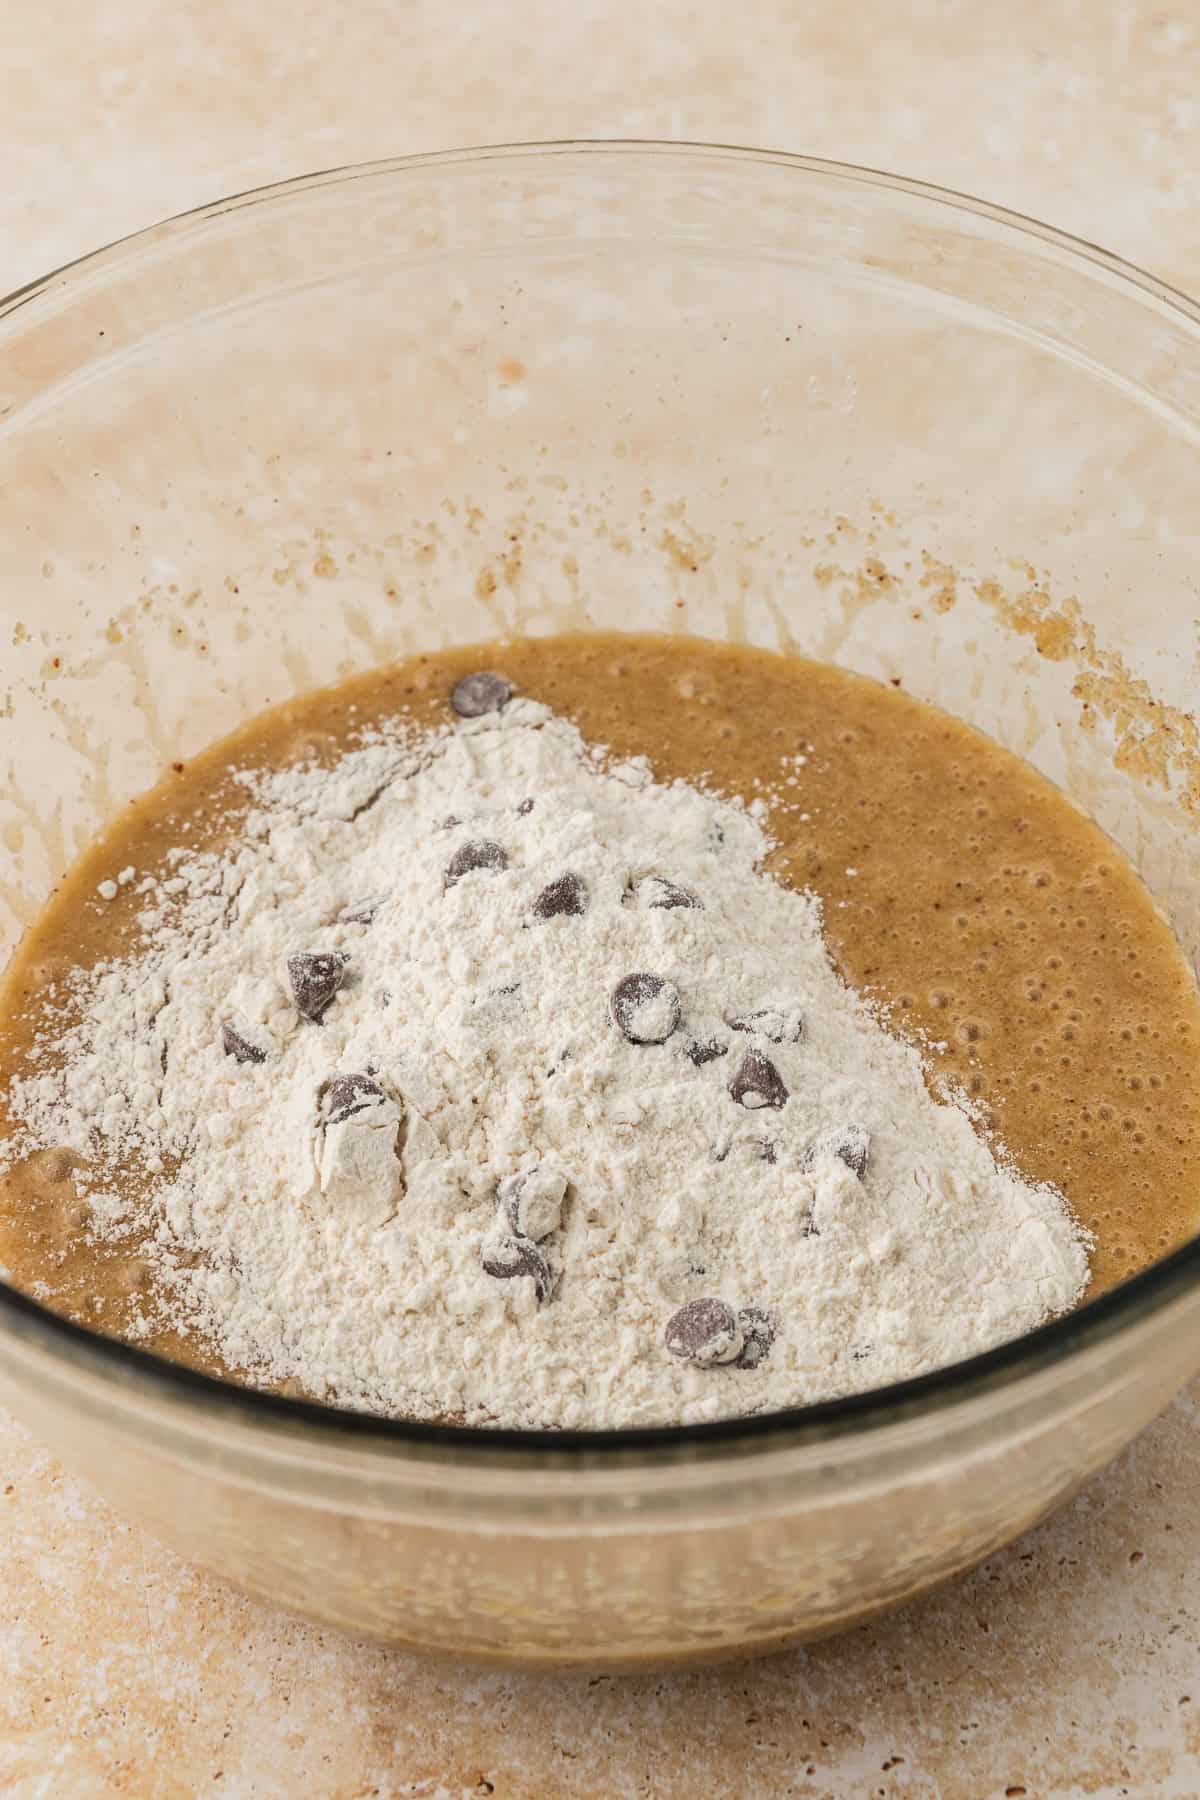
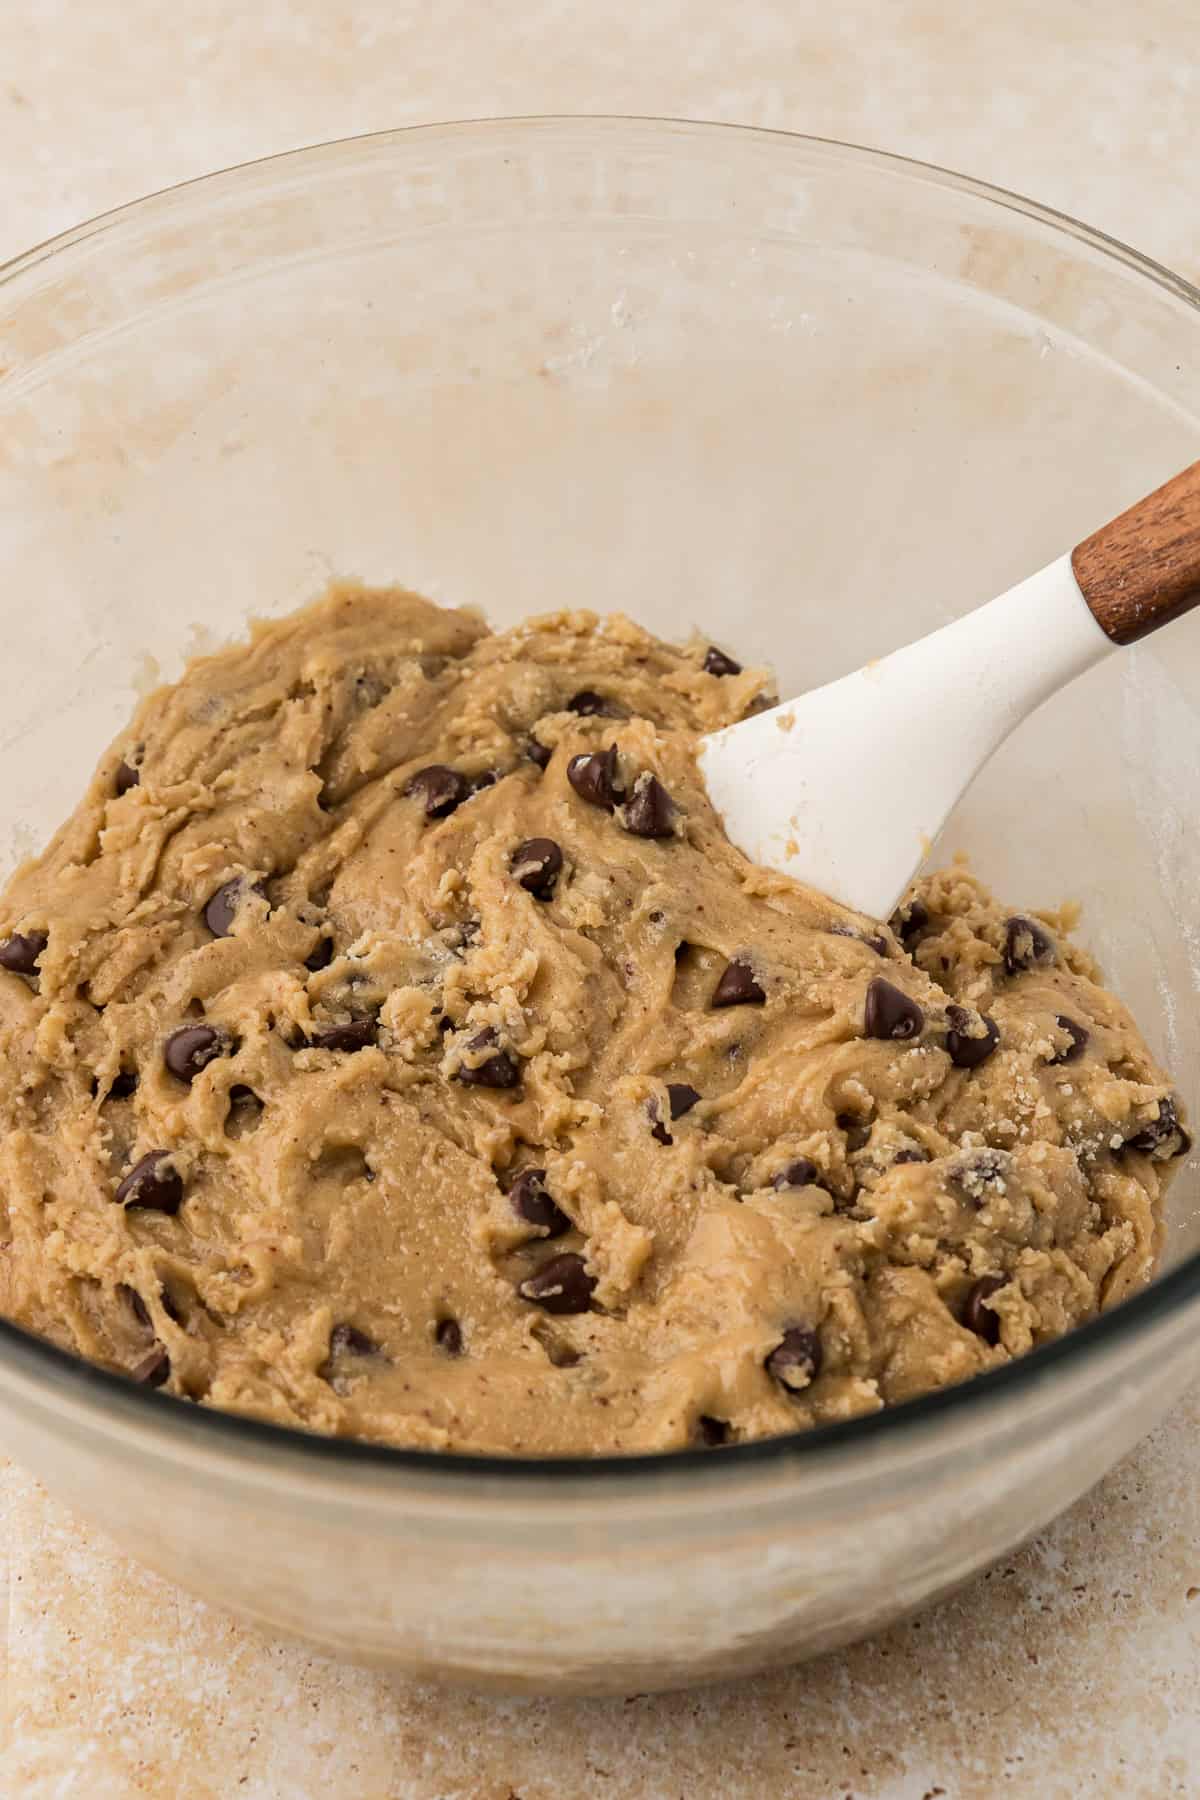
- Combine wet and dry ingredients. Gradually mix in the dry ingredients, mixing on low speed. The dough will be thick.
- Add cookie dough mixture to skillet. Press the cookie dough into an even layer in a cast iron skillet. I used a 10.25 inch skillet. I recommend anything between 9-12 inches, although the bake times will vary.
- Top with chocolate chips. Press the remaining ½ cup of chocolate chips on top of the pizookie.
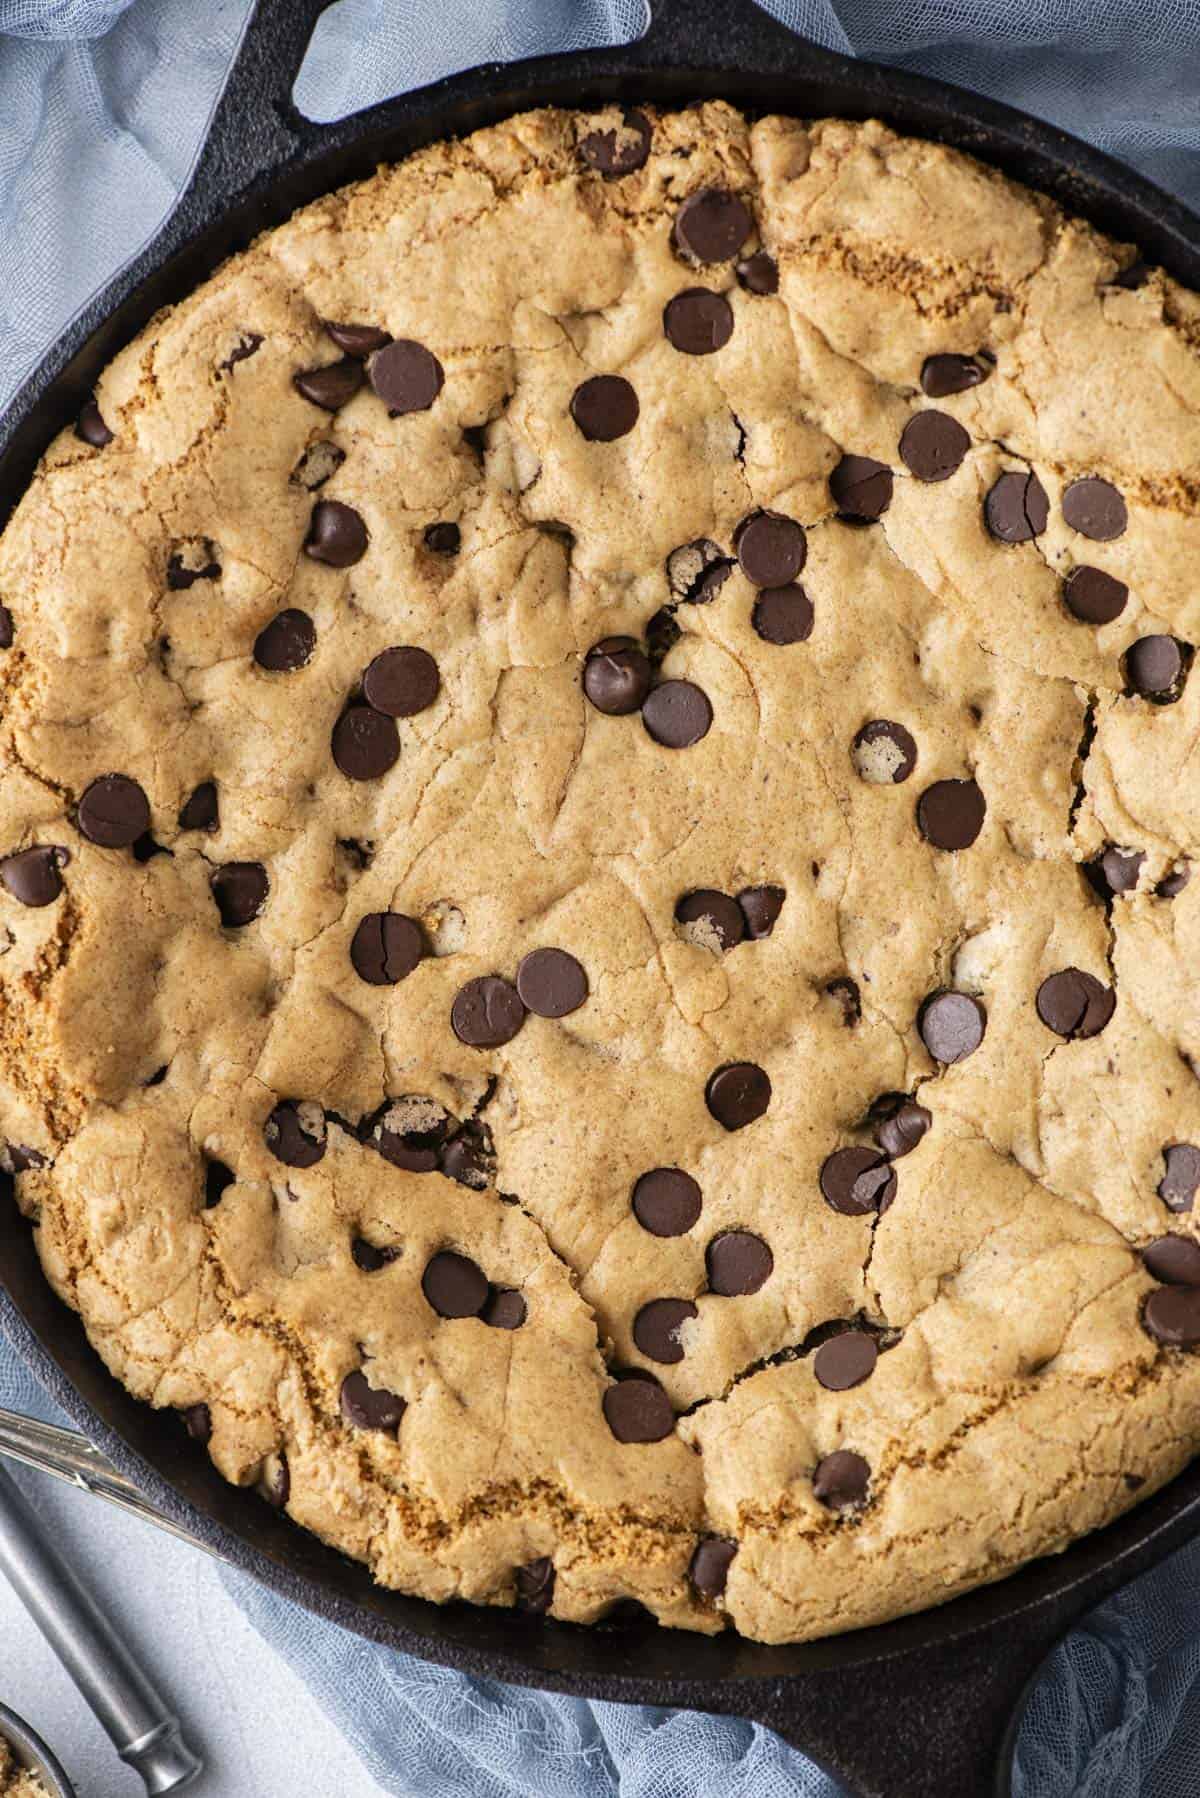
- Bake. Place in the center of the oven and bake a 10.25 inch skillet for 30-35 minutes or until the edges are golden brown. Estimated bake times: 30-40 mins for 9-10 inch skillet, 25-36 for 11-12 inch skillet.
- Cool. Remove from the oven and allow the pizookie to cool for 5-10 minutes before serving with ice cream if desired.
Skillet Cookie Variations
Here are some ideas for swaps and toppings:
- Topping ideas: hot fudge sauce, homemade whipped cream, sprinkles, caramel sauce, toffee bits, crushed oreo cookie pieces
- Ice cream options: Pizookie is normally served with vanilla ice cream, but you can use any flavor and even make your own, like oreo ice cream, peanut-butter ice cream, or chocolate-chip ice cream.
- Gluten-Free Pizookie: Swap the all-purpose flour for gluten-free flour. I prefer King Arthur’s flour. Use it as a one-to-one substitute.
Pizookie Flavors
You can change the flavor of your pizookie by swapping the semi-sweet chocolate chips with other options. Here are some ideas:
- White chocolate chips
- Peanut butter chips
- Dark chocolate
- M&Ms
- Crushed bits of Oreo cookies
- Butterscotch chips
How to Serve a Pizookie
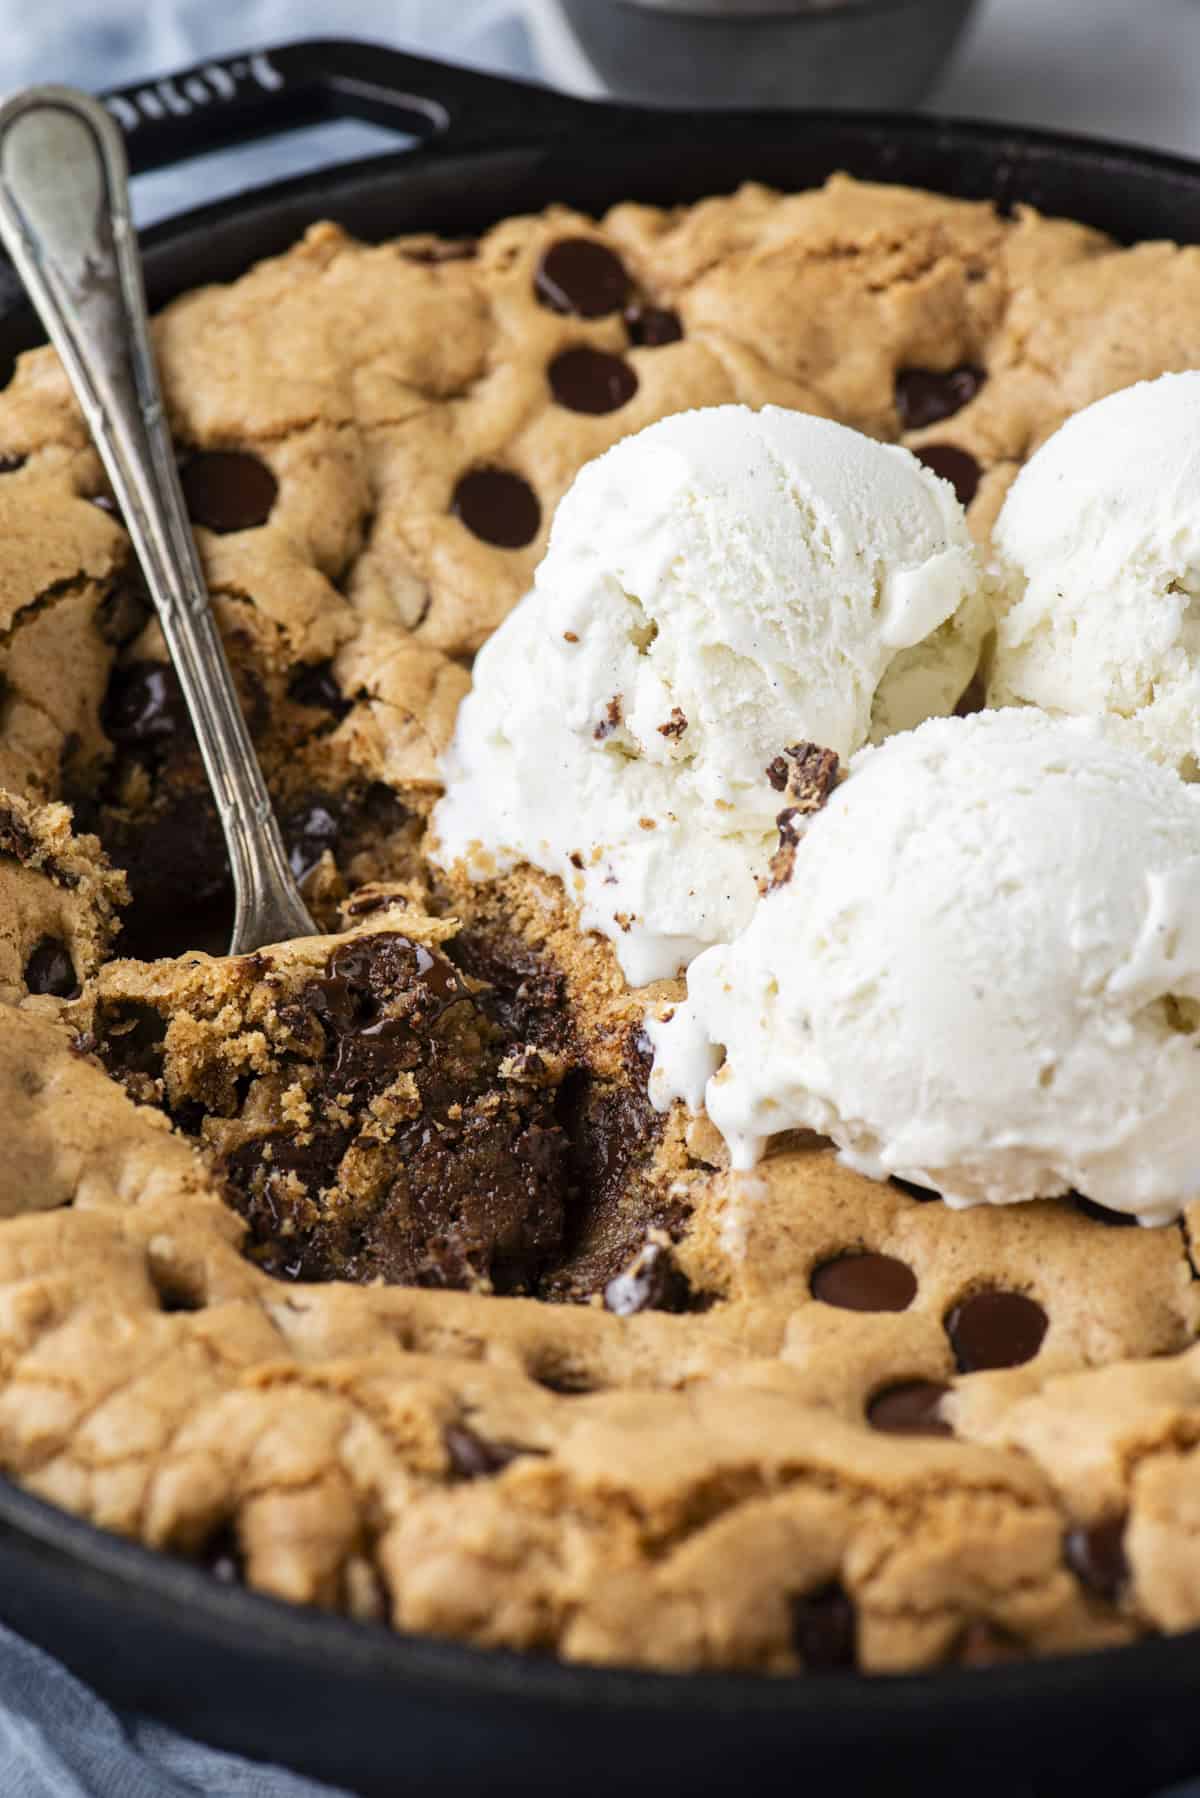
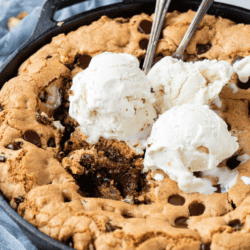
Serve a pizookie warm straight from the skillet with a scoop of vanilla ice cream on top. The heat from the cookie melts the ice cream into the center, creating the perfect gooey, shareable dessert. For the best texture, dig in while it’s still warm.
How to Store a Cookie Skillet
You can store leftover pizookie just like regular chocolate chip cookies, in an airtight container at room temperature for 3-5 days. It is best enjoyed warm, so when you’re ready to eat it reheat it in the microwave for 20-30 seconds at a time, or in the oven at 325 for about 10 minutes.
You can also freeze pizookie, wrapped tightly in plastic wrap and then in aluminum foil or in an airtight container for up to 3 months. Let it come to room temp and then reheat in the microwave or oven when you’re ready to eat it.
Make ahead tip: You can mix the dough up to 2 days in advance and keep it covered in the fridge. Let it sit out for about 15 minutes before pressing it into the skillet so it spreads evenly.
Pizookies
Pizookies started in restaurant kitchens as a way to serve a warm cookie the second it came out of the oven, no waiting for individual cookies to cool. That is really the whole appeal. You get a giant cookie straight from the skillet, still soft in the middle, with ice cream melting into every bite.
The name is a mashup of pizza and cookie, since the giant cookie gets baked and sliced like a pizza pie. Once you make one at home you will see why they took off everywhere from restaurant menus to backyard cookouts. It is one dessert, one pan, and everyone digs in together.
FAQ
No. A cast iron skillet gives you the crispiest edges, but an 8 to 9 inch round cake pan, a pie dish, or even an aluminum pizza pan will all work. Thinner pans bake a little faster, so start checking a few minutes early.
You can bake this in a muffin tin for individual portions, though you will lose some of the crisp edge you get from the cast iron. I would check the bake time at 12 minutes and adjust from there.
A well seasoned cast iron skillet should not transfer flavors. If you are worried about a pan with a strong garlic or onion history, give it a good scrub with hot water and a stiff brush first, or line the skillet with a round of parchment paper so the dough never touches the pan directly.
Yes. The dough can be made ahead and refrigerated for up to 2 days. Let it sit at room temperature for about 15 minutes before pressing it into the skillet so it is easier to spread.
More Cookie Recipes
Tap stars to rate!
Homemade Pizookie
Video
Ingredients
- 1 cup (226g) unsalted butter, room temperature
- 1 ¼ cups (266g) brown sugar
- ¼ cup (50g) granulated sugar
- 2 large eggs, room temperature
- 1 tsp vanilla extract
- 2 ½ cups (300g) all-purpose flour
- 2 tsp cornstarch
- 1 tsp baking soda
- ½ tsp salt
- 2 cups (340g) semi-sweet chocolate chips
Instructions
Brown the Butter
- Start by melting butter in a small, heavy saucepan over medium heat. Make sure it doesn’t burn by using a thick-bottomed saucepan. Keep the heat at medium to ensure even browning, stirring constantly with a whisk or spatula for about 6 to 8 minutes to prevent milk solids from sticking.1 cup (226g) unsalted butter
- As the butter melts, bubbles will appear, signaling the start of the browning process. Keep stirring until the butter turns golden brown. If the bubbling gets too intense, briefly take it off the heat to check the color accurately. You’ll notice a scent resembling toasted graham crackers or nuts.
- Once you see golden-brown specks in the butter, take it off the heat immediately and transfer it to a heatproof bowl to stop the cooking. Remember, the butter will continue to brown even off the heat, so it’s better to be cautious. Set the butter aside to cool while you prep the cookie dough.
Pizookie
- Preheat the oven to 325ºF.
- In a mixing bowl combine the flour, cornstarch, baking soda, salt, and 1 ½ cups of chocolate chips. Set aside.2 ½ cups (300g) all-purpose flour, 2 tsp cornstarch, 1 tsp baking soda, ½ tsp salt, 2 cups (340g) semi-sweet chocolate chips
- In a large mixing bowl combine the browned butter, brown sugar, and granulated sugar. Beat on medium speed for 60 seconds.1 ¼ cups (266g) brown sugar, ¼ cup (50g) granulated sugar
- Add in the eggs and vanilla extract, beat for 30 seconds.2 large eggs, 1 tsp vanilla extract
- Gradually mix in the dry ingredients, mixing on low speed. The dough will be thick.
- Press the cookie dough into an even layer in a cast iron skillet. I used a 10.25 inch skillet. I recommend anything between 9-12 inches, although the bake times will vary.
- Press the remaining ½ cup of chocolate chips on top of the pizookie.
- Place in the center of the oven and bake a 10.25 inch skillet for 30-35 minutes or until the edges are golden brown. Estimated bake times: 30-40 mins for 9-10 inch skillet, 25-36 for 11-12 inch skillet.
- Remove from the oven and allow the pizookie to cool for 5-10 minutes before serving with ice cream if desired.
Last Step: I’d love to hear what you think. Leave a rating and comment here.








Can I make the dough ahead time, refrigerate it ?
Great question! I would think that would be okay!
Have you tried this using gluten free flour?
Yes! I test all of my recipes with regular all purpose flour and King Arthur’s Gluten Free Measure for Measure Flour. It turned out great!
Can I make mini ones? Like for an extended family gathering? Any ideas on what to use to make them mini? I was thinking maybe a cupcake pan? Looking for tips and ideas :)
Hi! I’m just a baker reading comments lol….i would say yes, you can make it in the muffin tin, but you’re missing out on the iron skillet crispness you’ll get from baking it her way. The point is the iron skillet…you can bake them in anything you choose, but you won’t get the exact same effect you’d get from baking in the iron skillet. :)
Hi Beth, did you do anything to the cast iron skillet before adding the cookie batter?
What can I use if I don’t have a skillet on hand?
Thank you for the Pizookie recipe. I’m baking it on Tuesday for my family and neighbors.
I’m just worried that any odors from the cast iron pan will permeate the cookie while baking.
Would scrubbing the pan help or should I use an aluminum pizza pan instead?
I don’t want serve a garlic-flavored cookie.
Hi Gail! A well-seasoned cast iron pan shouldn’t transfer flavors, but if your skillet has a strong garlic/onion history, I totally understand the concern. You can give it a good scrub with hot water and a stiff brush (no soap needed, unless you want to do a very light wash and re-oil).
If you’re still worried, you can line the skillet with a round of parchment paper before adding the dough — that way the cookie won’t touch the pan directly. An aluminum pizza pan would also work, but it may bake a little faster since it’s thinner metal, so just keep an eye on the timing.
Hi Beth, does it have to be a cast iron skillet?
An aluminum pizza pan would also work, but it may bake a little faster since it’s thinner metal, so just keep an eye on the timing!
Hi Beth
I really want to try this recipe sounds delicious but I don’t have a cast iron pan what could I bake it in?
Thanks
Joan
Hi Joan! You can use a 8–9 inch round cake pan (metal) or a pie dish (glass or ceramic).
Delicious! Directions were simple to follow – I substituted 1/2 white chocolate chips because I ran out of the regular chocolate ones. Added a nice depth of flavor. The family loved this recipe!
Can you use gluten free flour?
Yes. I test all of my recipes with regular all-purpose flour and with King Arthur’s Gluten Free Measure for Measure Flour. I’ve been gluten free for 20 years, but don’t label myself in the gluten free niche since almost anything can be made GF these days (minus yeast baked goods) with easy 1:1 GF flour swaps!