This post may contain affiliate links. Please read our disclosure policy.
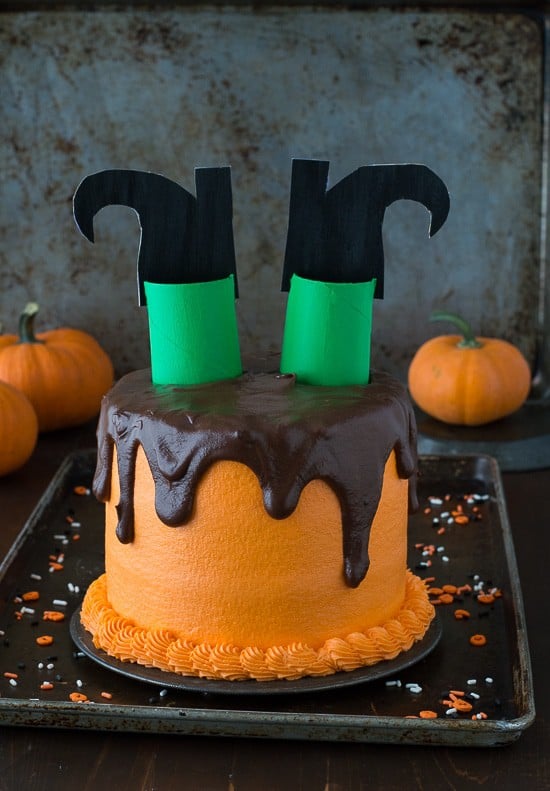
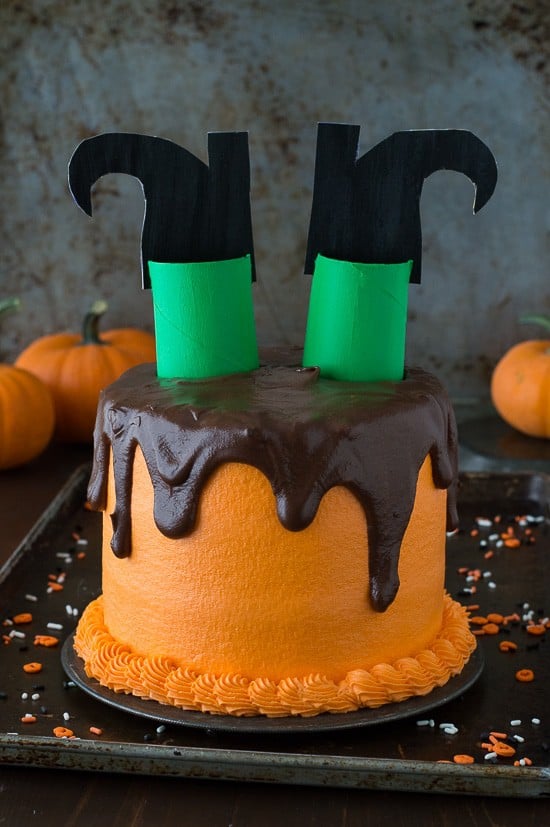 The melted witch cake is on the loose!!
I’ve been bursting with excitement to share this fun halloween cake. I love halloween and I also love ridiculously cute holiday themed desserts. I think this cake definitely fits within that category :)
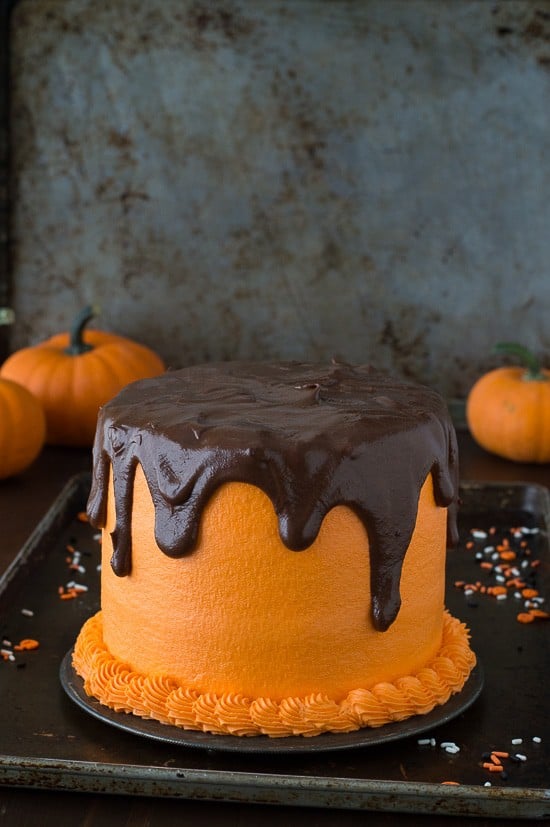 The whole idea behind melted witch desserts is that the witch has been melted into the dessert. I like to think of it like the Wizard of Oz.. when Dorothy throws water on the wicked witch and then the witch says “I’m melting! I’m melting!”
But instead of water, I covered the witch in buttercream and chocolate ganache. You think she’d be happy, I would, haha!
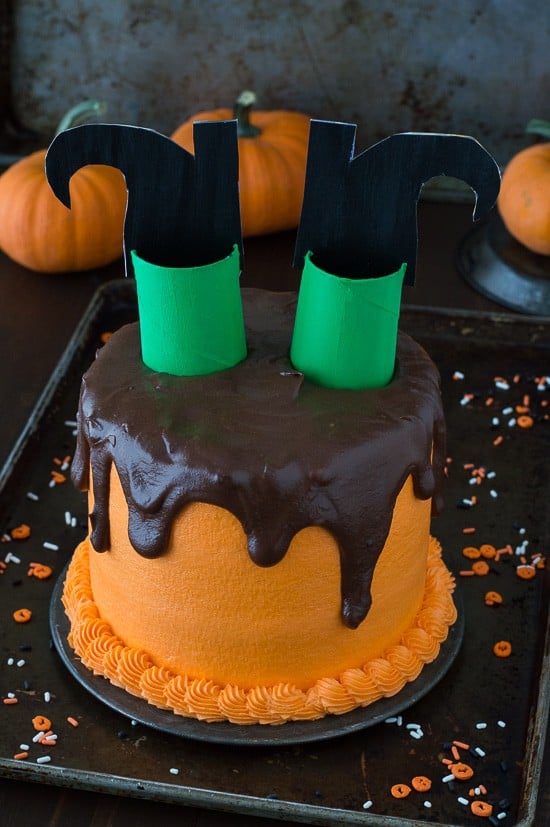
 While the witch’s legs are not edible, they are super easy to make, I promise! I used toilet paper tubes cut down to be a little taller than 2 inches tall for her legs, then painted them green. I free handed her shoes (I know, I surprised myself with my drawing skills!) but here’s the great news, you can print a copy of here shoes HERE and just trace them! I made the shoes out of cardboard from a cereal box and then painted both sides black.
Cut small slits across from each other on the toilet paper tubes and insert the shoes. Once the cake is finished, place the legs on top of the cake, pushing them into the chocolate ganache slightly.
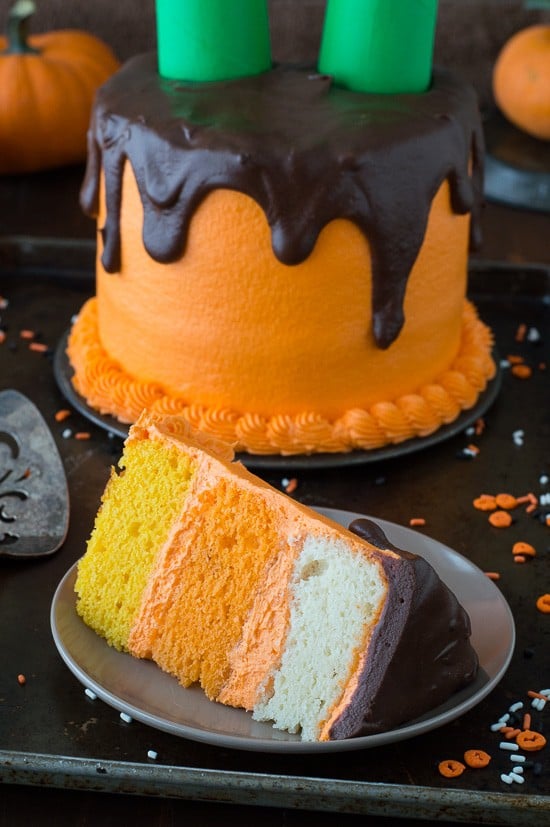
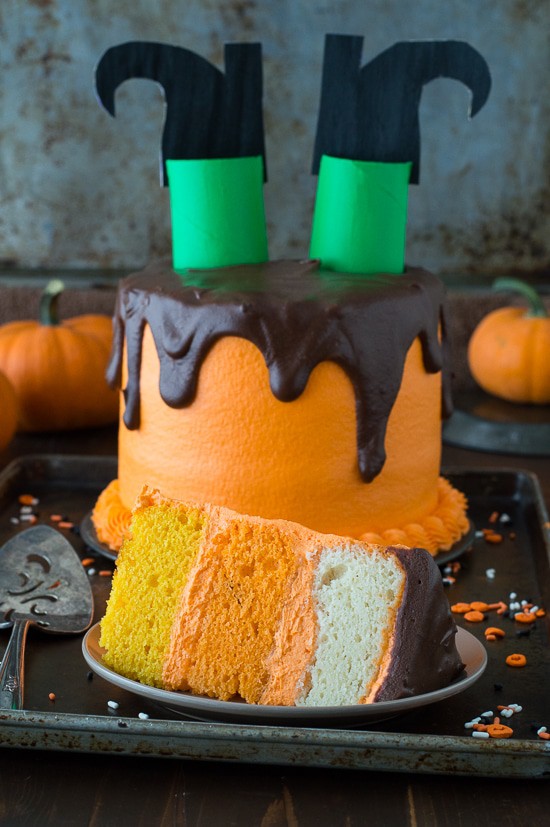
 Did you notice that the inside of this cake is candy corn colored? Just another tribute to all things halloween!
 If you’re looking for a tutorial on how to bake a cake or how to make buttercream, we have two handy posts that we put together. And if you’ve have more experience with cakes and you really want to create a smooth looking cake, my friend Lindsay has a fantastic tutorial with pictures and videos of how to do that. I use the same equipment and similar techniques that Lindsay shares!
 Looking for other halloween treats? We have a few ideas!
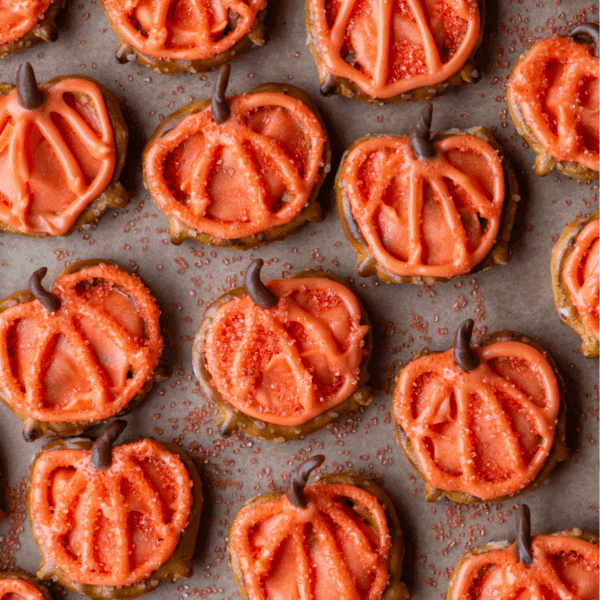
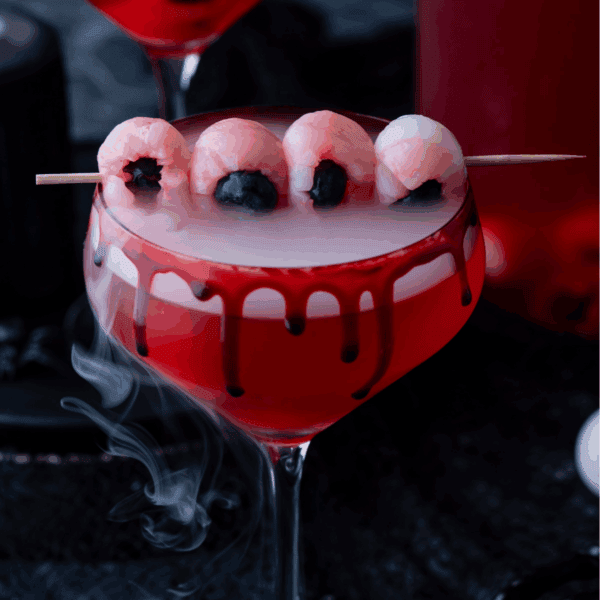
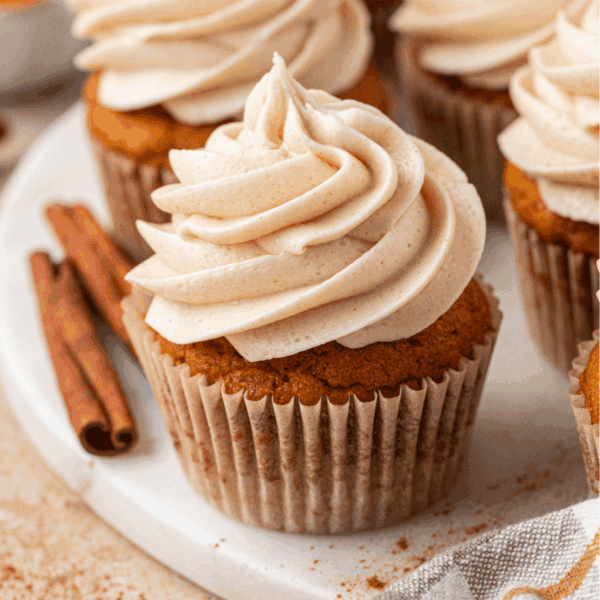
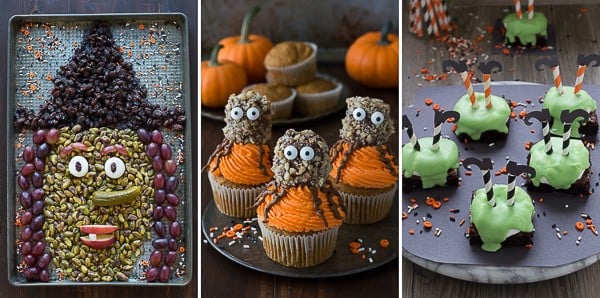 Halloween Witch Platter, Pumpkin Walnut Spider Cupcakes, and Melted Witch Brownies.
Tap stars to rate!
Melted Witch Cake
Ingredients
For one 6 inch layer (repeat this recipe for each layer)
- 3 Tbsp (43g) butter, softened
- 5 ½ Tbsp sugar
- 1 ½ large egg whites
- ¼ cup (57g) sour cream
- ½ tsp vanilla extract
- ½ cup + 1 Tbsp (68g) all purpose flour
- ¾ tsp baking powder
- ¼ tsp salt
- Gel food coloring: orange and [yellow]
Buttercream
- 1 cup (226g) butter, 1 cup, softened
- ½ cup (118ml) vegetable shortening
- 1 tsp vanilla extract
- 5-7 cups (567-791g) powdered sugar
- Orange gel food coloring
Chocolate Ganache
- ¾ cup (129g) chocolate chips
- ½ cup (118ml) heavy cream
Witch's Legs
- toilet paper tube, cut down to 2 inches tall, painted green (you'll need 2)
- cardboard, painted black for the shoes. [Get shoe print out here].
Instructions
To bake the cake
- Preheat the oven to 350º F.
- Using butter, grease the bottom and sides of an 6 inch round cake pan or springform pan and line the bottom with a round piece of parchment paper. To ensure even baking, place a bake even strip around the pan. You can make your own homemade bake even strip by cutting a towel or shirt to fit the size of your pan. Get the fabric really wet, then squeeze out the dripping water but do not squeeze it too dry. Secure the fabric around the pan with a safety pin.
- In a mixing bowl, combine the butter and sugar, beat using an electric mixer until fluffy. Add in the egg whites, beat again.3 Tbsp (43g) butter, 5 1/2 Tbsp sugar, 1 1/2 large egg whites
- Add in the sour cream and vanilla extract, mix until smooth.1/4 cup (57g) sour cream, 1/2 tsp vanilla extract
- In a smaller bowl, combine the flour, baking powder and salt, gently mix with a spoon. Gradually add half of the flour mixture to the wet ingredients, do not dump it in, rather take spoonfuls of the flour mixture and gently shake it over the wet ingredients, as if you were sifting in the flour. Fold in the mixture until no flour remains. Repeat with the other half of the flour, folding it in and scraping the sides and bottom of the bowl to incorporate everything.1/2 cup + 1 Tbsp (68g) all purpose flour, 3/4 tsp baking powder, 1/4 tsp salt
- Add in the food coloring, according to which layer you are baking, mix well so the color is even.Gel food coloring: orange and [yellow]
- Scrape the batter into the prepared cake pan, using a spatula to evenly spread it out.
- Bake for 23-25 minutes, or until a toothpick inserted in the center comes out clean.
- Once the cake is done, allow it to cool in the pan on a cooling rack for 10 minutes. After 10 minutes, carefully remove the cake from the pan. If using a springform pan, remove the sides and bottom. Allow the cake to cool completely on a cooling rack. Once cool, remove the parchment paper round from the bottom of the cake. If you need to level the top of your cake, do so now using either a cake lever or knife. Make sure the cake is completely cooled, then wrap the cake in plastic wrap and place it in the refrigerator. This cake is good for up to one week like this.
- Repeat this recipe until all the cake layers are baked.
Buttercream
- In a mixing large bowl, combine the butter and vegetable shortening, beat using an electric mixer until fluffy, 2 minutes.1 cup (226g) butter, 1/2 cup (118ml) vegetable shortening
- Add in the vanilla extract, beat using electric mixer.1 tsp vanilla extract
- Begin to add the powdered sugar, about 1-2 cups at a time, mixing by hand first, then with the electric mixer. Continue adding powdered sugar until the frosting tastes good to you.5-7 cups (567-791g) powdered sugar
- Add in your desired amount of orange gel food coloring. Start with a little and add more to get your desired color. Beat the frosting using the mixer one last time.Orange gel food coloring
Chocolate Ganache
- Place chocolate chips in a medium heat-proof bowl.3/4 cup (129g) chocolate chips
- In a small pot over low heat, heat the heavy cream until just before boiling.1/2 cup (118ml) heavy cream
- Pour the heavy cream over the chocolate chips. Allow the mixture to stand for 1-2 minutes.
- Use a spatula to stir the mixture until smooth.
- Allow the ganache to come to room temperature before adding it to the cake.
To assemble the cake
- Spread a small amount of buttercream on a 6 inch round cardboard cake circle. Place your first layer of cake on top of the cardboard. Put buttercream on top of the first layer and spread it as even as possible with an offset spatula. Decide how much or how little frosting you want in-between each layer.
- Repeat this process for each layer of cake. Once all of the layers are stacked and frosted, it’s time to do a crumb coat. The crumb coat will help seal the crumbs in. Using your offset spatula, spread a thin layer of buttercream around the sides and the top of the cake. It’s easiest to start off with more frosting on the cake and remove some as needed.
- Place the entire cake in the freezer or fridge for 20 minutes to harden the crumb coat.
- Begin to add the second layer of frosting. Spread an even layer of frosting on the top of the cake. Next either pipe on the frosting or spread on the frosting around the sides of the cake. Use a spatula or icing smoother to smooth out the frosting, scraping off excess as you go. Once the frosting is uniform around the cake, use the smooth side of Viva brand paper towels and a fondant smoother to smooth out any imperfections. Place the paper towel on the cake and gently rub the fondant smoother around. Repeat this process, moving the paper towel all around the cake.
- Place the cake in the fridge for 20-30 more minutes. This will help make the cake cold and the chocolate ganache set faster once you add it.
- To pipe a frosting border around the bottom of the cake, place buttercream in a piping bag fit with a wilton 32 tip. Pipe the border using the shell technique.
- Once the ganache is room temperature, use a spoon to drizzle the ganache around the sides of the cake, allowing it to drip down the sides. Fill in the middle of the cake with ganache and spread evenly with the back of the spoon. Allow the ganache to set for 10 minutes.
- Place the witch’s leg in the center of the cake, pushing them into the ganache slightly.toilet paper tube, cardboard
- Serve and enjoy.
Notes




This is seriously the cutest halloween cake ever!!! Love the colors inside, the smooth orange buttercream, the fudgy ganache and of course the crafty witch!! PINNED :)
Thanks for pinning Aimee!! :)
I want the witches seat! Head first into all that chocolate!
I like the way you’re thinking!
Ahhh!! This is so stinking cute! I love it. You have some skills, Beth :)
Awww, thank you Mandy!
Oh, my gosh! This cake is a hoot! My kids would be so happy to make it with me. What a fun Halloween idea!!
Kids would love making it for sure!
This is just stunning in the cutest, coolest way! My 3 and 5 years olds are really into “The Wizard of Oz” right now and would absolutely love this!
I’m melting, I’m melting!!!!
You are so creative! Love the colored layers inside!
Ekk!! I like that part too, it’s like a surprise!
Puuuuhhhhlllleeeeassseeeee come visit me and teach me how to bake these beautiful cakes. You are my hero.
Sounds like a good plan, especially because I LOVE the light you shoot with!
SUCH a cute cake! Love it! Pinned! And thanks for linking to my tutorial! :)
Of course, your tutorial is AWESOME!
Haha OMG soooo cute!!! I love the bright orange buttercream and the chocolate ganache looks to die for! This is the best and most fun Halloween cake :)
I’m glad you think so Kelly!!
It’s so adorable I don’t even know what to say!!