This post may contain affiliate links. Please read our disclosure policy.
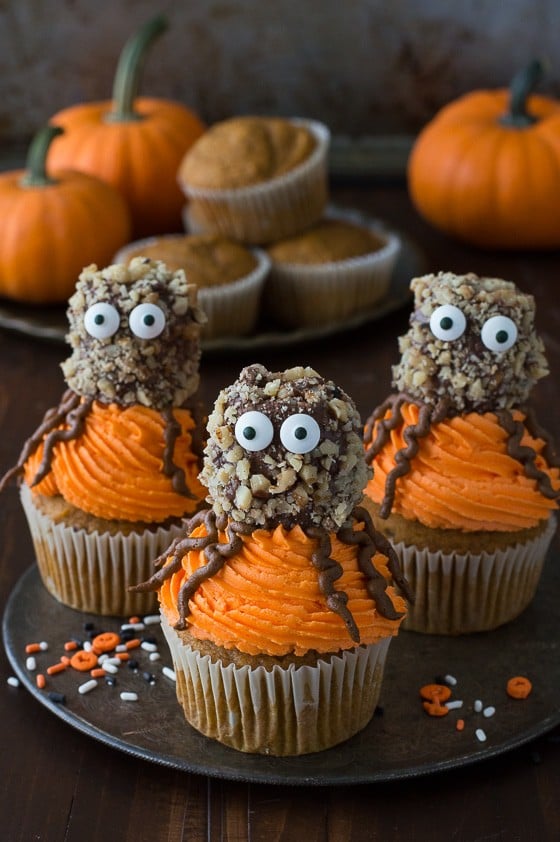 What’s scarier.. spiders or snakes?
I’ve killed my share of spiders with shoes but I have never ever killed a snake, and I hope I never have to because they only thing I can think of that would actually kill a snake would be a sword.. and I don’t own a sword!
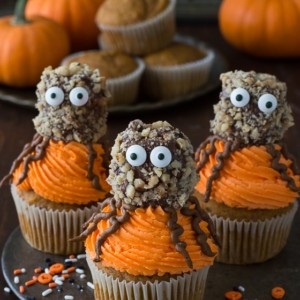
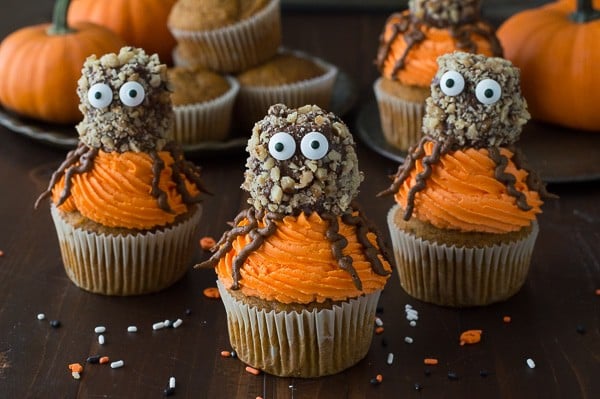
Luckily we don’t have to worry about smashing these spiders! They are actually invited to the halloween party!
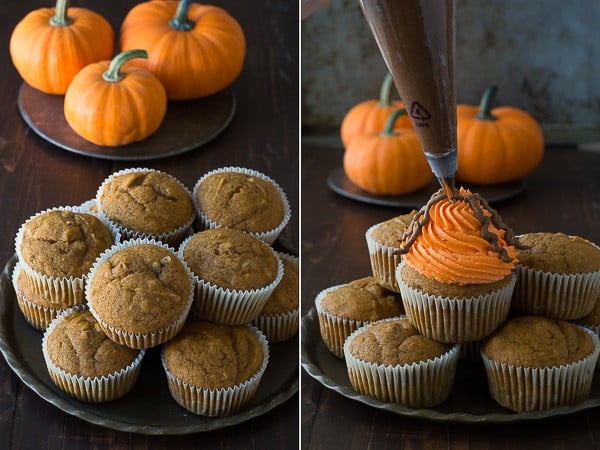
Next is the orange buttercream, which is very fitting for halloween! But you could also use another festive color like a spooky green or purple. Before you dye all of the buttercream orange, reserve a bit to be used to make the spider’s legs. After you pipe the orange buttercream onto the cupcake, pipe on 8 legs, 4 on a side.
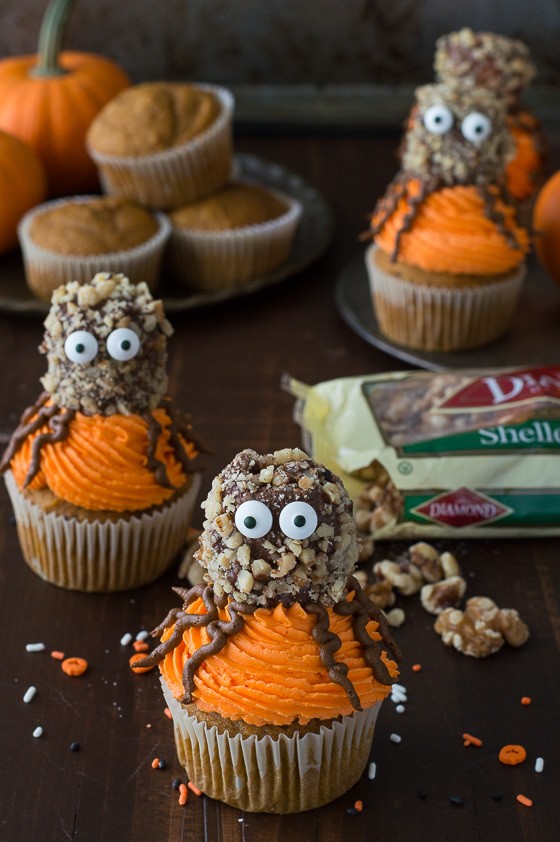
1. Cover marshmallow in chocolate
2. Allow the chocolate to set for a few minutes
3. Roll the chocolate dipped marshmallows in chopped walnuts
4. Allow the walnuts to harden to the chocolate
5. Add candy eyeballs to each marshmallow, “glue” them on using leftover chocolate.
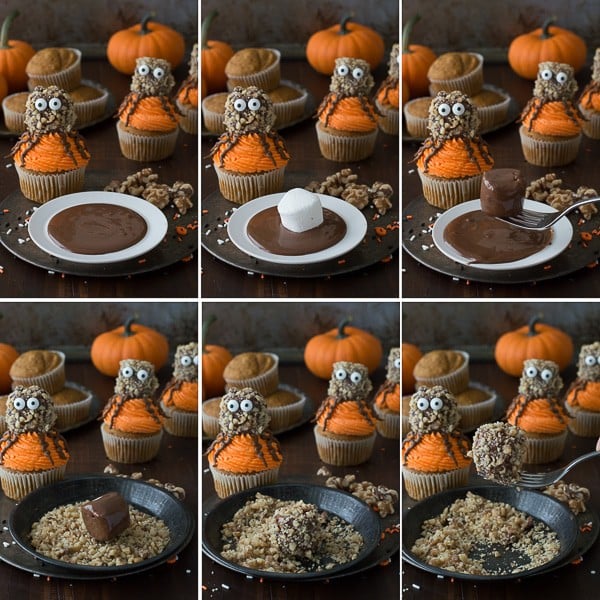
Thank you to Diamond of California for partnering with me so I could share this fun halloween recipe!
Tap stars to rate!
Pumpkin Walnut Spider Cupcakes
Ingredients
Pumpkin Walnut Cupcakes
- 1 ¼ cups flour
- 1 tsp baking powder
- ½ tsp baking soda
- ¼ tsp salt
- ½ tsp cinnamon
- 1 tsp pumpkin pie spice
- ¾ cup brown sugar
- 1 stick butter, 1/2 cup, room temperature
- 2 large eggs
- 1 cup pumpkin puree
- ⅓ cup [Diamond of California Shelled Walnuts], chopped
To make the spiders
- Large marshmallows, one for each cupcake
- [Diamond of California Shelled Walnuts], finely chopped
- 2-3 squares chocolate candiquik or almond bark
- 1 tbsp vegetable shortening, to melt chocolate candiquik
- Candy eyeballs
Buttercream
- 2 sticks butter, 1 cup, room temperature
- ¾ cup vegetable shortening
- 1 tsp vanilla extract
- 6-8 cups powdered sugar
- orange gel food coloring
- brown gel food coloring

Instructions
Pumpkin Walnut Cupcakes
- Preheat the oven to 350º F.
- Line a muffin pan with 12 muffin liners.
- In a bowl combine the flour, baking powder, baking soda, salt, cinnamon, and pumpkin pie spice. Mix well to combine.
- In a separate bowl, combine the brown sugar and butter, beat together using an electric mixer until creamy, 1-2 minutes.
- Add in the eggs, one at a time, beating the mixture after each one.
- Add in the pumpkin puree and walnuts, mixing by hand with a spatula.
- Add half of the flour mixture to the wet ingredients, do not dump it in, rather take spoonfuls of the flour mixture and gently shake it over the wet ingredients, as if you were sifting in the flour. Fold in the mixture until no flour remains. Repeat with the other half of the flour, folding it in and scraping the sides and bottom of the bowl to incorporate everything.
- Evenly divide the batter among the muffin pan, filling each 2/3 full.
- Bake for 15-18 minutes or until a toothpick inserted in the center comes out clean.
- Allow the cupcakes to cool for about 3 minutes in the pan, then take them out and allow them to cool on a cooling rack.
- Allow the cupcakes to cool completely before adding the frosting.
To make the spiders
- In a small saucepan over medium low heat, melt the chocolate and vegetable shortening. Once melted, place a marshmallow in the pan and cover it with chocolate. Use a fork to remove the marshmallow from the chocolate and place it on a silicone baking mat or parchment paper. Allow the chocolate to set for 3-4 minutes. You don’t want the chocolate to be too runny when you roll the marshmallow in the walnuts otherwise the walnuts won’t stick. You also don’t want the chocolate to have already set because then the walnuts won’t stick. Do a few test marshmallows to see how much time the chocolate needs to set before rolling them in the walnuts.
- Let the marshmallows set for 5 minutes after rolling them in the walnuts.
- Use leftover melted chocolate to act as glue to “glue” the candy eyeballs to the marshmallow. Hold the eyeballs on for a few seconds until the chocolate sets.
Buttercream
- In a mixing large bowl, combine the butter and vegetable shortening, beat using an electric mixer until fluffy, 2 minutes.
- Add in the vanilla extract, beat using electric mixer.
- Begin to add the powdered sugar, about 1-2 cups at a time, mixing by hand first, then with the electric mixer. Continue adding powdered sugar until the frosting tastes good to you, but make sure the frosting isn’t too wet or too thick.
- Divide the buttercream between 2 bowls. One bowl can have significantly less then the other, this bowl will be dyed brown and used to make the spider’s legs. The bowl with more buttercream will be dyed orange.
- Add in your desired amount of gel food coloring to each bowl. Start with a little and add more to get your desired color. Beat the frosting using the mixer one last time. Be sure to clean the beaters as to not mix the colors.
- To assemble the cupcakes
- In a piping bag fit with a wilton 6B piping tip, add in the orange buttercream. Squeeze the buttercream down into the bag. Pipe the buttercream onto the cupcakes, starting on the outside edge and working your way into the center, progressively stacking the frosting as you get to the center. Refill the bag as needed to frost all of the cupcakes.
- In a piping bag fit with a wilton 5 round piping tip (or larger opening), add in the brown buttercream. Squeeze the buttercream down into the bag. Begin to add spider legs, 4 on each side.
- Once you have the legs drawn, place the spider’s body (marshmallow) on top, pushing the marshmallow slightly into the buttercream.
- Enjoy! These are best served the same day you assemble them. However, you can assemble the spider's body in advance and store in a container until ready to use.
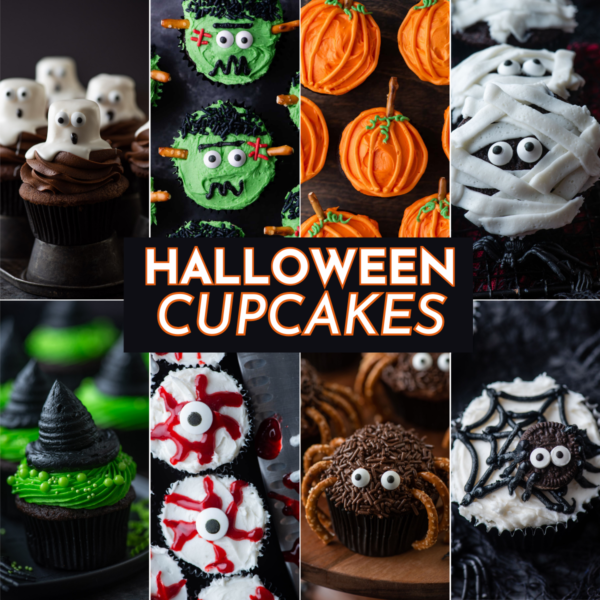
More Halloween treats & recipes!
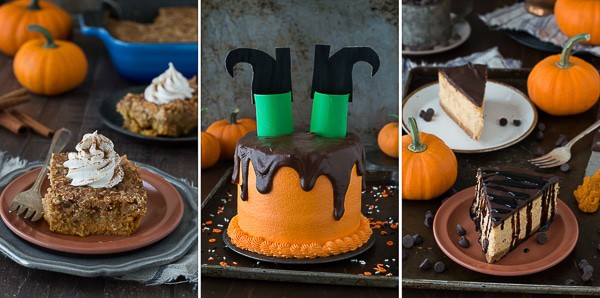
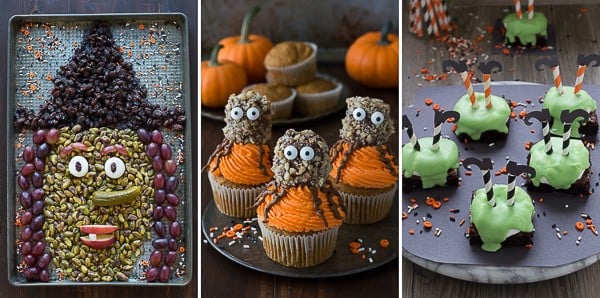



Awwwww, these spider cupcakes look adorably delish. I wish I could have 3-4 right now.
These might be the cutest cupcakes I’ve ever seen! I’ve never actually thought a real spider was cute, but these ones I can get behind! Oh. And I hope I never have to kill a snake either. :-)
Where do you come up with these things?! I absolutely love these adorable spider cupcakes Beth!
I just love over the top things!
I choose both please?! I hate both snakes and spiders. They can stay far away thank you very much! Except these little guys. Chocolate covered marshmallows are okay in my book any day ;)
Yes! Chocolate covered marshmallows that look like spiders I can do!
You don’t have a sword, Beth?! You should get it. Bake it! A cookie sword. But wait. Perhaps first you’ll need to buy another, a sword shape cookie cutter, ha-ha:) Cute cupcakes, by the way (and not scary at all)!
Yes! This sword cookie cutter would be perfect for pirate cupcakes!
I know Halloween treats are supposed to be spooky but these are just so cute! I don;t even think I can eat that little spider…lol
These little guys are so darn cute! The kids will love them!