
This post may contain affiliate links. Please read our disclosure policy.
These ice cream cone cupcakes use my go to vanilla cake batter for reliable results. The key is adding just enough batter so the cake rises to the top of the cone without spilling. The result is a dependable base that is easy to decorate.
The recipe and post were updated February 2026.
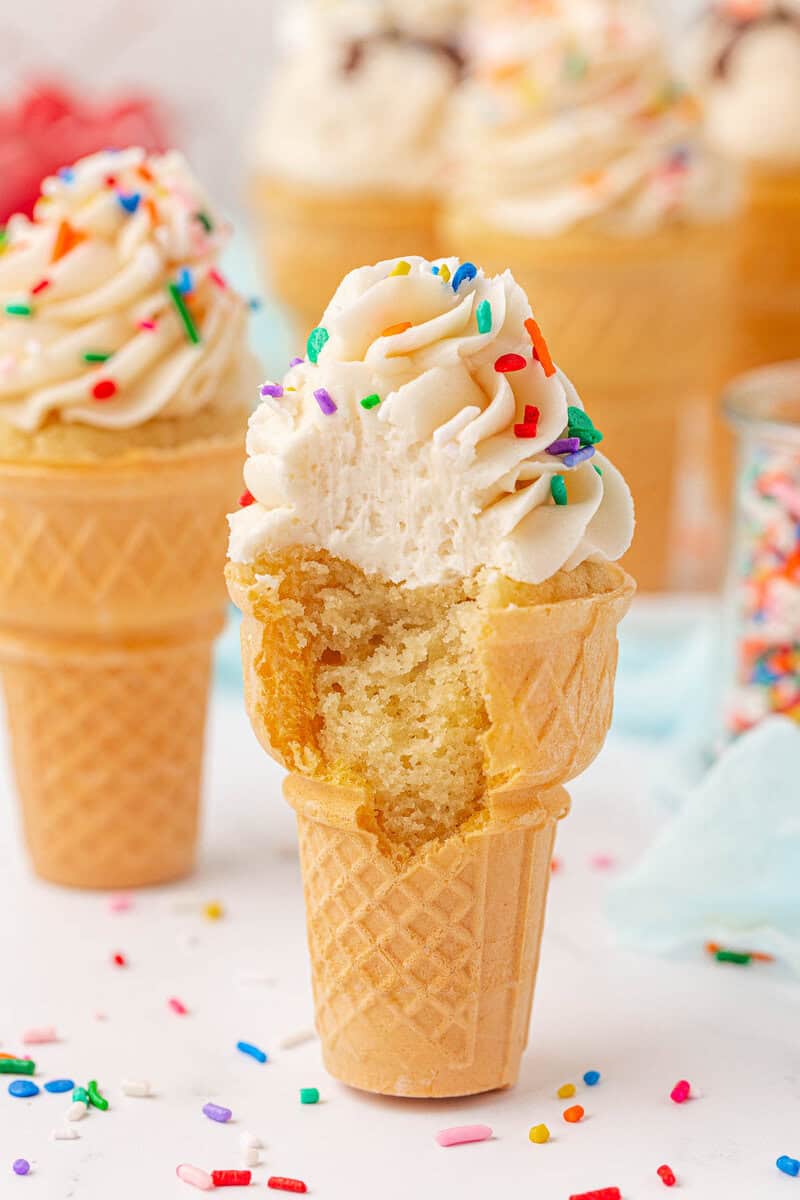
These ice cream cone cupcakes are made using my trusted vanilla cake batter, a recipe I rely on when I want consistent rise, soft texture, and clean flavor. Baking cupcakes directly inside flat bottom ice cream cones sounds tricky, but the key is simply using the right amount of batter. Too much batter causes overflow, and too little leaves the cone underfilled, so this recipe focuses on dialing in that balance.
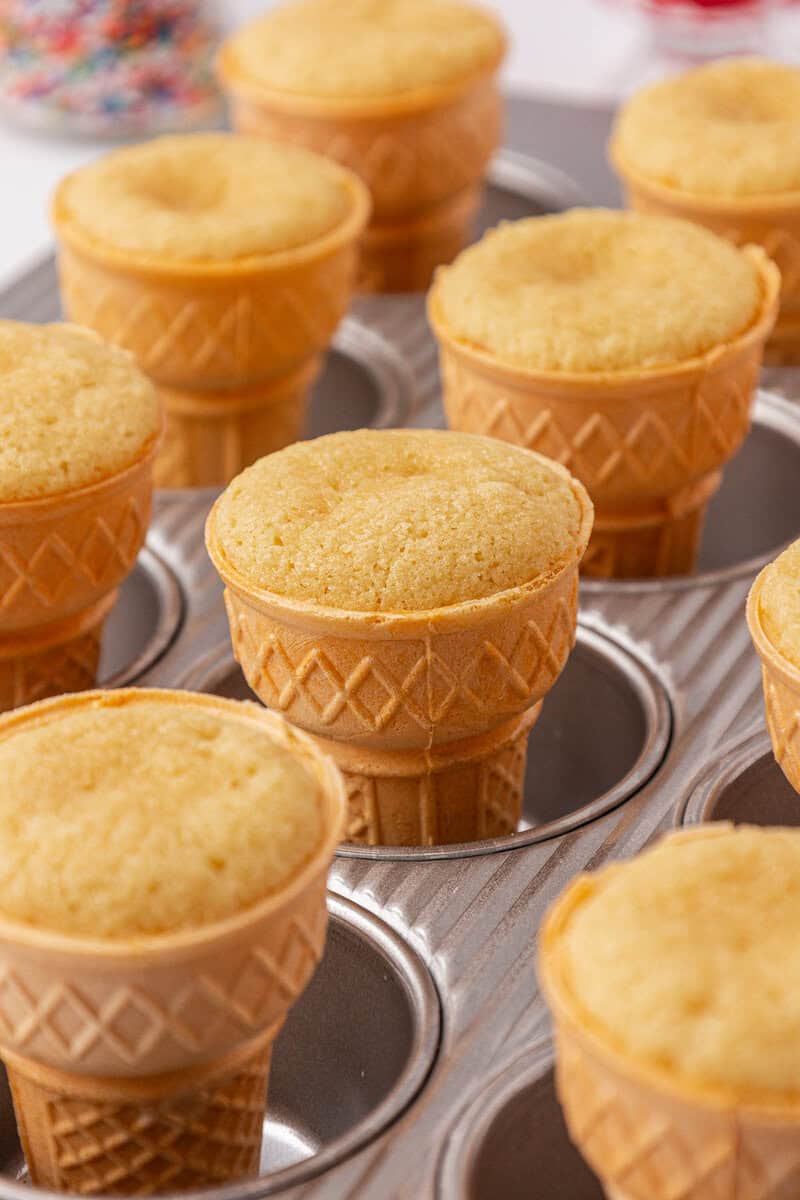
After testing, I found that filling the cones halfway with batter allows the cupcakes to rise just enough to meet the top edge of the cone as they bake. The cake sets cleanly, stays soft, and holds its shape without spilling over. This makes them easy to frost and decorate without frustration.
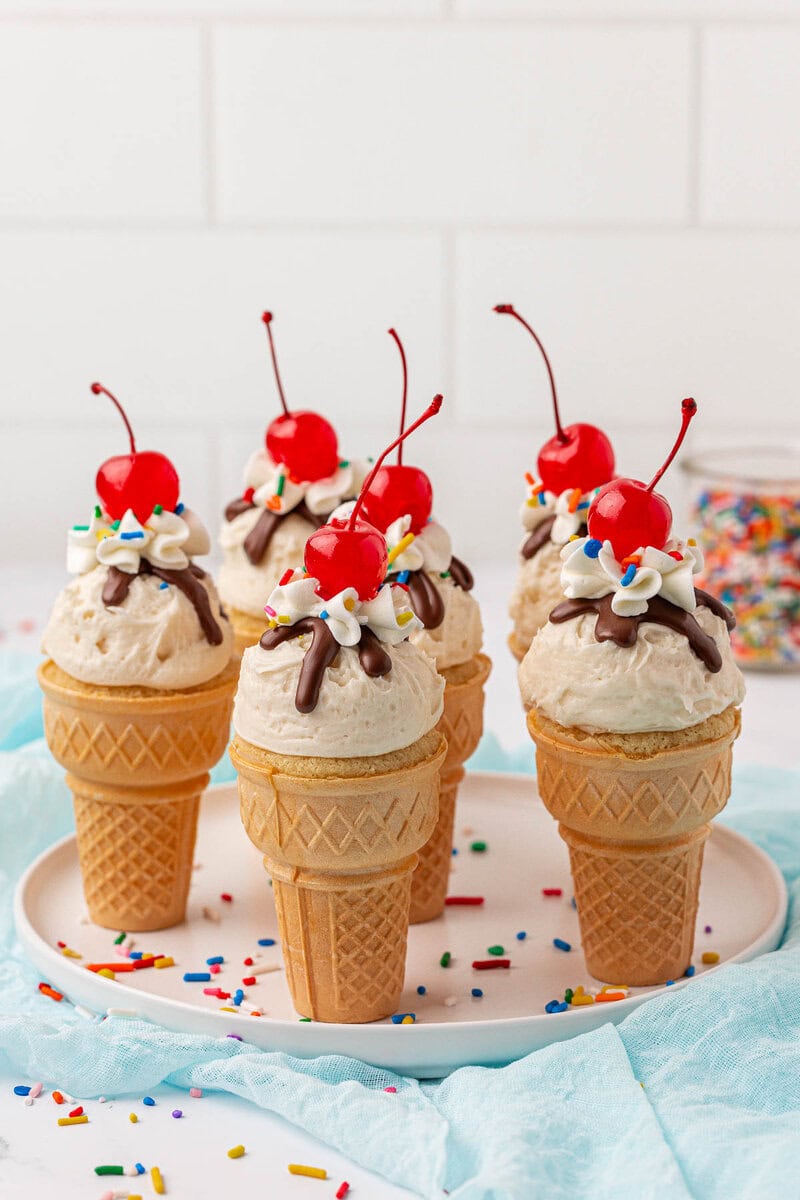
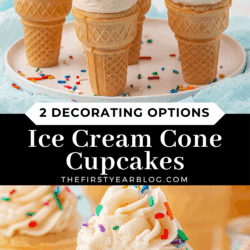
The decorating options are intentionally flexible so you can choose what fits your comfort level. One version mimics a classic ice cream scoop with a chocolate shell, while the other uses a simple swirled frosting. Both are built on the same reliable base, so once the cake is baked correctly, the rest feels fun instead of stressful.
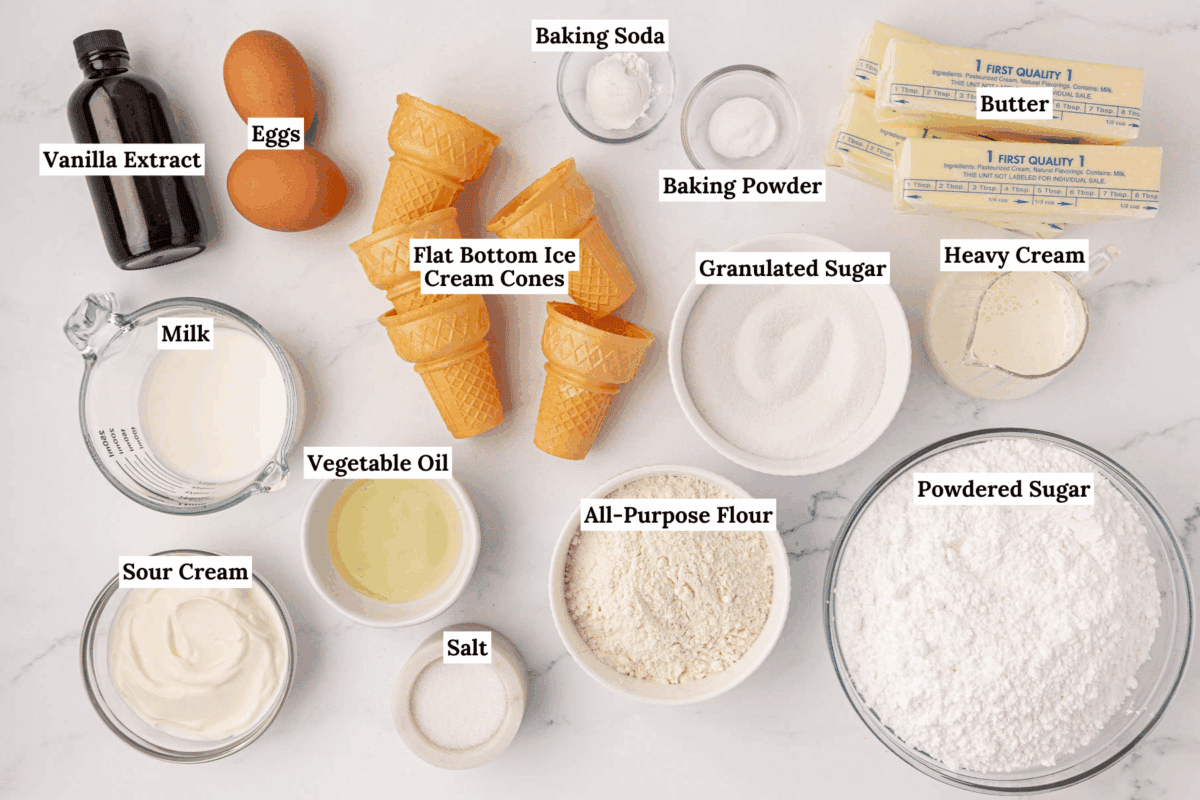
Key Ingredients & Their Purpose
Here are a few notes on some of the key ingredients to make these ice cream cone cupcakes. You can also jump to the recipe card below for the exact measurements.
- Flat bottom ice cream cones: These stand upright in a muffin pan and bake evenly.
- All purpose flour: Provides structure so the cupcakes rise and set properly inside the cone.
- Butter and oil: Butter adds flavor, while oil keeps the cupcakes soft after cooling.
- Eggs: Give structure and lift for an even rise. Room temperature eggs mix best.
- Sour cream: Adds moisture and tenderness without thinning the batter.
- Milk: Keeps the batter smooth and helps the cupcakes bake evenly.
The Key to Baking Cupcakes in Cones
The most important part of baking cupcakes in cones is using the correct amount of batter. Too much batter will overflow and spread over the cone, while too little will leave the cupcake short and uneven. Filling each cone about halfway gives the batter room to rise and bake up level with the top of the cone.
Flat bottom cones also make a big difference. They stand upright in a muffin pan and help the cupcakes bake evenly from bottom to top. Once you get the batter amount right, the cones bake just like regular cupcakes.
People often ask how do I prevent my cones from falling over in the oven?
Using a standard muffin pan is the easiest way to keep the cones upright while baking. If any cones tip over while transferring the pan to the oven, you can simply set them back upright before baking, since the batter has not started to set yet.
How to Bake Ice Cream Cone Cupcakes
Here’s an overview of how to make these adorable ice cream cone cupcakes. You can jump to the full recipe for the full instructions!
Vanilla Cupcakes
Prep oven and muffin pan: Preheat the oven to 350°F (176°C). Place one ice cream cone upright in each cup of a standard muffin pan. The cones should stand on their own, but if any feel unstable, gently press a small piece of aluminum foil around the base to help keep them in place. Set aside while you prepare the batter.
Combine dry ingredients: In a small mixing bowl combine the flour, baking powder, baking soda, and salt.
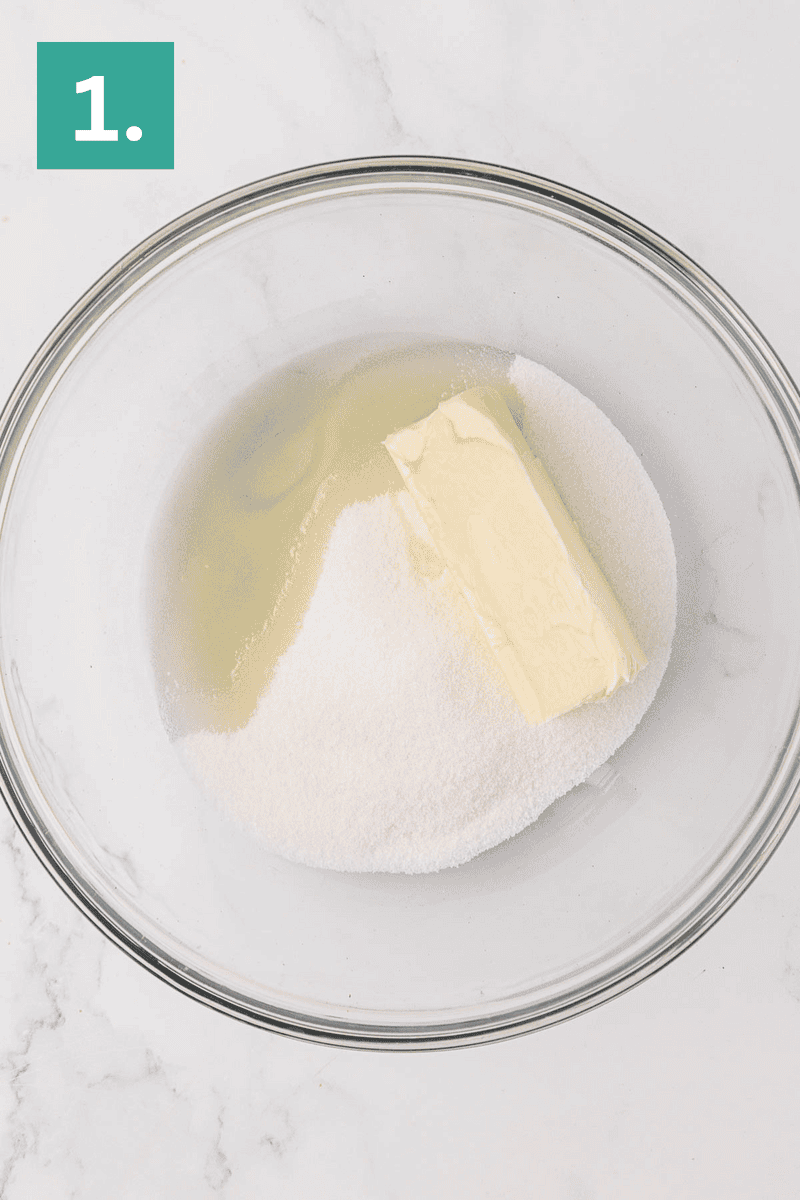
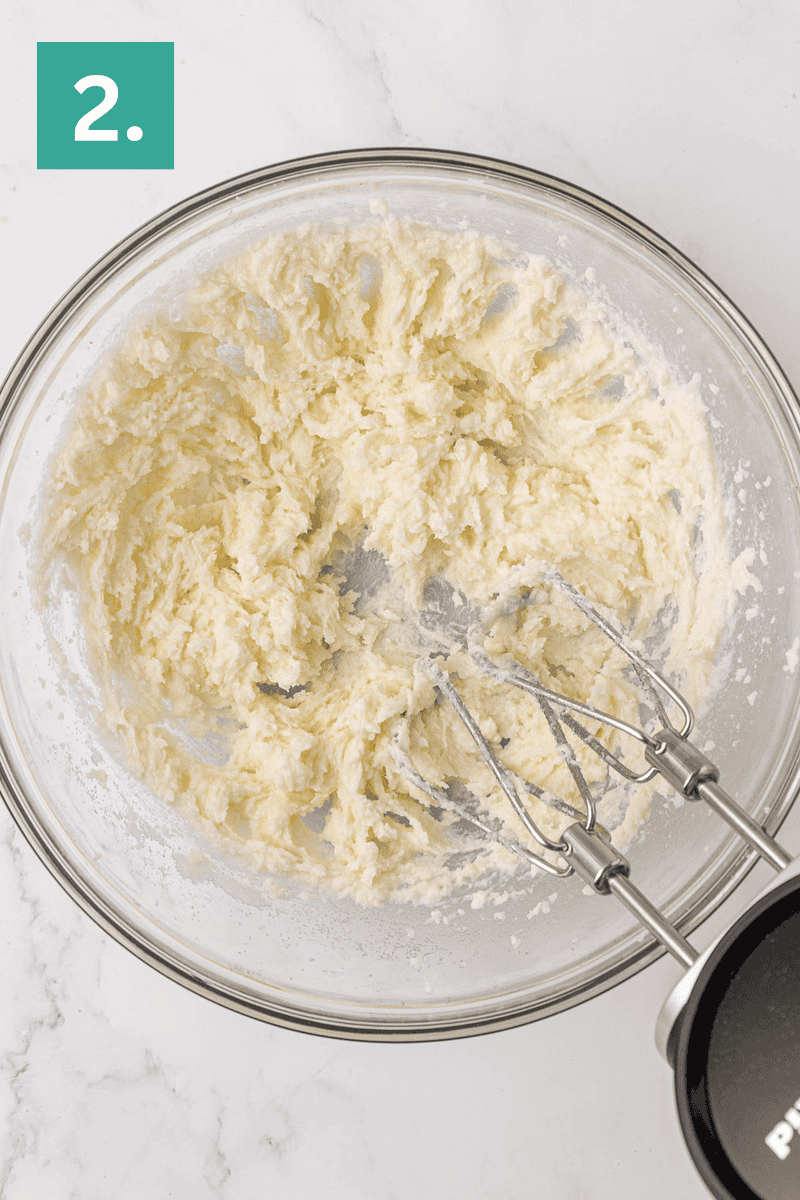
Begin combining wet ingredients: In a large mixing bowl combine the butter, sugar, and vegetable oil, beat using an electric mixer, 1-2 minutes until fluffy.
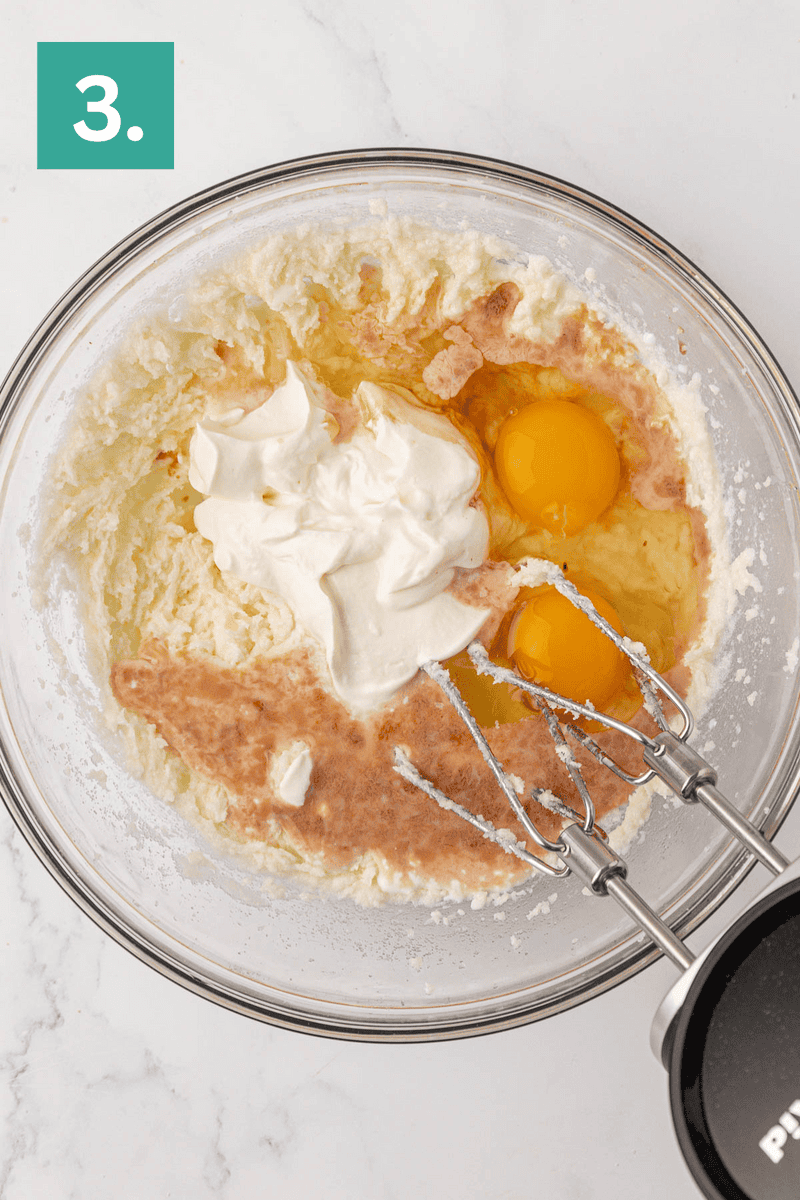
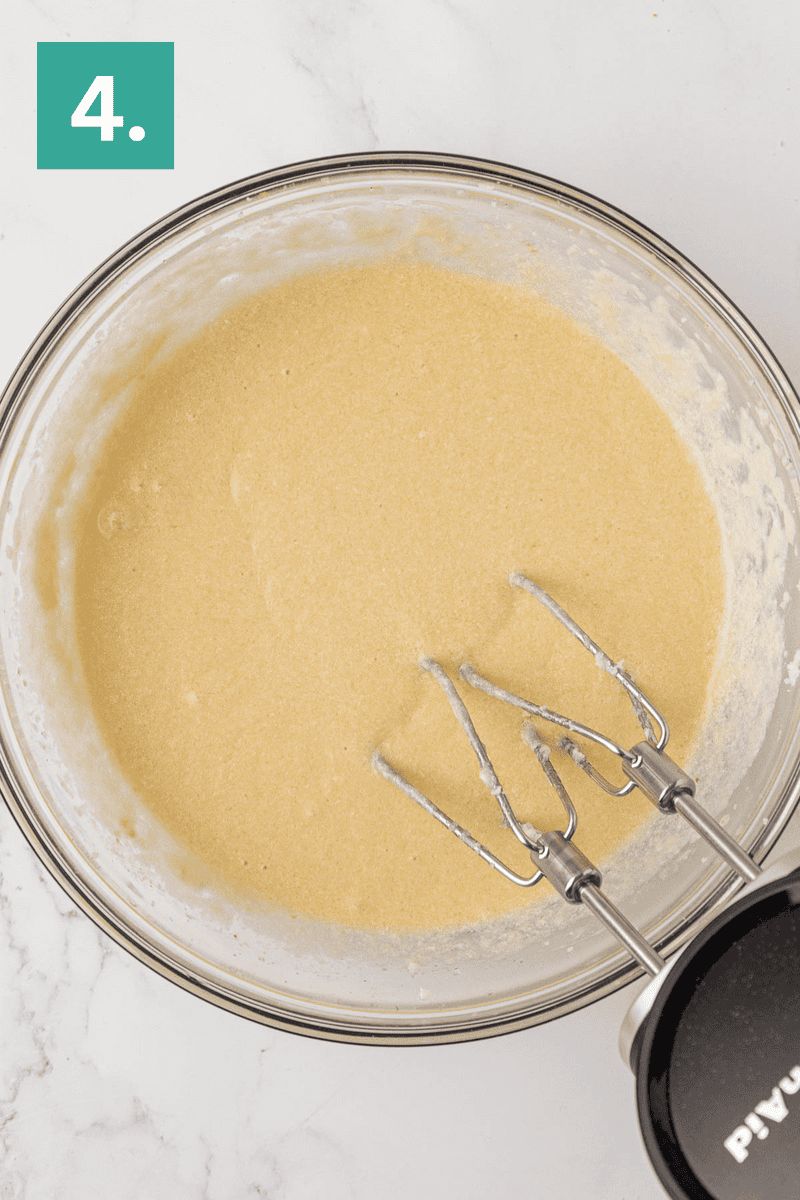
Finish combining wet ingredients: Add in the eggs, sour cream, milk, and vanilla extract. Beat with the electric mixer.
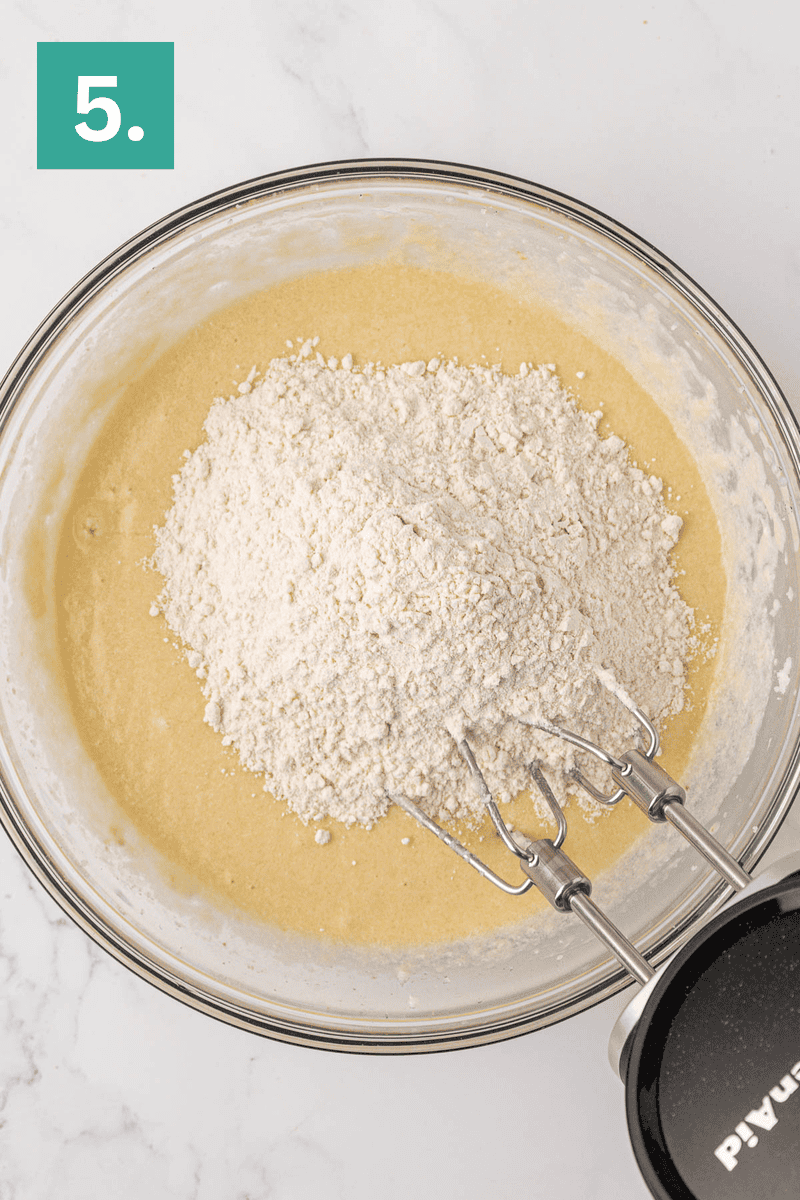
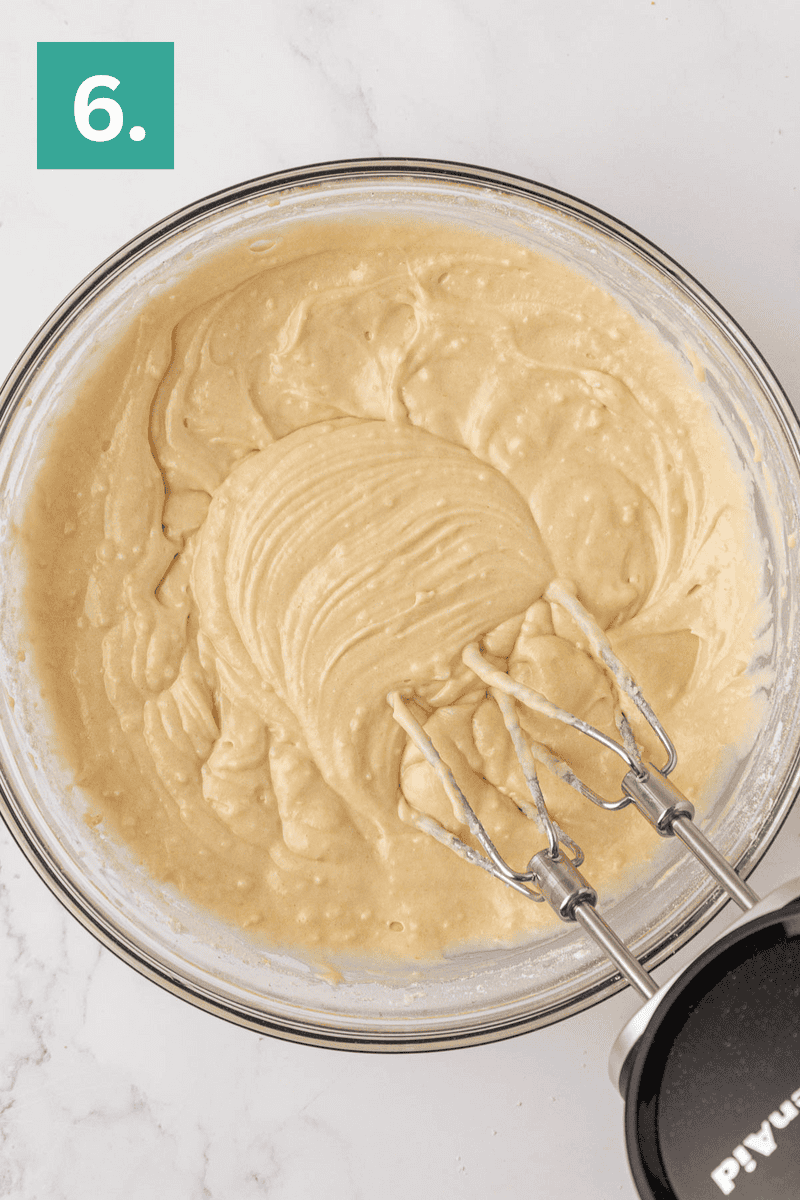
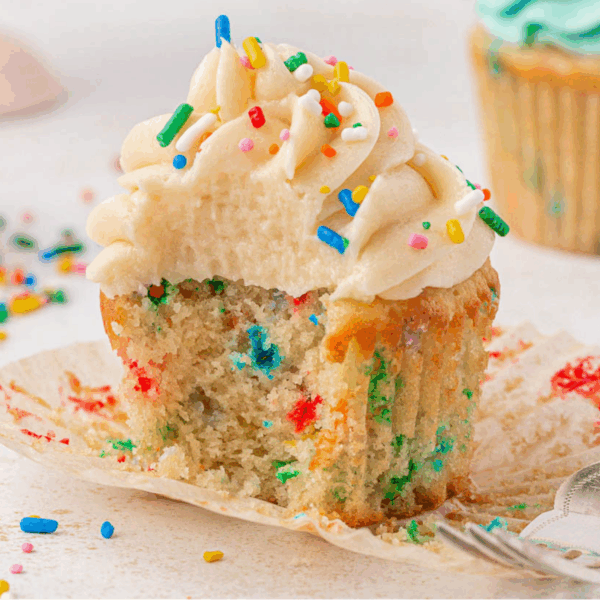
Combine wet and dry ingredients: Gradually add the flour mixture to the wet ingredients, mixing just until the flour is incorporated. If you want to add sprinkles, I recommend adding ¼ cup of jimmie sprinkles now.

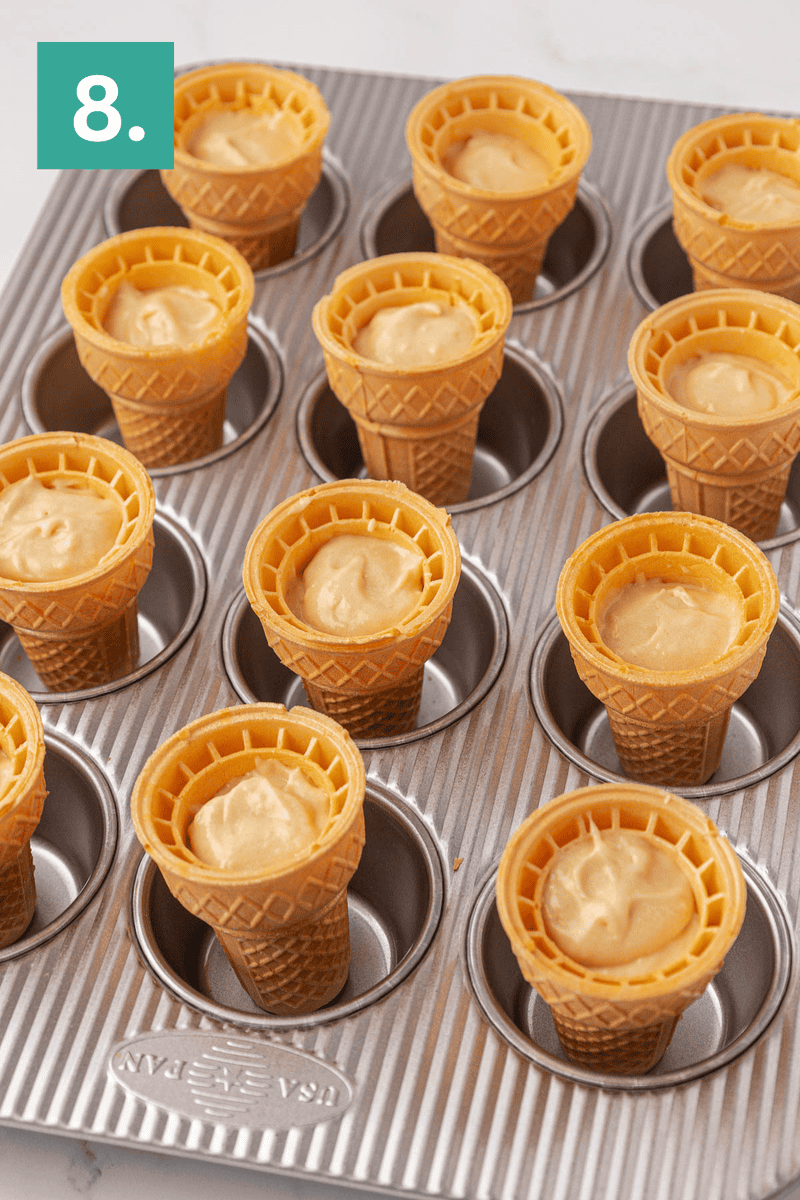
Fill ice cream cones: Add 3 tablespoons of batter into each ice cream cone, filling ½ full. Avoid overfilling, as adding more can cause the cupcakes to overflow while baking. Bake for 17–25 minutes, or until a toothpick inserted into the center comes out clean.
Cool: Allow the cupcakes to cool completely before adding the frosting.
Vanilla Frosting
Notes: this frosting recipe makes enough frosting to frost 20 cupcakes if using version B (see below). This recipe will also make enough frosting to frost 6 cupcakes using version A and 6 cupcakes using version B. But if you want to frost all 20 cupcakes using version A, I recommend you double the frosting recipe as that method uses a lot more frosting.
Begin combining ingredients: In a mixing bowl, combine the butter, vanilla extract and salt, beat using an electric mixer until fluffy, 1-2 minutes.
Mix in powdered sugar: Gradually add the powdered sugar and 1.5 tbsp of milk or heavy cream, mixing on low until combined.
Adjust as needed: Taste as needed to determine if you want more powdered sugar. If the frosting becomes too thick, add 2-4 tablespoons of milk or heavy cream.
Assemble
You have 2 options: Version A resembles more of an ice cream look with the melted chocolate, while version B has the swirled frosting.
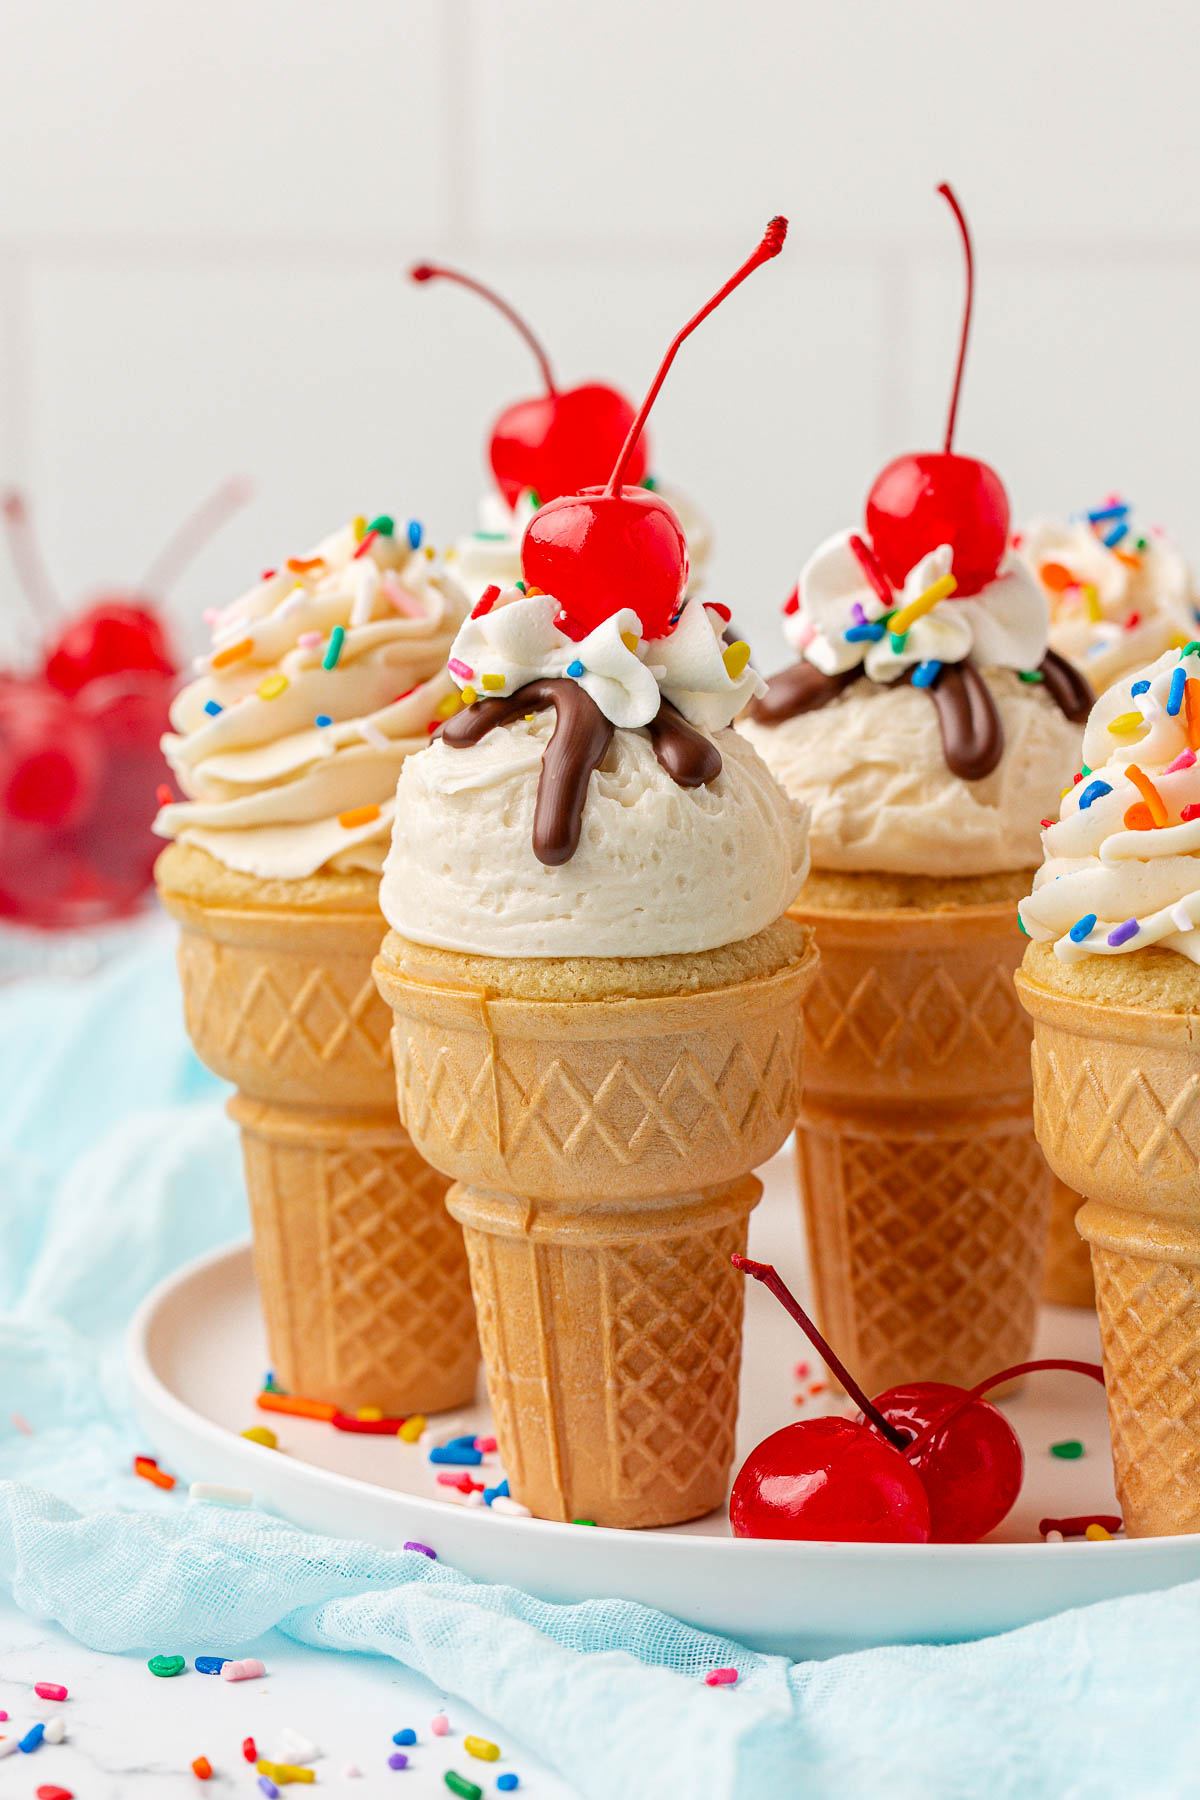
Version A: Using a large cookie scoop, scoop buttercream frosting into the scoop as you would with ice cream. Use the cookie scoop release trigger to gently drop the frosting on top of each cupcake. Using a large cookie scoop to scoop the frosting will give the effect that the frosting is ice cream. Melt 2-3 squares of chocolate candiquik and 1/2 tbsp vegetable shortening in the small bowl. Microwave on 50% power for 2-3 minutes until the chocolate is melted. Stir to combine everything. Allow the chocolate to cool for about 3 minutes. Use a spoon to spoon the chocolate on top of each cupcake. The chocolate should naturally harden and drip down some. Pipe a dollop of frosting (it will look like whipped cream) onto each cupcake. Then finished with sprinkles and a maraschino cherry.
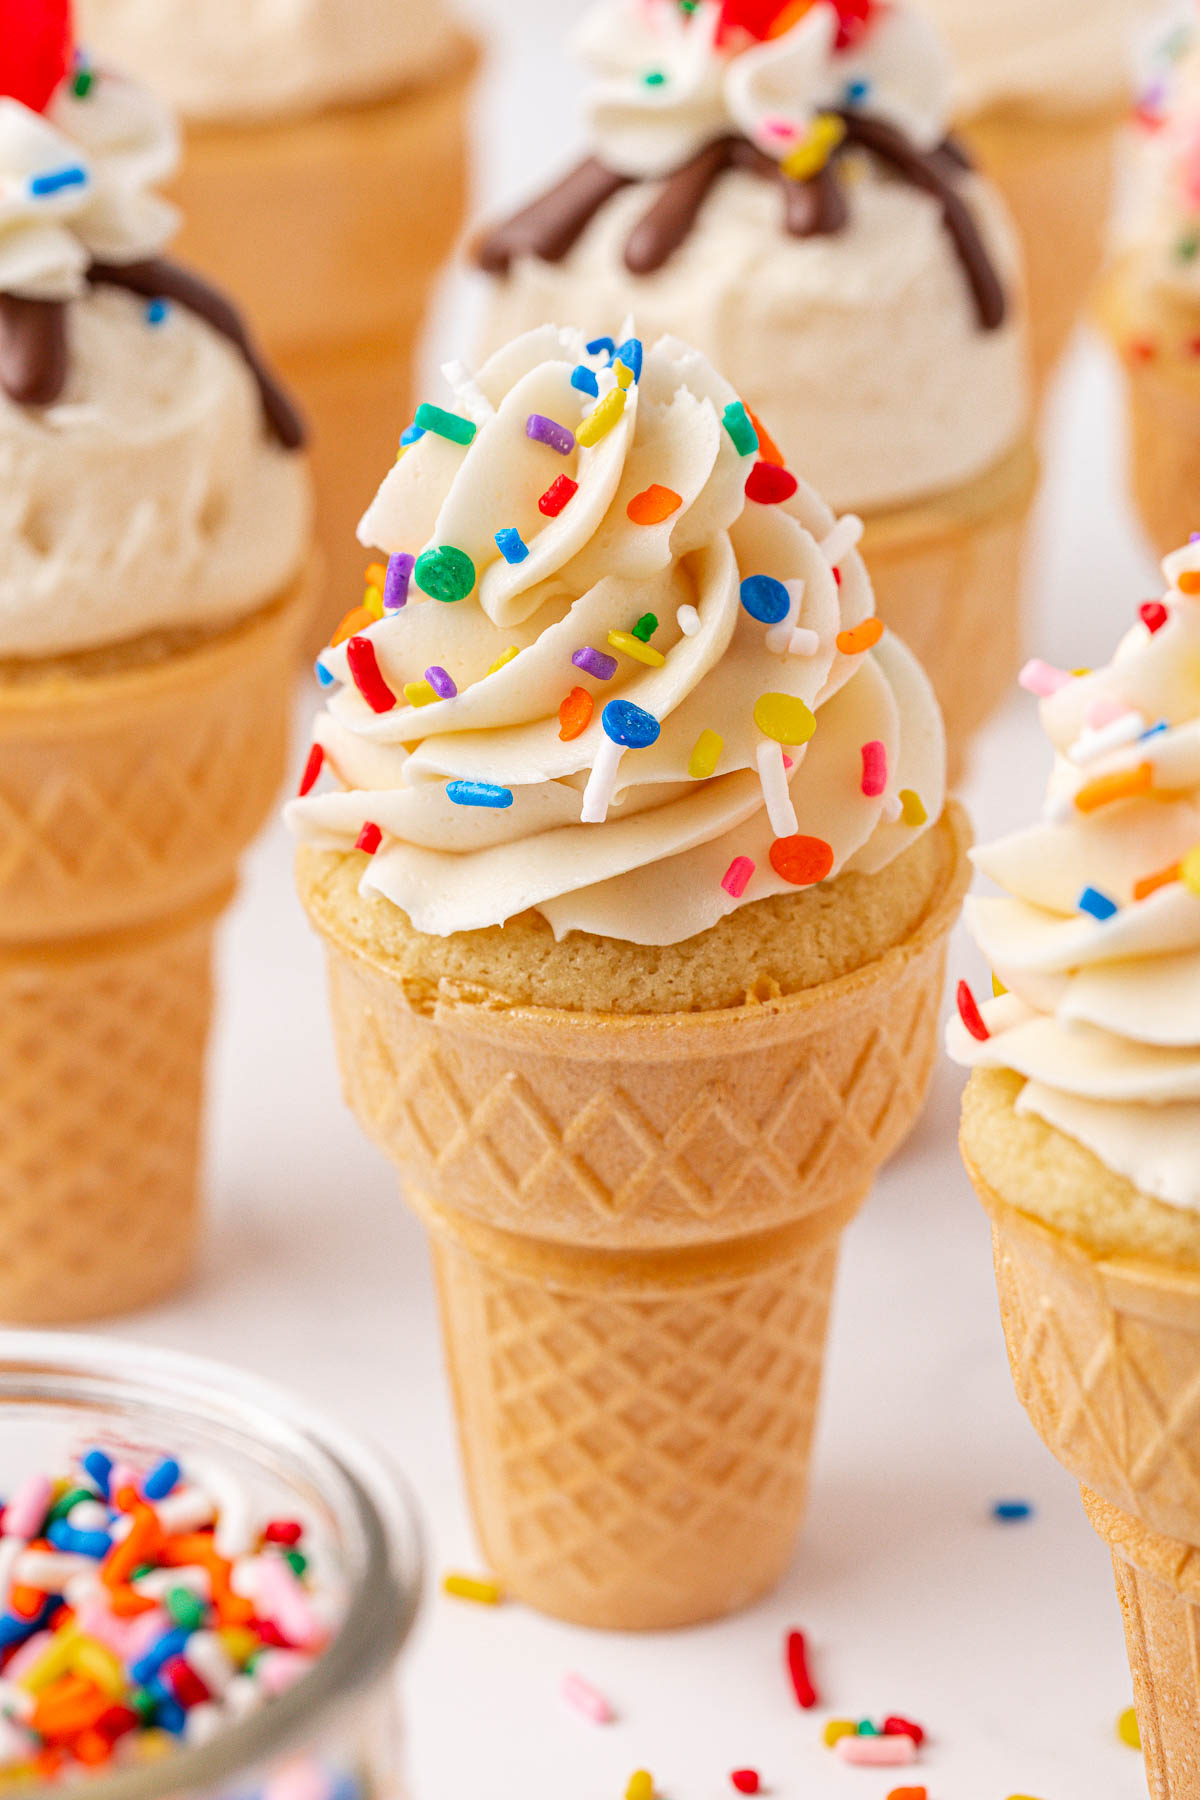
Version B: Fit a piping bag with a star piping tip. Fill the bag about 3/4 full with frosting. Pipe the frosting onto the cupcakes. Decorate with sprinkles.
Decorating Options
You can decorate these ice cream cone cupcakes two different ways depending on the look you want.
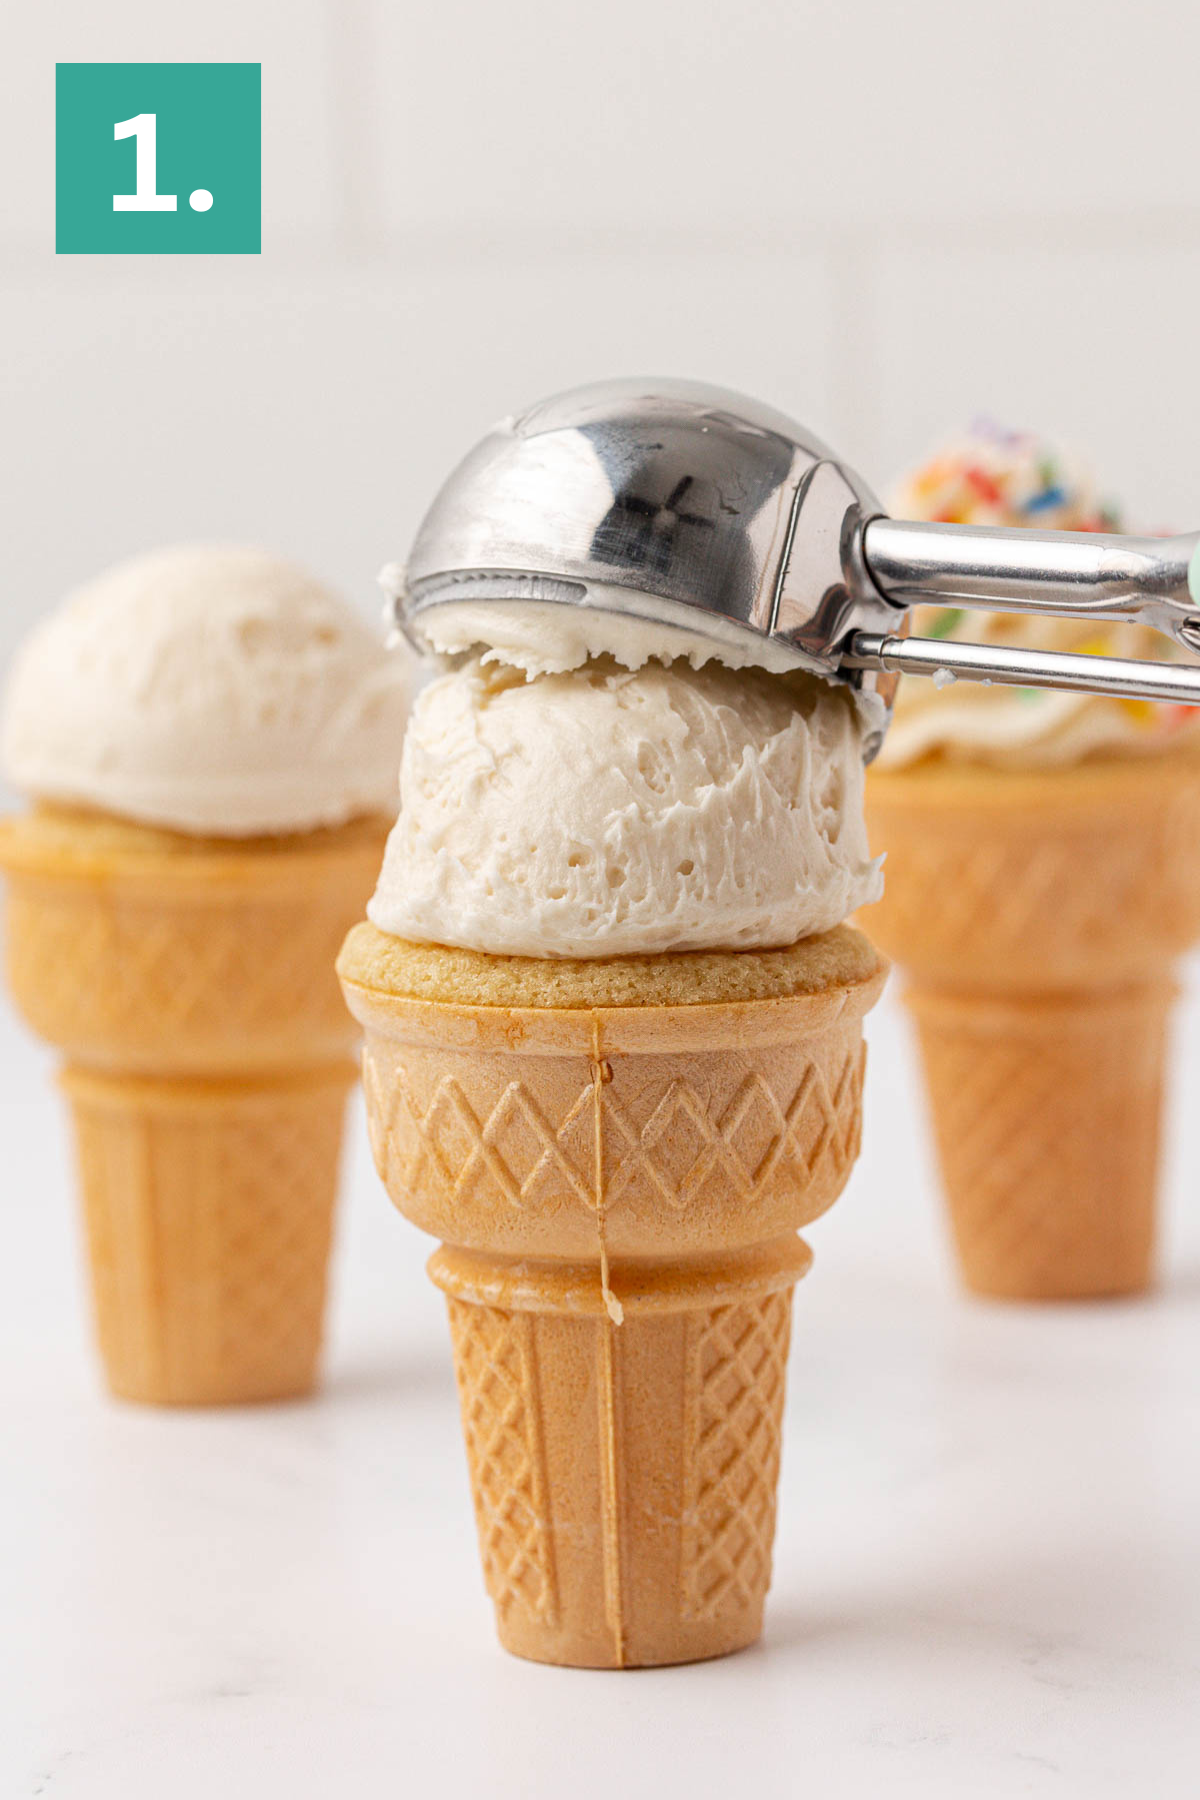
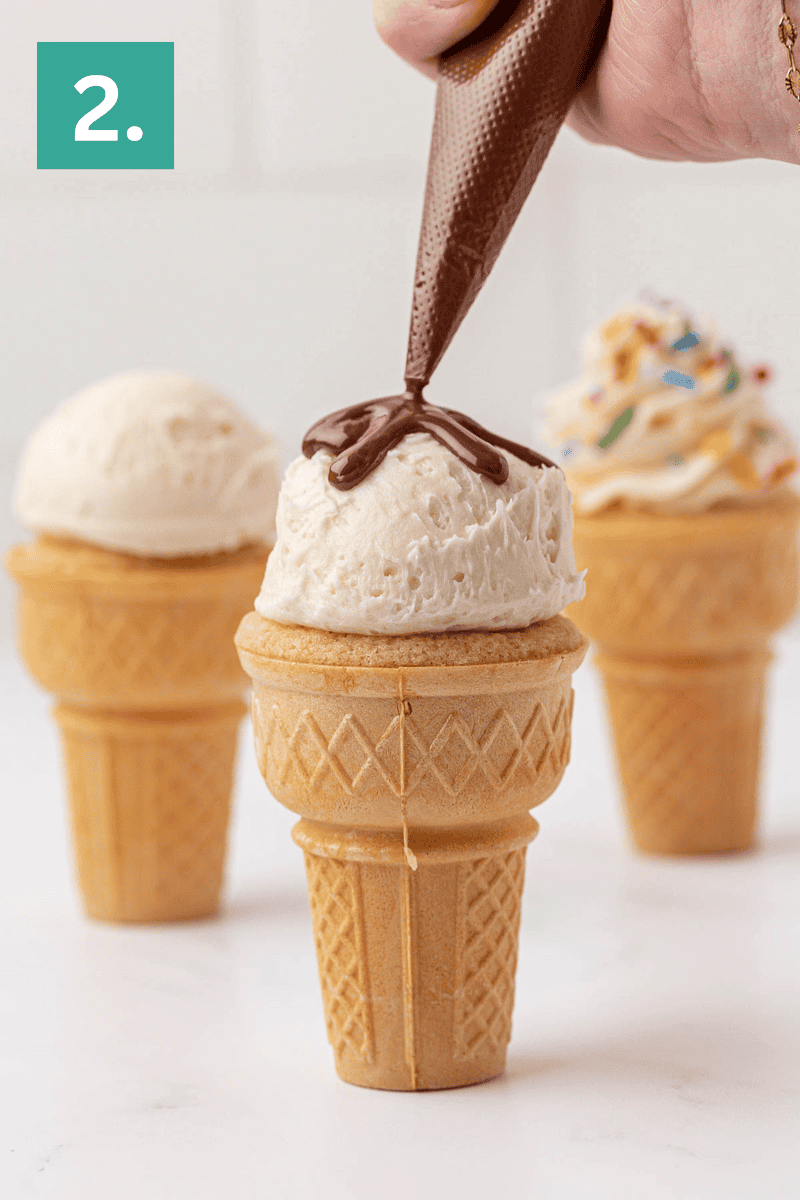
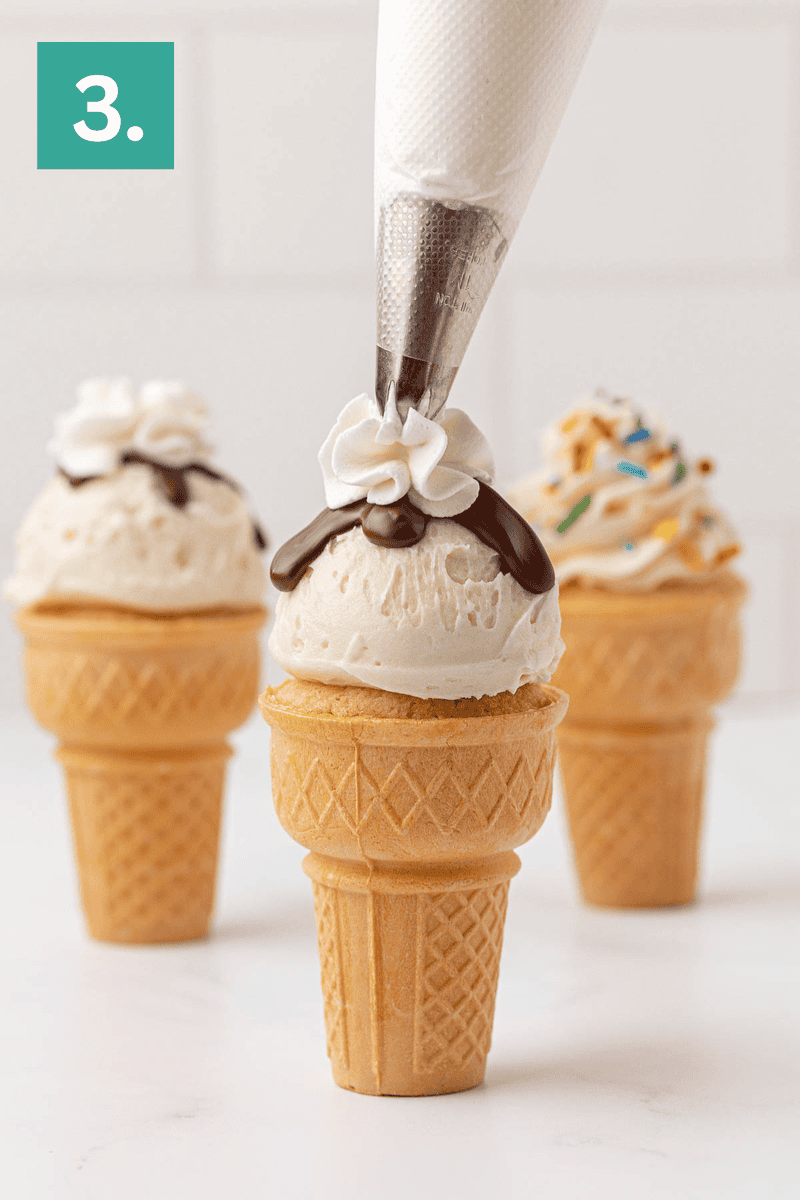
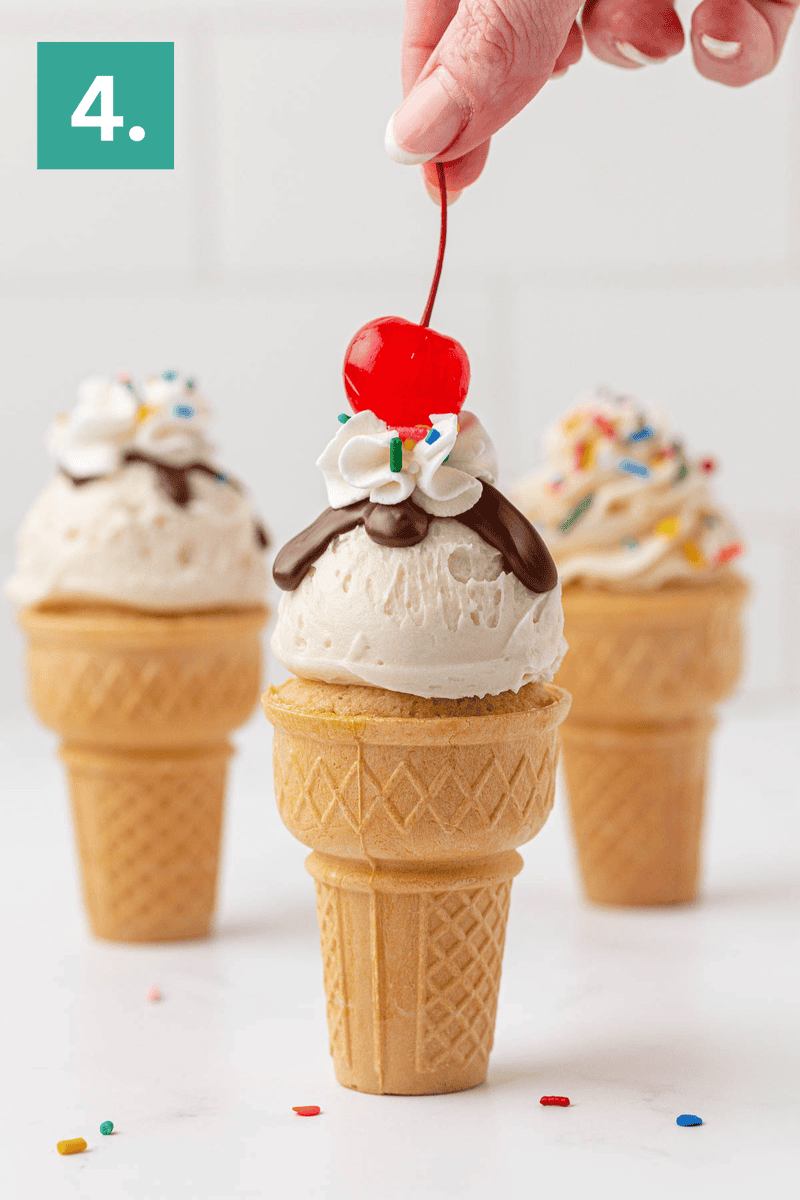
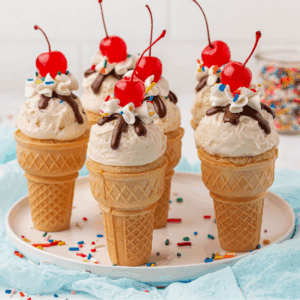
Version A Ice Cream Style: This option uses a large cookie scoop to create a rounded scoop of frosting on top. A spoonful of melted chocolate is added to mimic a chocolate shell, followed by whipped cream (frosting) sprinkles and a cherry. This version uses more frosting and creates a classic ice cream cone look.
Version B Swirled Frosting: This option uses a piping bag and star tip to swirl frosting on top of each cupcake. It is quicker, uses less frosting, and still looks polished and fun. Finish with sprinkles for a simple, clean look.
Storage
Ice cream cone cupcakes are best served the day they are made. Over time, the cones can soften as they absorb moisture from the cake. If needed, you can bake the cupcakes a few hours ahead and frost them closer to serving time.
More Fun Cupcake Recipes
Tap stars to rate!
Ice Cream Cone Cupcakes
Ingredients
Vanilla Cupcakes
- flat bottom ice cream cones
- 1 ¼ cups (150g) all-purpose flour
- 1 tsp baking powder
- ¼ tsp baking soda
- ½ tsp salt
- 6 Tbsp (86g) unsalted butter, room temperature
- 2 Tbsp (25g) vegetable oil
- ¾ cup (149g) granulated sugar
- 2 large eggs, room temperature
- ½ cup (113g) sour cream
- ¼ cup (57g) milk, I used whole milk
- ½ Tbsp vanilla extract
Vanilla Frosting
- 1¼ cups (283g) unsalted butter, room temperature
- 1 Tbsp vanilla extract
- ⅛ tsp salt
- 3–5 cups (340–568g) powdered sugar
- 1½–3 Tbsp milk or heavy cream, as needed if frosting becomes too thick
Decorations
- 2-3 squares Chocolate Candiquik or ⅓ cup candy melts
- ½ Tbsp vegetable shortening or coconut oil
- sprinkles
- maraschino cherries
Instructions
- Preheat the oven to 350°F (176°C). Place one ice cream cone upright in each cup of a standard muffin pan. The cones should stand on their own, but if any feel unstable, gently press a small piece of aluminum foil around the base to help keep them in place. Set aside while you prepare the batter.flat bottom ice cream cones
- In a small mixing bowl combine the flour, baking powder, baking soda, and salt.1 1/4 cups (150g) all-purpose flour, 1 tsp baking powder, 1/4 tsp baking soda, 1/2 tsp salt
- In a large mixing bowl combine the butter, vegetable oil and sugar beat using an electric mixer, 1-2 minutes until fluffy.6 Tbsp (86g) unsalted butter, 2 Tbsp (25g) vegetable oil, 3/4 cup (149g) granulated sugar
- Add in the eggs, sour cream, milk, and vanilla extract. Beat with the electric mixer.2 large eggs, 1/2 cup (113g) sour cream, 1/4 cup (57g) milk, 1/2 Tbsp vanilla extract
- Gradually add the flour mixture to the wet ingredients, mixing just until the flour is incorporated. If you want to add sprinkles, I recommend adding ¼ cup of rainbow sprinkles now.
- Add 3 tablespoons of batter into each ice cream cone, filling ½ full. Avoid overfilling, as adding more can cause the cupcakes to overflow while baking. Bake for 17–25 minutes, or until a toothpick inserted into the center comes out clean.
- Allow the cupcakes to cool completely before adding the frosting.
Vanilla Frosting
- Notes: this frosting recipe makes enough frosting to frost 20 cupcakes if using version B (see below). This recipe will also make enough frosting to frost 6 cupcakes using version A and 6 cupcakes using version B. But if you want to frost all 20 cupcakes using version A, I recommend you double the frosting recipe as that method uses a lot more frosting.
- In a mixing bowl, combine the butter, vanilla extract and salt, beat using an electric mixer until fluffy, 1-2 minutes.1¼ cups (283g) unsalted butter, 1 Tbsp vanilla extract, 1/8 tsp salt
- Gradually add the powdered sugar and 1.5 tbsp of milk or heavy cream, mixing on low until combined.3–5 cups (340–568g) powdered sugar, 1½–3 Tbsp milk or heavy cream
- Taste as needed to determine if you want more powdered sugar. If the frosting becomes too thick, add 2-4 tablespoons of milk or heavy cream.
Assemble
- You have 2 options. Version A resembles more of an ice cream look with the melted chocolate, while version B has the swirled frosting.
- Version A: Using a large cookie scoop, scoop buttercream frosting into the scoop as you would with ice cream. Use the cookie scoop release trigger to gently drop the frosting on top of each cupcake. Using a large cookie scoop to scoop the frosting will give the effect that the frosting is ice cream. Melt 2-3 squares of chocolate candiquik and 1/2 tbsp vegetable shortening in the small bowl. Microwave on 50% power for 2-3 minutes until the chocolate is melted. Stir to combine everything. Allow the chocolate to cool for about 3 minutes. Use a spoon to spoon the chocolate on top of each cupcake. The chocolate should naturally harden and drip down some. Pipe a dollop of frosting (it will look like whipped cream) onto each cupcake. Then finished with sprinkles and a maraschino cherry.2-3 squares Chocolate Candiquik or ⅓ cup candy melts, 1/2 Tbsp vegetable shortening or coconut oil, sprinkles, maraschino cherries
- Version B: Fit a piping bag with a star piping tip. Fill the bag about 3/4 full with frosting. Pipe the frosting onto the cupcakes. Decorate with sprinkles.
Notes


Wish I could reach into the screen and take a bite out ;-)
Are you hoping for ice cream or a cupcake?!
This has to be the kindest April Fool’s “prank” I’ve ever seen. So cute. I love the cherries on top!
A sweet trick :)
These are just. SO. cute!!!!!
Thank you Cathy!
These are too cute for words! My son would flip out over these, Beth. Love your step-by-step photos, too!
I bet your son would ask for these every year!!
Those are the cutest things ever! I’d take a prank like this any day of the year!
Hahaa, me too Jaren!
Hi Beth, these are so realistic! Do you think I can use Ghiradelli dark melting wafers? They look like they are made for coating pretzels and dipping strawberries! How does the frosting taste?
Hi Golden! You want to use a chocolate melting wafer that will harden up fast. I haven’t worked with the ghiradelli ones, but if the chocolate hardens quickly, then I think they’d be okay!
Can you just use cake mix and buy already made frosting?
Yep, for sure!
I haven’t made these yet, but I was wondering if these can be made a couple days in advance? Maybe put the whipped cream and cherry on the day of the party?