
This post may contain affiliate links. Please read our disclosure policy.
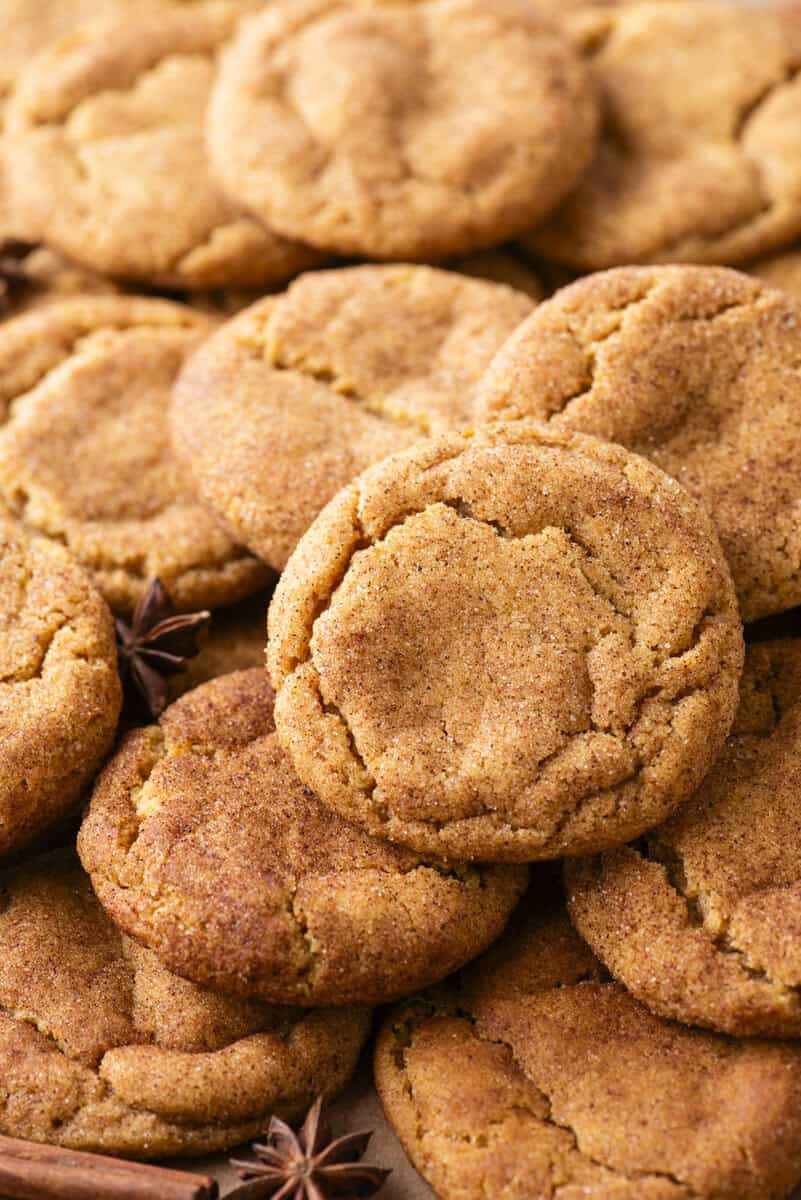
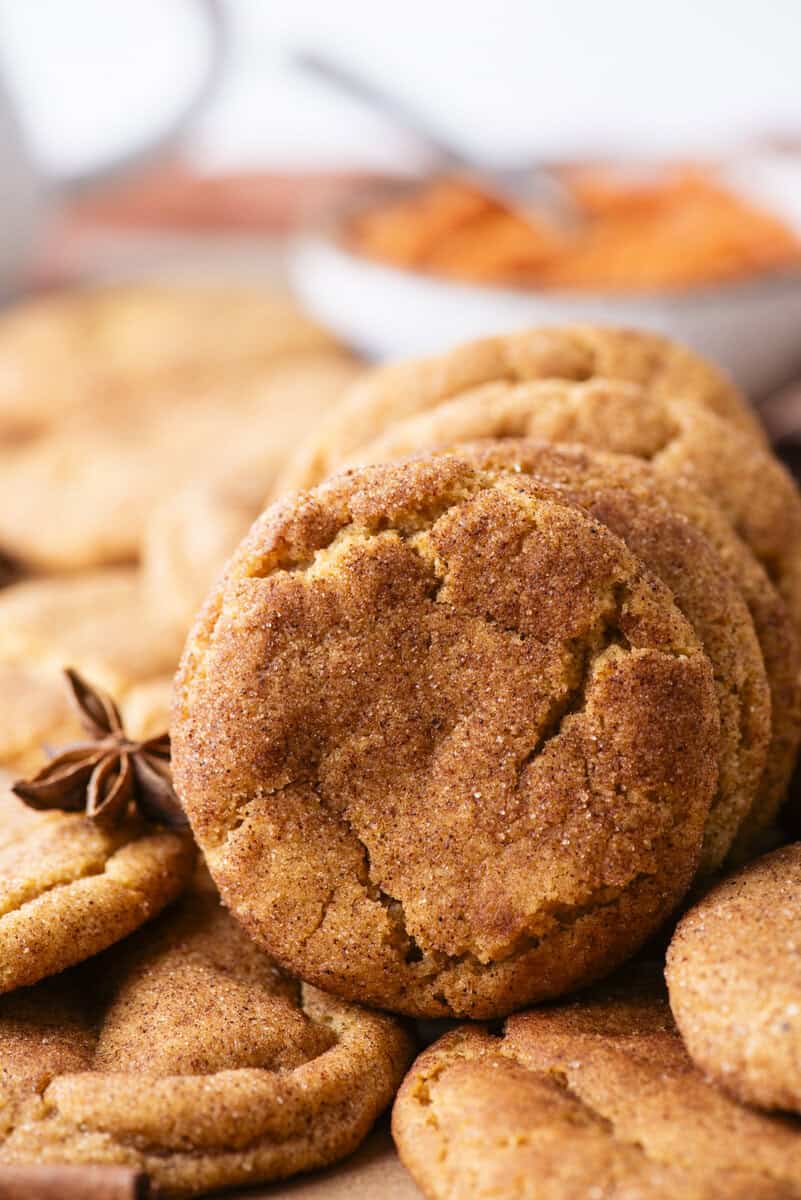
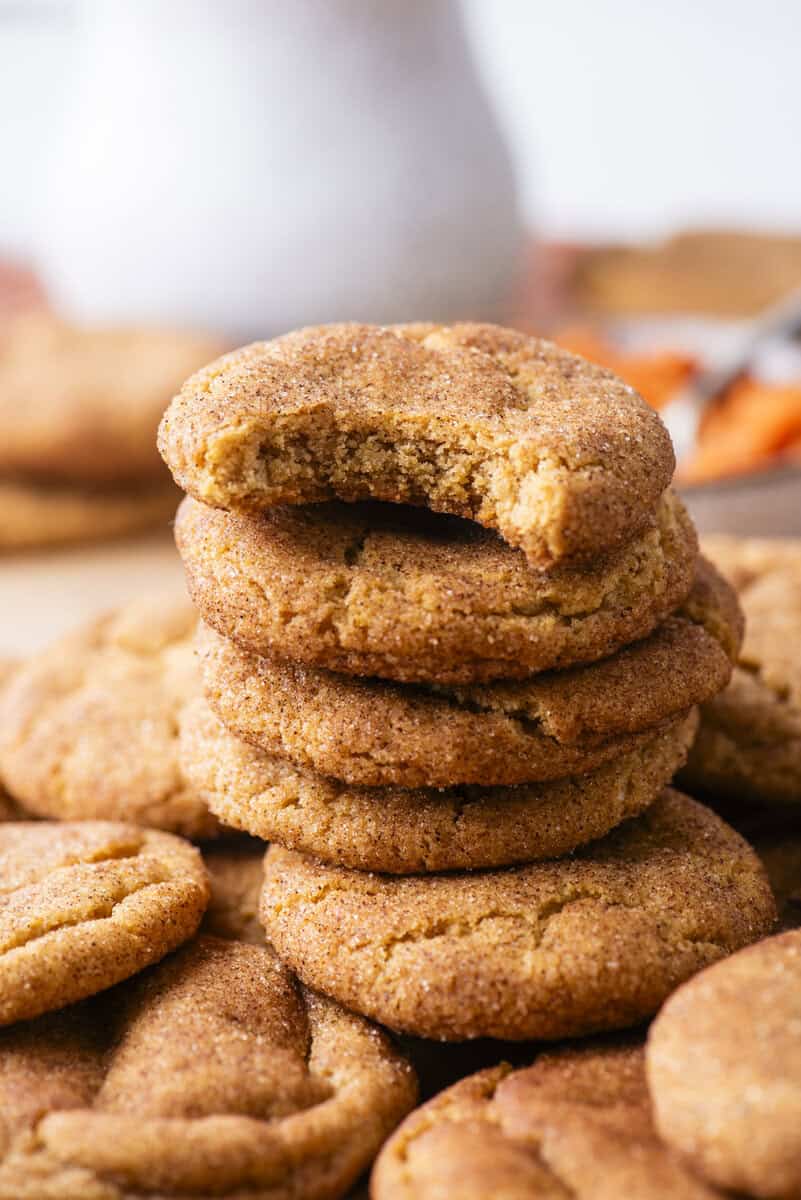
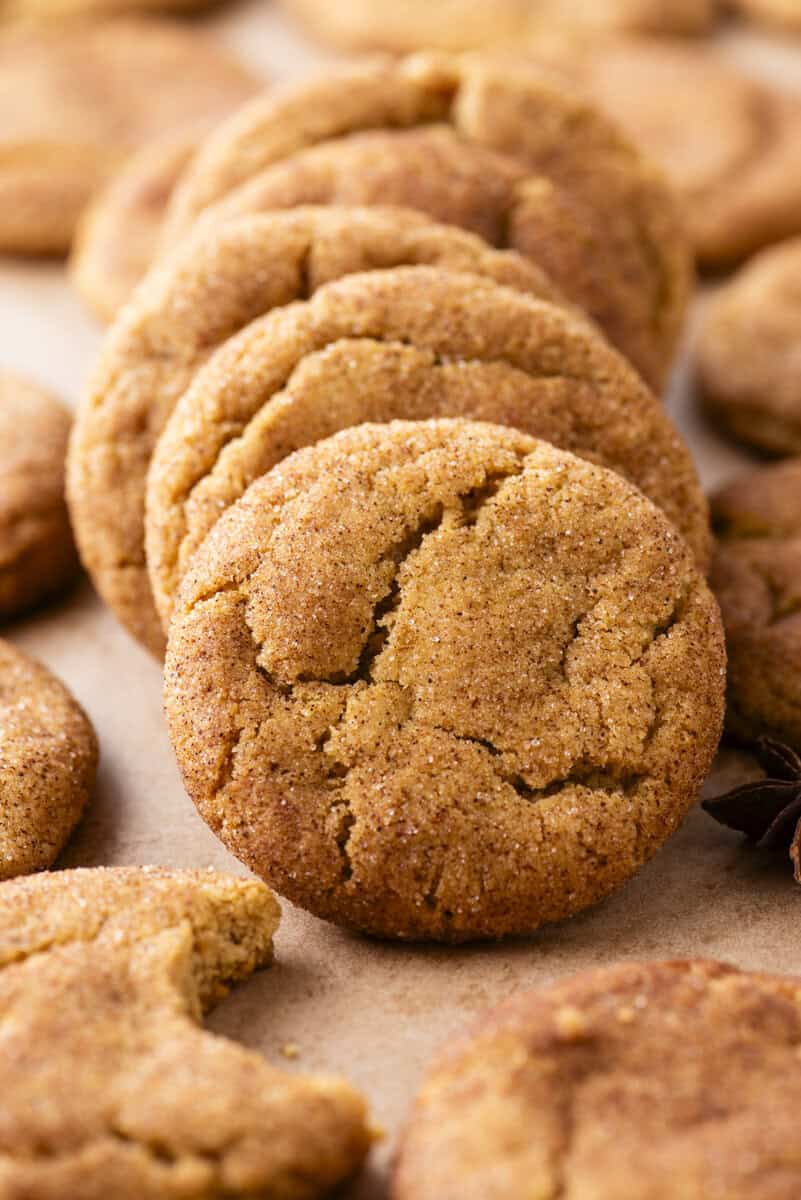
Soft centers, tangy cinnamon sugar edges, and a texture that actually holds up instead of going flat. I took the knowledge I’ve learned from my previous pumpkin cookies and applied it straight to my snickerdoodle recipe. Pumpkin puree is mostly water, and water is the enemy of a good snickerdoodle, so I blot it dry before it ever touches the dough. Follow that one step and you’ll get a cookie with real snickerdoodle chew and full pumpkin flavor, not a compromise between the two.
How this Recipe was Built
When building this recipe, I knew I wanted a true snickerdoodle cookie with pumpkin flavor. So I took what I’ve learned from making and testing my pumpkin cookies, pumpkin sugar cookies, pumpkin chocolate chip cookies, and my snickerdoodle base.
Here’s the biggest thing my previous pumpkin cookies taught me: don’t add pumpkin puree alongside the eggs if you want chewy cookies. My snickerdoodle base calls for 2 eggs, but pumpkin puree already brings its own moisture and binding power, so the puree replaces the eggs.
That’s the same swap that makes my pumpkin chocolate chip cookies work, about ½ cup of puree standing in for both eggs. Add in the eggs alongside the pumpkin puree and you’ll get cakey, not chewy pumpkin chocolate chip cookies.
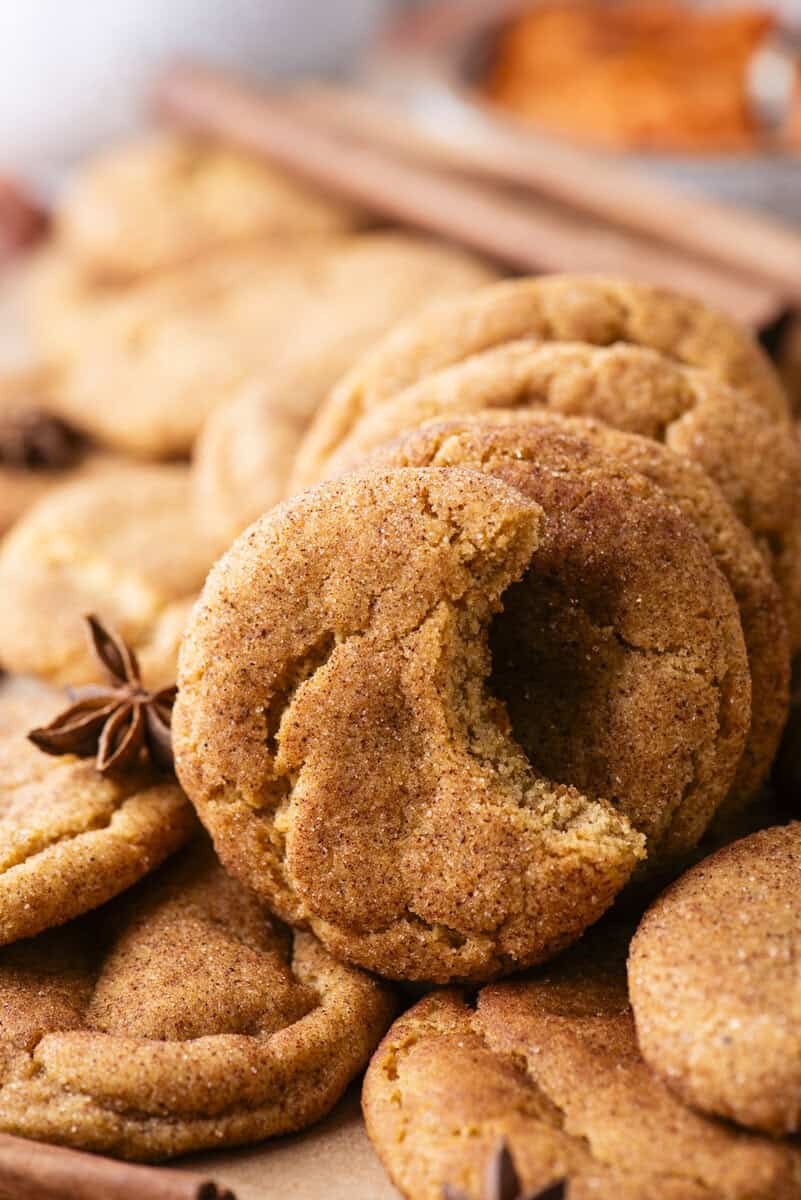
But there’s more. Pumpkin puree brings a lot of moisture, and I already knew from my pumpkin chocolate chip cookies that pumpkin puree needs to lose some of its water before it goes into the dough, so I used the same paper towel method here. A few minutes on paper towels pulls out enough moisture that the dough stays thick and scoopable instead of spreading, while allowing the pumpkin flavor to shine.
Plus, I added in cornstarch because that’s a trick to help the dough hold its structure, preventing spreading.
Cream of tartar was never a question for me. It’s the ingredient that makes a snickerdoodle a snickerdoodle, that signature tang and chew.
I also tested these chilled and unchilled. The dough itself doesn’t need a rest, you can scoop and bake right away. But giving the rolled balls just 15 minutes in the fridge before they hit a hot oven made the texture noticeably chewier every time I tried it. It’s a small step, not a required one, but if you’ve got 15 minutes to spare, give it a try and you can compare for yourself.
Want another snickerdoodle variation? Try my Caramel Apple Snickerdoodles next.
Key Ingredients & What They Do
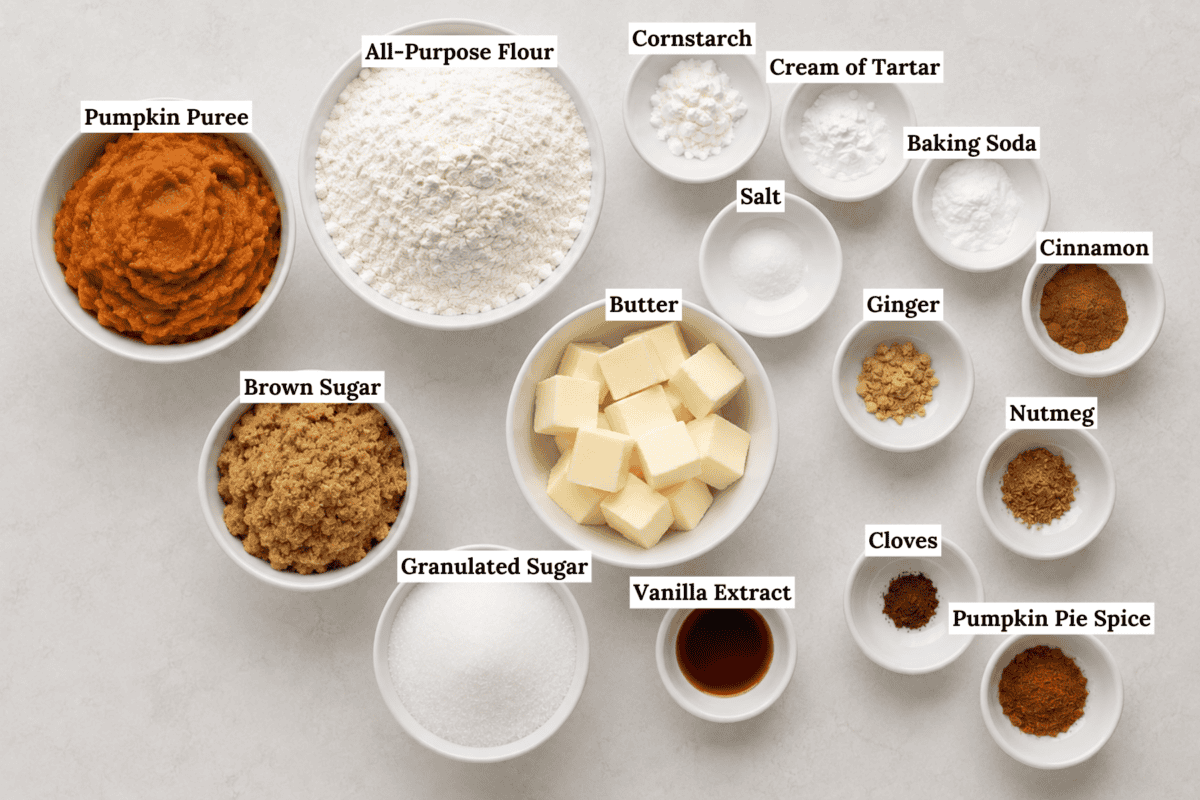
Here is an overview of the key ingredients in this recipe. Keep reading for all my best tips. You can also jump to the recipe card for the full recipe.
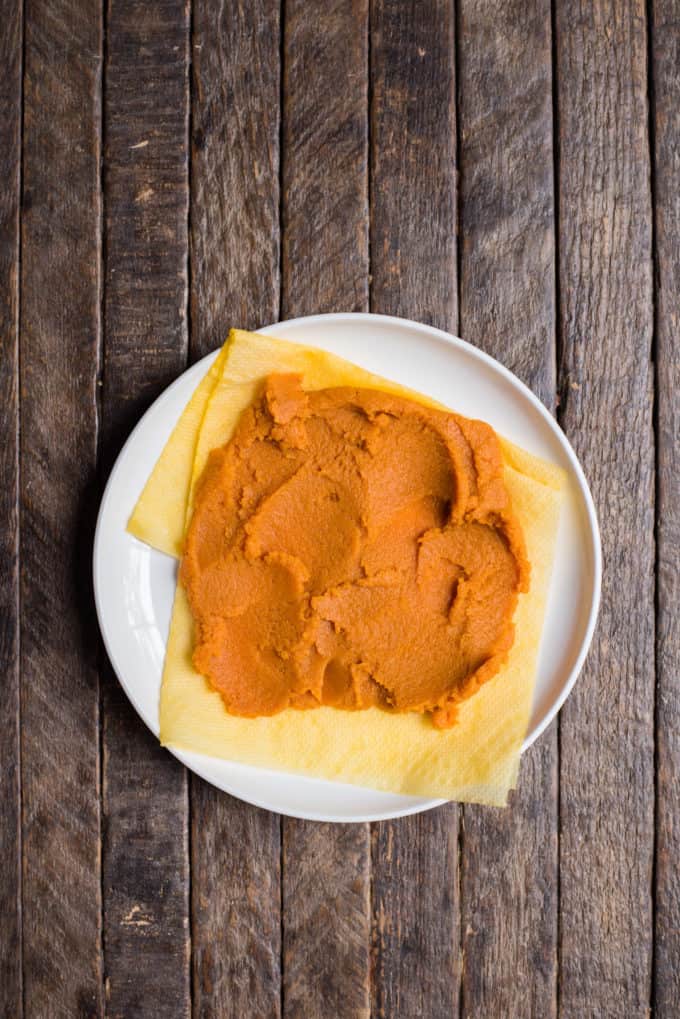
Pumpkin puree. This is the ingredient doing the most work in the whole recipe, and also the one that needs the most attention. It replaces the eggs entirely plus it gets blotted on paper towels first to remove excess moisture. Use plain pumpkin puree, not pumpkin pie filling, since pumpkin pie filling already has sugar and spices mixed in.
Cream of tartar. Non negotiable. This is the ingredient that gives a snickerdoodle its signature tang and that slight chew, and without it you just have a soft pumpkin sugar cookie. If your jar has been sitting in the back of your pantry for years, this is the recipe to check that it’s still fresh.
Cornstarch. A small amount goes a long way here. It’s the same trick I use in my pumpkin chocolate chip cookies to help the dough hold its structure and keep the crumb tender.
Brown sugar. Using more brown sugar than granulated keeps these cookies soft and adds a little extra chew and depth of flavor, which pairs well with the warm spices instead of competing with them.
Warm spices. Cinnamon, nutmeg, ginger, and cloves go into the dough itself, not just the coating, so the pumpkin flavor doesn’t get lost. Pumpkin pie spice gets folded into the cinnamon sugar coating too, so every bite outside matches the flavor inside.
How to Make Pumpkin Snickerdoodles
Follow my step-by-step instructions for the best pumpkin snickerdoodles with zero guesswork. You can also jump to the recipe card below for the full recipe.
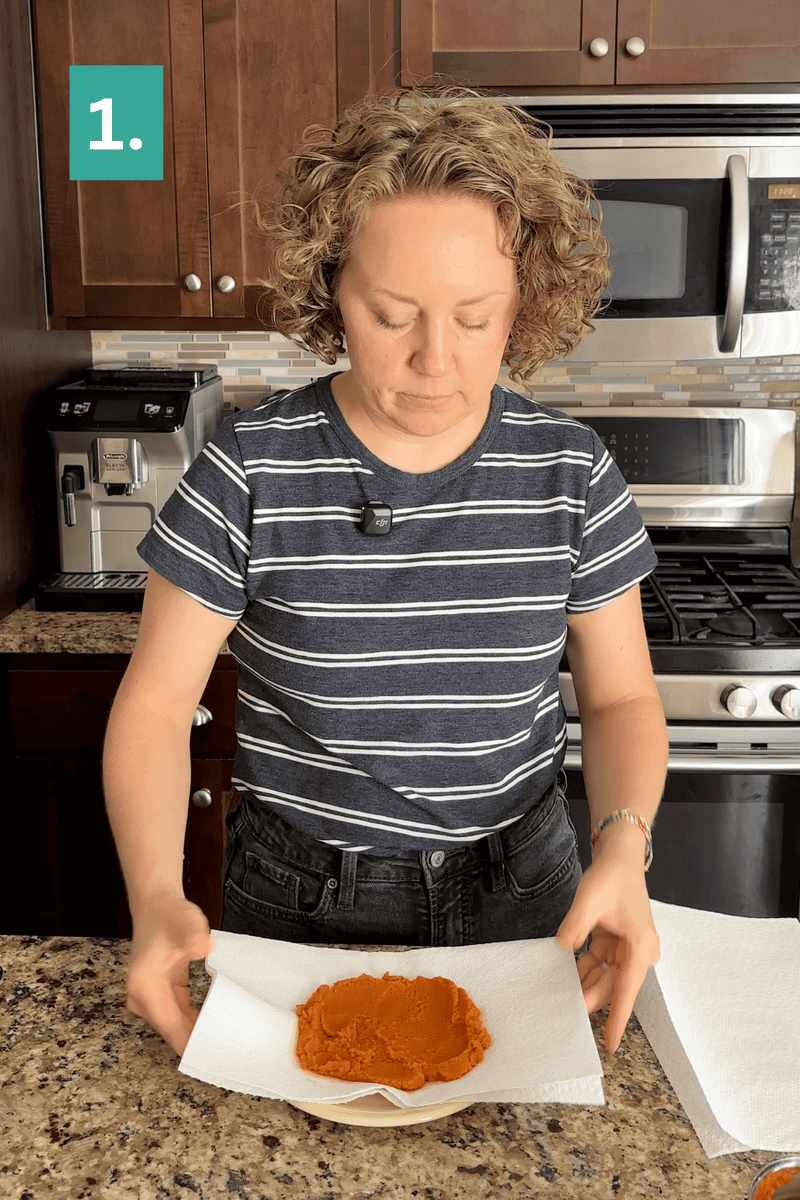
Blot the pumpkin puree. Spread ½ cup pumpkin puree on a plate lined with paper towels, then cover with a few more paper towels. Let it sit while you prep the rest of the ingredients, this step pulls out excess moisture so the cookies don’t spread.
Prep oven and baking sheets. Preheat your oven to 400°F and line baking sheets with parchment paper or silicone mats.
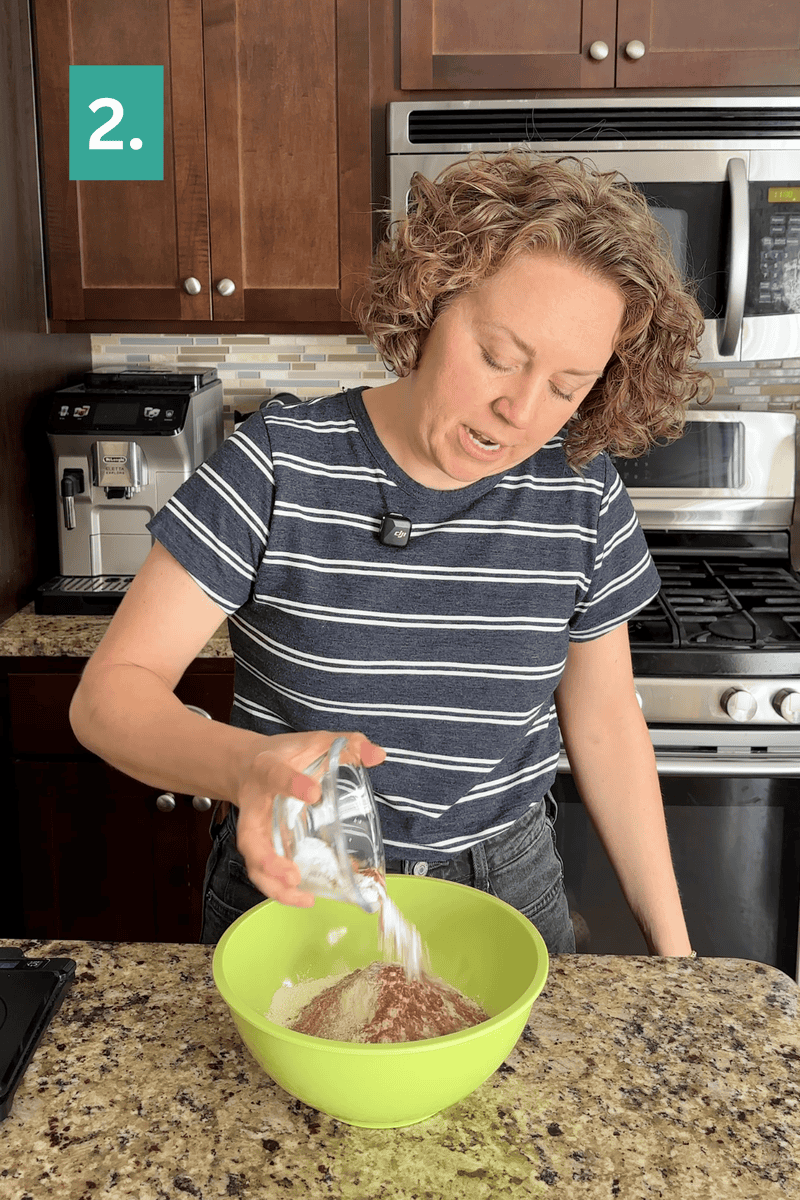
Mix dry ingredients. In a medium bowl, whisk together the flour, cornstarch, cream of tartar, baking soda, salt, cinnamon, nutmeg, ginger, and cloves. Set aside.
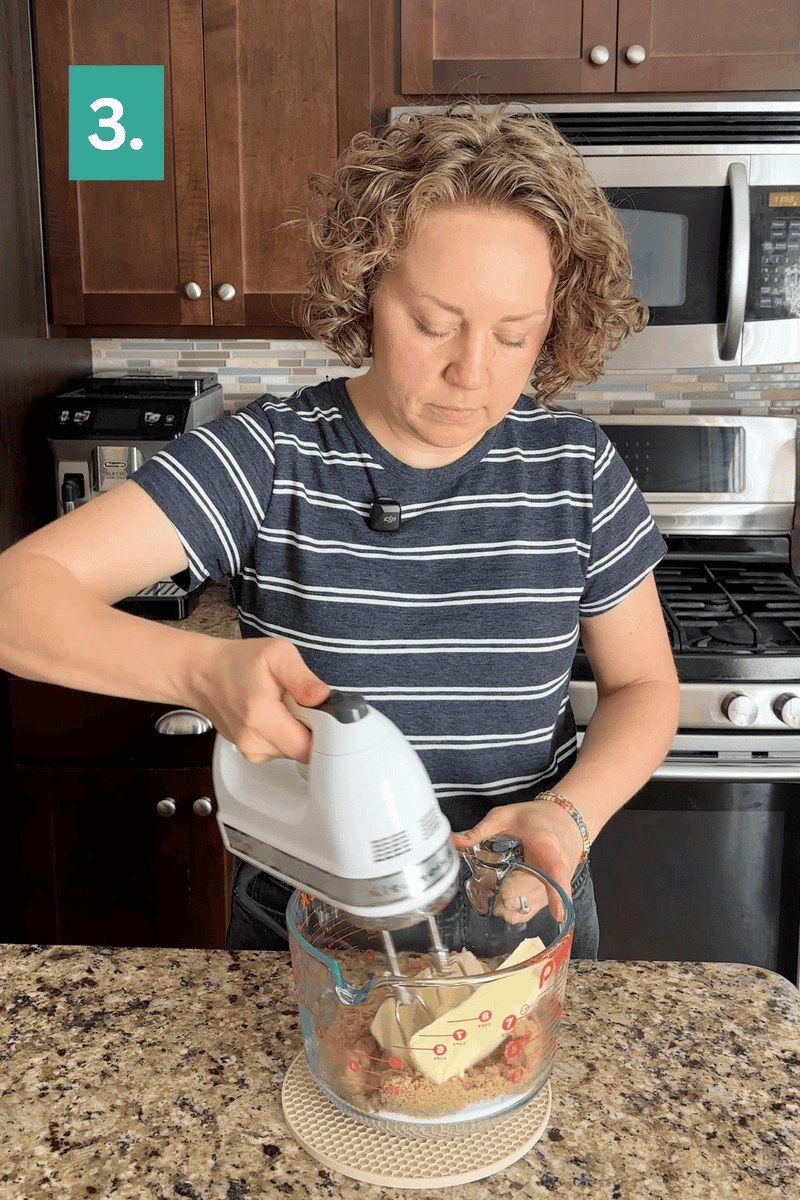
Mix butter and sugars. In a large bowl, cream the butter, granulated sugar, and brown sugar with a mixer until light and fluffy, 1 to 2 minutes.
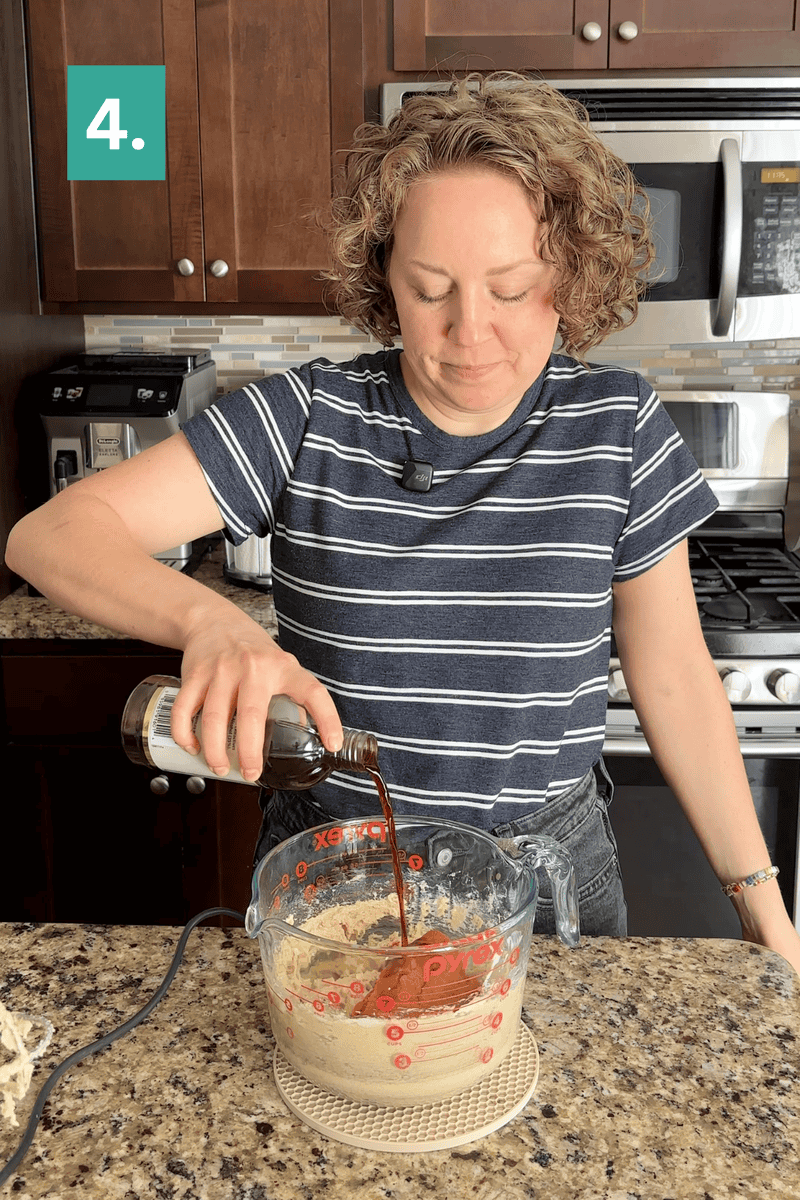
Mix in wet ingredients. Beat in the blotted pumpkin puree and vanilla extract until well combined.
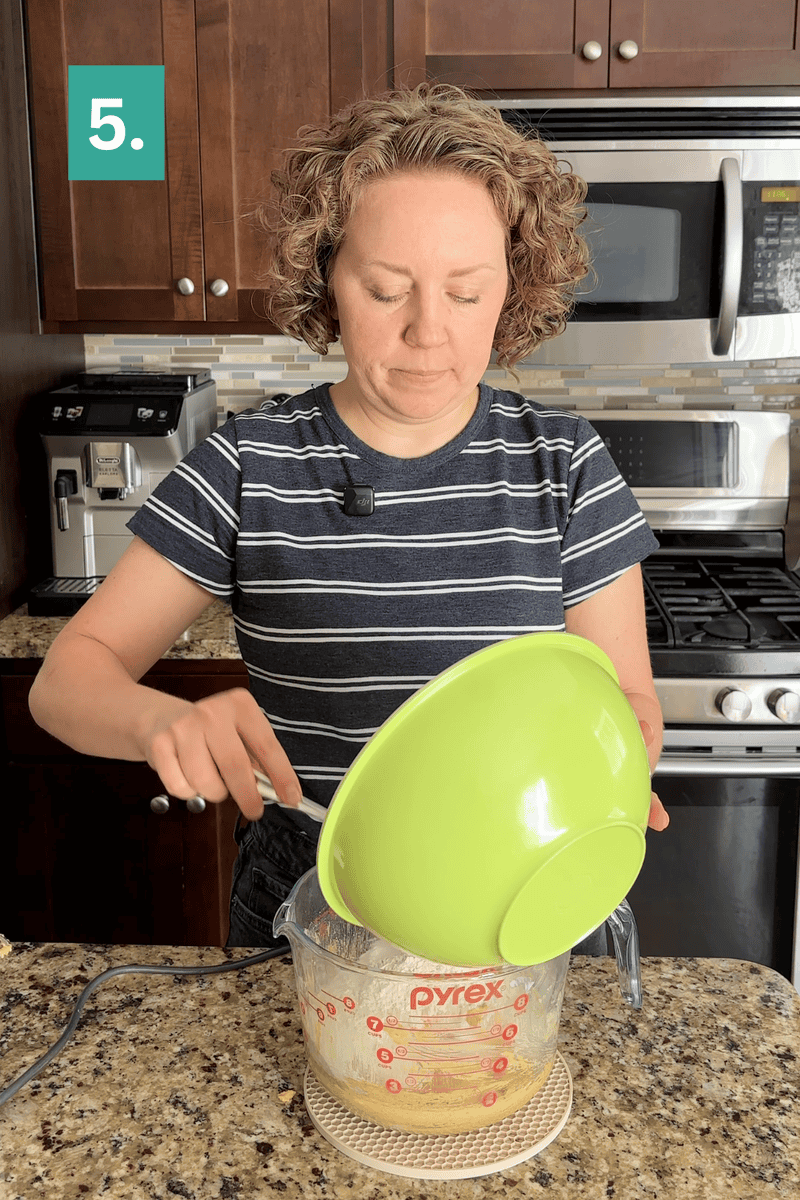
Combine wet and dry ingredients. Gradually add the dry ingredients to the wet ingredients, mixing just until combined.
Mix the coating. In a small bowl, stir together the granulated sugar, cinnamon, and pumpkin pie spice.
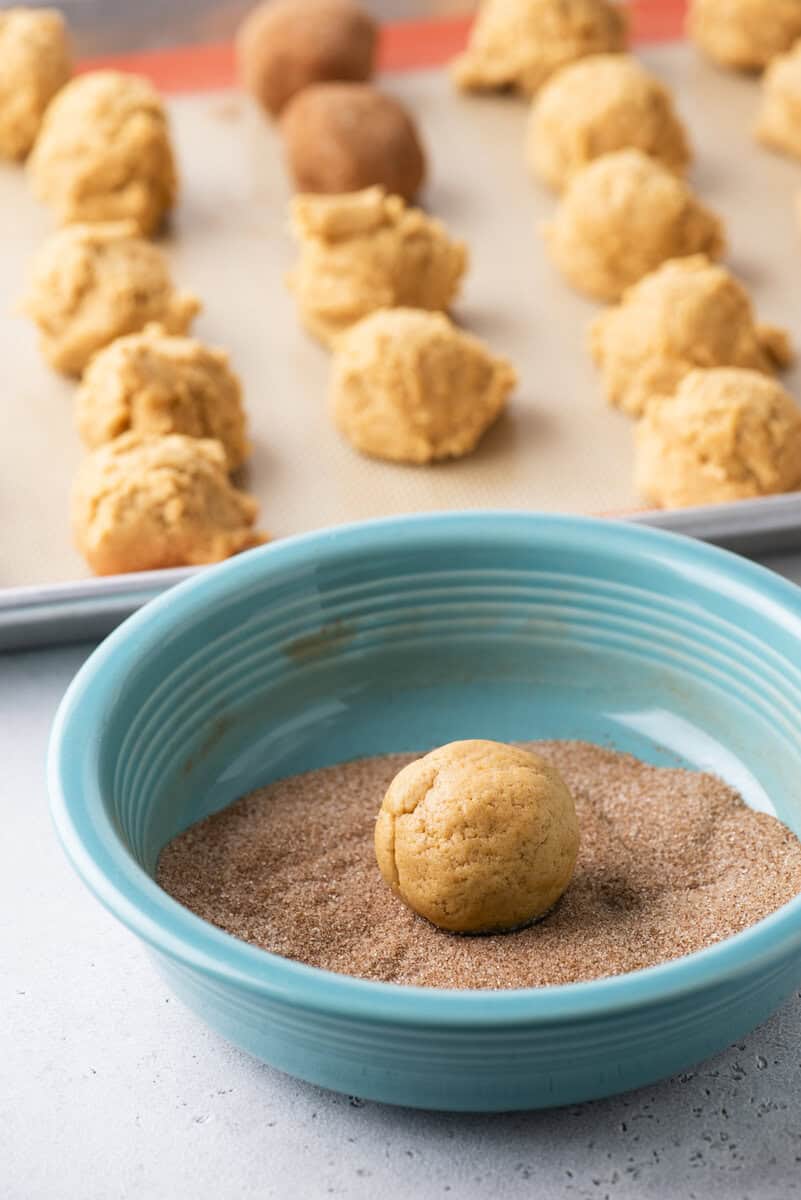
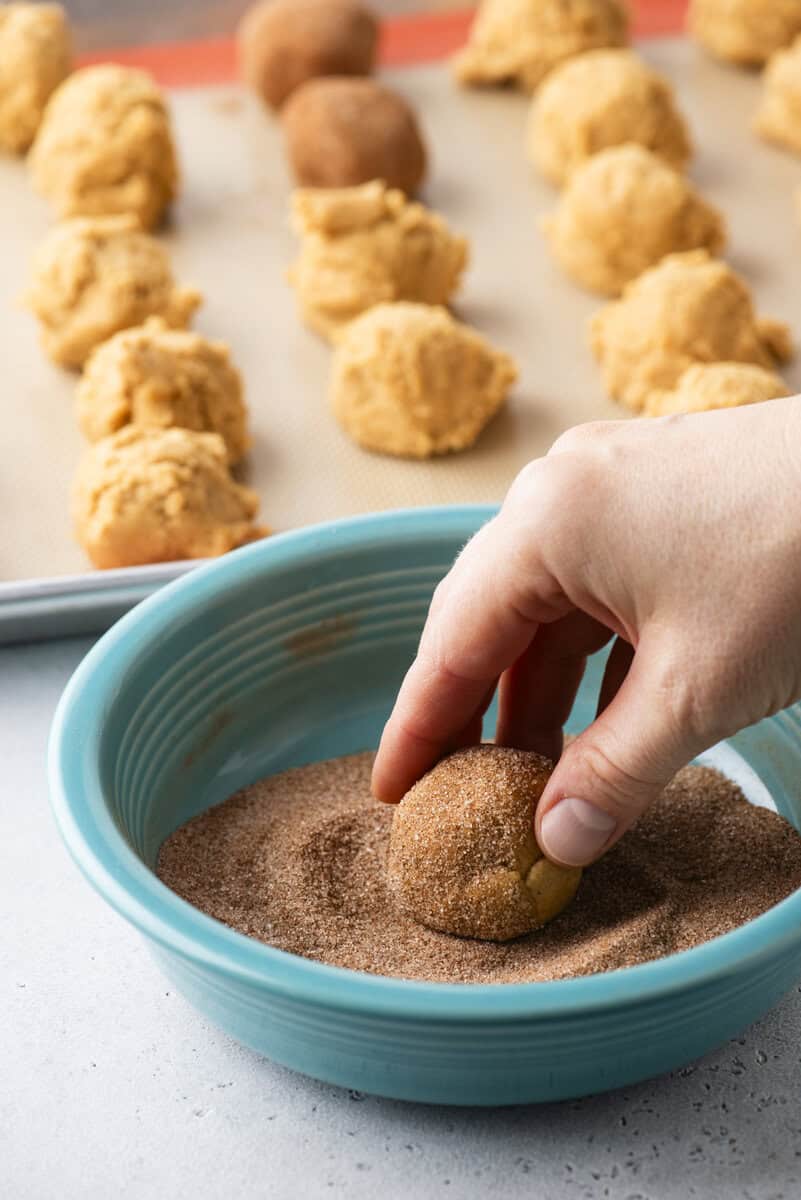
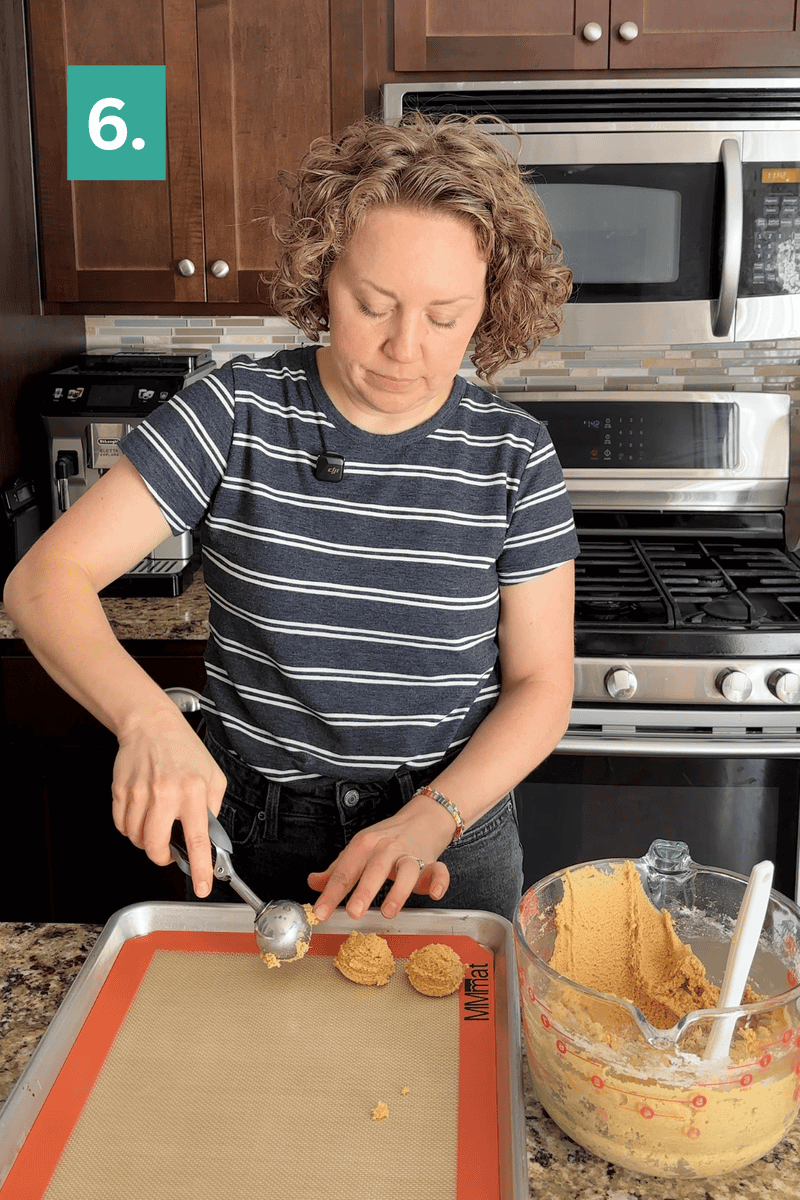
Roll cookie dough balls. Using a 2 Tbsp cookie scoop, roll the dough into balls between your hands, then roll each ball in the cinnamon sugar mixture.
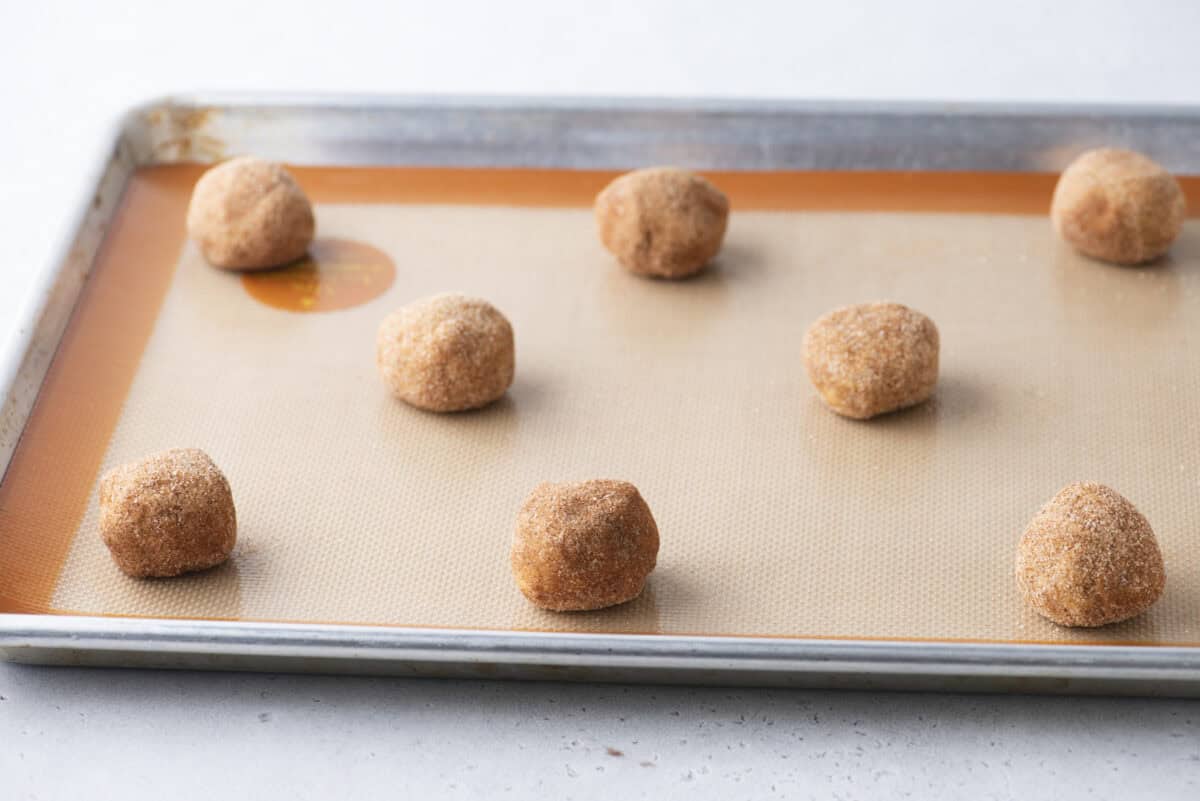
Chill the dough balls. Place on the prepared baking sheets and refrigerate for 15 minutes. This step is optional, but chilling the shaped dough gave me a noticeably chewier cookie in testing.
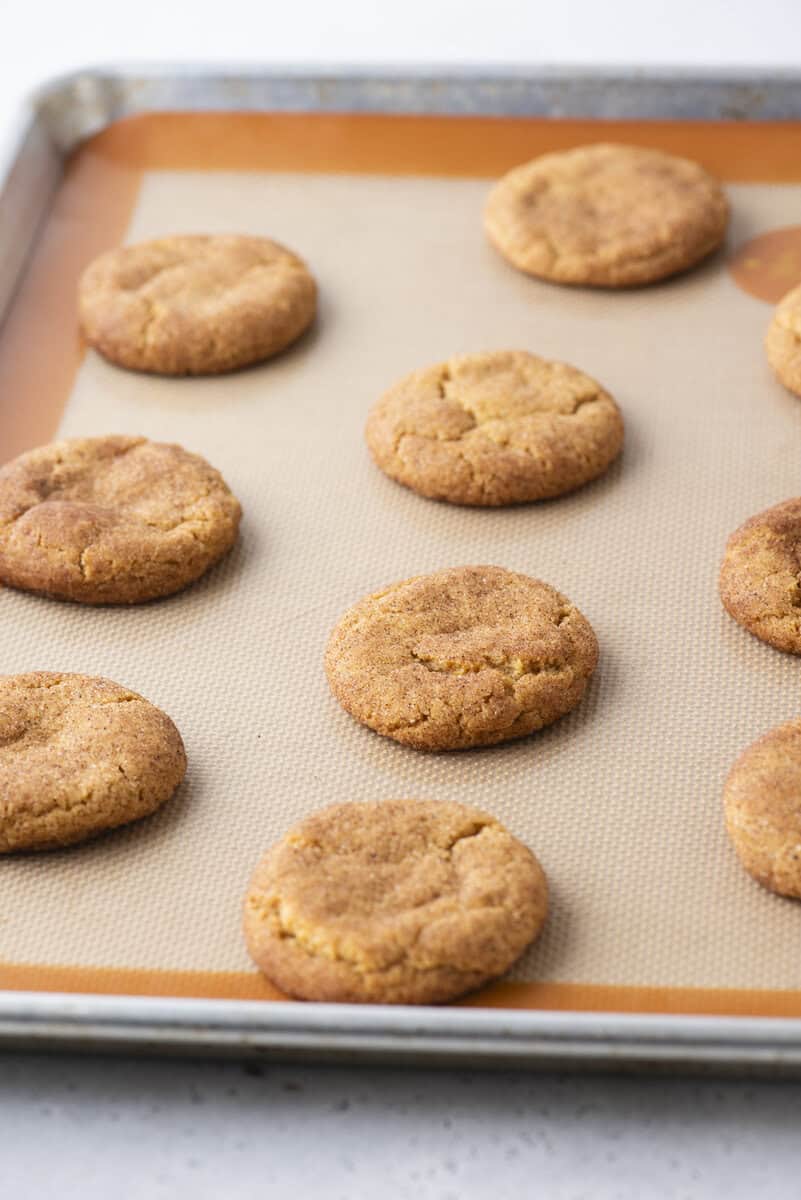
Bake. Bake for 9 to 13 minutes, until the edges are set and the centers are puffy.
Cool. Let the cookies cool completely on the baking sheet before moving them.
Why I Chill the Shaped Dough
I tested batches straight into the oven against batches that got a short chill after shaping, and the chilled ones came out chewier every time. This isn’t a chill-the-whole-bowl-for-hours situation, it’s a quick rest for the shaped balls while your oven finishes preheating. Bake at 400°F for 9 to 13 minutes, until the edges are set and the centers still look a little puffy, then let them cool completely on the pan.
How to Store Cookies
Baked cookies keep at room temperature in an airtight container for about a week.
To freeze: let them cool completely, then layer them between parchment in a freezer-safe container for up to 3 months.
To make ahead: You can also shape and roll the dough into balls up to 24 hours ahead and keep them covered in the fridge until you’re ready to bake, or freeze the rolled, unbaked balls on a tray until solid, then transfer to a freezer bag for up to 3 months. Bake straight from frozen, no need to thaw, just add a minute or two to the bake time.
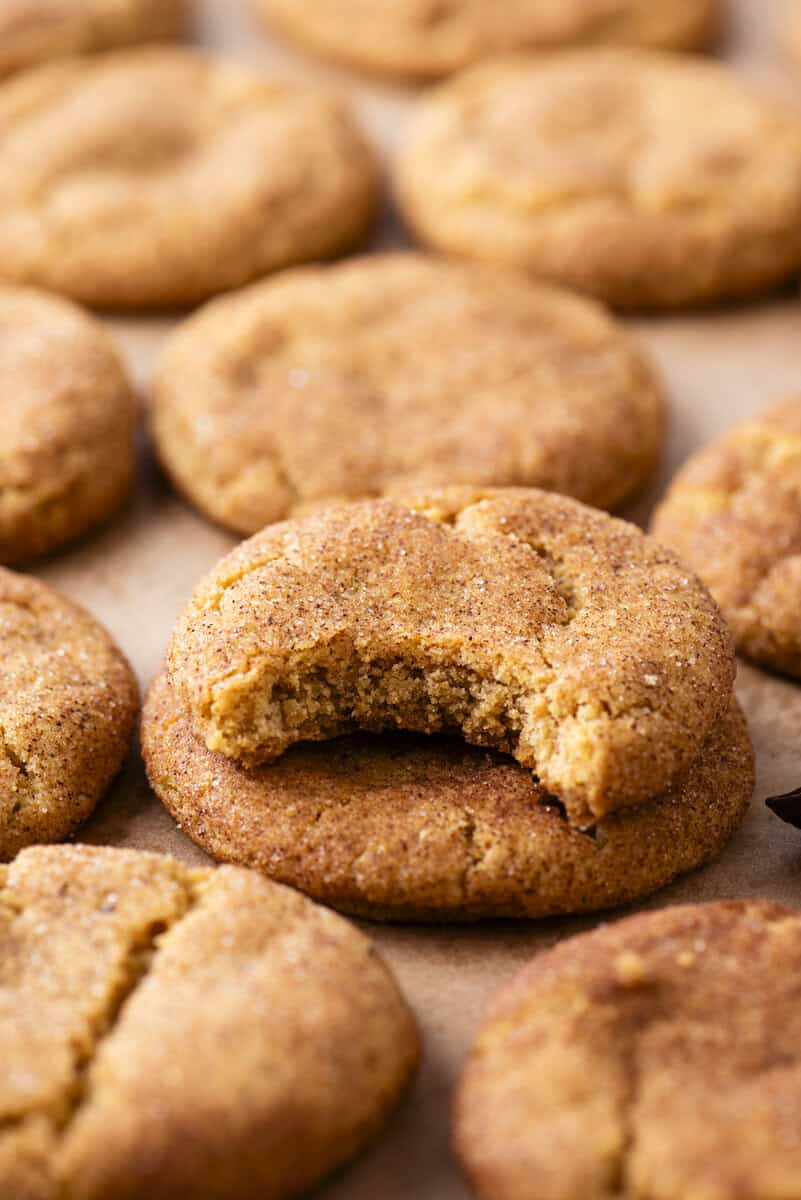
Fall Snickerdoodle Cookie Variations
Once you’ve got the base recipe down, there’s plenty of room to make it your own. Fold in 1 ½ cups of white chocolate chips or butterscotch chips for a sweeter, richer bite.
You can also bump up the pumpkin pie spice in the coating even more if you like your snickerdoodles extra cozy.
Want pumpkin snickerdoodle bars instead? Press the full batch of dough into a greased 9×13 pan instead of scooping and rolling individual cookies. Skip the cinnamon sugar coating step and instead sprinkle it evenly over the top of the pressed dough before baking. Bake at 350°F for about 20 to 25 minutes, until the edges are set and a toothpick inserted in the center comes out mostly clean, then let the bars cool completely in the pan before slicing.
Note: I haven’t tested this specific dough as bars, so that time and temp is a reasonable starting estimate based on how this type of cookie dough typically converts to a 9×13 inch pan.
FAQ
Yes, but blot it even more thoroughly. Fresh pumpkin puree tends to hold more water than canned, so pat it dry in a few rounds of paper towels before measuring.
Yes. Shape and roll the balls, then refrigerate up to 24 hours before baking, or freeze them for longer storage.
Almost always excess moisture. Skipping the blotting step, using a wetter brand of pumpkin puree, or soft butter that’s gone too warm can all cause spreading.
No, it’s optional, but I found it makes a real difference in chew. If you’re short on time, they’ll still turn out well without it.
More Pumpkin Recipes:
Tap stars to rate!
Pumpkin Snickerdoodles
Ingredients
- ½ cup (113g) pumpkin puree, blotted (see step 1)
- 2 ¾ cups plus 2 Tbsp (345g) all-purpose flour
- 1 tsp cornstarch
- 2 tsp cream of tartar
- 1 tsp baking soda
- ½ tsp salt
- 1 ¼ tsp ground cinnamon
- ¼ tsp ground nutmeg
- ¼ tsp ground ginger
- ⅛ tsp ground cloves
- 1 cup (226g) unsalted butter, softened
- ¾ cup (149g) granulated sugar
- ¾ cup (160g) brown sugar, packed
- 1 tsp vanilla extract
For Rolling the Cookies
- 3 Tbsp granulated sugar
- 2 tsp ground cinnamon
- 1 tsp pumpkin pie spice
Instructions
- Blot the pumpkin puree. Spread ½ cup pumpkin puree on a plate lined with paper towels, then cover with a few more paper towels. Let it sit while you prep the rest of the ingredients, this step pulls out excess moisture so the cookies don’t spread.
- Preheat your oven to 400°F and line baking sheets with parchment paper or silicone mats.
- In a medium bowl, whisk together the flour, cornstarch, cream of tartar, baking soda, salt, cinnamon, nutmeg, ginger, and cloves. Set aside.2 ¾ cups plus 2 Tbsp (345g) all-purpose flour, 1 tsp cornstarch, 2 tsp cream of tartar, 1 tsp baking soda, ½ tsp salt, 1 ¼ tsp ground cinnamon, ¼ tsp ground nutmeg, ¼ tsp ground ginger, ⅛ tsp ground cloves
- In a large bowl, cream the butter, granulated sugar, and brown sugar with a mixer until light and fluffy, 1 to 2 minutes.1 cup (226g) unsalted butter, ¾ cup (149g) granulated sugar, ¾ cup (160g) brown sugar
- Beat in the blotted pumpkin puree and vanilla extract until well combined.½ cup (113g) pumpkin puree, 1 tsp vanilla extract
- Gradually add the dry ingredients to the wet ingredients, mixing just until combined.
- Mix the coating. In a small bowl, stir together the granulated sugar, cinnamon, and pumpkin pie spice.3 Tbsp granulated sugar, 2 tsp ground cinnamon, 1 tsp pumpkin pie spice
- Using a 2 Tbsp cookie scoop, roll the dough into balls between your hands, then roll each ball in the cinnamon sugar mixture.
- Chill the dough balls. Place on the prepared baking sheets and refrigerate for 15 minutes. This step is optional, but chilling the shaped dough gave me a noticeably chewier cookie in testing.
- Bake for 9 to 13 minutes, until the edges are set and the centers are puffy.
- Let the cookies cool completely on the baking sheet before moving them.
Notes
- Gluten-Free: Use a 1:1 gluten-free baking flour blend in place of all-purpose flour. I used King Arthur’s Measure for Measure Gluten Free Flour with great results.
- To Store: Keep cookies in an airtight container at room temperature for up to 1 week.
- To Make Ahead: Shape and roll the dough into balls, then refrigerate for up to 24 hours before baking.
- To Freeze: Freeze the rolled, unbaked dough balls on a tray until solid, then transfer to a freezer bag for up to 3 months. Bake straight from frozen, adding a minute or two to the bake time. Baked cookies can also be frozen, layered between parchment in a freezer-safe container, for up to 3 months.