This post may contain affiliate links. Please read our disclosure policy.
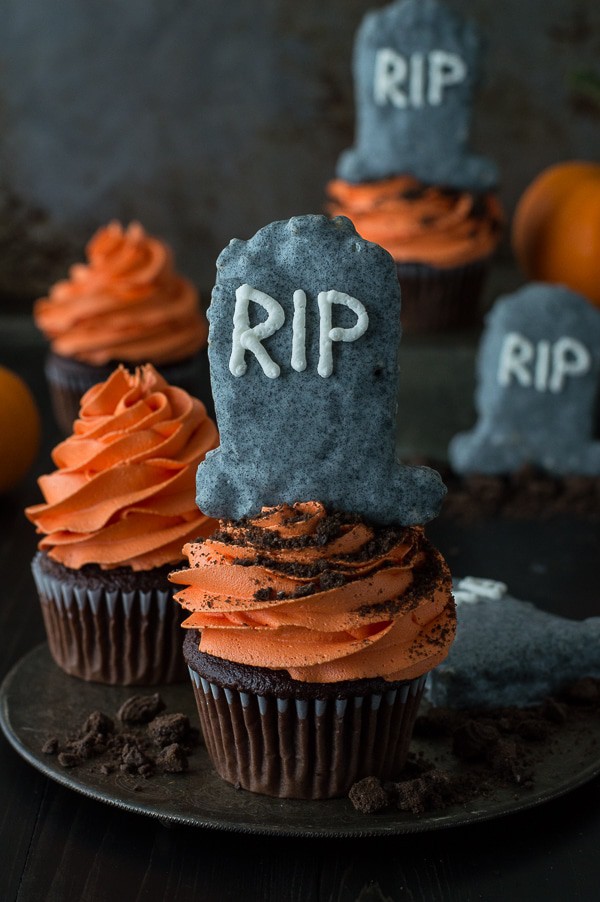
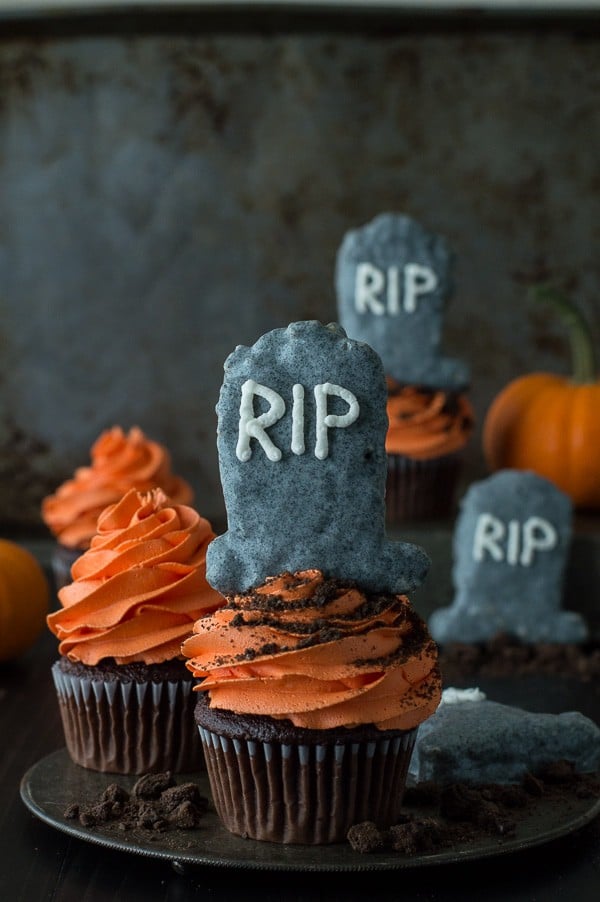
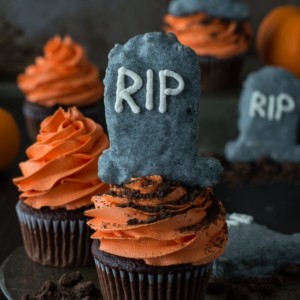
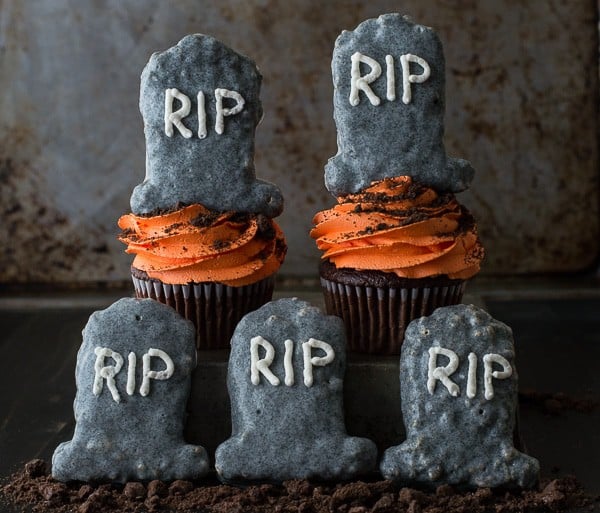
It’s so sad that I have a bin full of stuff that I only use for like 30 days out of the year. I decided I better put some of the halloween cookie cutters to good use before I pack them away for the next 335 days. Enter tombstone cupcakes :)
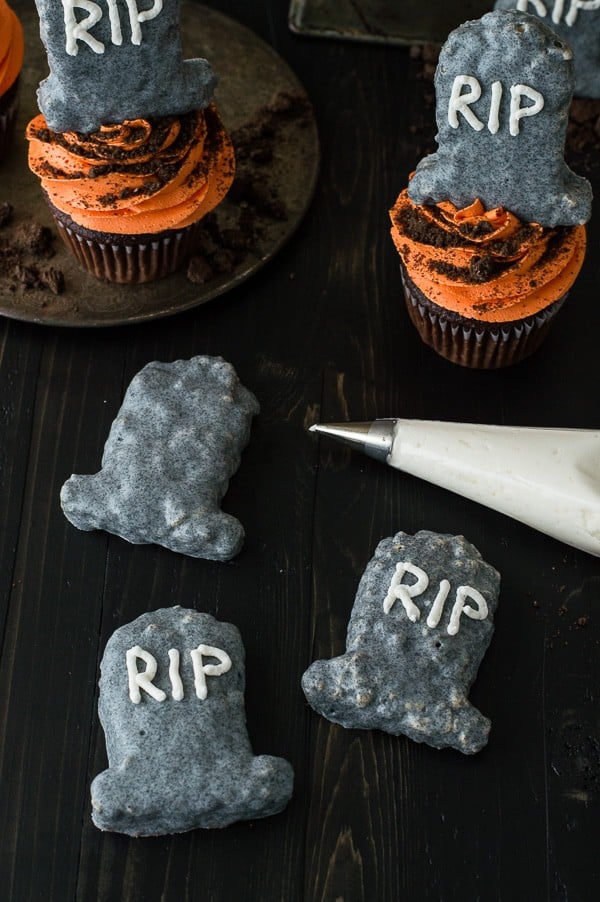
In my mind I envisioned the tombstones being gray, but when I couldn’t find gray candy melts, I was a little worried. I ended up using white chocolate candiquik/almond bark and added black gel food coloring to it. I LOVE the speckled look the gel food coloring gives the tombstones – it honestly happened by accident.. gel food coloring and candiquik don’t mix well, so the chocolate is actually speckled because the black wouldn’t mix in evenly.
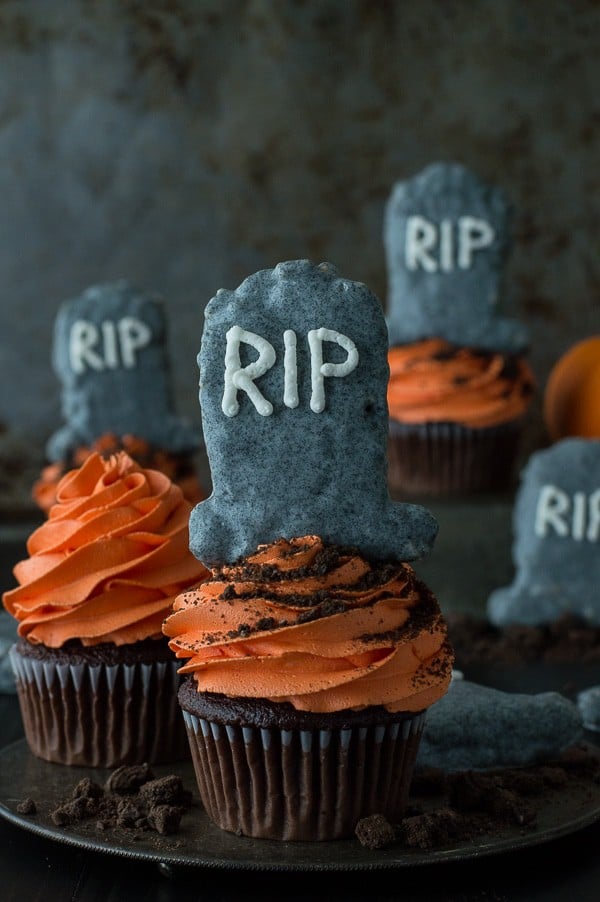
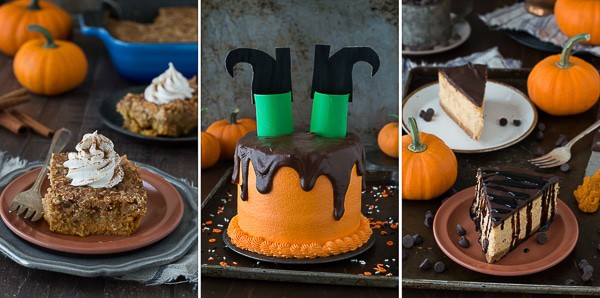
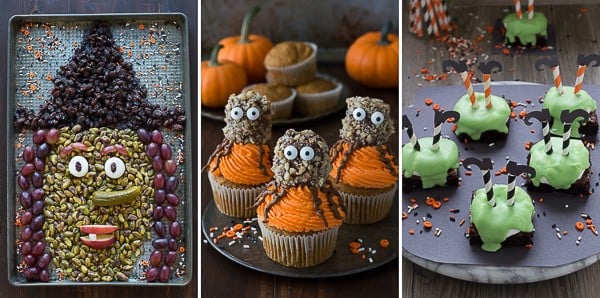
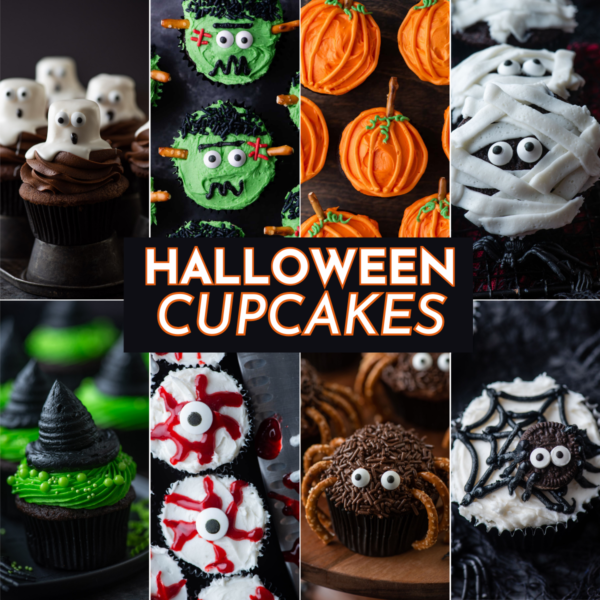
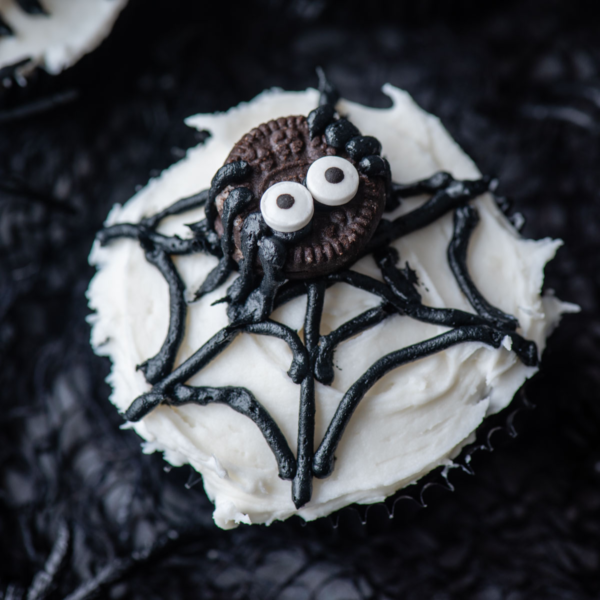
More Halloween treats & recipes!
Tap stars to rate!
Tombstone Cupcakes
Ingredients
Chocolate Cupcakes
- ½ cup (42g) cocoa powder
- 1 cup (120g) flour
- 1 tsp baking powder
- ½ tsp baking soda
- ¼ tsp salt
- ½ cup (113g) butter, 1 stick, room temperature
- ¾ cup (149g) sugar
- 2 large eggs
- 1 tsp vanilla
- ⅓ cup (76g) sour cream
- 2 Tbsp melted chocolate, cooled
Buttercream
- 1 cup (226g) butter, 2 sticks, room temperature
- ½ cup (118ml) vegetable shortening
- 1 tsp vanilla extract
- 5-7 cups (567-791g) powdered sugar
- Orange gel food coloring
Tombstones
- 6 cups (168g) rice krispie cereal, sometimes I add up to 8 cups
- 3 Tbsp (43g) butter
- 10 oz mini marshmallows, or regular standard size bag
- 3-4 squares Vanilla candiquik, will probably cover about 12 tombstones
- 1 Tbsp vegetable shortening
- Black gel food coloring
- Buttercream, reserve a little bit of the buttercream before you dye it orange
- Oreo crumbs

Instructions
Chocolate Cupcakes
- Preheat the oven to 350 degrees F. Line a muffin tin with 12 cupcake liners.
- In a small mixing bowl, combine the cocoa powder, flour, baking powder, baking soda and salt. Gently mix using a spoon.1/2 cup (42g) cocoa powder, 1 cup (120g) flour, 1 tsp baking powder, 1/2 tsp baking soda, 1/4 tsp salt
- In a larger mixing bowl, combine the butter and sugar, beat using an electric mixer until fluffy. Add in the eggs and vanilla, lightly beat.1/2 cup (113g) butter, 3/4 cup (149g) sugar, 2 large eggs, 1 tsp vanilla
- Add in the sour cream and melted chocolate, mix by hand using a spatula.1/3 cup (76g) sour cream, 2 Tbsp melted chocolate
- Add half of the flour mixture to the wet ingredients, do not dump it in, rather take spoonfuls of the flour mixture and gently shake it over the wet ingredients, as if you were sifting in the flour. Fold in the mixture until no flour remains. Repeat with the other half of the flour, folding it in and scraping the sides and bottom of the bowl to incorporate everything.
- Fill the cupcake liners 1/2 full with batter.
- Bake for 17-20 minutes or until a toothpick inserted in the center comes out clean.
- Allow the cupcakes to cool completely before adding the frosting.
Buttercream
- In a mixing large bowl, combine the butter and vegetable shortening, beat using an electric mixer until fluffy, 2 minutes.1 cup (226g) butter, 1/2 cup (118ml) vegetable shortening
- Add in the vanilla extract, beat using electric mixer.1 tsp vanilla extract
- Begin to add the powdered sugar, about 1-2 cups at a time, mixing by hand first, then with the electric mixer. Continue adding powdered sugar until the frosting tastes good to you.5-7 cups (567-791g) powdered sugar
- Reserve a small portion of the buttercream before you dye it orange for the lettering on the tombstones.
- Add in your desired amount of orange gel food coloring. Start with a little and add more to get your desired color. Beat the frosting using the mixer one last time.Orange gel food coloring
Tombstones
- Measure out 6-8 cups of rice krispie cereal and set aside.6 cups (168g) rice krispie cereal
- In a large pot, melt the butter and marshmallows over medium-low heat.3 Tbsp (43g) butter, 10 oz mini marshmallows
- Once melted, remove the pot from the heat.
- Add in the cereal and stir well to coat.
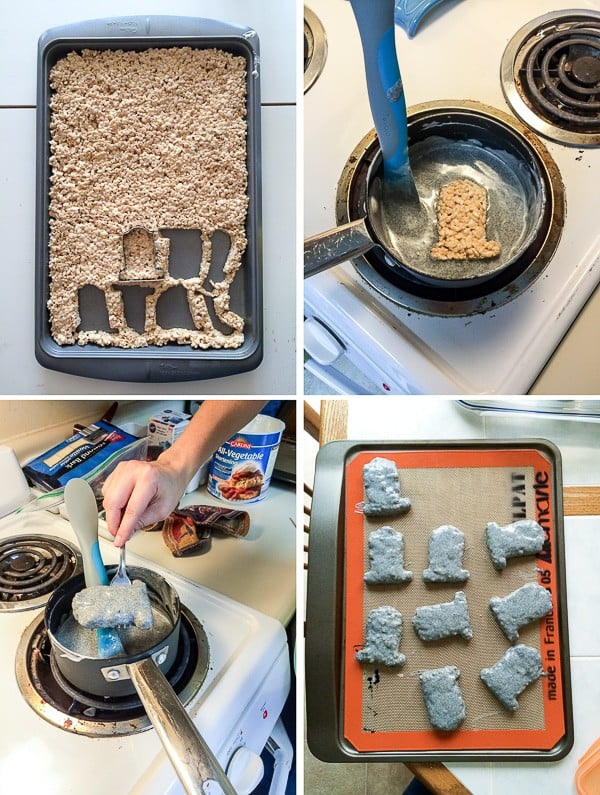
- Transfer the mixture onto a large greased baking sheet. Press the mixture evenly into the pan.
- Refrigerate the rice krispies for 20 minutes.
- Once they are cold, use a tombstone cookie cutter to cut out as many tombstones as you need.
- Refrigerate the tombstones while you prep the chocolate. You can also refrigerate them overnight if you’ll be dipping them a different day.
- In a small pot over low heat, combine the vanilla candiquik and vegetable shortening. Stir occasionally until the mixture melts. Be careful to not overheat the candiquik.3-4 squares Vanilla candiquik, 1 Tbsp vegetable shortening
- Once melted, add in some black gel food coloring, stir in the food coloring until the mixture is speckled.Black gel food coloring
- Cover each tombstone in chocolate, placing one in the pot at a time, spooning chocolate over it. Remove the tombstone from the chocolate using a fork - warning, the hot chocolate may cause the marshmallows in the rice krispies to melt slightly!
- Place the dipped tombstones on a silicone baking mat or wax paper to set.
To add the lettering onto the tombstones
- In a piping bag fit with a wilton 5 round piping tip, add the reserved white buttercream and push the buttercream down into the bag. Write “RIP” on each tombstone.Buttercream
To frost the cupcakes
- In a piping bag fit with a wilton 1M piping tip, add the buttercream and push the buttercream down into the bag. Pipe the buttercream onto the cupcakes, starting in the center, swirling to the outside and swirling back into the center as you progressively stack the frosting.
- Add oreo crumbs to each cupcake.Oreo crumbs
- Place a tombstone on top of each cupcake, pressing it into the frosting. If needed, support the tombstone with a toothpick in the back.


What a beautiful piece of art, my friend!! These cupcakes are wonderful and so fun! I loved how these cupcakes turned out! I can forget to say that the tombstones look perfect in there ;-)
Beth, these are such fun cupcakes! The color of the tombstones couldn’t be better. My daughter is having a few girlfriends over for Halloween and I think it would be fun for the girls to make up a batch of these. Love them!
Those tombstones look so real!I love the texture and your piping is just top notch! ;)
These are so creative and cute! I’m so excited to try these out!
I’m going to do this except instead of orange butter cream I’m going dip the cupcakes in chocolate ganache and put crushed oreos so it looks like dirt and pipe some green butter cream grass.
That sounds awesome Carla!