
This post may contain affiliate links. Please read our disclosure policy.
Follow my easy recipe to have perfectly chewy red velvet cookies in just 20 minutes from start to finish. No dough chilling or fancy baking tricks needed!
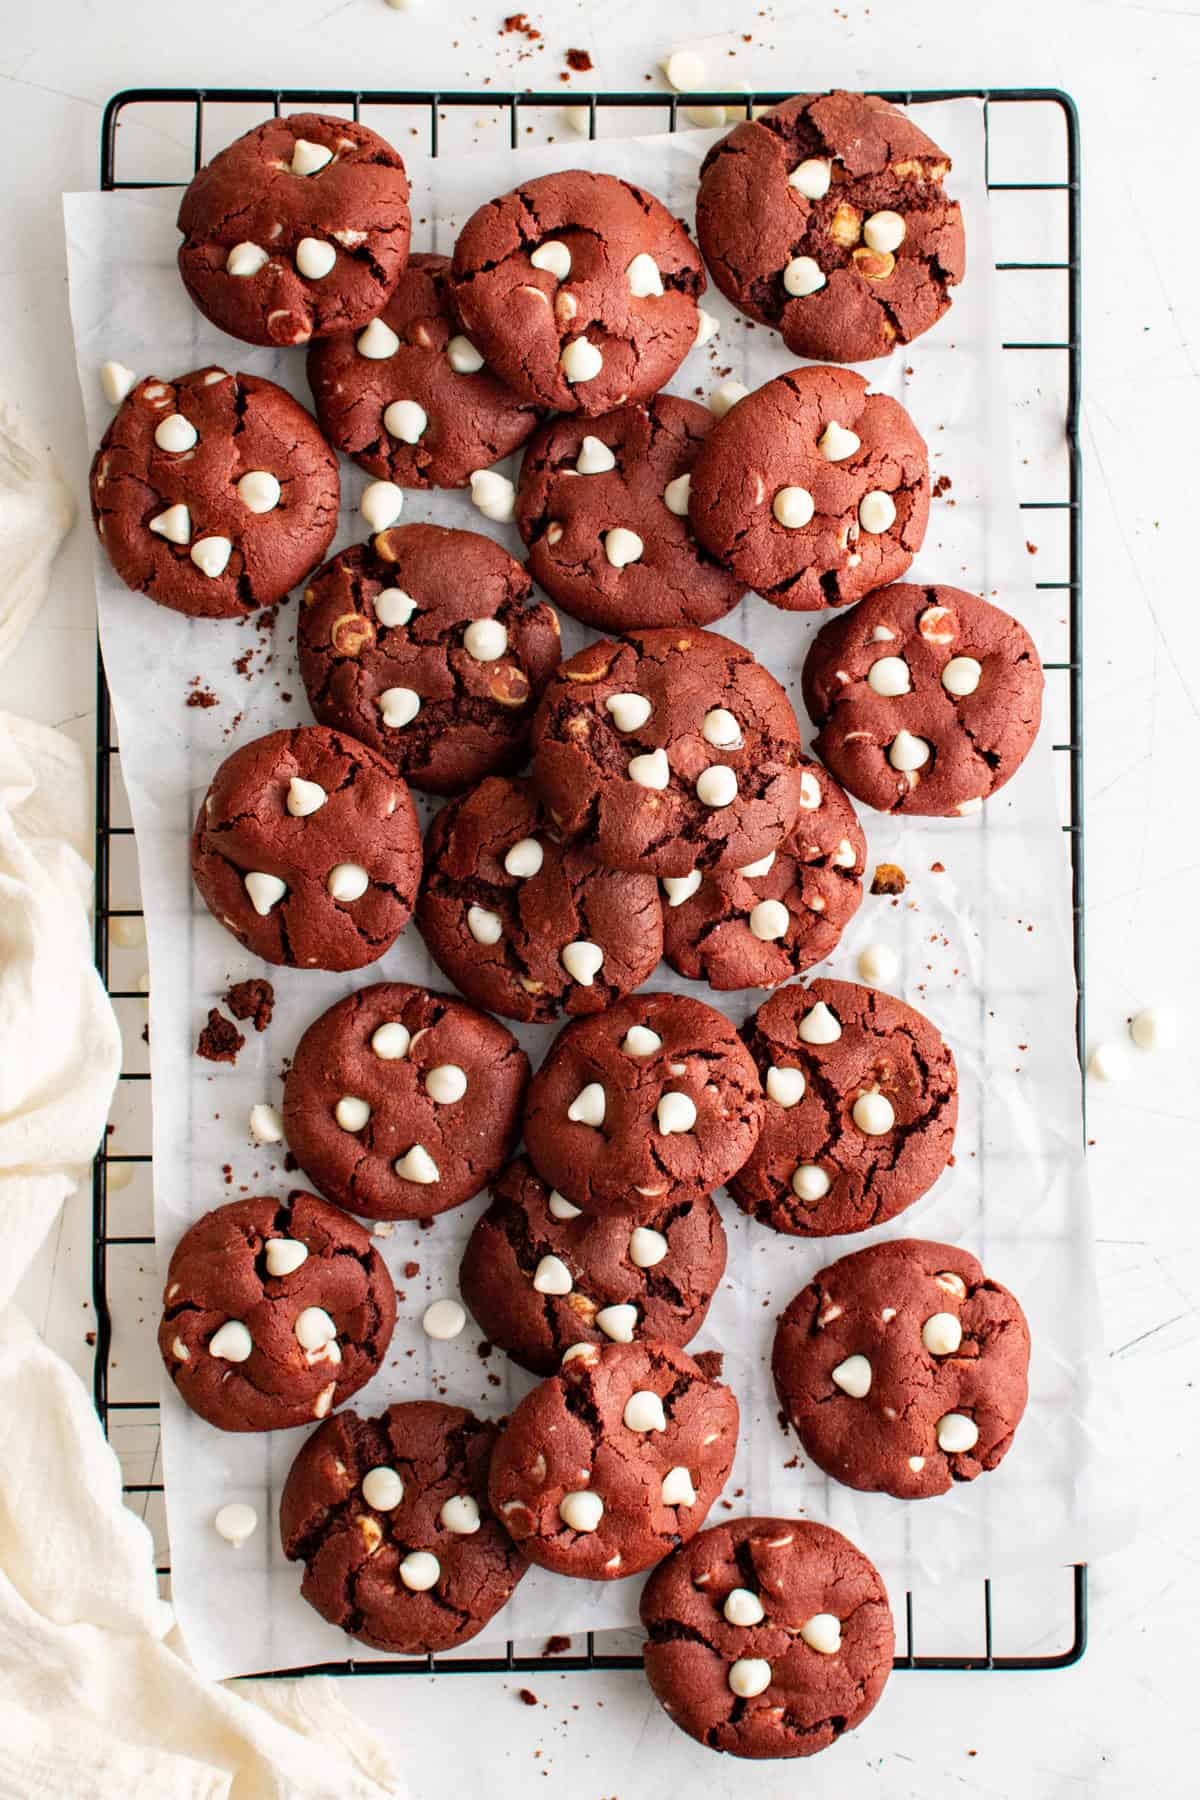
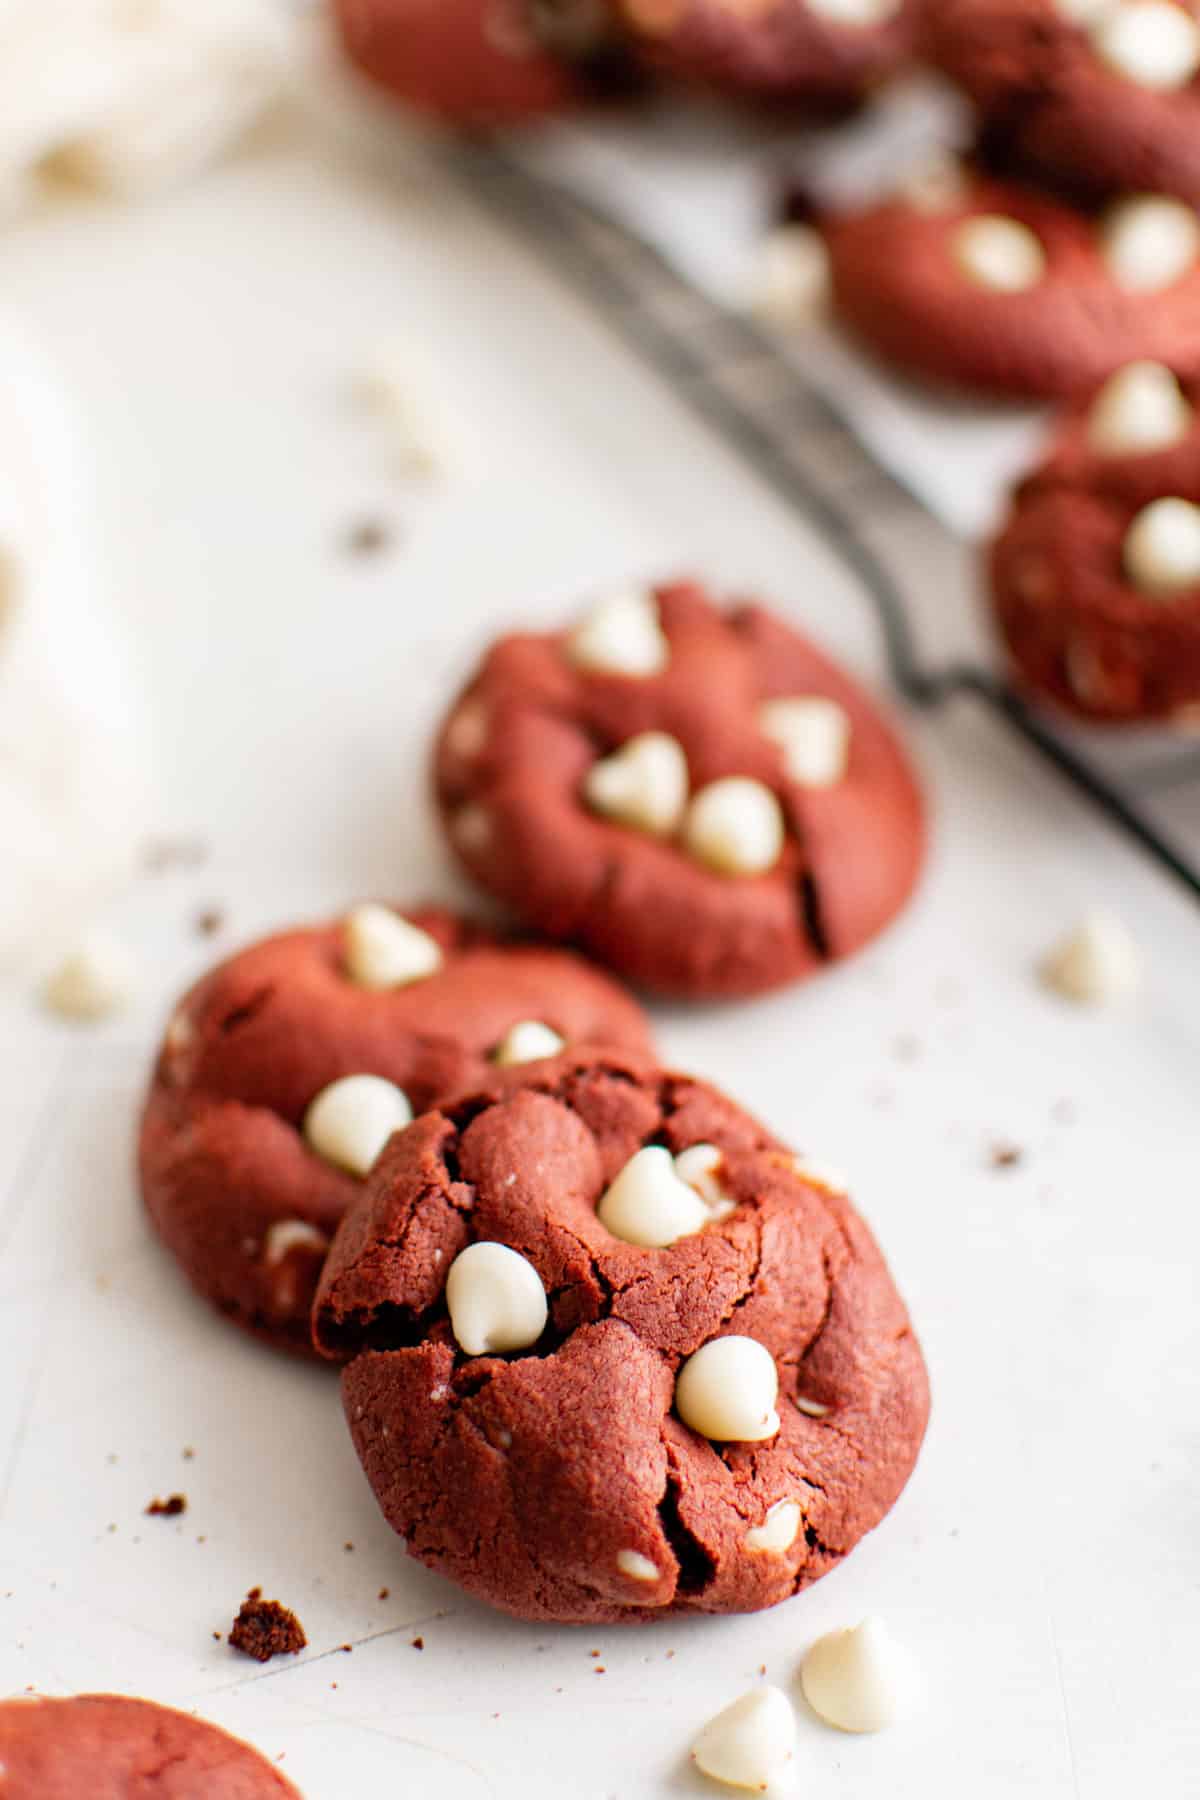
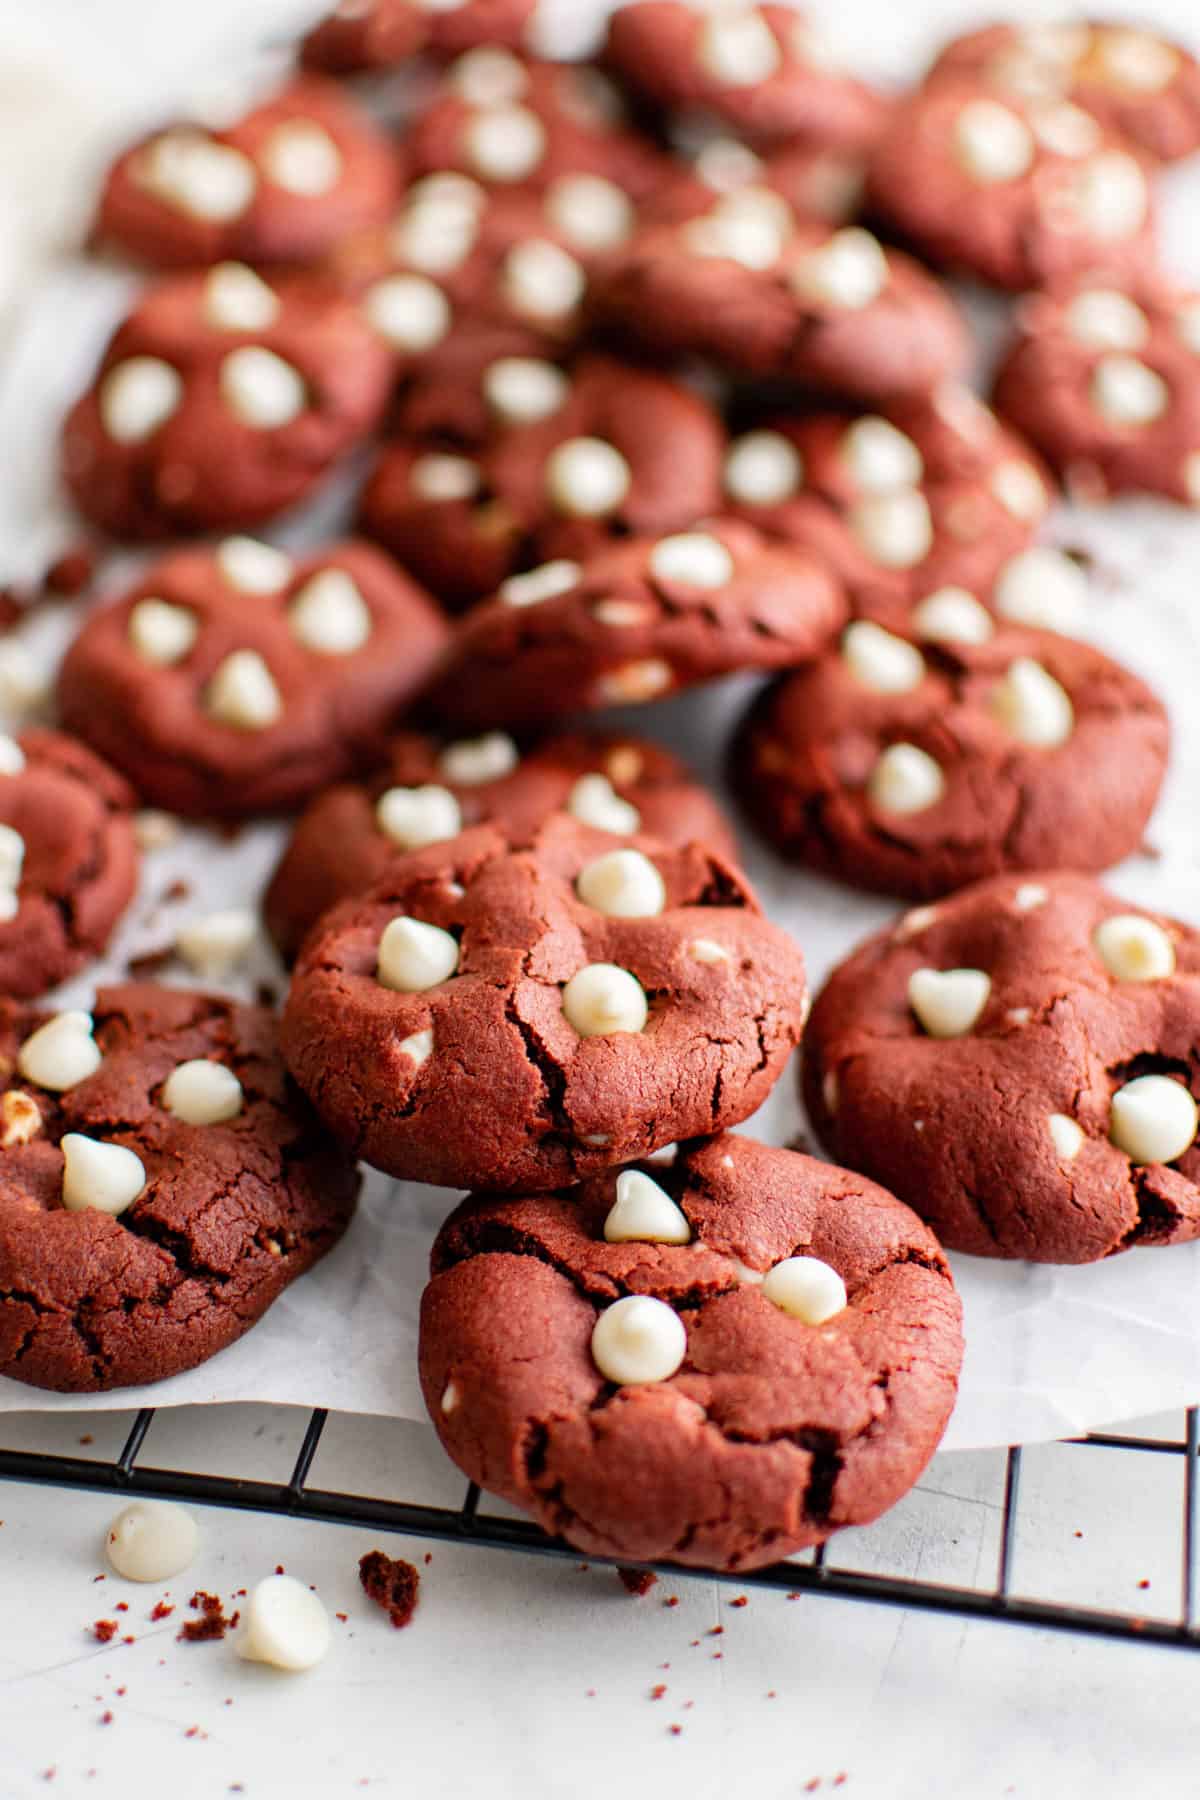
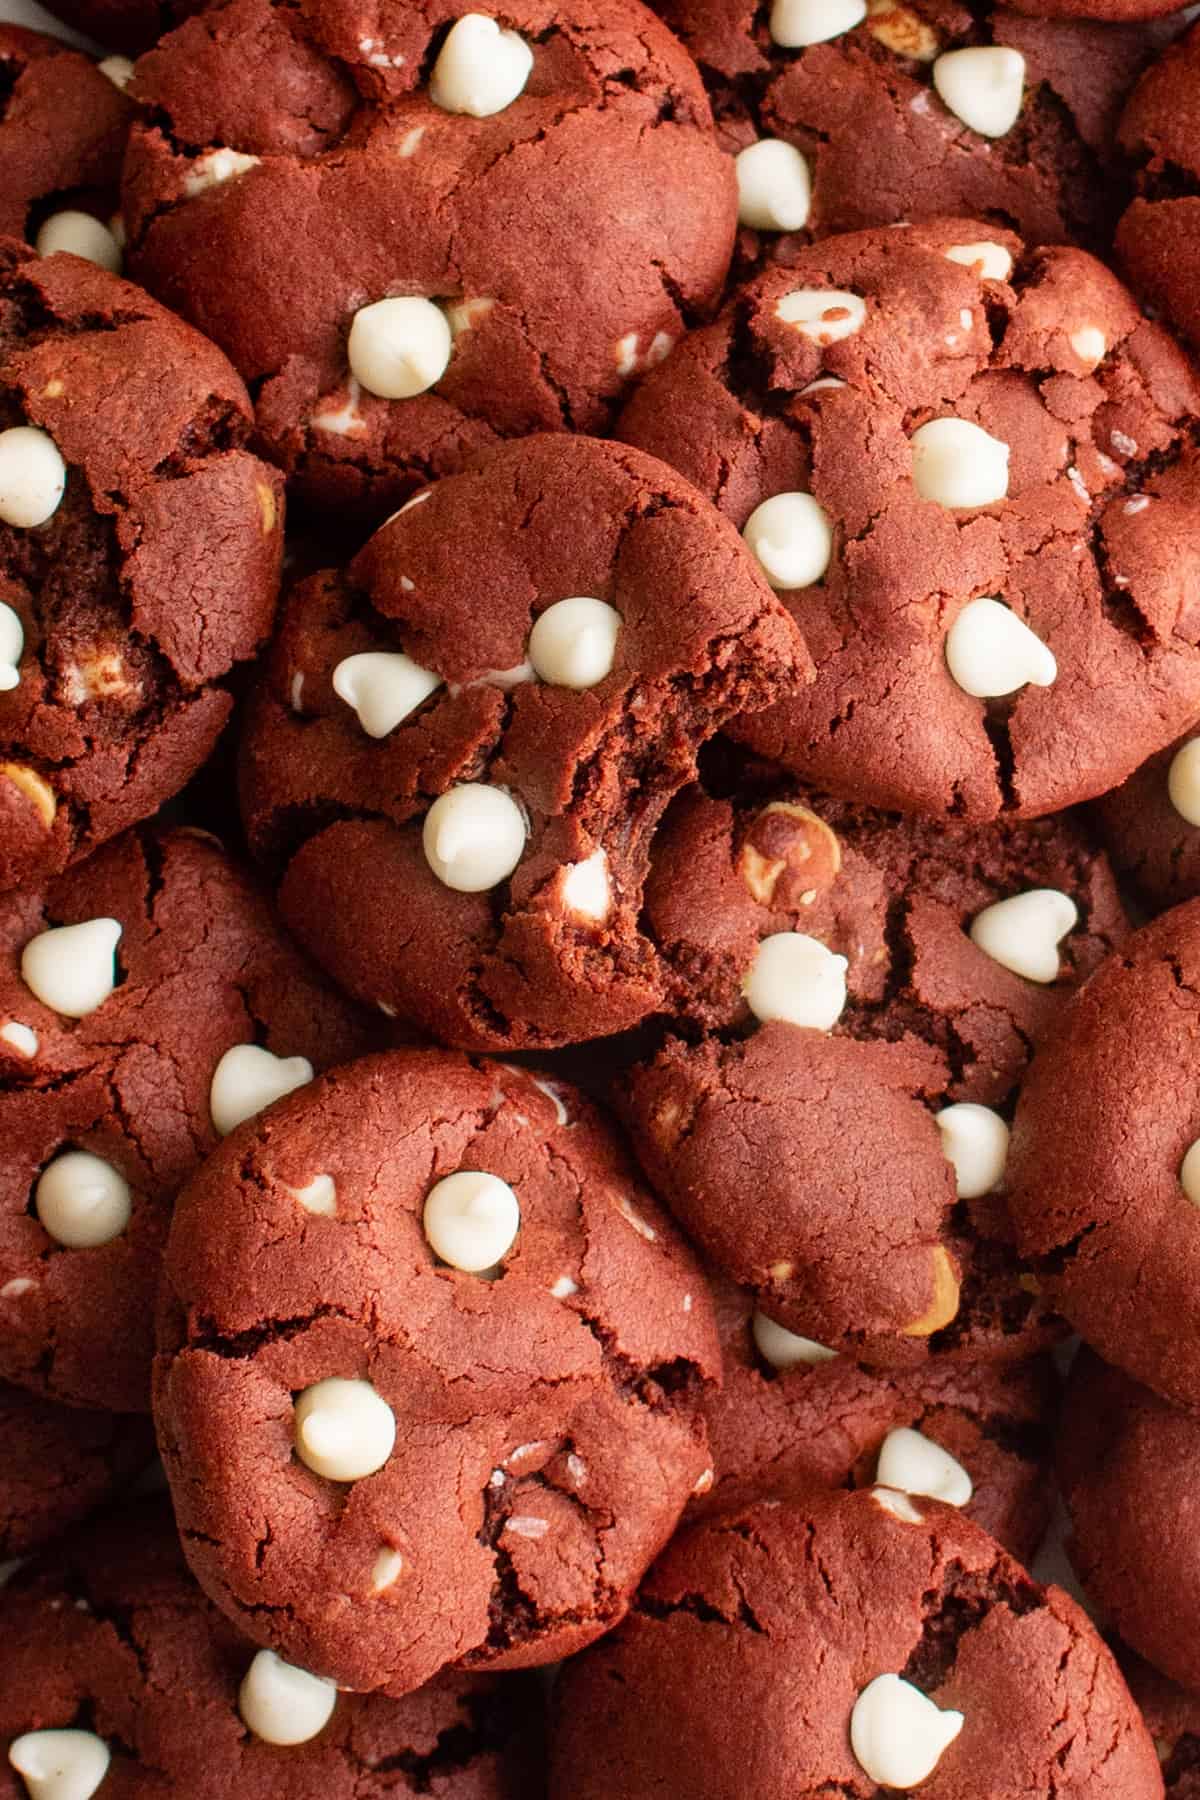
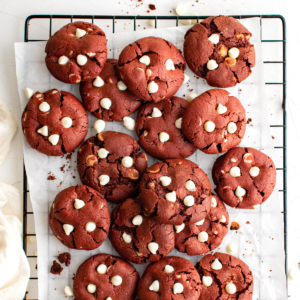
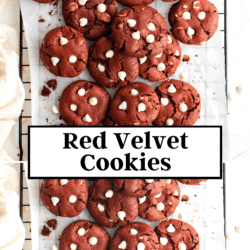
Red cookies studded with white chocolate chips, these easy red velvet cookies make the perfect treat for Christmas and Valentine’s Day!
You will love these Red Velvet Cookies
These soft, chewy cookies have that classic red velvet flavor packed into a perfectly thick, vibrant cookie with a deep red color and extra white chocolate chips on the outside (because the ones inside the red velvet cookie dough tend to turn red).
Here are some more reasons you’ll love these red velvet cookies:
- Festive red color
- Perfect for the holiday season and also any anytime cookie
- Flavor of red velvet cake
- No chilling the dough required
- Ready in 20 minutes total!
If you love red velvet desserts, also try my red velvet cake pops.
Red Velvet Cookie Recipe Ingredients
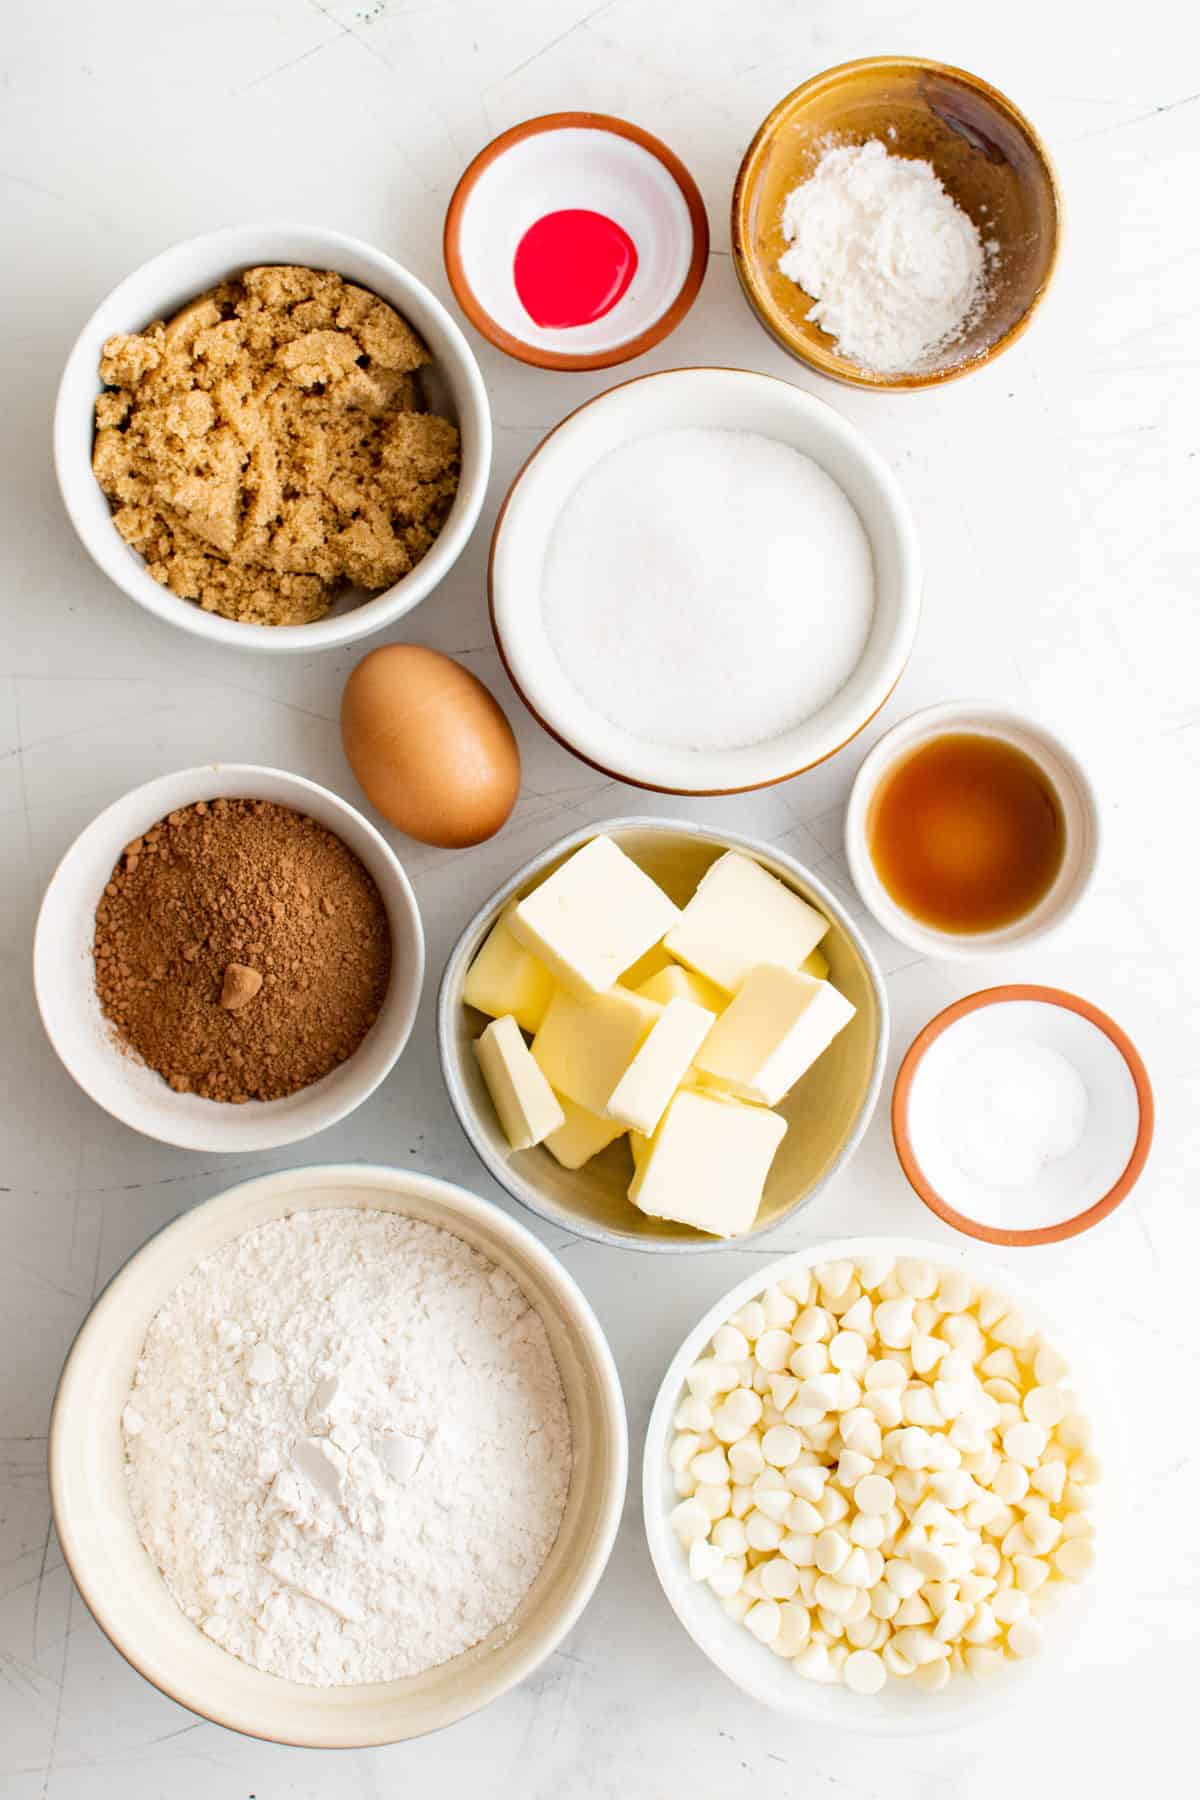
Your whole family will be hooked when they try these cookies! The ingredients are mostly simple ingredients, plus red gel food coloring. Get the full recipe with measurements and instructions in the recipe card below.
- All purpose flour
- Unsweetened cocoa powder
- Cornstarch
- Baking soda
- Salt
- White chocolate chips: plus more for the tops of the cookies
- Unsalted butter: room temperature
- Granulated sugar
- Brown sugar
- Egg
- Vanilla extract
- Liquid red food coloring: or 1/2 tsp gel red food coloring
Recommended Cookie Baking Tools
These tools are optional, but I highly recommend them:
- Cookie Scoop: I prefer using a 1.6″ diameter cookie scoop, which is technically considered small. With it, I scoop the dough so it’s heaping over the cookie scoop.
- Silicone Baking Mat: Silicone baking mats are such a great tool to have in your kitchen! You’ll save on parchment paper and be able to use them for so many recipes.
- Cookie Sheet: These cookie sheets are light aluminum, which helps with even baking and browning. I love the half sheet size and the silicone baking mats fit perfectly on them.
Red Velvet Cookie Substitutions
Here are a few ways you can change up this recipe:
- Different chocolate chips: If you’re not into white chocolate, use semi-sweet, milk, or dark chocolate chips.
- Dipped or drizzled cookies: For a twist on the chocolate application, you can skip the white chocolate chips altogether and dip the cooled cookies into melted white chocolate, or drizzle melted white chocolate over them.
- Frosted cookies: You can skip the white chocolate chips and top the cookies with cream cheese frosting instead.
- Gluten free red velvet cookies: I recommend King Arthur’s Gluten Free Measure for Measure Flour. Use it as a one-for-one substitute for regular flour.

How to Make Red Velvet Cookies
These cookies are so easy to make! Just follow my 8 easy steps below to cookie perfection. Get the full recipe with ingredients in the recipe card below.
- Prep oven and pans. Preheat the oven to 350ºF and line 2 large baking pans with silicone baking mats or parchment paper.
- Combine dry ingredients. Whisk the flour, cocoa powder, cornstarch, baking soda, salt, and white chocolate chips together in a medium bowl and set aside.
- Combine butter and sugars. In a separate large bowl, use an electric mixer to cream the butter, granulated sugar and brown sugar together until smooth, about 60 seconds.
- Combine wet ingredients. Beat in the egg, vanilla extract, and red food coloring until combined. Add more food coloring if you want your cookies to be a deeper red color.
- Combine wet and dry ingredients. On low, mix in the flour mixture until combined.
- Form balls. Use a cookie scoop to form 2-inch balls. Place 6-8 balls on each of the baking pans. Bake one pan at a time.
- Bake. Bake for 8-10 minutes or until the cookies have started to dry out on top.
- Finish and cool. Once baked, removed from the oven and press some white chocolate chips into the cookies. Let them cool for 5 minutes then set them aside on a cooling rack to cool completely before repeating the baking process with the remaining dough balls.
How to Properly Measure Flour
The most accurate way to measure flour is to use a kitchen scale, weighing it in grams. If you don’t have a kitchen scale, follow this method.
- Aerate the flour with a whisk or spoon. Flour becomes heavy and compact as it sits. Aerating is the same as fluffing the flour, but not the same as sifting it. Do not sift the flour unless the recipe specifically calls for it.
- Use a spoon to sprinkle the flour into the measuring cup. Do not tap the cup against the counter, as this will compact the flour.
- Use the back of a butter knife to level off the excess. You’ll need to repeat the aerating process after filling each cup.
How to Store Red Velvet Cake Cookies
Red velvet cookies should be stored in an airtight container at room temperature for up to 5 days. Here’s a trick to make sure they stay soft and chewy: place a piece of bread inside the container with the cookies. The cookies will absorb the moisture from the bread.
If you want to make these ahead of time, the cookie dough freezes well. To do so:
- Portion the dough into balls.
- Place the cookie dough balls on a baking sheet lined with a silicone mat or parchment paper.
- Freeze the baking sheet until the balls are frozen solid, about 1 hour.
- Remove from the freezer and transfer the balls to a ziploc freezer-safe bag. Be sure to label the bag with the date and baking directions.
The cookie dough balls will freeze well for up to 3 months. When ready to bake, remove from the freezer. Pre-heat the oven to 350ºF. Bake as directed, they just may need to bake for 1-2 minutes longer if baked from frozen.
Red Velvet Cookies Recipe FAQs
The unsweetened cocoa powder in this recipe gives it that distinct red velvet flavor, which is traditionally chocolate cake flavored with cocoa powder.
Chocolate cake and red velvet cake are not the same. Essentially, red velvet cake is a chocolate cake that has been flavored with cocoa powder.
The secret to making these red velvet cookies soft and chewy is the cornstarch. Cornstarch is a magical cookie ingredient, that helps prevent spreading, makes them thick, chewy, and gives them soft centers.
More Cookie Recipes
Tap stars to rate!
Red Velvet Cake Cookies
Equipment
Ingredients
- 1 ¾ cups (210g) all purpose flour
- ⅓ cup (28g) unsweetened cocoa powder
- 1 Tbsp cornstarch
- 1 tsp baking soda
- ½ tsp salt
- 1 cup (170g) white chocolate chips, plus more for the tops of the cookies
- ¾ cup (170g) unsalted butter, room temperature
- ½ cup (99g) granulated sugar
- ½ cup (107g) brown sugar
- 1 large egg
- 1 tsp vanilla extract
- 2 tsp liquid red food coloring, or 1/2 tsp gel red food coloring
Video
Instructions
- Preheat the oven to 350ºF and line 2 large baking pans with silicone baking mats or parchment paper.
- Whisk the flour, cocoa powder, cornstarch, baking soda, salt, and white chocolate chips together in a medium bowl and set aside.1 ¾ cups (210g) all purpose flour, ⅓ cup (28g) unsweetened cocoa powder, 1 Tbsp cornstarch, 1 tsp baking soda, ½ tsp salt, 1 cup (170g) white chocolate chips
- In a separate large bowl, use an electric mixer to cream the butter, granulated sugar and brown sugar together until smooth, about 60 seconds.¾ cup (170g) unsalted butter, ½ cup (99g) granulated sugar, ½ cup (107g) brown sugar
- Beat in the egg, vanilla extract, and red food coloring until combined. Add more food coloring if you want your cookies to be a deeper red color.1 large egg, 1 tsp vanilla extract, 2 tsp liquid red food coloring
- On low, mix in the flour mixture until combined.
- Use a cookie scoop to form 2-inch balls. Place 6-8 balls on each of the baking pans. Bake one pan at a time.
- Bake for 8-10 minutes or until the cookies have started to dry out on top.
- Once baked, removed from the oven and press some white chocolate chips into the cookies. Let them cool for 5 minutes then set them aside on a cooling rack to cool completely before repeating the baking process with the remaining dough balls.


My son loves Red Velvet but has found out he needs to be gluten free. Can I make this with the King Arthus GF flour?
Yes you definitely can! I personally use King Arthur’s Measure for Measure Gluten Free Flour to make a lot of my recipes gluten free.
Hi. I have a question. My cookies come out significantly darker the more I chill or freeze the dough or even just letting it rest for a while. I mean, if I bake the cookies right away they came out with a very nice color, but if not, the longer I wait, the darker they get. Do you know why this happen?
This is probably caused by oxidation of the food coloring. Especially with reds and blacks.
You mention using a scale is the most accurate way to measure but the recipes are in volume measurements, not weight.