
This post may contain affiliate links. Please read our disclosure policy.
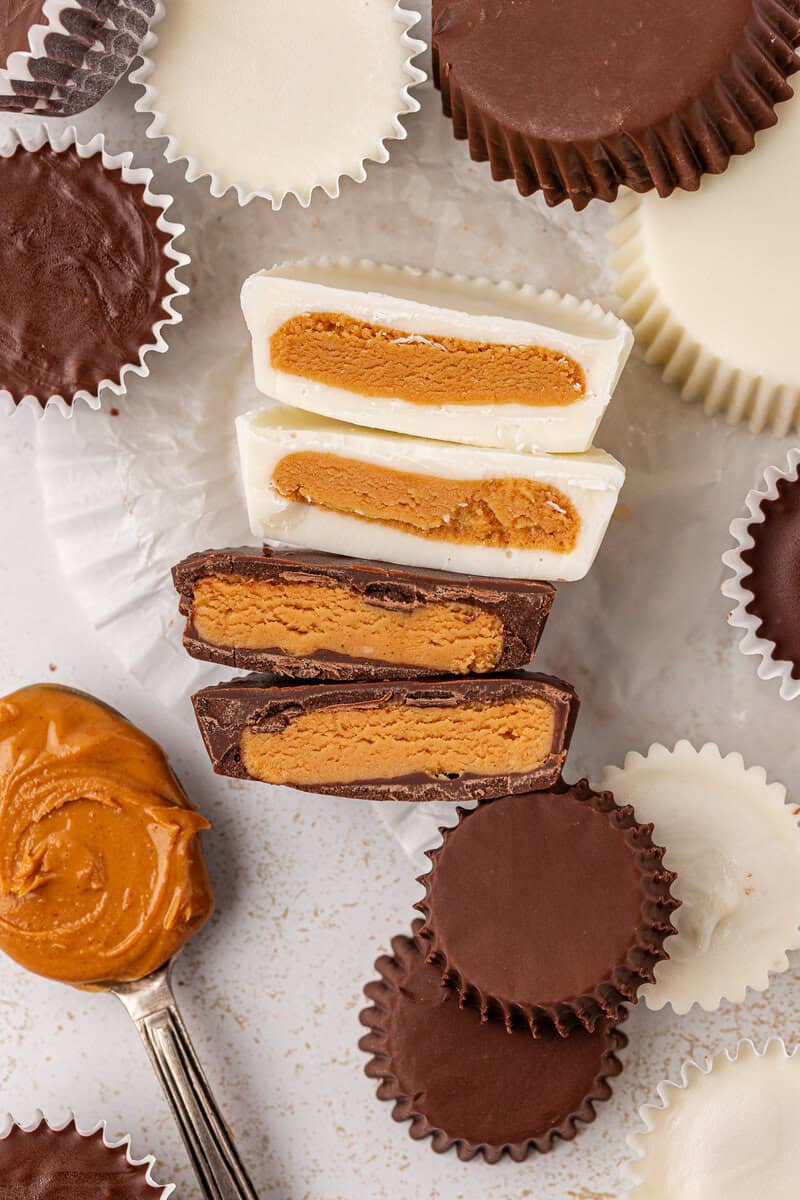
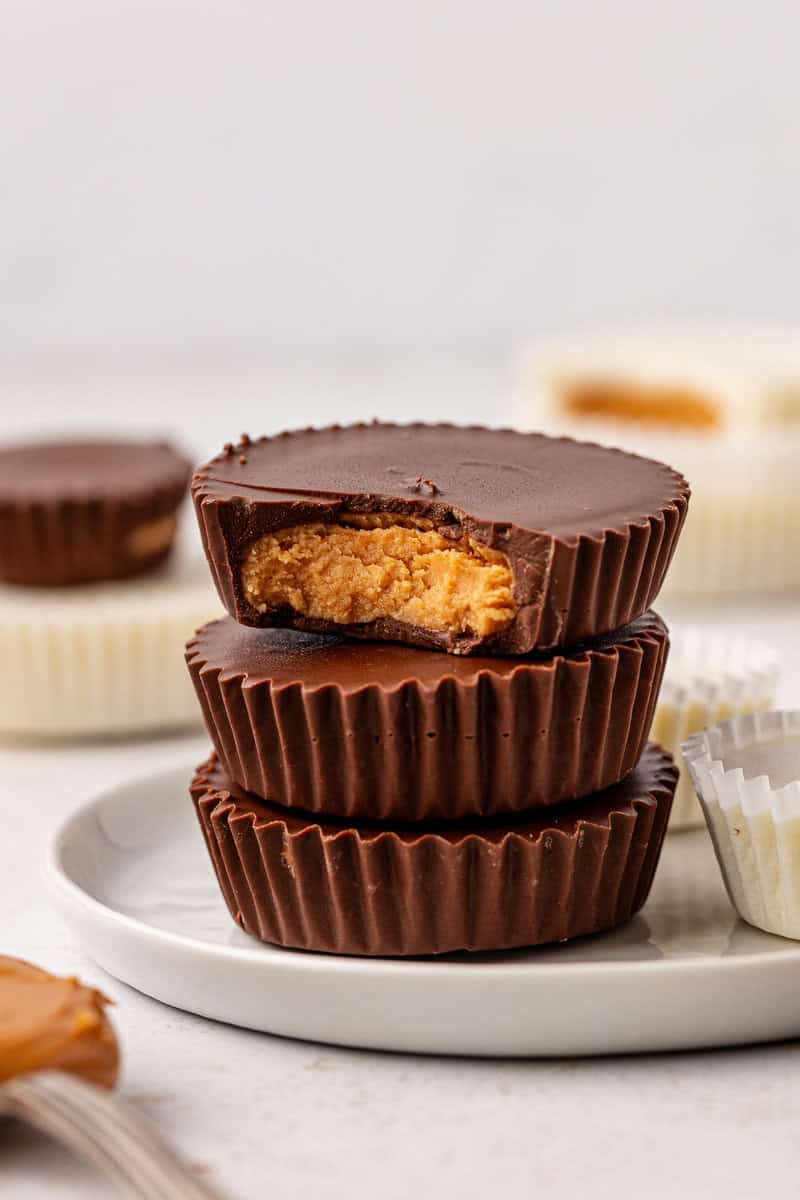
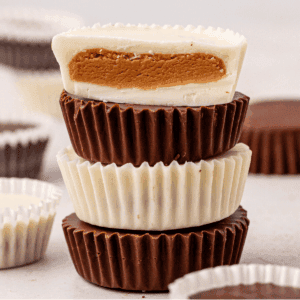
These homemade peanut butter cups are a holiday hit in my house and a must for my annual cookie tins. I’ve tested and perfected the method so the chocolate sets firm and the peanut butter filling tastes just like the classic candy. They’re easy to make in large batches, store beautifully, and feel surprisingly fancy for such a simple recipe. If you want a sweet treat that impresses without stress, this is it.
I’ve made hundreds of these homemade peanut butter cups, and they’ve become a staple in my annual Christmas cookie tins. In 2024, I packed 50 tins for friends, neighbors, and teachers, and these were the first treats to disappear. What I love most is how easy they are to scale. When you need 200 pieces, this recipe delivers without stress or complicated steps. They’re simple, impressive, and taste just like the real deal.
Through years of testing, I’ve learned that almond bark is the best choice for the chocolate layer. It melts smoothly, sets up firm every time, and gives that satisfying snap when you bite in. The peanut butter filling is soft and creamy, perfectly balanced with the chocolate coating. This is one of those recipes that proves you don’t need fancy ingredients or techniques to create something that feels special.
I also love that these can be made ahead and stored for weeks in airtight containers—perfect for holiday prep or gifting. Living in the Midwest means I can take advantage of a cold garage as my “extra fridge,” and these hold up beautifully. Whether you make them in a mini muffin pan or standard size, you’ll end up with a treat that looks polished, tastes incredible, and makes everyone think you spent hours in the kitchen.
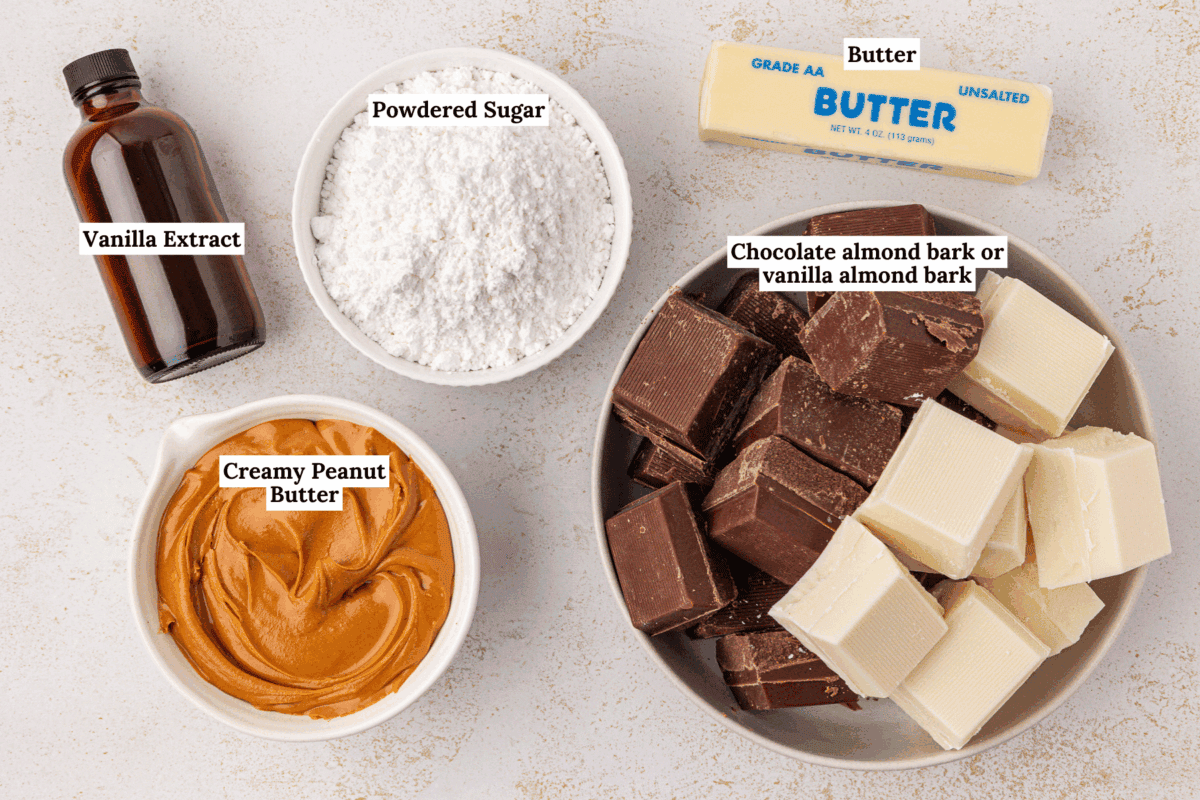
Ingredients You’ll Need
You only need a few simple ingredients: creamy peanut butter, softened butter, powdered sugar, vanilla, and melted almond bark. The filling mixes up into a thick, dough-like texture that’s easy to shape. Almond bark is my go-to for dipping and coating because it melts smoothly and sets firm every time.
How to Make Homemade Peanut Butter Cups
Prep pan & area: Line a standard muffin pan or mini muffin pan with paper liners. Clear a shelf in the fridge or freezer. Or place in a cold garage.
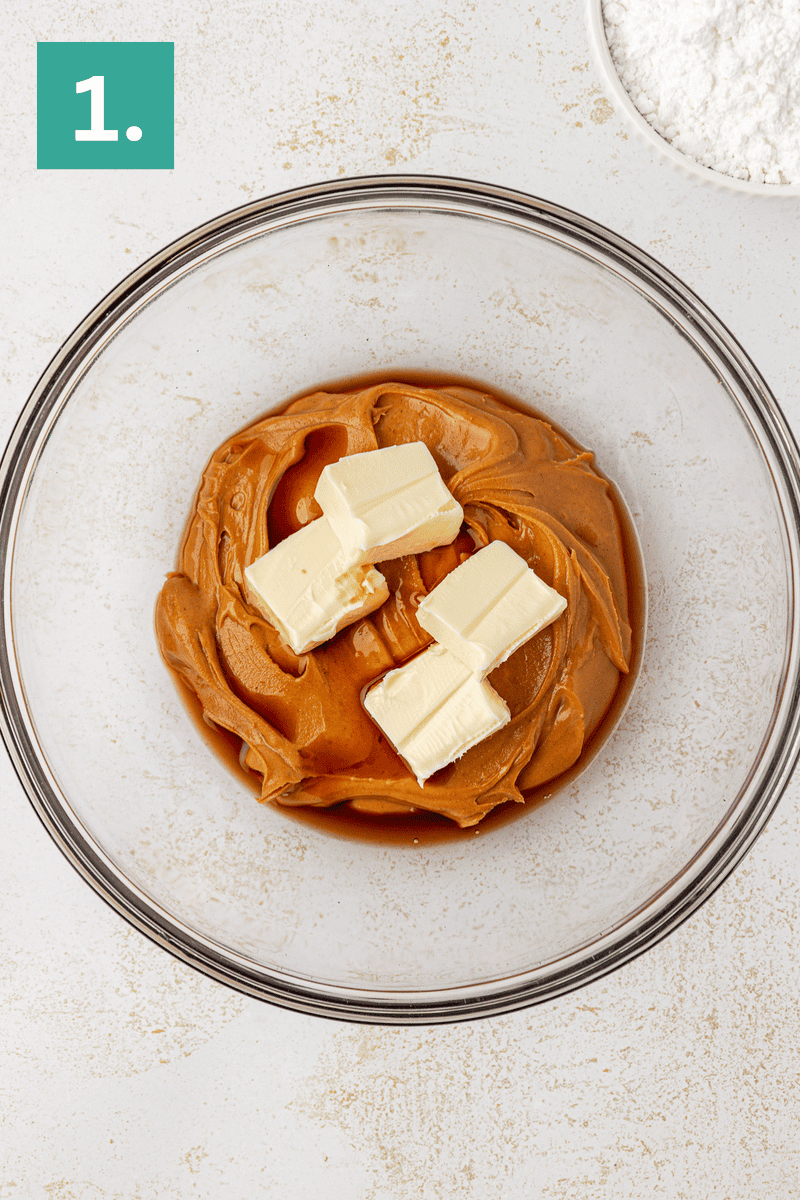
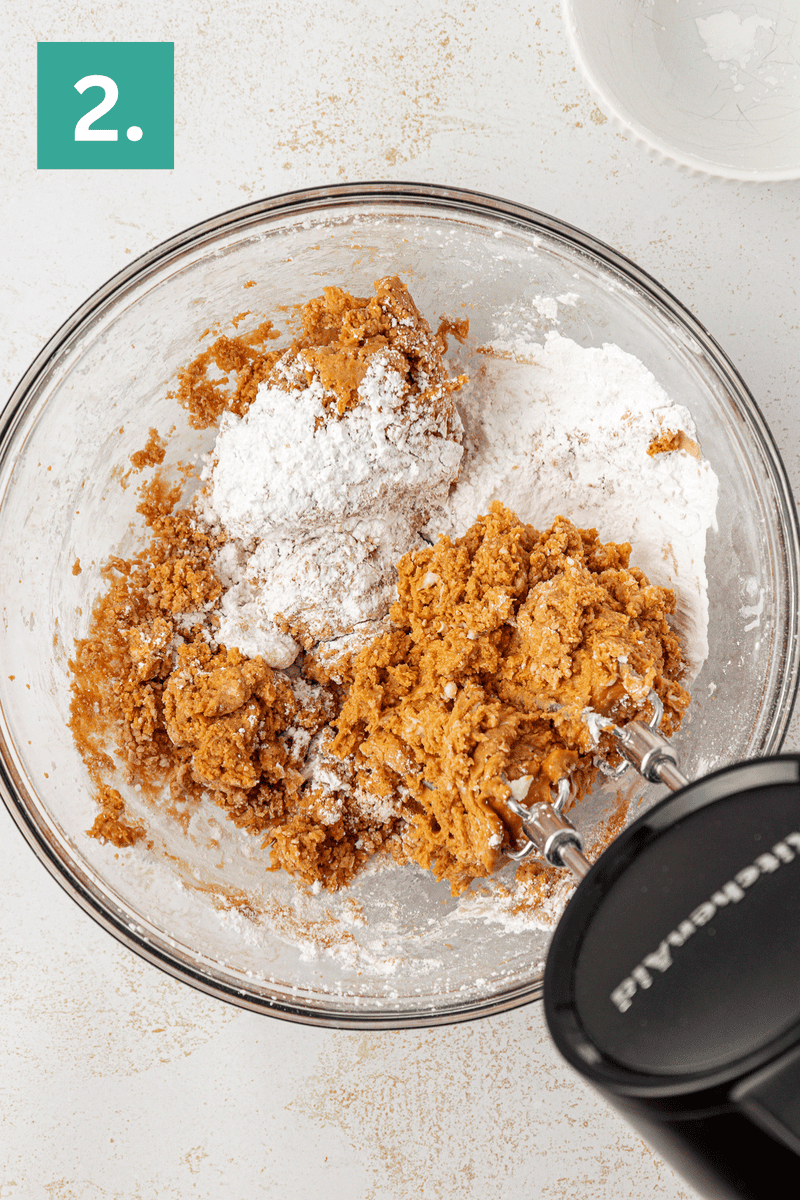
Make peanut butter filling: In a medium bowl, using an electric mixer combine the peanut butter, butter, vanilla extract, and powdered sugar until a thick, dough-like filling forms. If it’s sticky, chill for 10 minutes.

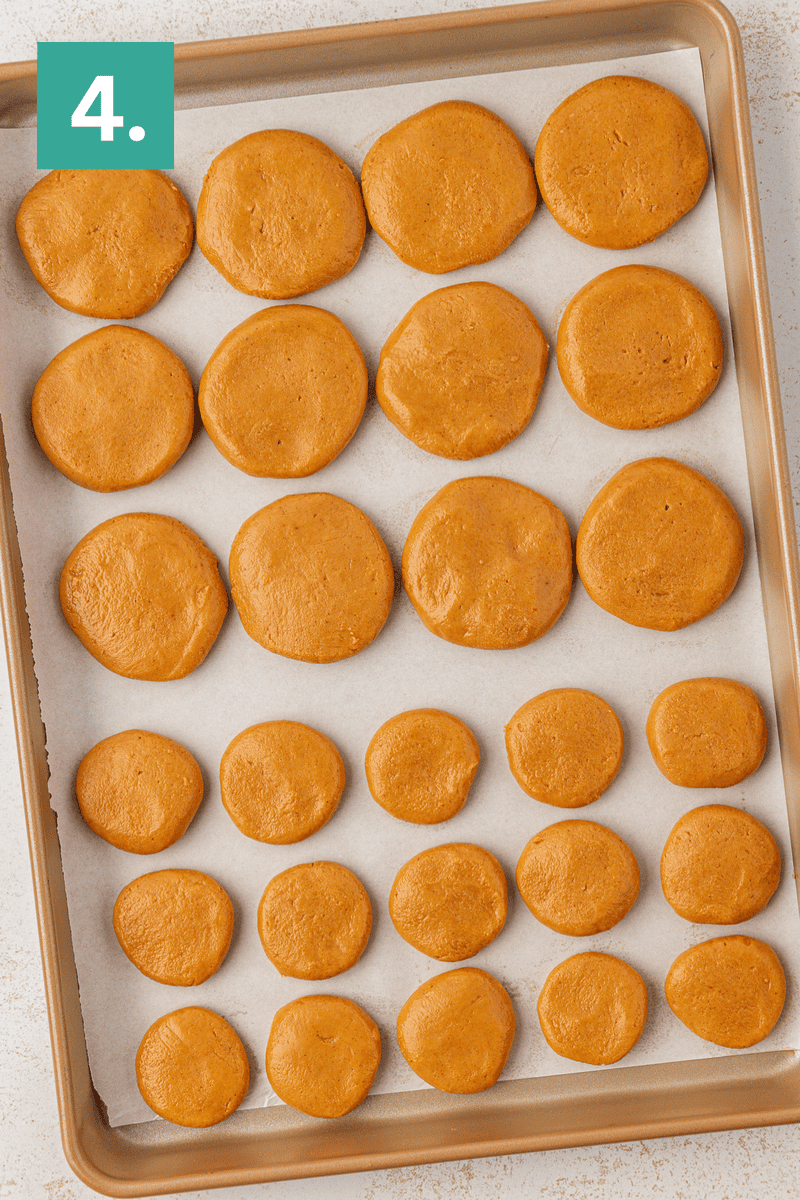
Make peanut butter discs: Roll the peanut butter mixture into balls, then flatten into disks slightly smaller than the liner base – about 1-2 teaspoons filling for mini and about 1 tablespoon for standard. Set aside.
Melt chocolate: Chop the almond bark and microwave in a large bowl at 50% power in 30-second bursts, stirring between each, until smooth.
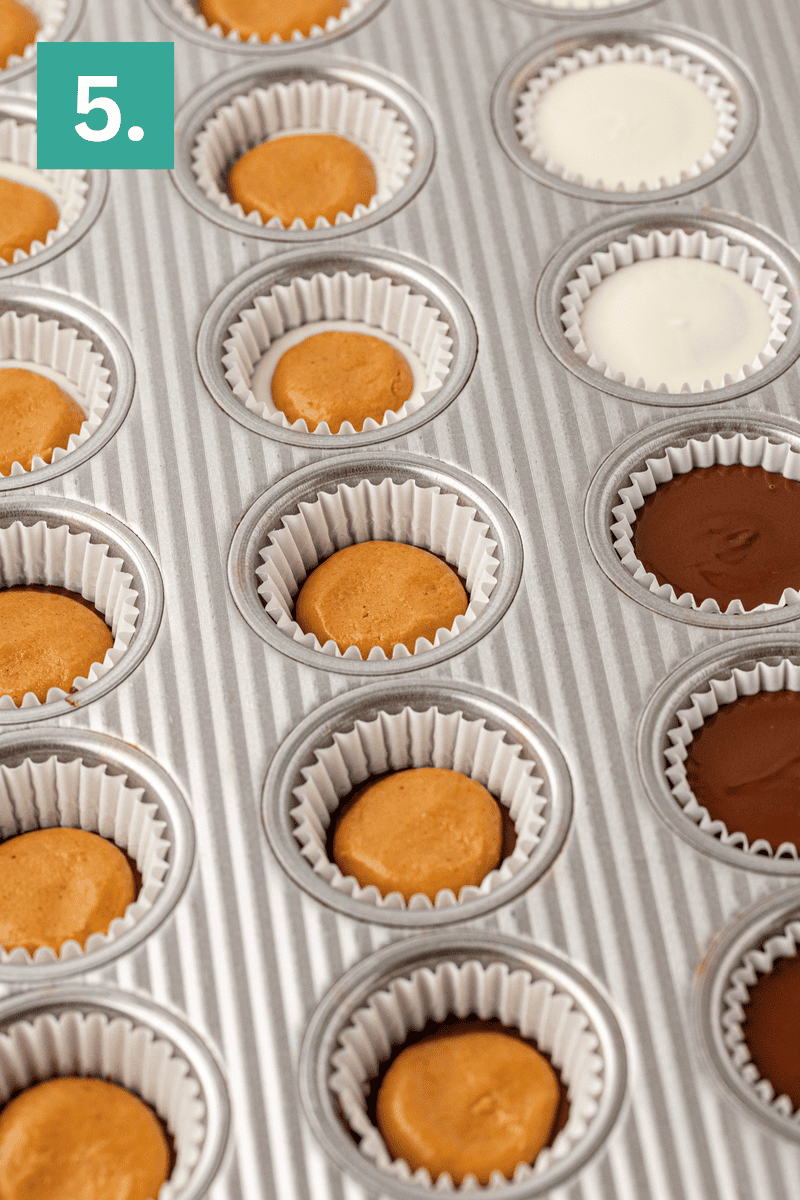
Transfer first layer: Spoon a little melted chocolate into each liner to cover the bottom– about 1-2 teaspoons for mini or 1-2 tablespoons for standard.
Add peanut butter layer: Place a peanut butter disk onto each chocolate base and gently press so the sides don’t touch the liner.

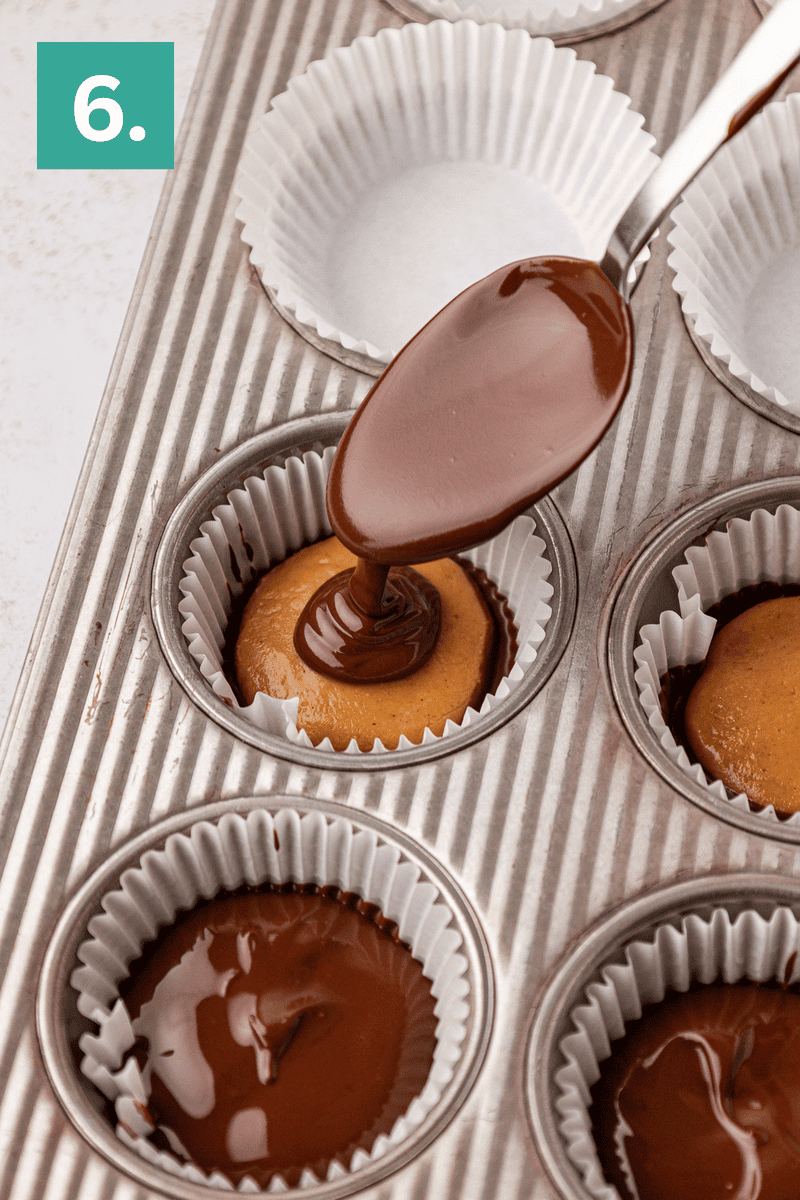
Add final layer: Cover the peanut butter filling with more melted chocolate. Gently tap the pan against the counter to smooth the tops.
Chill to firm: Place in the refrigerator or a cold garage for 20–30 minutes, or until firm.
Equipment Needed:
- Mini or standard muffin pan
- Paper liners (a must for easy release)
- Mixing bowl + hand mixer
- Microwave-safe bowl for melting chocolate
- Small cookie scoop or teaspoon for portioning
Why Almond Bark Works Best
You can use chocolate chips or melting wafers, but almond bark gives the cleanest set, the smoothest texture, and that signature snap. It also doesn’t bloom or get streaky as easily, making it the most reliable option for big batches and gifting.

Variations & Substitutions
- Chocolate: I have been testing this recipe for years, and I swear by using almond bark for the chocolate. It melts perfectly smooth, and sets up firm for that signature snap when you take a bite. However, you can try any type of milk, semisweet, dark or white chocolate you prefer.
- Peanut Butter: Creamy peanut butter is the best choice for a smooth, creamy filling. It mixes best with the other ingredients, however you can try other forms of peanut butter if you prefer. Natural peanut butter may cause the filling to be too watery.
- Toppings: Leave them traditional or dress them up with toppings like sprinkles or crushed nuts.

More Peanut Butter Recipes
- Peanut Butter Cookies with Chocolate Chips
- Chocolate Peanut Butter Bars
- Three Ingredient Peanut Butter Cookies
- Peanut Butter Muffins
Tap stars to rate!
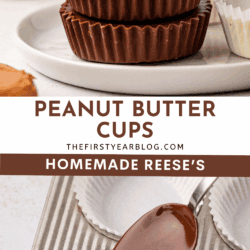
Peanut Butter Cups
Equipment
Ingredients
- 1 cup (270g) creamy peanut butter
- ¼ cup (57g) unsalted butter, room temperature
- 1 tsp vanilla extract
- 1 ½ cups (169g) powdered sugar
- 24 oz chocolate almond bark or vanilla almond bark
- Regular or mini muffin liners
Video
Instructions
- Line a standard muffin pan or mini muffin pan with paper liners. Clear a shelf in the fridge or freezer. Or place in a cold garage.
- In a medium bowl, using an electric mixer combine the peanut butter, butter, vanilla extract, and powdered sugar until a thick, dough-like filling forms. If it’s sticky, chill for 10 minutes.1 cup (270g) creamy peanut butter, ¼ cup (57g) unsalted butter, 1 tsp vanilla extract, 1 ½ cups (169g) powdered sugar
- Roll the peanut butter mixture into balls, then flatten into disks slightly smaller than the liner base – about 1-2 teaspoons filling for mini and about 1 tablespoon for standard. Set aside.
- Chop the almond bark and microwave in a large bowl at 50% power in 30-second bursts, stirring between each, until smooth.24 oz chocolate almond bark or vanilla almond bark
- Spoon a little melted chocolate into each liner to cover the bottom– about 1-2 teaspoons for mini or 1-2 tablespoons for standard.
- Place a peanut butter disk onto each chocolate base and gently press so the sides don’t touch the liner.
- Cover the peanut butter filling with more melted chocolate. Gently tap the pan against the counter to smooth the tops.
- Place in the refrigerator or a cold garage for 20–30 minutes, or until firm.
Notes


Beth..any recommendations for doing this in a baking dish 9 x13…kind of free form and cutting it into squares ? Would that work? Thank you
Great question. I don’t think it would work well – the almond bark will probably crack when cutting it.
These are so yummy and easy to make. I set them out for a family Christmas party and they were a hit. I did them in mini form and had more than the estimated amount.
My family and friends absolutely loved these Peanut Butter Cups. My adult children loved them so much they asked me not to share them with the neighbors next time!
It’s the perfect consistency, the flavor is amazing and they peanut butter is so creamy! These are definitely a new go to candy for us!
I am allergic to peanuts and almonds can I use cashew butter instead?
I’m curious as to why your almond bark does not seem to contain any almonds. In the photo, it looks just like the baking chocolate that is available in boxed slabs as white, bittersweet, semi sweet or unsweetened types. I have never seen almond bark that did not contain the nuts…
Almond bark is a sweet, easy-to-melt candy coating often used for dipping and coating treats, especially during the holidays. Despite the name, it usually contains no almonds and is made from sugar, vegetable fats, and milk solids with vanilla or chocolate flavoring. Because it uses vegetable fat instead of cocoa butter, almond bark melts smoothly, sets up firm at room temperature, and doesn’t require tempering.
Overall easy, but i did have to add a little more chocolate. My muffin pan cups may have been bigger I dont know. But they tasted great!