This post may contain affiliate links. Please read our disclosure policy.
As a seasoned baker and trusted creator of top-rated pumpkin desserts, I’ve crafted these pumpkin pie bars to combine the best of classic pumpkin pie and pumpkin cake. With a buttery, cake-mix crust and creamy, spiced pumpkin filling, this easy-to-make recipe delivers all the flavors of a traditional pie with the convenience of bars.
Topped with a dollop of cool whip, they’re a crowd-favorite that’s been thoroughly tested to ensure perfect results every time.
Just made yesterday for the weekly family dinner and it was an absolute hit!! Perfect ratio of pumpkin pie filling to crust. For those that don’t care for traditional pumpkin pie, these bars are a great substitution (or addition)!
-Jo Anne
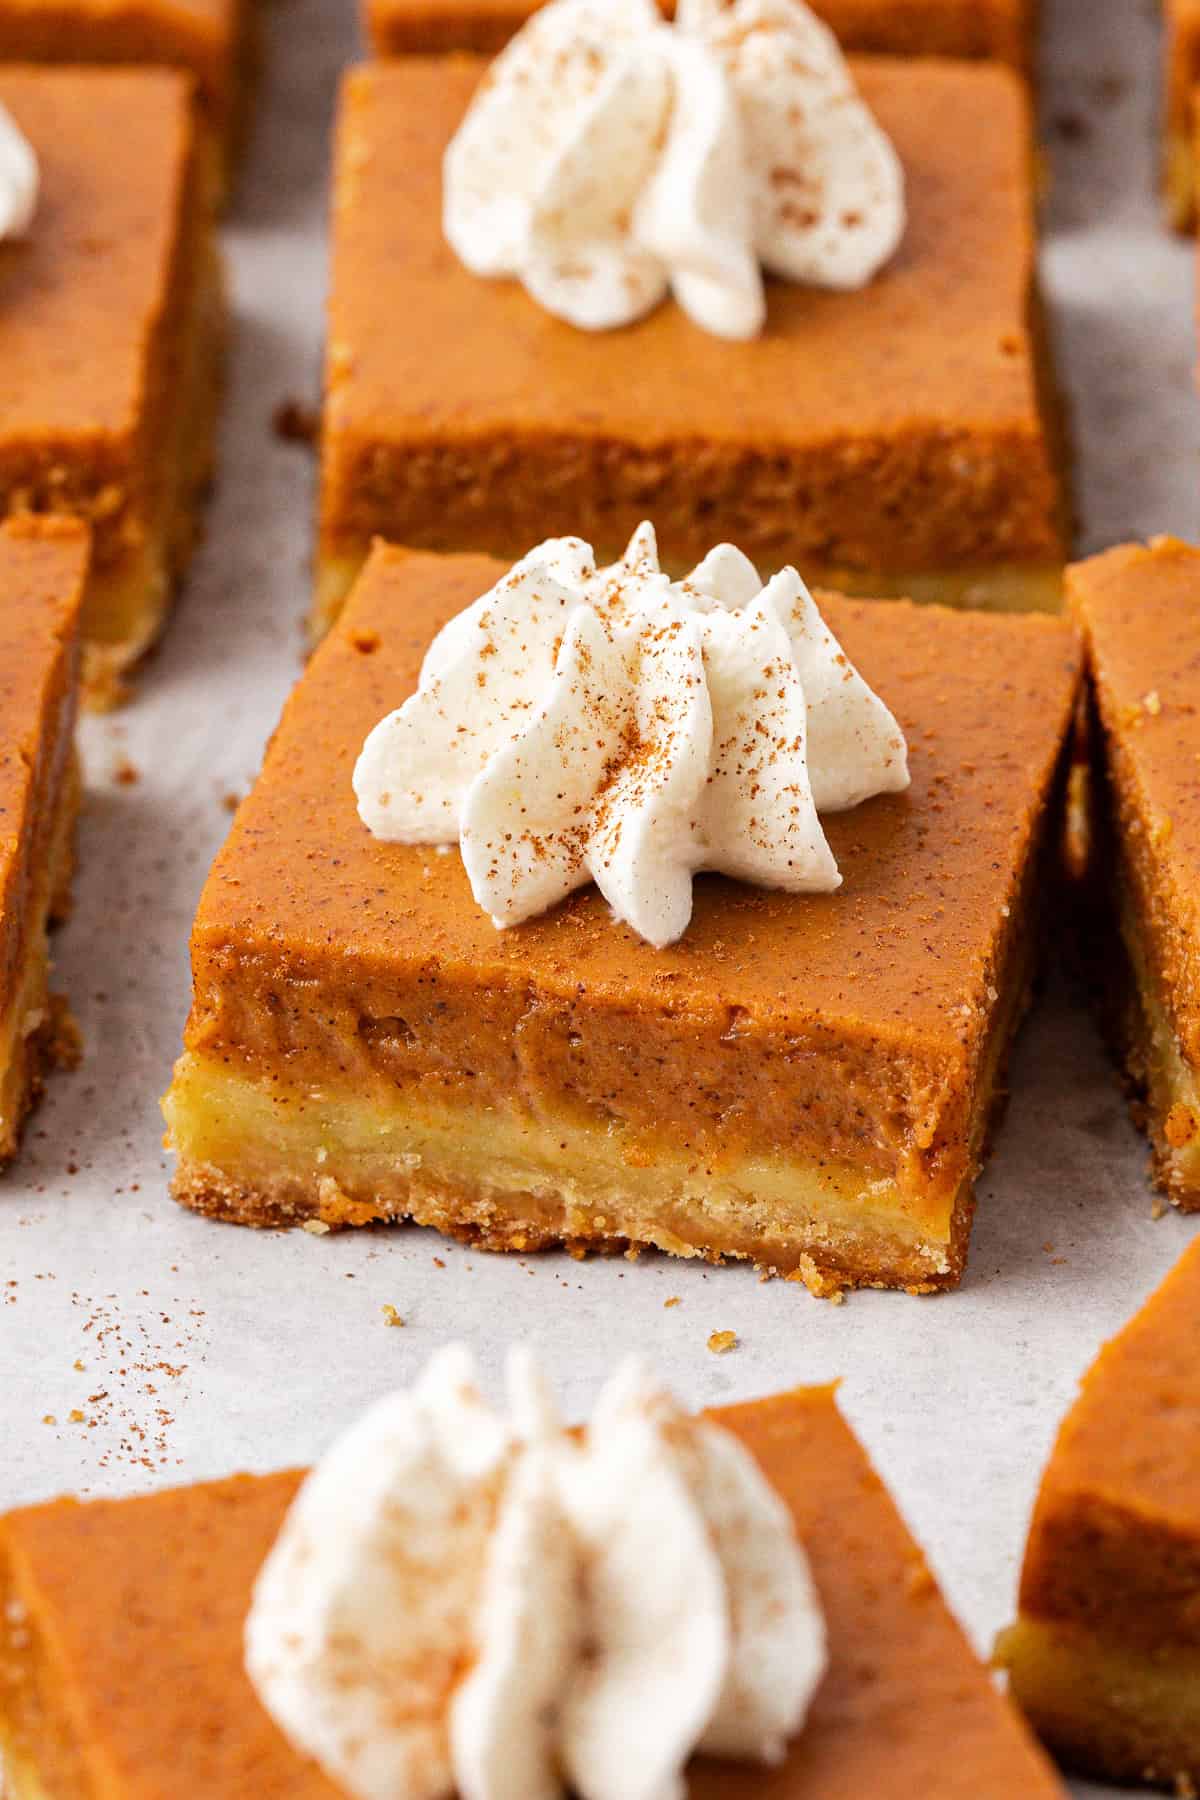
Pumpkin pie bars are a delicious, easy alternative to traditional pumpkin pie, perfect for when you want the comforting flavors of fall without the fuss of rolling out pie dough.
These bars feature a rich, spiced pumpkin pie filling on top of a quick and simple crust made from a 2-ingredient cake mix. They’re an ideal dessert for any gathering, offering all the flavor of a classic pie in a portable, crowd-friendly format.
As the creator of a top-rated pumpkin muffin recipe and someone with extensive experience in developing foolproof baked goods, I’ve put the same care and expertise into perfecting these pumpkin pie bars. My version stands out because it’s not only easy to make—requiring just 8 ingredients—but also achieves the perfect balance of flavors and textures.
The cake mix crust is light and buttery, providing a subtle sweetness that complements the creamy, spiced pumpkin filling. Every detail has been tested and refined to ensure that these bars come out perfectly every time.
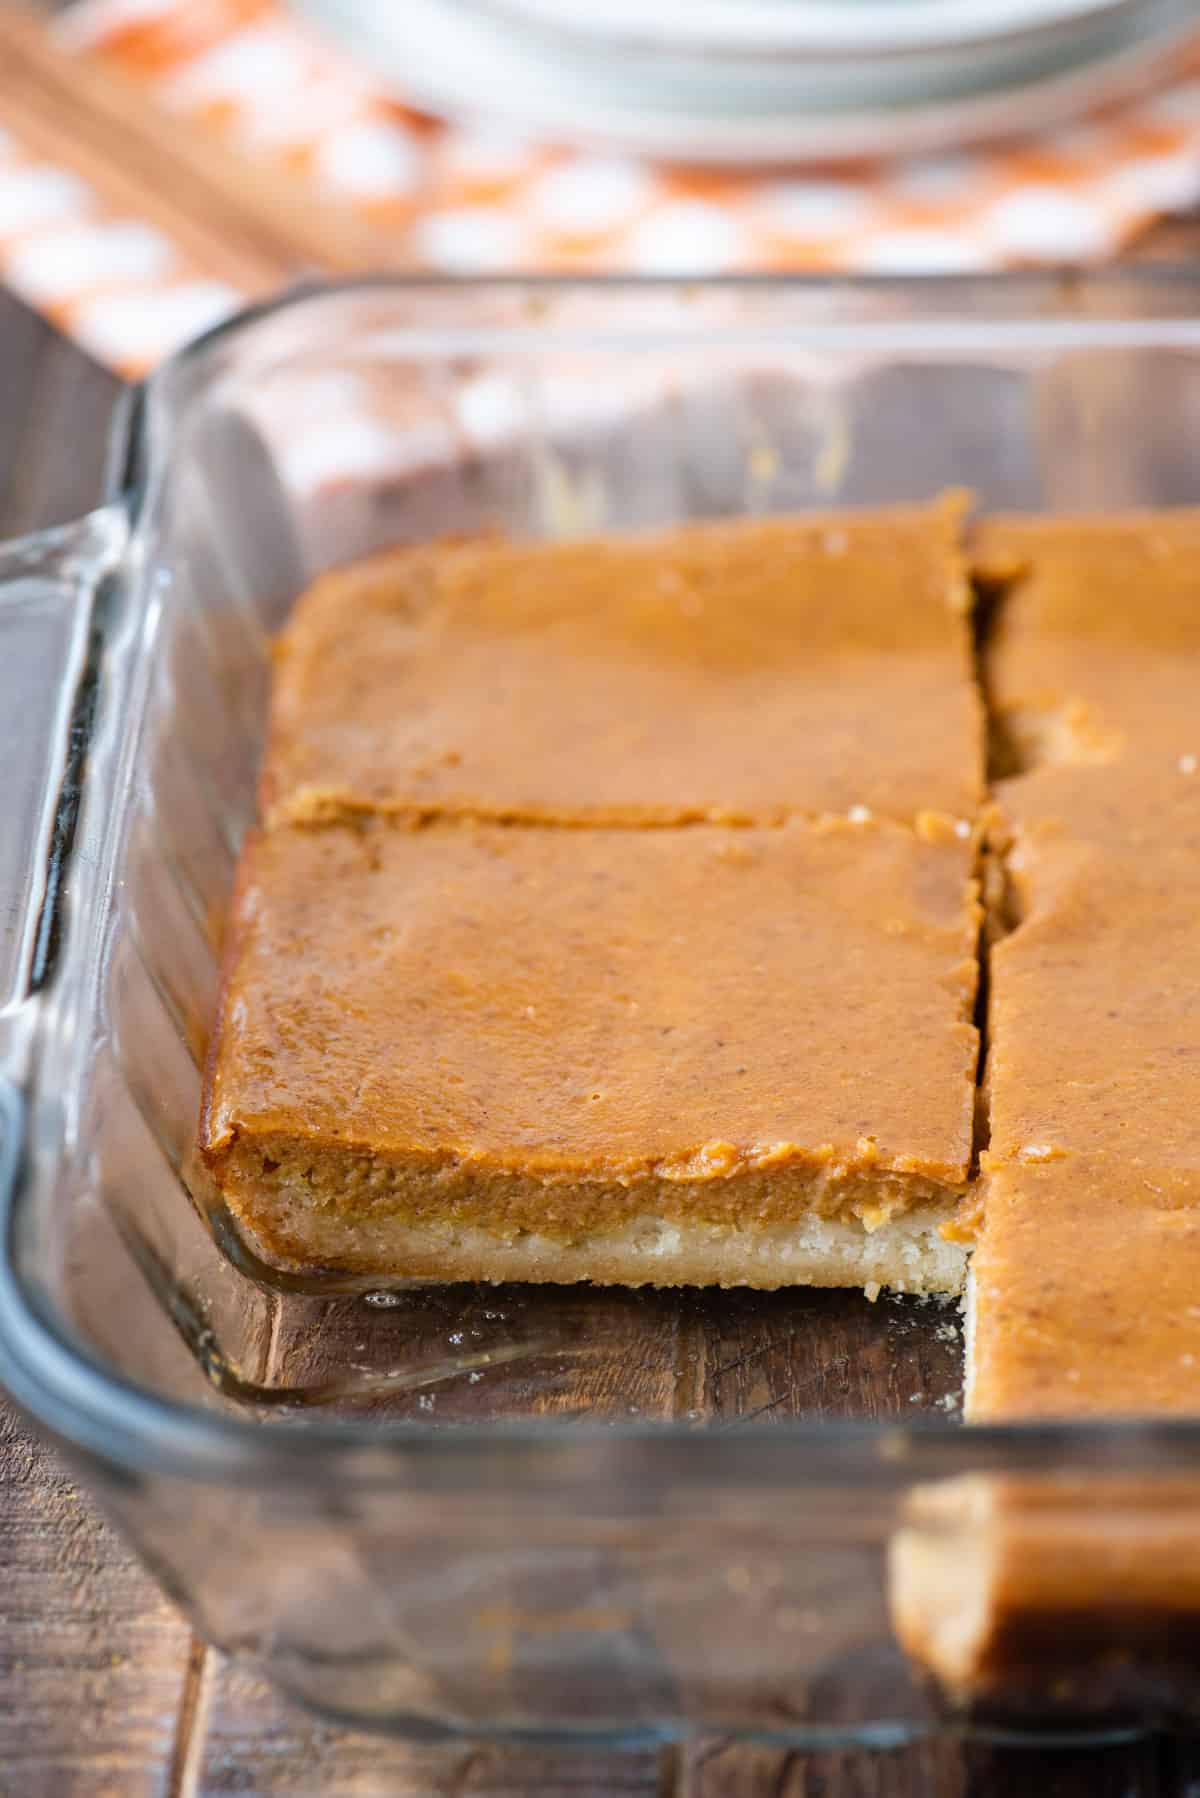
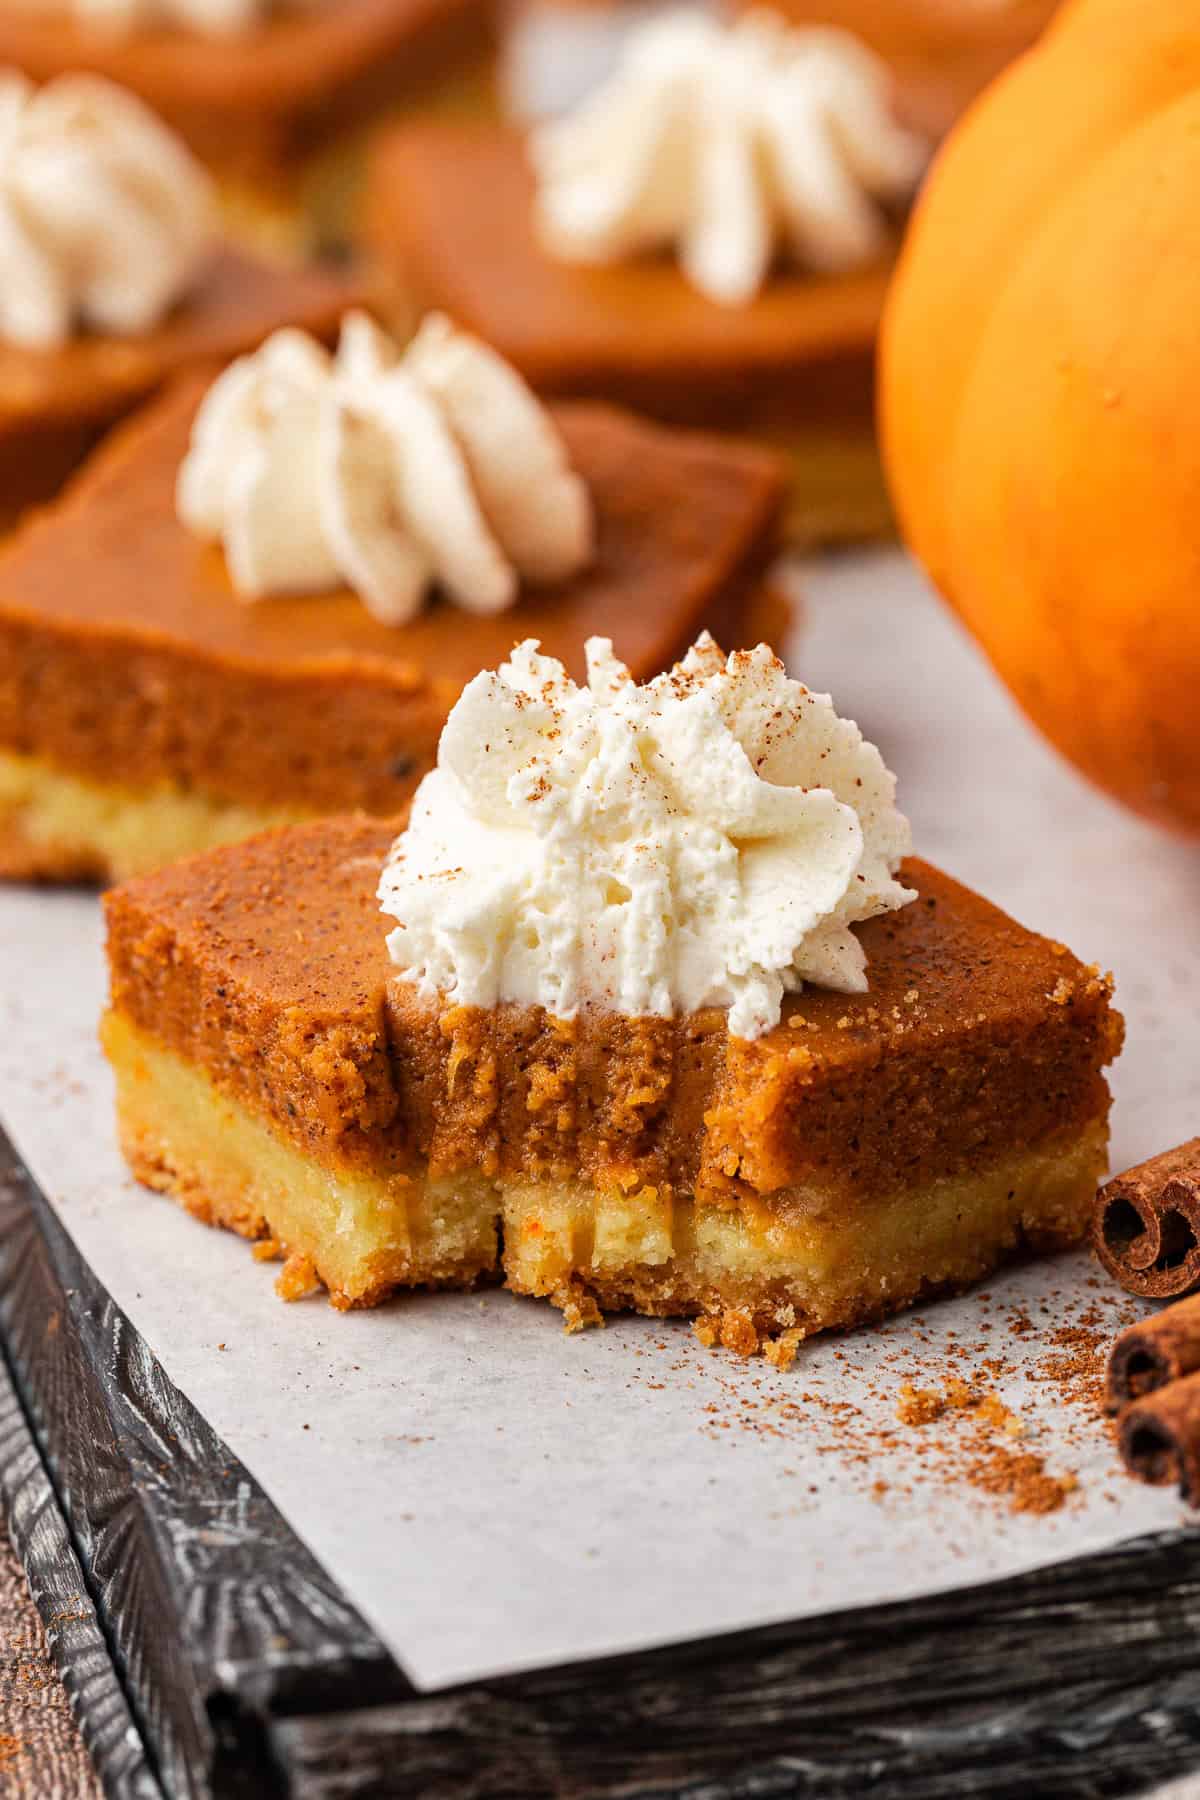
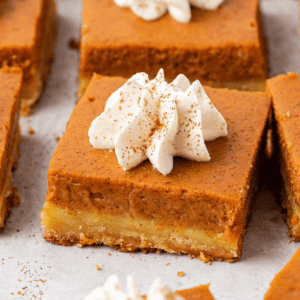
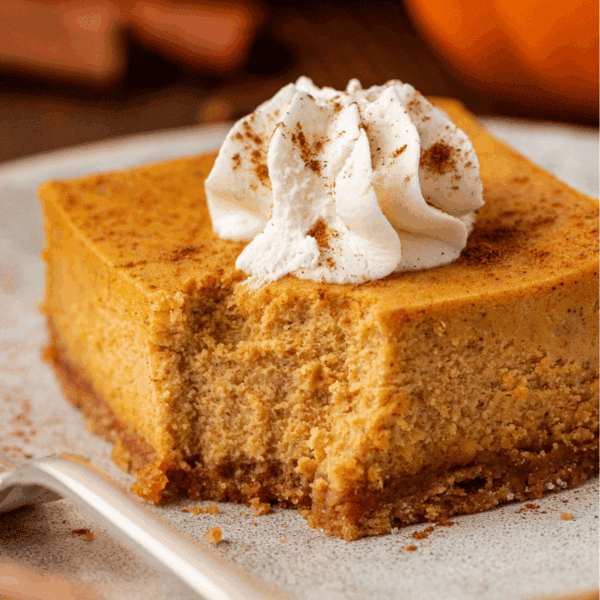
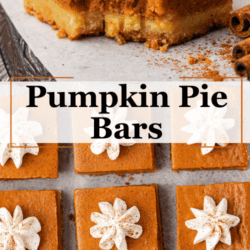
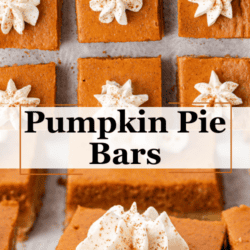
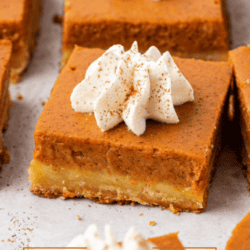
When baked in a 9×13-inch pan, the result is a tray of perfect pumpkin pie bars with a smooth, rich filling and subtle notes of yellow cake mix in the crust. The combination of textures—a firm, slightly chewy bottom with a creamy pumpkin layer on top—makes these bars irresistible.
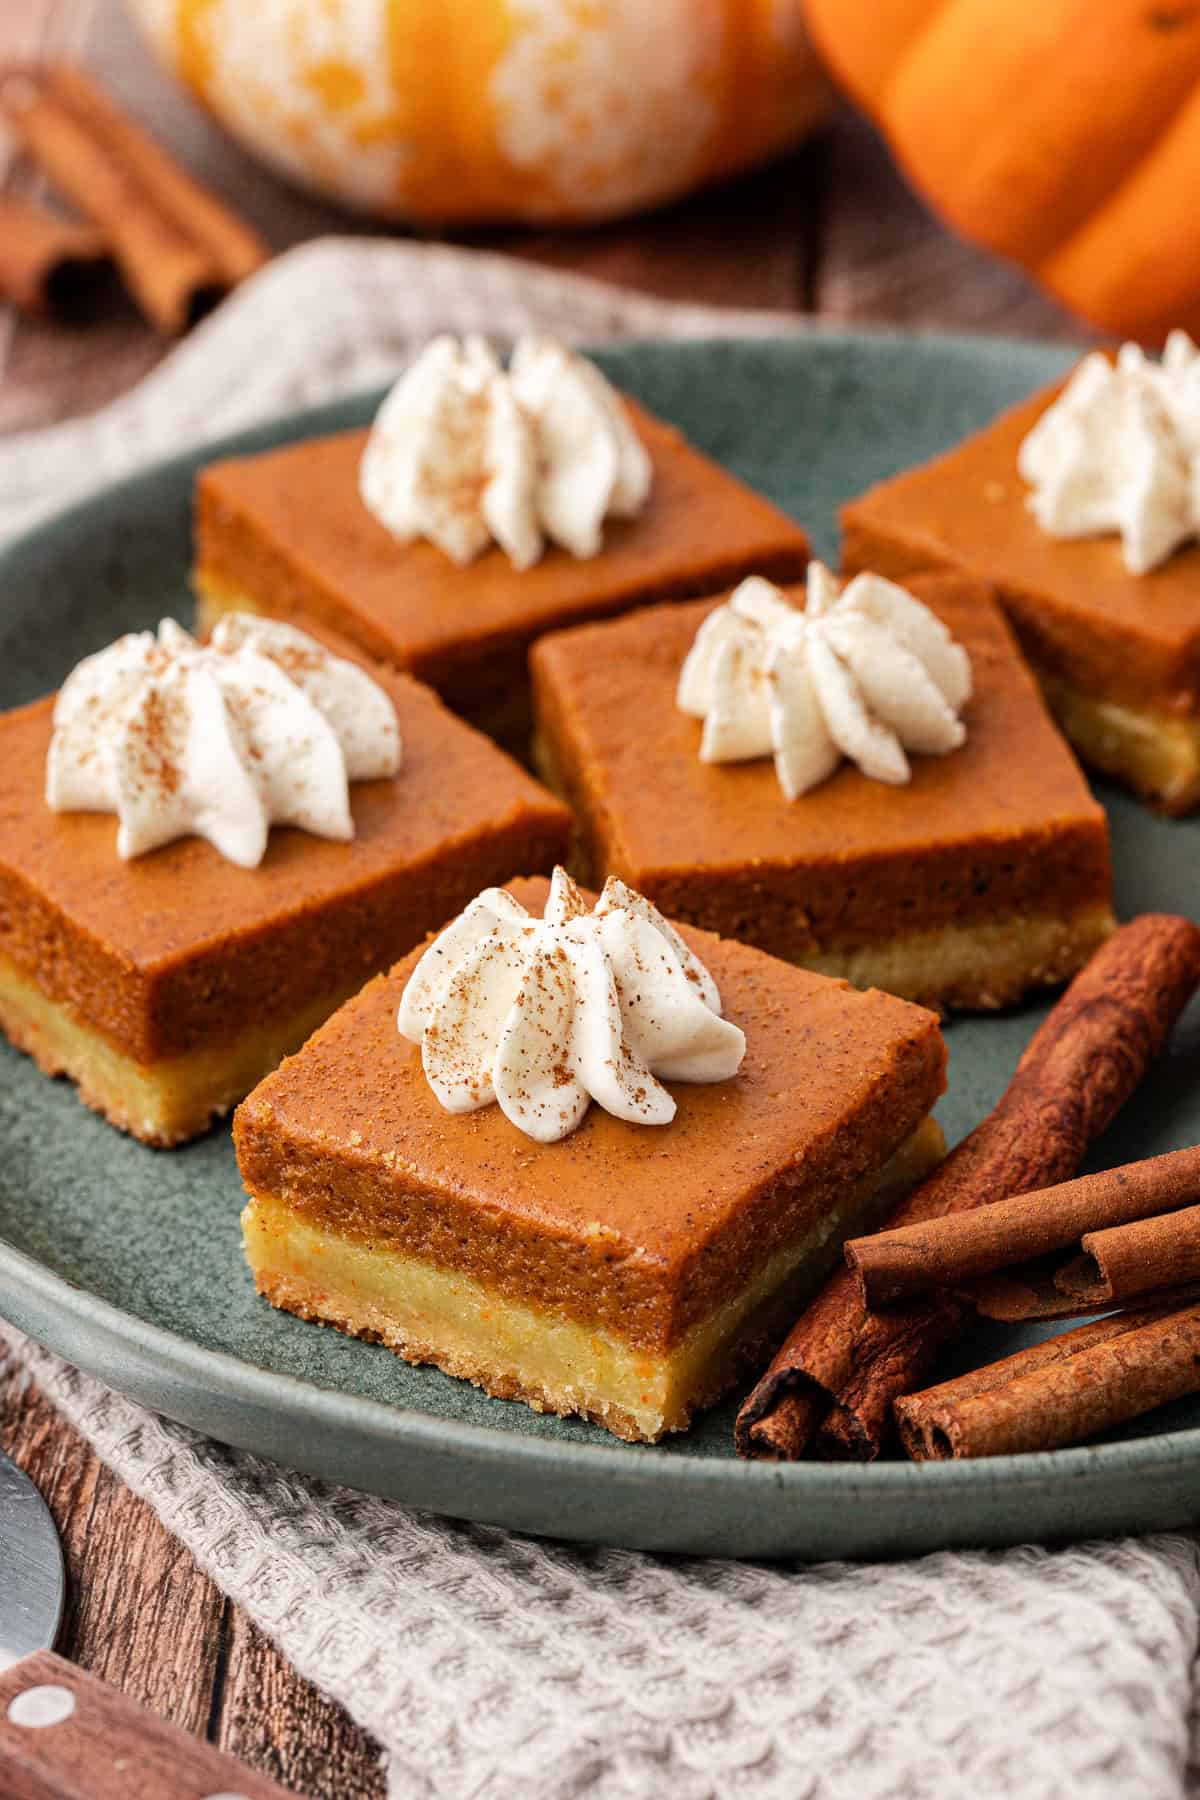
To give them that classic pumpkin pie look, I top each slice with a dollop of cool whip, adding a light, airy contrast to the rich flavors. As a baker with years of experience crafting trusted, well-loved recipes, I’ve fine-tuned every detail of this recipe to ensure it’s easy to make yet delivers bakery-quality results. These bars are not only convenient but also a crowd-pleasing dessert that’s guaranteed to impress.
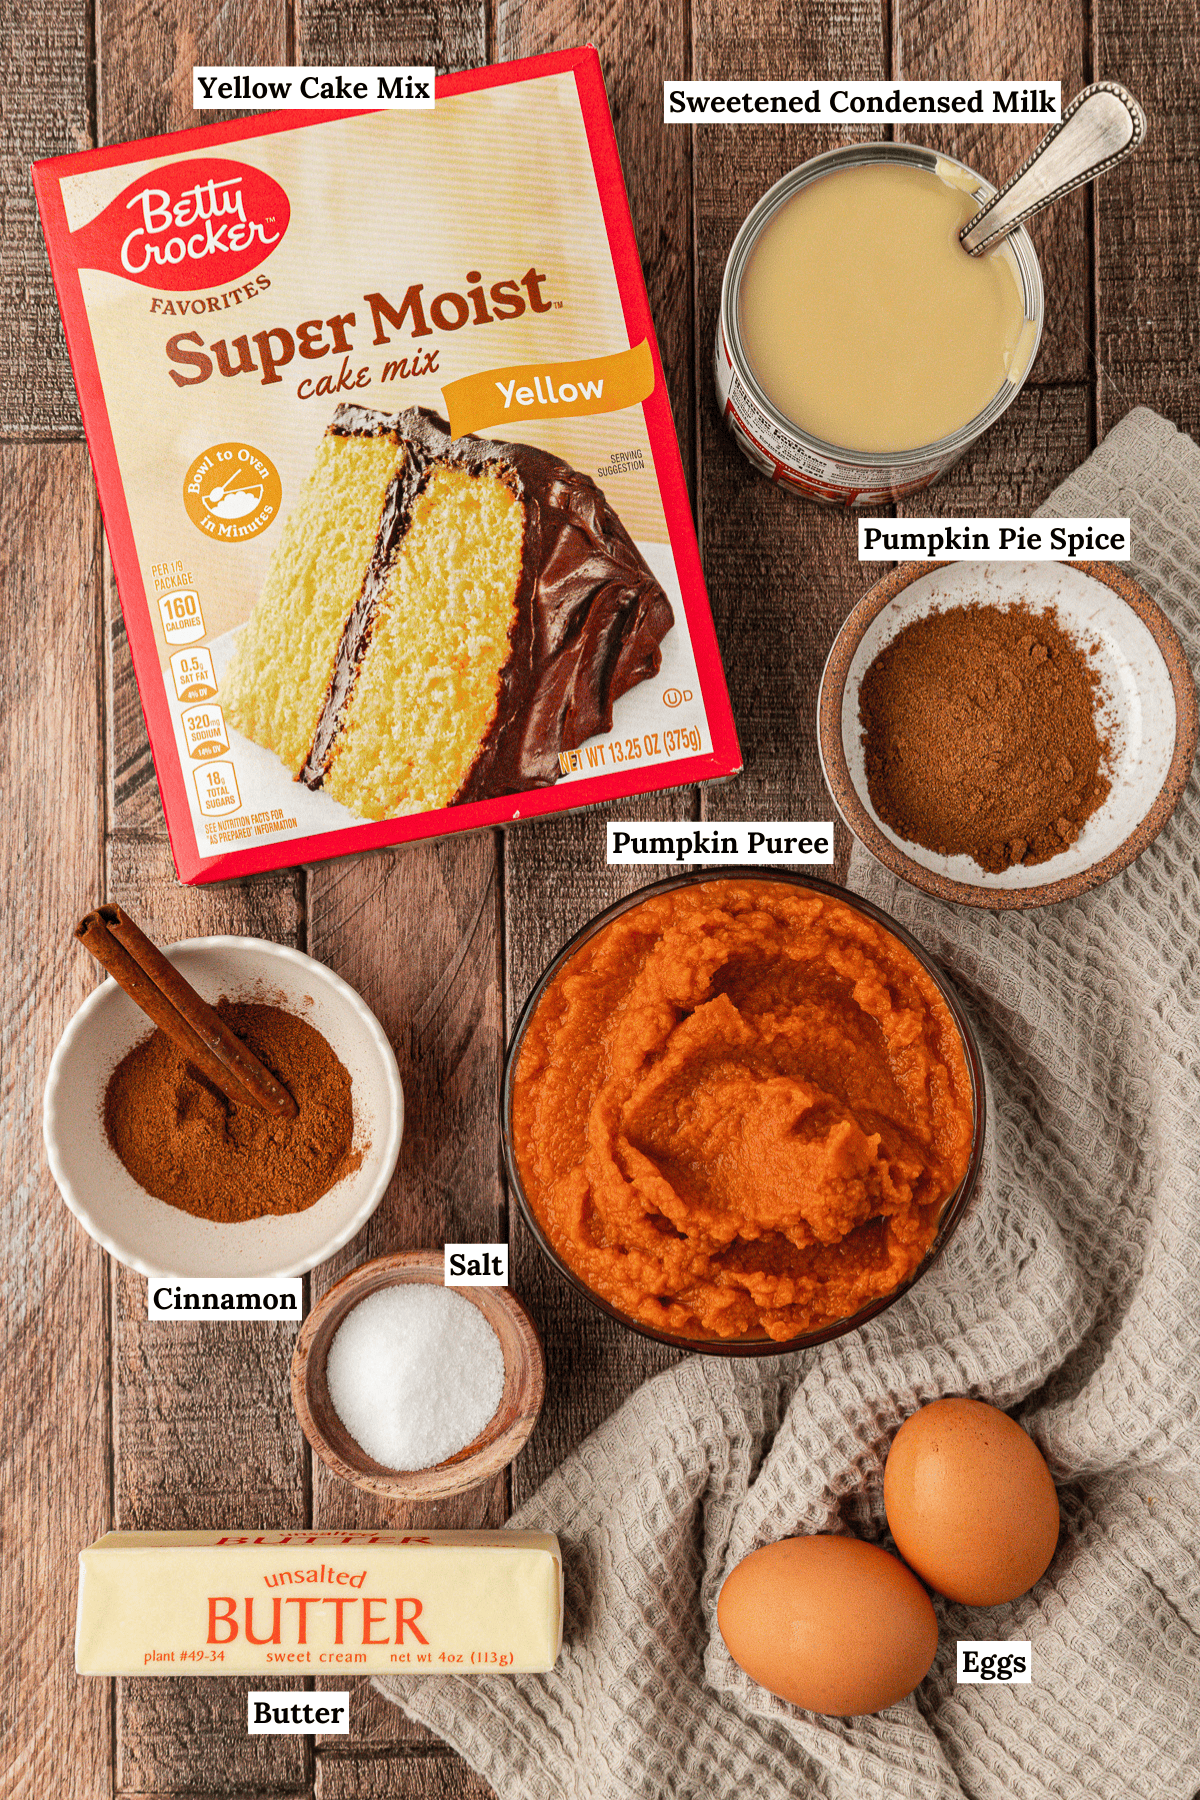
Pumpkin Pie Bar Ingredients
- 15.25 oz box yellow cake mix
- 1/2 cup unsalted butter, melted
- 15 oz canned pumpkin puree
- 2 large eggs
- 14 oz can sweetened condensed milk
- 1 tsp cinnamon
- ½ tsp salt
- 2 tsp pumpkin pie spice
How to Make Pumpkin Pie Bars
- Preheat the oven to 350º F. Spray a 9×13 inch pan with cooking spray.
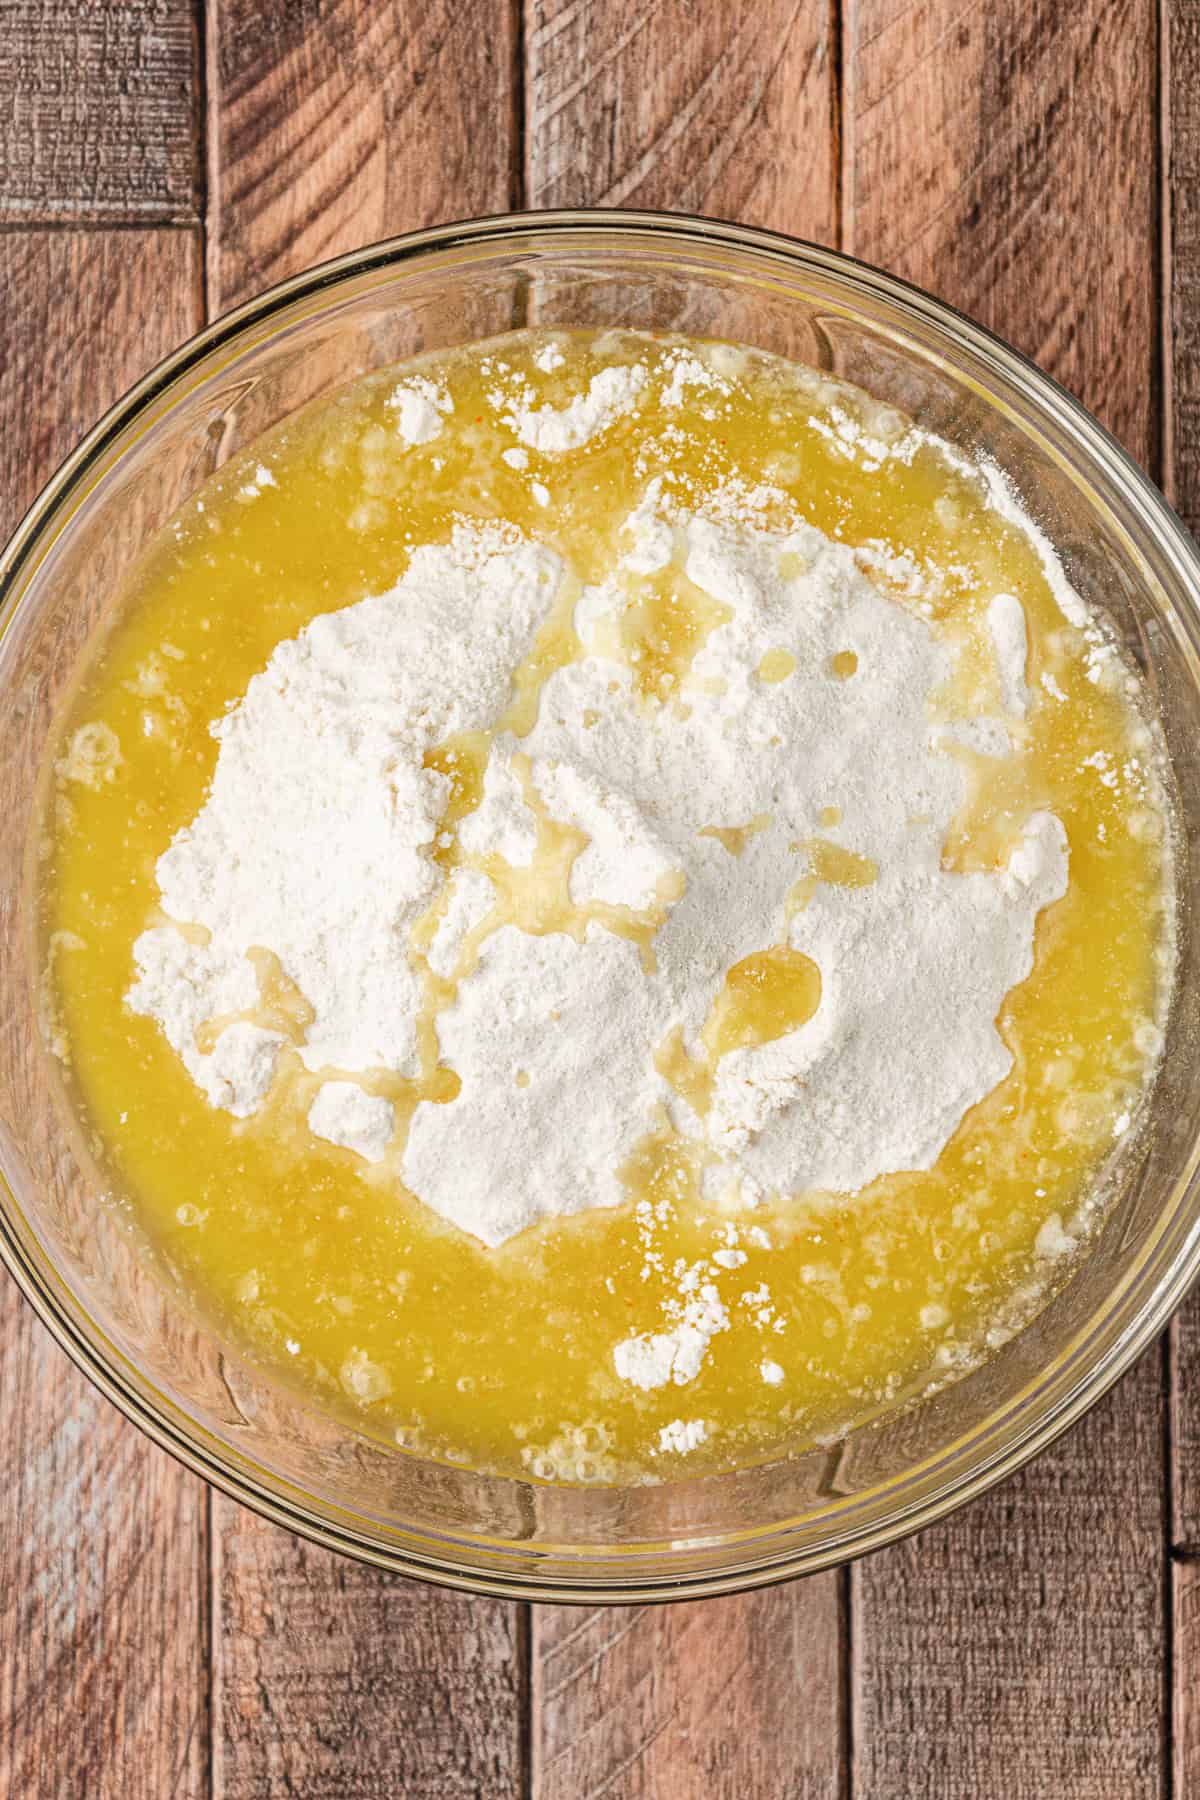
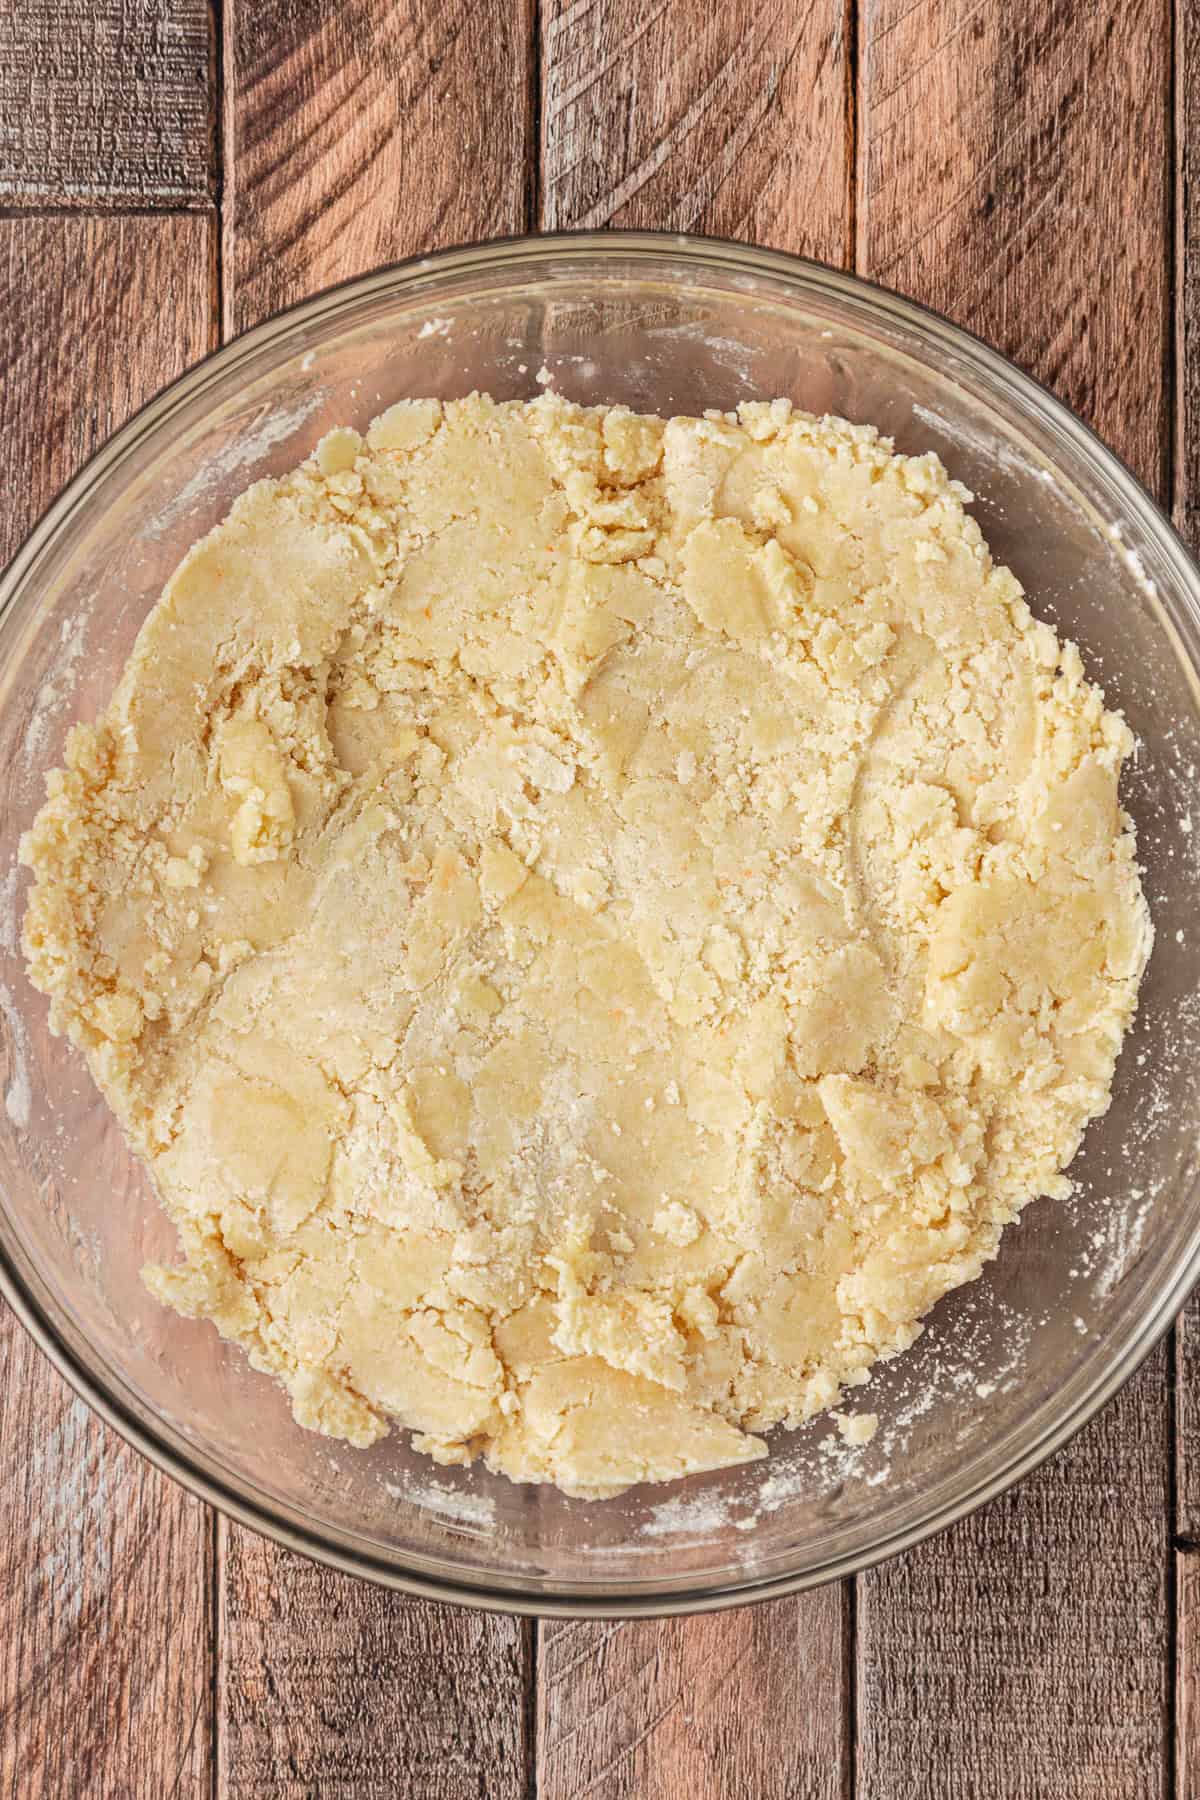
- In a mixing bowl, combine the yellow cake mix and melted butter until a thick ball of dough forms. Press the dough evenly into the 9×13 inch pan.
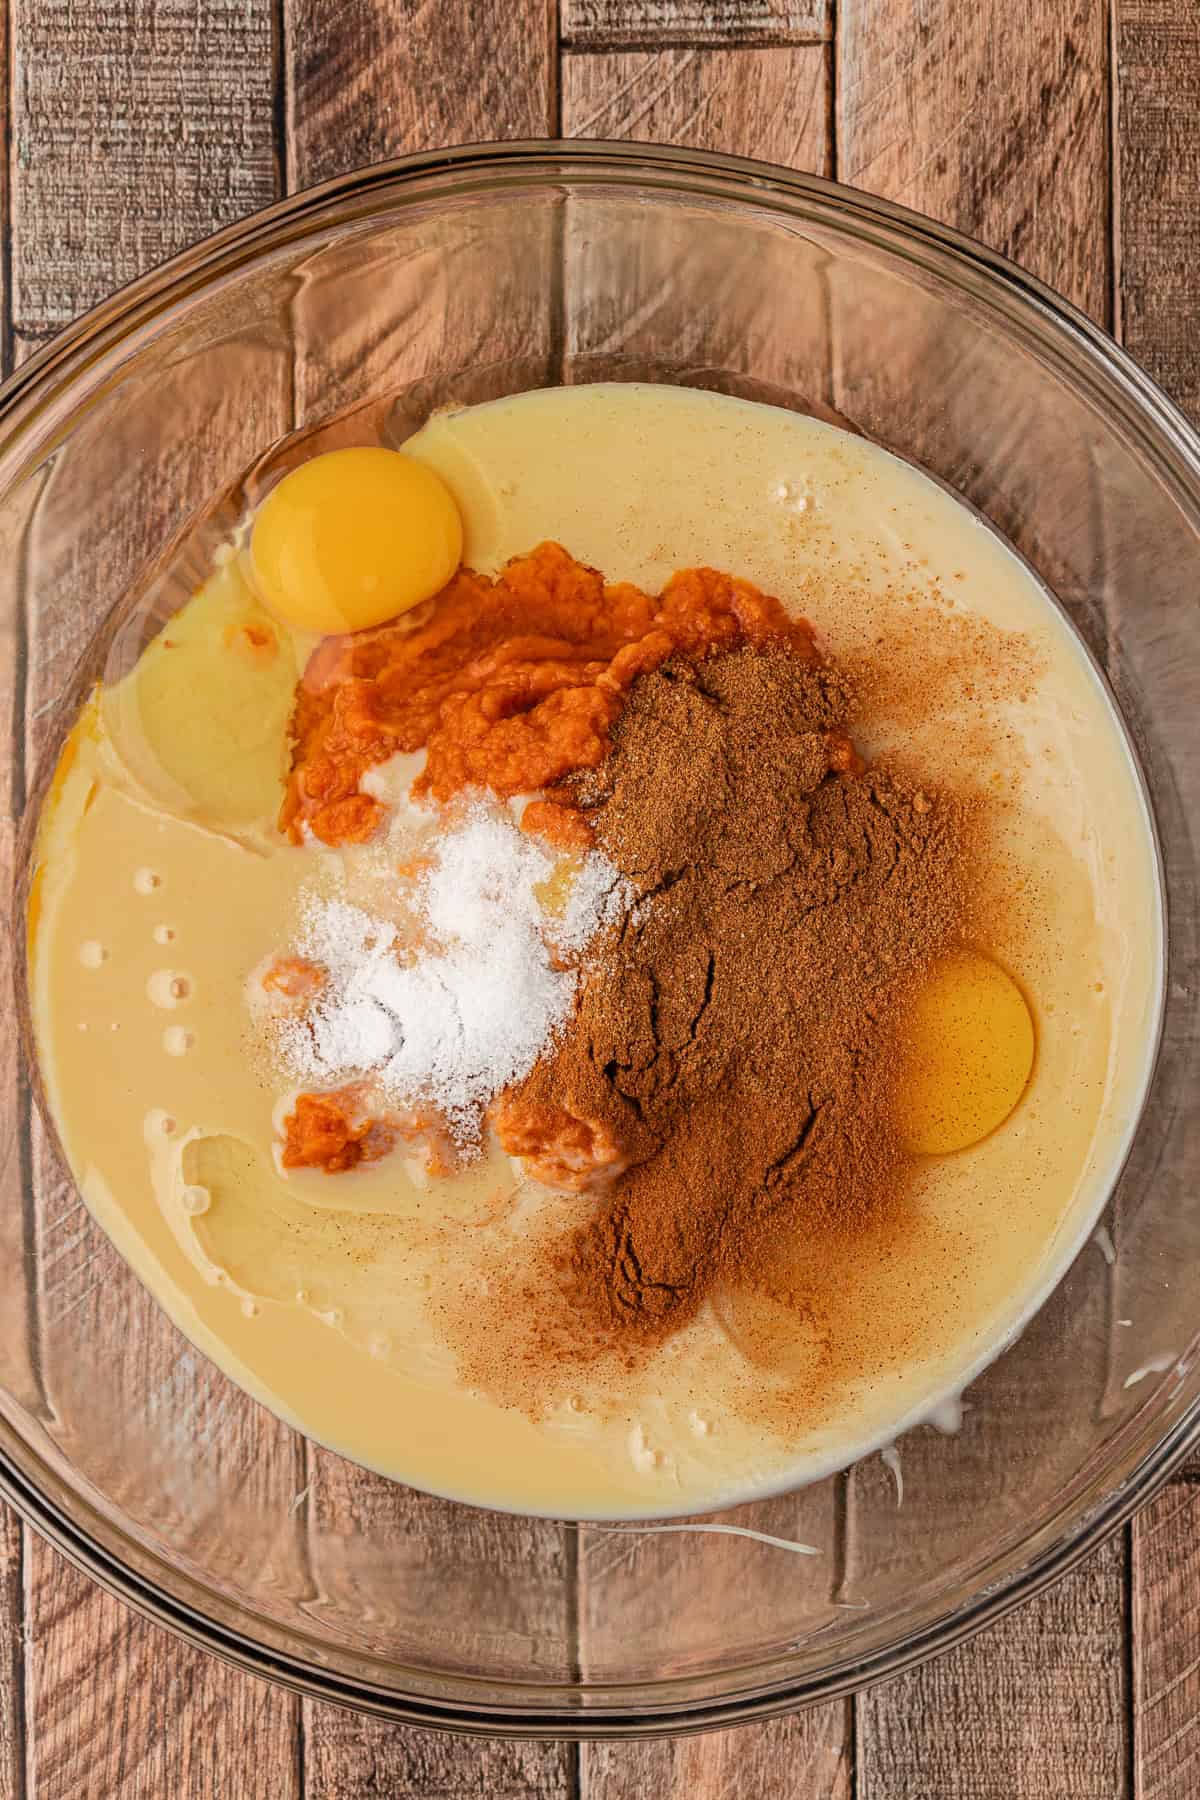
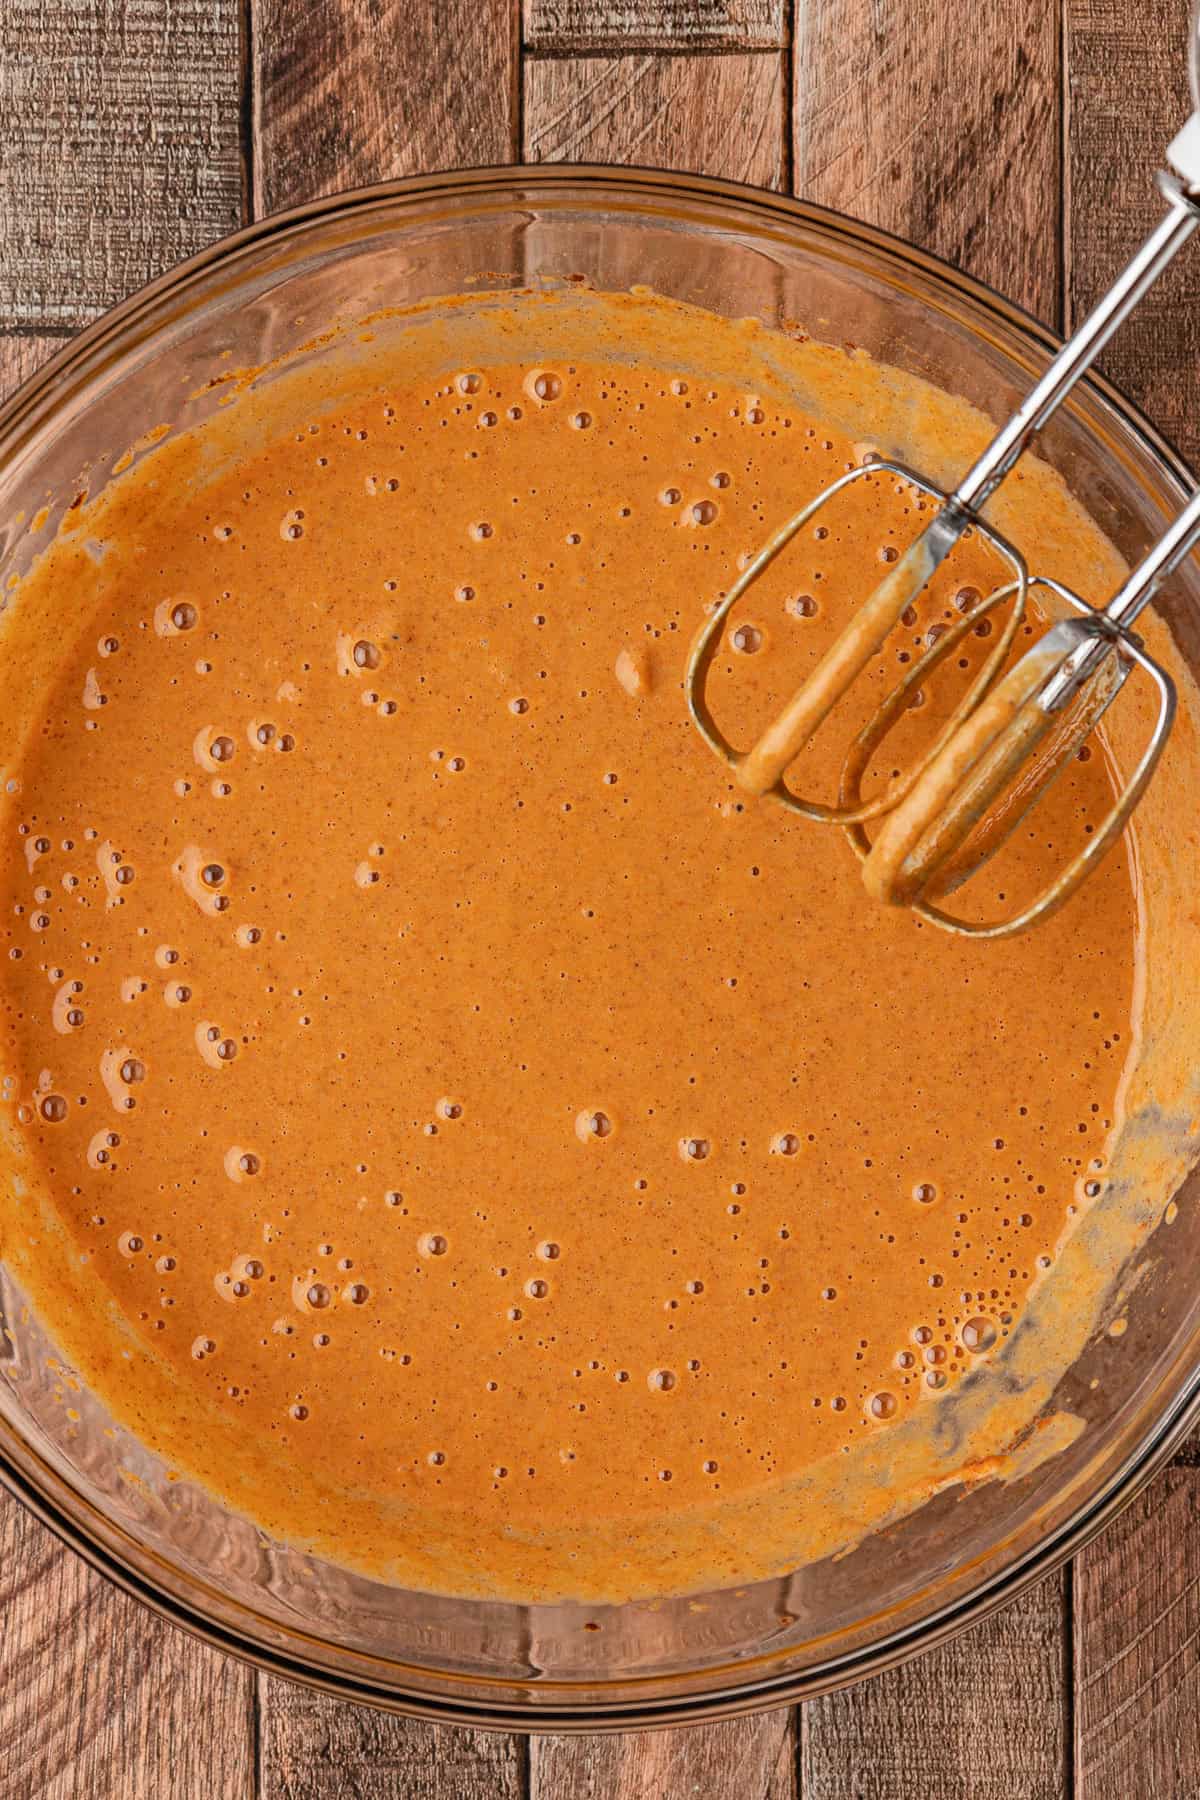
- In another mixing bowl, combine the can of pumpkin, eggs, sweetened condensed milk, cinnamon, salt, and pumpkin pie spice and beat with an electric mixer for 2 minutes or until the mixture is combined and smooth.
- Pour the filling on top of the crust.
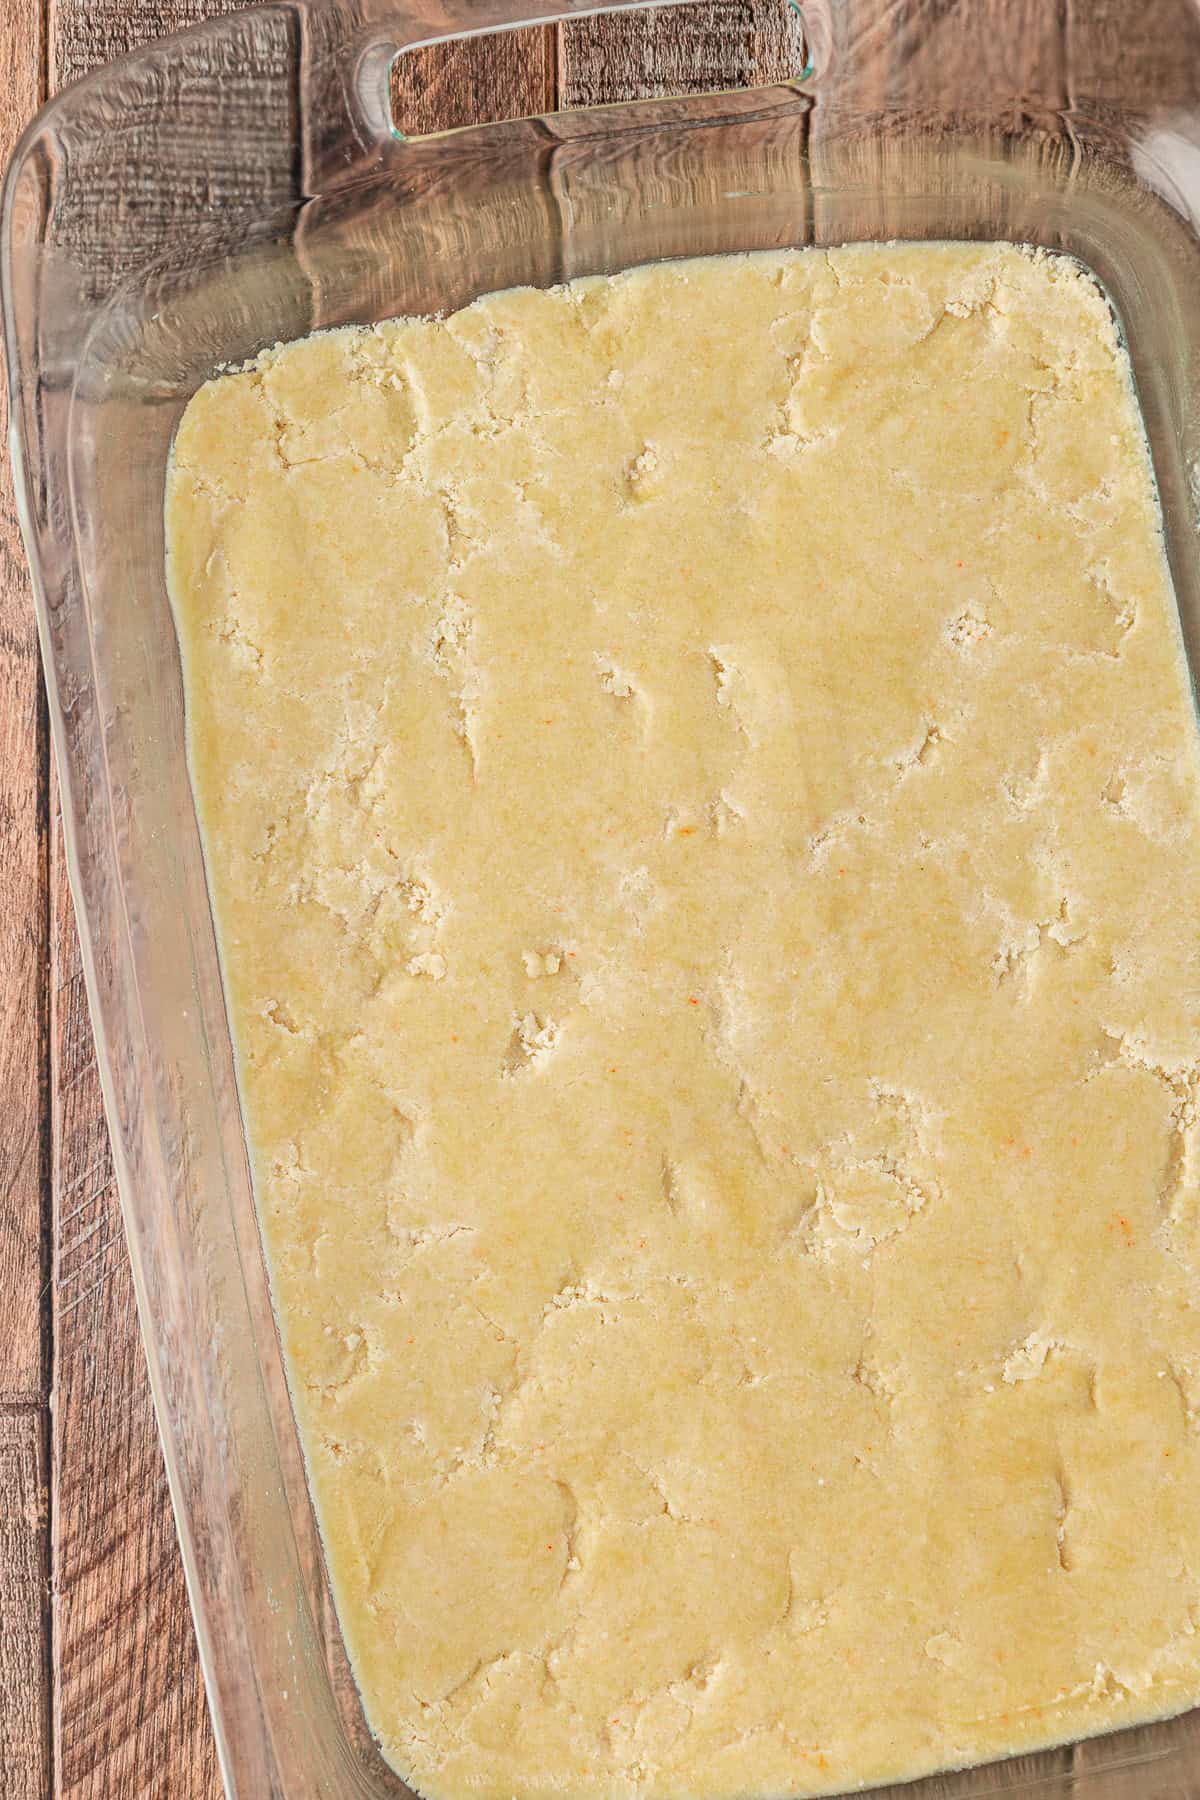
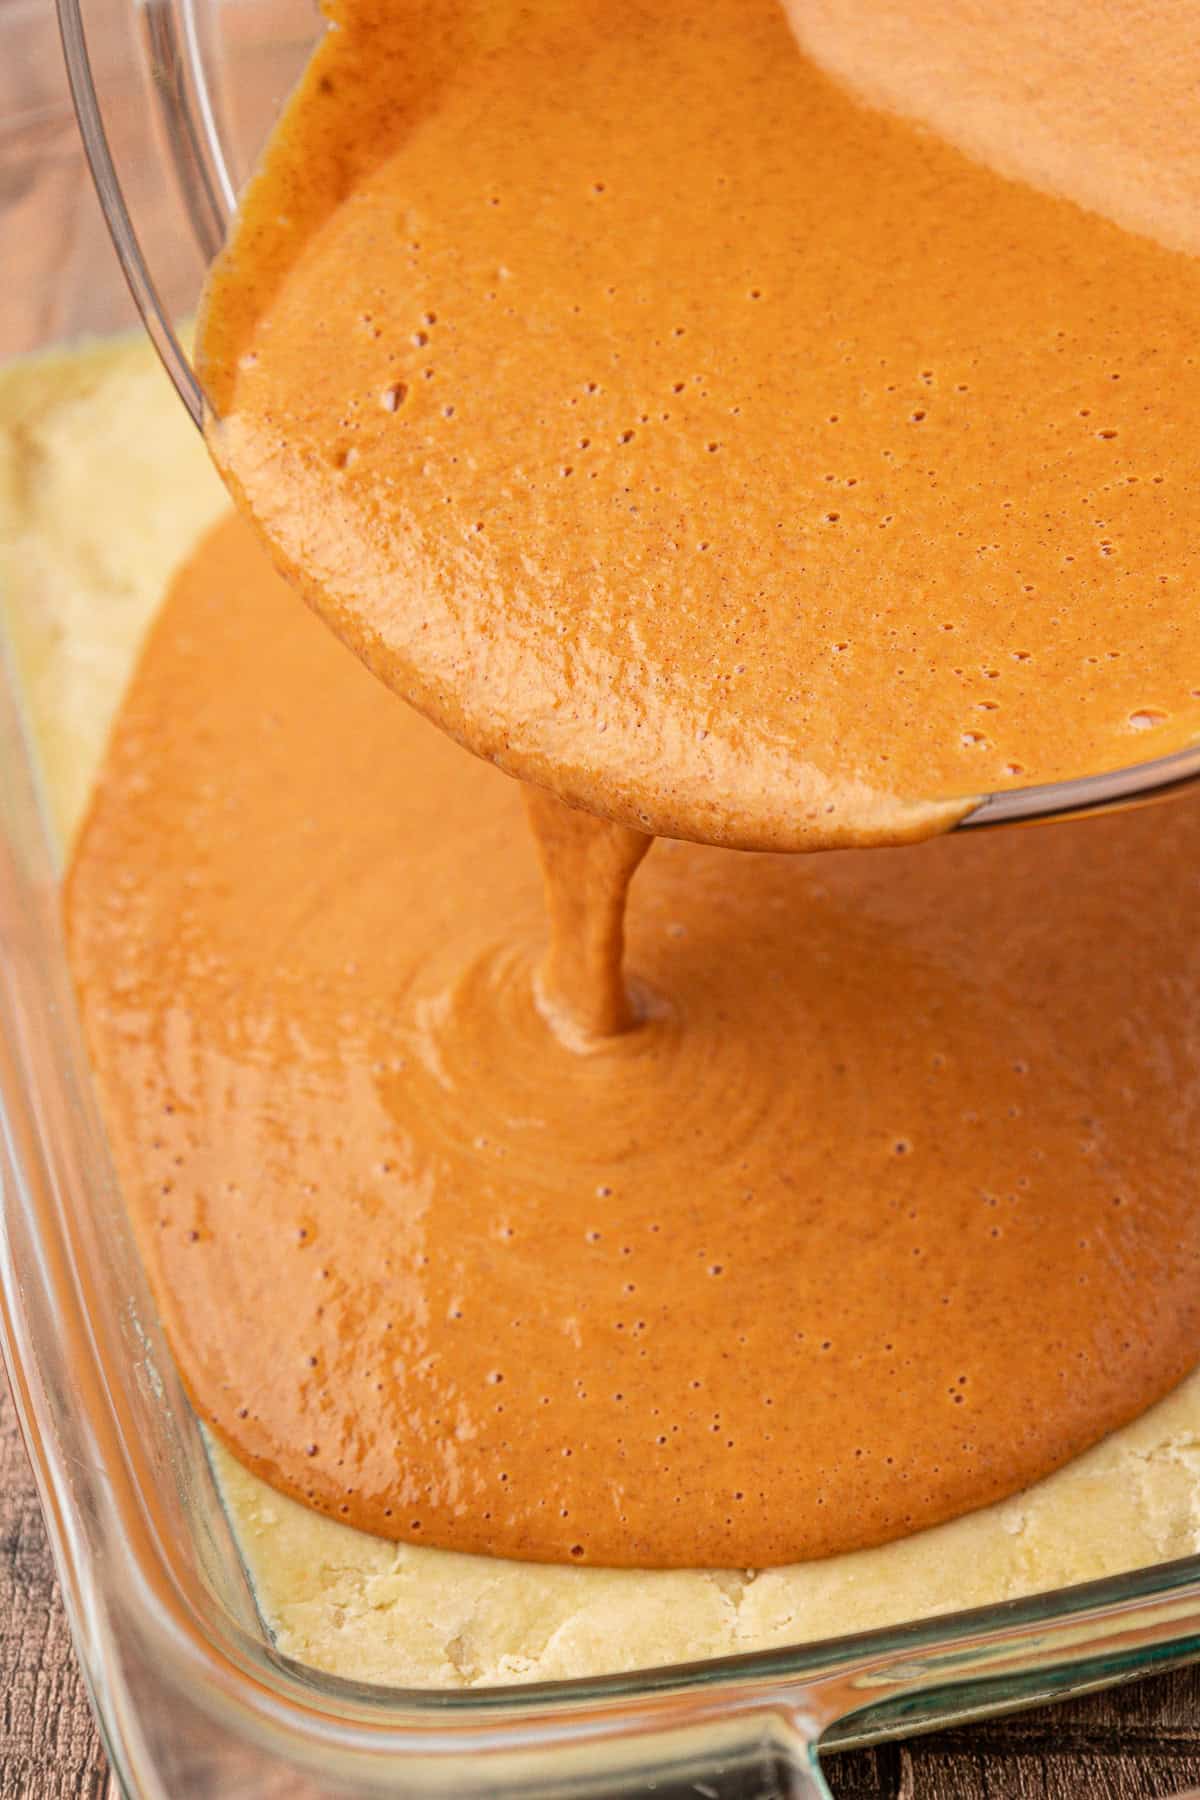
- Bake for 35-45 minutes or until a toothpick inserted in the center comes out clean. Allow the bars to cool before cutting.
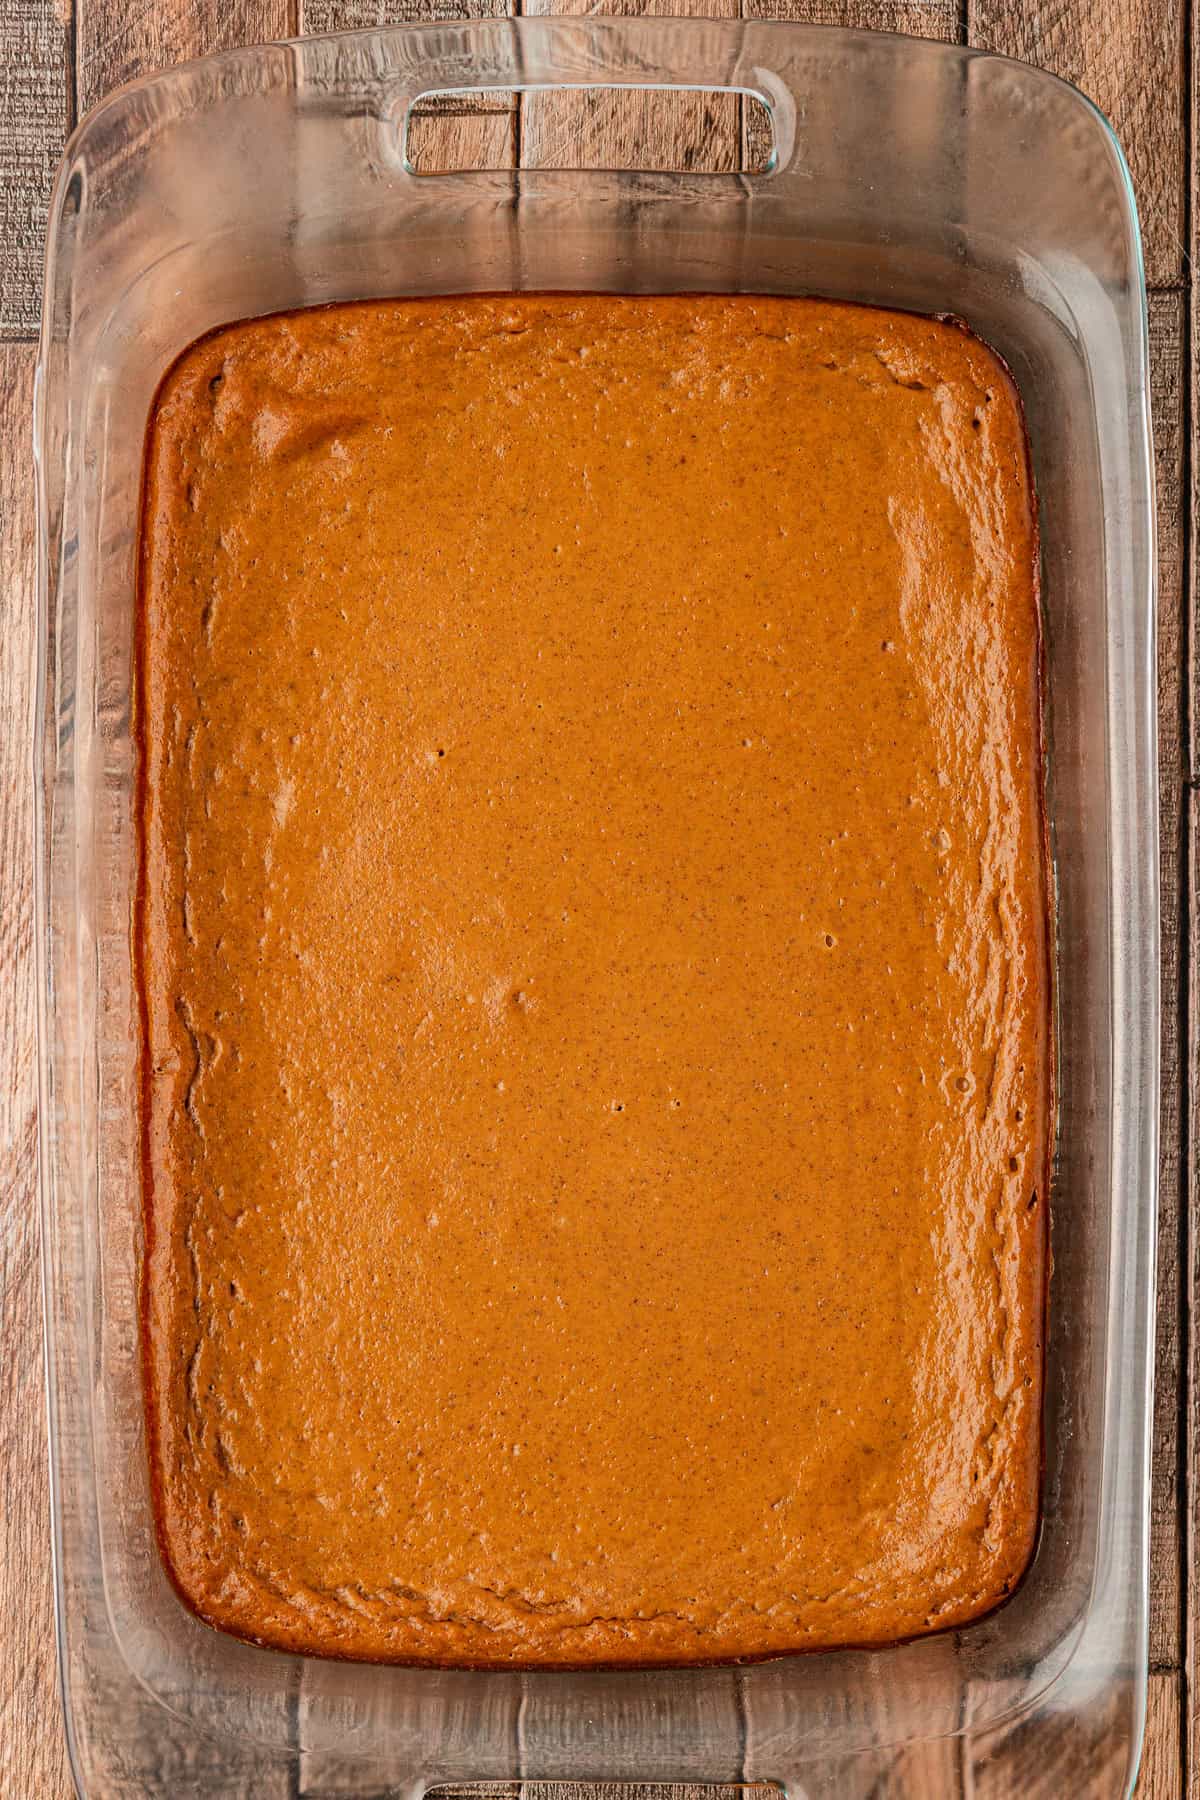
Time required
- 10 minutes to prep the batter
- 35-45 minutes to bake
- allow the bars to cool before cutting
Gluten free Pumpkin Bars
Use a box of gluten free yellow cake mix to make this recipe gluten free!
Do pumpkin bars need to be refrigerated?
Yes. Similar to pumpkin pie, the bars can sit out after baking to cool. If you’re serving the bars the same day you baked them, they can sit out until serving. Store leftovers in the fridge.
If you’re making the bars in advance, be sure to refrigerate them until serving. If you prefer them room temperature before serving, remove them at least 30 minutes in advance.
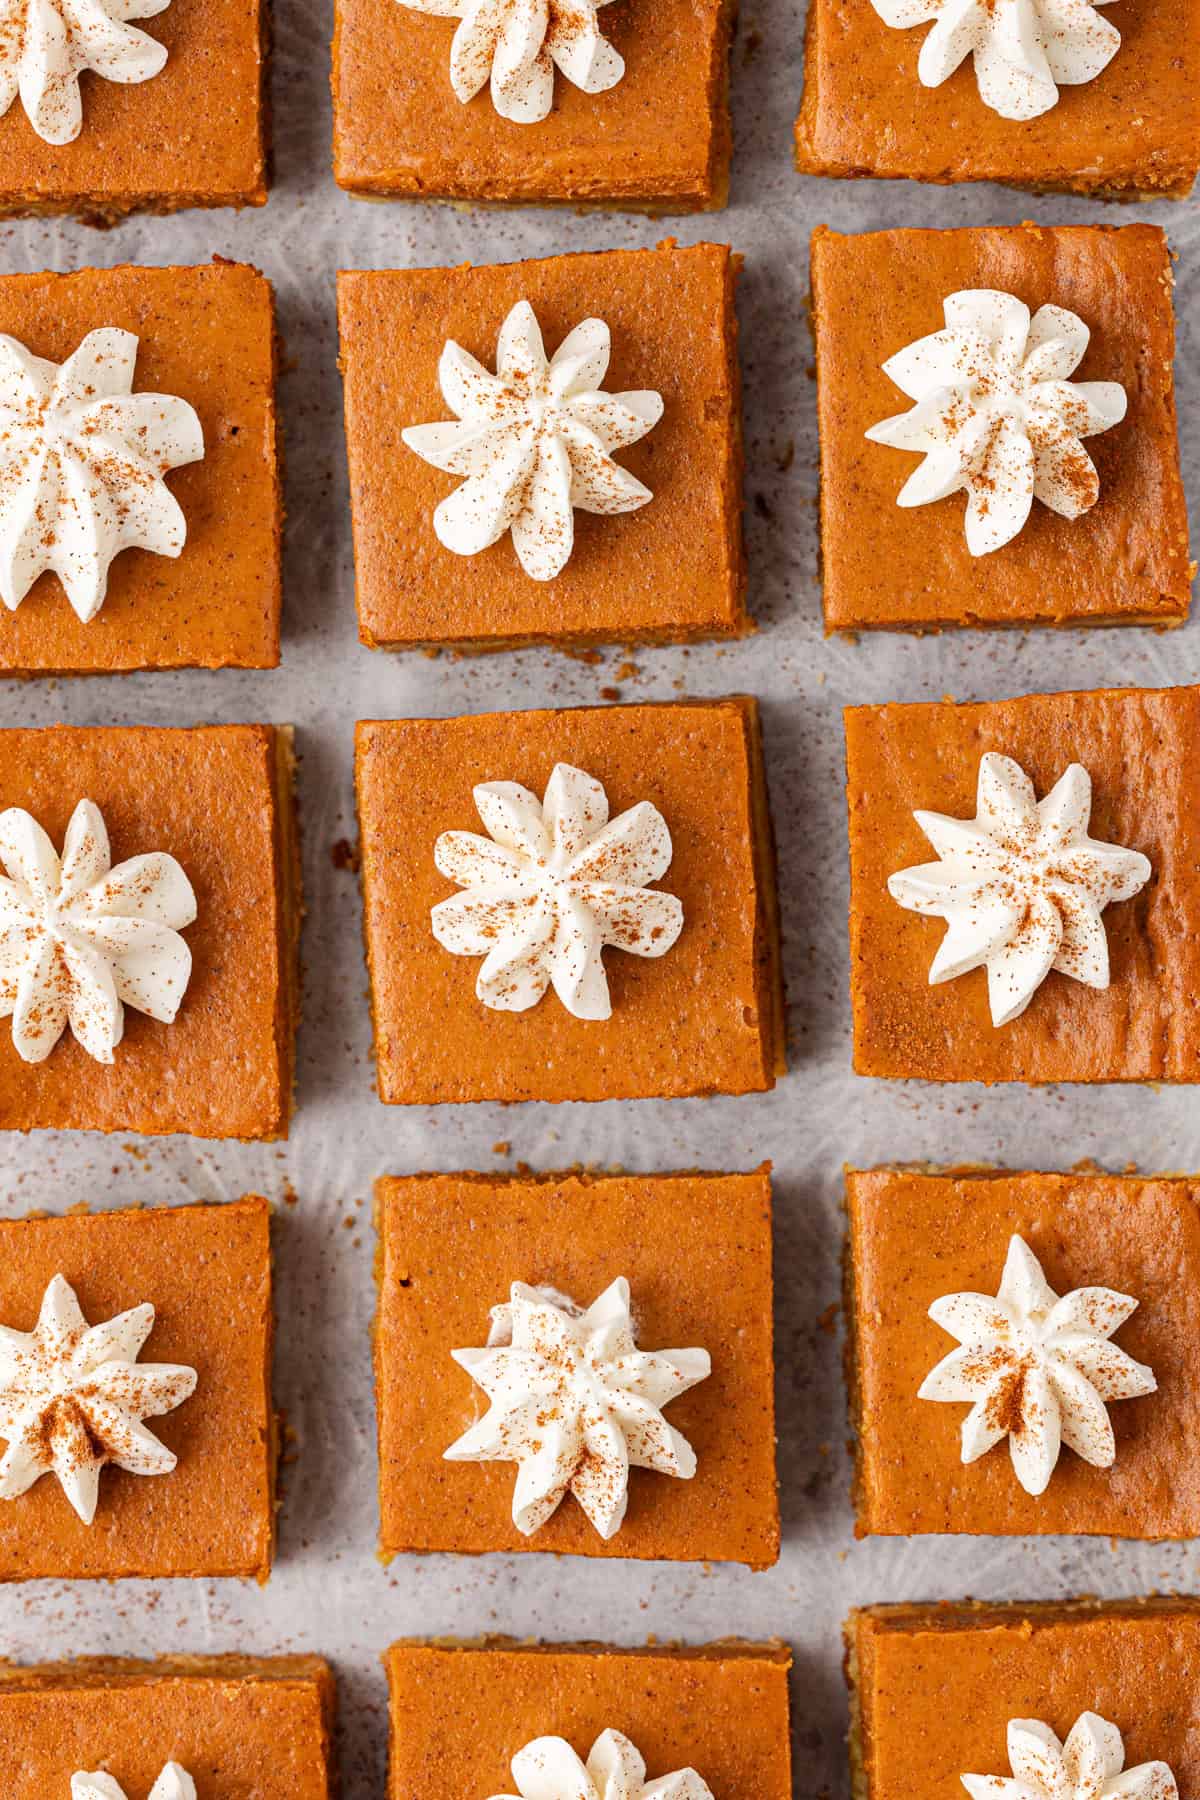
Cut them into big or small bars
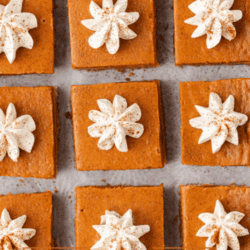
I love that you can cut these bars into whatever size you want, making them more bite sized or cutting them into ginormous slices like I do sometimes!
Now I know there are some people who are very loyal to their traditions, and having pumpkin pie on thanksgiving is a big tradition, but if you’re brave enough to mix it up, or even to serve these easy pumpkin pie bars along side of a classic pumpkin pie – I bet you most people will want to try BOTH!
Can I use pumpkin pie filling instead of pumpkin puree?
No. Canned pumpkin pie filling contains added sugar and spices. This recipe has only been tested with 100% canned pumpkin puree.
How to freeze pumpkin pie bars
If you’re planning on freezing the entire pan of bars, I recommend putting parchment paper in the bottom of the 9×13 inch pan so you can easily lift the bars out of the baking pan. Allow the bars to cool completely.
Wrap well in 2 layers of plastic wrap. Label and date. Place in the freezer on a flat surface.
To thaw: place the bars, still wrapped in plastic, in the fridge until thawed, about 6-12 hours.
More Pumpkin Desserts
- Pumpkin Cheesecake
- Easy Pumpkin Swirl Cake
- Pumpkin Graham Crackers
- Easy Pumpkin Cake from Box Mix
- Mini Pumpkin Pie Rice Krispies
Tap stars to rate!
Easy Pumpkin Pie Bars
Ingredients
Crust
- 15.25 oz yellow cake mix
- ½ cup (113g) unsalted butter, melted, 1 stick
Filling
- 15 oz (425g) can pumpkin puree
- 2 large eggs
- 14 oz can sweetened condensed milk
- 1 tsp cinnamon
- ½ tsp salt
- 2 tsp pumpkin pie spice
Video
Instructions
- Preheat the oven to 350º F. Spray a 9×13 inch pan with cooking spray.
- In a mixing bowl, combine the yellow cake mix and melted butter until a thick ball of dough forms. Press the dough evenly into the 9×13 inch pan.15.25 oz yellow cake mix, ½ cup (113g) unsalted butter
- In another mixing bowl, combine the can of pumpkin, eggs, sweetened condensed milk, cinnamon, salt, and pumpkin pie spice and beat with an electric mixer for 2 minutes or until the mixture is combined and smooth. Pour the filling on top of the crust.15 oz (425g) can pumpkin puree, 2 large eggs, 14 oz can sweetened condensed milk, 1 tsp cinnamon, 1/2 tsp salt, 2 tsp pumpkin pie spice
- Bake for 35-45 minutes or until a toothpick inserted in the center comes out clean. Allow the bars to cool before cutting.



Could you double this recipe and put it in a jelly roll pan?
I would think so!
I wish the crust would have had a from scratch option, not everyone uses box mixes.
Any replacement for the condensed milk?
Can I make this 4 days ahead and keep it in the refrigerator??
Hi Gilma! I personally feel like 4 days in advance is too much, I would do 1 day max.
I only have evaporated milk, would that work or could I go vegan and use Almond milk and vegan butter instead?
Evaporated milk is NOT the same, but you can Google how to make your own sweetened condensed milk. I don’t think it matters on the butter.
Thank you for the clarification!
I tried these because it looked so easy. WELL, AWFULL. The crust was hard as a rock and they were
thin squares. Definitely did not look like the picture. NO, I did not over bake them. So much for an internet
recipe.
Hi Cynthia, I’m sorry this recipe didn’t turn out for you. Every oven is different. These are thinner pie bars, they are not going to be as tall as a brownie for example.
Obviously you need some adjustments as these were great, looks just like the picture? Maybe you didn’t mix the crust well enough. Your oven could be different? I’m a baker and this is a great internet recipe: try again perhaps
Can these be frozen?
Hi Sheila! I don’t have any experience myself with freezing these bars.
These turned out beautiful! The color was just so pretty and the crust was perfect, I mean restaurant-style perfect. I made a batch and brought it to my office, everyone loved it. I am baking more tomorrow! Thanks
Aw, thank you so much for your kind comment, Pam! Love to hear that!
Made these for a fun evening with the girls and everyone couldn’t stop talking about how amazing they were!!
Will definitely make again!! Easy and definitely a keeper!!
For the butter, is it salted or unsalted butter?
I use unsalted butter!