This post may contain affiliate links. Please read our disclosure policy.
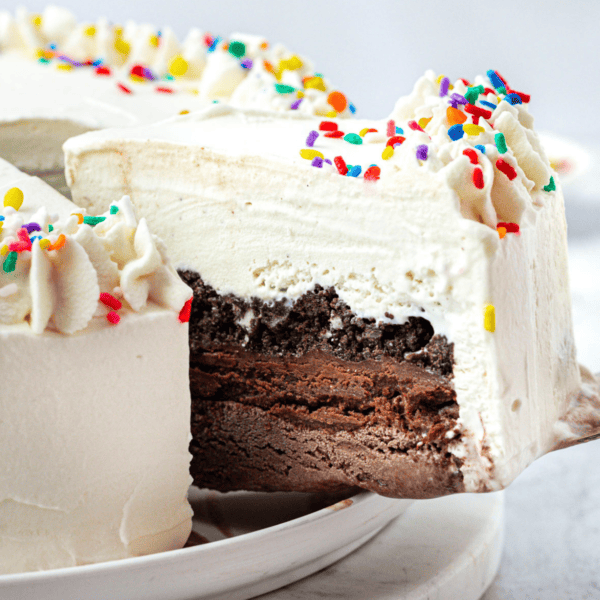
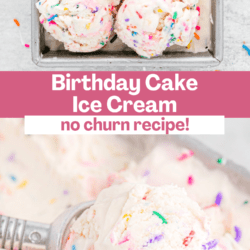
Did you know you can make homemade, no-churn birthday cake ice cream in a loaf pan? I feel like this is not only a recipe but the ultimate mom hack that I’ve mastered and cannot wait to share!

If you’ve made ice cream at home before, don’t stress! I’m your phone-a-friend who has made lots of ice cream at home over the years and now I’m sharing all my secret tips and tricks with you.
This homemade birthday cake ice cream is the perfect way to use leftover cupcakes from a party. When you use my easy-to-follow steps below with all my tried-and-true tips, your ice cream will have a smooth texture, loads of flavor and will wow any crowd!
If you have leftover cupcakes from a party, I’ve got the perfect way to use them up: make a batch of birthday cake ice cream!
Homemade birthday cake ice cream is so much better than store-bought because you can make it with real pieces of cake. Any flavor of cupcake works here, whether it’s a chocolate cupcake, vanilla cupcake, or even Oreo cupcakes! And unlike store-bought birthday cake ice cream, you can make the homemade version gluten-free by using gluten-free cupcakes.
Rather than hauling out your ice cream maker, this is a no-churn recipe made in a loaf or cake pan. Instead of making an egg-based custard, you’ll make whipped cream, which allows you to get a smooth, fluffy texture without churning or returning to the freezer to stir the ice cream every 30 minutes.
This birthday cake ice cream is always a hit at parties, but it’s also the kind of recipe that’s easy to make anytime you have a craving—and some leftover cupcakes.
If you love making your own ice cream, try my Cookie Monster Ice Cream and Oreo Ice Cream too!

Birthday Cake Ice Cream Ingredients
Scroll down to the recipe card below this post for ingredient quantities and full instructions.
- Heavy whipping cream – You can’t substitute half-and-half or whole milk; you need heavy cream for the recipe to work.
- Vanilla extract
- Sweetened condensed milk
- Frosted cupcakes – Store-bought or homemade are both fine.
- Rainbow jimmies
Is Evaporated Milk the Same as Condensed Milk?
No, evaporated milk and condensed milk are not the same. Condensed milk is sweetened, while evaporated milk is unsweetened. Since there’s no other sweetener added to this recipe, you need to use condensed milk.
How to Make Birthday Cake Ice Cream
If you’re making this birthday cake ice cream for a party, be sure to allow enough time for it to freeze solid. Six hours is the bare minimum, but overnight is even better!
Flash-freeze the cupcakes. Cut the cupcakes into pieces and freeze them on a baking sheet lined with a silicone mat.
Whip the heavy cream. In a stand mixer or with a handheld mixer, beat the heavy whipping cream and vanilla extract until it forms stiff peaks.

Add the remaining ingredients. Beat in the sweetened condensed milk on low, then gently fold in the cupcake pieces and rainbow jimmies, reserving some for topping.

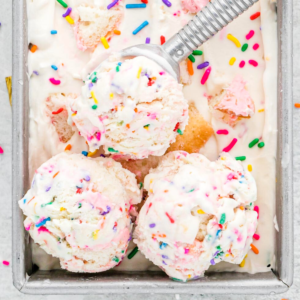
Freeze the ice cream. Transfer the ice cream to a loaf pan, 8 inch cake pan, or similar container. Scatter the additional cupcake pieces and rainbow jimmies over the top. Cover the pan with plastic wrap or a lid and freeze for at least 6 hours, or overnight.

Tips for Making this Birthday Cake Ice Cream Recipe
Here are some of my best tips for perfect homemade birthday cake ice cream:
- Freeze the cupcakes first. This keeps the cake from crumbling when you mix it into the ice cream, giving you big pieces of cupcake instead of crumbs. While this is optional, I strongly recommend it!
- Whip until stiff peaks form. When you lift the beaters, the peaks should stand straight up, without curling.
- Fold, don’t stir. Vigorously stirring in the bits of cupcake and sprinkles will deflate the whipped cream and result in a less fluffy texture.
Homemade Birthday Cake Ice Cream Recipe Variations/Substitutions
If you want to go beyond the classic birthday cake ice cream flavor, try..
Chocolate Birthday Cake Ice Cream:
- Follow the steps for classic birthday cake ice cream but substitute chocolate cupcakes for the vanilla or funfetti ones.
- You can also mix in chocolate chips or chocolate chunks for extra chocolatey goodness.
Red Velvet Birthday Cake Ice Cream:
- Make the classic birthday cake ice cream base and crumble in red velvet cupcakes instead of vanilla.
- Swirl in some cream cheese frosting for a true red velvet cake flavor.
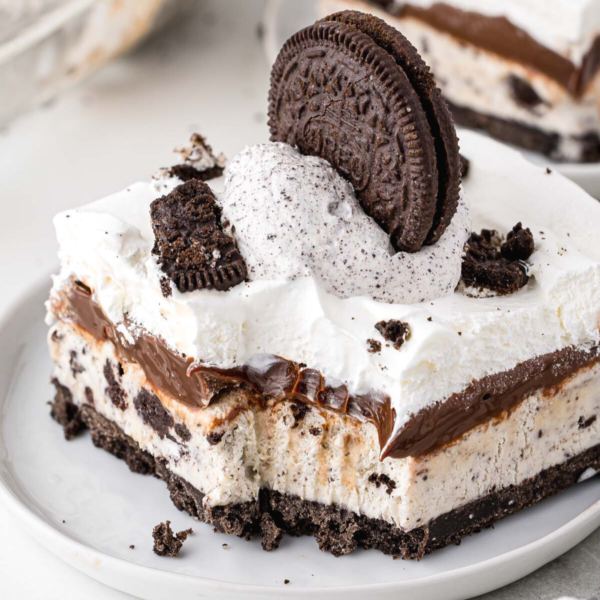
Cookies and Cream Birthday Cake Ice Cream:
- Mix crumbled chocolate or vanilla sandwich cookies into the ice cream base along with crumbled cupcakes for a cookies-and-cream twist. Or even better, use oreo cupcakes in the batter!
Peanut Butter Birthday Cake Ice Cream:
- Swirl peanut butter into the ice cream mixture and add crumbled chocolate or vanilla cupcakes for a deliciously nutty flavor.
Mint Chocolate Chip Birthday Cake Ice Cream:
- Fold chopped chocolate chips and a dash of mint extract into the ice cream mixture along with crumbled chocolate cupcakes for a refreshing dessert.
Lemon Birthday Cake Ice Cream:
- Add lemon zest and a splash of lemon juice to the ice cream base, and mix in crumbled lemon-flavored cupcakes for a tangy treat.
Coconut Birthday Cake Ice Cream:
- Fold shredded coconut into the ice cream mixture and mix in crumbled vanilla or coconut-flavored cupcakes for a tropical twist.
Time Required to make Homemade Birthday Cake Ice Cream
- 30 minutes to flash freeze the cupcakes
- 5 minutes to beat heavy cream into stiff peaks
- 3 minutes to finish combining all ingredients
- 6 hours or more to freeze
How to serve Birthday Cake Flavored Ice Cream
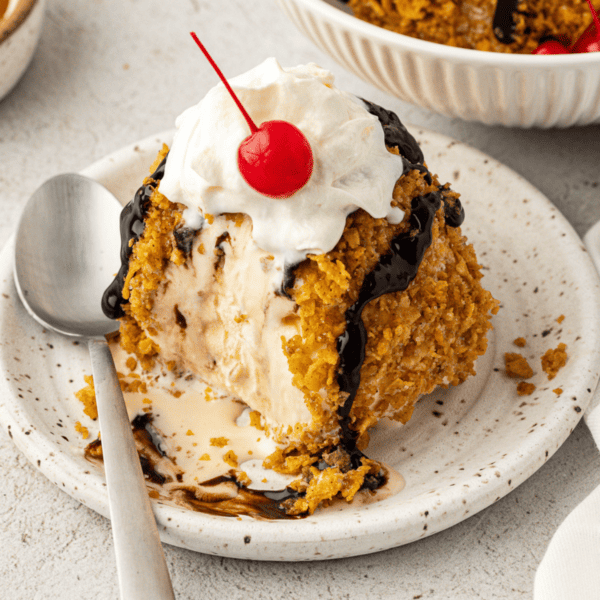
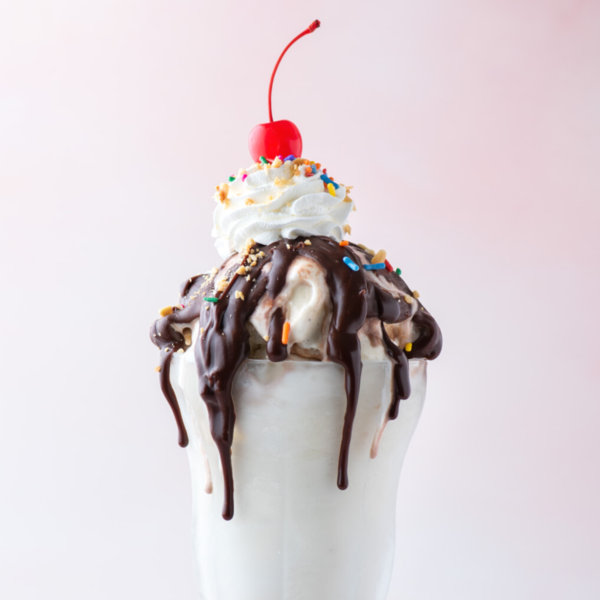
Serve birthday cake flavored ice cream in bowls or cones, garnished with colorful sprinkles or crushed pieces of birthday cake for added texture and decoration. For an extra indulgent treat, top with whipped cream, chocolate sauce, or caramel drizzle.
How to store Birthday Cake Ice Cream
Store leftover ice cream in the freezer for up to 2 weeks. Let it sit on the counter for 10 minutes or so before scooping.

Tap stars to rate!
Homemade Birthday Cake Ice Cream Recipe
Ingredients
- 2 cups (473ml) heavy whipping cream, 1 pint
- 1 Tbsp vanilla extract
- 14 oz sweetened condensed milk
- 3 frosted cupcakes, cut into pieces and frozen, store bought or homemade
- ¾ cup rainbow jimmies
Video
Instructions
- Cut the cupcakes into pieces and flash freeze on a baking sheet lined with a silicone mat. Flash freeze for 20-30 minutes.
- In a stand mixer or using a handheld mixer, beat the heavy whipping cream and vanilla extract until stiff peaks form.2 cups (473ml) heavy whipping cream, 1 Tbsp vanilla extract
- Add in the sweetened condensed milk, beating on low until combined.14 oz sweetened condensed milk
- Fold in the cupcakes pieces and rainbow jimmies. Transfer the ice cream to a loaf pan, 8 inch cake pan, or similar container. Add additional cupcake pieces and rainbow jimmies on top. Cover the pan with plastic wrap or a lid and freeze for at least 6 hours, overnight is preferred.3 frosted cupcakes, 3/4 cup rainbow jimmies
Notes