
This post may contain affiliate links. Please read our disclosure policy.
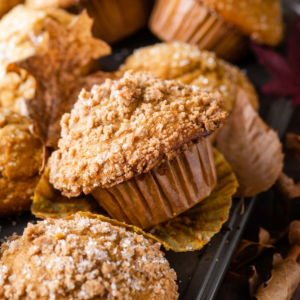
I spent six months testing muffin recipes and even wrote a cookbook called Bakery Style Muffins, so when I say these pumpkin muffins are foolproof, I mean it. With just 10 minutes of prep, you’ll have moist, perfectly spiced muffins with signature bakery-style domes. I’ve refined every detail to guarantee consistent results. Trust this recipe to deliver your new favorite fall muffin.
I’ve made these twice now and added mini chocolate chips. They are the best pumpkin muffins I’ve ever had. And the domes! Incredible.
-Sally
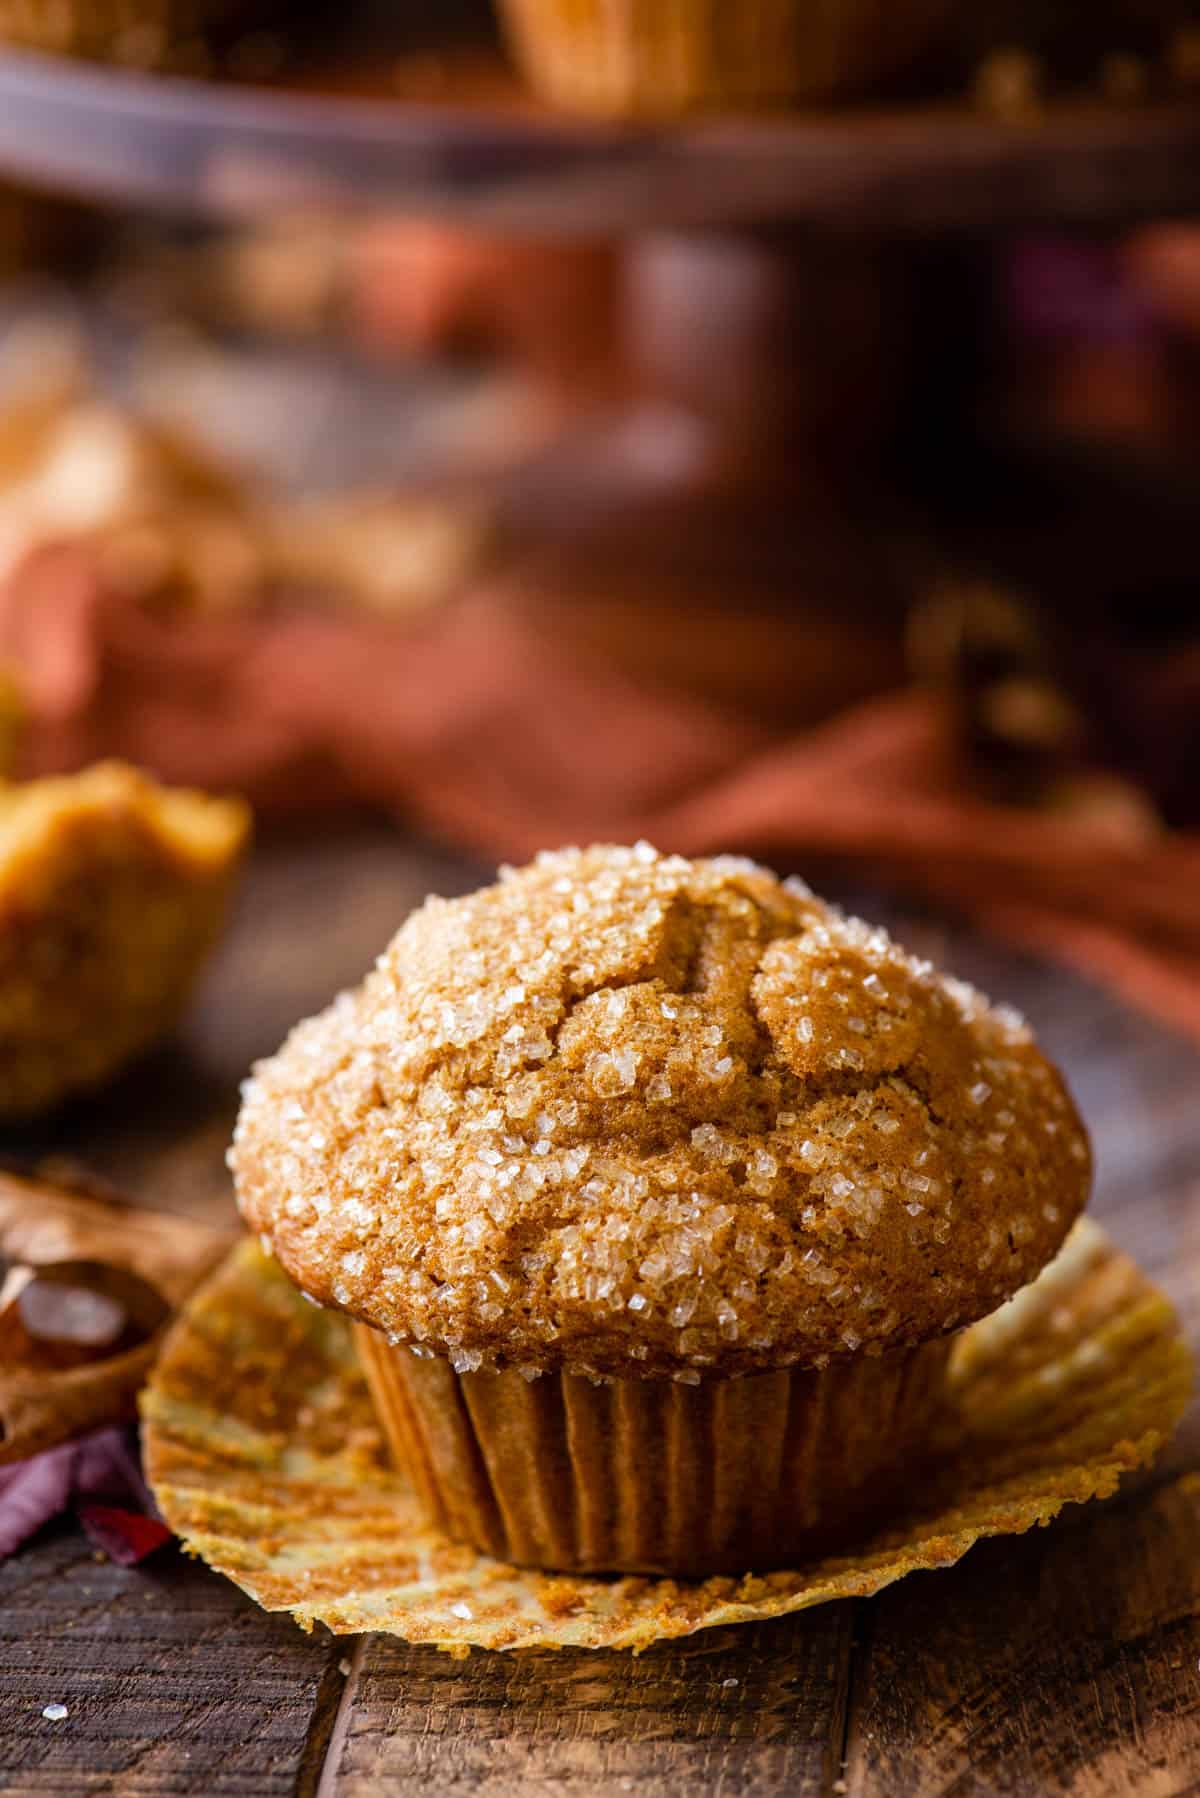
The Best Bakery Style Pumpkin Muffins
Pumpkin muffins are a fall classic, but when you bake them my way, they become something truly special. I spent six months testing and perfecting muffin recipes, learning exactly how to achieve those moist, flavorful centers and signature bakery-style domed tops. That passion eventually led me to write an entire cookbook dedicated to muffins, so you can trust that I know my way around the perfect batter.
These pumpkin muffins are quick and approachable, just 10 minutes of prep, but they don’t sacrifice quality. I’ve refined every step, from properly measuring flour in grams to using buttermilk for added moisture, to ensure reliable results every time. Whether you’re new to baking or already love making muffins, you’ll appreciate how simple it is to get professional-quality results at home.
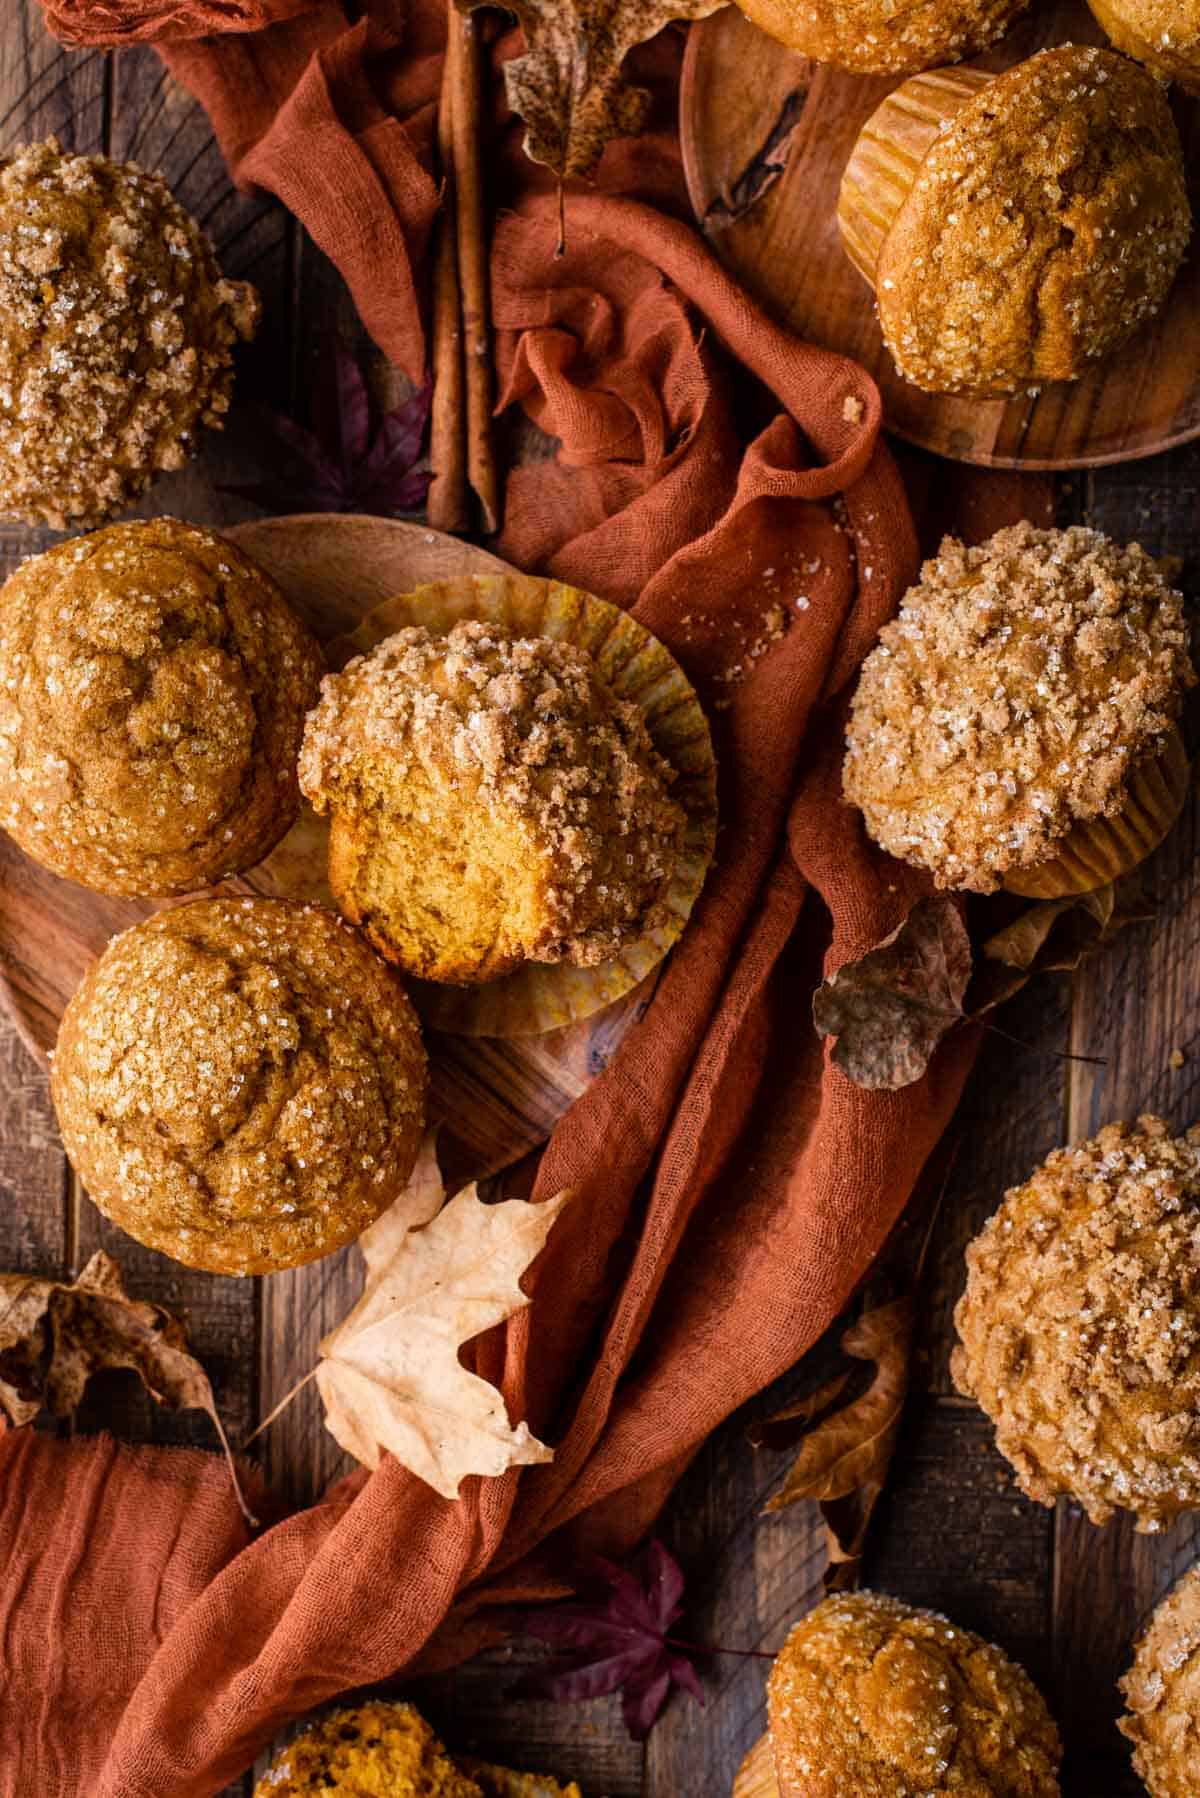
As someone known as the muffin expert, I’ve baked and shared countless muffin recipes, but these pumpkin muffins remain one of my all-time favorites. They’re everything you want in a fall treat: tender, perfectly spiced, and topped with those gorgeous, tall domes that make them look like they came straight from a bakery case. Tested, perfected, and loved by thousands of readers, this is a recipe you’ll come back to every fall.
Looking to add some pumpkin flavor to the dinner table? Try pumpkin cornbread.
Why These are the Best Pumpkin Muffins
- Packed with pumpkin puree and pumpkin spice flavor
- Uses everyday ingredients
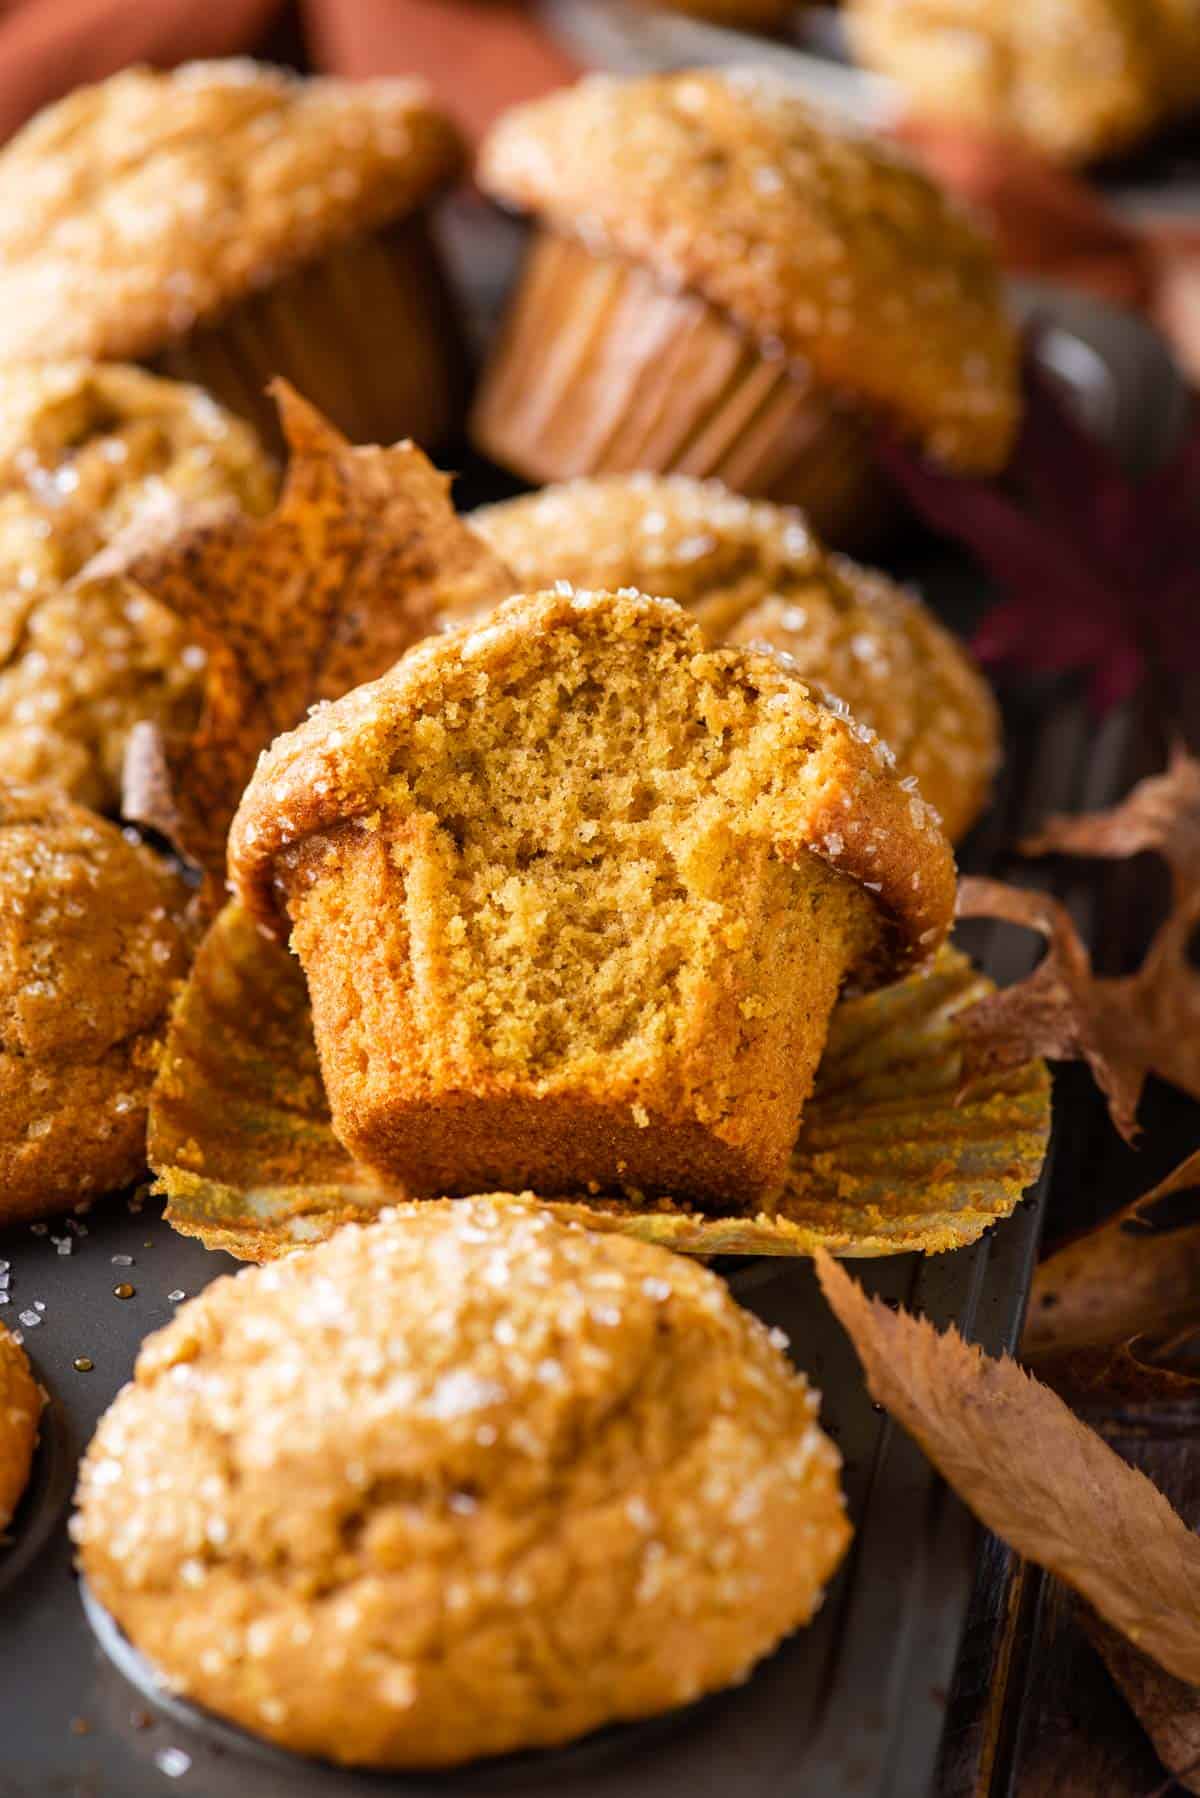
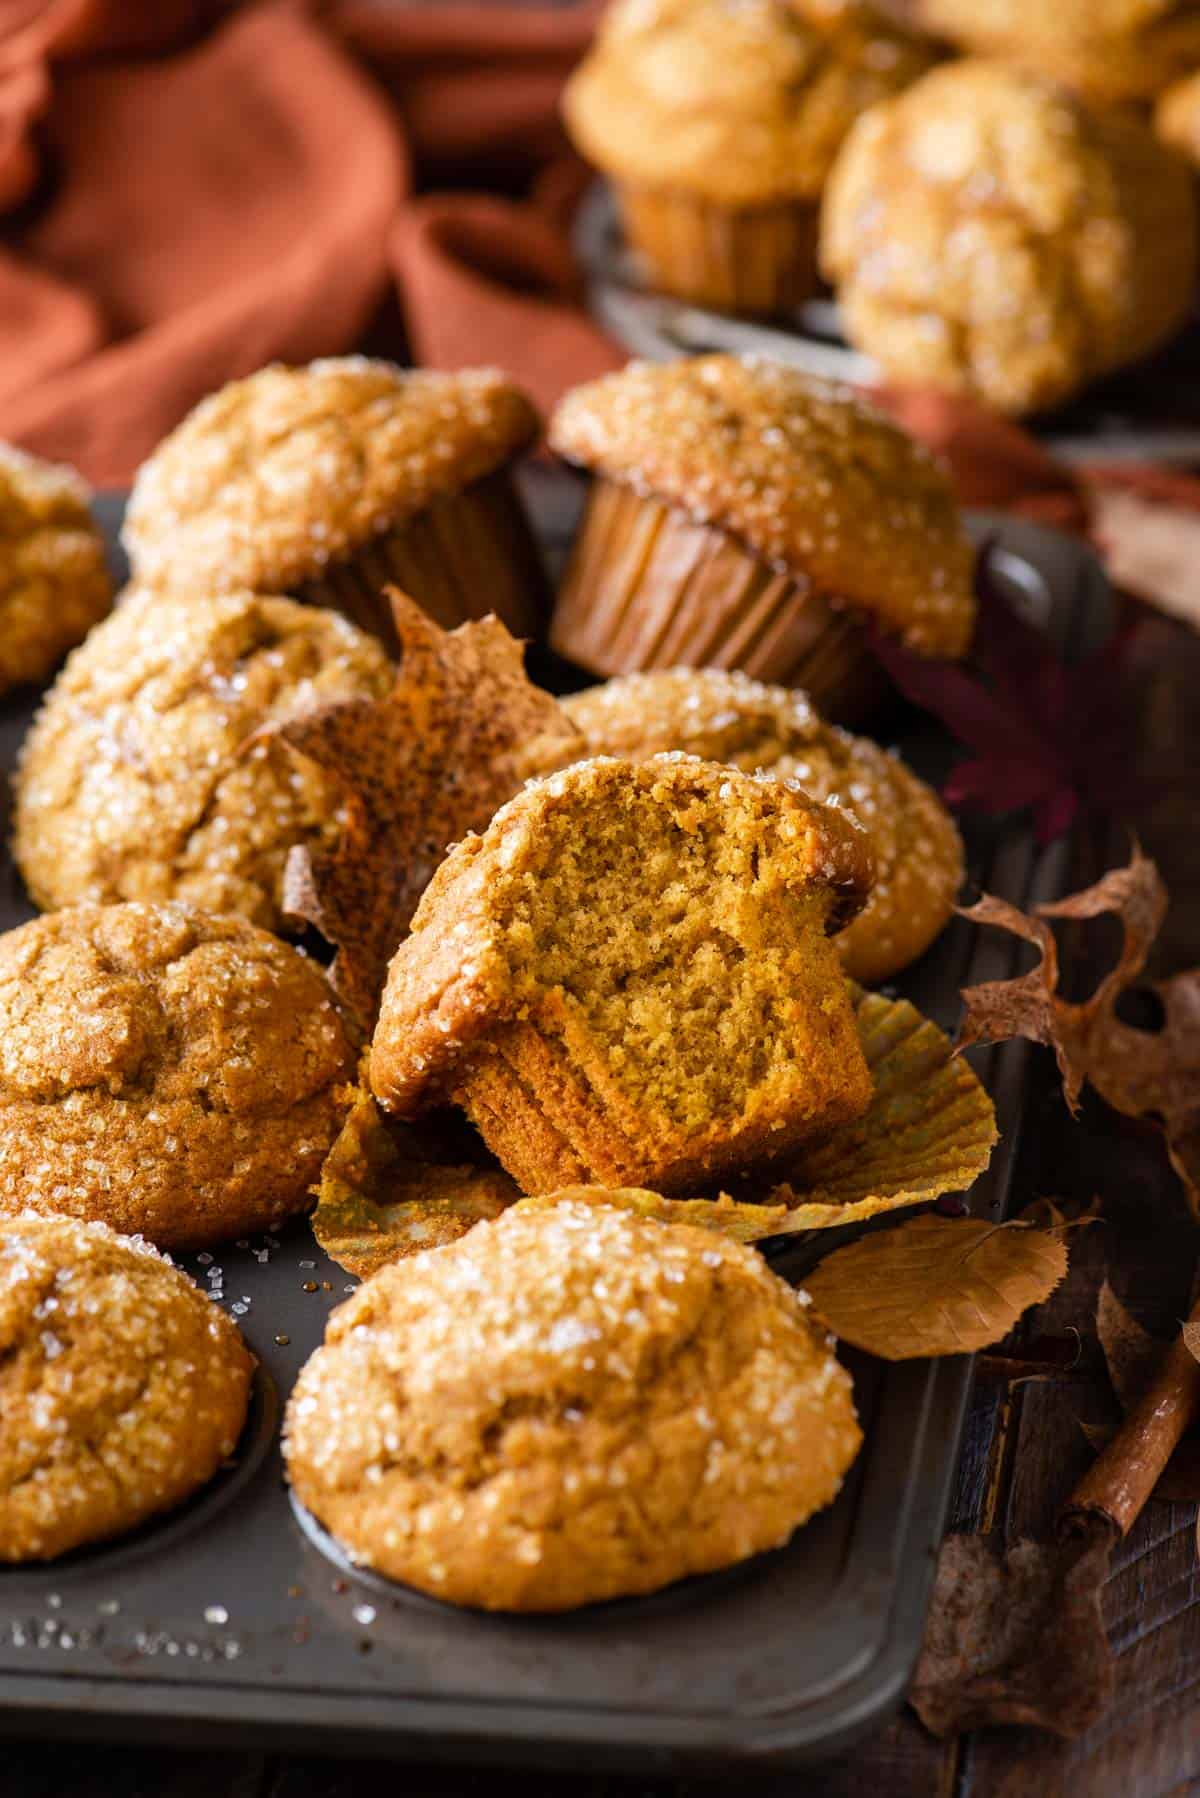
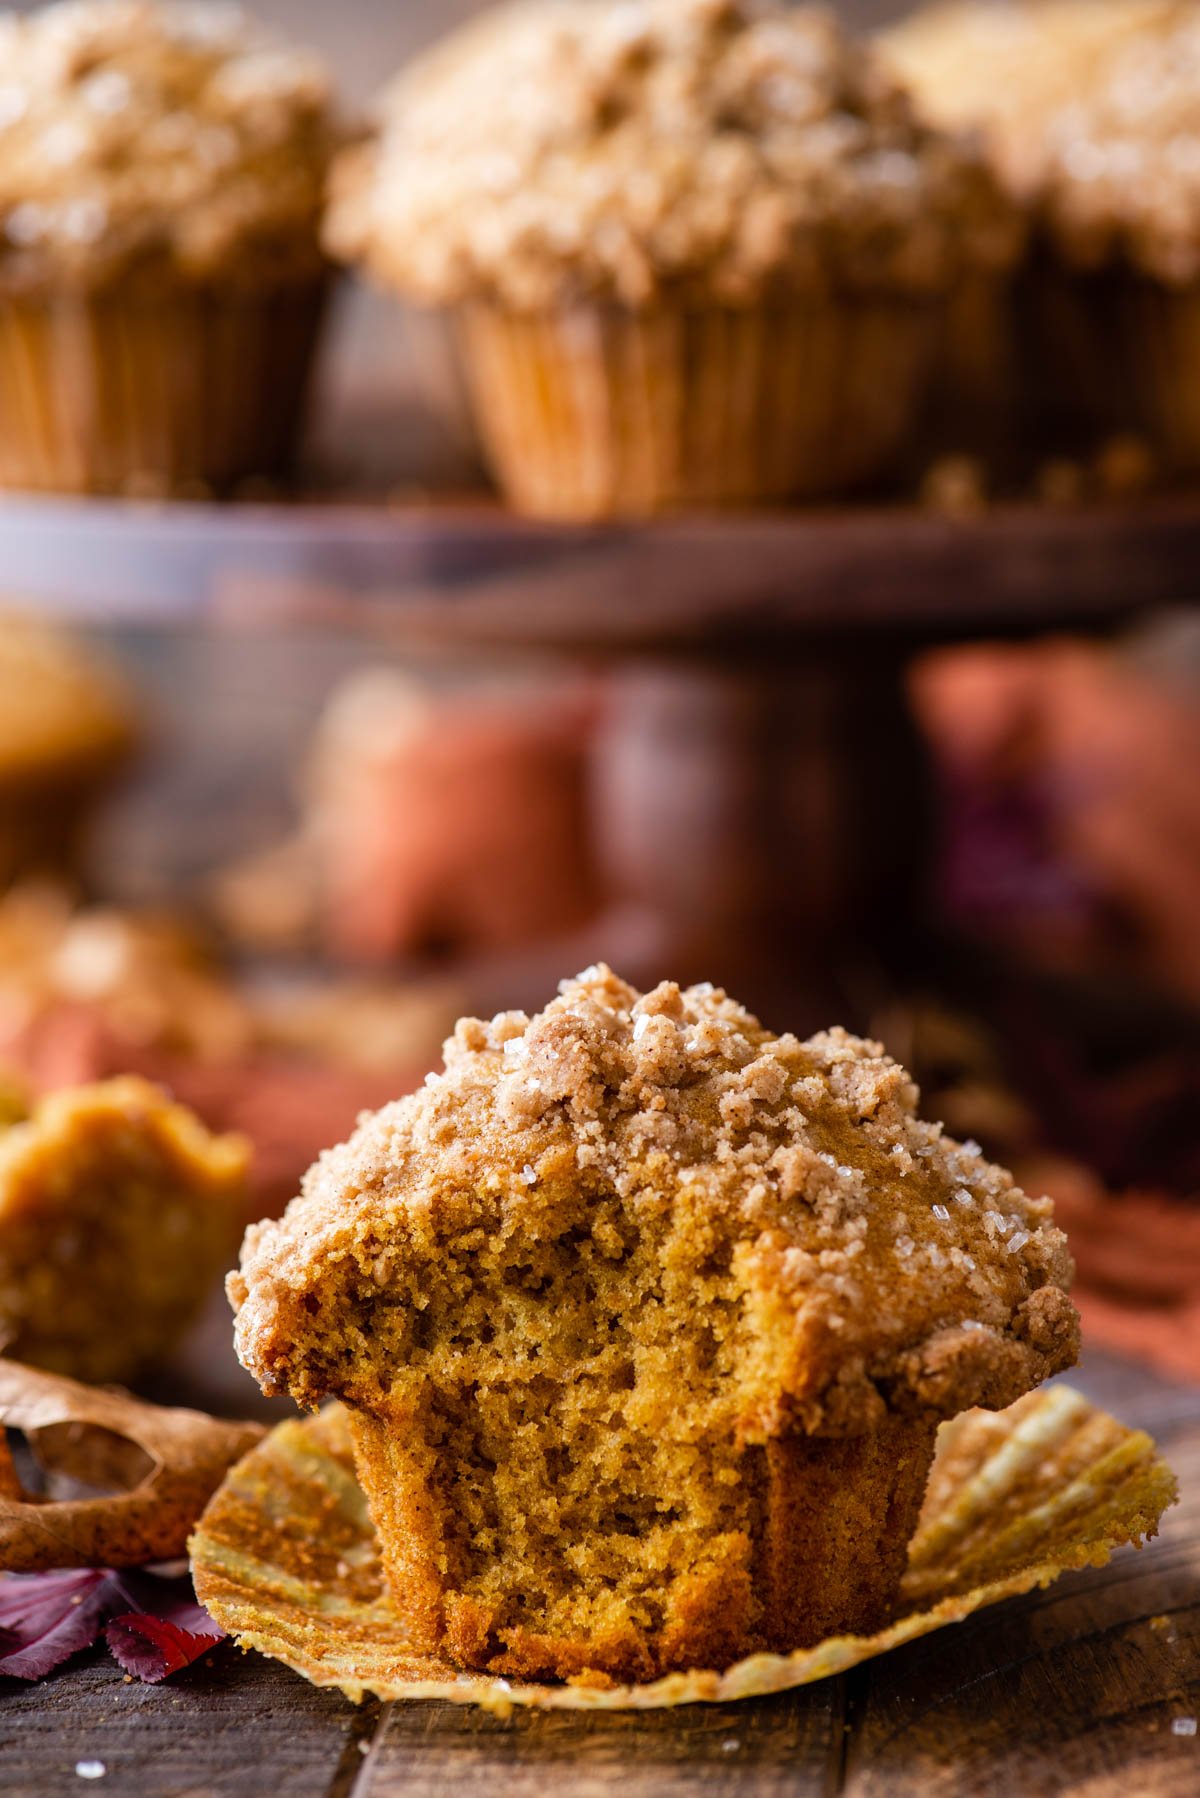
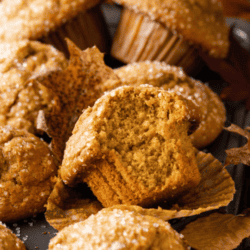
- Moist, soft muffins with tender crumb
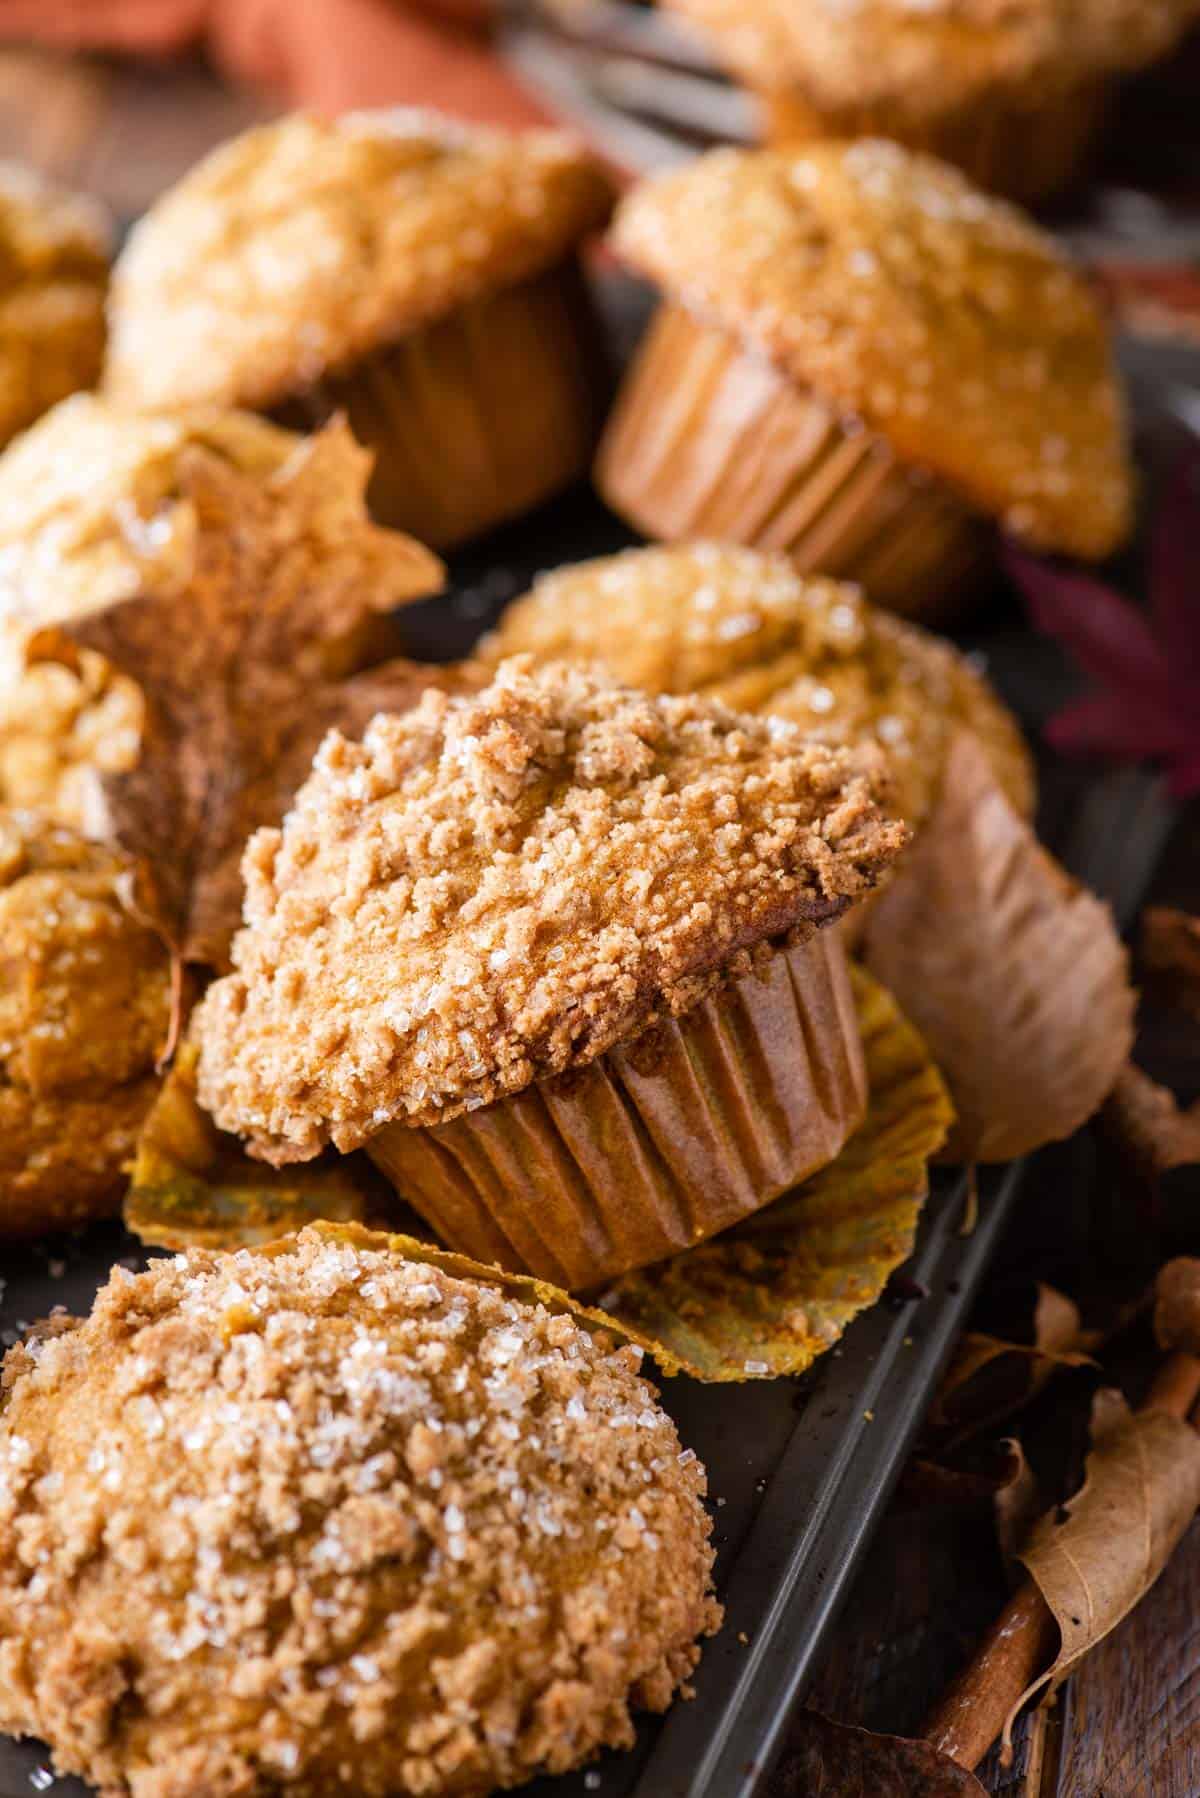
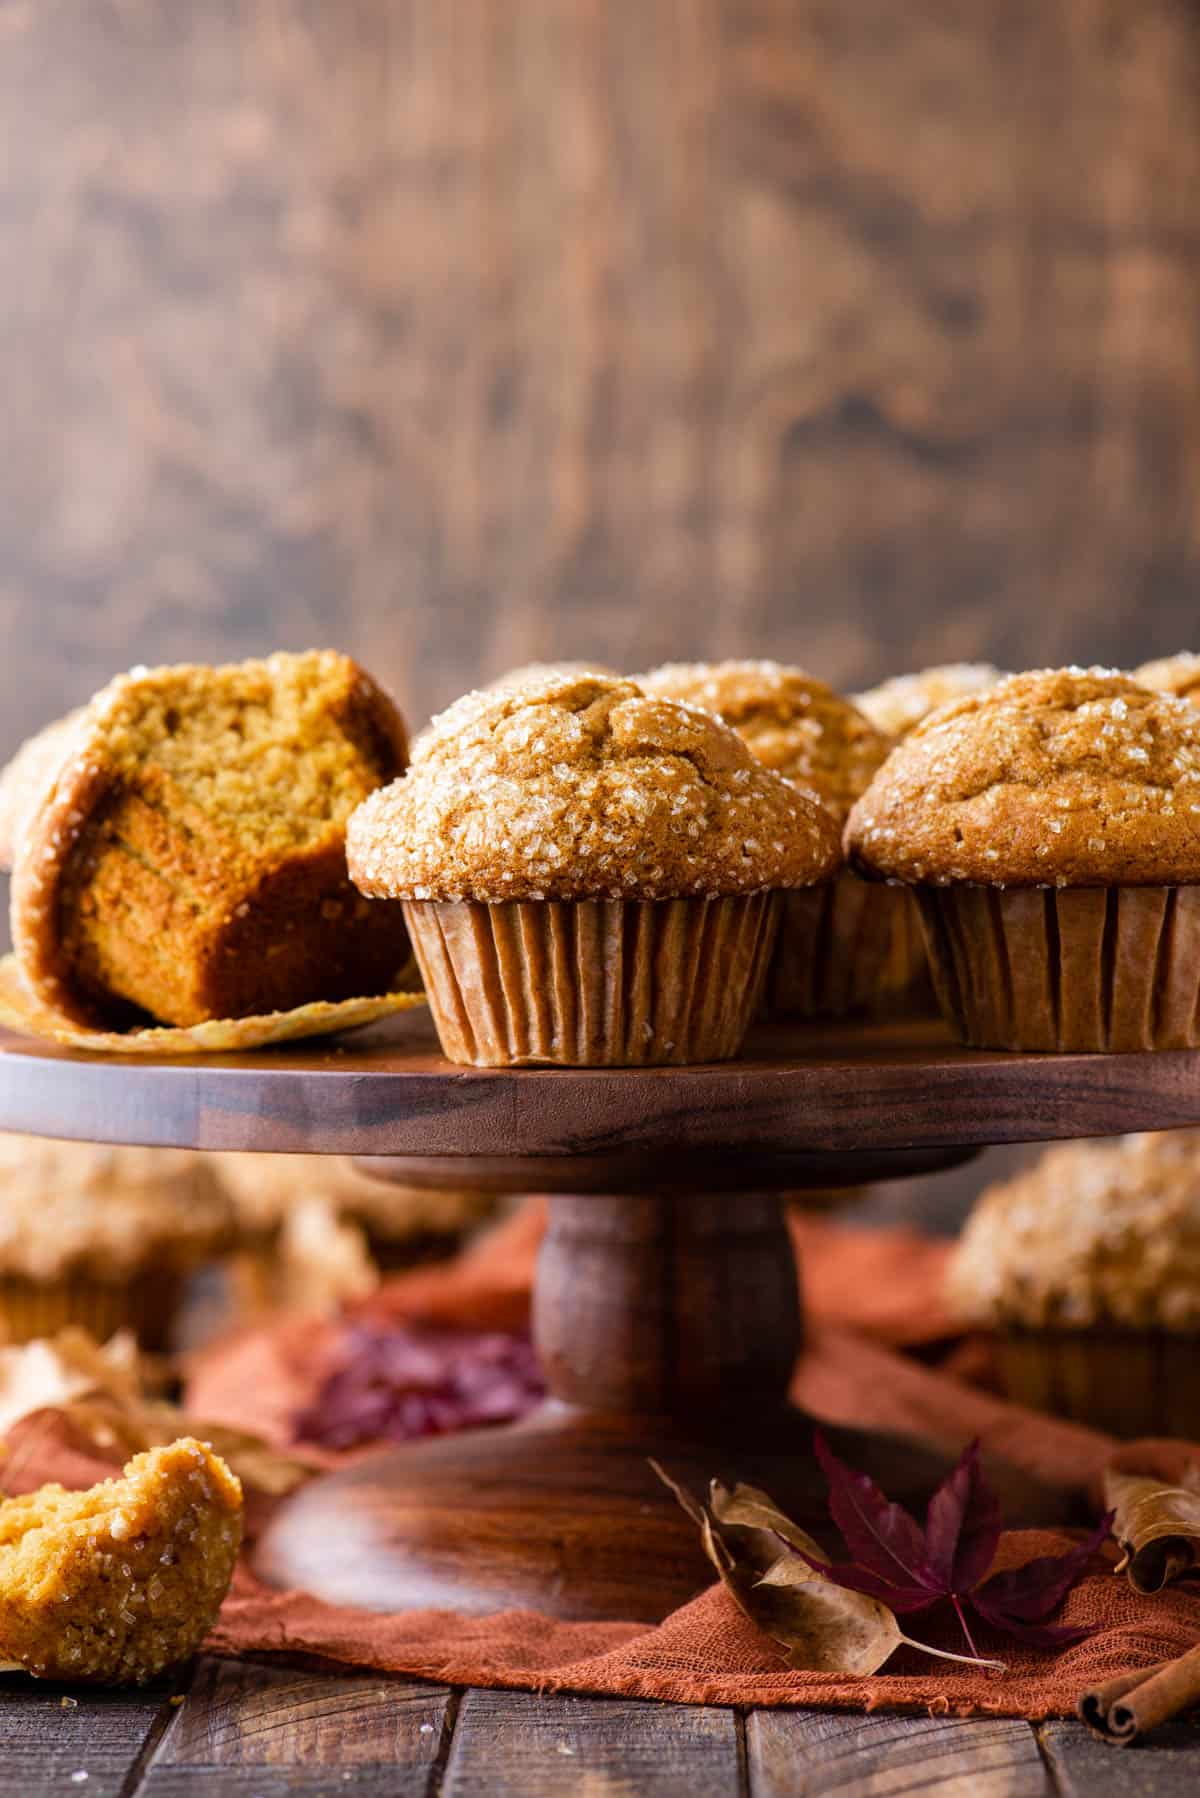
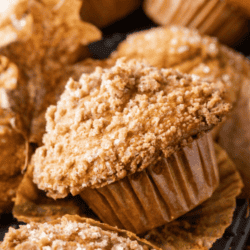
- Tall and domed muffin tops (bakery style!)
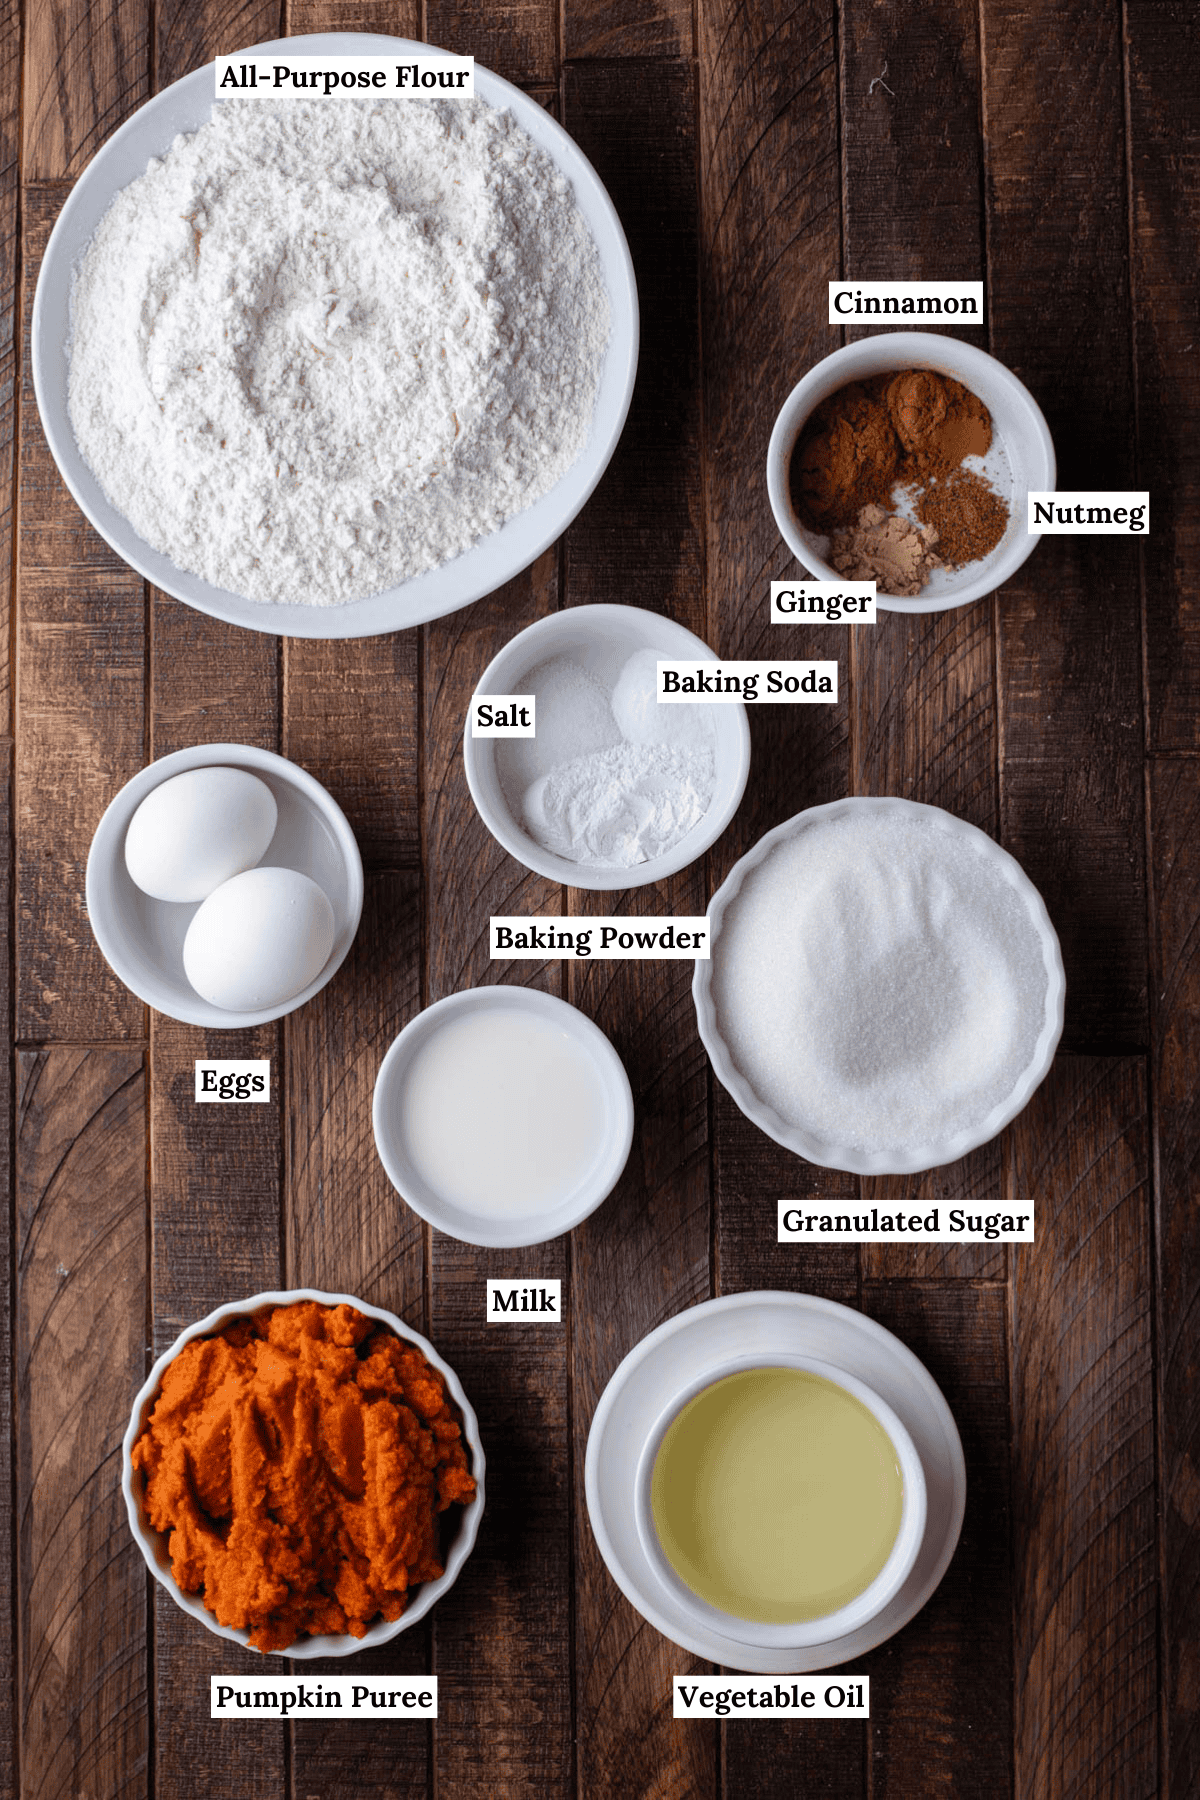
Pumpkin Muffin Ingredients
Scroll down to the recipe card below this post for ingredient quantities and full instructions.
- all-purpose flour
- granulated sugar
- baking powder
- baking soda
- salt
- cinnamon
- nutmeg
- ginger
- pumpkin puree
- vegetable oil
- eggs
- milk
How to Make Pumpkin Muffins
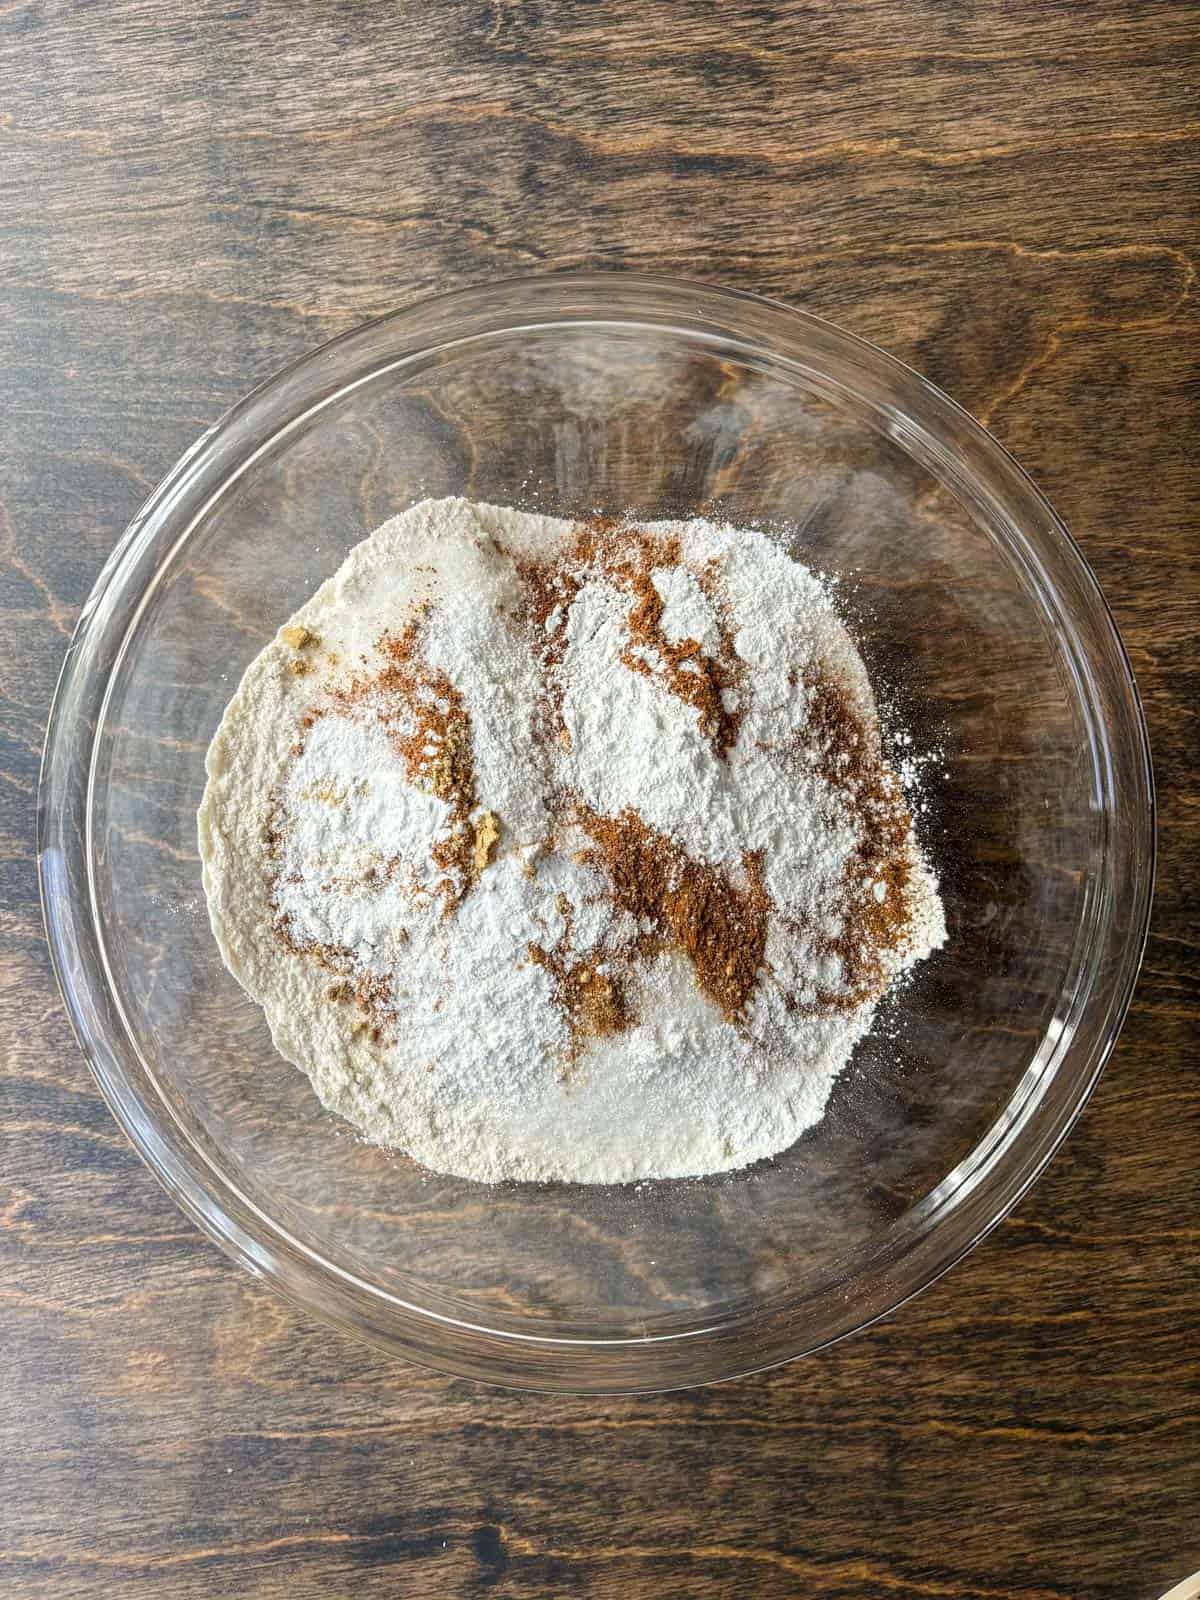
- In a mixing bowl combine the flour, granulated sugar, baking powder, baking soda, salt, cinnamon, nutmeg, and ginger. Stir together and set aside.
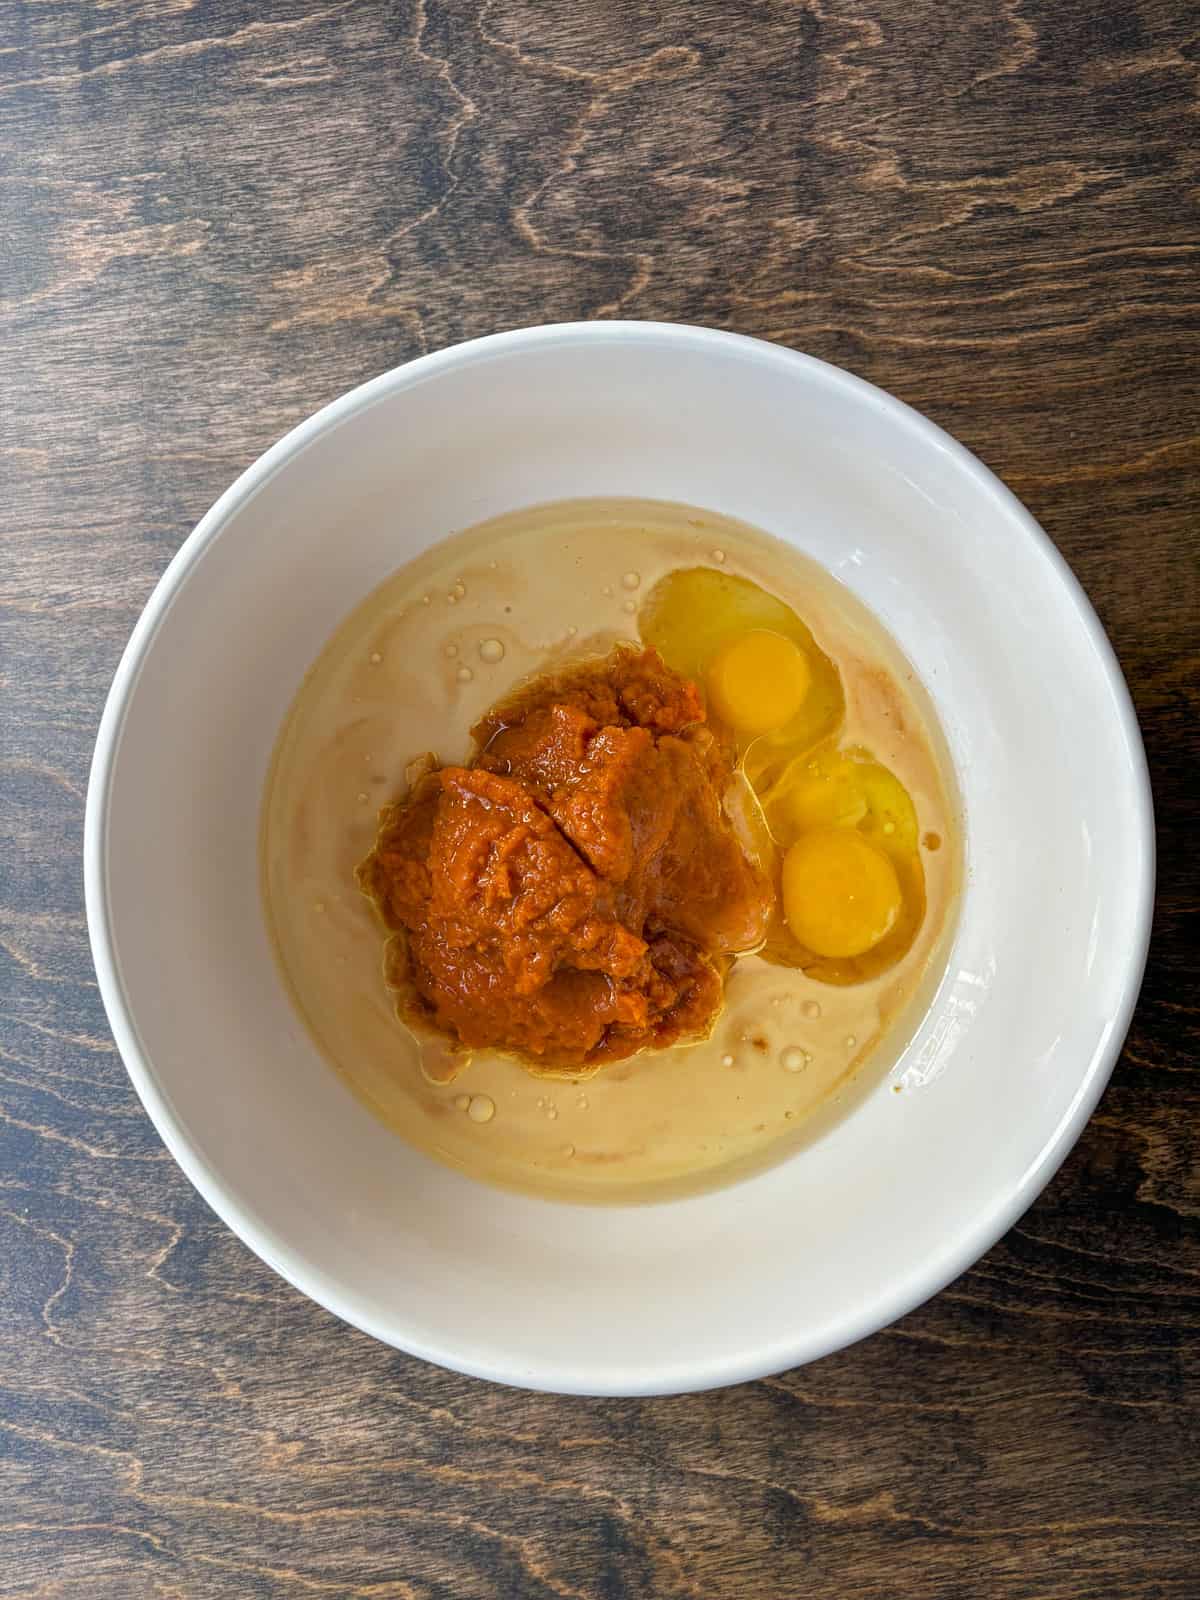
- In a larger mixing bowl combine the pumpkin, eggs, vegetable oil, and milk. Stir to combine.
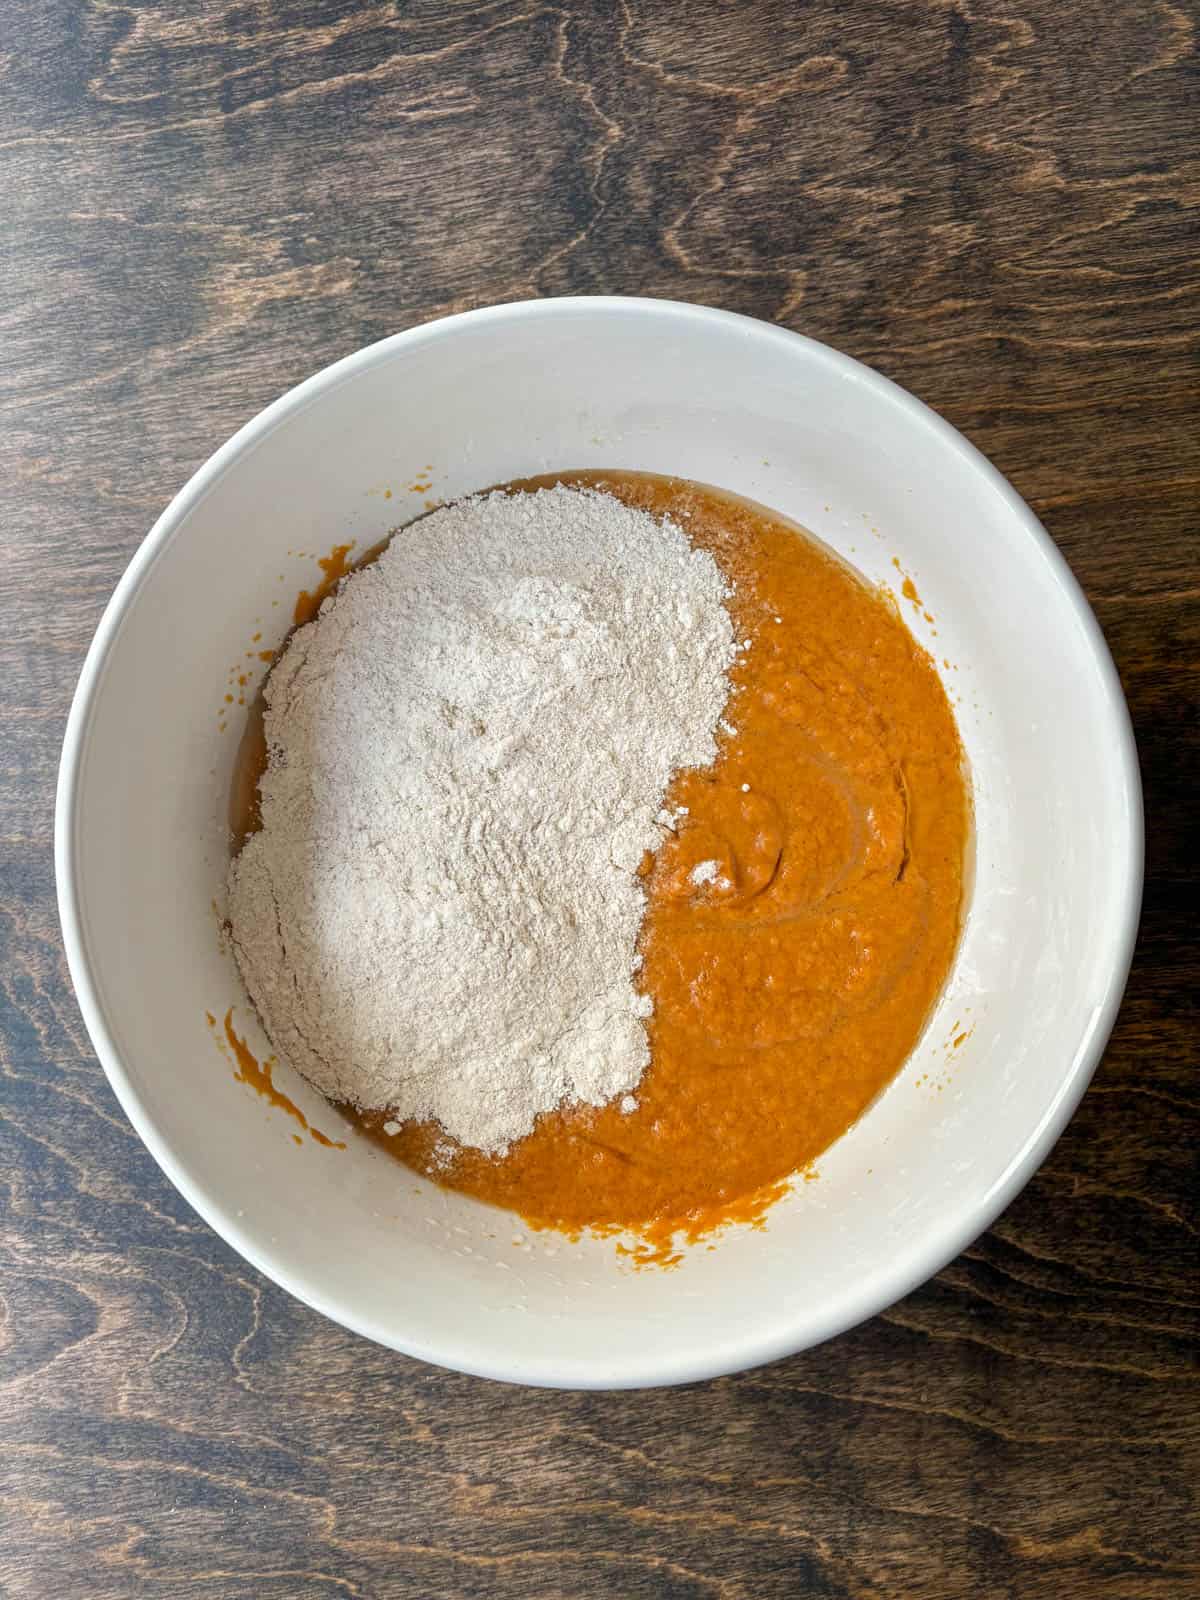
- Gradually mix the dry ingredients into the wet ingredients, mixing just until combined. The batter will be very thick.
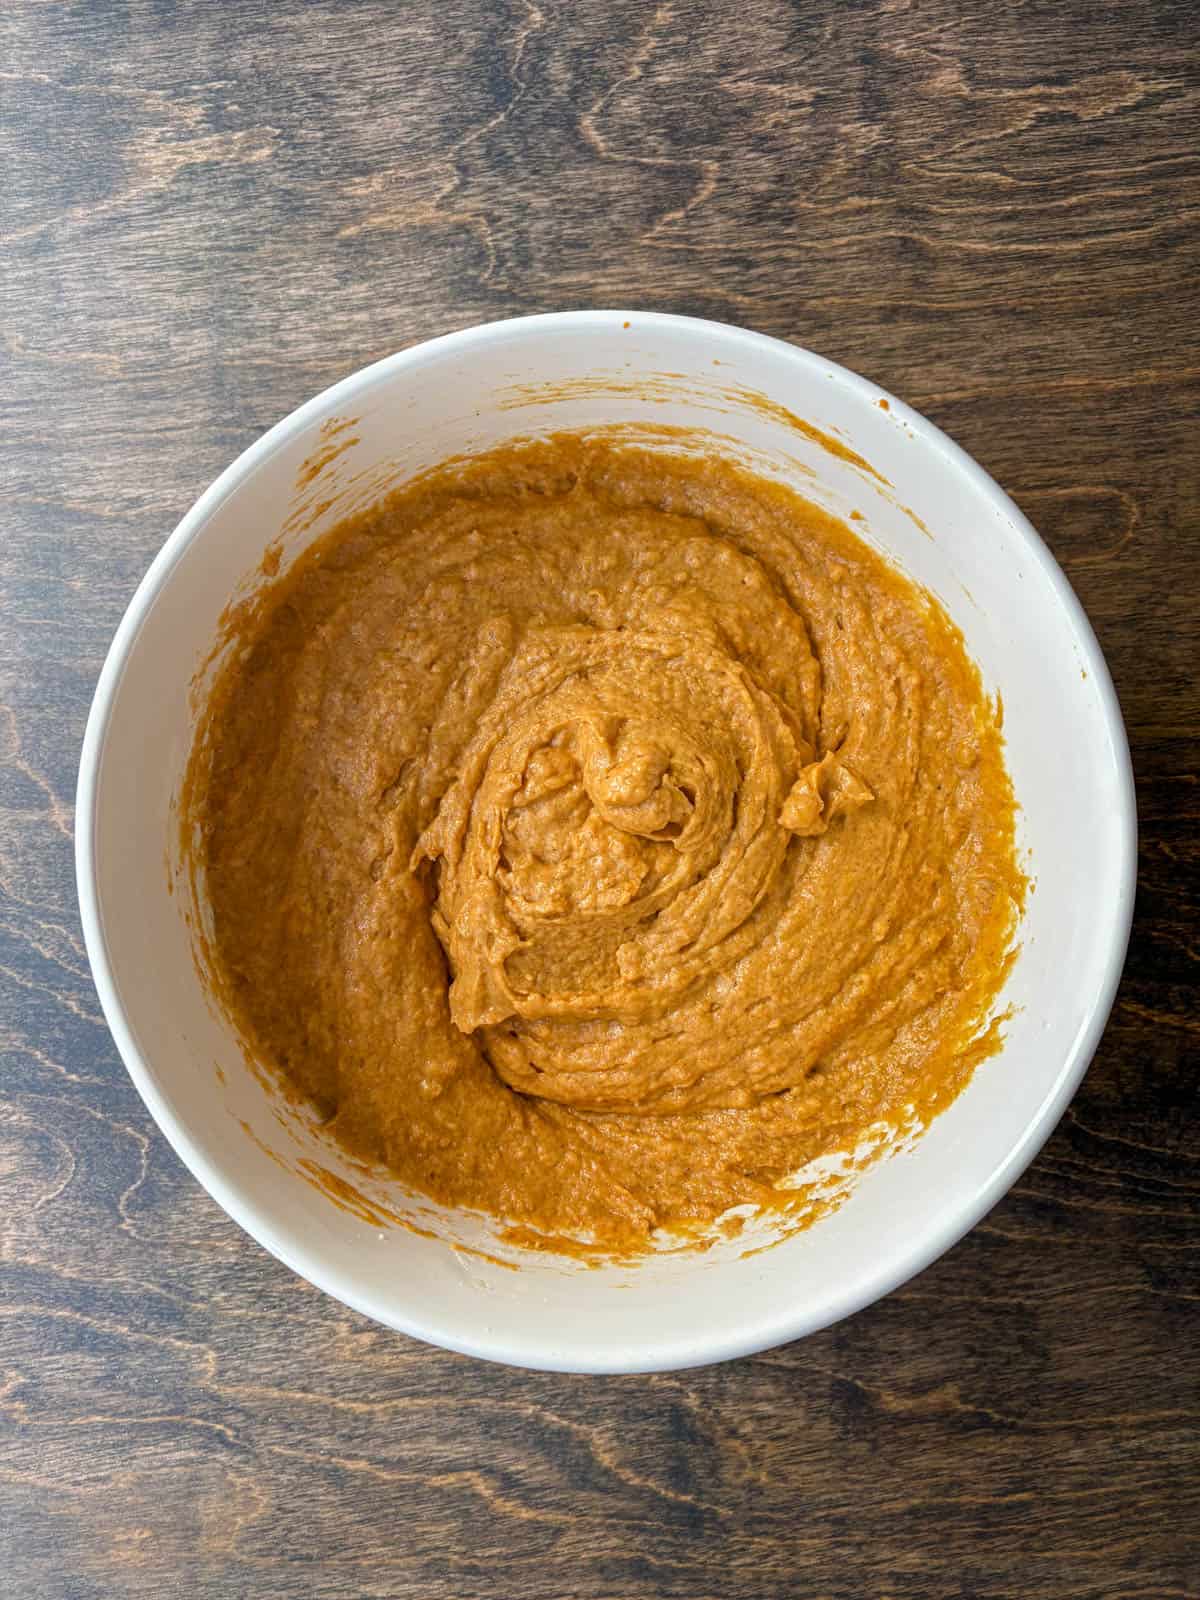
- Cover the bowl with a towel and allow the batter to rest for 15 minutes. During this time, preheat the oven to 425ºF / 220ºC and make the crumb topping.
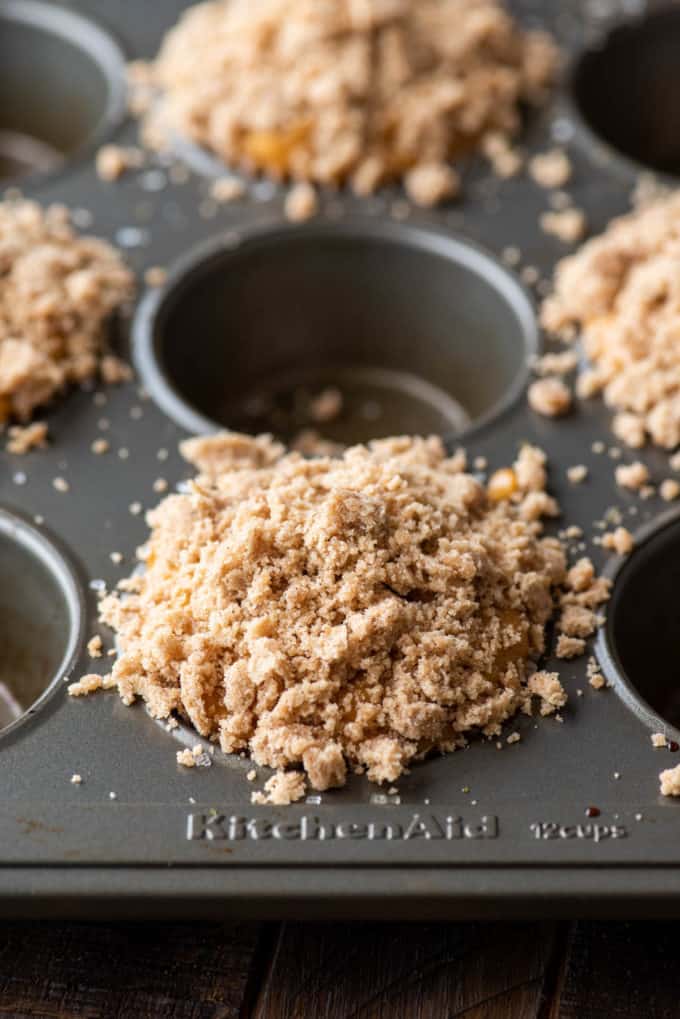
- In a mixing bowl combine the flour, brown sugar, cinnamon, salt and melted butter. Use your hands to squeeze the mixture together. Set the crumb aside until ready to use.
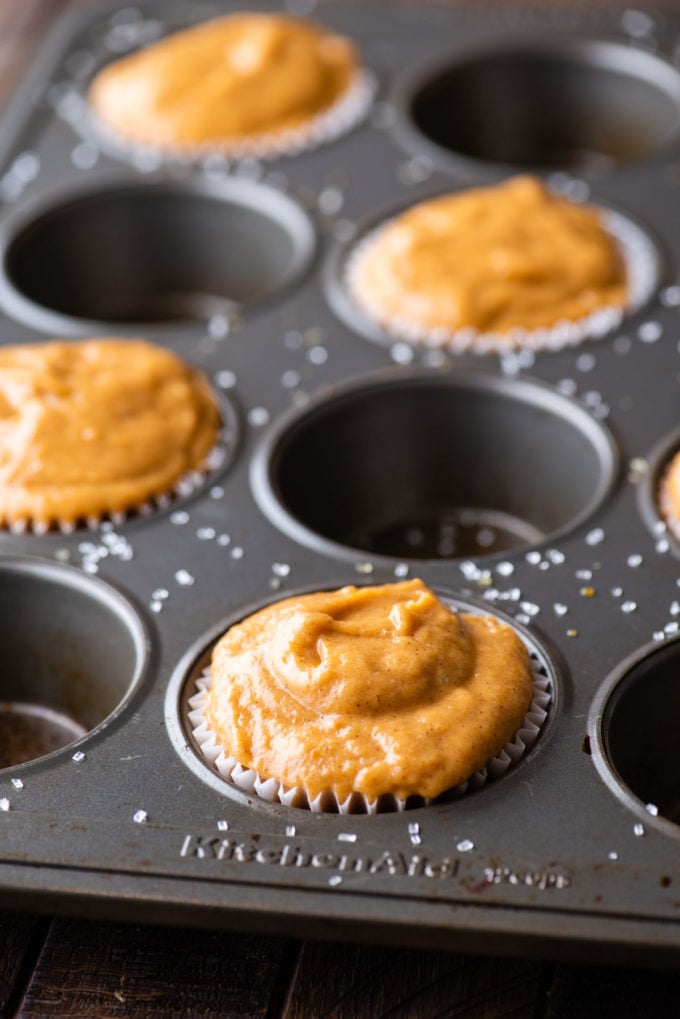
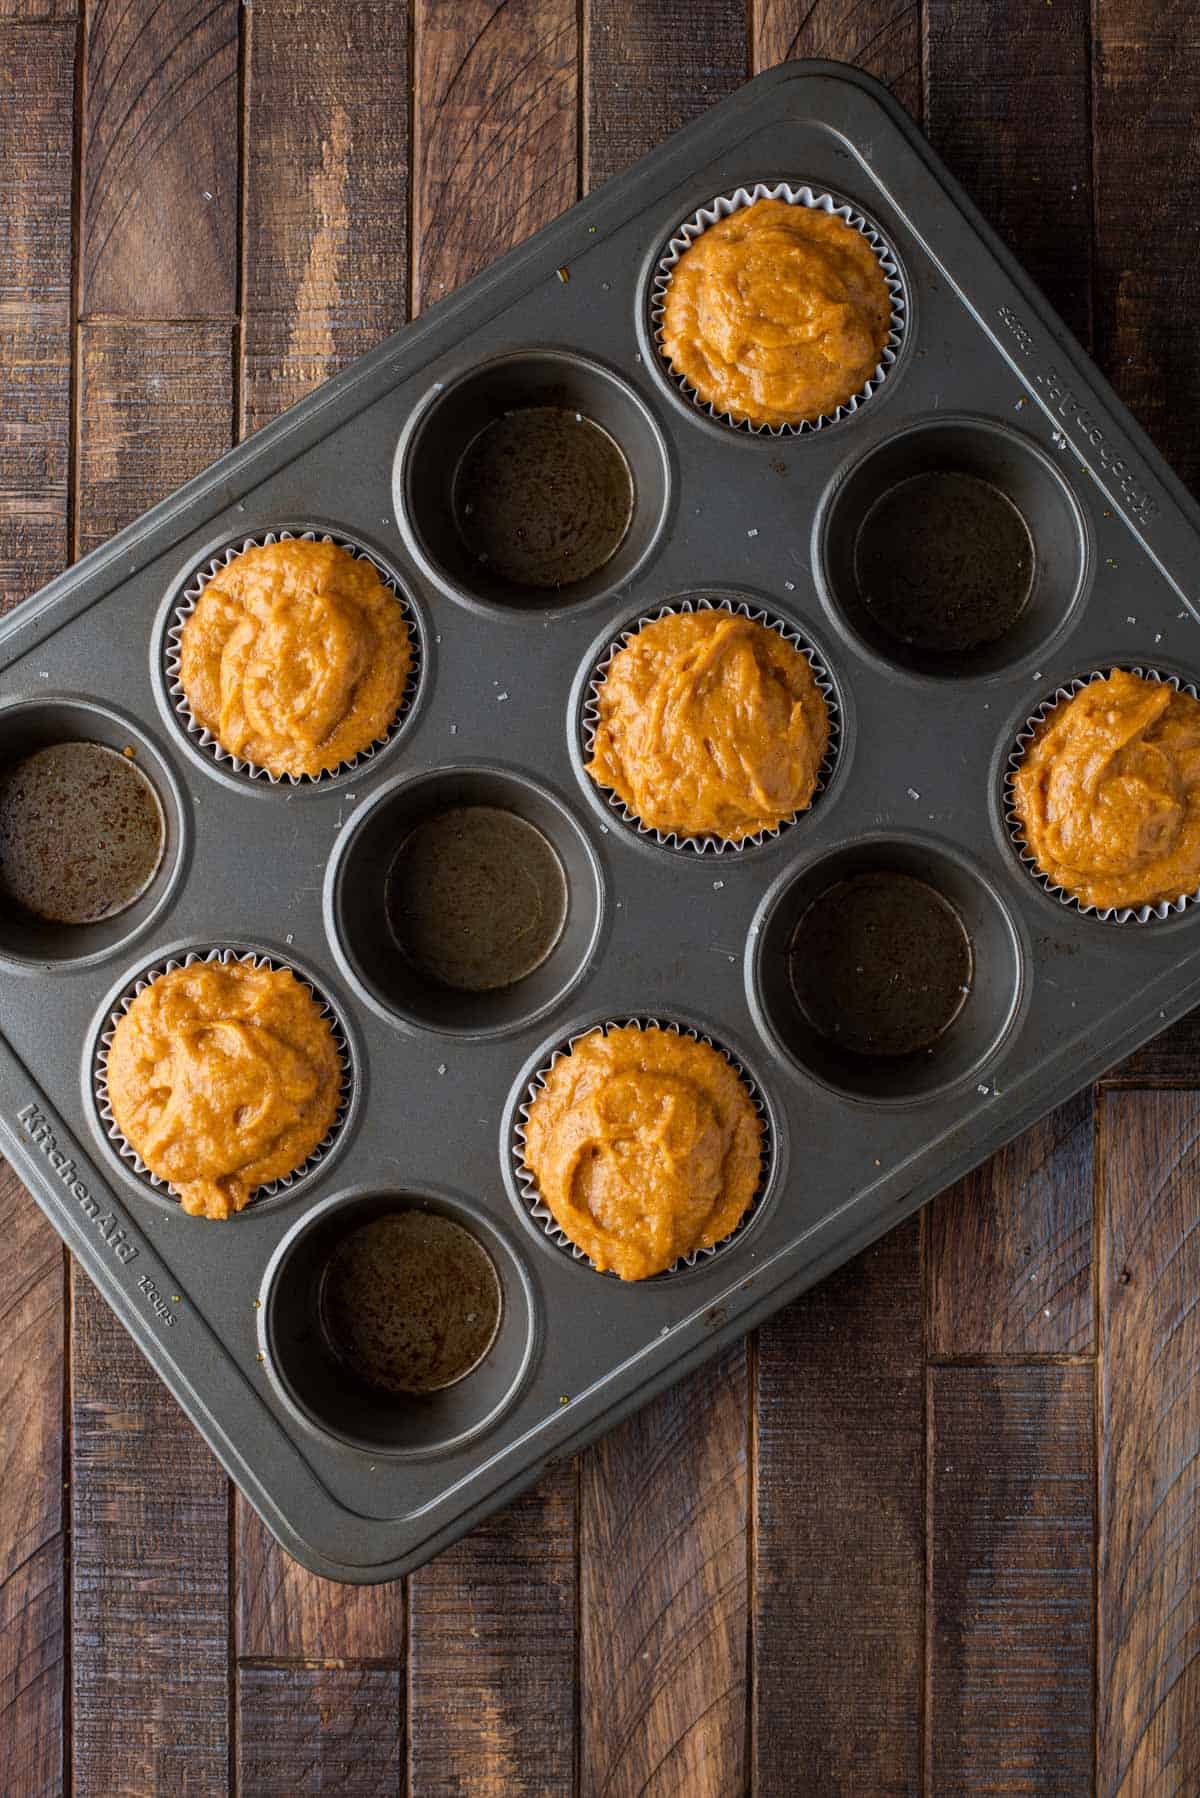
- For bakery style muffins, line a 12 count muffin pan with 6 muffins liners, meaning you’ll only fill every other muffin well with batter.
- Fill the liners with 6-8 heaping tablespoons of batter. Take the topping and crumble it into fine crumbs over each muffin, pressing it on slightly. Sprinkle sanding sugar over the muffins.
- Place one pan in the center of the oven and bake for 7 minutes at 425ºF / 220ºC, then keep the muffins in the oven, turn the temperature down to 350ºF / 180ºC and bake for 17-23 minutes or until a toothpick inserted in the center comes out clean. Allow the muffins to cool in the pan. Repeat with the remaining batter, bumping the temperature back up to 425ºF / 220ºC.
How to Create Bakery Style Muffins
Bakery style muffins are known for their domed tops. Plus who doesn’t love them? I used a few techniques to help “lift” these muffins so they would have large, domed tops!
1. The Rest Period
Let the batter rest for 15 minutes after it’s mixed and before you scoop it into the muffin pan. During the resting period, starch molecules in the flour are absorbing the liquid in the batter, causing them to swell and giving the batter a thicker consistency (ref the kitchen whisper). Our 15 minute rest is just a quick rest.
2. Fill Every Other Muffin Cup
This tip has been a game changer! For bakery style muffin tops, line a 12 count muffin pan with 6 muffin liners, meaning you’ll only fill every other muffin well with batter. Filling every other cup allows the muffins to spread and dome without running into each other. This technique also encourages the muffins to brown, creating a golden muffin top.
3. Fill Them To The Top
Fill your muffin liners to the top with batter. Yes, this goes against everything you’re heard but it’s important in helping the muffin gain that height.
4. Bake at High Temperature Initially
Bake the muffins at a high temperature (425ºF) initially, then lower to 350ºF. Starting the muffins off at a higher temperature causes the batter to rise rapidly, setting the outer surface of the muffin, producing a dome shape.
How to Properly Measure Flour
The most accurate way to measure flour is to use a kitchen scale, weighing it in grams. If you don’t have a kitchen scale, follow this method.
- Aerate the flour with a whisk or spoon. Flour becomes heavy and compact as it sits. Aerating is the same as fluffing the flour, but not the same as sifting it. Do not sift the flour unless the recipe specifically calls for it.
- Use a spoon to sprinkle the flour into the measuring cup. Do not tap the cup against the counter, as this will compact the flour.
- Use the back of a butter knife to level off the excess. You’ll need to repeat the aerating process after filling each cup.
How to Make Pumpkin Muffins Gluten Free
I’ve made these muffins with both regular all-purpose flour and gluten free flour with awesome results on multiple occasions. I recommend King Arthur’s Gluten Free Measure for Measure Flour. Use it as a one for one substitute for regular flour.
Storing and Freezing Muffins
Muffin Storage
If you’ll be eating the muffins within 24 hours of baking, you can leave them uncovered on the counter. The muffins will not dry out while left at room temperature for 1 day.
In fact, muffins are so moist they can become soggy and those crunchy, sugary tops can disappear when stored in an airtight container.
But I have a trick to help that – paper towels.
For longer storage, 2-4 days, line the bottom of an airtight container with paper towels. Place the muffins in a single layer in the container then cover the muffins with any additional layer of paper towels. The paper towels will act like a sponge, absorbing the moisture they release while they are stored.
If the paper towels become too moist around day 2 or day 3, replace them with fresh paper towels.
How To Freeze Muffins
Individually wrap each muffin in plastic wrap. Then place them in a ziploc bag or airtight container and place in the freezer for up to 3 months.
To thaw, leave them at room temperature until defrosted, about 1 hour. Or unwrap them and microwave at 20 second intervals until defrosted.
These pumpkin muffins are delicious! They are super moist with a fantastic flavour. The crumble topping adds a little extra. Follow Beth’s muffin tips, and you will get the big muffin tops as she promises! These will be on repeat.
-Flaire
Best Pumpkin Muffins Recipe Tips
- Measure the flour accurately. When measuring the flour, be sure to use the spoon-and-sweep method or measure by weight on a kitchen scale.
- Use canned pumpkin puree. Canned pumpkin puree is also known as 100% pure pumpkin. Do not use canned pumpkin pie mix, as this is used to make pumpkin pie.
- Rest the batter. Allow the batter to rest for 15 minutes after it’s mixed and before you scoop it into the muffin pan. During the resting period, starch molecules in the flour are absorbing the liquid in the batter, causing them to swell and giving the batter a thicker consistency.
- Bake at a higher temperature initially. Bake the muffins at a high temperature (425ºF) for 7 minutes then lower to 350ºF. Starting the muffins off at a higher temperature causes the batter to rise rapidly, producing a domed shaped.
Best Pumpkin Muffins FAQs
Adding sanding sugar to the tops of the muffins right before baking ensures that they come out with crispy, sugary tops. To help keep muffins fresh and from becoming soggy, you can store them at room temperature, uncovered, if you plan to eat them within 24 hours of baking. Otherwise follow my storage guidelines listed above.
The vegetable oil and pumpkin puree add a lot of moisture to these muffins. Also be sure to bake them just until a toothpick comes out clean. Over-baking will dry out the muffins.
There are a few things that can cause pumpkin muffins to become gummy. Baking is a science so be sure to follow the recipe exactly as stated. Changing or omitting ingredients will change the outcome. Next, be sure to use fresh leavening agents. If your leavening is old, the muffins won’t rise and will be dense or gummy in texture.
More Pumpkin Recipes
Tap stars to rate!
Pumpkin Muffin Recipe (Easy!)
Equipment
Ingredients
- 3 cups (360g) all-purpose flour
- 1 ¾ cups (350g) granulated sugar
- 3 tsp baking powder
- ½ tsp baking soda
- 1 tsp salt
- 3 tsp ground cinnamon
- ¼ tsp ground nutmeg
- ¼ tsp ground ginger
- 1 can (425g) 15 oz 100% pure pumpkin puree
- 2 large eggs
- ¾ cup (149g) vegetable oil
- ½ cup (113g) milk
Crumb Topping, optional
- ¾ cup (90g) all-purpose flour
- ⅓ cup (67g) brown sugar
- 1 tsp ground cinnamon
- ¼ tsp salt
- ¼ cup (57g) unsalted butter, melted
Video
Instructions
- In a mixing bowl combine the flour, granulated sugar, baking powder, baking soda, salt, cinnamon, nutmeg, and ginger. Stir together and set aside.3 cups (360g) all-purpose flour, 1 ¾ cups (350g) granulated sugar, 3 tsp baking powder, ½ tsp baking soda, 1 tsp salt, 3 tsp ground cinnamon, ¼ tsp ground nutmeg, ¼ tsp ground ginger
- In a larger mixing bowl combine the pumpkin, eggs, vegetable oil, and milk. Stir to combine.1 can (425g) 15 oz 100% pure pumpkin puree, 2 large eggs, ¾ cup (149g) vegetable oil, ½ cup (113g) milk
- Gradually mix the dry ingredients into the wet ingredients, mixing just until combined. The batter will be very thick.
- Cover the bowl with a towel and allow the batter to rest for 15 minutes. During this time, preheat the oven to 425ºF / 220ºC and make the crumb topping.
- In a mixing bowl combine the flour, brown sugar, cinnamon, salt and melted butter. Use your hands to squeeze the mixture together. Set the crumb aside until ready to use.¾ cup (90g) all-purpose flour, ⅓ cup (67g) brown sugar, 1 tsp ground cinnamon, ¼ tsp salt, ¼ cup (57g) unsalted butter
- For bakery style muffins, line a 12 count muffin pan with 6 muffins liners, meaning you’ll only fill every other muffin well with batter. Fill the liners with 6-8 heaping tablespoons of batter. Take the topping and crumble it into fine crumbs over each muffin, pressing it on slightly. Sprinkle sanding sugar over the muffins. Place one pan in the center of the oven and bake for 7 minutes at 425ºF / 220ºC, then keep the muffins in the oven, turn the temperature down to 350ºF / 180ºC and bake for 17-23 minutes or until a toothpick inserted in the center comes out clean. Allow the muffins to cool in the pan. Repeat with the remaining batter, bumping the temperature back up to 425ºF / 220ºC.


Hey Beth! Another winner! Made the mini muffins, added CC, kids loved them, not too sweet even with the CC!
These turned out fantastic. I’ve done the high temp for the first but but the resting of the dough is just next level pop! I also recommend trying mini muffins… its quite a huge wide dome. I did use canned pumpkin pie filling because it was an accidental purchase (im a use what you have kinda girl) and reduced the sugar. I also added pumpkin seeds to the topping, its a nice nut free crunch 😋, And soy milk due to dairy sensitivity and can say it worked great! I made 11 reg size and 8 mini muffins. Great recipe. Thanks!
Delicious! My first time making muffins this way (6 to a muffin pan, starting at 425 degrees before dropping down to 350) and these are the prettiest muffins I’ve made. They really do look like bakery muffins!
This recipe is flawless, I have made these multiple times and they always turn out perfectly. My daughter thought I bought them from a bakery!
Thank you so much for this recipe! It has become my go-to recipe when I’m craving a sweet treat, and I always check for pumpkin on sale when I go grocery shopping just so I can make them whenever I think to.
I make these for friends and family and they are always impressed! With or without the topping, they stun and delight and I will make them forever. Beth, thank you for improving all of my muffins with your tips for a taller dome. I am so grateful to you!
These are BY FAR the BEST muffins I have ever had!! Absolutely DELICIOUS! The crumb topping was the prefect addition. I did use heavy whipping cream instead of milk, organic cane sugar instead of granulated, and salted butter. They were AMAZING!!!!
Made these for a vegan friend substituting applesauce for eggs and almond milk for regular. Then added vegan mini chocolate chips. Perfect!👌🏼