
This post may contain affiliate links. Please read our disclosure policy.
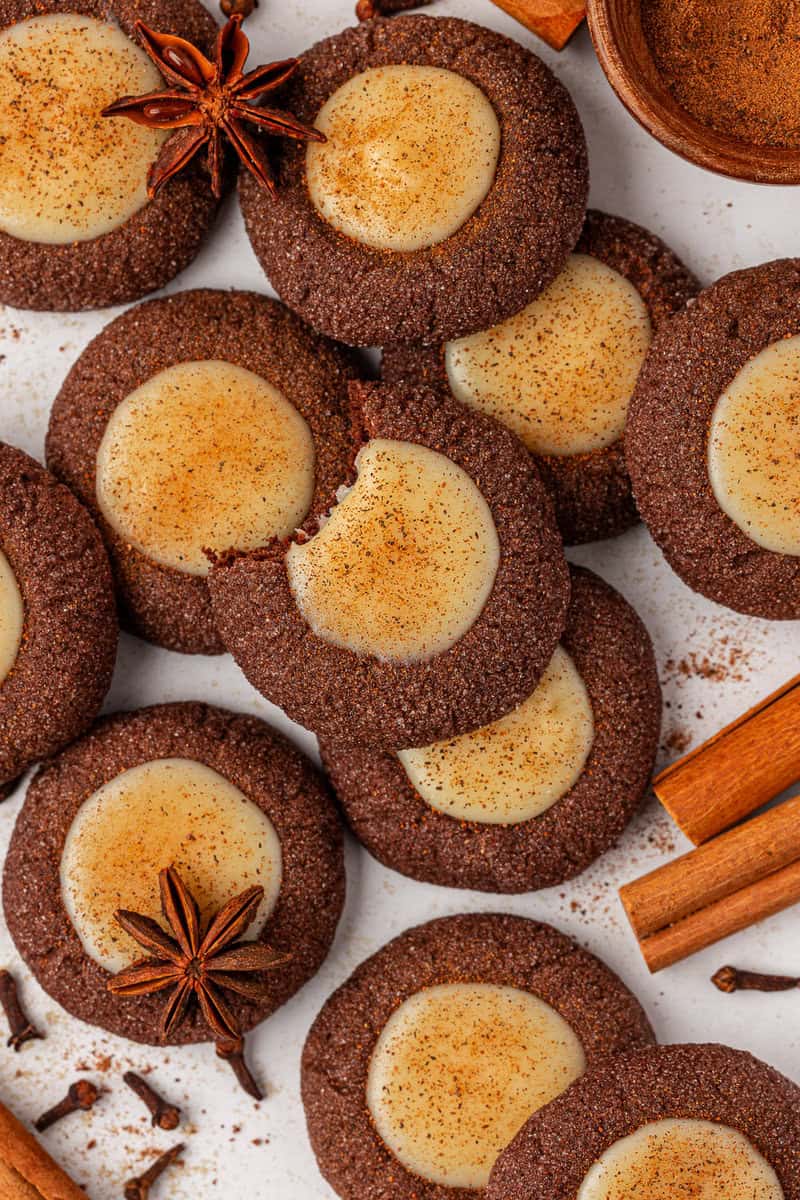
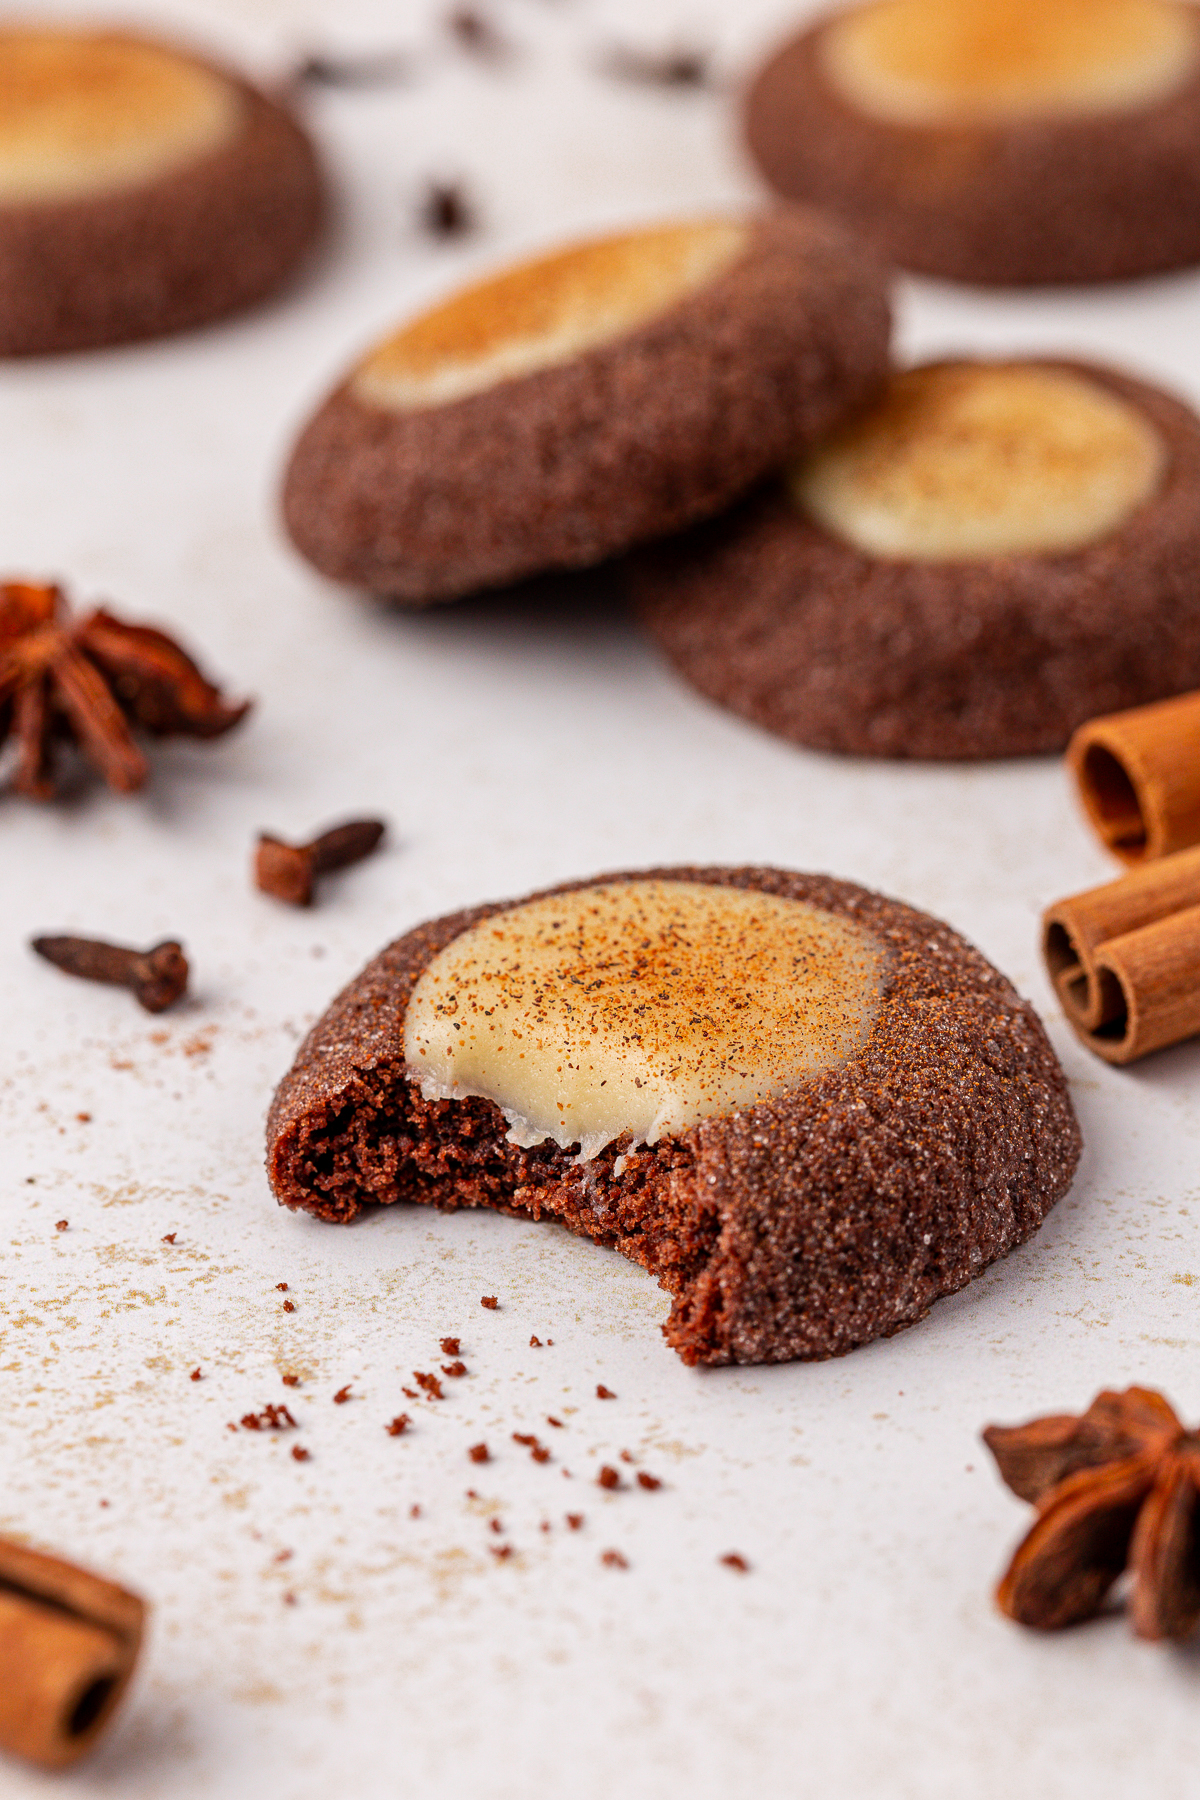
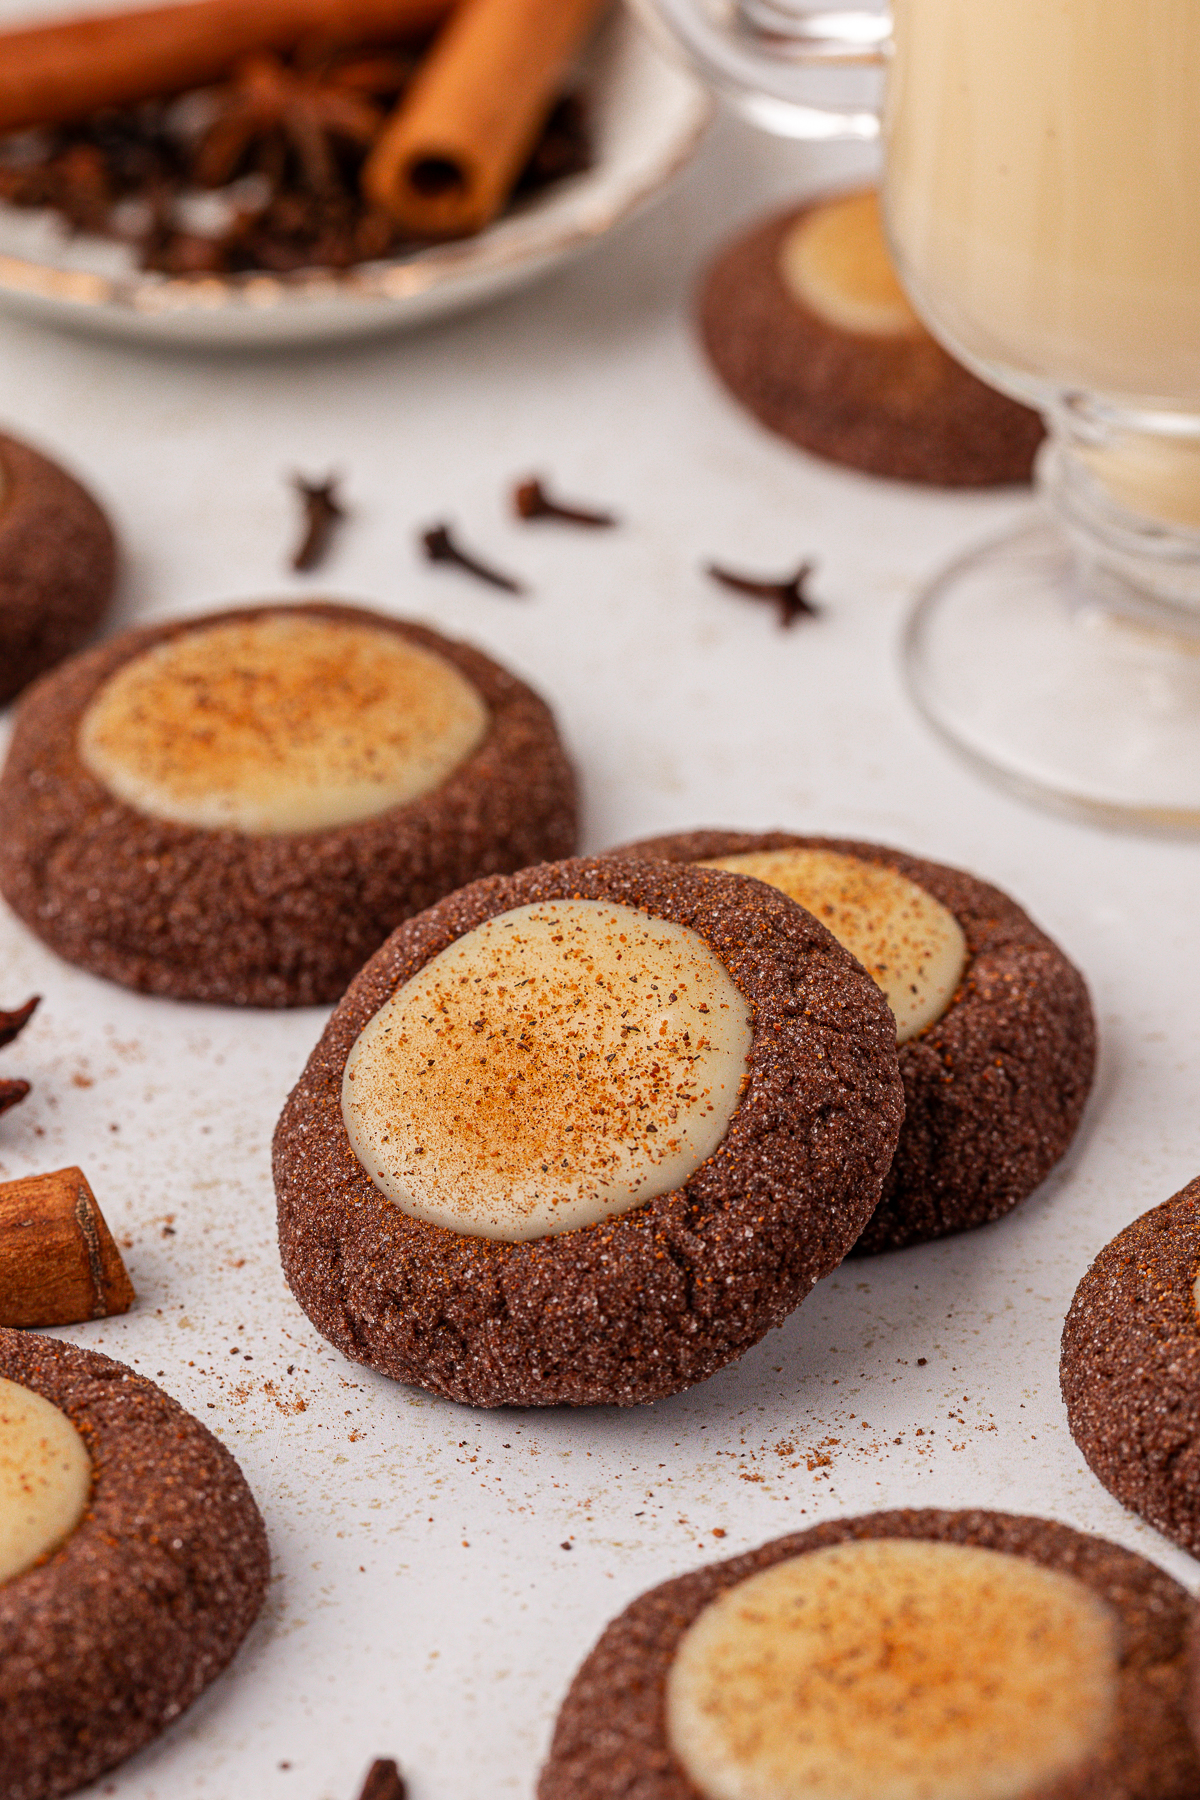
I tested different doughs until I found the one that makes eggnog thumbprint cookies soft, chocolatey, and totally foolproof. The eggnog ganache melts together in minutes and tastes amazing. These cookies feel festive and easy for any home baker to make.
When I started testing these eggnog thumbprint cookies, I first tried using my original chocolate cookie base. It is chewy, rich, and has been tested so many times that it felt like the perfect place to start. I rolled the dough in sugar, pressed the indent, and baked the first batch. The indent disappeared completely and the cookies spread into smooth chocolate circles.
I tested again by freezing the dough for thirty minutes before baking to see if that would help the shape hold. It made no difference. That was my cue to build a new dough from the ground up that could support a filling. I increased the flour, used baking powder, added cornstarch, and swapped in two egg yolks for extra chew since I removed the corn syrup.
The first version of this new dough was too dry and the edges cracked when I pressed in the teaspoon. I increased the butter and switched to all brown sugar which helped with moisture and spread, but it still needed more richness. The final adjustment was adding one more yolk. That small change gave the dough enough fat to stay soft, bake cleanly, and keep a perfect thumbprint shape every time.
With the base locked in, I started developing the eggnog filling. I wanted the flavor of real eggnog but needed it to thicken into a spoonable center. So I created an eggnog ganache using white chocolate chips and hot eggnog in place of heavy cream. I tested different ratios until the filling set with a smooth, custard like texture that holds beautifully in the center of each cookie.
The ganache melts together in minutes and thickens into the perfect holiday filling. A little nutmeg on top brings that classic eggnog warmth. Every part of this recipe was tested with purpose so home bakers can trust that it will turn out rich, soft, and perfectly festive.

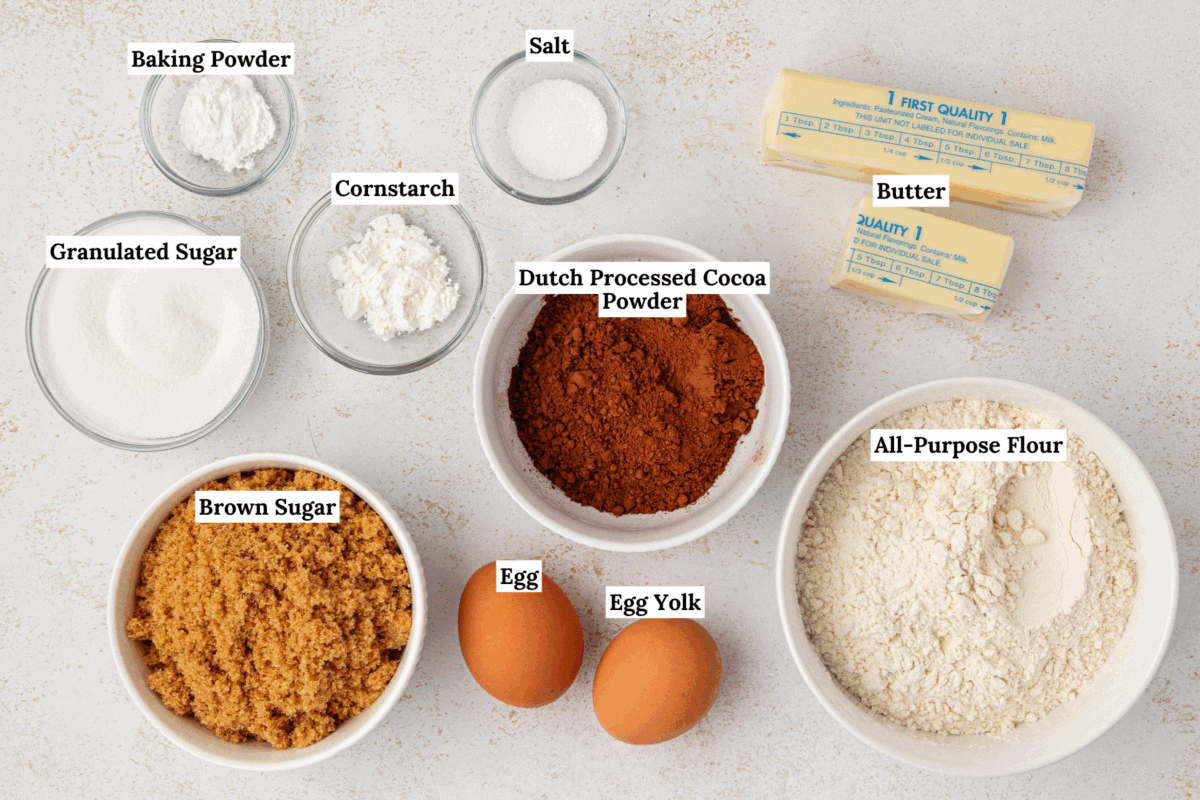
Key Ingredients You Need & Why
These main ingredients are key to success with eggnog thumbprints. You can also jump to the recipe card for the full recipe.
- Dutch processed cocoa powder: Creates a deep chocolate flavor and gives the cookies a rich color and smooth texture.
- Brown sugar: Adds moisture, chew, and a warm caramel note that pairs perfectly with the filling.
- Butter: Provides flavor, tenderness, and helps create a soft crumb that still holds its shape.
- Cornstarch: Gives the dough stability so the thumbprint shape stays defined while baking.
- Egg yolks: Add fat and richness which keeps the cookies soft and prevents cracking.
- Eggnog: Used as the liquid base for the ganache and brings warm, classic holiday flavor.
- White chocolate chips: Melt with the hot eggnog to create a smooth, creamy filling that sets perfectly.
- Nutmeg: Finishes the cookies with that signature eggnog warmth.
How to Make Eggnog Thumbprint Cookies
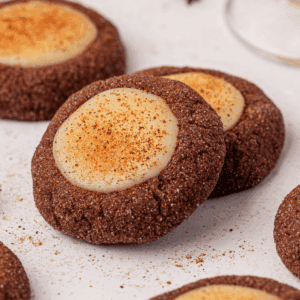
These eggnog cookies will be the star of your holiday party! Follow my simple steps below for cookie success. You can also jump to the recipe card for the full recipe.
For the Cookies
Prep baking sheets. Line baking sheets with parchment paper or silicone mats.
Combine dry ingredients. In a medium bowl, whisk together the flour, cocoa powder, salt, baking powder, and cornstarch. Set aside.
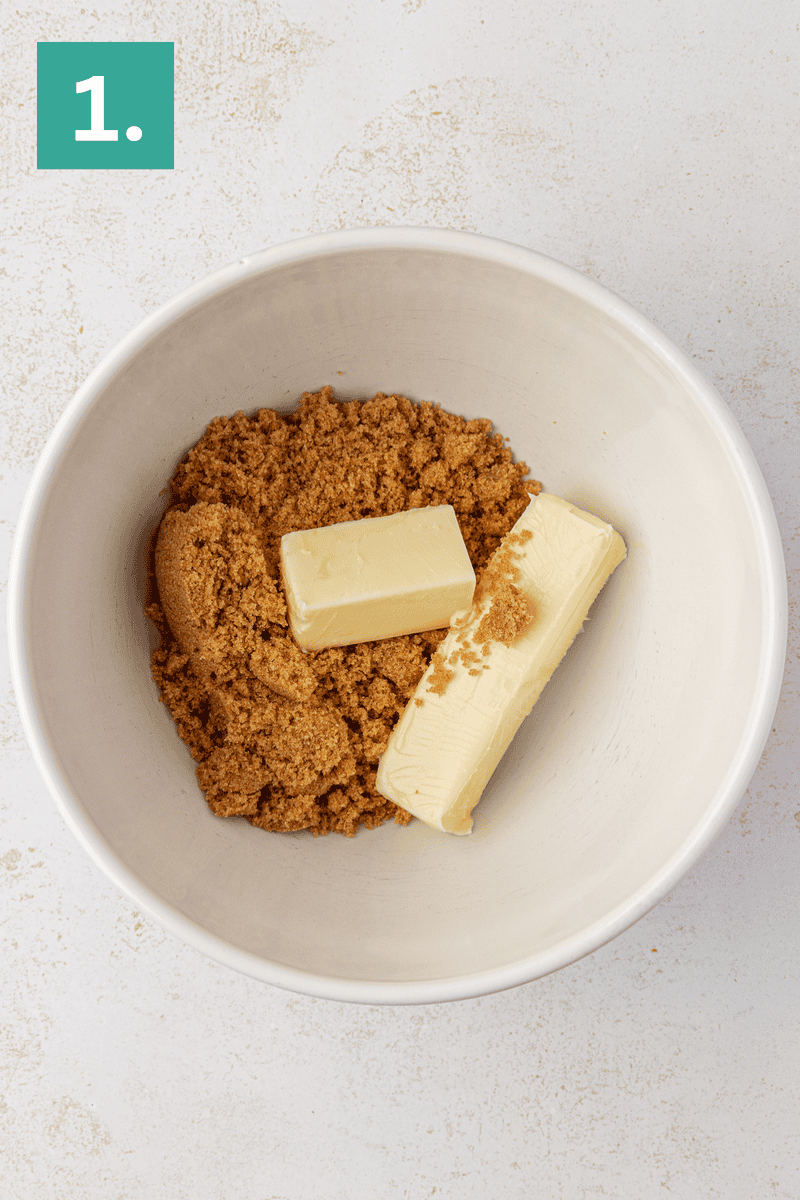
Beat butter and sugar. In a large mixing bowl, beat the butter and brown sugar on medium speed until light and fluffy, about 1–2 minutes.
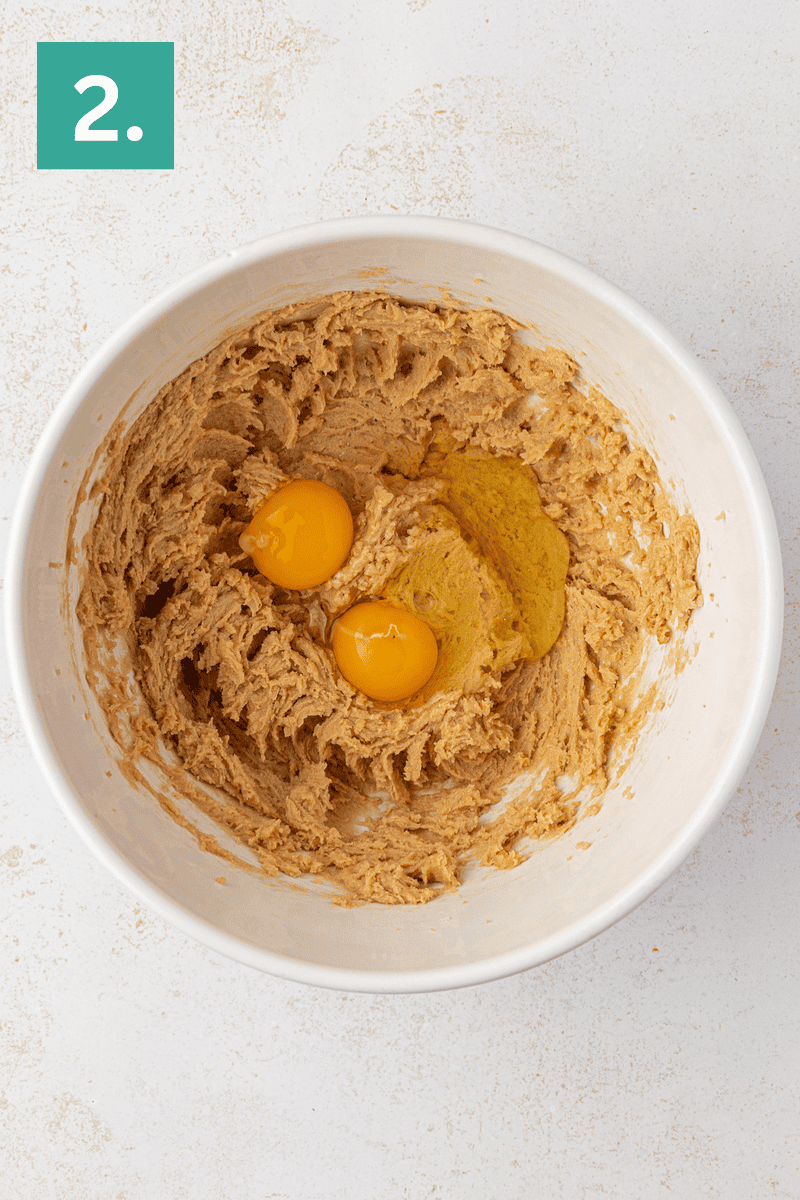
Add in eggs. Beat in the egg and egg yolk for 30 seconds, scraping down the sides as needed.
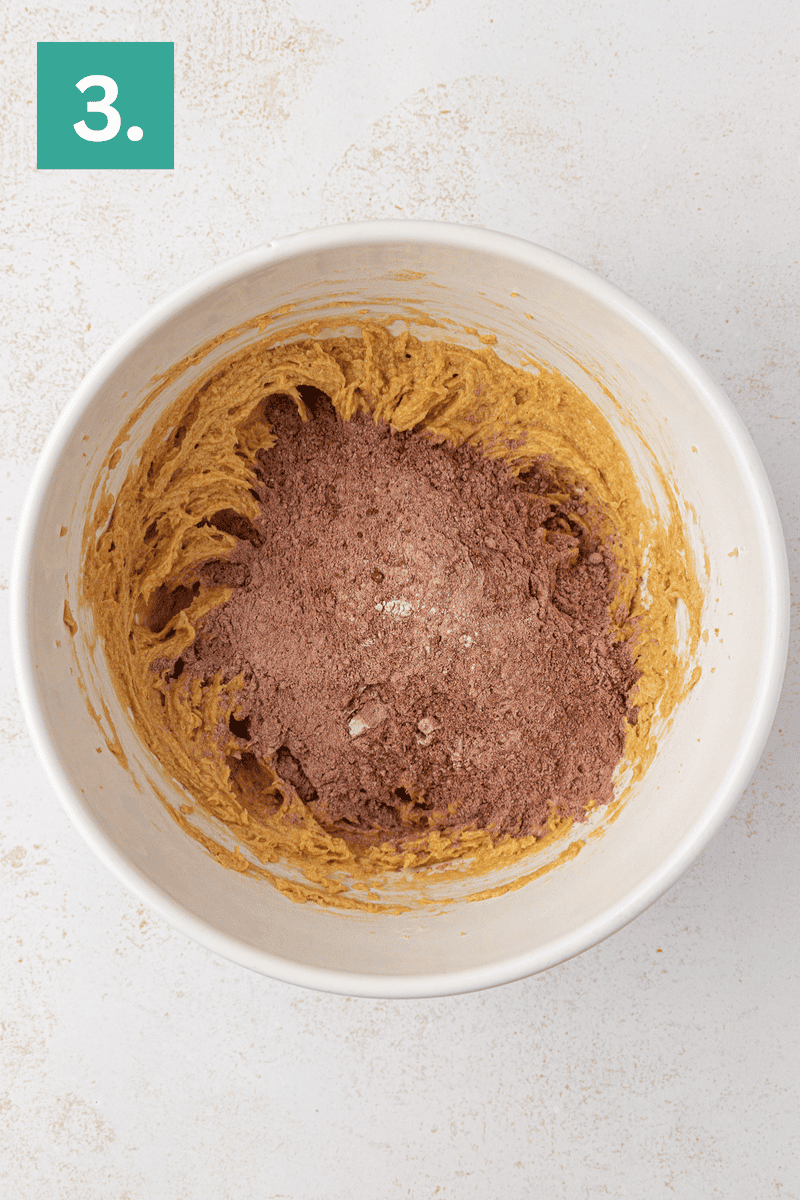
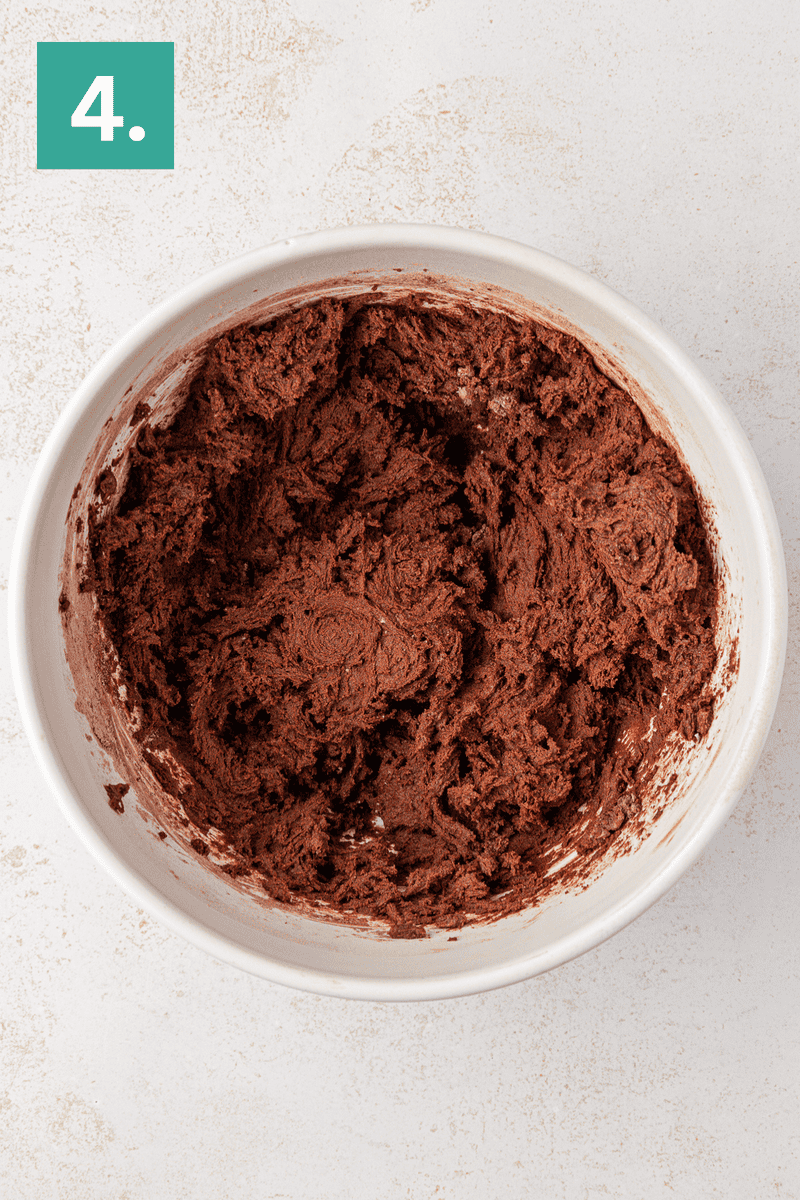
Combine wet and dry ingredients. Gradually add the dry mixture to the wet ingredients, mixing on low speed until just combined. The dough will be very thick.
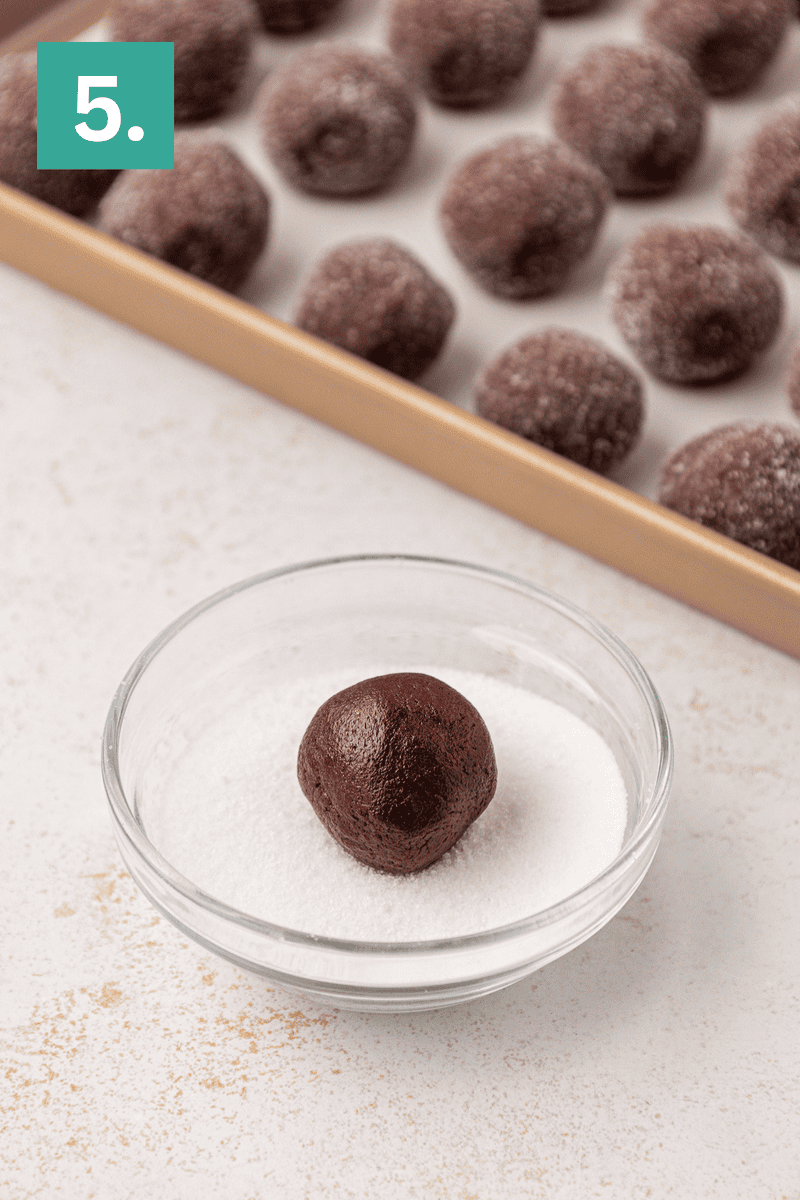
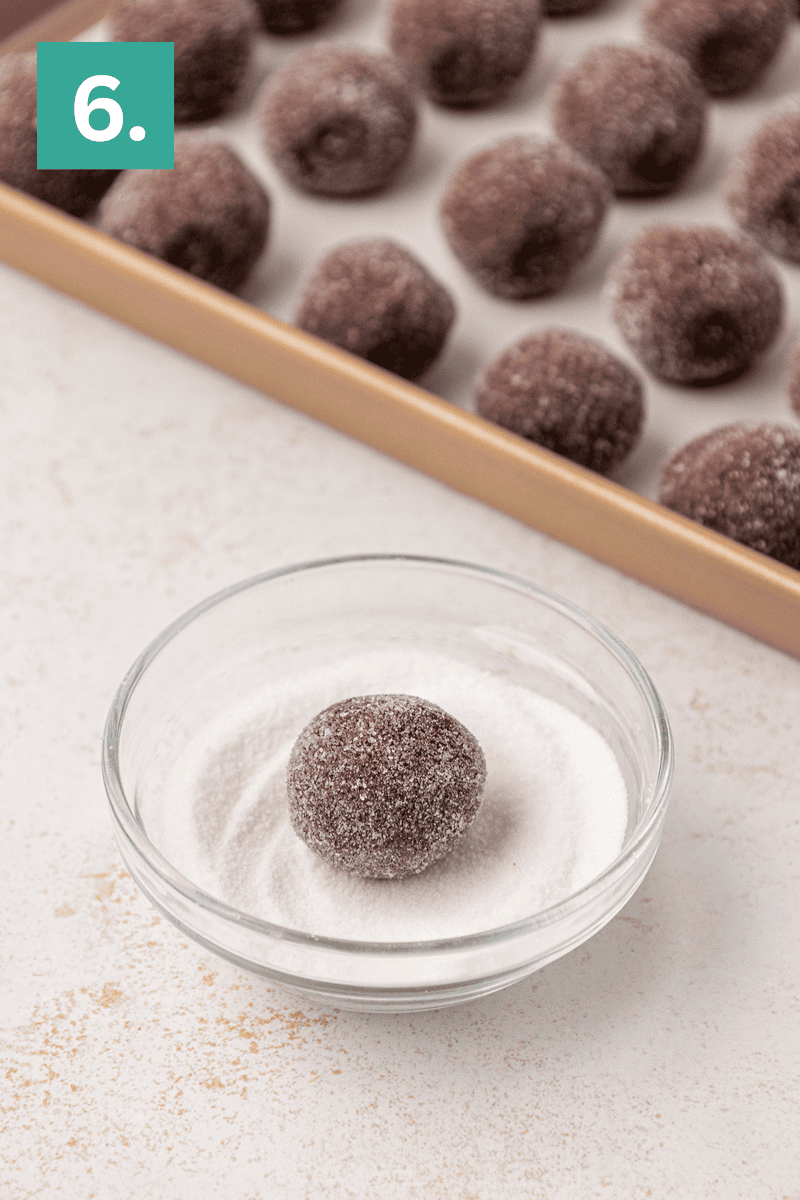
Form dough balls. Scoop 1 tablespoon of dough (use a #60 cookie scoop) and roll into smooth balls. Roll each ball in granulated sugar and place 2 inches apart on prepared baking sheets.
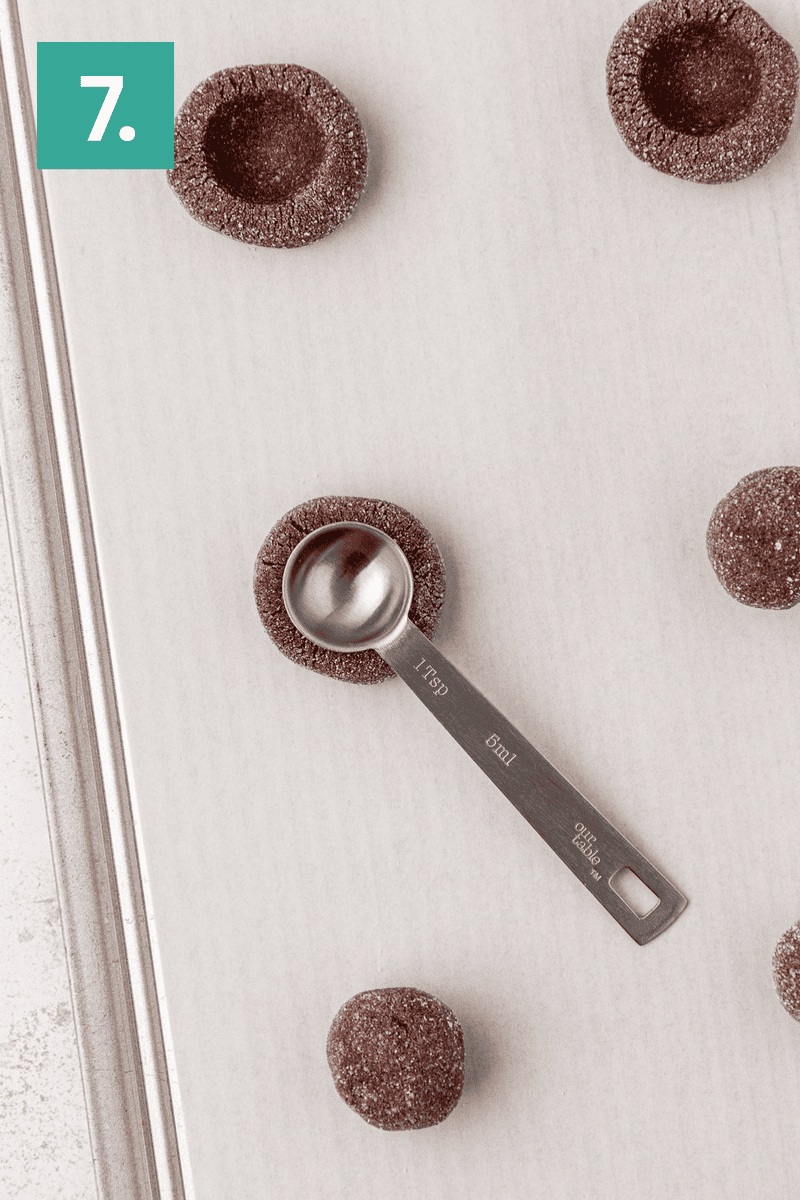

Press and chill cookies. Use the back of a teaspoon to press a divot into the center of each cookie before baking. Place the baking sheet in the freezer for 10 minutes to firm up the dough. You can freeze longer if needed.
Bake and finish. Preheat the oven to 350°F (177°C). Bake for 10-11 minutes or until the edges are set but the centers still look soft. Remove from the oven and immediately use the teaspoon again to gently deepen the center indentation as it disappears while baking.
Cool. Allow cookies to cool completely before filling.
For the Filling
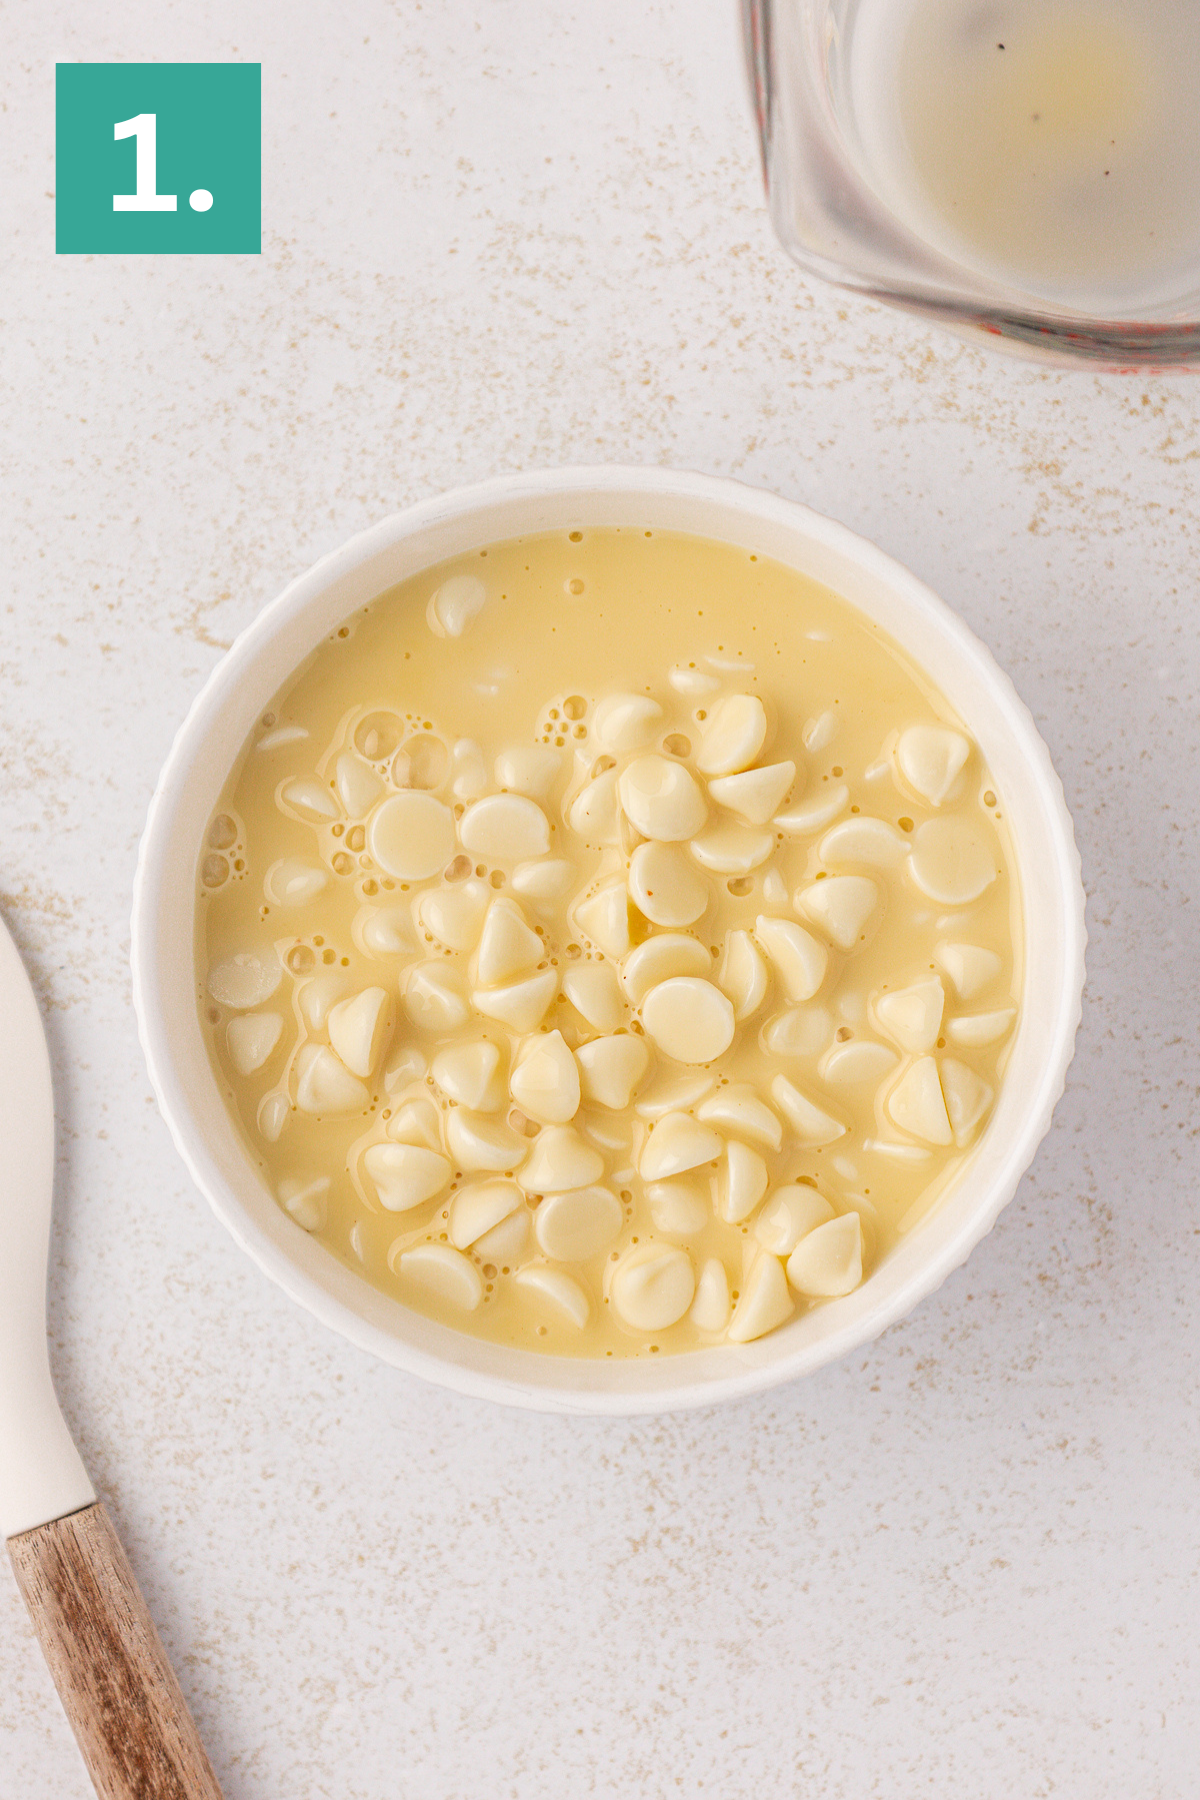

Combine filling ingredients. Place the white chocolate chips in a bowl. In a microwave-safe measuring cup, microwave the eggnog for 30 to 45 seconds, or until steaming and very hot. Pour the hot eggnog over the white chocolate chips and let it sit for 2 to 3 minutes. Stir until the chocolate is fully melted and the ganache is smooth. If needed, microwave the mixture in 10-second bursts to finish melting. Allow the ganache to set and thicken for at least 30 minutes. Speed up the process by putting it in the fridge.
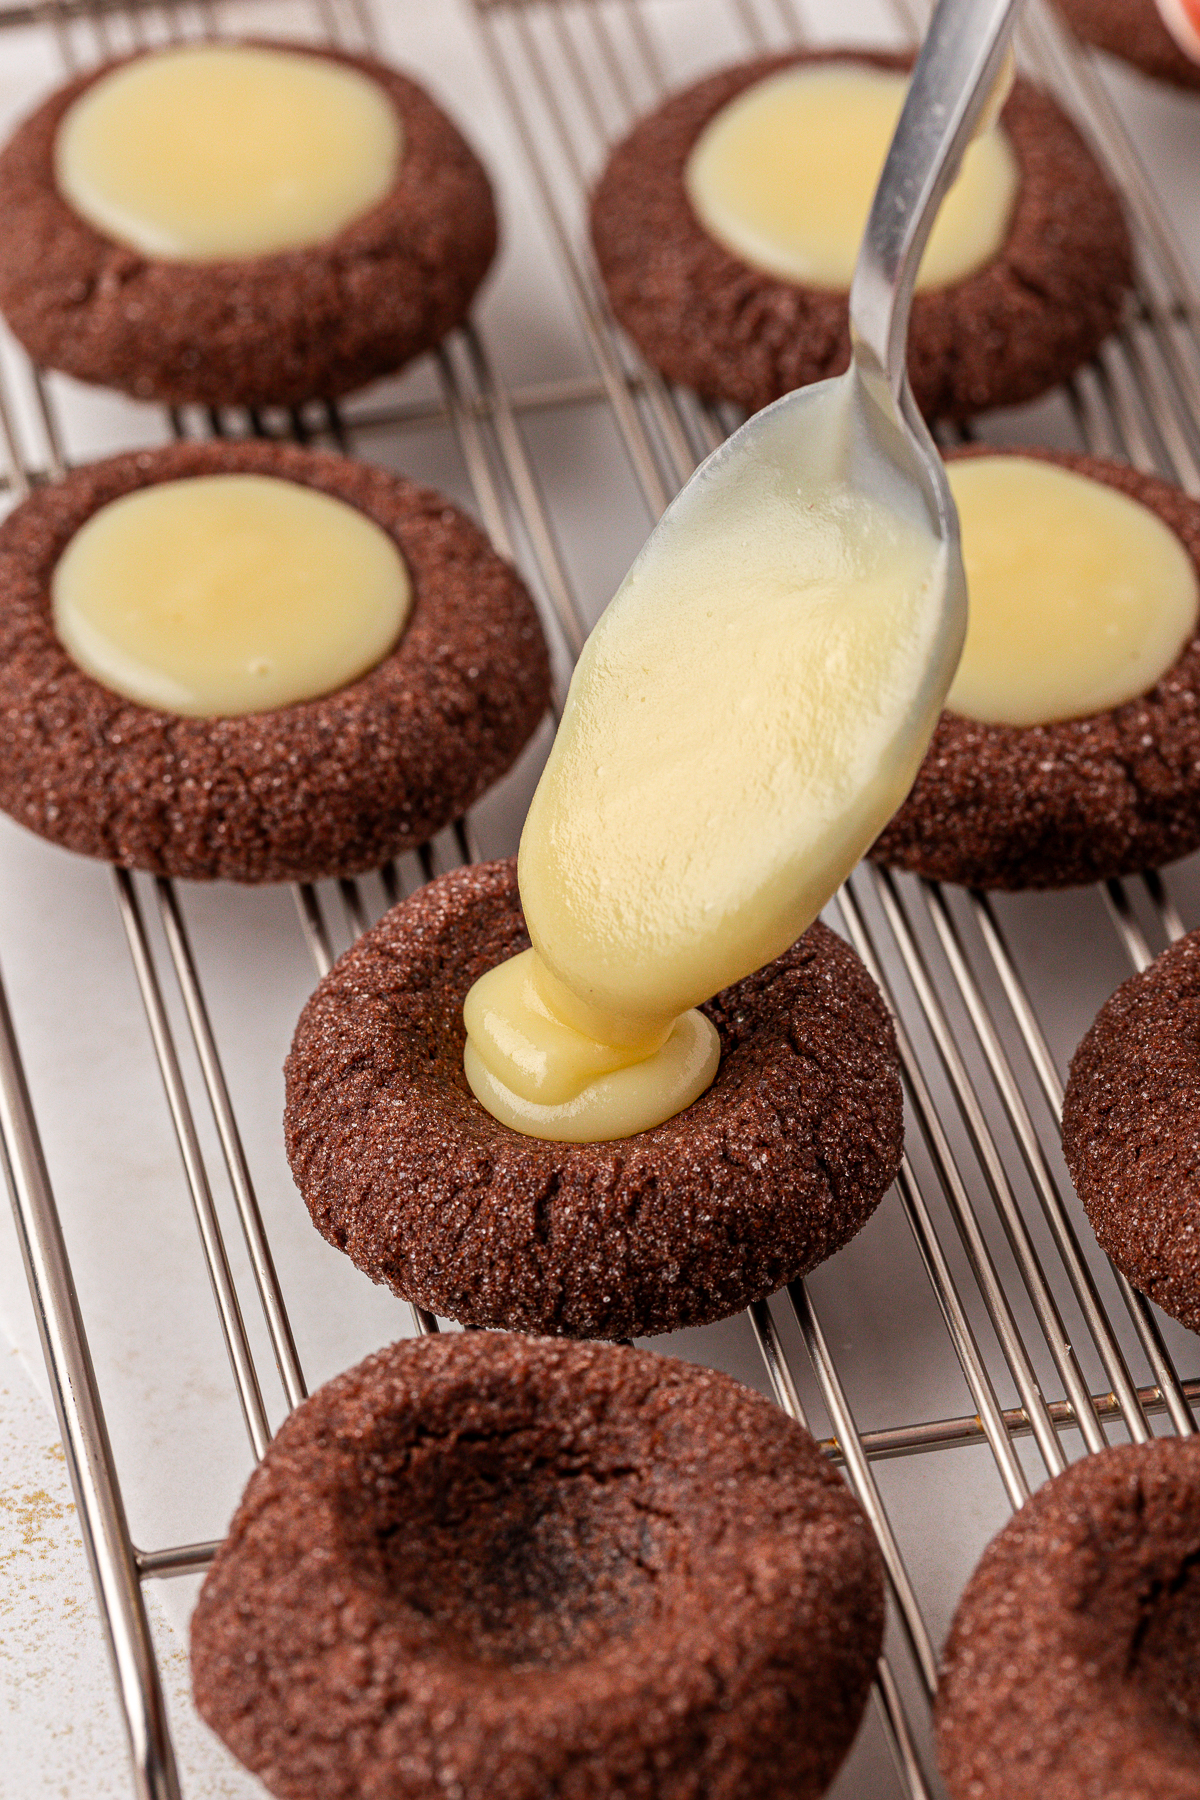
Add filling to cookies. Once thickened, spoon about 1 teaspoon of the eggnog ganache into the center of each cookie. Lightly dust the tops with ground nutmeg. Allow the ganache to set before serving or storing.
Equipment Needed
- Silicone Baking Mat (or parchment paper)
- Baking Sheets
- Electric Mixer
- Cookie Dough Scoop
More Thumbprint Cookie Recipes
- Chocolate Peanut Butter Thumbprint Cookies
- Black Forest Thumbprint Cookies
- Chocolate Orange Thumbprint Cookies
- Chocolate Peppermint Thumbprint Cookies
Tap stars to rate!
Eggnog Thumbprint Cookies
Ingredients
Cookies
- 1 ¾ cup (210g) all-purpose flour
- ½ cup (40g) Dutch-processed cocoa powder
- ½ tsp salt
- ½ tsp baking powder
- 1 tsp cornstarch
- ¾ cup (170g) unsalted butter
- 1 cup (213g) brown sugar
- 1 large egg
- 1 large egg yolk
- ¼ cup (50g) granulated sugar, for rolling
Filling
- 6 Tbsp eggnog
- 1 cup (170g) white chocolate chips
- Nutmeg, for dusting
Video
Instructions
Cookies
- Line baking sheets with parchment paper or silicone mats.
- In a medium bowl, whisk together the flour, cocoa powder, salt, baking powder, and cornstarch. Set aside.1 ¾ cup (210g) all-purpose flour, ½ cup (40g) Dutch-processed cocoa powder, ½ tsp salt, ½ tsp baking powder, 1 tsp cornstarch
- In a large mixing bowl, beat the butter and brown sugar on medium speed until light and fluffy, about 1–2 minutes.¾ cup (170g) unsalted butter, 1 cup (213g) brown sugar
- Beat in the egg and egg yolk for 30 seconds, scraping down the sides as needed.1 large egg, 1 large egg yolk
- Gradually add the dry mixture to the wet ingredients, mixing on low speed until just combined. The dough will be very thick.
- Scoop 1 tablespoon of dough (use a #60 cookie scoop) and roll into smooth balls. Roll each ball in granulated sugar and place 2 inches apart on prepared baking sheets.¼ cup (50g) granulated sugar
- Use the back of a teaspoon to press a divot into the center of each cookie before baking. Place the baking sheet in the freezer for 10 minutes to firm up the dough. You can freeze longer if needed.
- Preheat the oven to 350°F (177°C). Bake for 10-11 minutes or until the edges are set but the centers still look soft. Remove from the oven and immediately use the teaspoon again to gently deepen the center indentation as it disappears while baking.
- Allow cookies to cool completely before filling.
Filling
- Place the white chocolate chips in a bowl. In a microwave-safe measuring cup, microwave the eggnog for 30 to 45 seconds, or until steaming and very hot. Pour the hot eggnog over the white chocolate chips and let it sit for 2 to 3 minutes. Stir until the chocolate is fully melted and the ganache is smooth. If needed, microwave the mixture in 10-second bursts to finish melting. Allow the ganache to set and thicken for at least 30 minutes. Speed up the process by putting it in the fridge.6 Tbsp eggnog, 1 cup (170g) white chocolate chips
- Once thickened, spoon about 1 teaspoon of the eggnog ganache into the center of each cookie. Lightly dust the tops with ground nutmeg. Allow the ganache to set before serving or storing.Nutmeg
Notes


Haven’t made these yet. But let me just say…OMG I am in LOVE with the way you write your recipes with the ingredient amounts under the instructions. No more scrolling up and down and loosing your place. This makes me so happy 😊 its like a Christmas miracle.
Amazing recipe! I made these for cookie boxes but they didn’t make it to the box because they are too good. Well I have to make another batch I guess lol Thank you so much, Beth!