This post may contain affiliate links. Please read our disclosure policy.
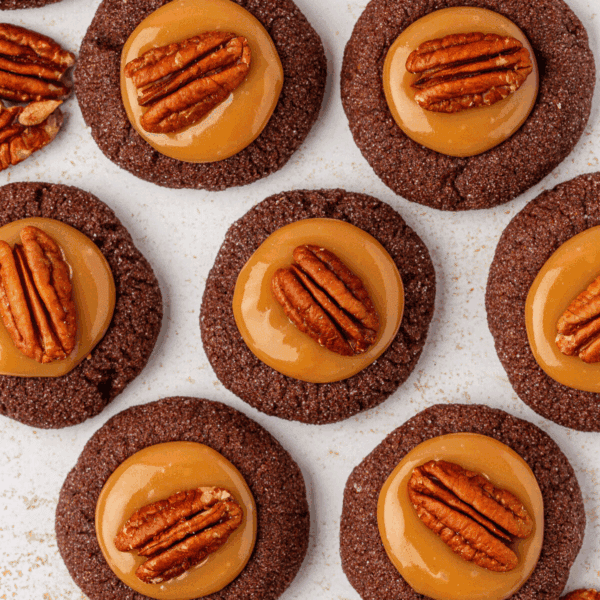
These chocolate peppermint thumbprint cookies taste like a cozy holiday brownie topped with creamy peppermint ganache. I tested the dough through several versions to make sure the thumbprint keeps its shape and stays soft. You can trust this recipe to give you festive, comforting cookies every time.

When I set out to create chocolate peppermint thumbprint cookies, I started with the same chocolate cookie base that kicked off this whole series. It is chewy and rich and has performed beautifully in so many of my tests, so I hoped it would work again here.
But when I baked the first batch, the indent completely vanished and the cookies spread into smooth chocolate circles. Even after freezing the dough for thirty minutes, the thumbprint still disappeared which meant I needed a new dough formula built specifically for thumbprints.

I rebuilt the dough step by step. I increased the flour for strength, used baking powder for a little lift, kept the cornstarch for stability, and switched from a whole egg to two yolks since I removed the corn syrup.
The first test was too dry and cracked the moment I pressed in the teaspoon. The second was still dry even after adding more butter and changing the sugar ratio.
The breakthrough came when I added an additional yolk. That simple change created a soft, stable dough that kept its shape and baked perfectly every time.

Once the base was dialed in, I developed the peppermint filling. I wanted something smooth, chocolatey, and balanced without tasting like a candy cane explosion. So I created a chocolate peppermint ganache, testing different ratios until the consistency stayed creamy but thick enough to nestle in the thumbprint.
A sprinkle of crushed candy cane on top adds the perfect crunch and holiday sparkle. Every step was tested on purpose so home bakers can trust that these cookies bake soft, stay shaped, and deliver the exact peppermint chocolate flavor you want.
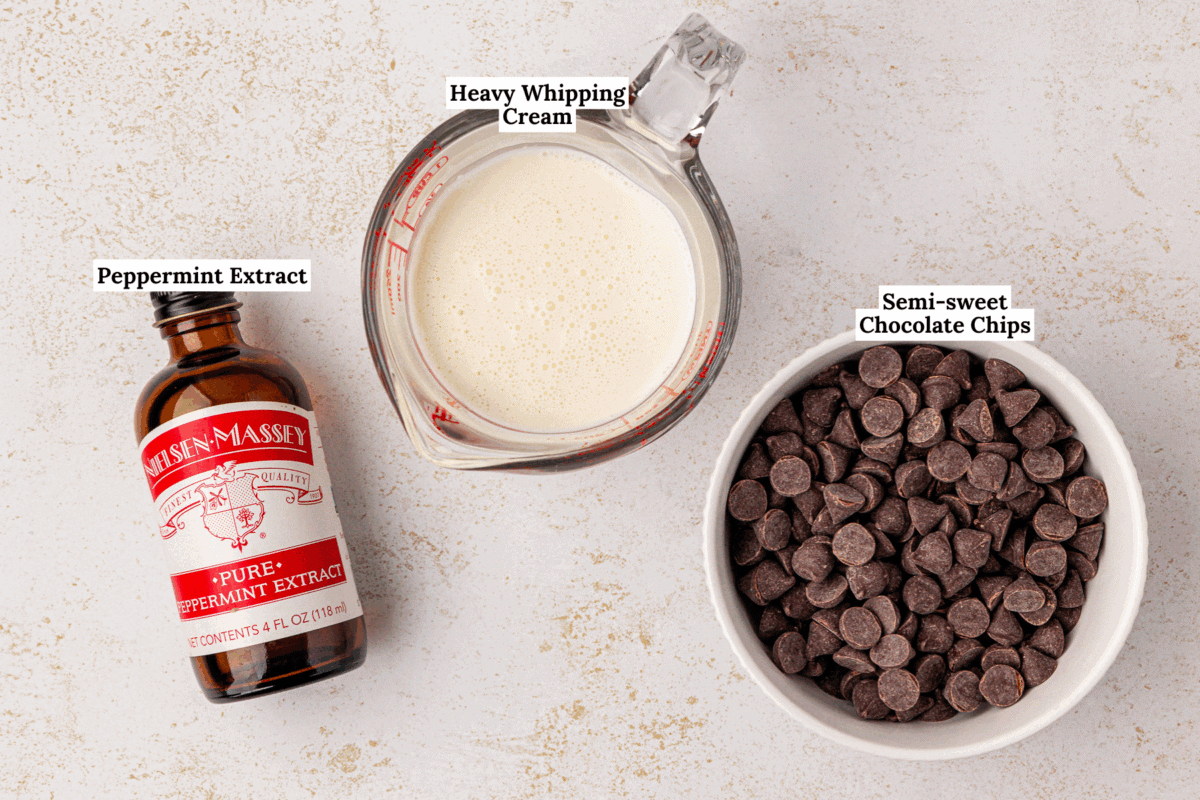
Essential Ingredients and Why They Matter
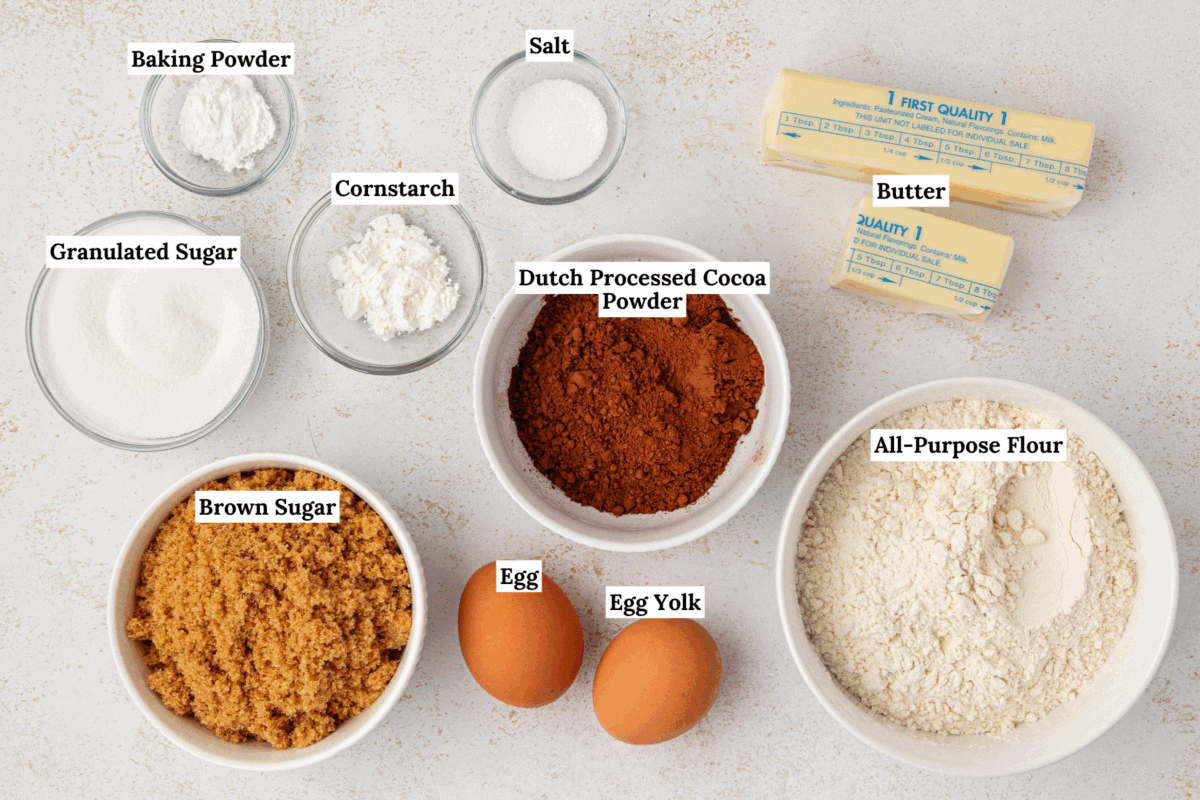
These are the key ingredients that make this recipe and here I explain their purpose. You can also jump to the recipe card for the full recipe.
- Dutch processed cocoa powder: Creates a deep chocolate flavor and gives the cookies a rich color and smooth texture.
- Brown sugar: Adds moisture, chew, and a warm caramel note that pairs perfectly with the filling.
- Butter: Provides flavor, tenderness, and helps create a soft crumb that still holds its shape.
- Cornstarch: Gives the dough stability so the thumbprint shape stays defined while baking.
- Egg yolks: Add fat and richness which keeps the cookies soft and prevents cracking.
- Semi sweet chocolate chips: Form the base of the peppermint ganache and melt into a smooth, glossy filling.
- Peppermint extract: Adds cool mint flavor without overpowering the chocolate.
- Crushed candy cane: Gives the cookies texture, sparkle, and that classic holiday crunch.
How to Make Chocolate Peppermint Thumbprints
Cookies that are the perfect combination of peppermint and chocolate? Yes, please! Follow these simple steps, or you can jump to the recipe card for the full recipe.
For the Cookies
Prep baking sheets. Line baking sheets with parchment paper or silicone mats.
Combine dry ingredients. In a medium bowl, whisk together the flour, cocoa powder, salt, baking powder, and cornstarch. Set aside.
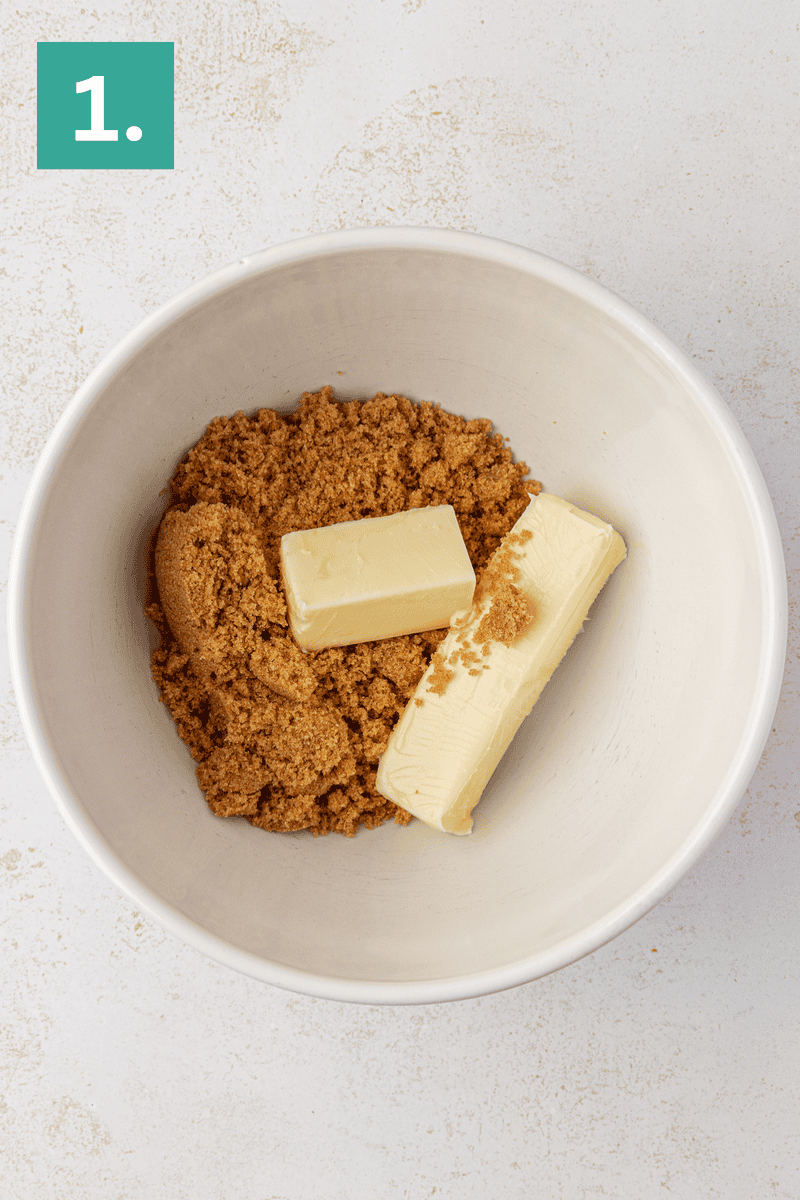
Beat butter and sugar. In a large mixing bowl, beat the butter and brown sugar on medium speed until light and fluffy, about 1–2 minutes.
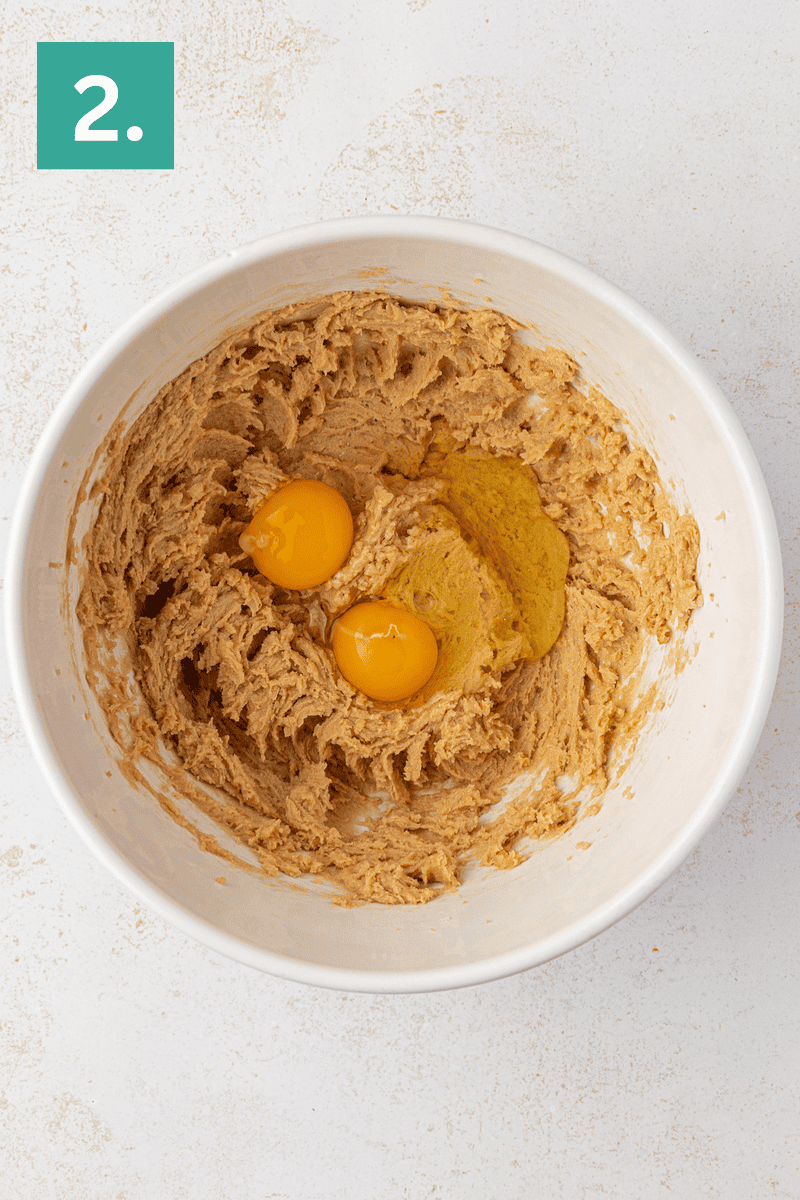
Add in eggs. Beat in the egg and egg yolk for 30 seconds, scraping down the sides as needed.
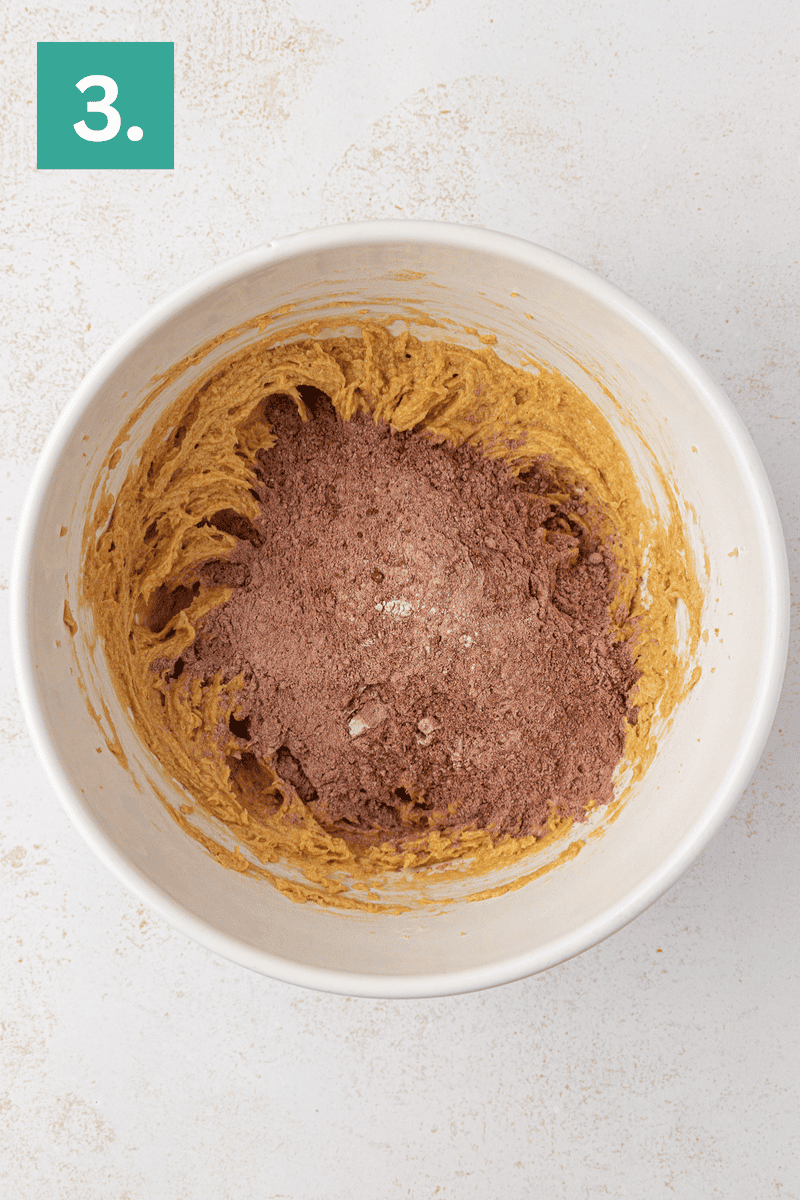
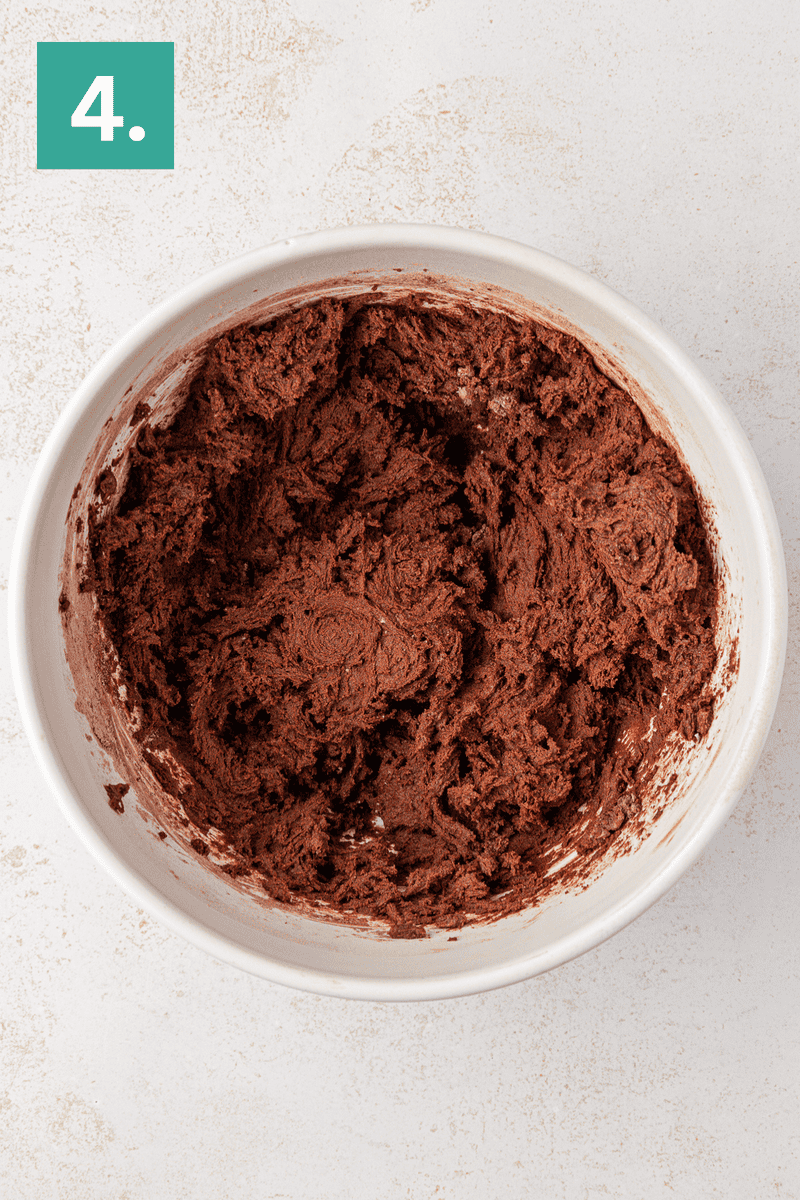
Combine wet and dry ingredients. Gradually add the dry mixture to the wet ingredients, mixing on low speed until just combined. The dough will be very thick.
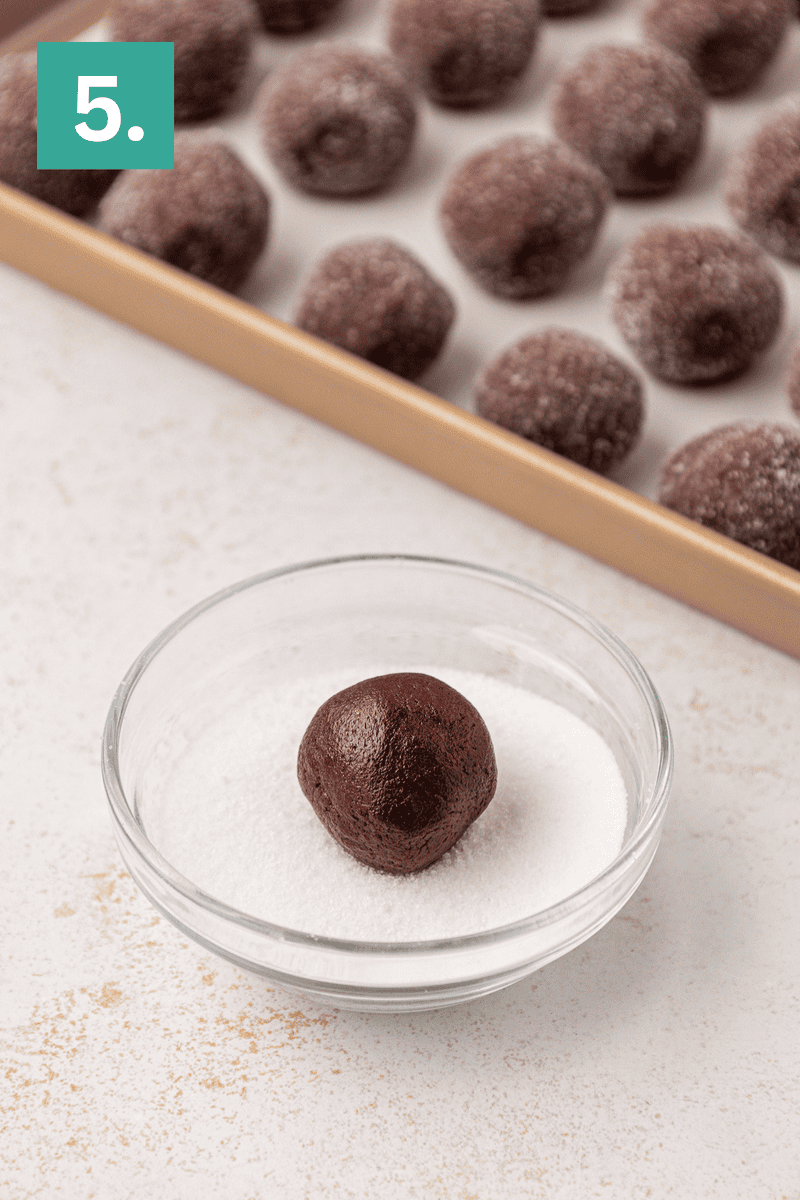
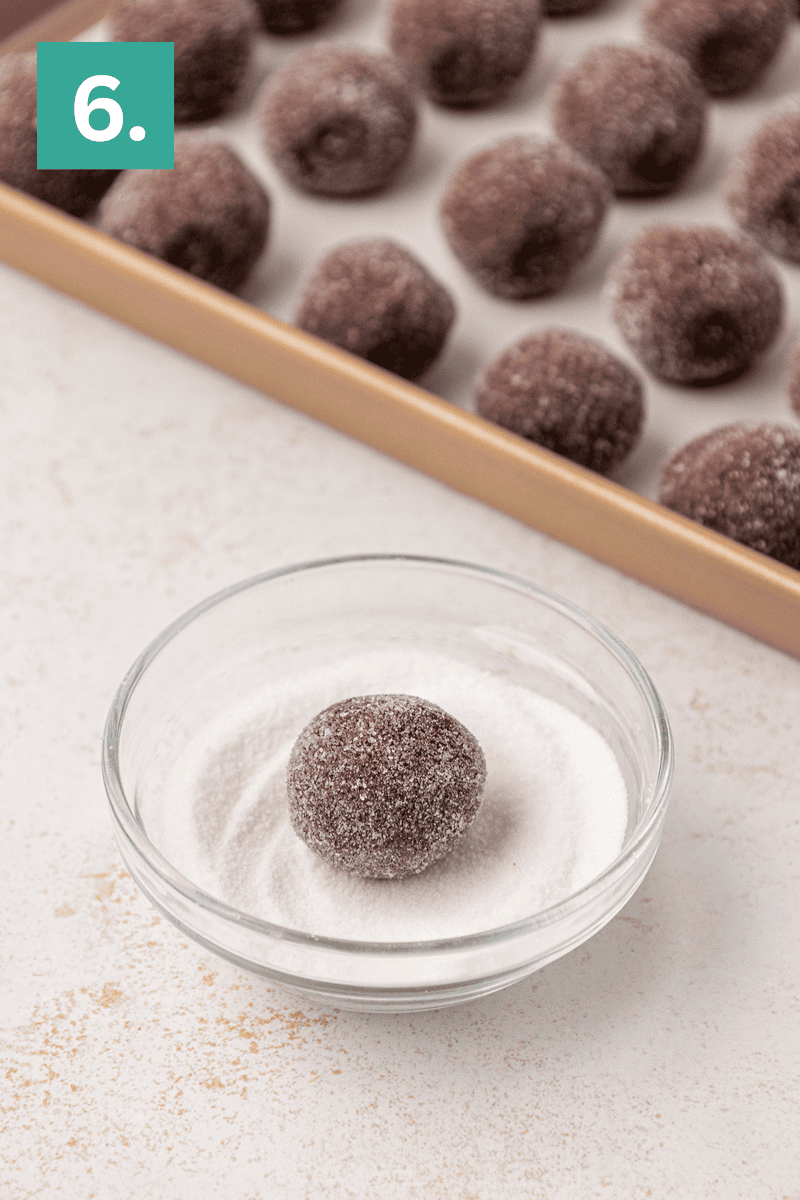
Form dough balls. Scoop 1 tablespoon of dough (use a #60 cookie scoop) and roll into smooth balls. Roll each ball in granulated sugar and place 2 inches apart on prepared baking sheets.
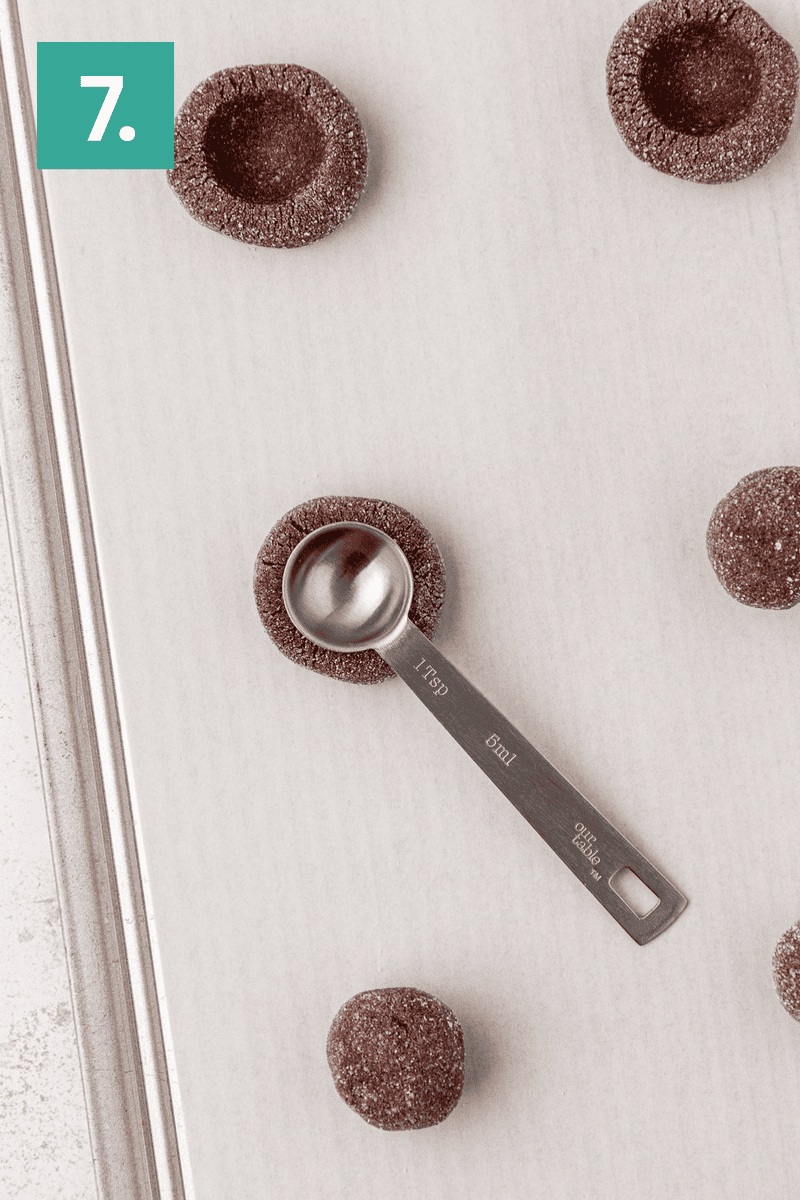
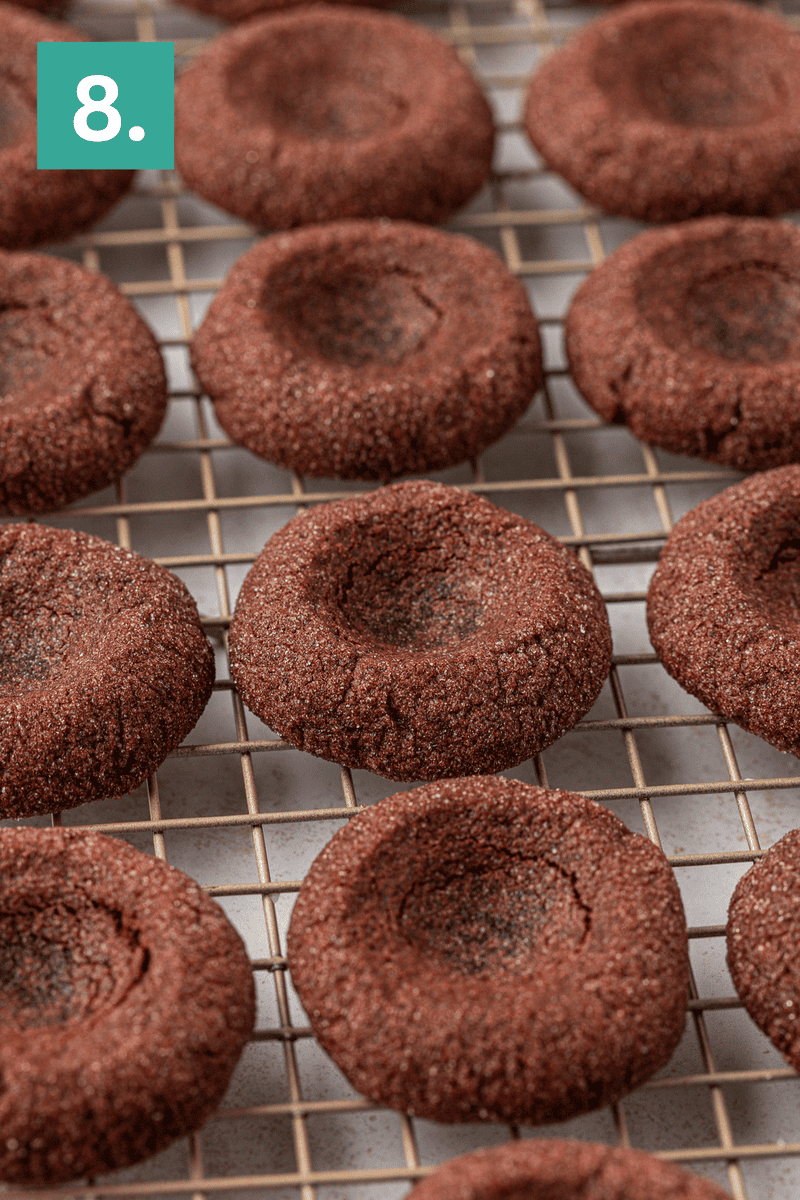
Press and chill cookies. Use the back of a teaspoon to press a divot into the center of each cookie before baking. Place the baking sheet in the freezer for 10 minutes to firm up the dough. You can freeze longer if needed.
Bake and finish. Preheat the oven to 350°F (177°C). Bake for 10-11 minutes or until the edges are set but the centers still look soft. Remove from the oven and immediately use the teaspoon again to gently deepen the center indentation as it disappears while baking.
Cool. Allow cookies to cool completely before filling.
For the Filling
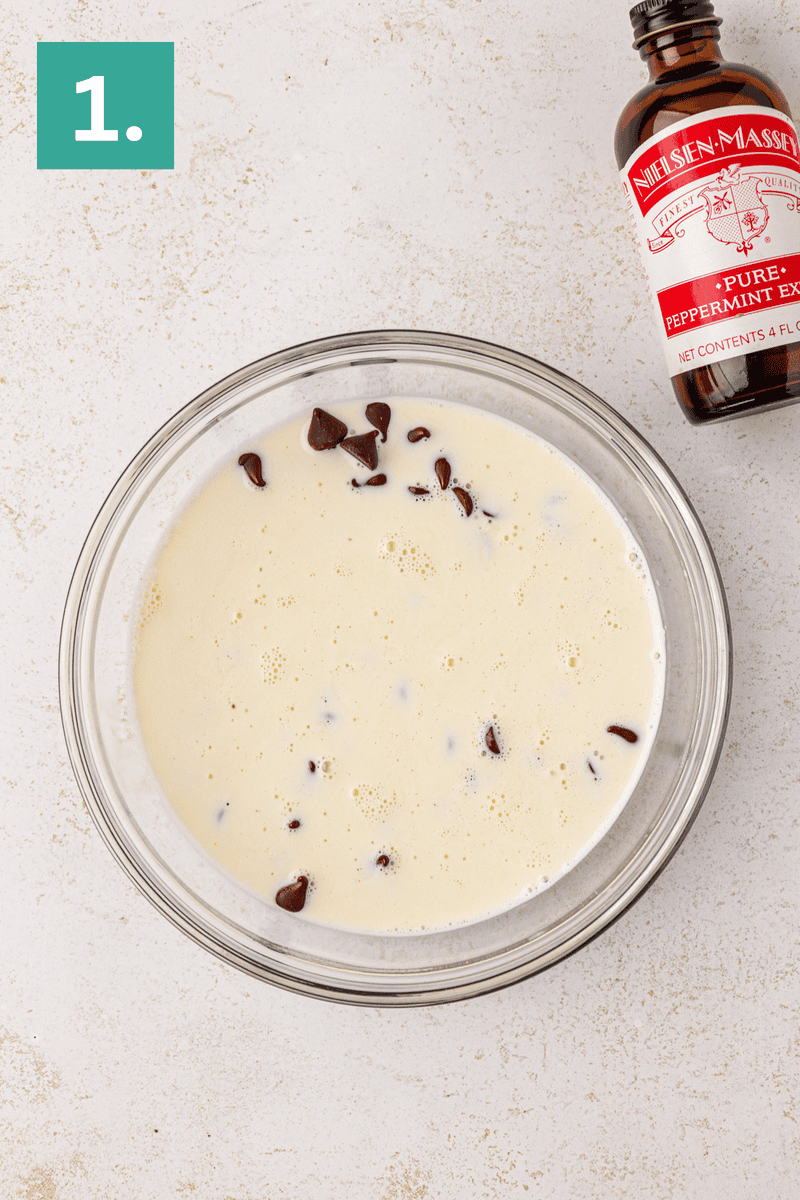
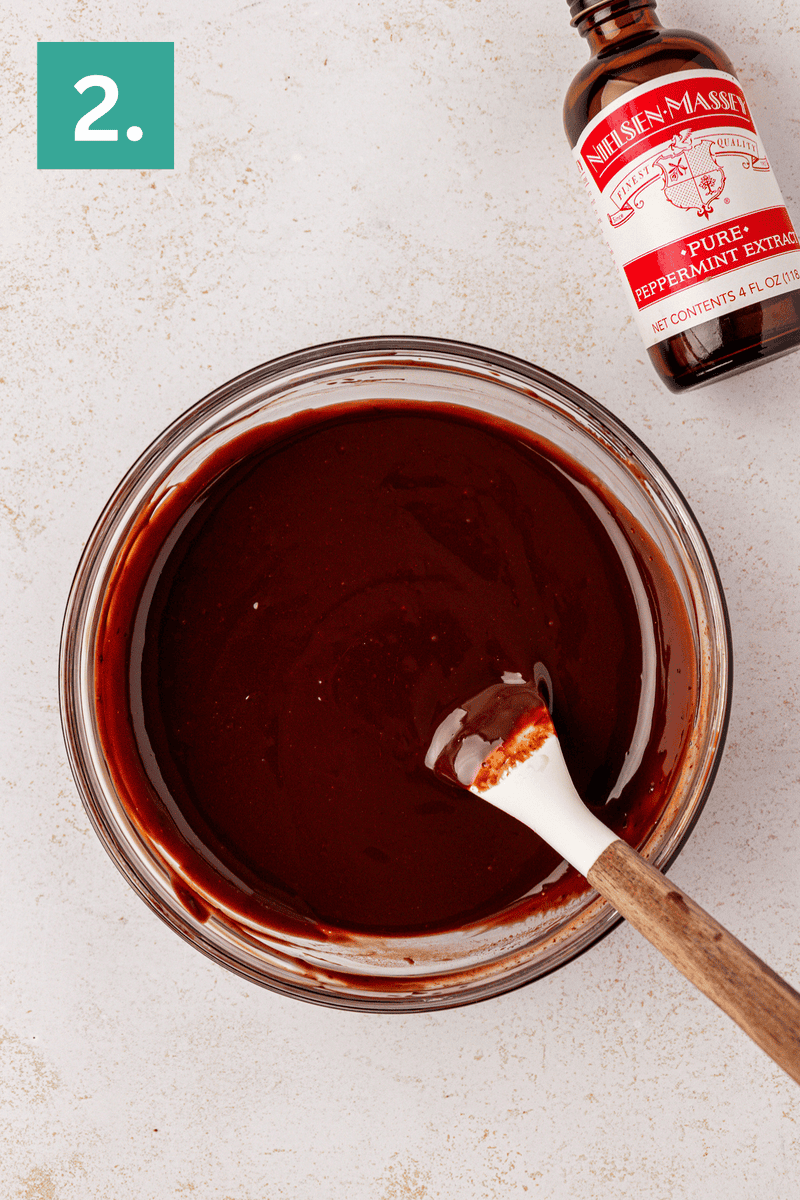
Combine filling ingredients. Place the chocolate chips in a bowl. In a separate microwave-safe measuring cup, microwave the heavy whipping cream for 45 to 60 seconds, or until steaming and very hot. Pour the cream over the chocolate chips and let it sit for 2 to 3 minutes. Stir until the chocolate is fully melted and the ganache is smooth. Stir in the peppermint extract. Let the ganache cool for 10 to 15 minutes, or until it thickens slightly but is still spoonable.
Add filling to cookies. Spoon about 1 teaspoon of ganache into the center of each cookie. Immediately sprinkle the tops with crushed candy canes so they stick to the warm ganache. Let the cookies sit until the ganache sets.

Equipment Needed
- Silicone Baking Mat (or parchment paper)
- Baking Sheets
- Electric Mixer
- Cookie Dough Scoop
More Chocolate Peppermint Recipes
- Peppermint Oreo Balls
- Chocolate Peppermint Cookies
- Peppermint Bark Pretzels
- Chocolate Peppermint Bark

Tap stars to rate!
Chocolate Peppermint Thumbprint Cookies
Ingredients
Cookies
- 1 ¾ cup (210g) all-purpose flour
- ½ cup (40g) Dutch-processed cocoa powder
- ½ tsp salt
- ½ tsp baking powder
- 1 tsp cornstarch
- ¾ cup (170g) unsalted butter
- 1 cup (213g) brown sugar
- 1 large egg
- 1 large egg yolk
- ¼ cup (50g) granulated sugar, for rolling
Filling
- ½ cup (113g) heavy whipping cream
- 1 cup (170g) semi-sweet chocolate chips
- ⅛ tsp peppermint extract
- Crushed candy canes, for dusting the top
Video
Instructions
Cookies
- Line baking sheets with parchment paper or silicone mats.
- In a medium bowl, whisk together the flour, cocoa powder, salt, baking powder, and cornstarch. Set aside.1 ¾ cup (210g) all-purpose flour, ½ cup (40g) Dutch-processed cocoa powder, ½ tsp salt, ½ tsp baking powder, 1 tsp cornstarch
- In a large mixing bowl, beat the butter and brown sugar on medium speed until light and fluffy, about 1–2 minutes.¾ cup (170g) unsalted butter, 1 cup (213g) brown sugar
- Beat in the egg and egg yolk for 30 seconds, scraping down the sides as needed.1 large egg, 1 large egg yolk
- Gradually add the dry mixture to the wet ingredients, mixing on low speed until just combined. The dough will be very thick.
- Scoop 1 tablespoon of dough (use a #60 cookie scoop) and roll into smooth balls. Roll each ball in granulated sugar and place 2 inches apart on prepared baking sheets.¼ cup (50g) granulated sugar
- Use the back of a teaspoon to press a divot into the center of each cookie before baking. Place the baking sheet in the freezer for 10 minutes to firm up the dough. You can freeze longer if needed.
- Preheat the oven to 350°F (177°C). Bake for 10-11 minutes or until the edges are set but the centers still look soft. Remove from the oven and immediately use the teaspoon again to gently deepen the center indentation as it disappears while baking.
- Allow cookies to cool completely before filling.
Filling
- Place the chocolate chips in a bowl. In a separate microwave-safe measuring cup, microwave the heavy whipping cream for 45 to 60 seconds, or until steaming and very hot. Pour the cream over the chocolate chips and let it sit for 2 to 3 minutes. Stir until the chocolate is fully melted and the ganache is smooth. Stir in the peppermint extract. Let the ganache cool for 10 to 15 minutes, or until it thickens slightly but is still spoonable.½ cup (113g) heavy whipping cream, 1 cup (170g) semi-sweet chocolate chips, ⅛ tsp peppermint extract
- Spoon about 1 teaspoon of ganache into the center of each cookie. Immediately sprinkle the tops with crushed candy canes so they stick to the warm ganache. Let the cookies sit until the ganache sets.
Notes




These are so good! The cookie is the perfect- soft, but a little chewy and the filling is delicious. My ganache took a little while to set up, but the second day it was perfect and the peppermint flavor was even better. I so appreciate all the testing you do so that I know when I fix one of your recipes that it is going to turn out so good for me!
The BEST Christmas cookie! My family can’t stay away from these. They are delicious! These are my new staple cookie recipe for every Christmas moving forward.