This post may contain affiliate links. Please read our disclosure policy.
I’ve tested and perfected these classic thumbprint cookies until they are so good, that I’m wondering why we only tend to make these around the holidays!?
With less than 10 simple ingredients, I’ll teach you how to make buttery cookies with a sweet jam center that leaves your friends and family begging for more.

These were delicious! First time ever making a thumbprint cookie. My daughter thought I bought them! They came out perfect.
-Linda
These Simple Jam Thumbprint Cookies are a holiday staple.
These are seriously the best thumbprint cookies. When people think of thumbprint cookies, they often think these are only holiday cookies. While they are the perfect cookies to enjoy at Christmas time, you won’t forget them the rest of the year once you try this classic thumbprint cookie recipe!
These are great for a cookie exchange, a cookie platter for parties, bake sales, and any time you’re just craving a really good cookie. When you follow my step-by-step guide below, you’ll see just how easy it is to make perfect buttery thumbprint cookies any time!
What are thumbprint cookies?
Thumbprint cookies are buttery cookies with a small indentation, often made by pressing a thumb into the dough, filled with jam, chocolate, or other sweet fillings.
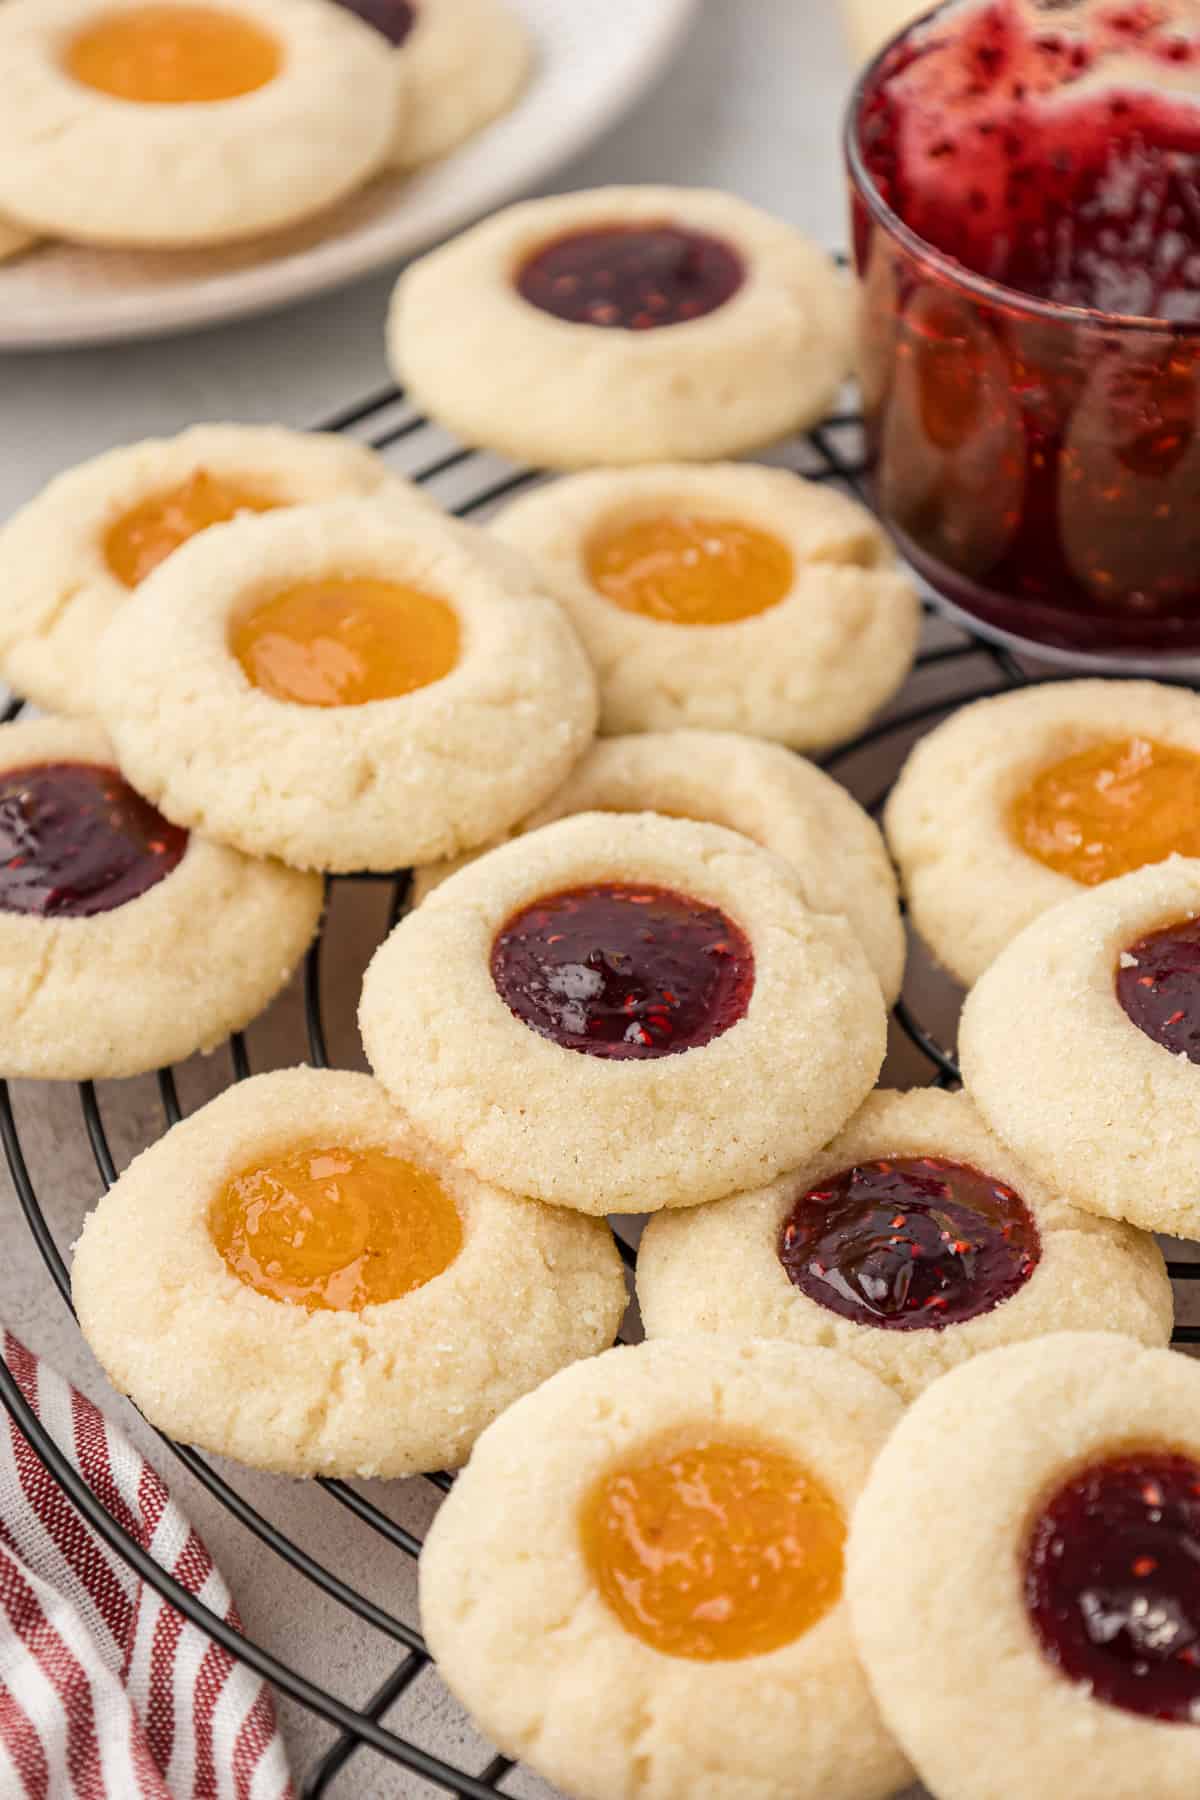
Why you will love these Jelly Thumbprint Cookies
There are so many reasons to love this recipe. Here are a few:
- Very easy recipe
- Under 10 basic ingredients
- Prepped and cooked in under 30 minutes
- Customize with your favorite jam
- Perfect for Christmas season or any time of year
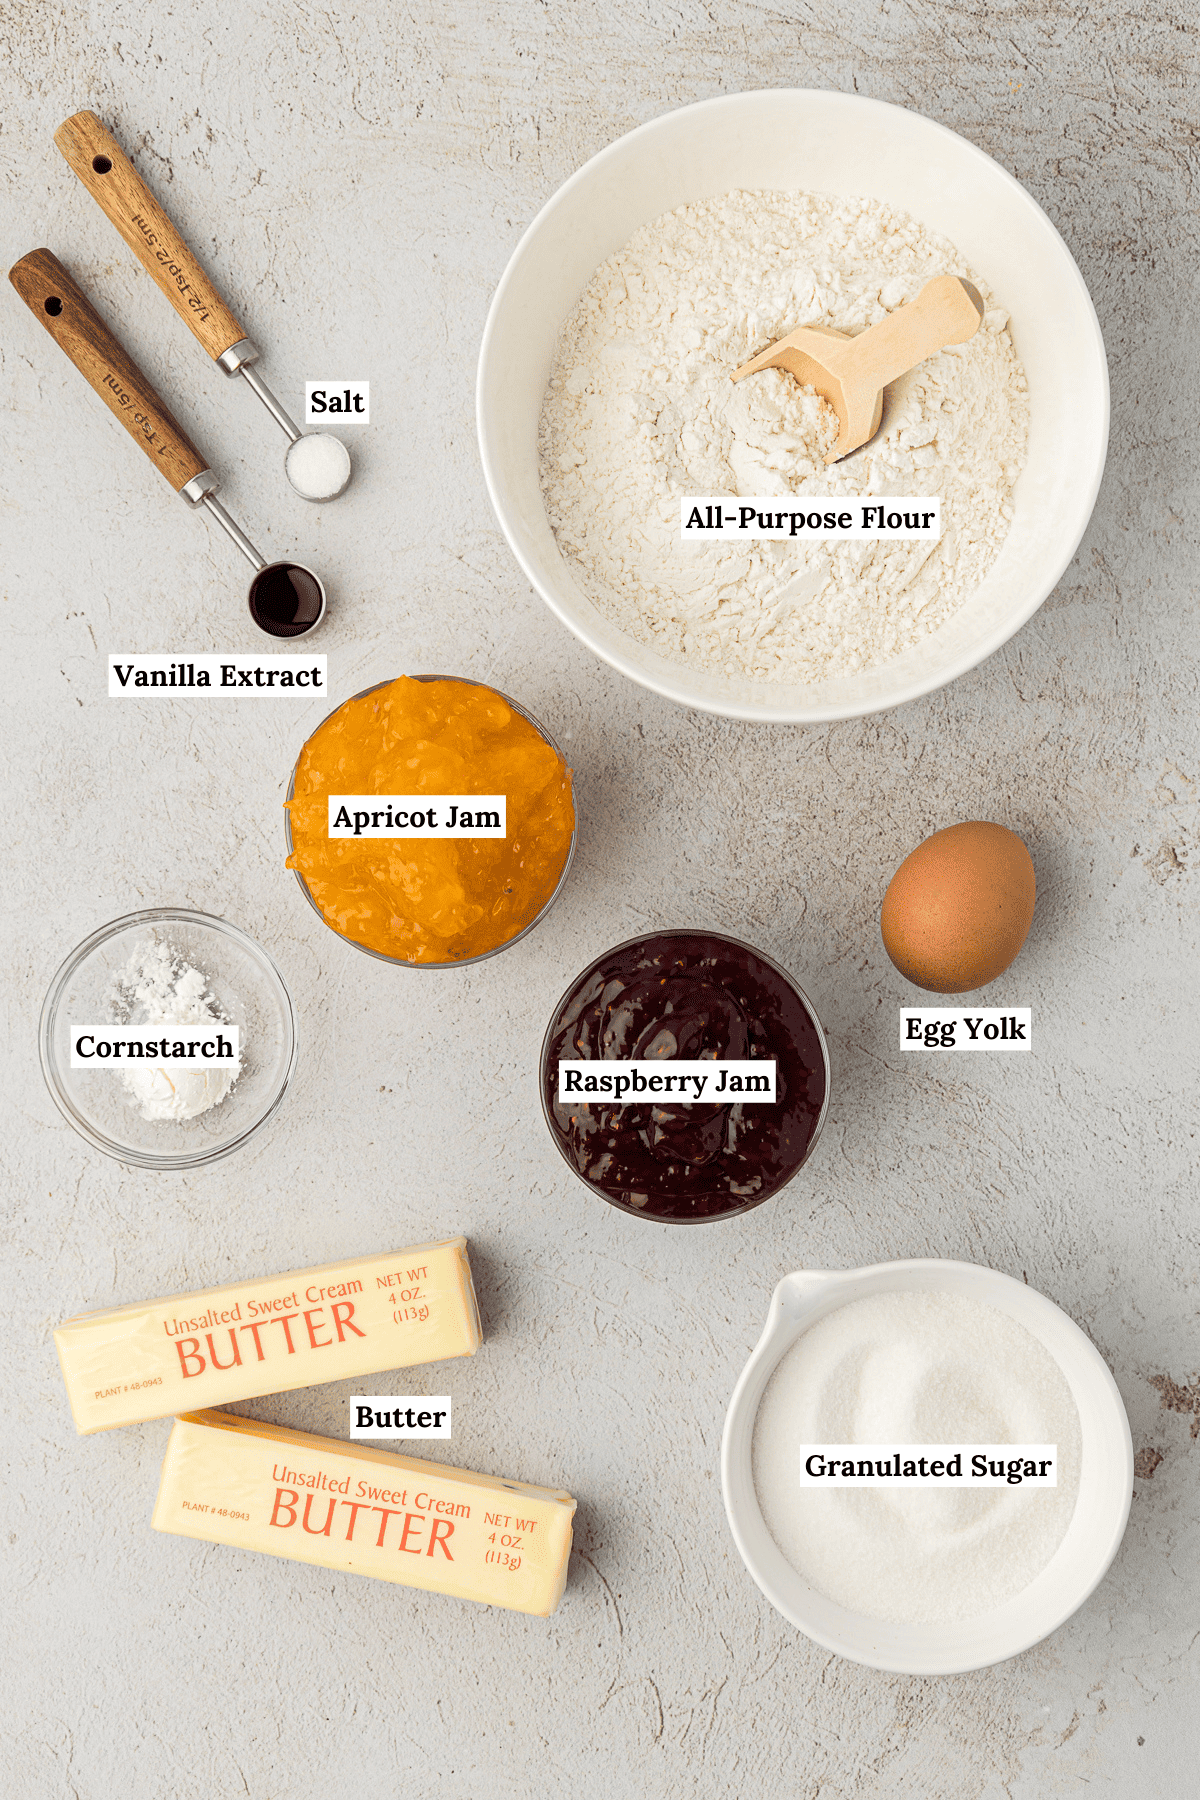
Ingredients for Raspberry Thumbprint Cookies
I love cookie recipes that don’t require tons of special ingredients or extra steps, making this one a winner! Get the full recipe with measurements and ingredients in the recipe card below.
- Unsalted butter: softened
- Granulated sugar
- Egg yolk
- Vanilla extract
- All-purpose flour
- Cornstarch
- Salt
- Jam
For Rolling Cookies
- Granulated sugar
How to make Thumbprint Cookies with Jam
When you follow my step-by-step guide to make these easy jam thumbprint cookies, you can’t go wrong!
- Prep oven and baking sheet. Preheat your oven to 350°F (175°C). Line a baking sheet with parchment paper or a silicone baking mat.
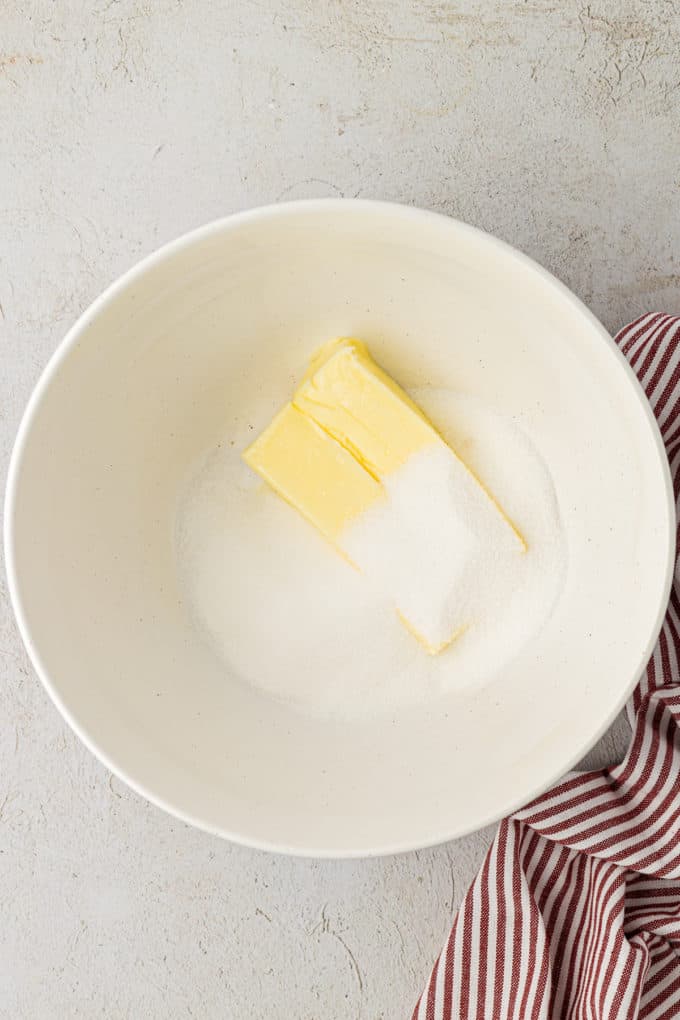
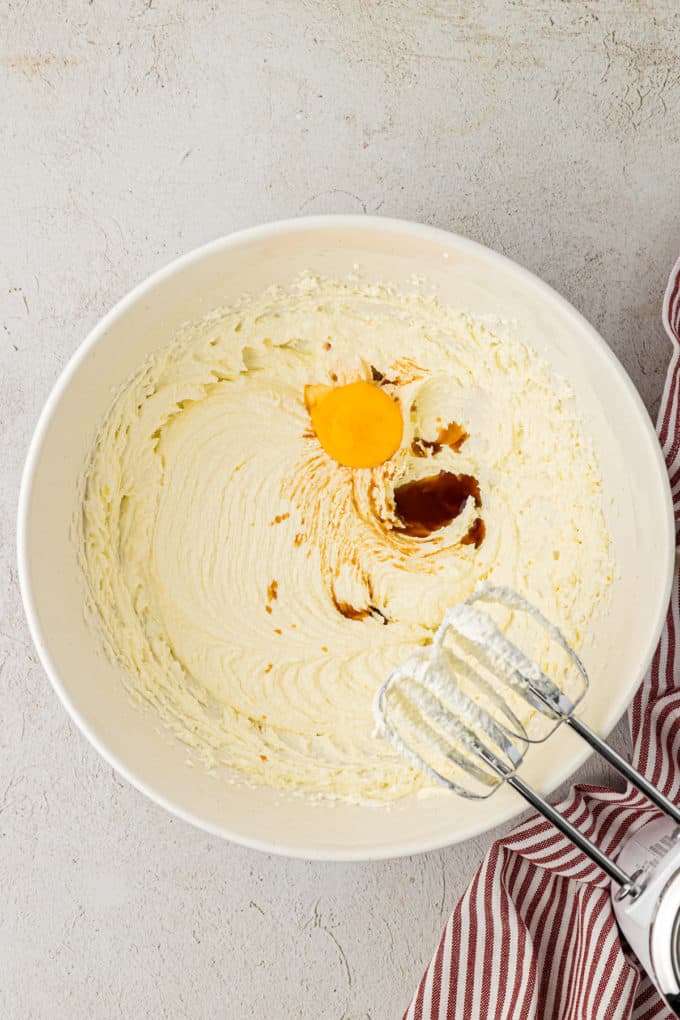
- Mix butter and sugar. In a large mixing bowl, cream together the softened butter and granulated sugar until the mixture is light and fluffy, about 1-2 minutes. This can be done using a hand mixer or a stand mixer.
- Add egg. Beat in the egg yolk and vanilla extract until well combined.
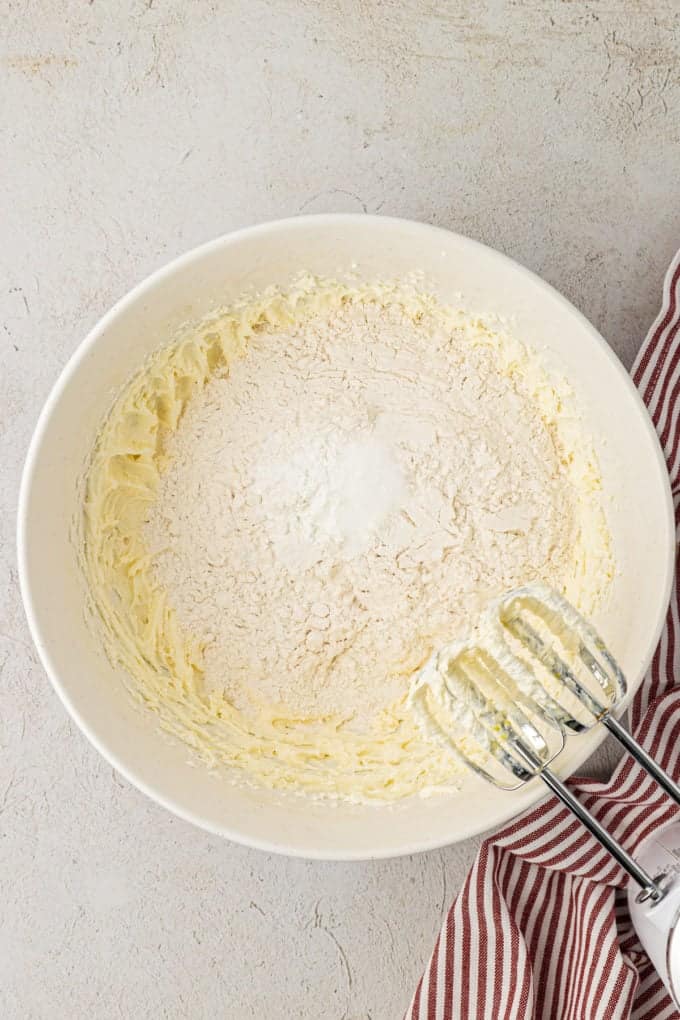
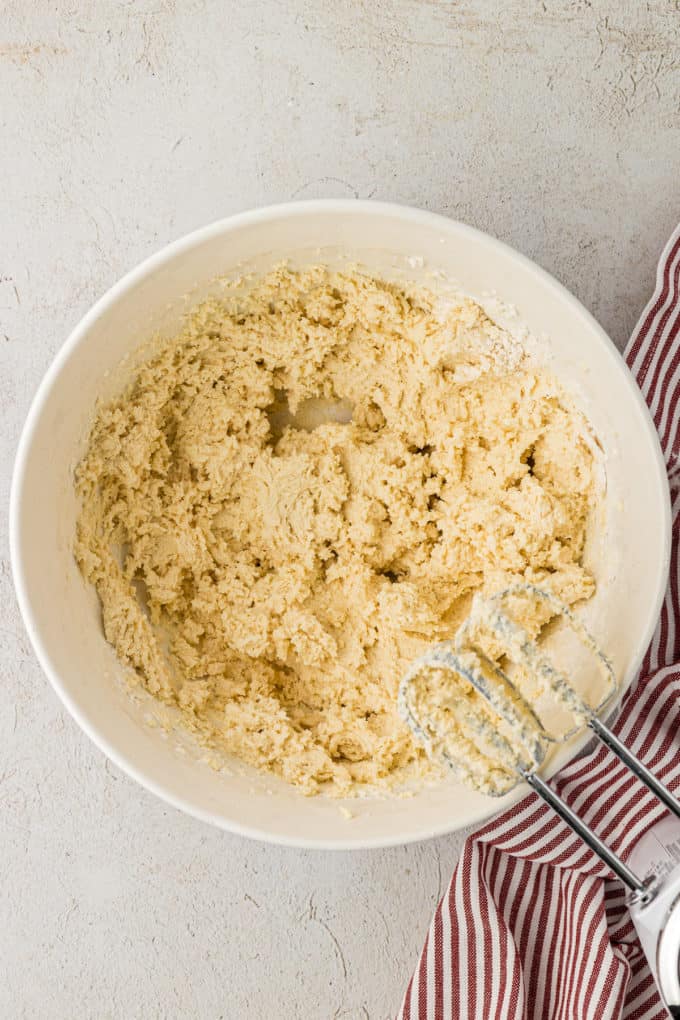
- Add dry ingredients. Add the all-purpose flour, cornstarch and salt. Mix on low until a soft cookie dough forms. Be careful not to overmix; just mix until the ingredients are combined.
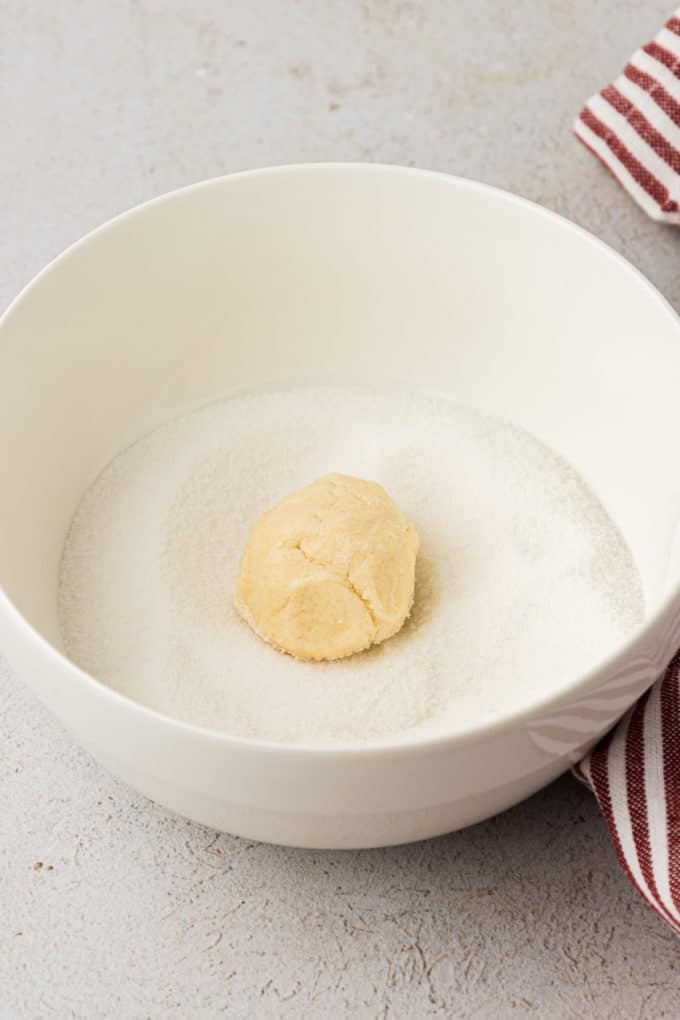
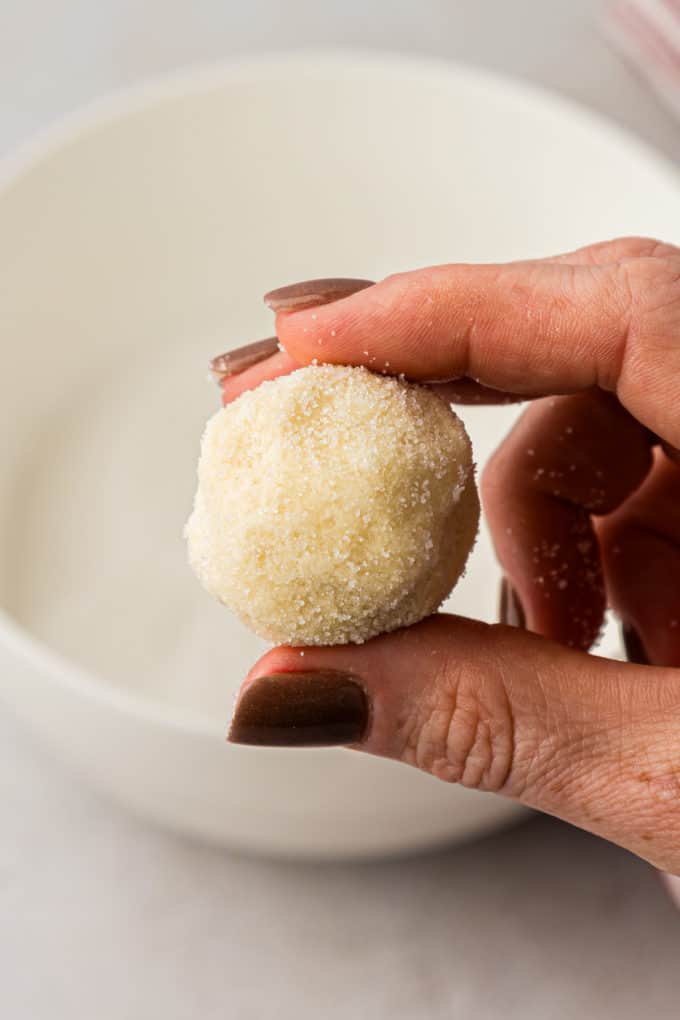
- Form balls. Shape the cookie dough into 1-inch balls. You can use a cookie scoop or your hands for this.
- Roll in sugar. Roll each cookie dough ball in granulated sugar until it’s coated evenly.
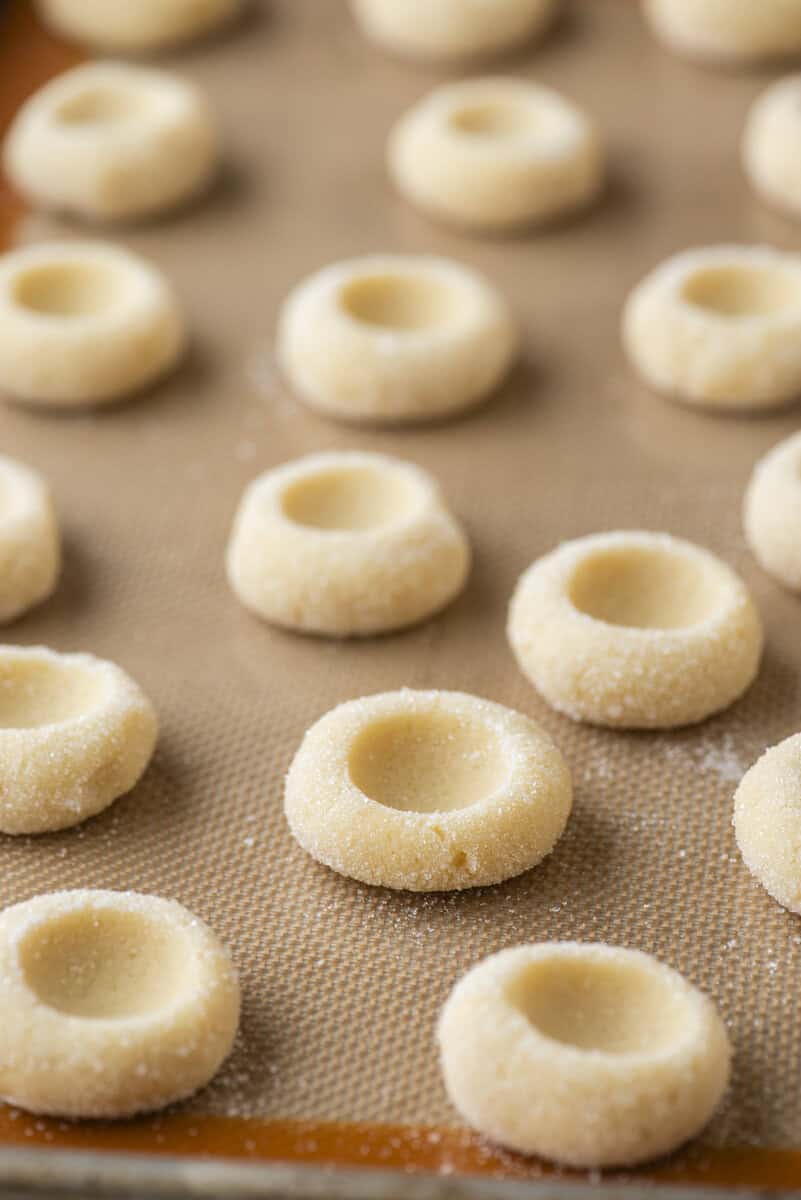
- Arrange on baking sheet. Place the sugar-coated cookie dough balls onto the prepared baking sheet, spacing them about 2 inches apart. Use your thumb or the back of a teaspoon to create an indentation in the center of each cookie.
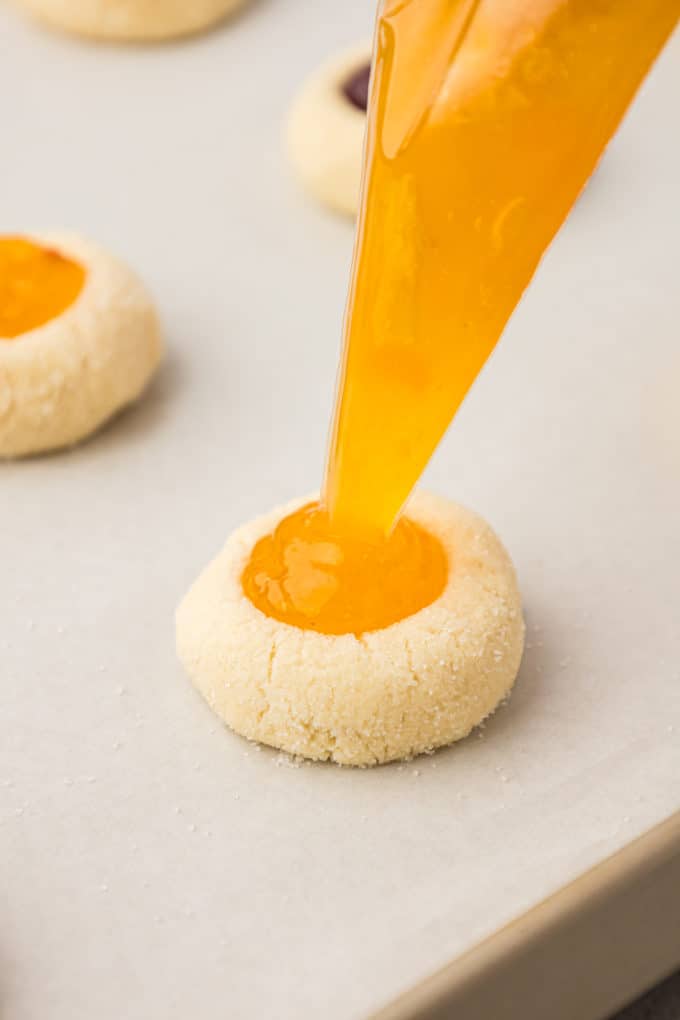
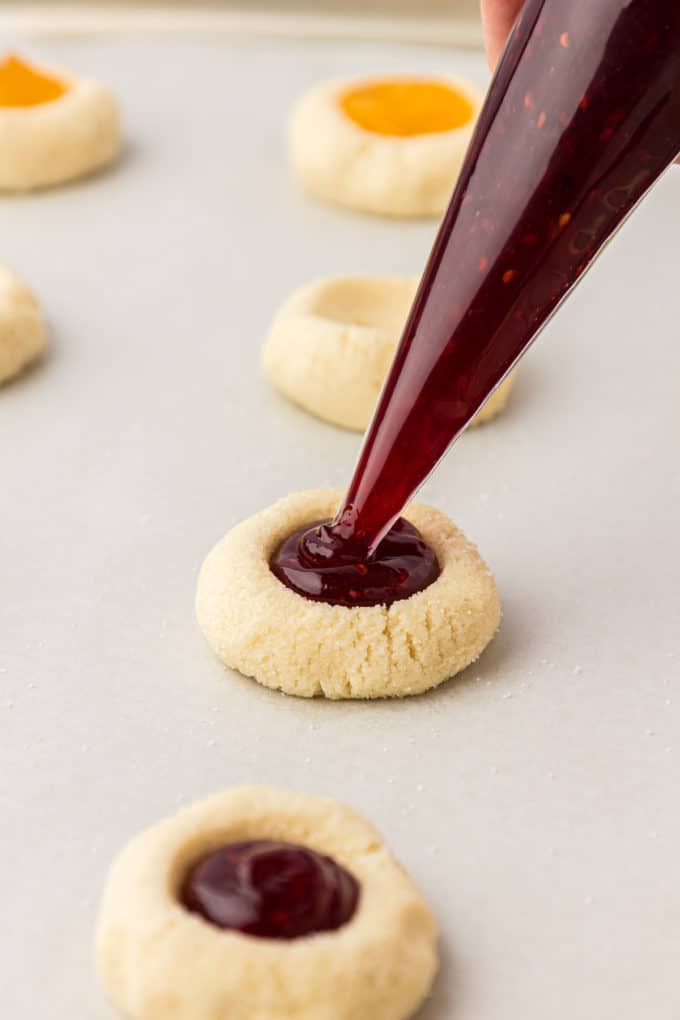
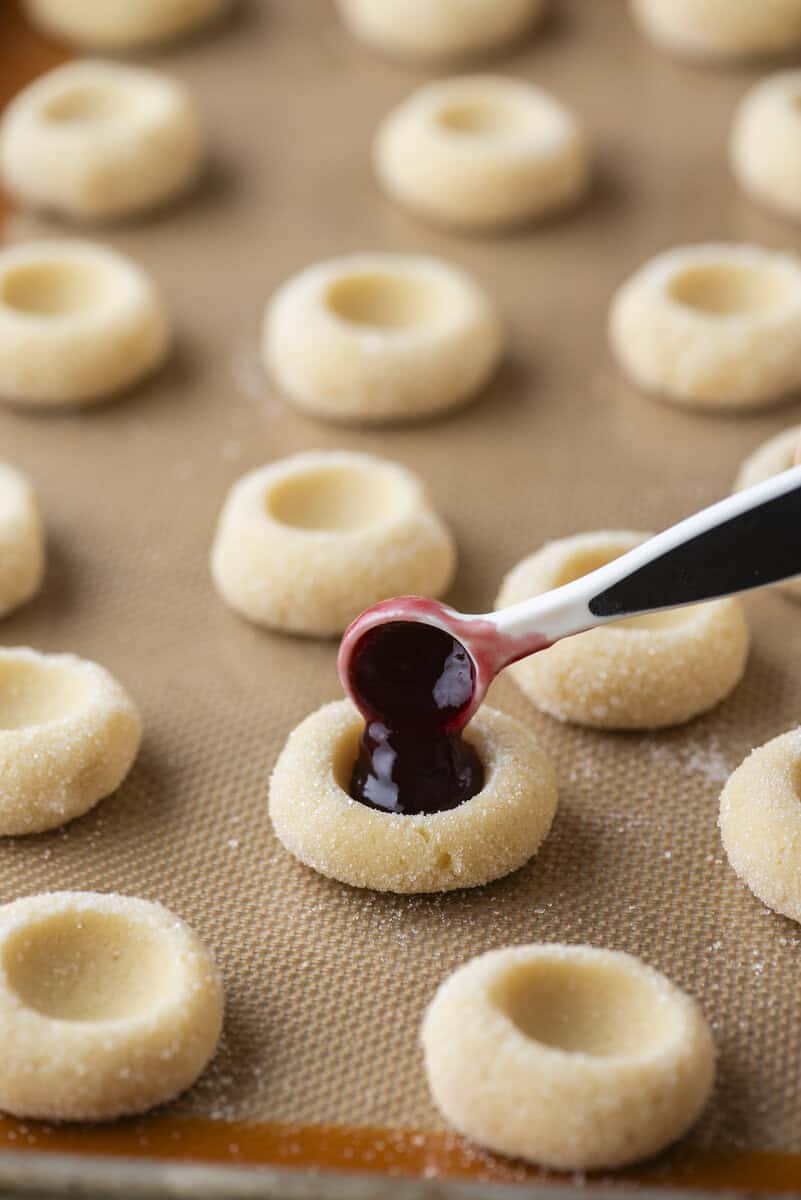
- Add jam. Spoon a small amount (about 1/2 teaspoon) of jam into the indentation of each cookie. You can use your favorite flavor of jam or preserve.
- Bake and cool. Bake the cookies in the preheated oven for 10-13 minutes or until the edges are lightly golden. Remove the cookies from the oven and let them cool on the baking sheet completely.
How to Properly Measure Flour
The most accurate way to measure flour is to use a kitchen scale, weighing it in grams. If you don’t have a kitchen scale, follow this method:
- Aerate the flour with a whisk or spoon. Flour becomes heavy and compact as it sits. Aerating is the same as fluffing the flour, but not the same as sifting it. Do not sift the flour unless the recipe specifically calls for it.
- Use a spoon to sprinkle the flour into the measuring cup. Do not tap the cup against the counter, as this will compact the flour.
- Use the back of a butter knife to level off the excess.
Total Time Required
These shortbread style cookies come together quickly and easily. Here is the total time required broken down into steps:
- Prep time: 15 minutes
- Cook time: 13 minutes
- Cooling time: 10 minutes
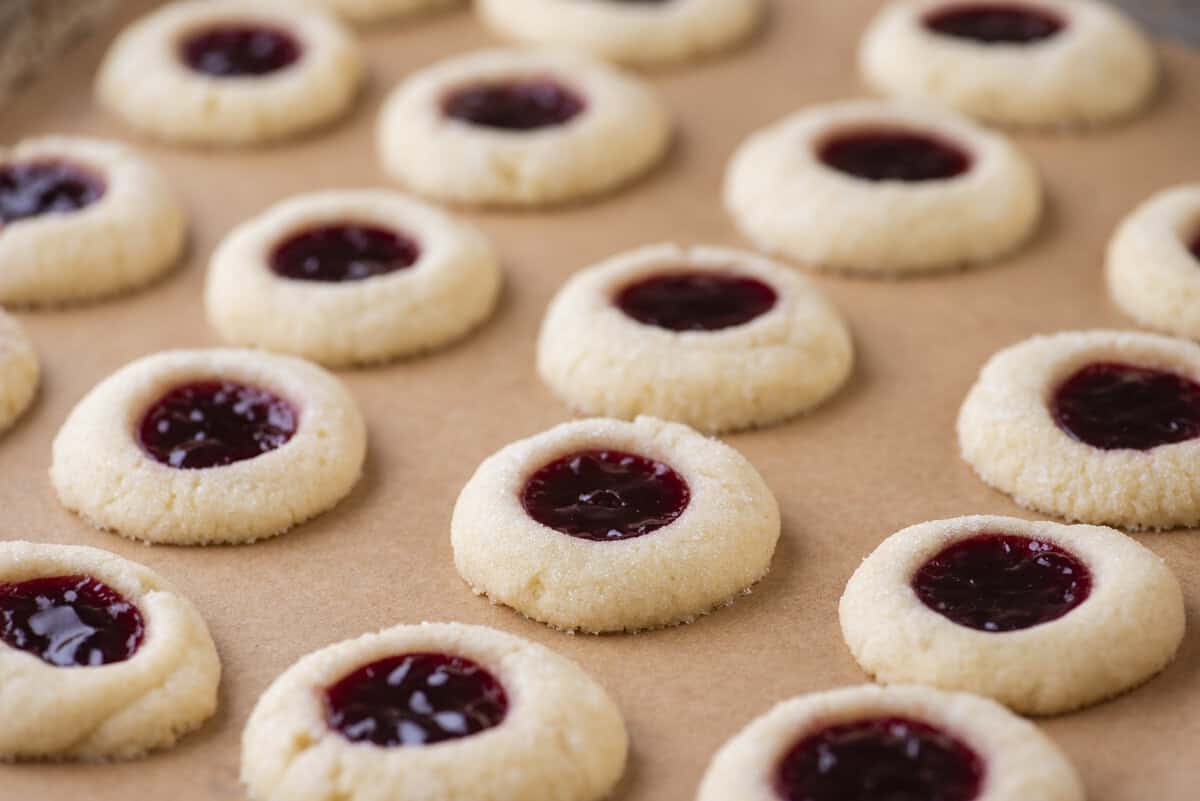
Jam Cookies Recipe tips
For perfect thumbprint cookies, follow these tips:
- Use room temperature egg yolks: If possible, set the egg yolk out ahead of time so it becomes room temperature before adding it to the mixture. This will make the yolk mix better into the batter.
- Prevent spreading: To help prevent spreading, don’t place your cookies on a hot cookie sheet. Either alternate cookie sheets for multiple batches, or wait until your cookie sheet has completely cooled before putting your next batch of cookies on it. If the sheet is hot, the cookie dough will begin melting before it starts baking, making the cookies spread.
- Measure ingredients properly: It’s very important to measure your ingredients properly, especially the flour. Use my tips above for measuring flour correctly.
Thumbprint Jam Cookies Variations
As I mentioned above, there are many different types of thumbprint cookies. There are also some simple variations of this recipe you could try:
- Lemon Curd: Try using lemon curd instead of jam or preserves.
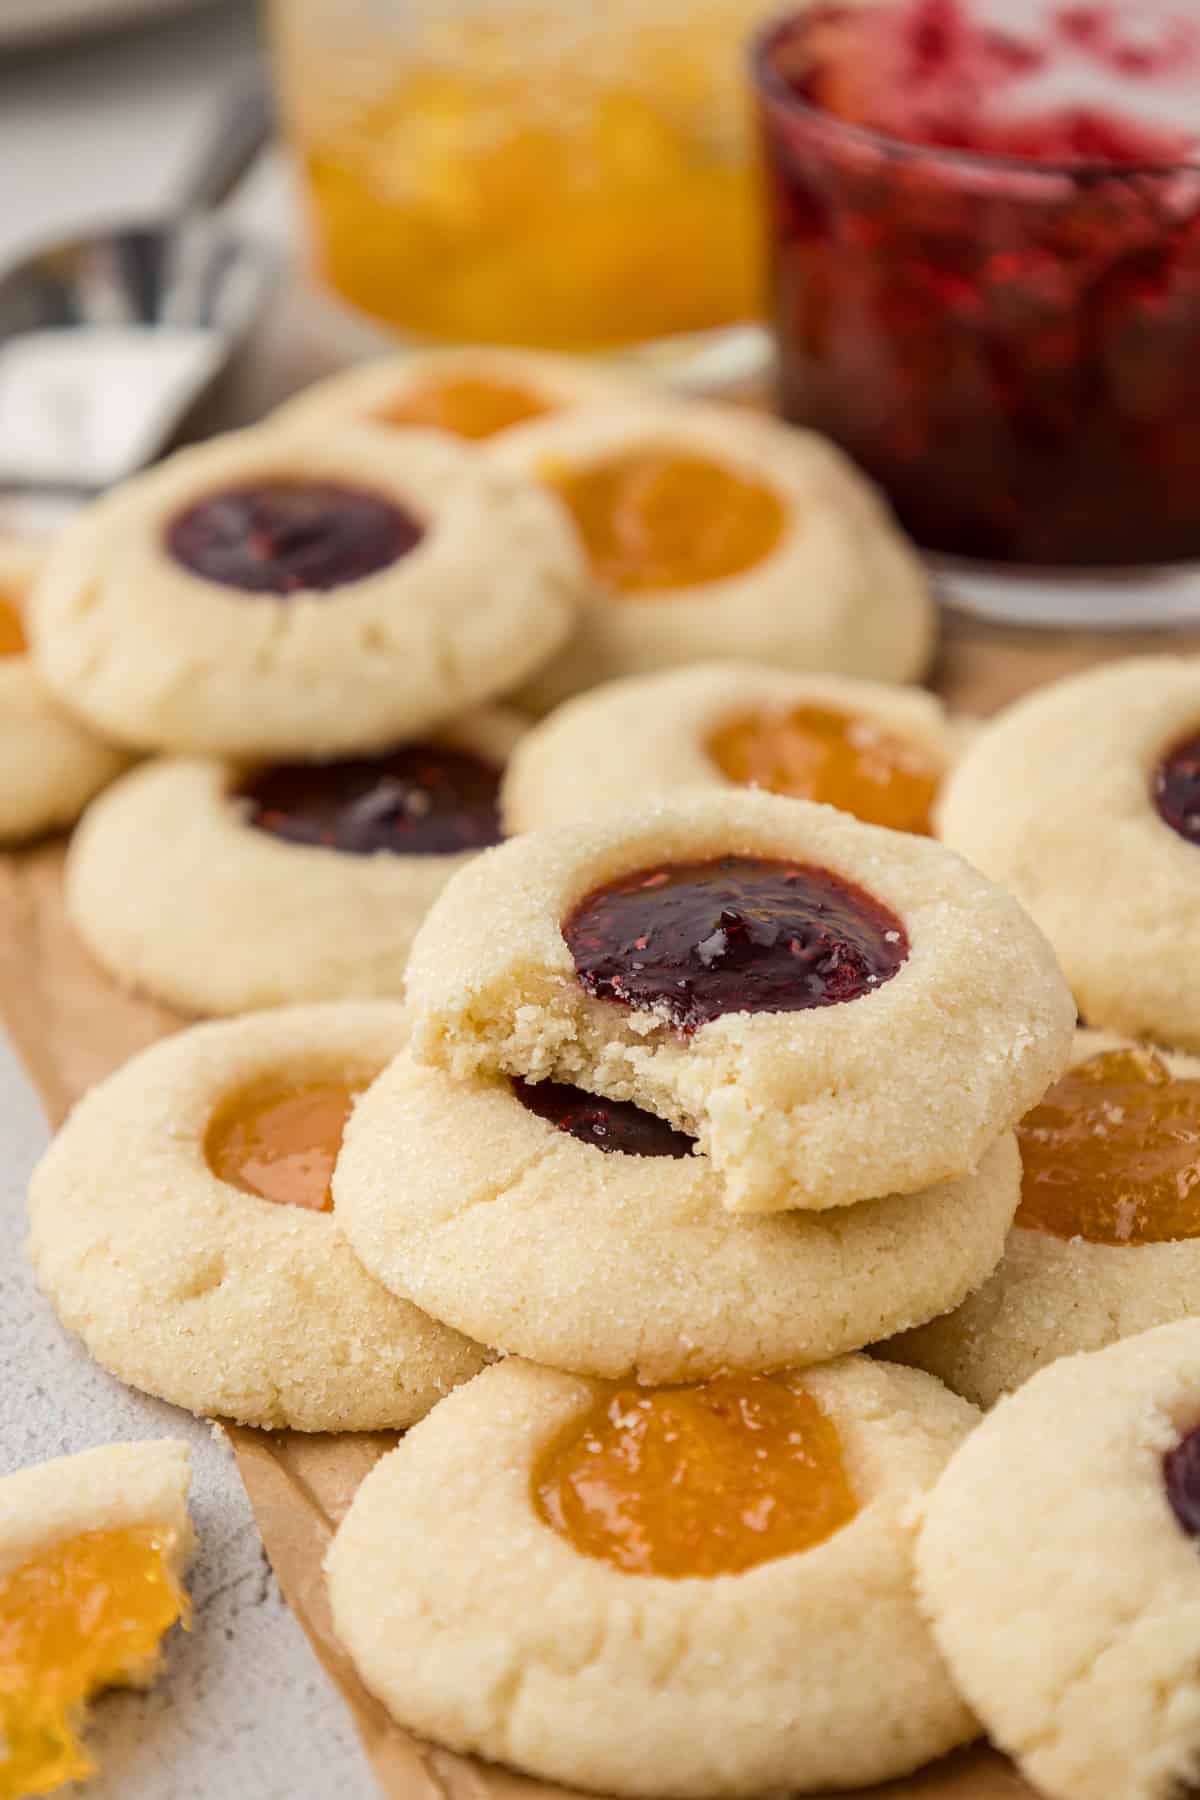
- Different Jams: In this recipe, I use apricot jam and raspberry jam, but you can use any type of jam. Some ideas include pineapple jam, mango jam or strawberry jam.
- Add nuts: If you like nuts a little more crunch, try adding your favorite nuts, chopped finely, to the tops of the cookies. Pistachios are popular in thumbprint cookies.
Types of Thumbprint Cookies
In this recipe, I used two different types of jam for my thumbprint cookies (raspberry and apricot). However, there are so many different ways to make these cookies. Here are some different types of thumbprint cookies:
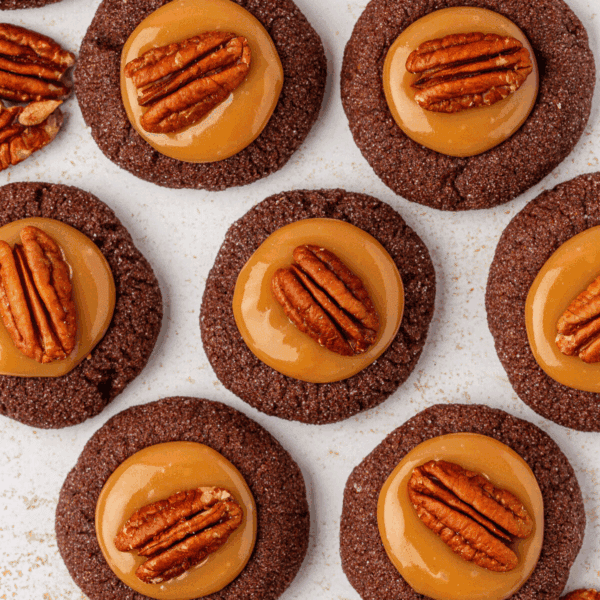
- Chocolate thumbprint cookies: These are made with either chocolate filling or a chocolate cookie base and chocolate filling.
- Other cookie variations: thumbprint cookies can be made with a red velvet base, a peanut butter base like these peanut butter blossom cookies, or even a coconut cookie base.
Fun Ways to Serve Thumbprint Jam Cookies
Thumbprint cookies make a great addition to any cookie tray, with their colorful jam filling and addictive taste. I like to use different jams so there are multiple colors to make a pretty display. Here are a few creative ways to serve thumbprint cookies:
- Cookie Tower: Stack the cookies in a pyramid tower formation, alternating colors if you use different jams.
- Christmas Cookie Tin: Add these cookies to a Christmas-themed tin to give gifts for the holidays.
- Cookie Charcuterie Board: Spread these cookies around with different nuts, cheeses and chocolates.
- Cookie Wreath: Arrange the cookies in a circular pattern on a platter, creating a wreath.
Storing Raspberry Thumbprint Cookies
Store thumbprint cookies in an airtight container for up to 3-5 days.
Can you freeze thumbprint cookies?
These cookies also freeze well.
How to Freeze Unbaked Thumbprint Cookies
Shape the dough into balls, roll in sugar if the recipe calls for it, and press the indent for the jam. Arrange on a baking sheet and freeze until solid, about 1–2 hours. Transfer the frozen dough balls to a freezer bag or airtight container and freeze for up to 3 months. When ready to bake, place the frozen dough on a baking sheet, add the jam to the centers, and bake straight from frozen—no thawing needed. You may need to add 1–2 extra minutes of bake time.
How to Freeze Baked Thumbprint Cookies
Bake the cookies as directed and let them cool completely. Once cooled, place them in a single layer on a baking sheet and freeze until firm. Transfer the cookies to a freezer-safe container, separating layers with parchment paper to protect the jam centers. Freeze for up to 2–3 months. Thaw at room temperature for about an hour before serving.
Classic Thumbprint Cookies FAQs
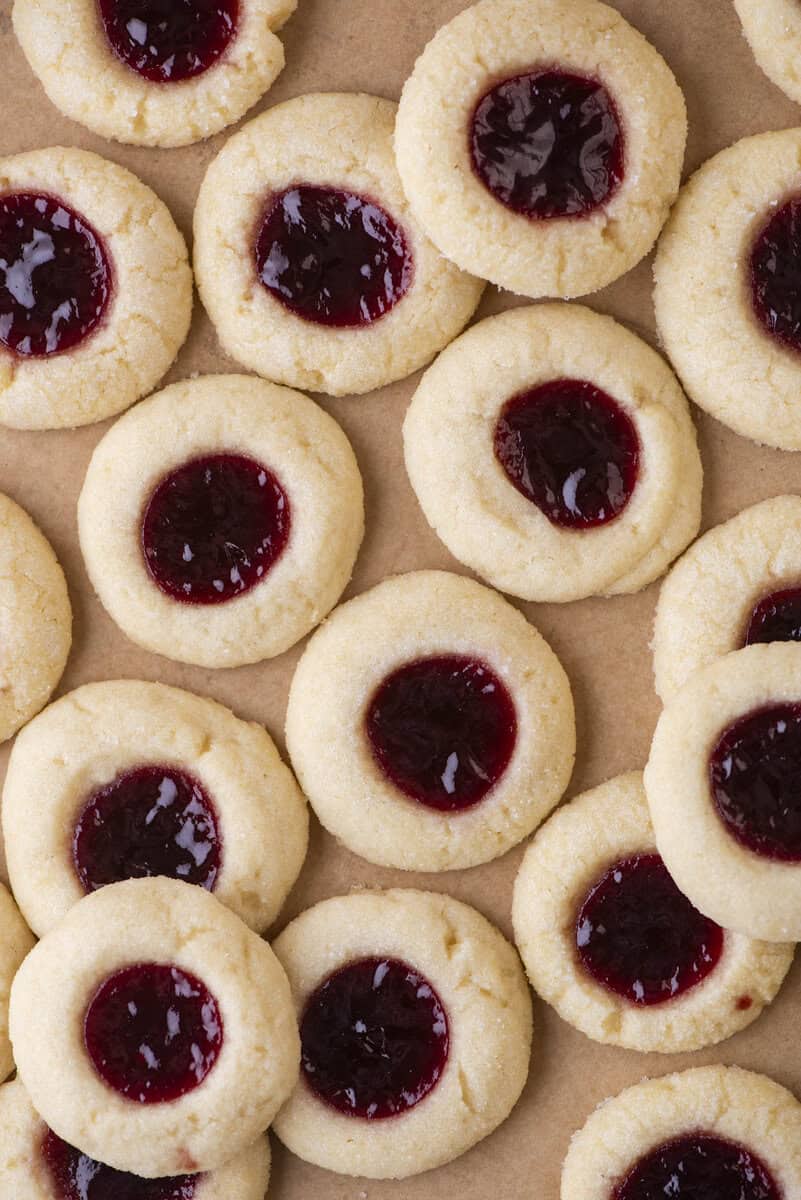
The most common reason that thumbprint cookies may go flat is an incorrect ratio of butter to flour. Be sure to follow my tips above for properly measuring flour.
The best way to keep thumbprint cookies from cracking and to keep them soft is to use cornstarch. In this recipe, I use just the right amount of cornstarch so you have a buttery shortbread cookie that doesn’t crack.
The most common reason that thumbprint cookies may spread when baking is an incorrect ratio of butter to flour. Be sure to follow my tips above for properly measuring flour. Another reason for spreading could be placing cookie dough on a hot cookie sheet. Be sure to read and follow my tips above.
Made these cookies with raspberry preserves, they are so yummy. They were gone in 1 sitting.
-Marlene
More Cookie Recipes

Tap stars to rate!
Jelly Thumbprint Cookies
Ingredients
- 1 cup (226g) unsalted butter, room temperature
- ⅔ cup (132g) granulated sugar
- 1 large egg yolk
- 1 tsp vanilla extract
- 2 ¼ cups (270g) all-purpose flour
- 1 tsp cornstarch
- ½ tsp salt
- ½ cup (170g) jam, I used raspberry jam and apricot jam
Rolling Cookies
- ⅓ cup (66g) granulated sugar
Instructions
- Preheat your oven to 350°F (175°C). Line a baking sheet with parchment paper or a silicone baking mat.
- In a large mixing bowl, cream together the softened butter and granulated sugar until the mixture is light and fluffy, about 1-2 minutes. This can be done using a hand mixer or a stand mixer.1 cup (226g) unsalted butter, 2/3 cup (132g) granulated sugar
- Beat in the egg yolk and vanilla extract until well combined.1 large egg yolk, 1 tsp vanilla extract
- Add the all-purpose flour, cornstarch and salt. Mix on low until a soft cookie dough forms. Be careful not to overmix; just mix until the ingredients are combined.2 ¼ cups (270g) all-purpose flour, 1 tsp cornstarch, 1/2 tsp salt
- Shape the cookie dough into 1-inch balls. You can use a cookie scoop or your hands for this.
- Roll each cookie dough ball in granulated sugar until it’s coated evenly.1/3 cup (66g) granulated sugar
- Place the sugar-coated cookie dough balls onto the prepared baking sheet, spacing them about 2 inches apart. Use your thumb or the back of a teaspoon to create an indentation in the center of each cookie.
- Spoon a small amount (about 1/2 teaspoon) of jam into the indentation of each cookie. You can use your favorite flavor of jam or preserve.1/2 cup (170g) jam
- Bake the cookies in the preheated oven for 10-13 minutes or until the edges are lightly golden. Remove the cookies from the oven and let them cool on the baking sheet completely.
Notes
Cool completely, then freeze in a single layer before storing in an airtight container (with parchment between layers). Freeze up to 2–3 months. Thaw at room temperature before serving.







Made these cookies they are so buttery and we used pineapple, strawberry and blueberry preserves…delicious
Made these cookies with raspberry preserves, they are so yummy. They were gone in 1 sitting.
These were delicious! First time ever making a thumbprint cookie. I used a strawberry filling. My daughter thought I bought them! They came out perfect. These will definitely be put on a rotation. Thank you for sharing this recipe.
Can you freeze these baked or unbaked without the filling and then add filling? Trying to get ahead on Christmas cookies 🤞
And where is your chocolate thumbprint recipe?
Hi Lisa! The chocolate thumbprint cookie is coming!
How to Freeze Unbaked Thumbprint Cookies
Shape the dough into balls, roll in sugar if the recipe calls for it, and press the indent for the jam. Arrange on a baking sheet and freeze until solid, about 1–2 hours. Transfer the frozen dough balls to a freezer bag or airtight container and freeze for up to 3 months. When ready to bake, place the frozen dough on a baking sheet, add the jam to the centers, and bake straight from frozen—no thawing needed. You may need to add 1–2 extra minutes of bake time.
How to Freeze Baked Thumbprint Cookies
Bake the cookies as directed and let them cool completely. Once cooled, place them in a single layer on a baking sheet and freeze until firm. Transfer the cookies to a freezer-safe container, separating layers with parchment paper to protect the jam centers. Freeze for up to 2–3 months. Thaw at room temperature for about an hour before serving.
This is a great and easy recipe. I’ve made these three times already and they are easy to customize. They are a hit every time and my cousin said they were the BEST cookies of his LIFE! 😄
These are the best thumbprint cookies! My whole family gobbled them up fast. So buttery, soft and yummy!
Delicious! Yummy buttery cookies!
I accidentally made mine really small and ended up with 50 cookies! I made apricot and berry filled cookies.