This post may contain affiliate links. Please read our disclosure policy.
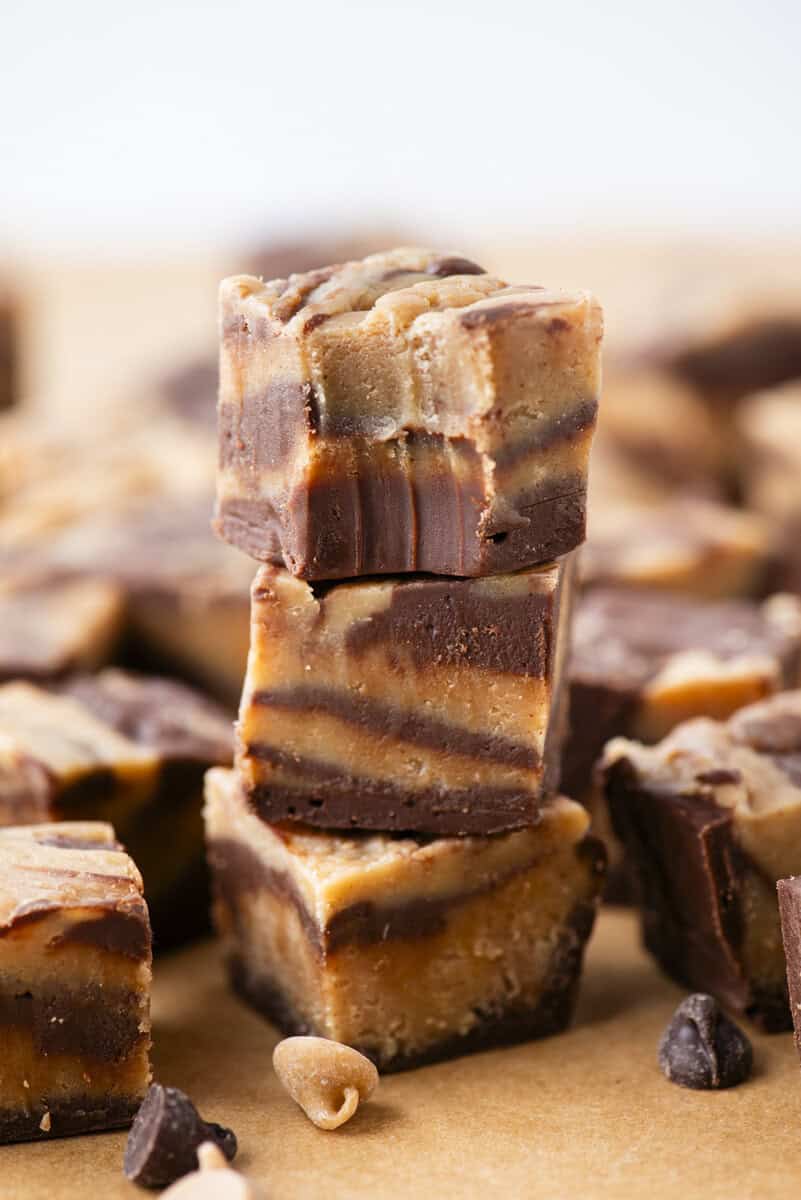
Chocolate peanut butter fudge sounds simple until you try to swirl it and realize one layer sets faster than the other. I tested different chip ratios, adjusted the fat balance, and even scaled up the peanut butter layer so it could actually stand up to the chocolate. The key was matching the consistency and timing so both layers melted and set at the same rate. This final version gives you thick swirls, bold peanut butter flavor, and clean slices without fighting the texture.
Why This Chocolate Peanut Butter Fudge Works
Chocolate peanut butter fudge sounds easy until you try to swirl it and realize one layer sets faster than the other. That is exactly what happened in my first round of testing. The chocolate fudge thickened too quickly, the peanut butter fudge stayed softer, and instead of pretty ribbons I was basically dragging one layer through the other.
In my very first peanut butter test, I used white chocolate chips, but the peanut butter flavor just was not strong enough. Switching to peanut butter chips made a huge difference in taste. Then I ran into a new issue. The peanut butter layer was not substantial enough to stand up to the chocolate, so the balance was off visually and structurally.
So I went back and adjusted the ratios. I reduced the chocolate chips slightly and added butter so the chocolate would stay creamy longer. Then I increased the peanut butter chips and real peanut butter, and scaled the layer up so both sides had similar richness and volume. Once the condensed milk amounts matched, everything changed. The layers swirled beautifully and set at the same time.
I also discovered timing matters just as much as ratios. It is best to alternate melting the chocolate and peanut butter layers in the microwave so they finish at the same time. If one thickens too much, swirling becomes difficult. I build the fudge in layers, starting with chocolate, adding dollops of peanut butter, swirling, and repeating. Sometimes I rewarm the bowls for 10 to 15 seconds to keep the consistency workable. The top swirl might look a little jagged, but gently pressing it smooth creates a clean finish.
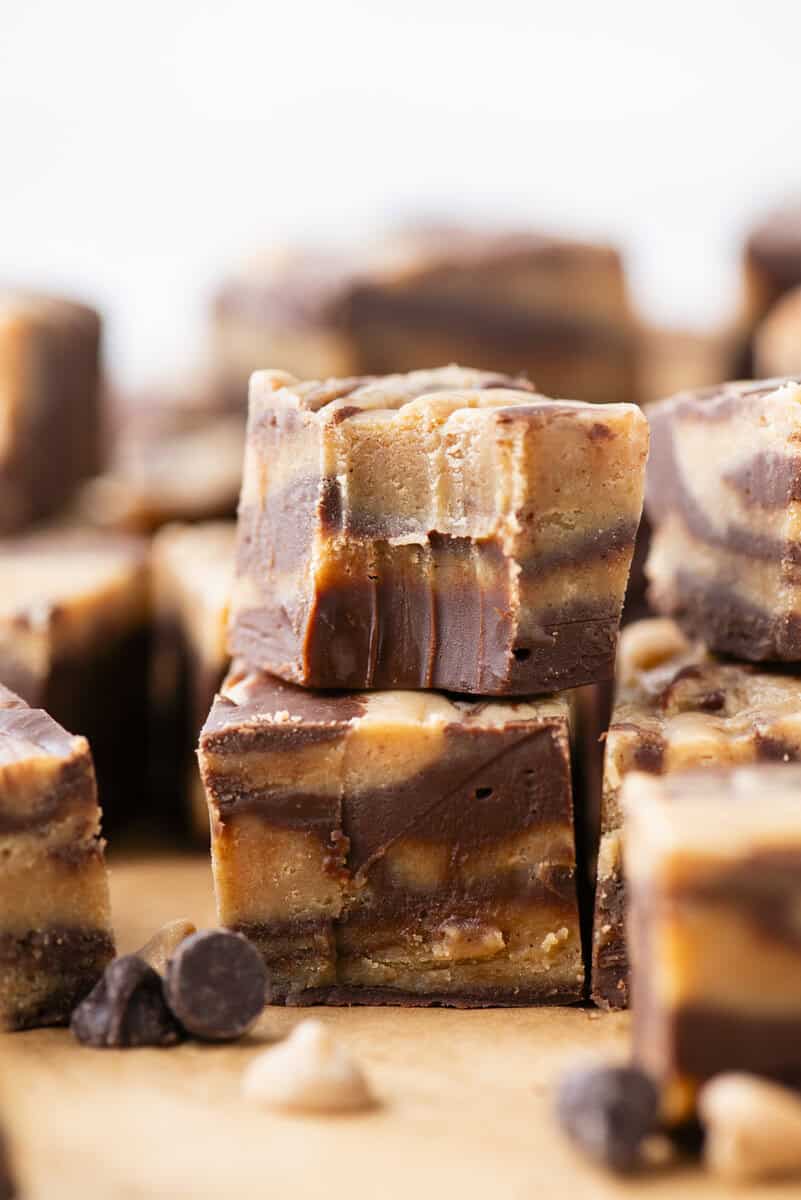
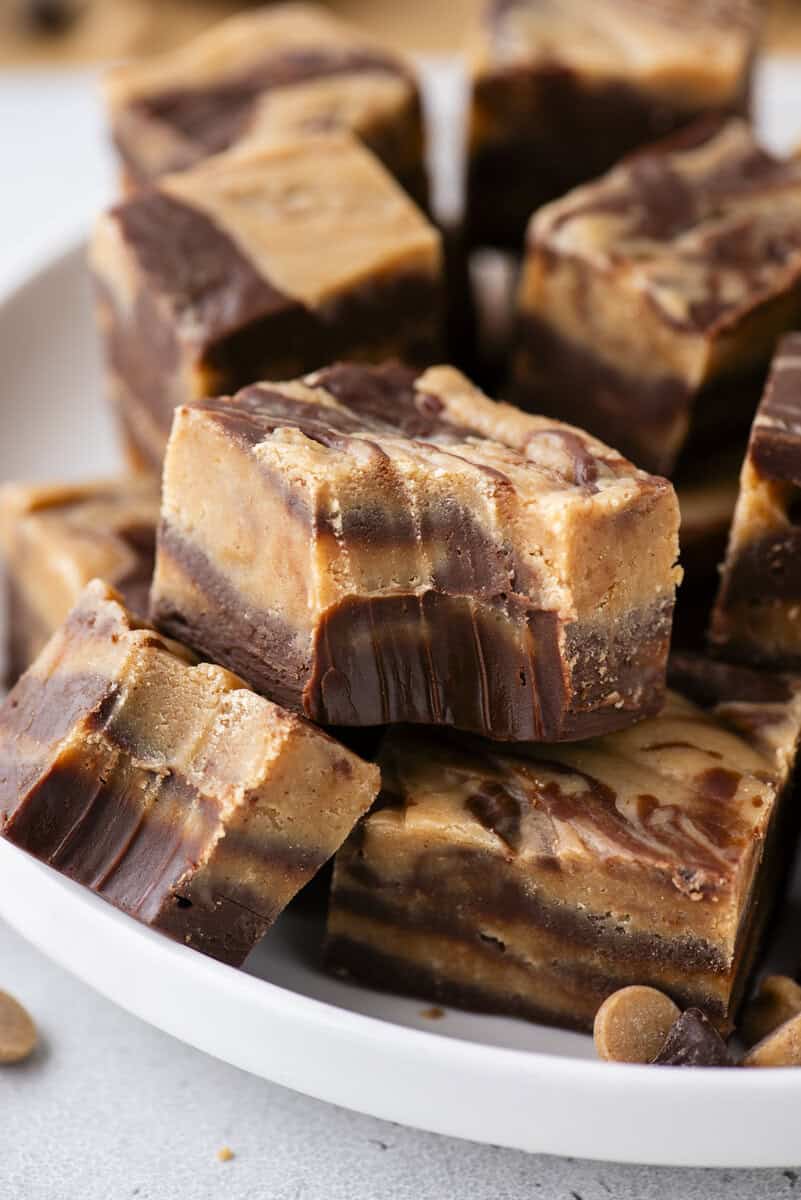
This final version is the one that works. Thick swirls, bold peanut butter flavor, clean slices, and no texture battles. It took testing to get there, but now you can skip the trial and error and just make the good version.
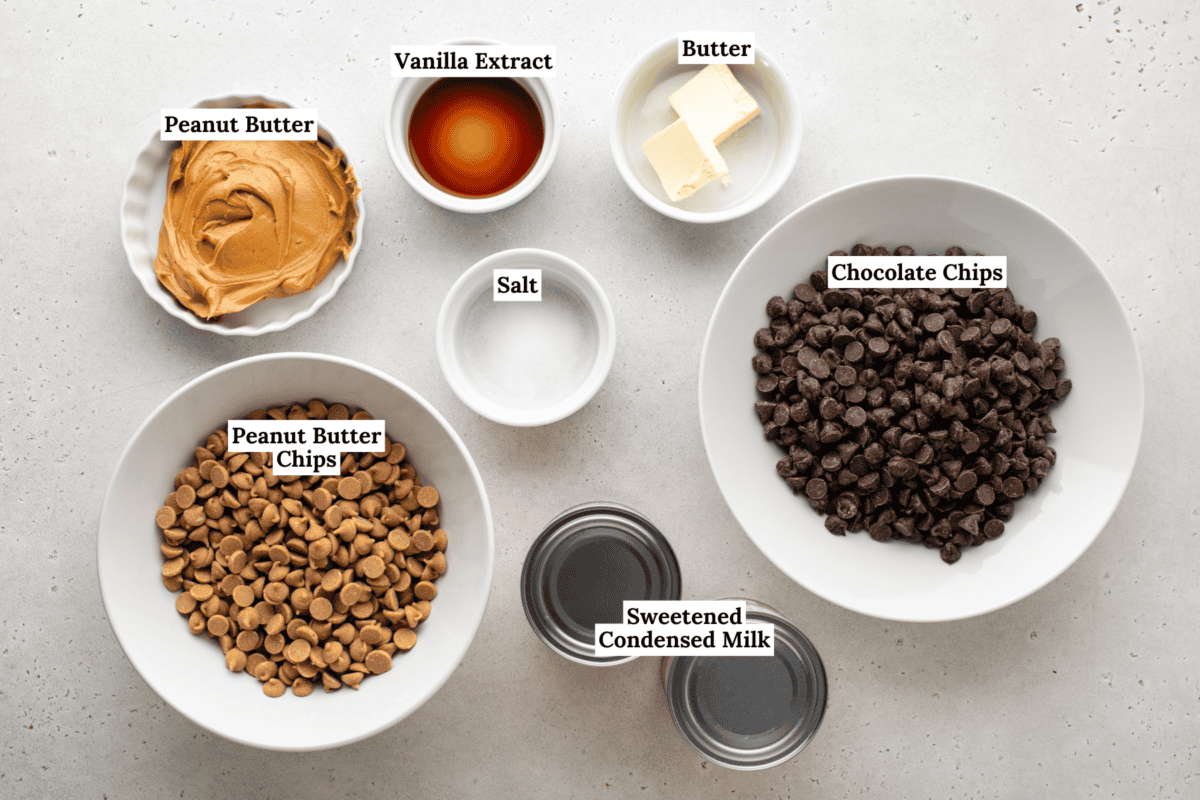
Key Ingredients & Their Purpose
Here is an overview of the key ingredients and what they do to make this recipe a success. You can also jump to the recipe card for the full recipe.
- Sweetened Condensed Milk: Provides sweetness and structure while helping both layers set smoothly.
- Semi Sweet Chocolate Chips: Gives rich chocolate flavor and body to the base layer.
- Peanut Butter Chips: Deliver stronger peanut butter flavor than white chocolate chips.
- Creamy Peanut Butter: Adds real peanut butter depth and balances sweetness.
- Butter: Softens the chocolate layer slightly so it stays swirlable longer.
- Vanilla Extract: Enhances both the chocolate and peanut butter flavors without overpowering.
How To Make Chocolate Peanut Butter Fudge
Follow my easy step-by-step instructions below, or jump to the recipe card below for the full recipe.
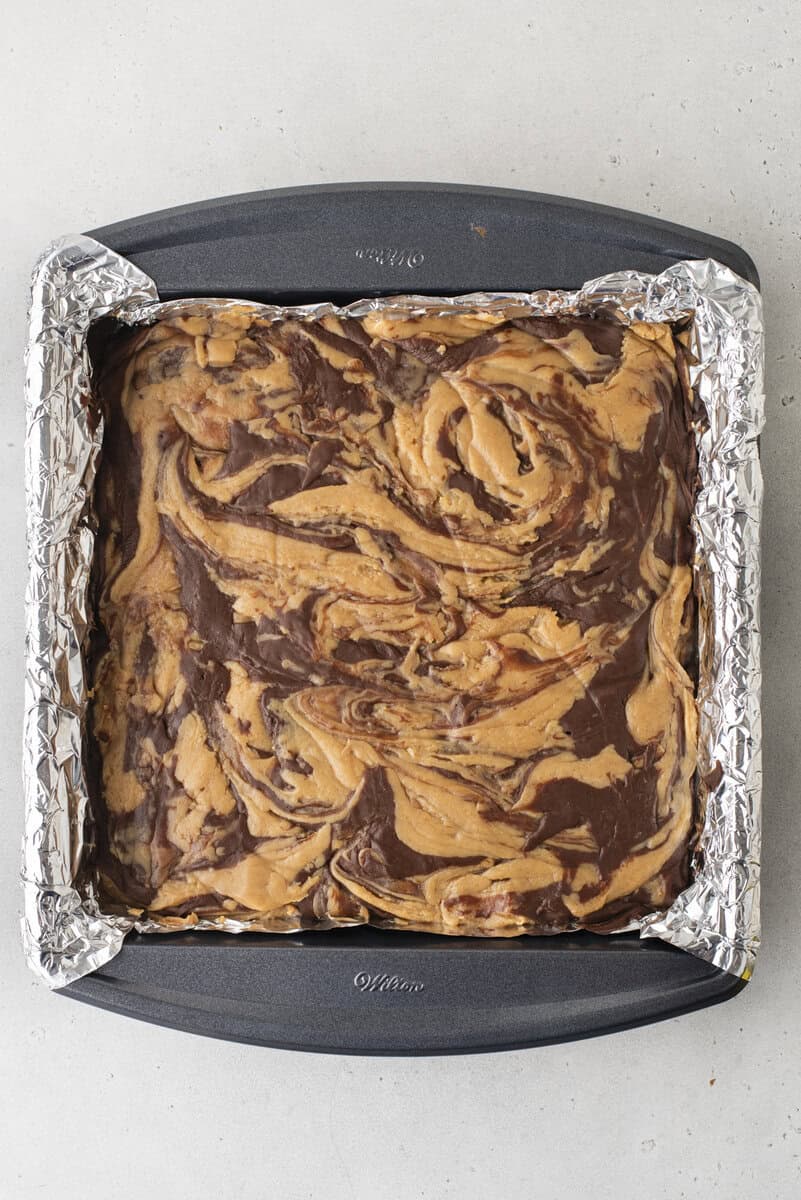
Prep pan: Line a 9×9 inch pan with parchment paper or aluminum foil, leaving overhang on two sides for easy removal. Set aside.
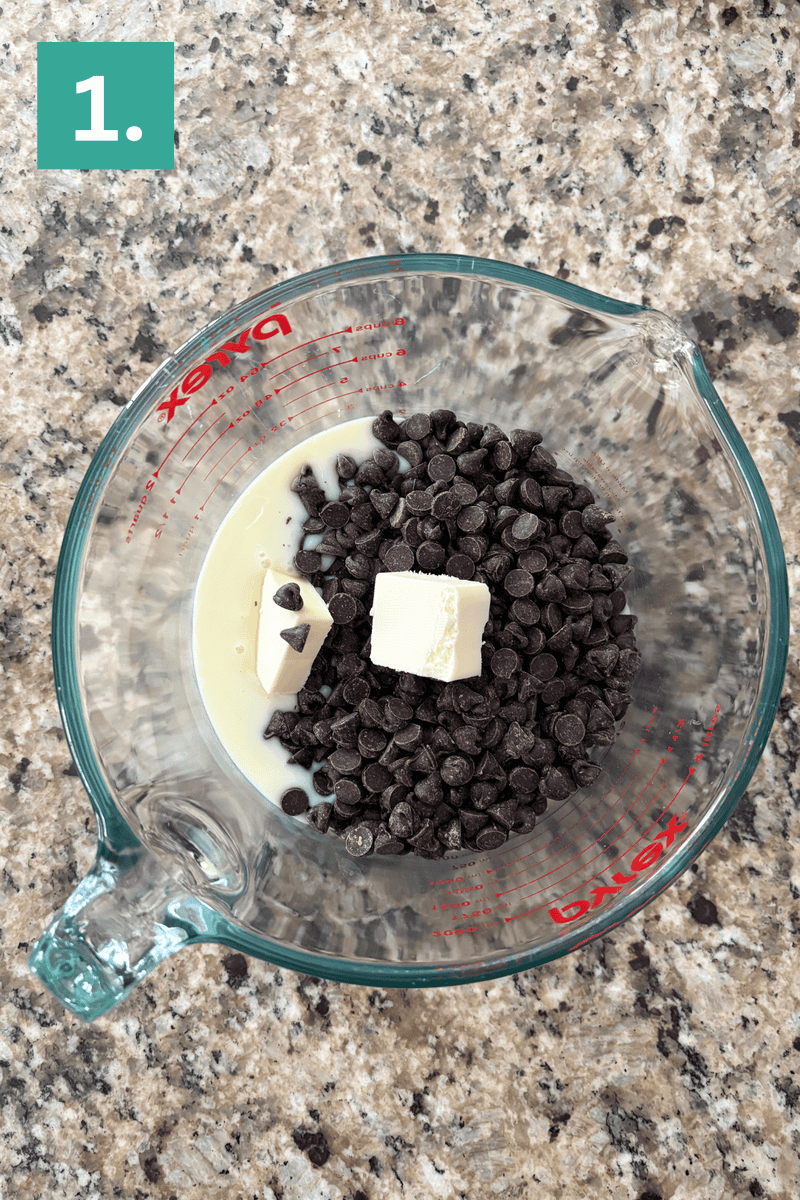
Prepare chocolate fudge layer: In a large microwave safe bowl, combine the sweetened condensed milk, semi sweet chocolate chips, butter, and salt.
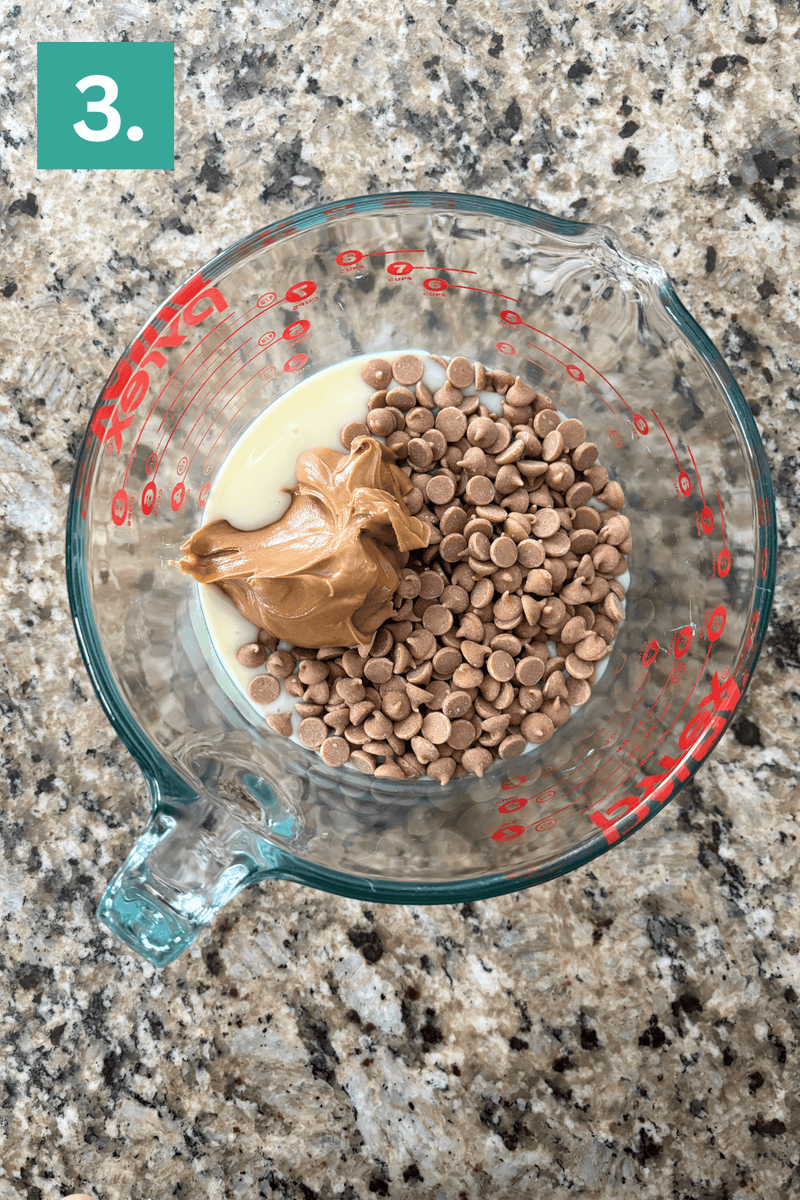
Prepare peanut butter fudge layer: In a second large microwave safe bowl, combine the sweetened condensed milk, peanut butter chips, creamy peanut butter, and salt.
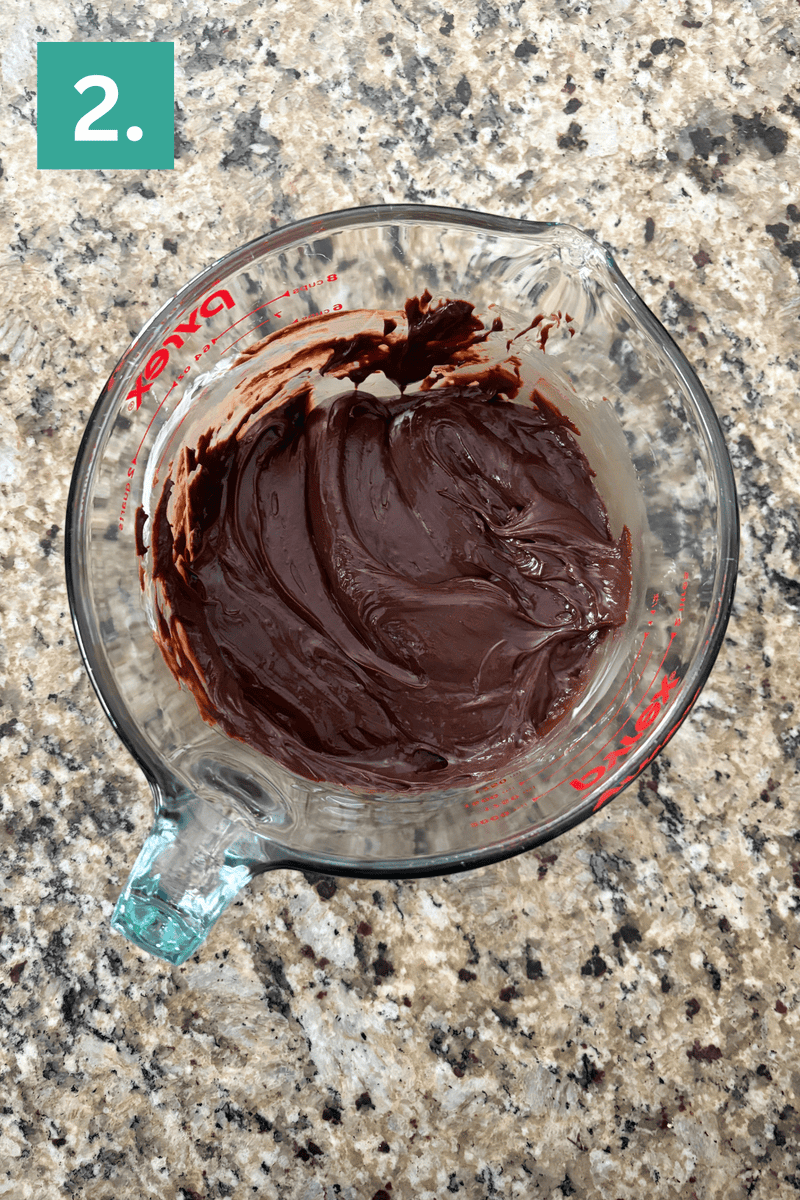
Take turns microwaving the layers: The goal is for both mixtures to finish melting at the same time so they stay the same consistency. Microwave the chocolate mixture for 1 minute. Remove and stir. It will not be fully melted yet. Microwave the peanut butter mixture for 1 minute. Remove and stir. It will not be fully melted yet.
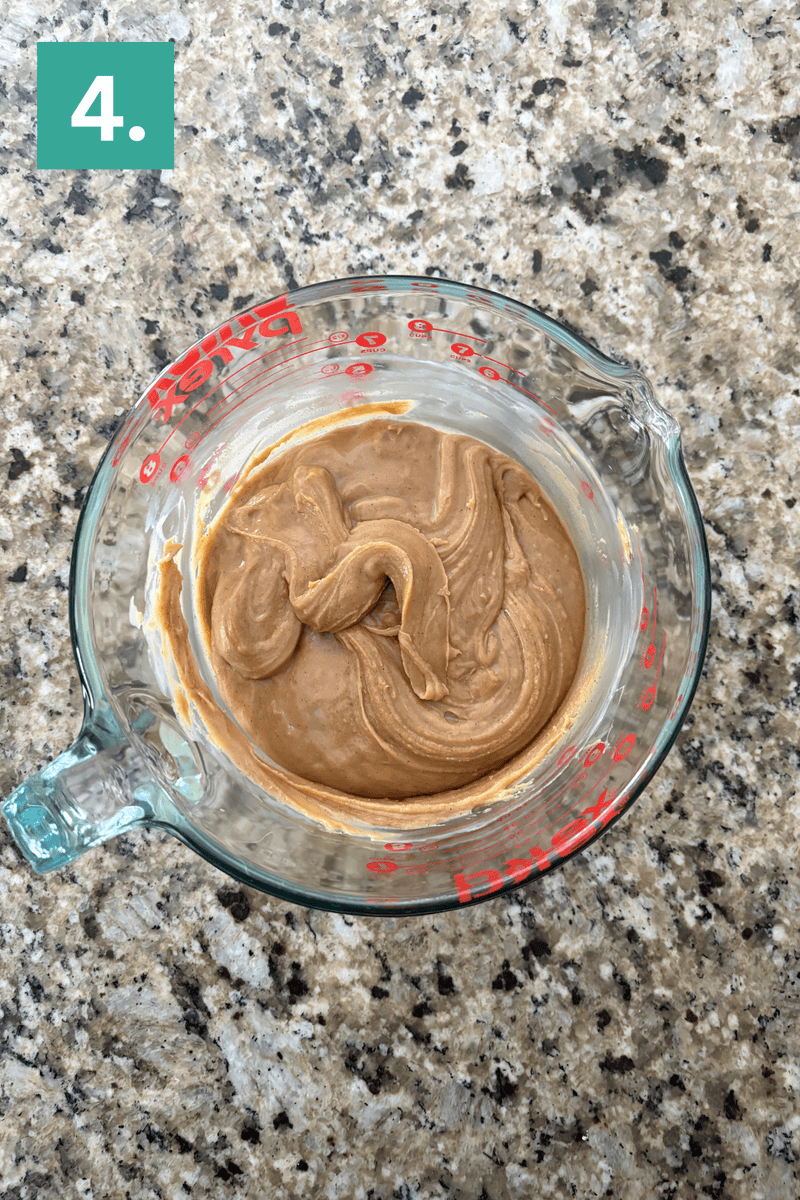
Continue in intervals: Return the chocolate bowl to the microwave for 30 to 45 seconds, stir, then microwave the peanut butter bowl for 30 to 45 seconds and stir. Continue in short intervals if needed until both mixtures are smooth and fully melted.
Stir the vanilla extract into each bowl.
Tip: The key to clean swirls is keeping both mixtures warm and pourable. If one begins to thicken while you are layering, microwave it for 10 to 15 seconds to loosen it.
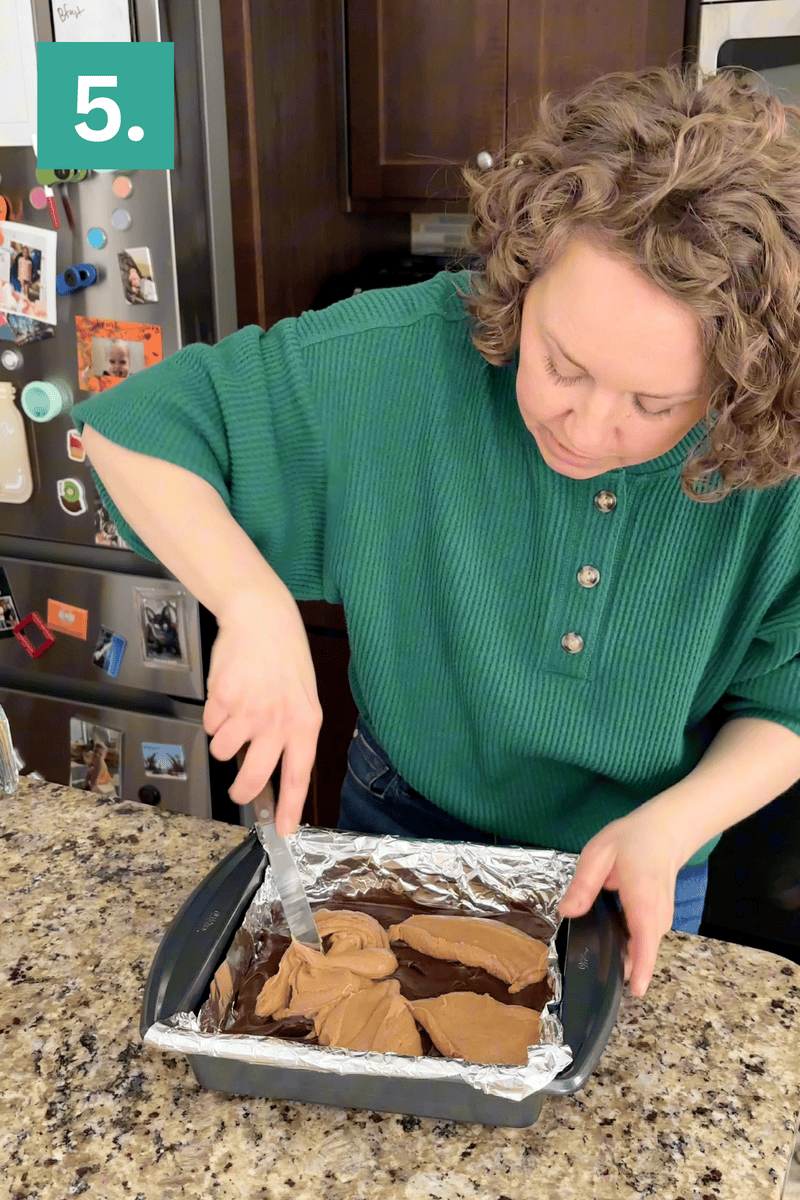
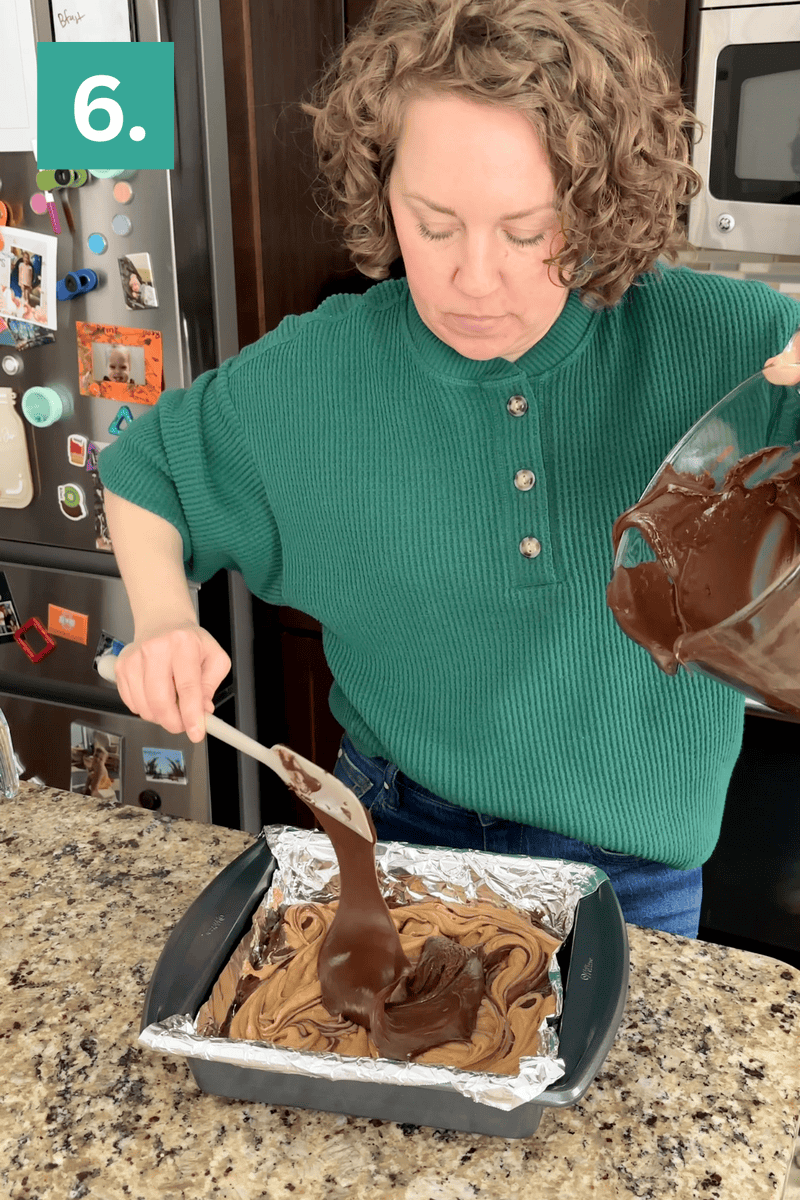
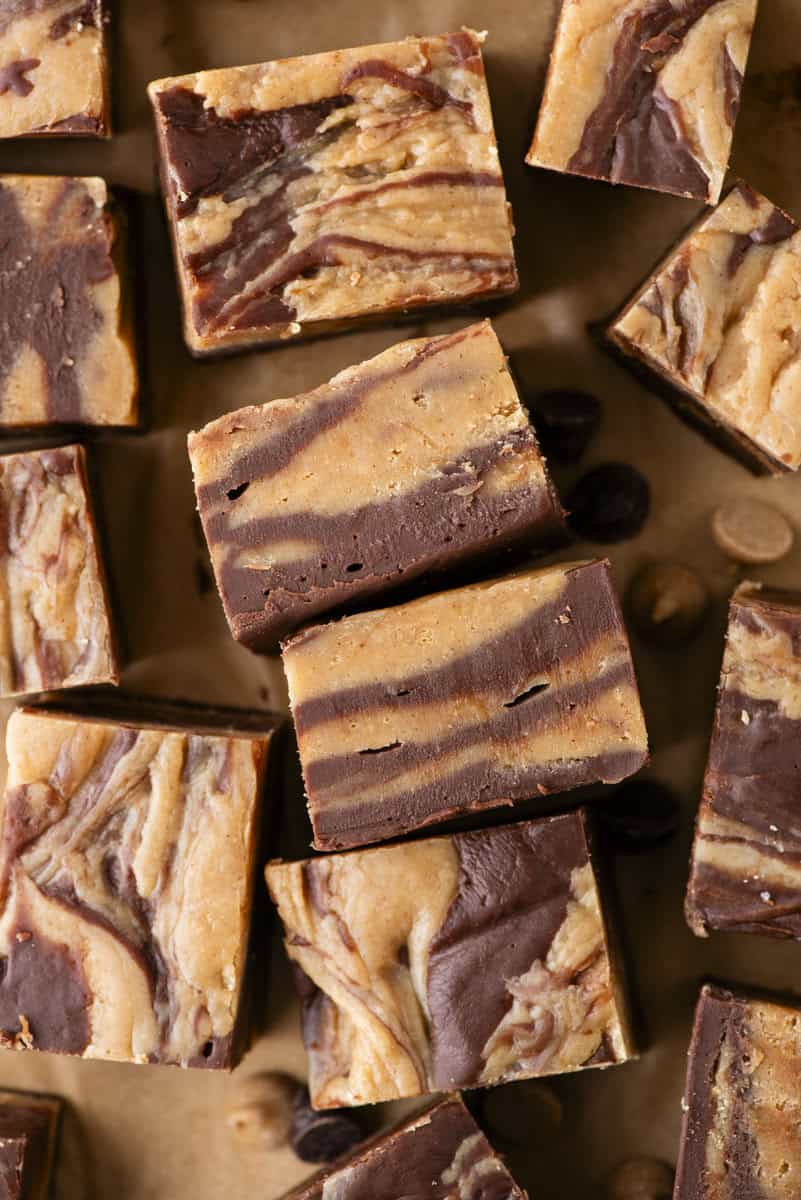
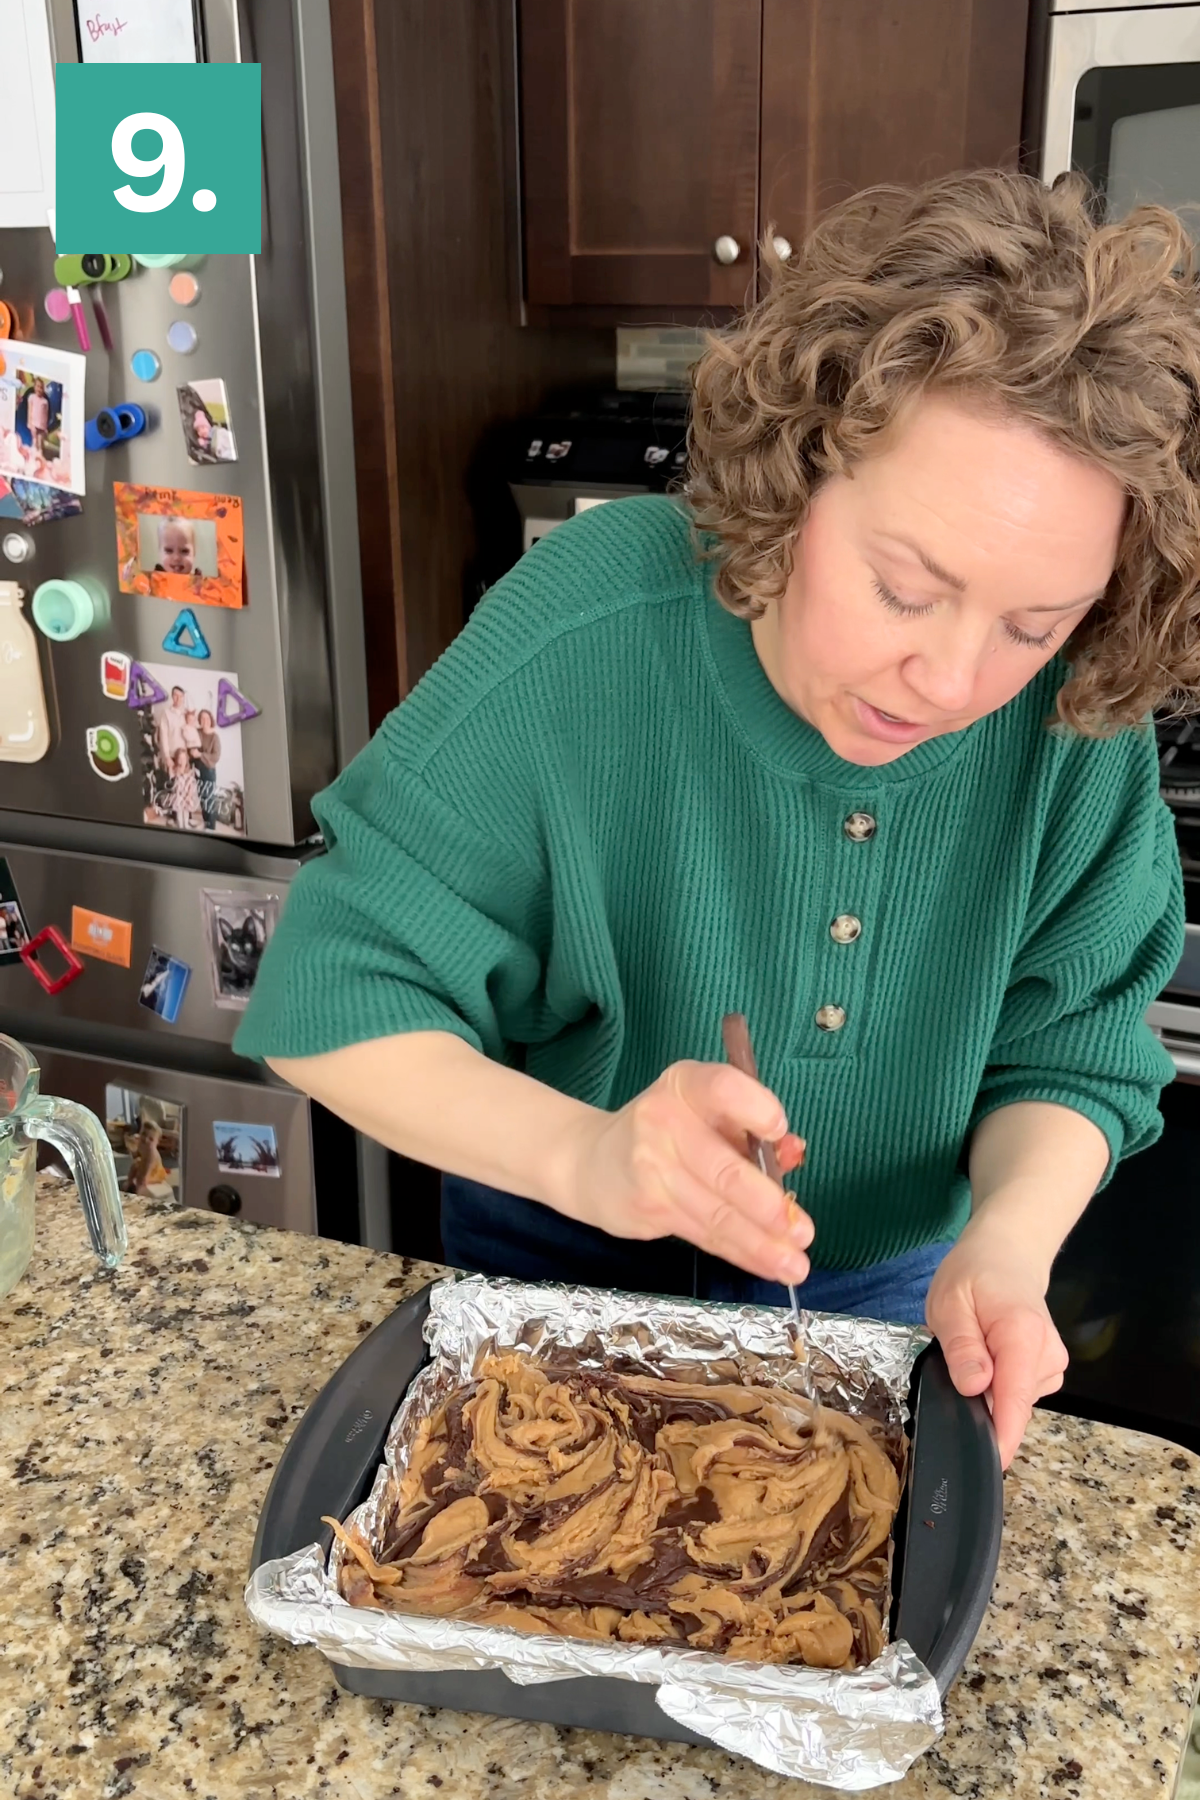
Layer & Swirl: Spread about one third of the chocolate mixture into the prepared pan. Drop spoonfuls of the peanut butter mixture over the chocolate and gently swirl with a knife. Repeat with more chocolate, more peanut butter, and swirl again.
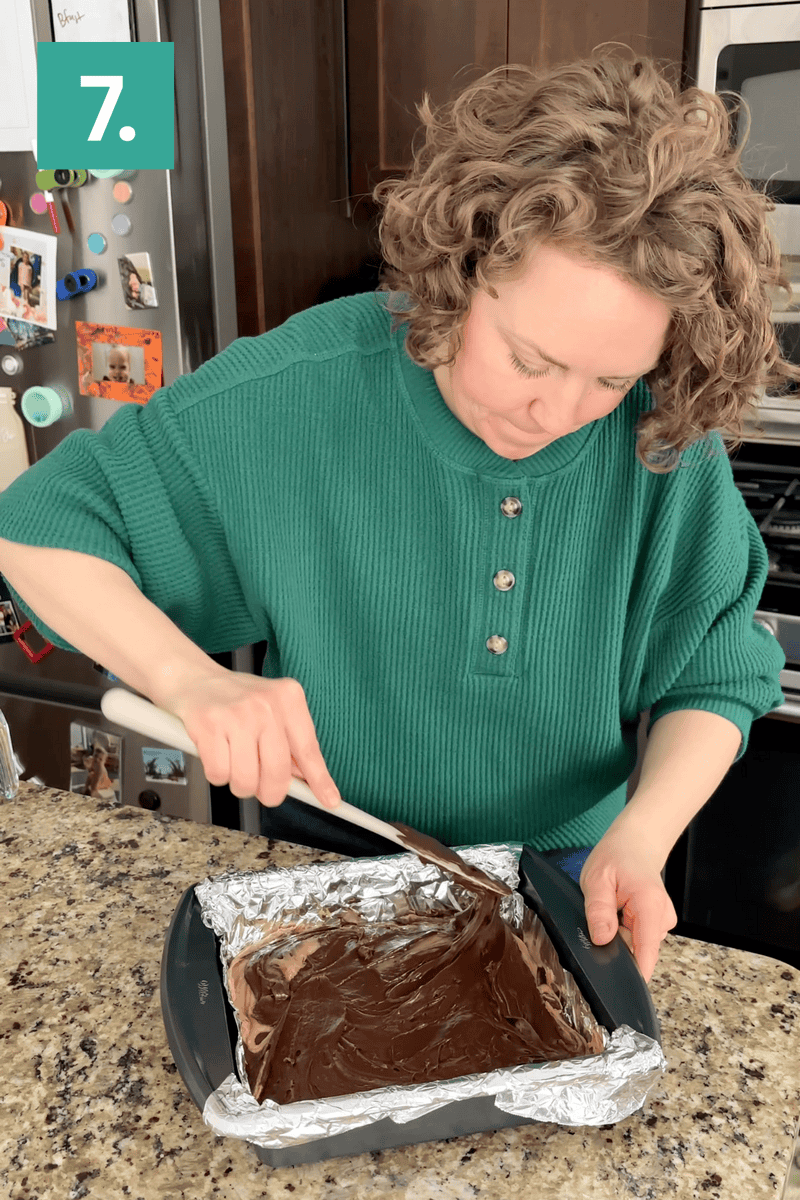
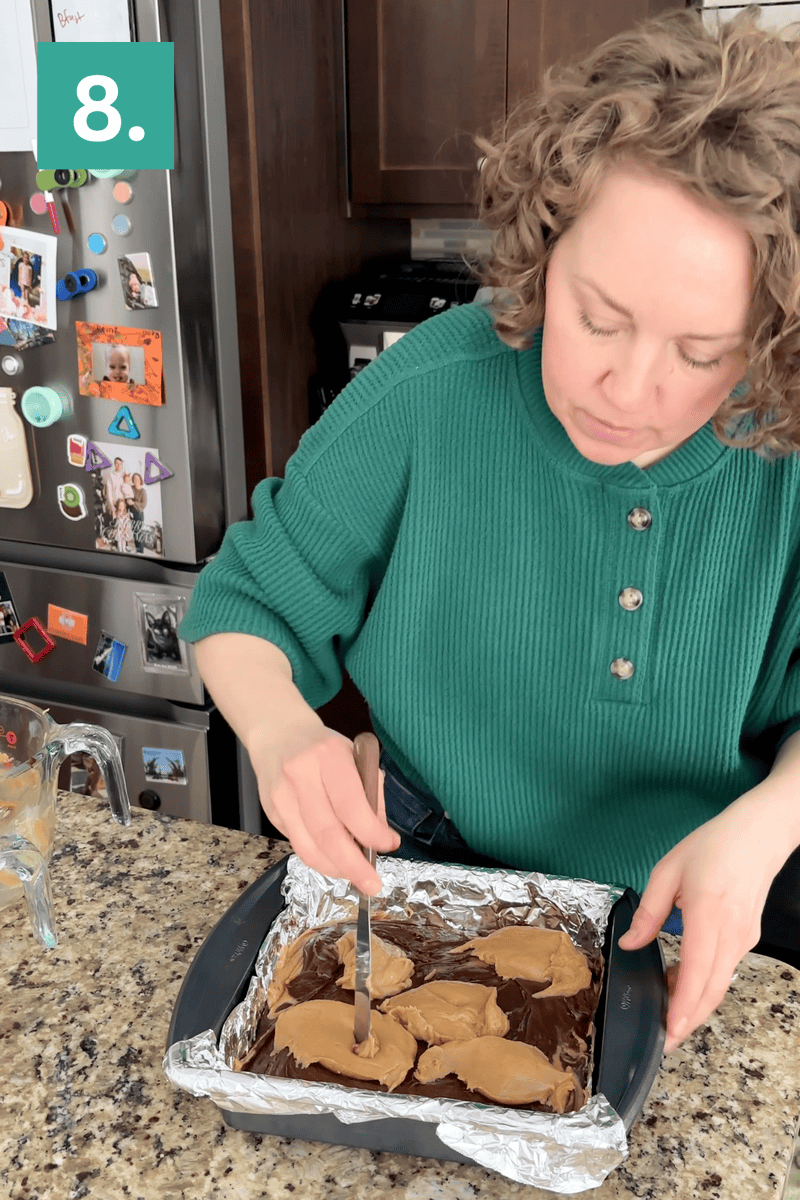
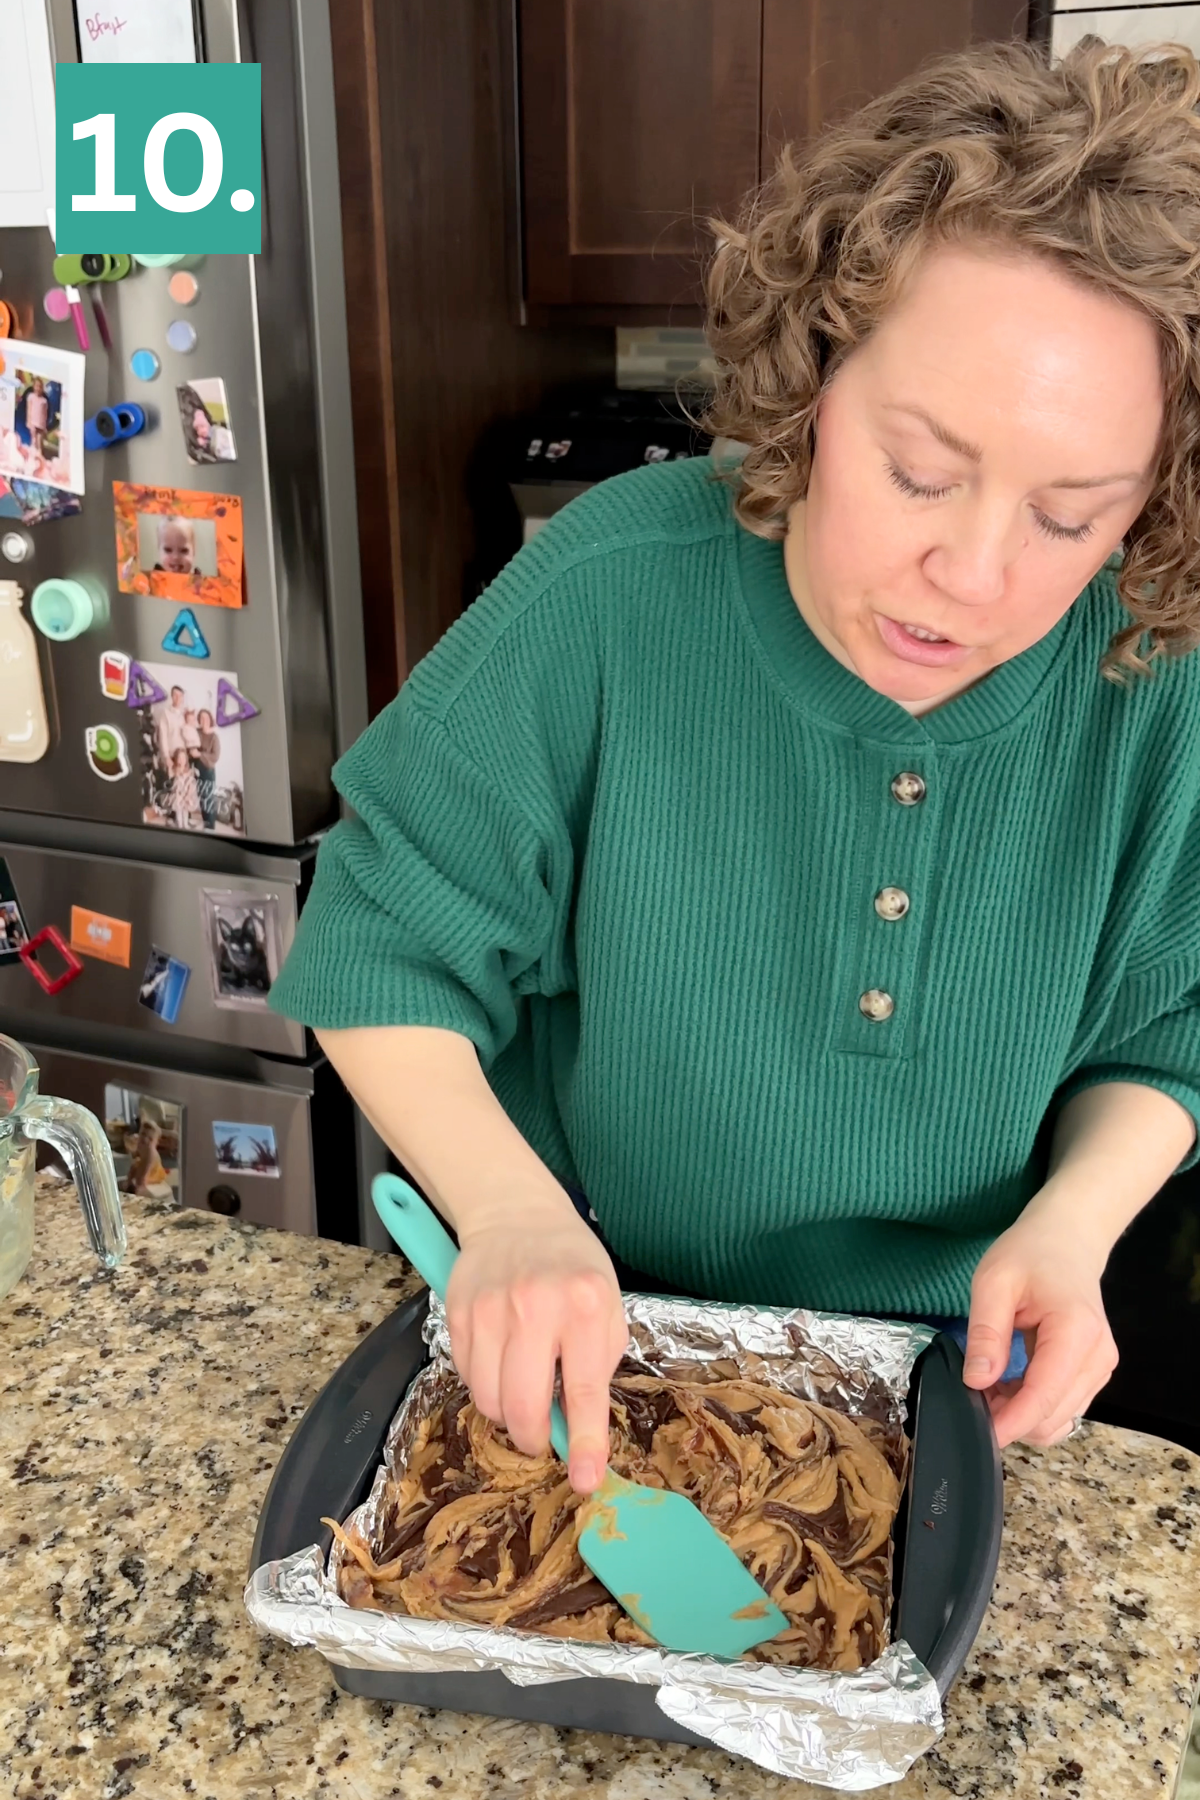
Continue layering and swirling until both mixtures are used. The final swirl may look slightly jagged as the fudge thickens. Use a spatula to gently press and smooth the surface without overmixing.
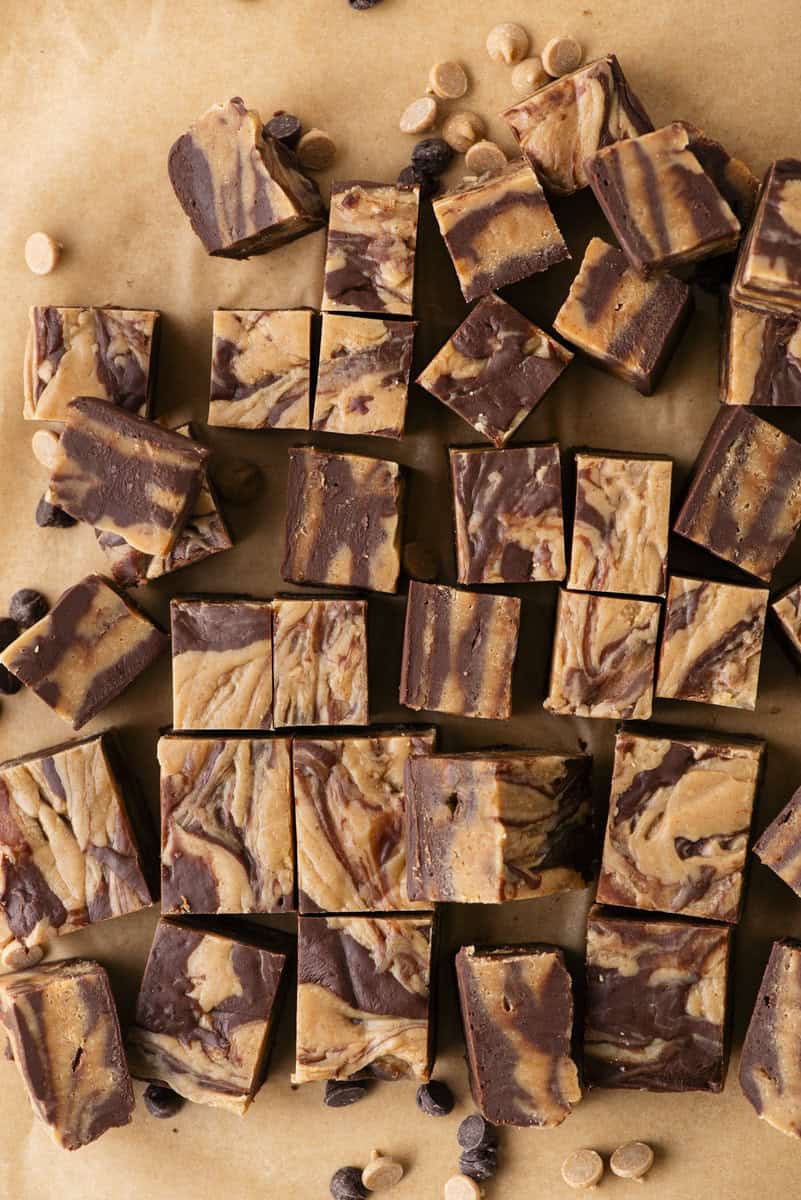
Set & Cut: Let the fudge set at room temperature for 4 to 6 hours, or ideally overnight, until firm. Lift the fudge out of the pan using the parchment overhang. Cut into squares with a sharp knife, wiping the blade clean between cuts for neat edges.
How To Swirl Fudge Without Making a Mess
The key to beautiful swirls is making sure both layers are the same consistency at the same time. Alternate melting the chocolate and peanut butter mixtures in the microwave so they finish together. If one sits too long, it will thicken and become harder to marble.
If either bowl starts to stiffen, microwave it for 10 to 15 seconds to loosen it back up. Build the fudge in layers by spreading chocolate first, adding dollops of peanut butter, swirling, and repeating. As you get to the top, the mixtures will naturally thicken, so work quickly. If the final swirl looks slightly jagged, gently press the surface with a spatula to smooth it out.
Why Fudge Layers Set at Different Speeds
Fudge layers set at different speeds because of fat content and chocolate ratios. Chocolate with a higher chip to liquid ratio will thicken faster. Peanut butter also changes texture depending on how much real peanut butter versus flavored chips you use.
If your chocolate is getting thick too quickly, it likely needs slightly more fat to stay creamy longer. If the peanut butter layer feels too soft, it may need more structure from chips or condensed milk. Matching both layers in richness and volume is what allows them to swirl instead of fight each other.
Storage and Make Ahead Tips
Store chocolate peanut butter fudge in an airtight container at room temperature for up to one week. Separate layers with parchment paper to prevent sticking. If your kitchen is warm, refrigerate the fudge and allow it to come back to room temperature before serving for the best texture.
This fudge is perfect for making ahead. Prepare it one to two days before serving so it has time to fully set and slice cleanly.
I have a whole tutorial answering the question: can you freeze fudge. To freeze, wrap the fully set fudge tightly in plastic wrap and place in a freezer safe container. Freeze for up to three months and thaw at room temperature before serving.
More Fudge Recipes
Tap stars to rate!
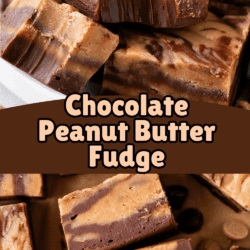
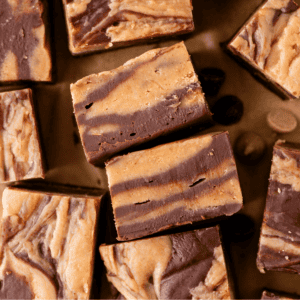
Swirled Chocolate Peanut Butter Fudge
Ingredients
Chocolate Fudge
- 14 oz sweetened condensed milk
- 2¼ cups (383g) semi-sweet chips
- 2 Tbsp butter
- ¼ tsp salt
- ¼ tsp vanilla extract
Peanut Butter Fudge
- 14 oz sweetened condensed milk
- 1 ¾ cup (274g) peanut butter chips
- ½ cup (135g) creamy peanut butter
- ¼ tsp salt
- 1 tsp vanilla extract
Video
Instructions
- Line a 9×9 inch pan with parchment paper or aluminum foil, leaving overhang on two sides for easy removal. Set aside.
- Prepare each fudge layer. In a large microwave safe bowl, combine the sweetened condensed milk, semi sweet chocolate chips, butter, and salt. In a second large microwave safe bowl, combine the sweetened condensed milk, peanut butter chips, creamy peanut butter, and salt.14 oz sweetened condensed milk, 2¼ cups (383g) semi-sweet chips, 2 Tbsp butter, ¼ tsp salt, 14 oz sweetened condensed milk, 1 ¾ cup (274g) peanut butter chips, ½ cup (135g) creamy peanut butter, ¼ tsp salt
- Take turns microwaving the layers. The goal is for both mixtures to finish melting at the same time so they stay the same consistency. Microwave the chocolate mixture for 1 minute. Remove and stir. It will not be fully melted yet. Microwave the peanut butter mixture for 1 minute. Remove and stir. It will not be fully melted yet.
- Return the chocolate bowl to the microwave for 30 to 45 seconds, stir, then microwave the peanut butter bowl for 30 to 45 seconds and stir. Continue in short intervals if needed until both mixtures are smooth and fully melted.
- Stir the vanilla extract into each bowl.¼ tsp vanilla extract, 1 tsp vanilla extract
- The key to clean swirls is keeping both mixtures warm and pourable. If one begins to thicken while you are layering, microwave it for 10 to 15 seconds to loosen it.
- Spread about one third of the chocolate mixture into the prepared pan. Drop spoonfuls of the peanut butter mixture over the chocolate and gently swirl with a knife. Repeat with more chocolate, more peanut butter, and swirl again. Continue layering and swirling until both mixtures are used.The final swirl may look slightly jagged as the fudge thickens. Use a spatula to gently press and smooth the surface without overmixing.
- Let the fudge set at room temperature for 4 to 6 hours, or ideally overnight, until firm. Lift the fudge out of the pan using the parchment overhang. Cut into squares with a sharp knife, wiping the blade clean between cuts for neat edges.
Notes
- To Store: Store in an airtight container at room temperature for up to 1 week. Place parchment paper between layers to prevent sticking.
- To Make Ahead: Prepare it 1 to 2 days in advance and allow it to fully set before wrapping in plastic wrap.
- To Freeze: Wrap the fully set fudge tightly in plastic wrap, then place it in a freezer safe container or bag. Freeze for up to 3 months. Thaw at room temperature while still wrapped to prevent condensation on the surface.
- To Double: Double all ingredients and spread the fudge into a 9×13 inch pan. Work quickly when swirling so both layers stay warm and workable.