This post may contain affiliate links. Please read our disclosure policy.
I’ve made cake pops for everything from birthday parties to baby showers to holiday trays, and after dozens of batches (and a few melty mishaps), I’ve nailed the method that actually works every time. These cake pops don’t crumble apart, slide off the stick, or taste like store-bought mush. They’re soft and rich on the inside, with a smooth shell that sets perfectly for dipping, decorating, and devouring.
Whether you’re a first-time cake pop maker or you’ve tried and failed before—I’ve got you. I’ll walk you through every step, from mixing and rolling to dipping without the drips. With the tips and tricks I’ve learned through trial and error (so you don’t have to), you’ll be making cake pops that look and taste bakery-quality from your very own kitchen.
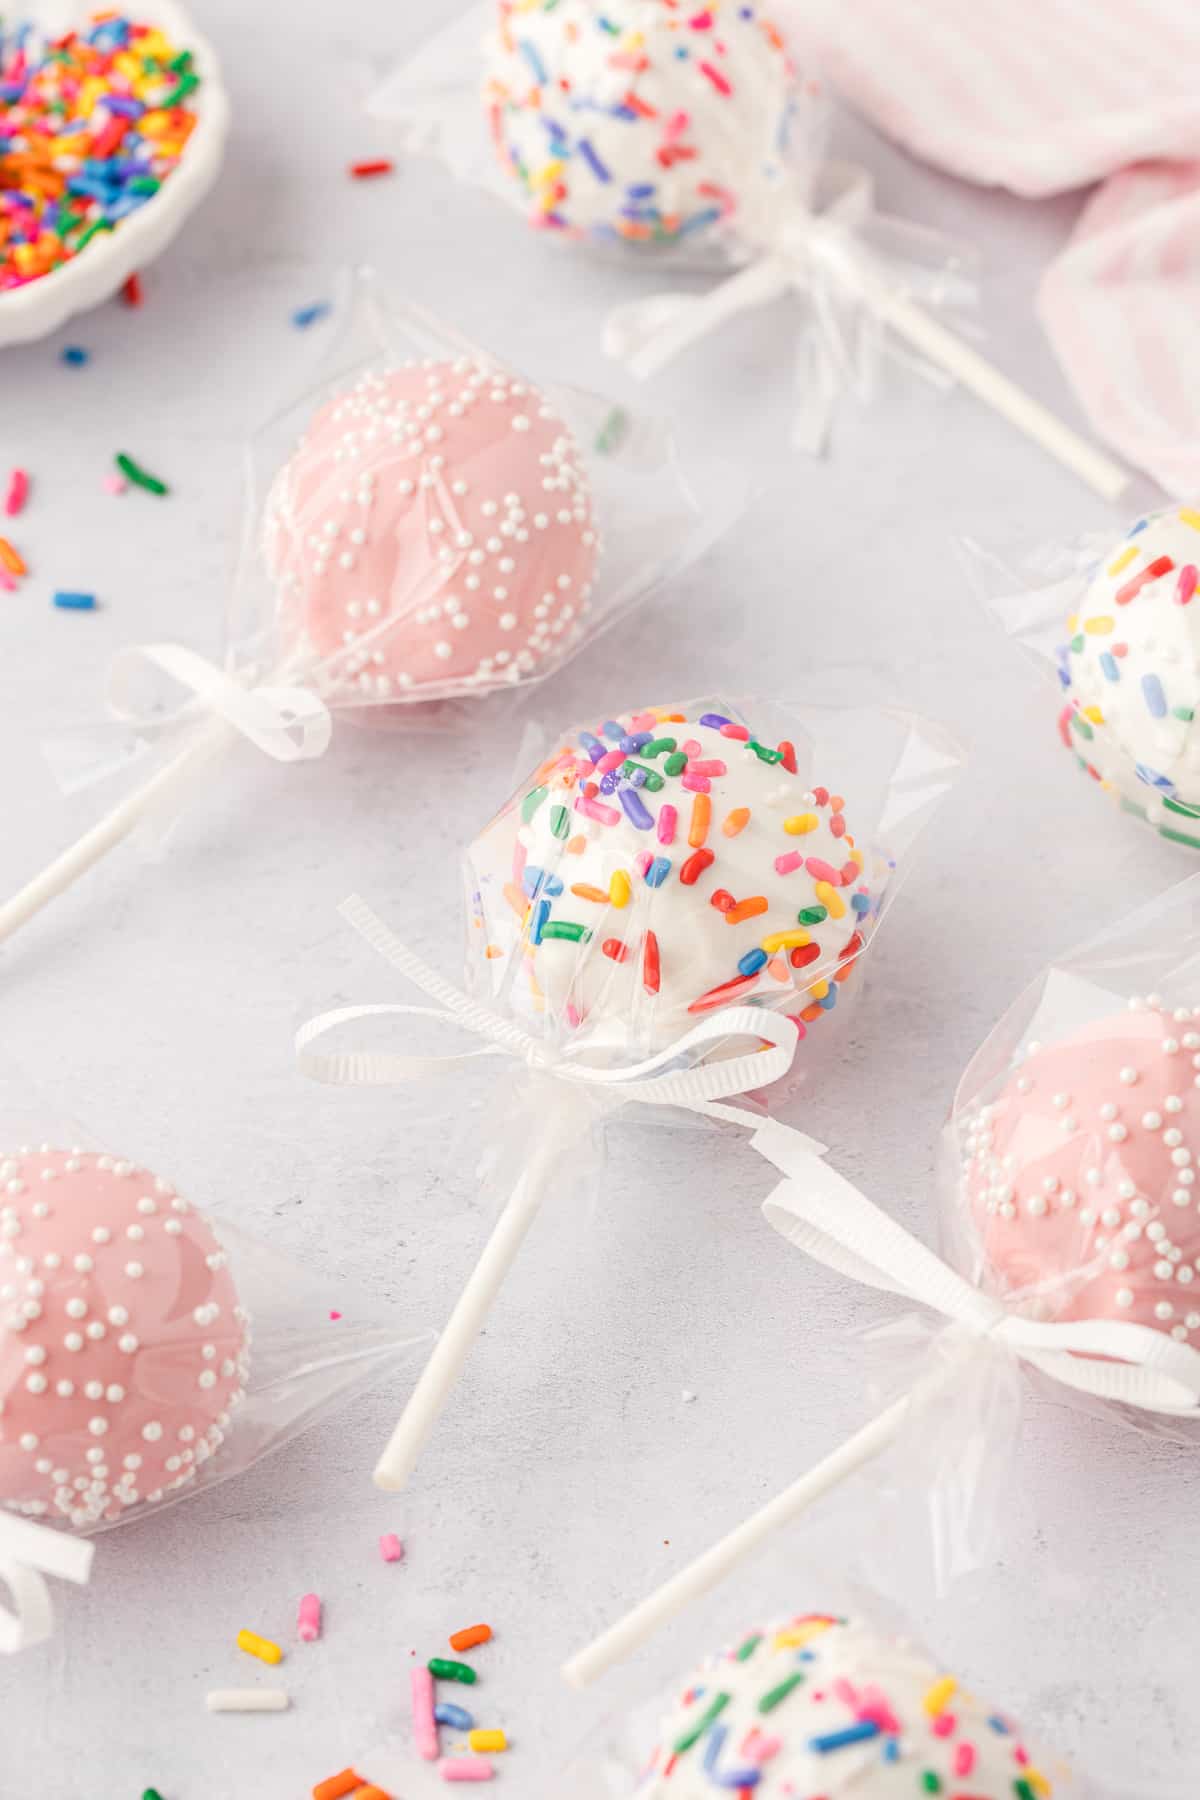
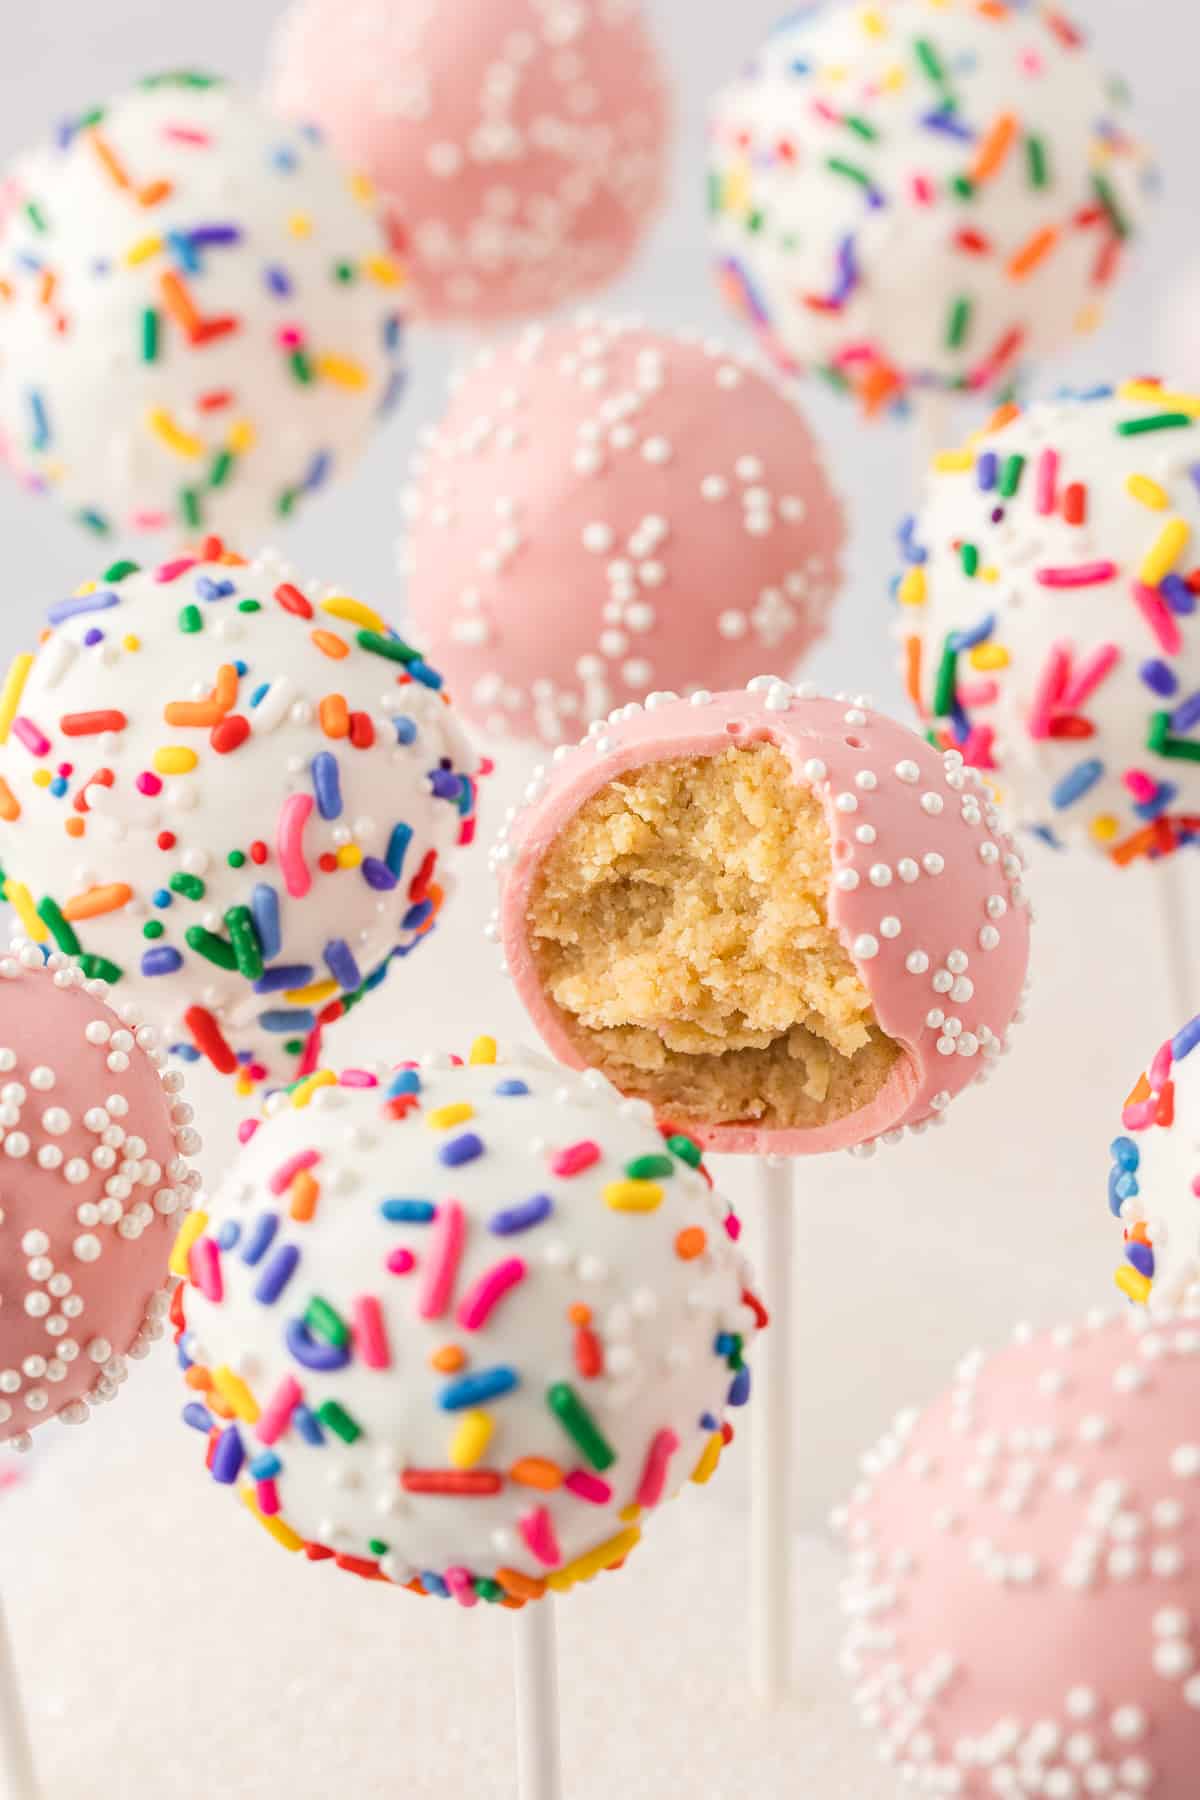
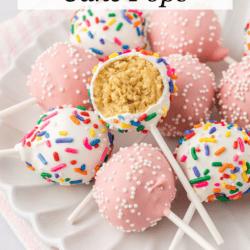
This Cake Pops Recipe makes for the perfect bite sized treats!
You might be intimidated by the thought of trying to make a perfect little dessert on a stick, but making the perfect cake pop is actually way easier than you may think! When you follow my easy recipe below, you’ll have moist, tasty and perfectly decorated treats on a stick that rival Starbucks.
This recipe uses boxed cake mix and a store-bought can of frosting for incredibly easy and tasty DIY cake pops. Keep reading because below I’m sharing all my best tips and tricks for setting after dipping, so you can be a cake pop pro the first time you try!
Top 3 Cake Pop Mistakes (and How to Fix Them!)
1. Cake Pops Falling Off the Stick
Don’t skip the chill time! After rolling, pop your cake balls in the fridge for 2 hours until they’re firm—this helps them stay put during dipping. Also, dip the stick into melted chocolate before inserting it into the ball—that acts like glue!
2. Cracked Coating
If your cake balls are too cold and your candy melts too hot, cracks happen. That’s why I recommend you refrigerate, NOT FREEZE, before dipping.
3. Mushy or Overly Sweet Centers
Too much frosting = soggy, overly sweet pops. Add frosting a little at a time until the mixture just holds together. You’re aiming for a soft dough that rolls smoothly without turning to paste. I found the sweet spot, no pun intended, to be 1/2 cup of frosting.
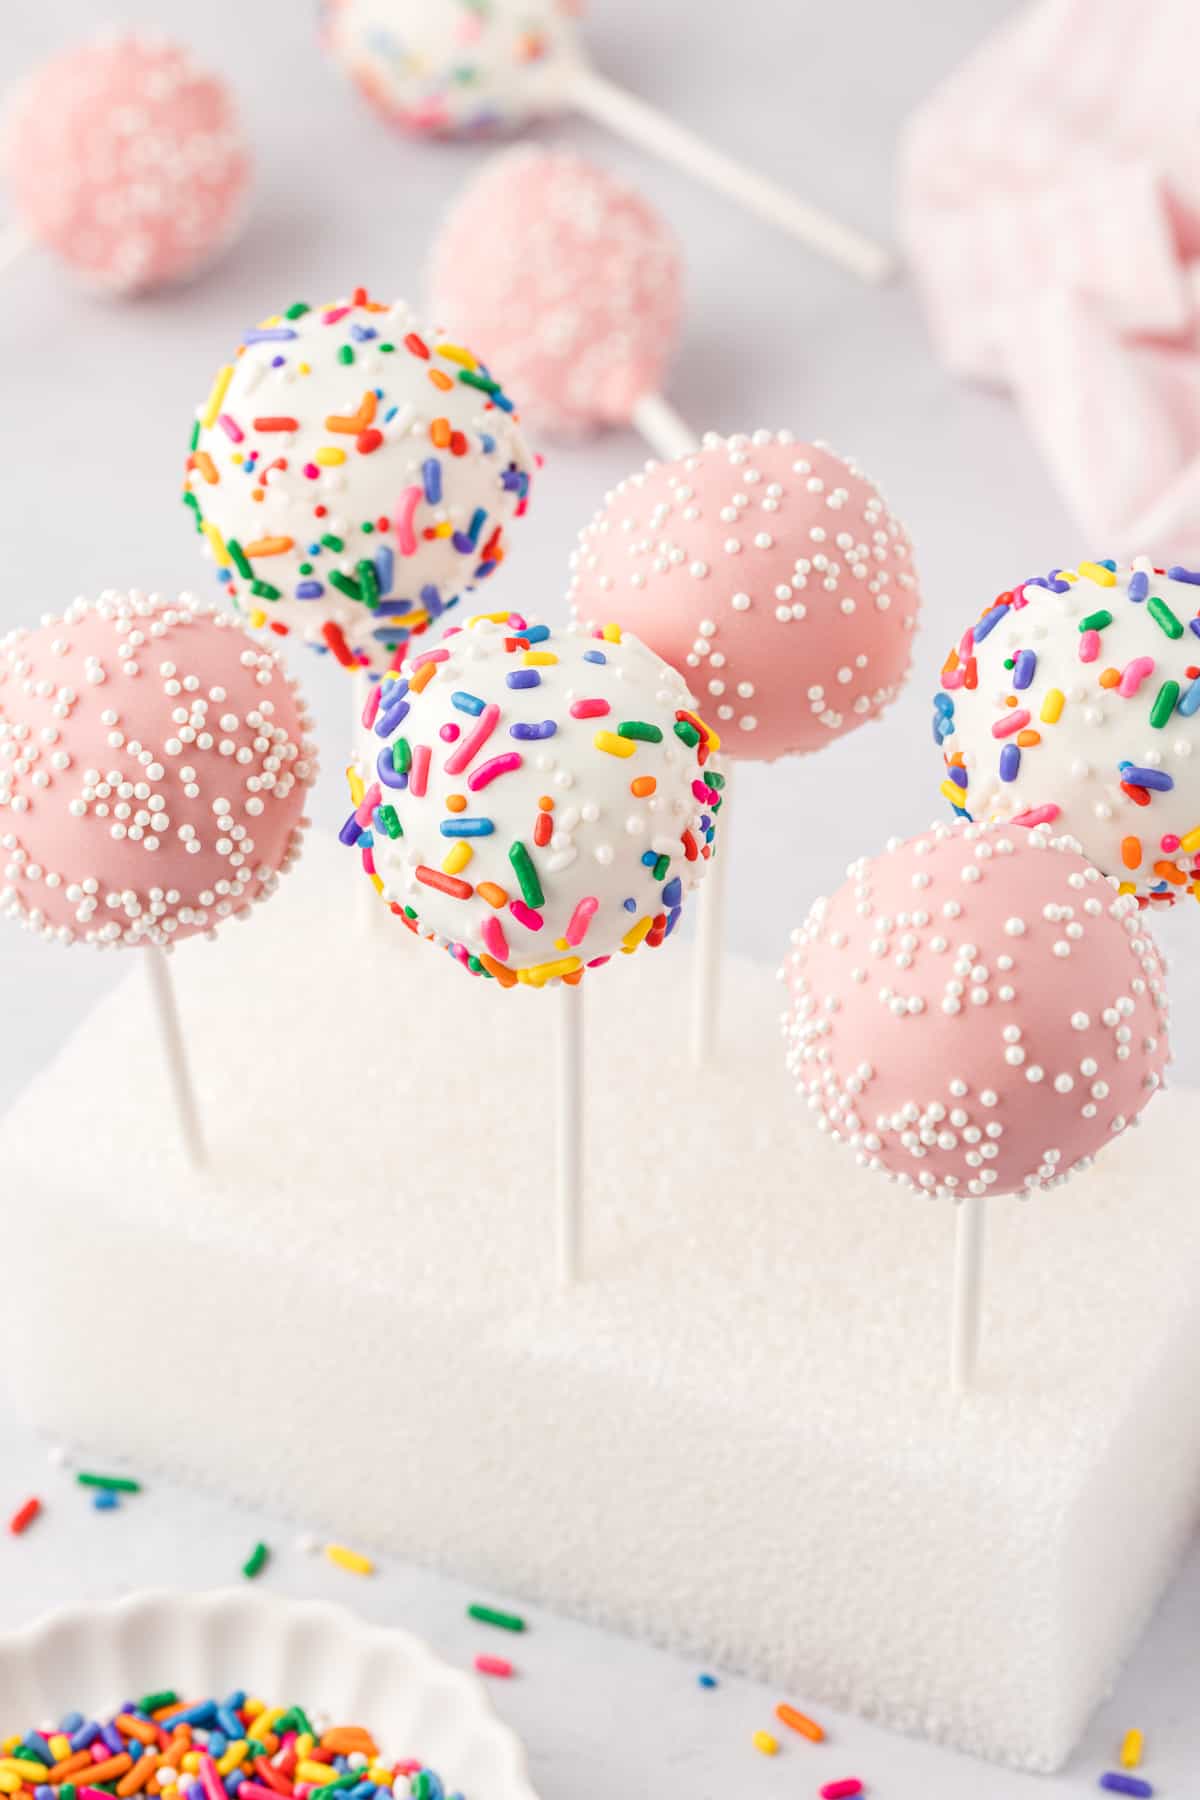
Why you’ll love this Cake Pop Recipe
These DIY vanilla cake pops pack some serious wow factor. Here are a few of the reasons you’ll love this recipe:
- Bite-sized dessert perfect for birthday parties, a baby shower, or any special occasion
- Copycat of Starbucks birthday cake pops
- Moist and sweet, but not too sweet
- Incredibly easy to make with simple ingredients
- Easily customizable with different cake mix, frosting or sprinkles
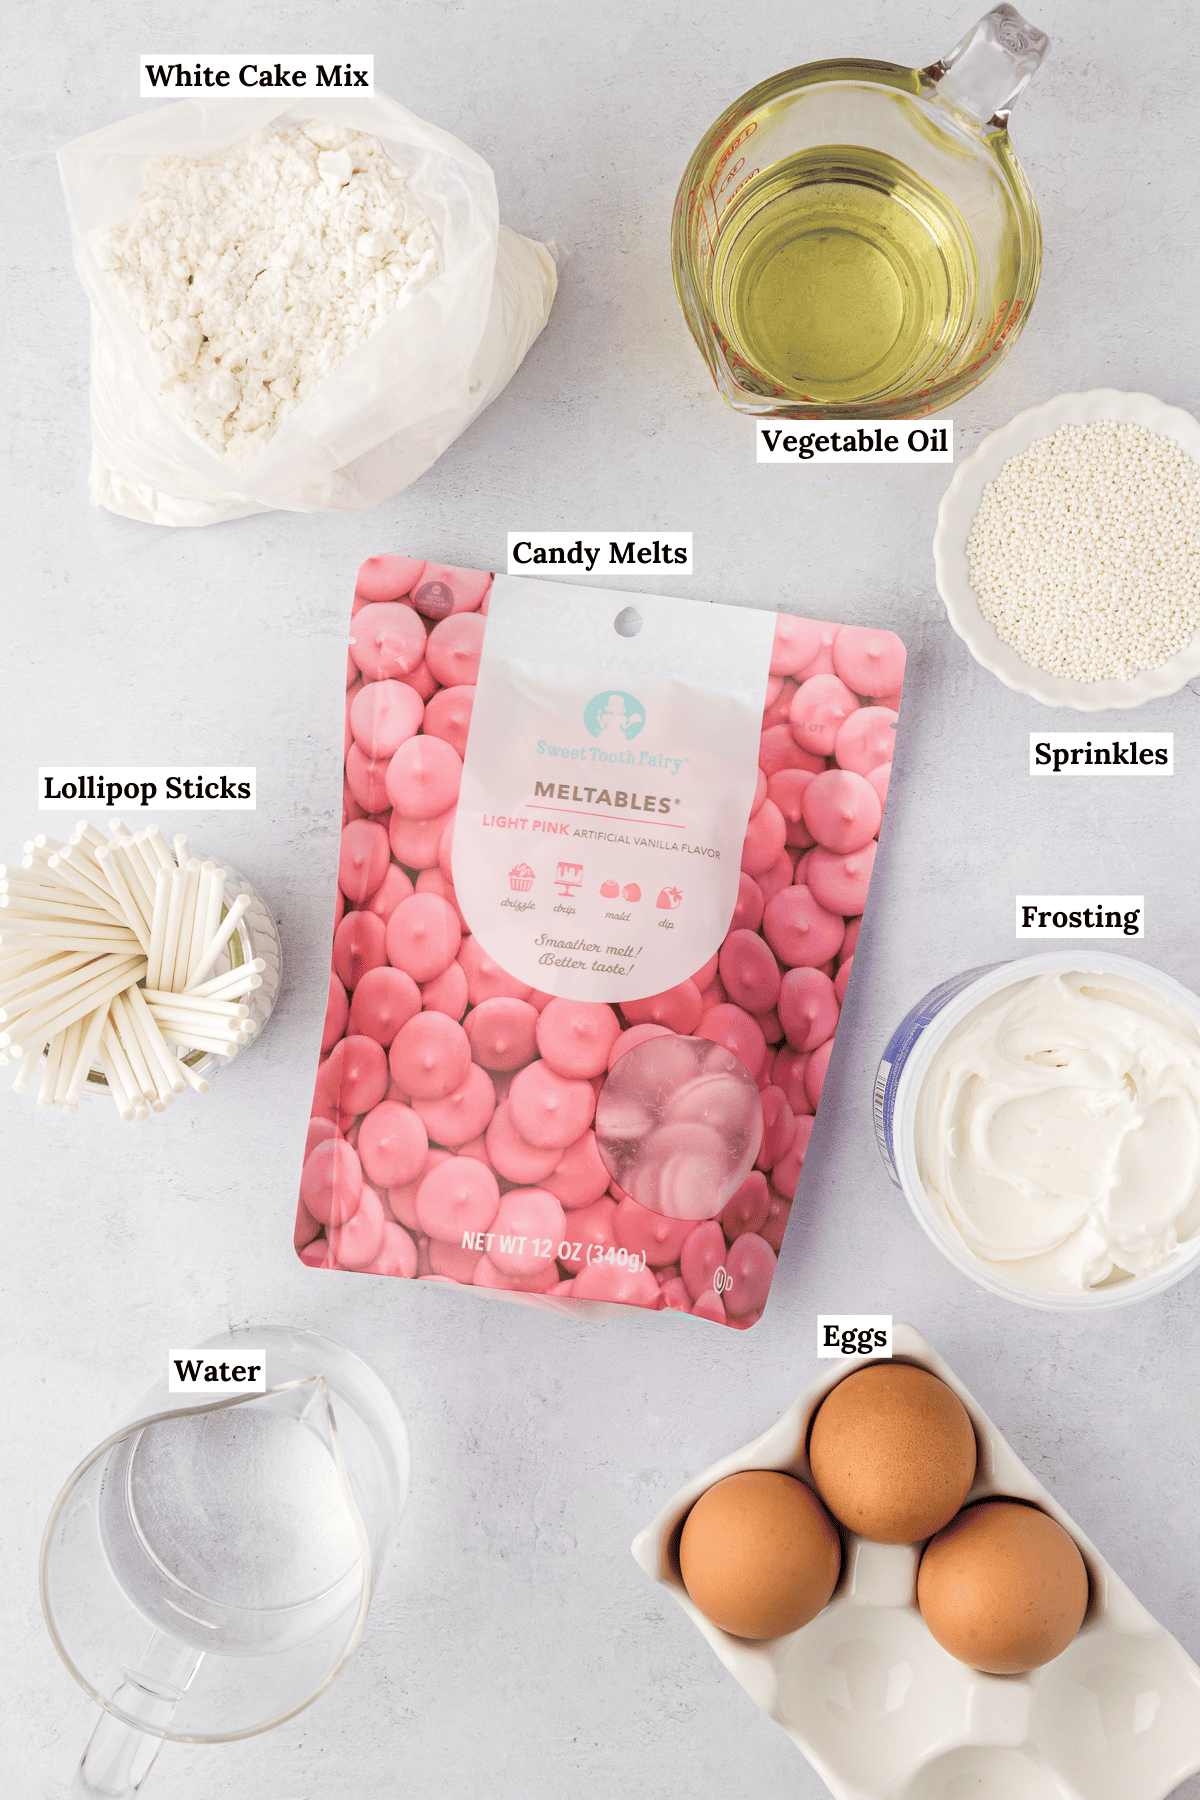
Cake Pop Ingredients
These may look fancy, but they actually use super simple ingredients. Get the full recipe with measurements and instructions in the recipe card below. Here’s what you’ll need:
- Box cake mix: I used white cake mix.
- Ingredients listed on the back of the cake mix box: These are usually eggs, oil, and water.
- Frosting: homemade or store-bought
- Candy melts: any color
- Lollipop sticks
- Sprinkles
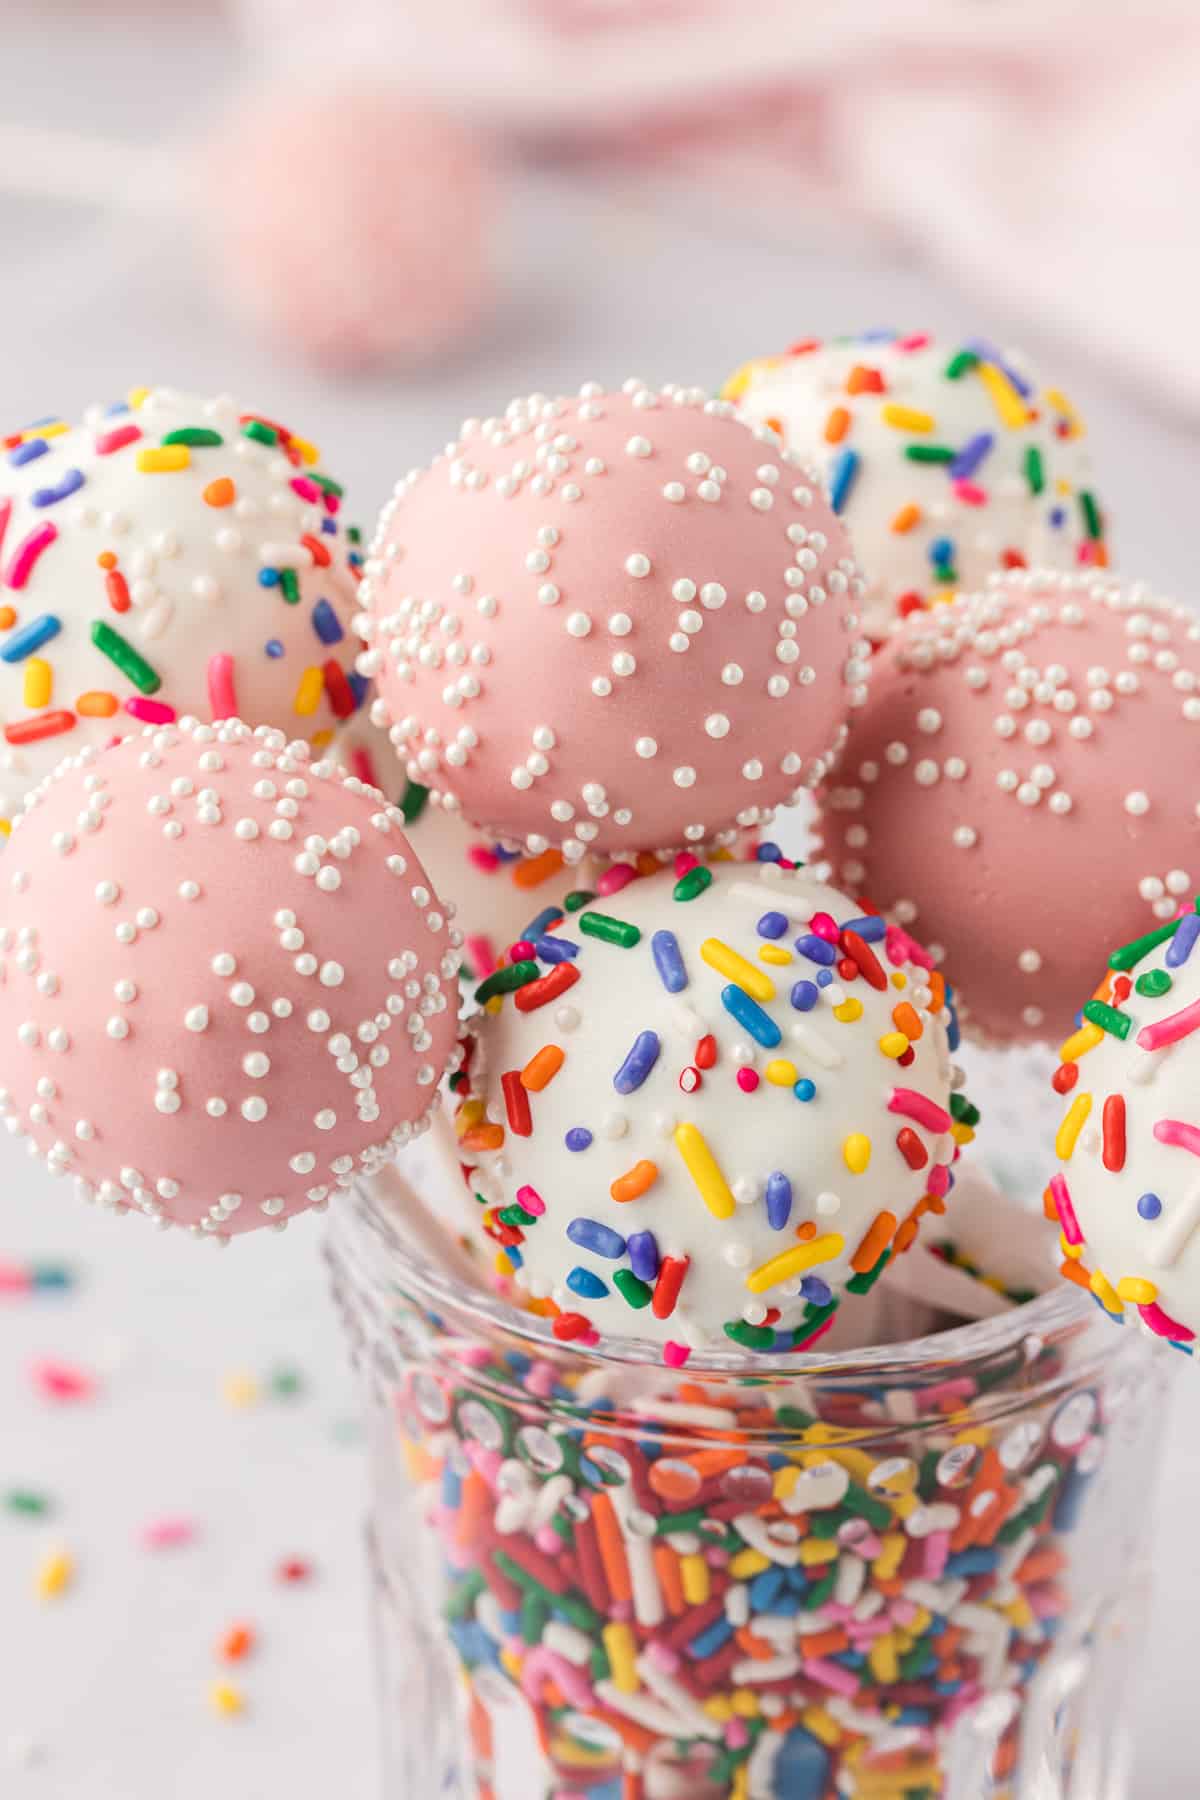
How to make Cake Pops with Cake Mix
You can make the best cake pops at home that will seriously impress a crowd, and there are just 7 easy-to-follow steps:
- Prep oven and pan. Preheat the oven to 350ºF. Spray a 9×13 inch pan with nonstick spray. Set aside.
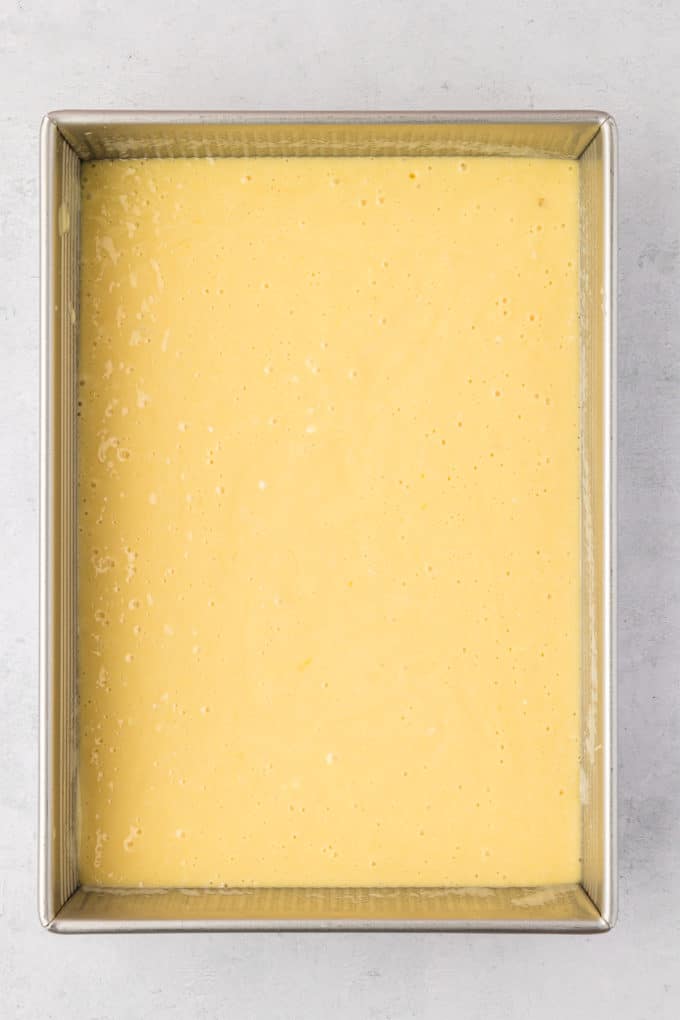
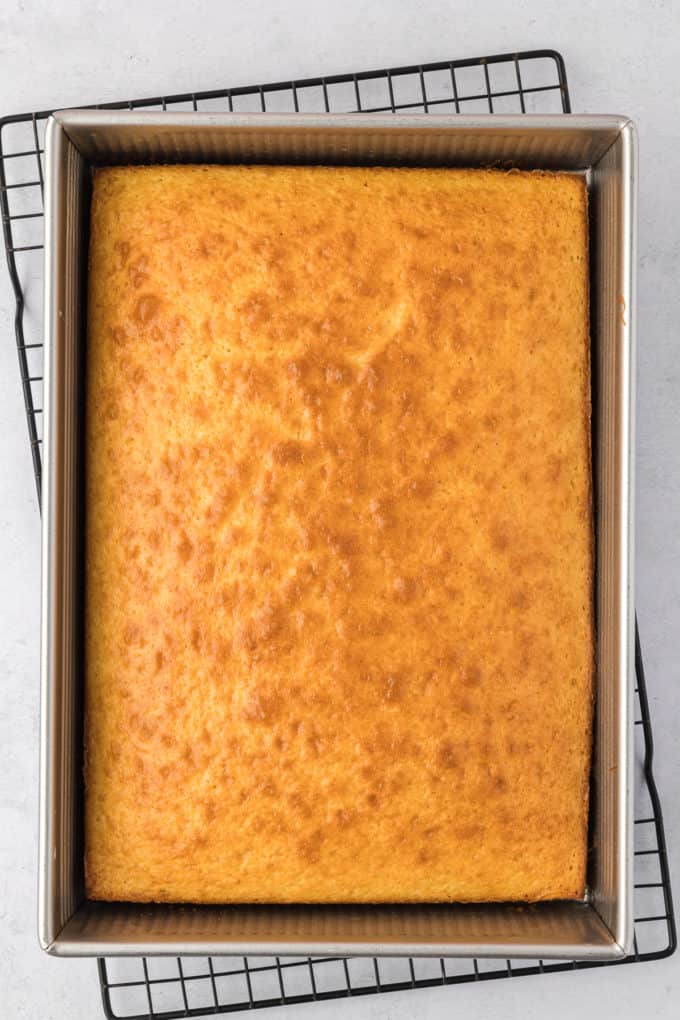
- Make cake. In a large bowl, whisk together cake mix, water, oil, and eggs until combined as the back of the box instructs. Pour the prepared batter into the pan and bake according to the recommended time on the box.
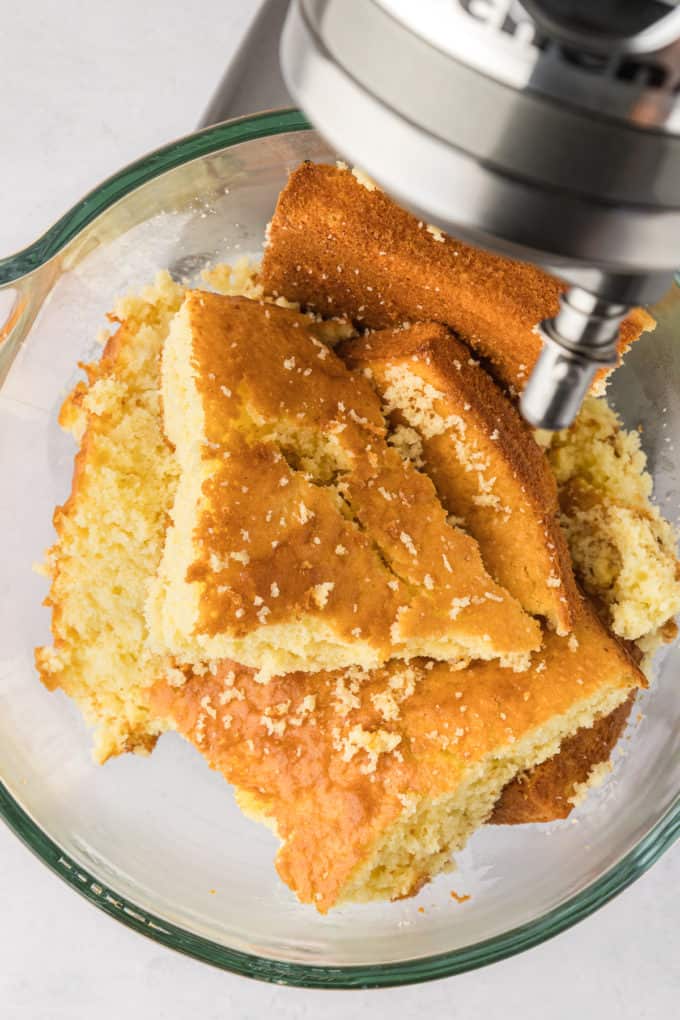
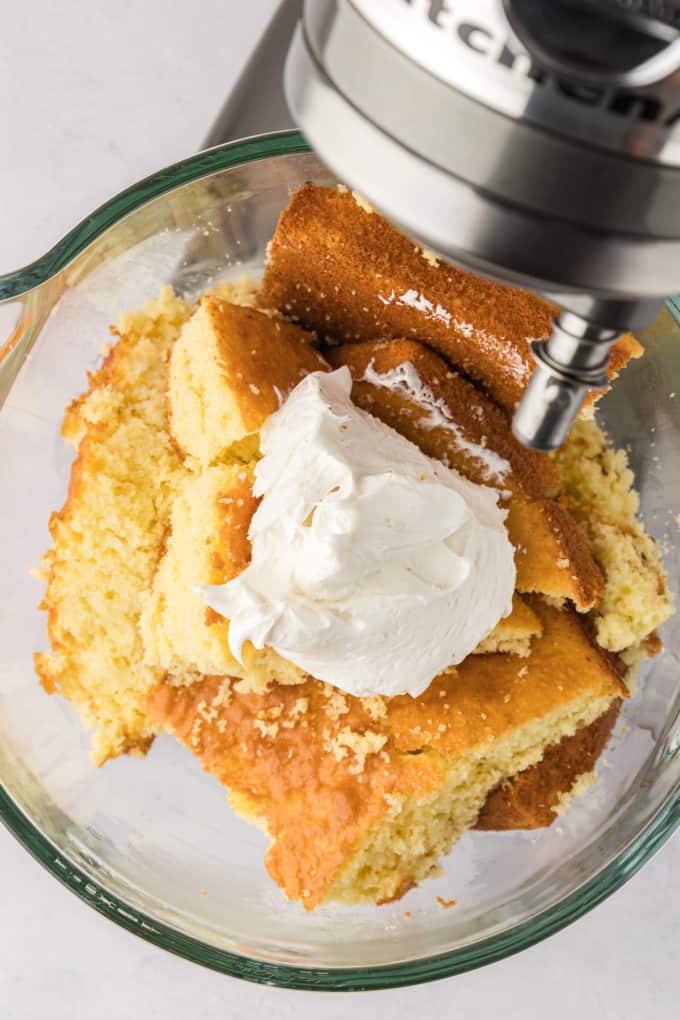
- Mix cake and frosting. Immediately when the cake comes out of the oven, carefully transfer the cake to a large mixing bowl. Add ½ cup frosting and beat with an electric mixer on low speed until the cake and frosting form a dough like texture.
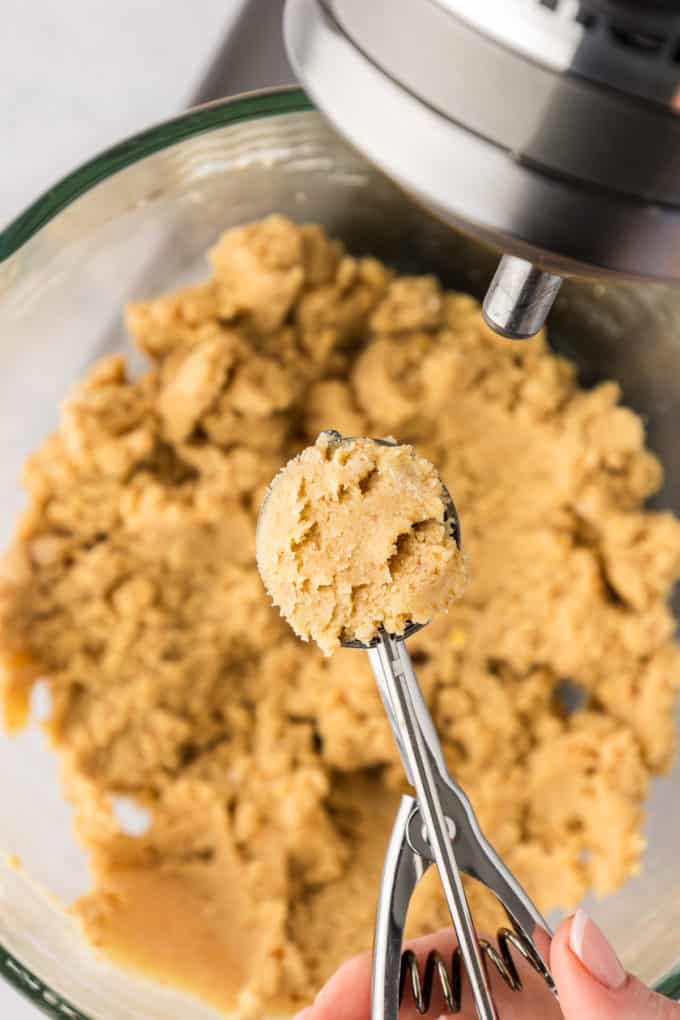
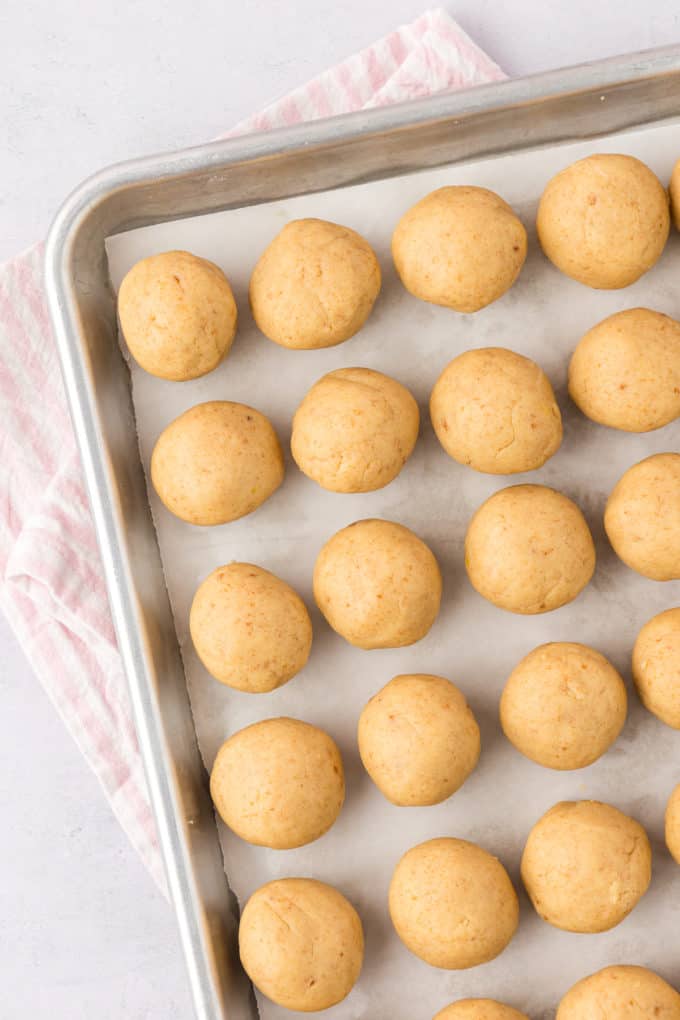
- Form balls and chill. Use a tablespoon sized scoop to form and roll the dough into balls. It’s okay if the balls aren’t perfectly round right now, we’ll roll again after refridgerating. Place the cake balls on a lined baking sheet and refrigerate for 2 hours. The balls stay on the sticks better and are easier to dip when cold. I do NOT recommend freezing the cake balls, the chocolate coating will crack once dipped as the temperature changes.
- Refine balls. Re-roll the balls as needed after they’ve chilled. Keep them in the fridge and melt the candy melts.
- Make chocolate coating. Heat the candy melts in a 2-cup liquid measuring cup (ideal for easy dunking!) in the microwave at 20-second intervals. Stir after each interval until the mixture is melted and smooth.
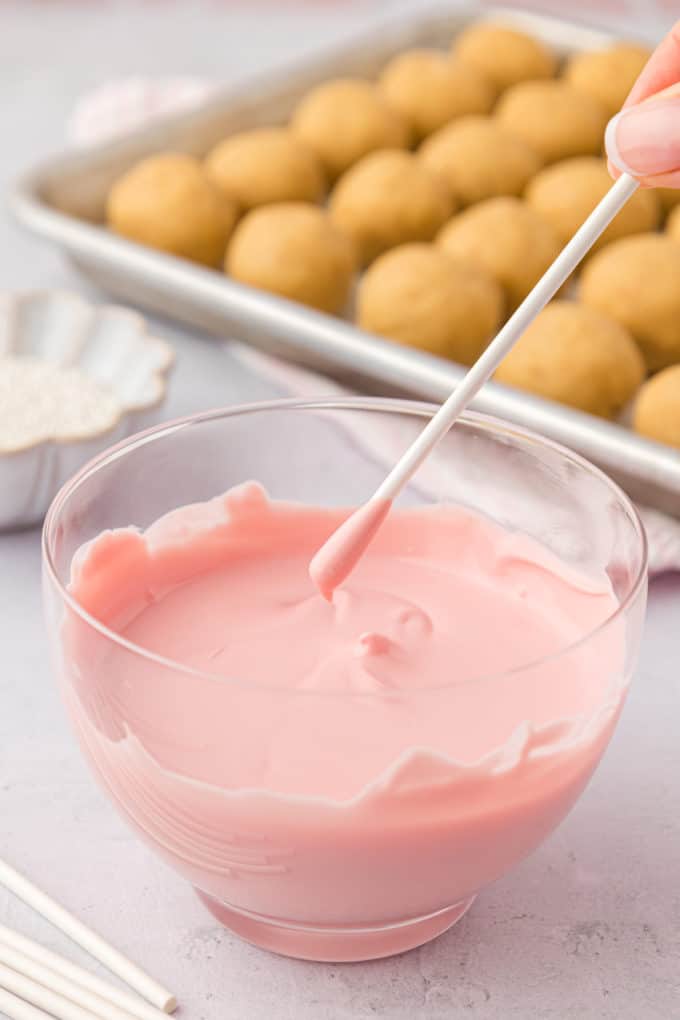
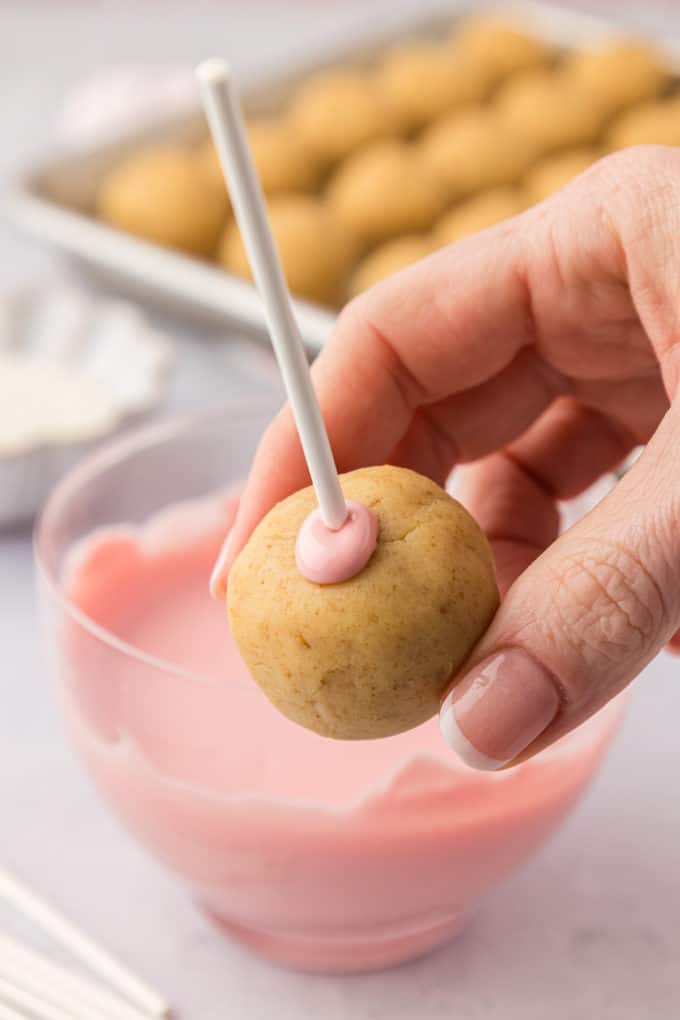
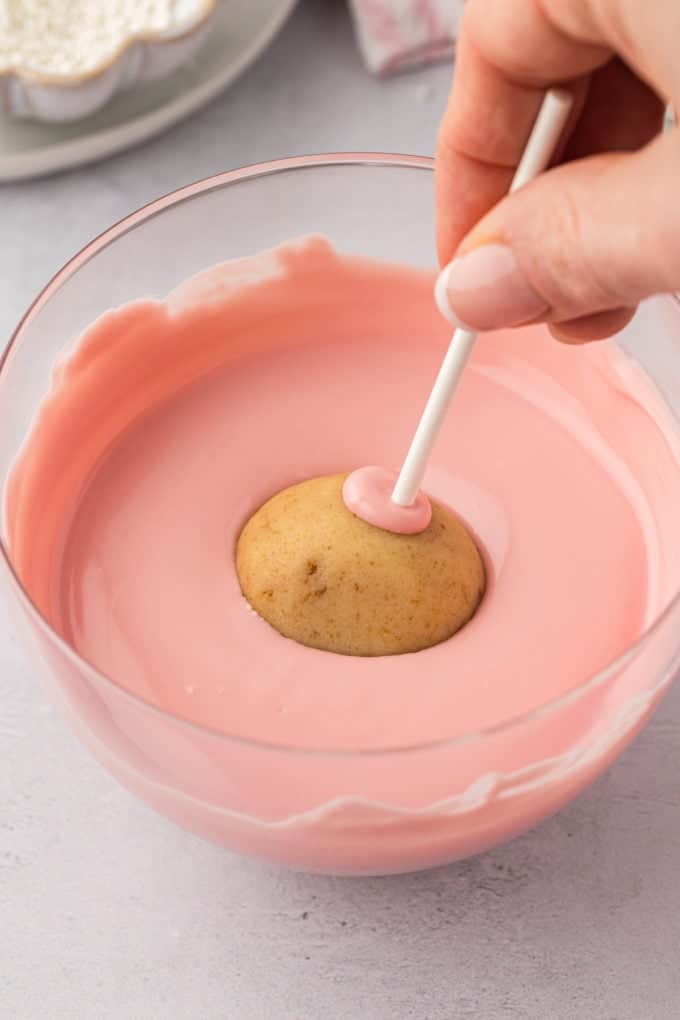
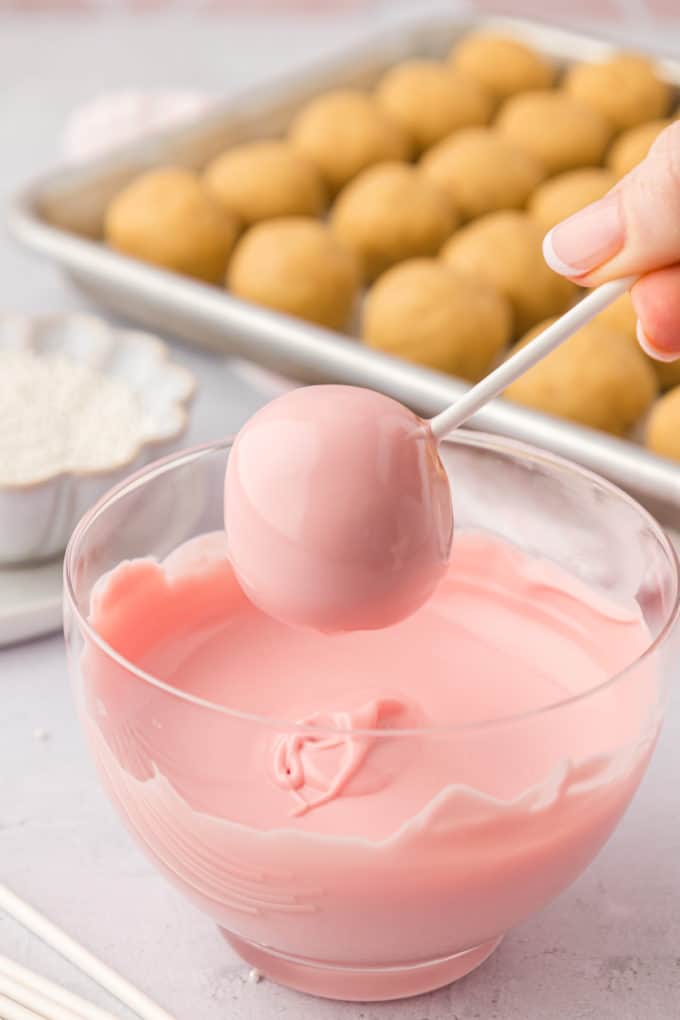
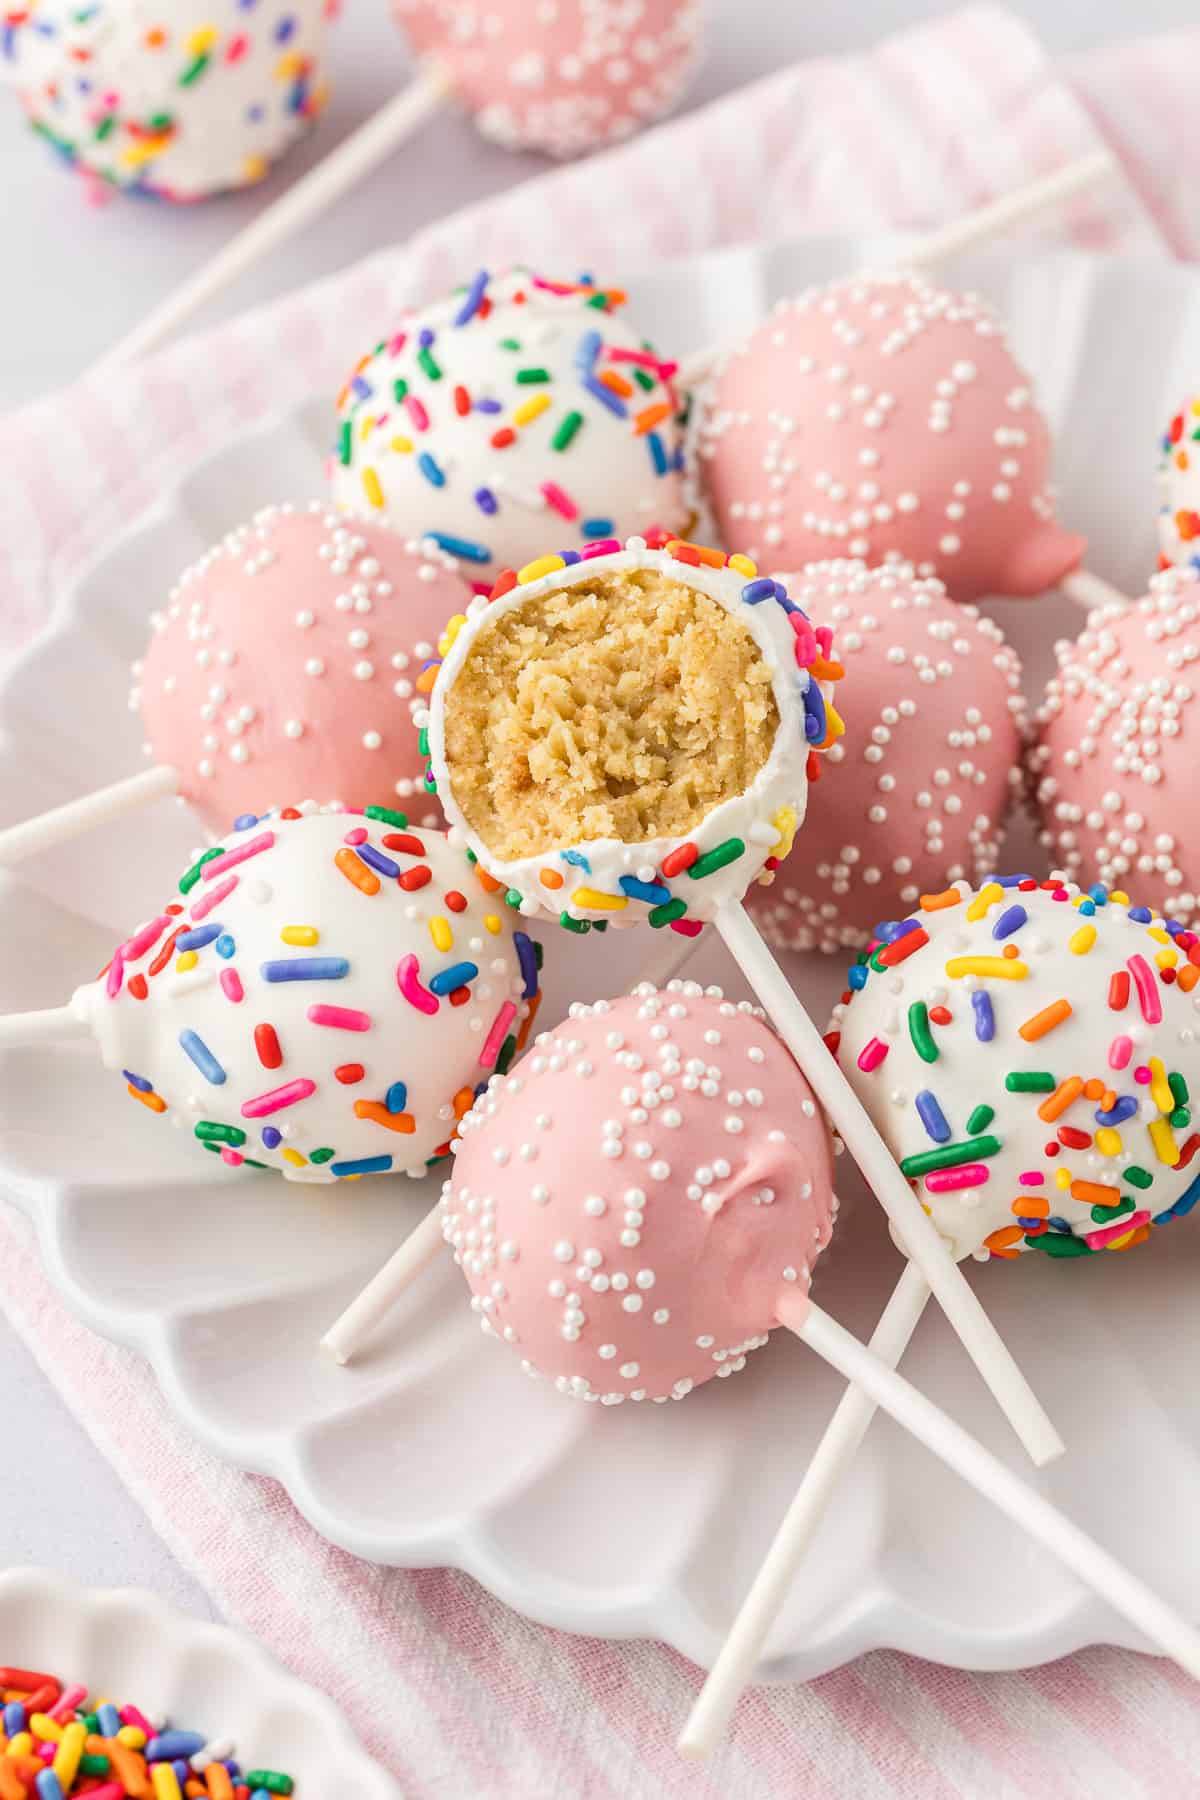
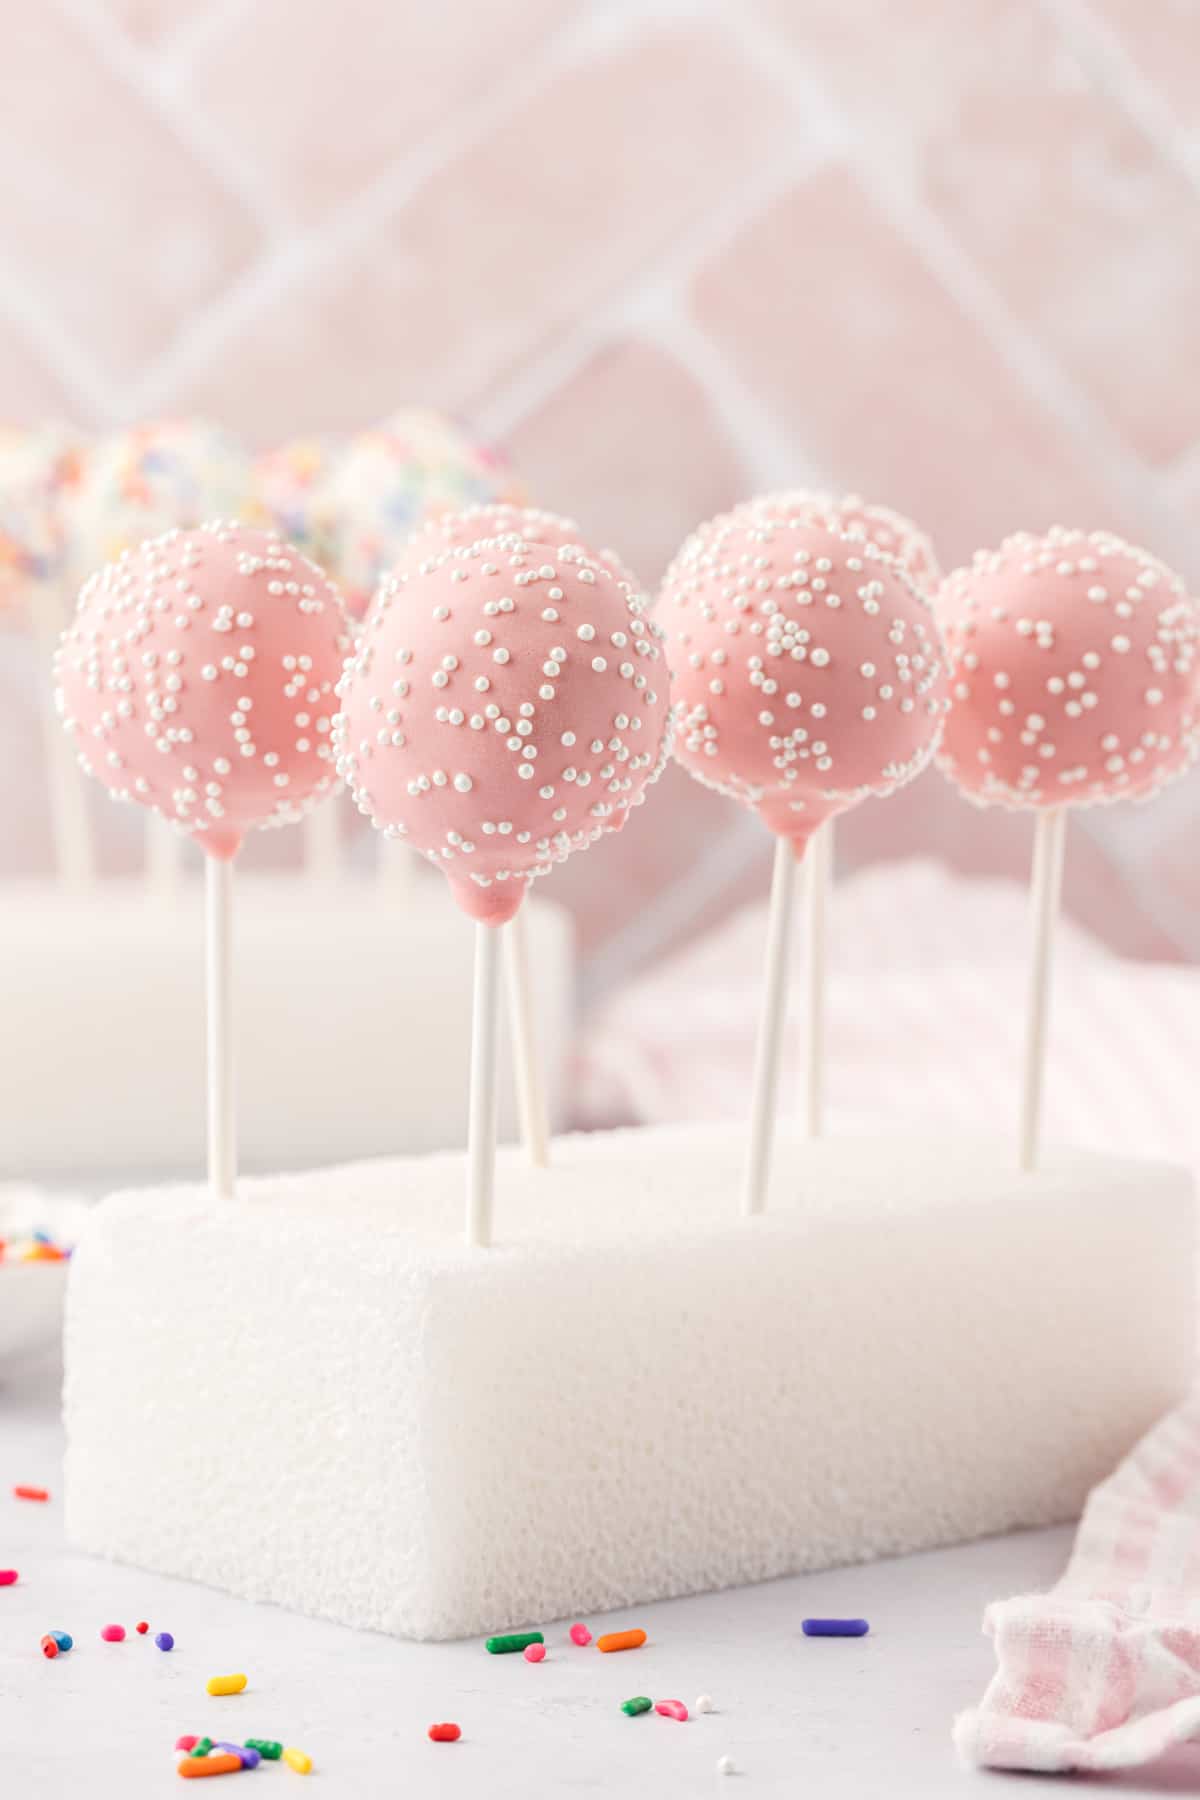
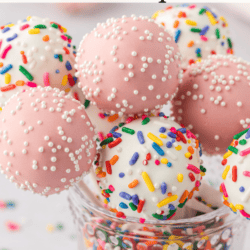
- Dip and decorate. Working in batches of 2 or 3, dip the lollipop stick about ½ inch into the candy melts, then insert it into the center of the cake ball, making sure it only goes about halfway. Dip the cake ball into the coating until it is fully covered, making certain the coating extends over the base of the cake ball where it meets the lollipop stick. Gently tap the stick against the edge of the measuring cup to allow any excess coating to drip off. Add sprinkles if desired and place them upright in styrofoam or a box to set. Repeat the process with the remaining cake balls, working with only a few at a time and ensuring the cake balls remain very cold during the dipping process.
How to make Homemade Cake Pops ahead of time
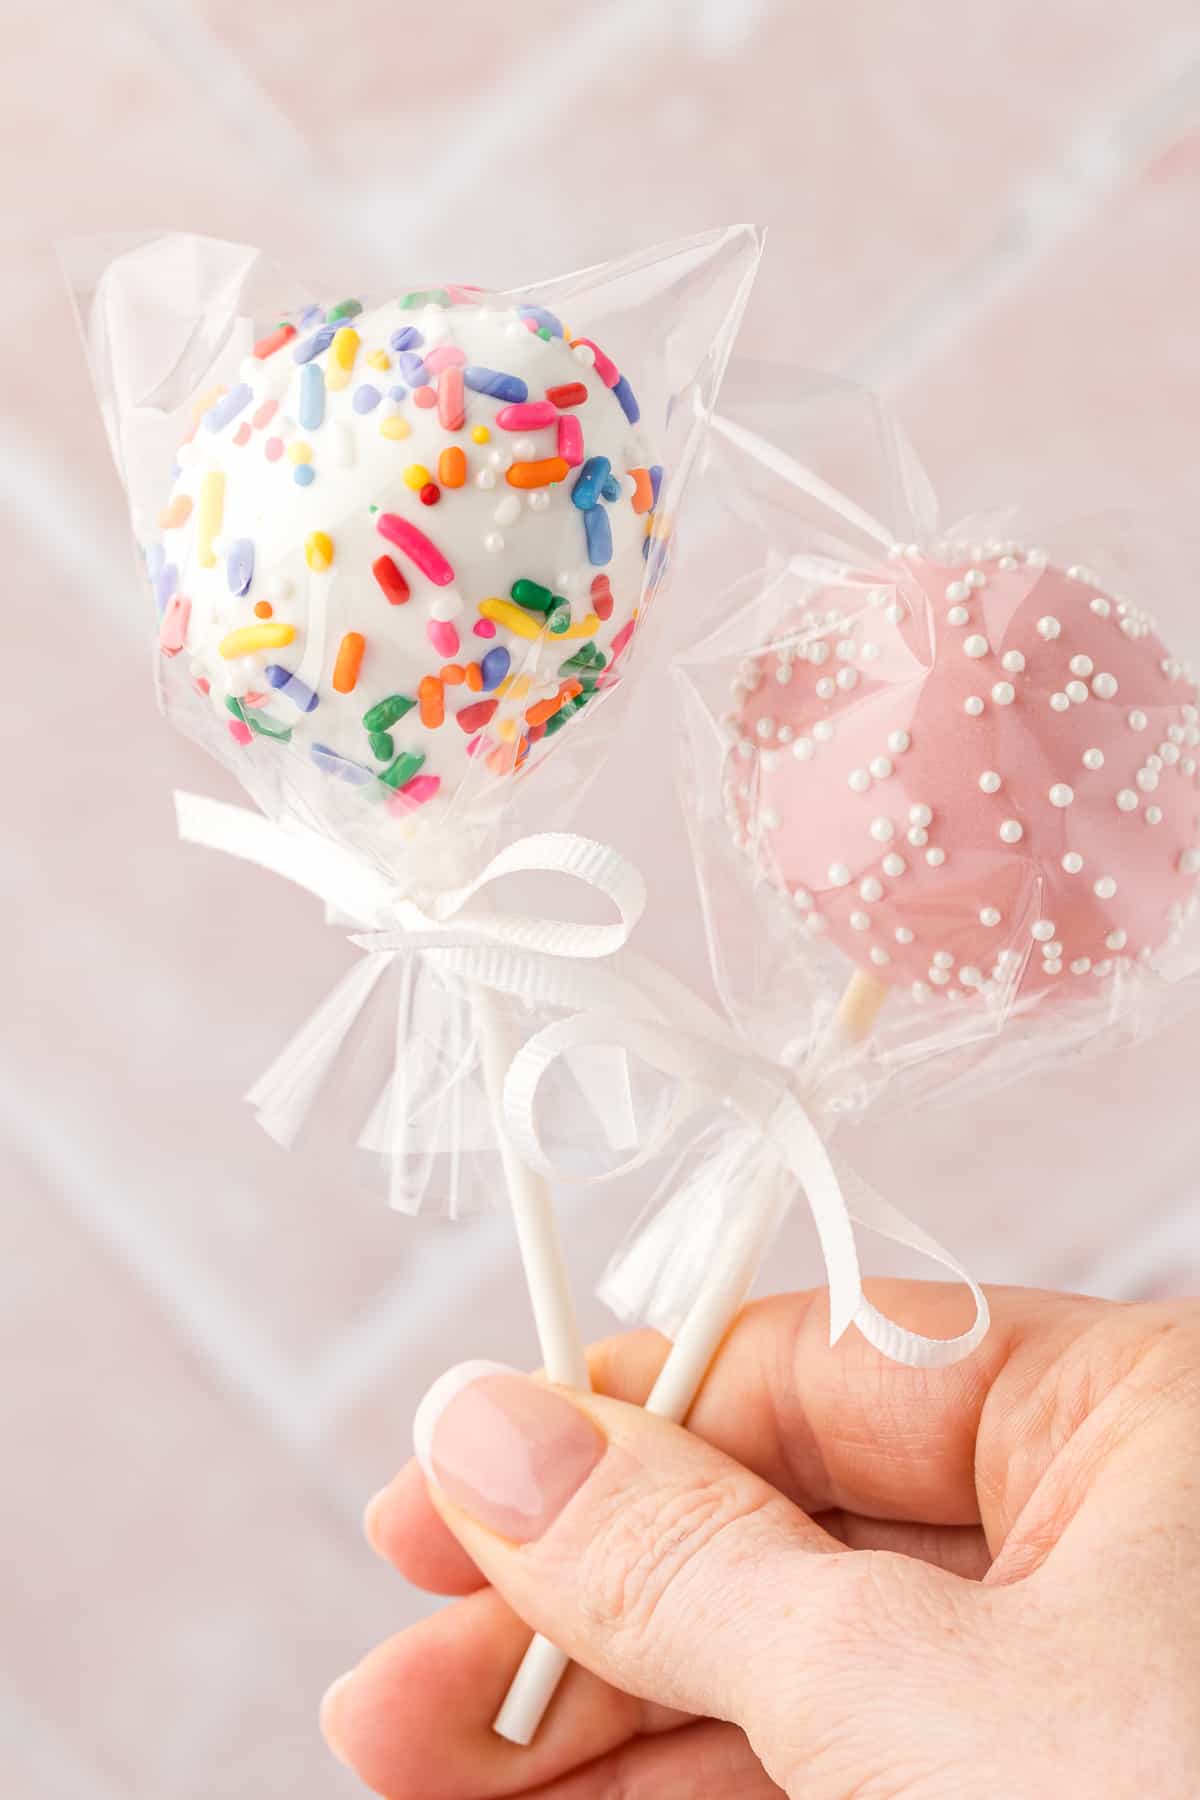
If you want to make these ahead of time, you can make the balls and refrigerate, and just hold off on the dipping. You can keep them refrigerated for 2-3 days, and then when you’re ready, finish them with the candy coating and sprinkles.
The Best Cake Pop Recipe Tips
For best results, follow these tips:
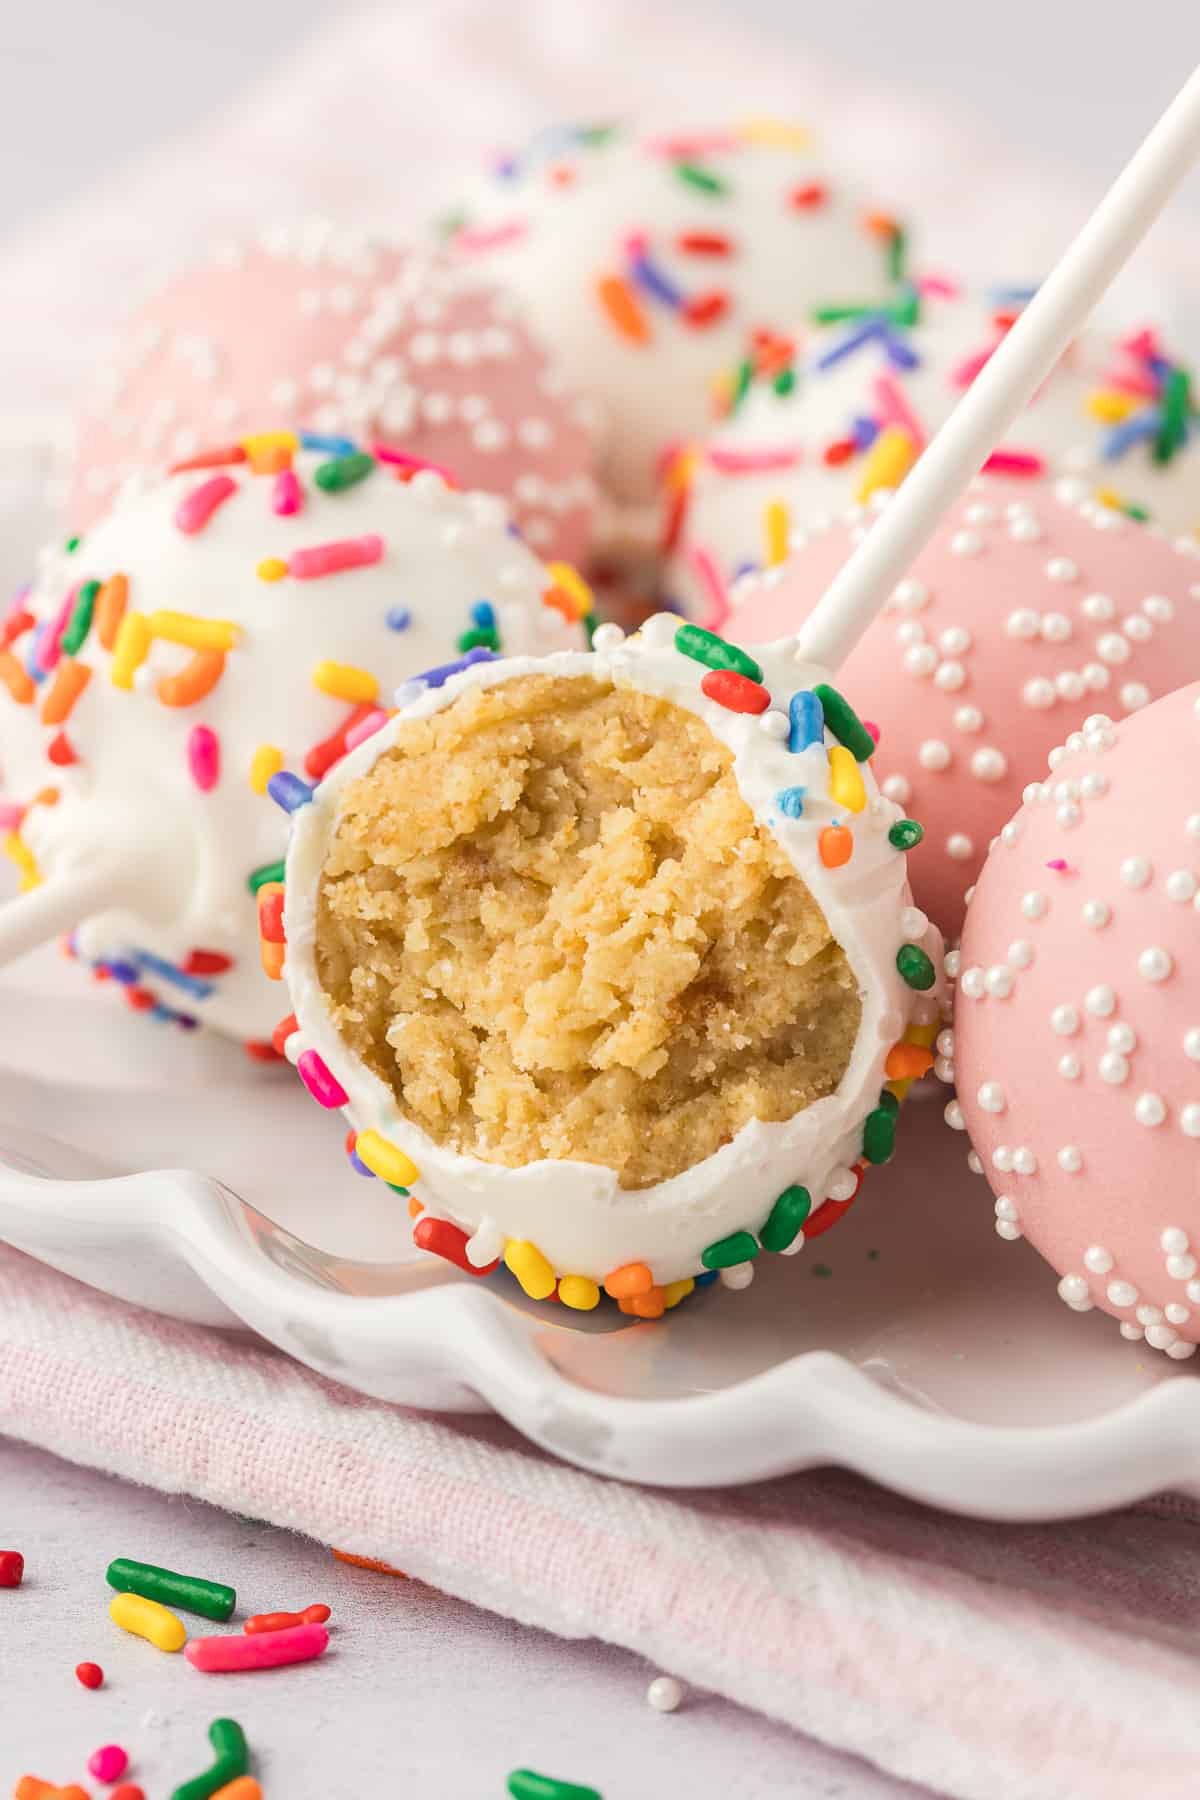
- Mix the cake and frosting well: Make sure you mix the cake and frosting mixture until it forms a dough. You don’t want dry cake crumbs not mixed well with frosting.
- Make perfectly round cake balls: The best way to make your cake balls perfectly round is to the roll them, then chill them, and then roll them again.
- Use candy melts: The candy melts provide the best consistency to coat these without letting melted chocolate drip down the cake pop stick.
How to Dry Cake Pops
To set cake pops after dipping, you can use various items to hold them upright. Here are some common options:
- Cardboard Box with Holes: Take a cardboard box and poke holes into it using a pencil or other sharp object. The holes should be spaced evenly to accommodate the cake pop sticks.
- Upside-Down Colander: Flip an upside-down colander and insert the cake pop sticks into the holes. The holes in the colander allow them to stand securely.
- Empty Egg Carton: An empty egg carton can be repurposed to hold these. Simply place the cake pop sticks into the individual egg compartments.
How to Store Homemade Cake Pops
Store leftovers in an airtight container or at room temperature; either works!
How long do Cake Pops last?
These will will last 5-7 days at room temp or about 2 weeks if refrigerated.
Can you freeze Cake Pops?
Yes, this recipe freezes well once they are dipped and fully set. Place in an airtight container or freezer-safe bag and freeze for up to 2 months. When you’re ready to serve them, thaw at room temp for at least 30 minutes.
Cake Pop Recipe FAQs
Not using enough frosting can make cake pops fall apart, as it binds the crumbled cake together. If you skip chilling the cake balls before dipping, that can also cause them to fall apart. Finally, be sure to dip the stick in the candy melts before sticking it in the cake pop.
You can make cake pops ahead of time, but with this recipe it is not necessary.
We use 1/2 cup frosting in this recipe. You can use store-bought or homemade frosting.
Cake pops don’t need to be refrigerated if they’re made with shelf-stable ingredients (like boxed cake, buttercream, and candy melts). They can be stored at room temperature in an airtight container for up to 3–4 days.
More Birthday Recipes
Tap stars to rate!
Cake Pops (DIY)
Ingredients
- 15.25 oz box cake mix, I used white cake mix
- Ingredients listed on the back of the cake mix box, usually eggs, oil, and water
- ½ cup frosting, homemade or store bought, I used canned white frosting
- 12 oz candy melts, any color
- Lollipop sticks
- Sprinkles

Instructions
- Preheat the oven to 350ºF. Spray a 9×13 inch pan with nonstick spray. Set aside.
- In a large bowl, whisk together cake mix, water, oil, and eggs until combined as the back of the box instructs. Pour the prepared batter into the pan and bake according to the recommended time on the box.15.25 oz box cake mix, Ingredients listed on the back of the cake mix box
- Immediately when the cake comes out of the oven, carefully transfer the cake to a large mixing bowl. Add ½ cup frosting and beat with an electric mixer on low speed until the cake and frosting form a dough like texture.1/2 cup frosting
- Use a tablespoon sized scoop to form and roll the dough into balls. It’s okay if the balls aren't perfectly round right now, we’ll roll again after refrigerating. Place the cake balls on a lined baking sheet and refrigerate for 2 hours. The balls stay on the sticks better and are easier to dip when cold. I do NOT recommend freezing the cake balls, the chocolate coating will crack once dipped as the temperature changes.
- Re-roll the balls as needed after they’ve chilled. Keep them in the fridge and melt the candy melts.
- Heat the candy melts in a 2-cup liquid measuring cup (ideal for easy dunking!) in the microwave at 20-second intervals. Stir after each interval until the mixture is melted and smooth.12 oz candy melts
- Working in batches of 2 or 3, dip the lollipop stick about ½ inch into the candy melts, then insert it into the center of the cake ball, making sure it only goes about halfway. Dip the cake ball into the coating until it is fully covered, making certain the coating extends over the base of the cake ball where it meets the lollipop stick. Gently tap the stick against the edge of the measuring cup to allow any excess coating to drip off. Add sprinkles if desired and place the cake pops upright in styrofoam or a box to set. Repeat the process with the remaining cake balls, working with only a few at a time and ensuring the cake balls remain very cold during the dipping process.Lollipop sticks, Sprinkles
Video
Notes
- Cardboard Box with Holes:
- Take a cardboard box and poke holes into it using a pencil or other sharp object. The holes should be spaced evenly to accommodate the cake pop sticks.
- Upside-Down Colander:
- Flip an upside-down colander and insert the cake pop sticks into the holes. The holes in the colander allow the cake pops to stand securely.
- Empty Egg Carton:
- An empty egg carton can be repurposed to hold cake pops. Simply place the cake pop sticks into the individual egg compartments.







Good recipe