
This post may contain affiliate links. Please read our disclosure policy.
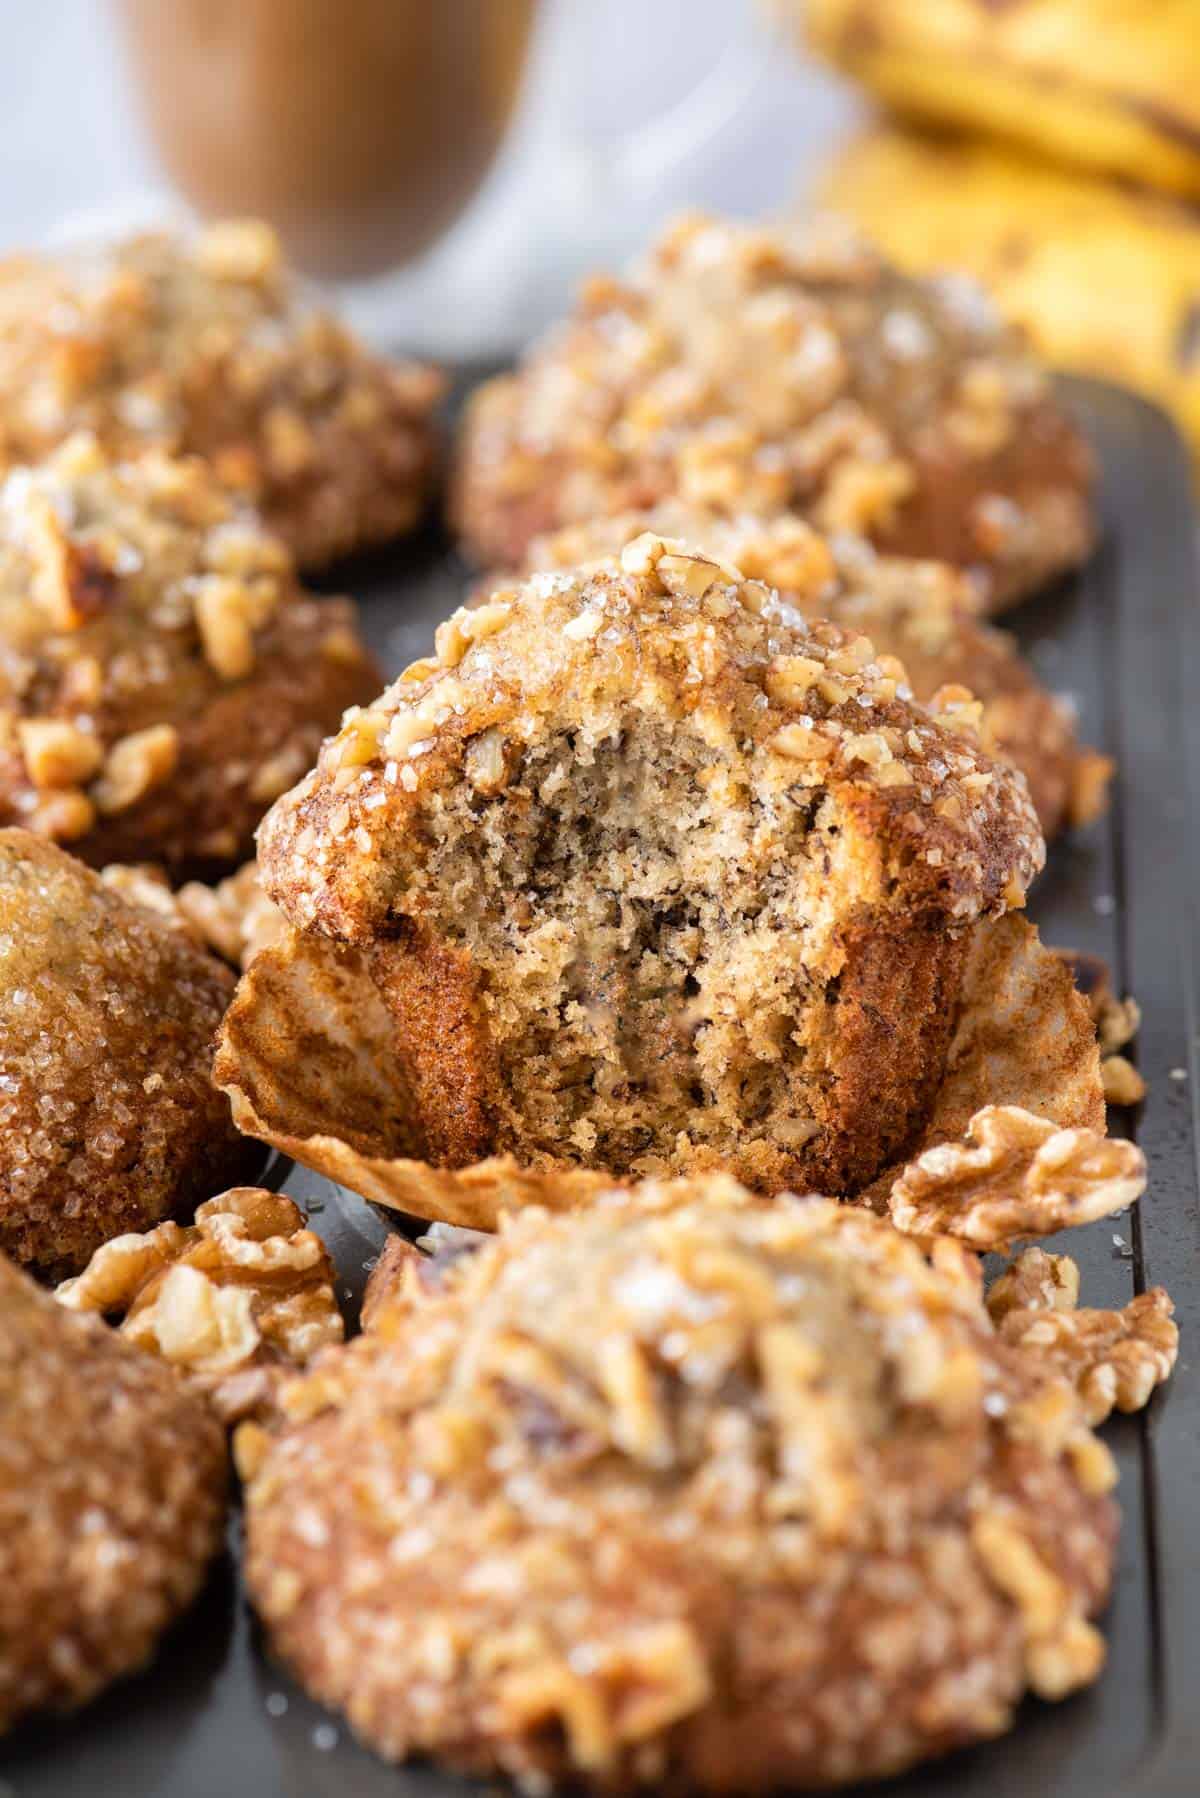
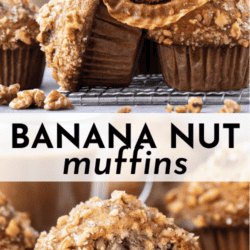
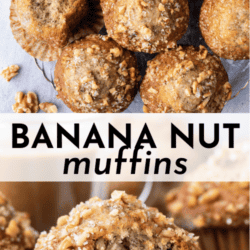
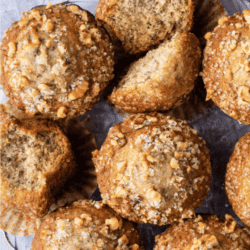
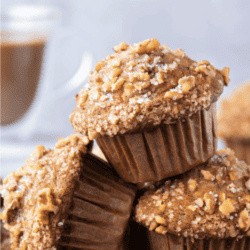
My banana muffin recipe is loved by thousands of families! These banana nut muffins bake up with tall, domed bakery style tops and a soft, moist crumb. Ripe bananas and a handful of chopped nuts do the heavy lifting, and my resting trick does the rest. Follow the steps below for muffins that beat anything from a bakery case.

Beth, these are absolutely delicious. I was up very early this morning baking, while it was still cool in Las Vegas. I can always count on you for wonderful muffin recipes! I have your orange cake and coffee cake muffin recipes printed to bake this week. Thanks so much!!
-Lorena Wilson
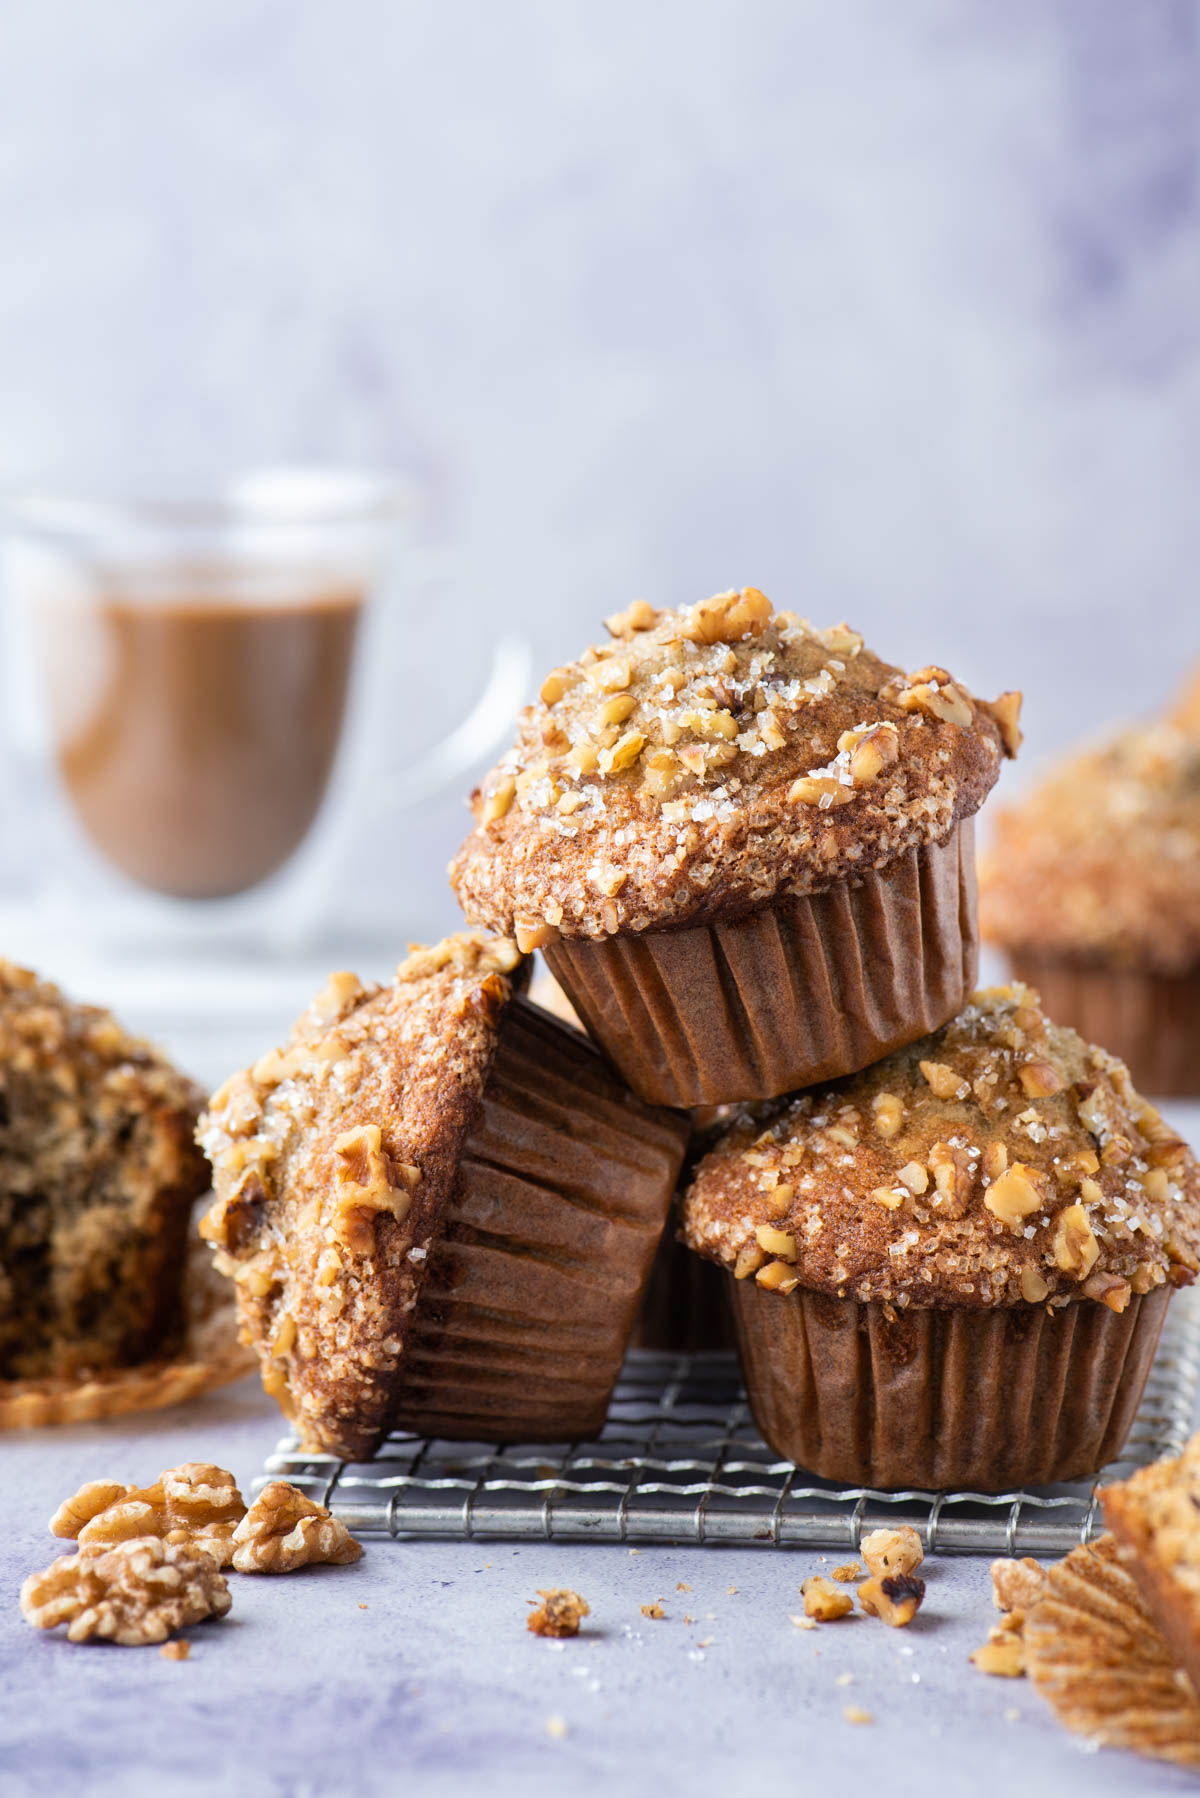
This really is the Best Banana Nut Muffin Recipe!
I tested this recipe for six months before landing on the version below. I wanted tall, domed bakery style tops without a dry crumb or a sunken center, and that took real trial and error. I baked dozens of batches at different temperatures, rested the batter for different lengths of time, and tracked what actually worked. Every technique below made the cut because it fixed a specific problem, not because it sounded good on paper.
You’ll see that in the instructions. The high heat start, the short rest, and the every other cup trick all came from muffins that failed before they succeeded. I broke down exactly why each one works, so you understand the reasoning instead of just following steps blindly. You don’t need any baking experience to get bakery style muffins on your first try.
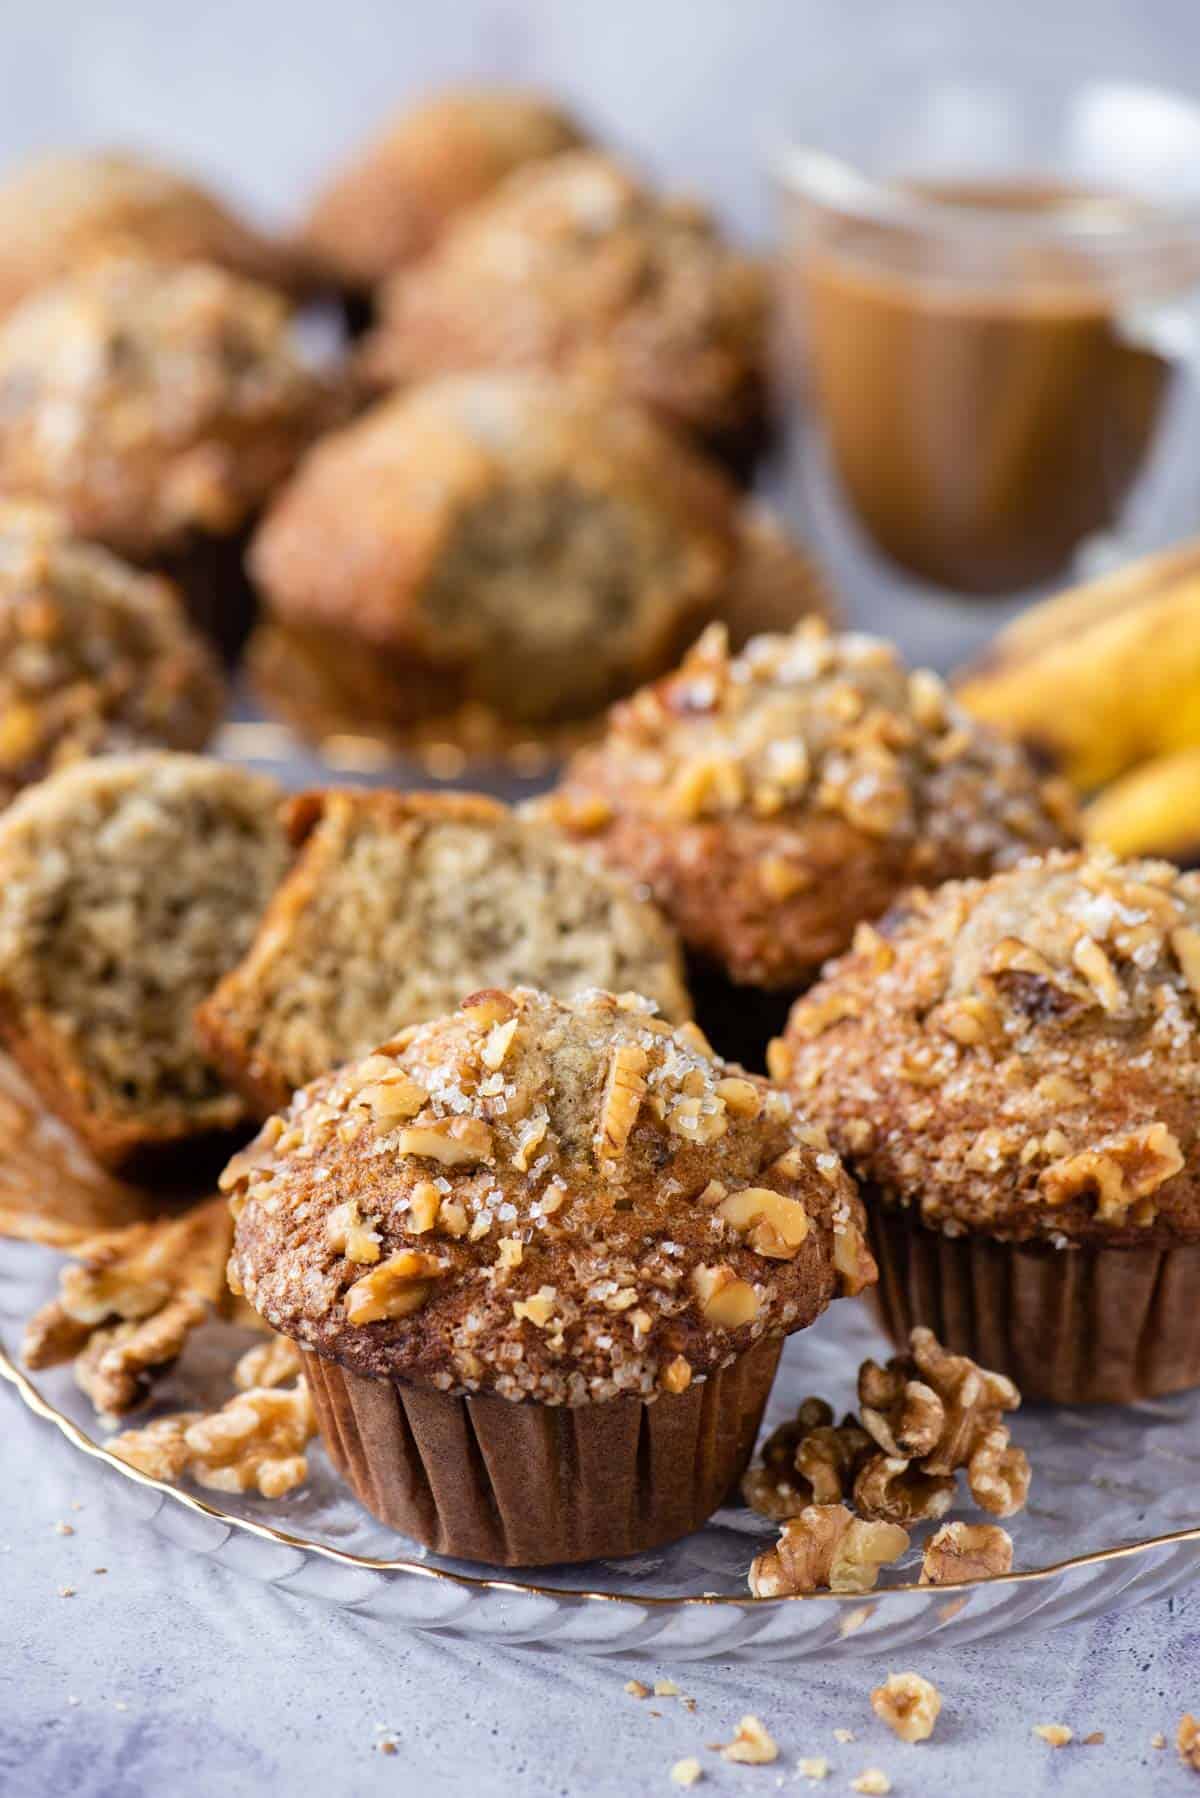
Banana Nut Muffin Recipe Ingredients
- bananas: adds banana flavor and moisture
- vegetable oil: adds fat and moisture
- eggs: binds the batter together by providing structure
- vanilla extract: adds flavor
- all-purpose flour: flour is necessary to build structure
- granulated sugar: adds sweetness and flavor
- baking soda and baking powder: helps to leaven and lift the batter
- cinnamon: banana muffins benefit from cinnamon!
- salt: just a pinch to balance the sweetness and enhances the other flavors
- nuts: the star of banana nut muffins
What kind of nuts should I use?
I recommend using walnuts or pecans. I personally love pecans, but use whichever you love more!
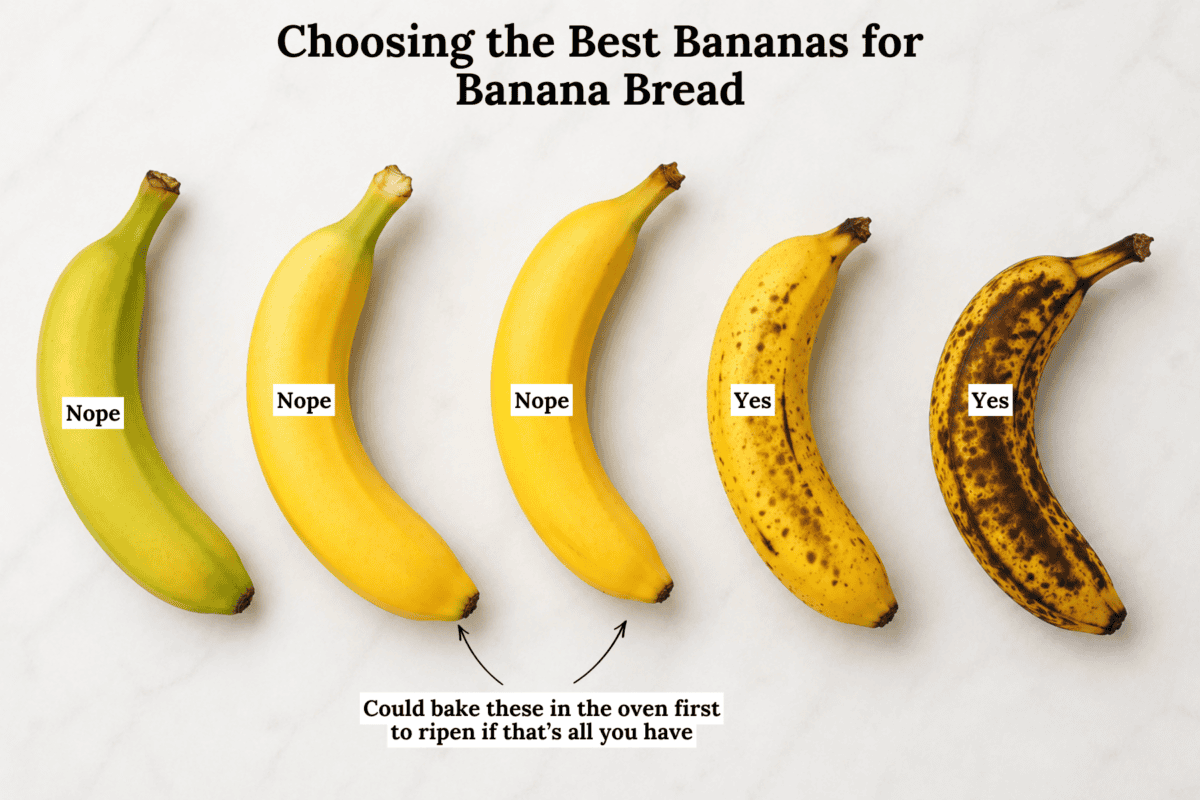
How to Choose the Best Bananas for Banana Muffins
The best banana muffins start with the ugliest bananas in your fruit bowl. You want them heavily speckled with brown spots, or even mostly brown and black. Those spots mean the starches have converted to sugar, so the bananas are sweeter and more flavorful, plus soft enough to mash easily into the batter.
Skip bananas that are still yellow or just barely starting to spot. They haven’t broken down enough yet, and you’ll end up with a less sweet, less banana-forward loaf. If your bananas aren’t ripe enough, see the next section.
How to Quickly Ripen Bananas
Spotty, over ripe bananas make the best banana nut muffins! If your bananas aren’t ripe, you can fix that!
Place the bananas on a foil lined baking sheet in a 300ºF oven for 30-40 minutes, until the peels become black and shiny. Roasting them in the oven causes them to become sweet and mushy.
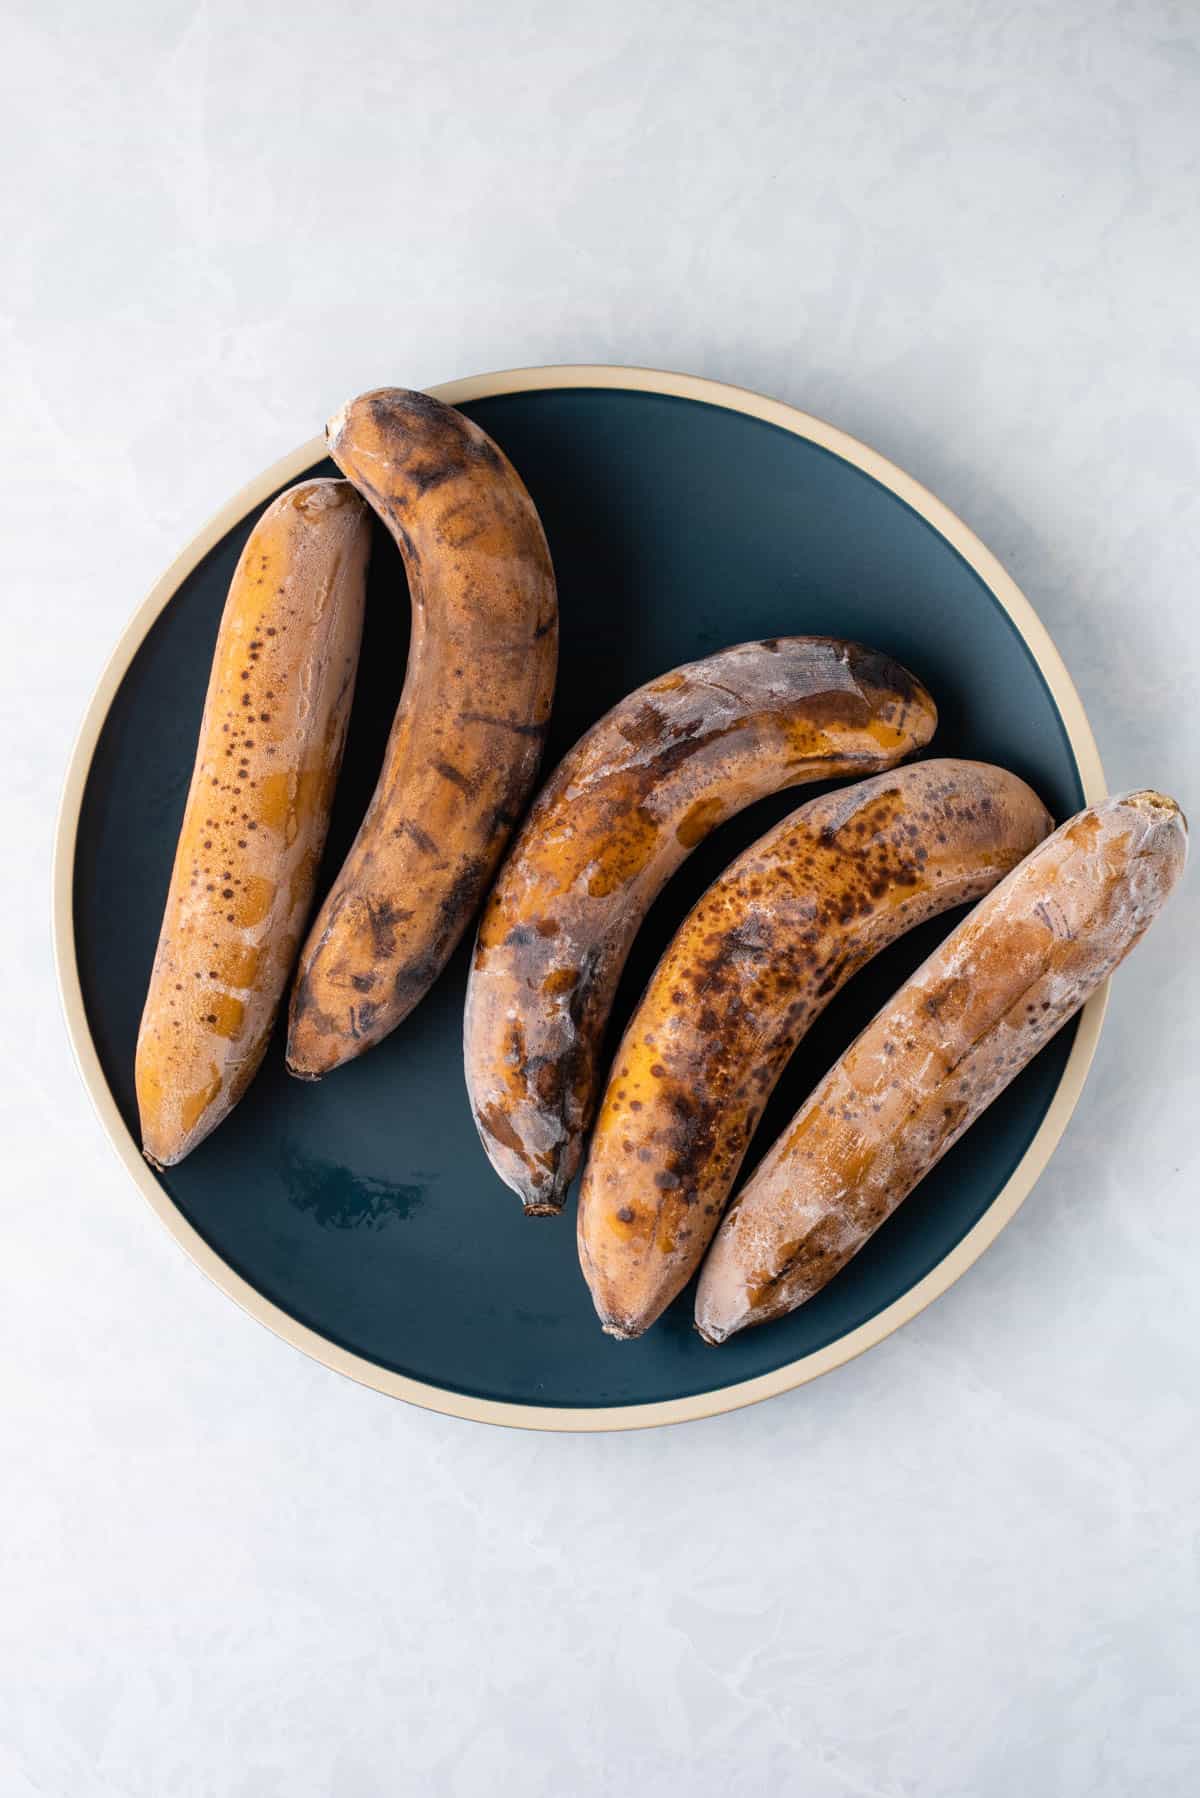
How to Make Banana Nut Muffins
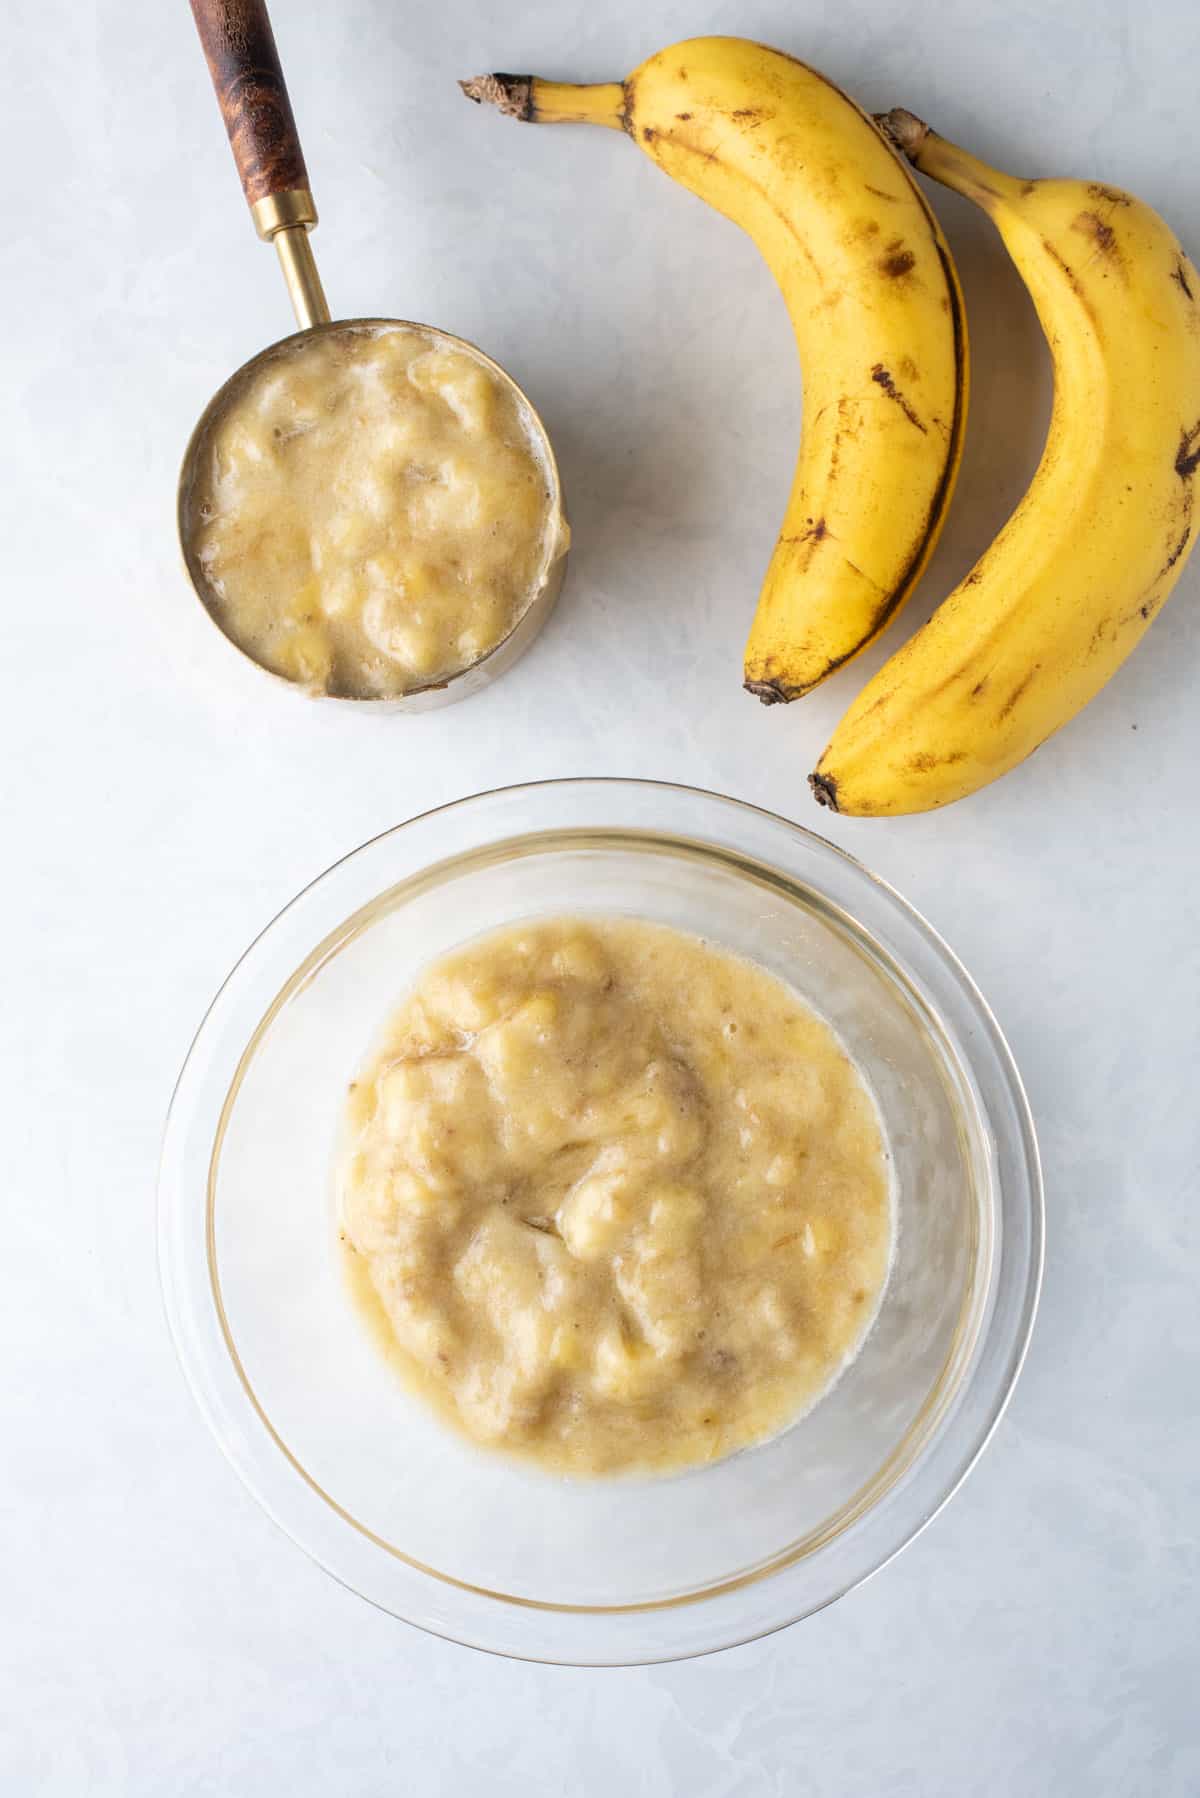
- Mash 4-6 large bananas, then measure out 2 cups. It’s important to measure the banana since the size of each banana can vary so much.
- In a mixing bowl combine the mashed bananas, vegetable oil, eggs and vanilla extract. Stir to combine with a spatula.
- In a separate bowl combine the flour, granulated sugar, baking soda, baking powder, cinnamon, salt, and 1 1/2 cup nuts.
- Gradually mix in the dry ingredients, mixing by hand just until combined. The batter will be thick.
- Cover the bowl with a towel and allow the batter to rest for 15 minutes. During this time, preheat the oven to 425ºF.
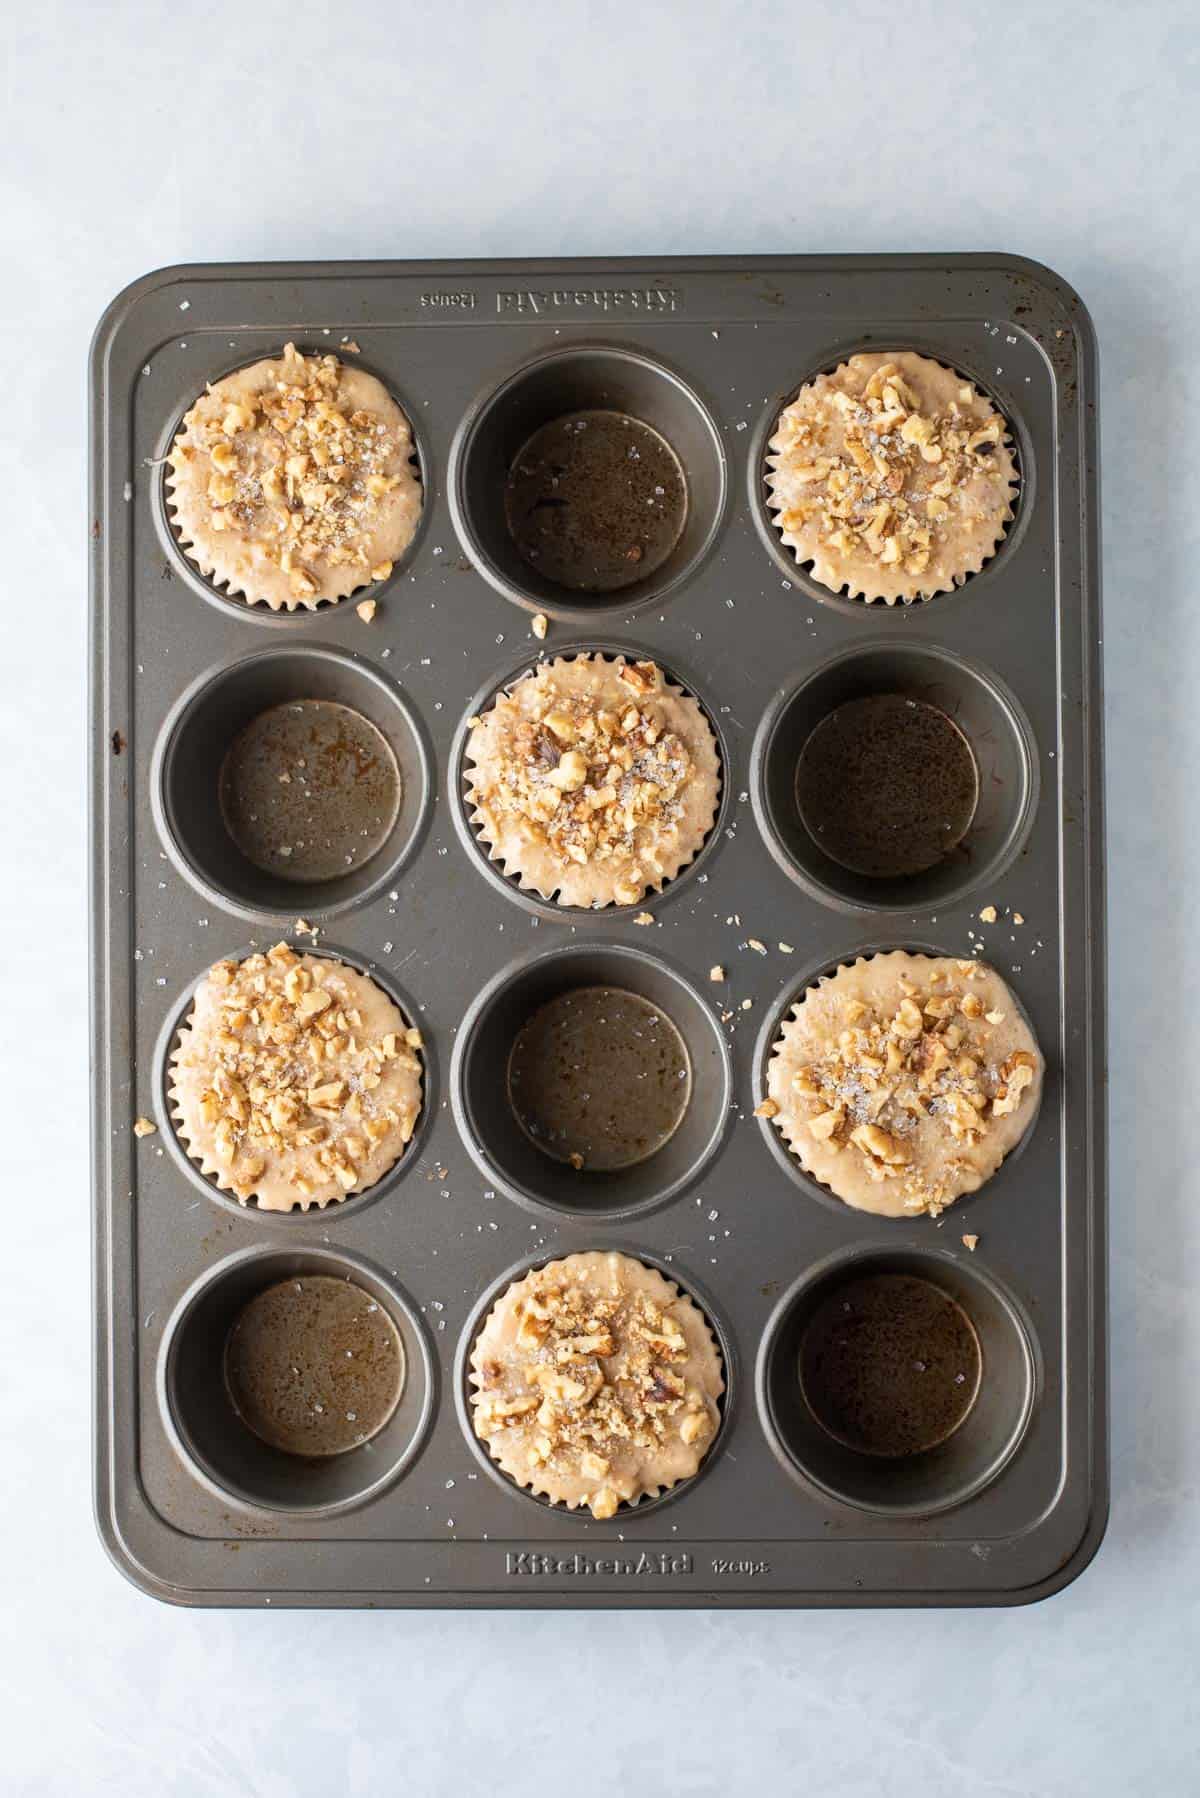
- For bakery style muffin tops, line a 12 count muffin pan with 6 muffins liners, meaning you’ll only fill every other muffin well with batter. Fill the liners super full with batter, about 6-8 heaping tablespoons. Top the muffins with additional nut pieces and sanding sugar.
- Place one pan in the center of the oven and bake for 7 minutes at 425ºF, then keep the muffins in the oven, and turn the temperature down to 350ºF and bake for 13-16 minutes or until a toothpick inserted in the center comes out clean. Allow the muffins to cool in the pan for 15 minutes before removing. Repeat with the remaining batter, bumping the temperature back up to 425ºF.
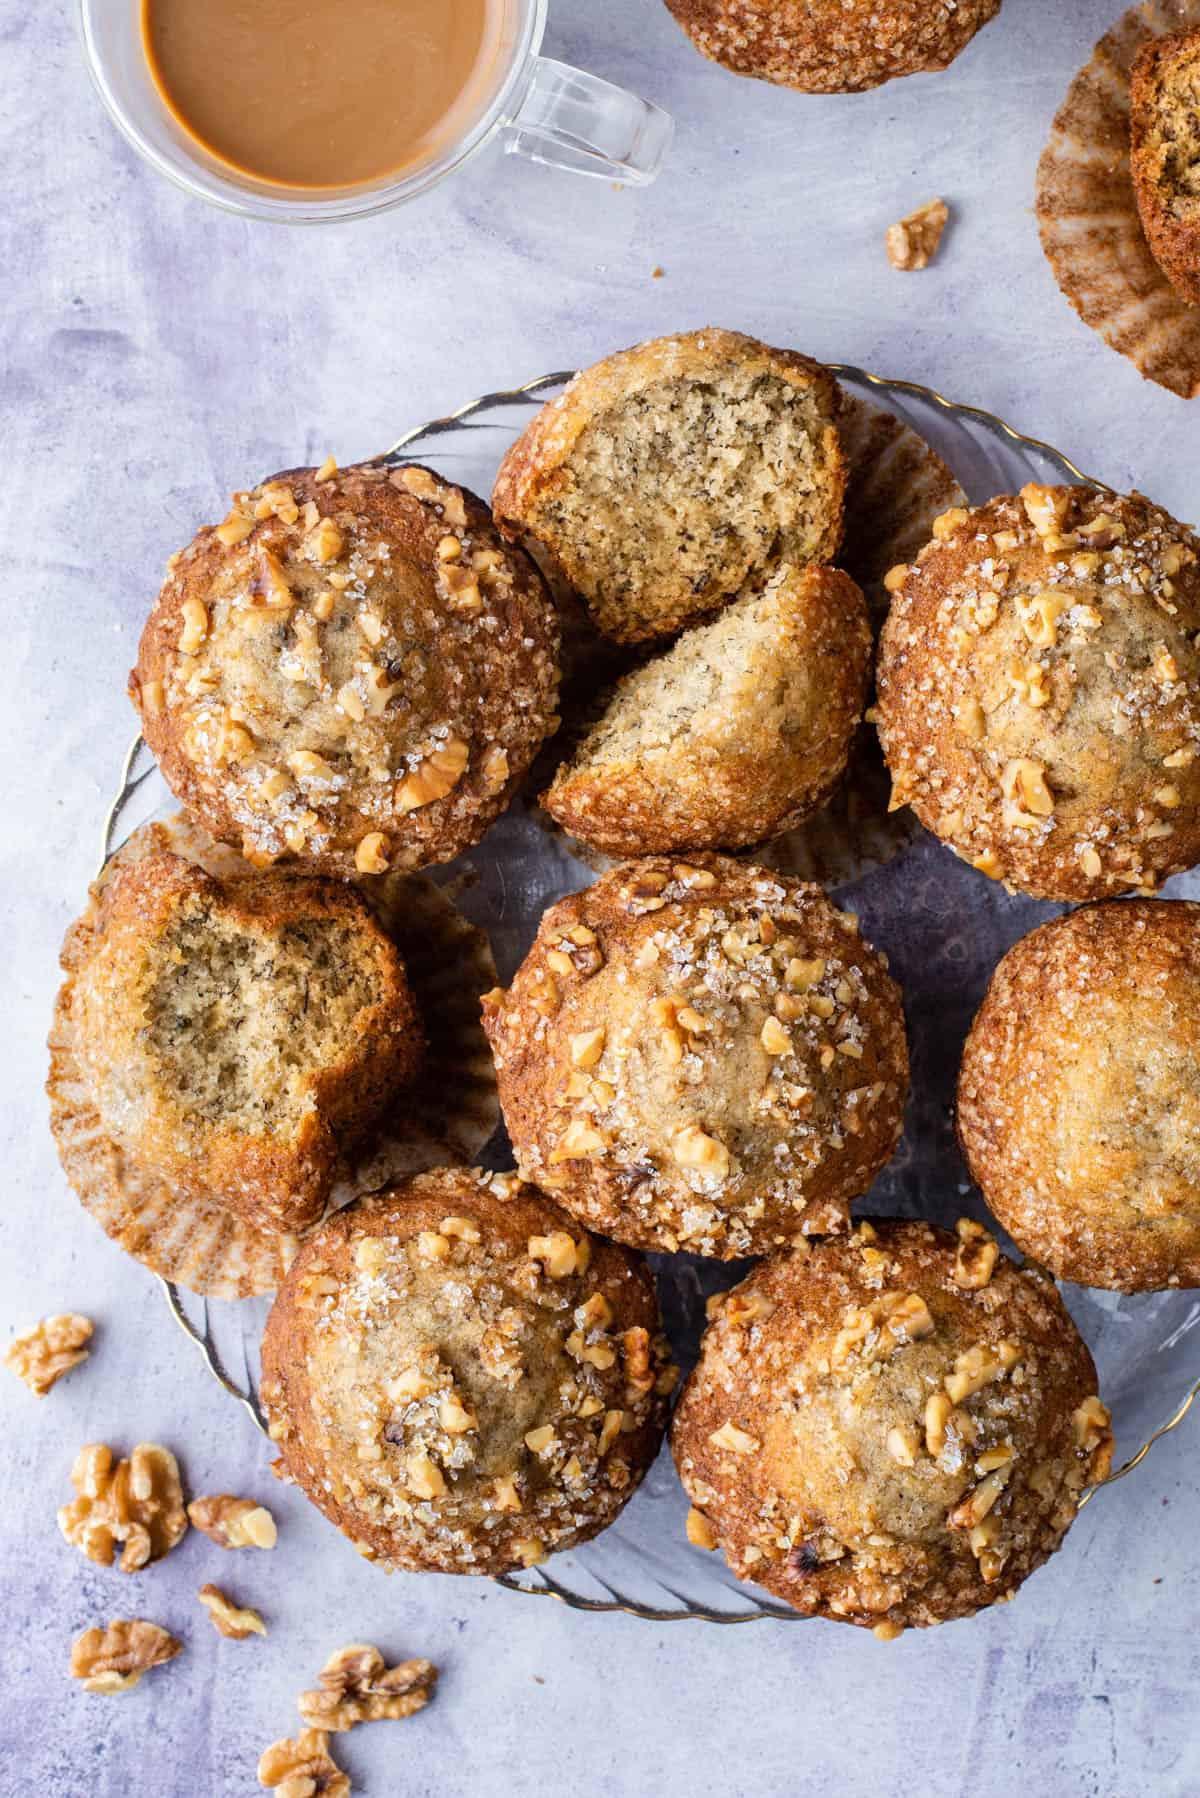
How to Create Bakery Style Muffins
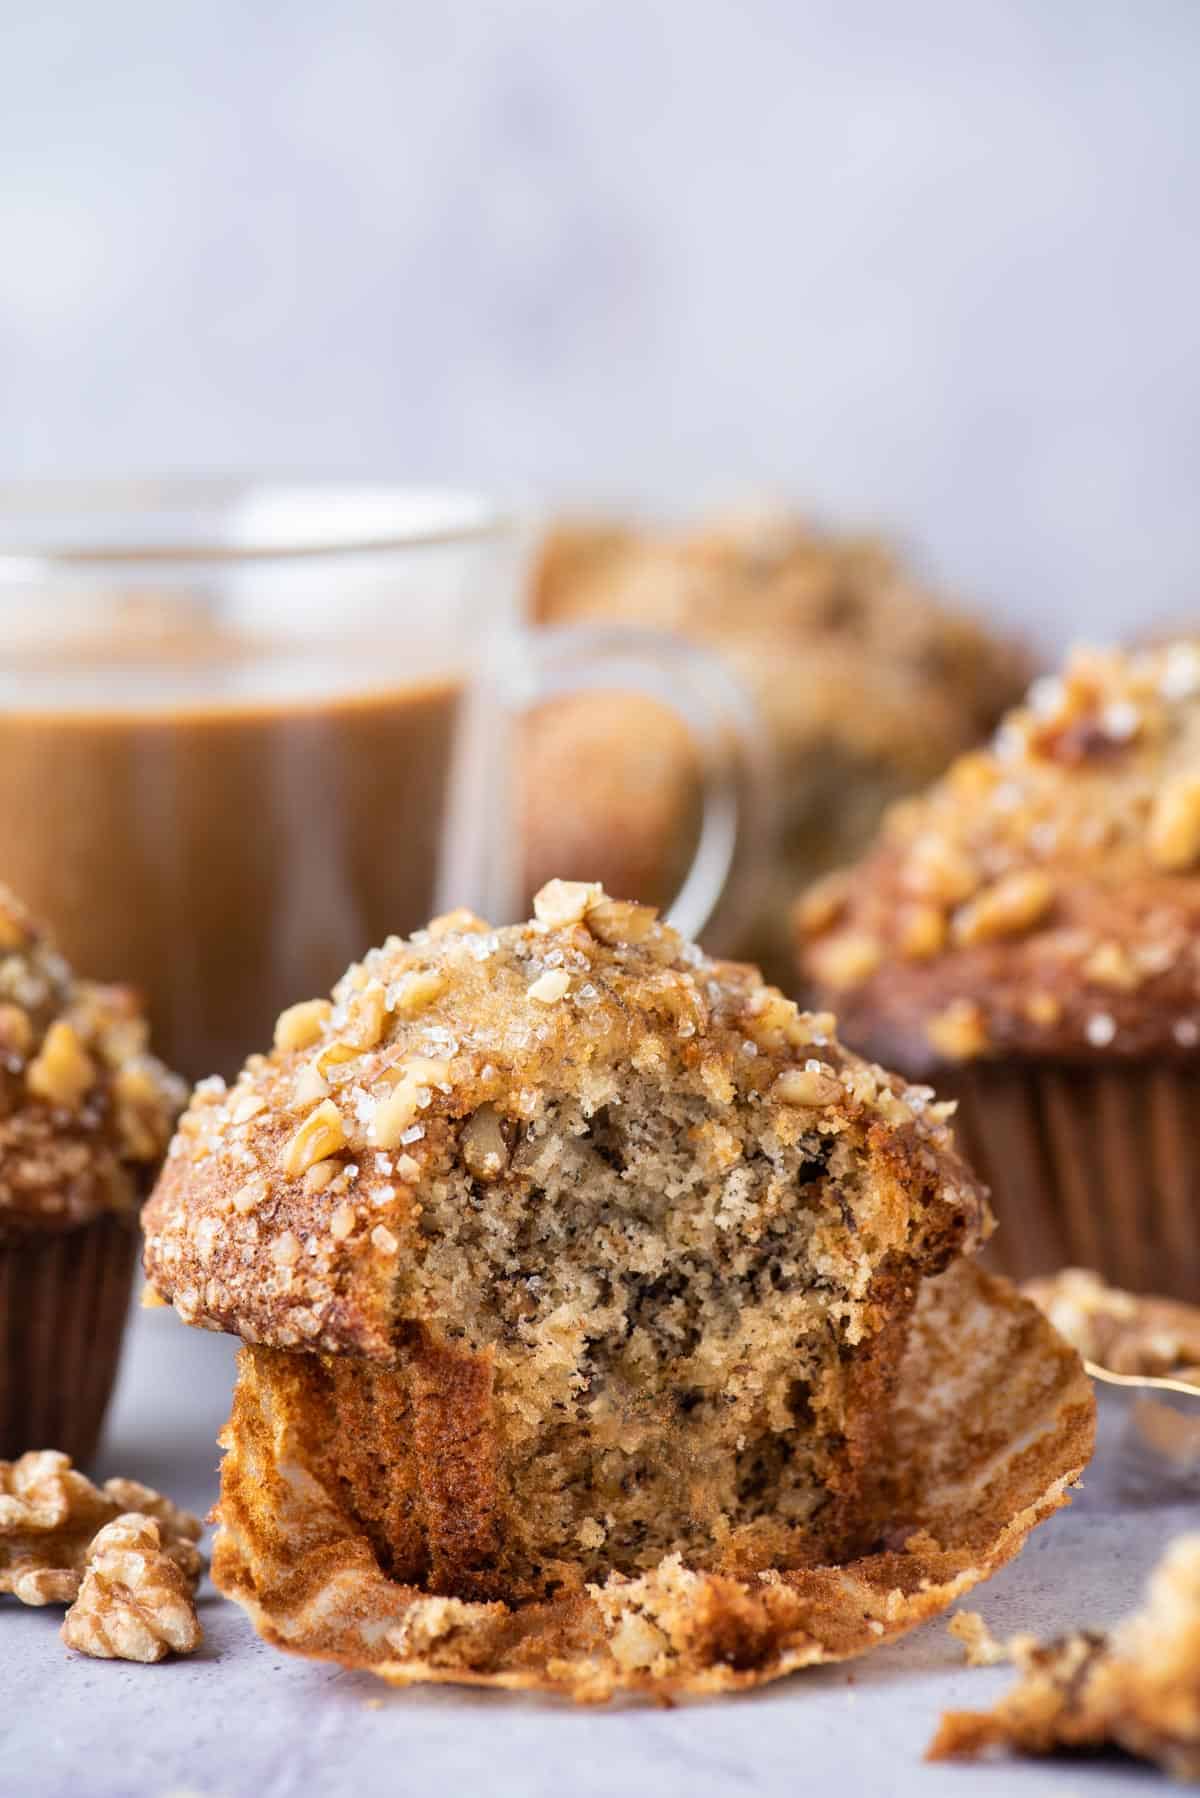
Bakery style muffins are known for their domed tops. Plus who doesn’t love them? I used a few techniques to help “lift” these muffins so they would have large, domed tops!
1. The Rest Period
Let the batter rest for 15 minutes after it’s mixed and before you scoop it into the muffin pan. During the resting period, starch molecules in the flour are absorbing the liquid in the batter, causing them to swell and giving the batter a thicker consistency (ref the kitchen whisper). Our 15 minute rest is just a quick rest.
2. Fill Every Other Muffin Cup
This tip has been a game changer! For bakery style muffin tops, line a 12 count muffin pan with 6 muffin liners, meaning you’ll only fill every other muffin well with batter. Filling every other cup allows the muffins to spread and dome without running into each other. This technique also encourages the muffins to brown, creating a golden muffin top.
3. Fill Them To The Top
Fill your muffin liners to the top with batter. Yes, this goes against everything you’re heard but it’s important in helping the muffin gain that height.
4. Bake at High Temperature Initially
Bake the muffins at a high temperature (425ºF) initially, then lower to 350ºF. Starting the muffins off at a higher temperature causes the batter to rise rapidly, setting the outer surface of the muffin, producing a dome shape.
Banana Nut Muffins Recipe Tips
- Don’t skip resting the batter: Resting the batter for 15 minutes is an integral part of this banana nut muffin recipe.
- Measure the mashed banana. Banana sizing varies so much, so for best results mash the banana then measure in dry measuring cups.
How to Properly Measure Flour
The most accurate way to measure flour is to use a kitchen scale, weighing it in grams. If you don’t have a kitchen scale, follow this method.
- Aerate the flour with a whisk or spoon. Flour becomes heavy and compact as it sits. Aerating is the same as fluffing the flour, but not the same as sifting it. Do not sift the flour unless the recipe specifically calls for it.
- Use a spoon to sprinkle the flour into the measuring cup. Do not tap the cup against the counter, as this will compact the flour.
- Use the back of a butter knife to level off the excess. You’ll need to repeat the aerating process after filling each cup.
How to make Easy Banana Nut Muffins Gluten-Free
I’ve made these muffins with both regular and gluten free flour with AWESOME results on multiple occasions. I recommend King Arthur Gluten Free Measure for Measure Flour. Use it as a one for one substitute for regular flour.
How to serve Banana Nut Muffins
Serve banana muffins warm or room temperature for breakfast, alongside lunch, or as a snack.
Storing & Freezing Suggestions
Storing Banana Walnut Muffins
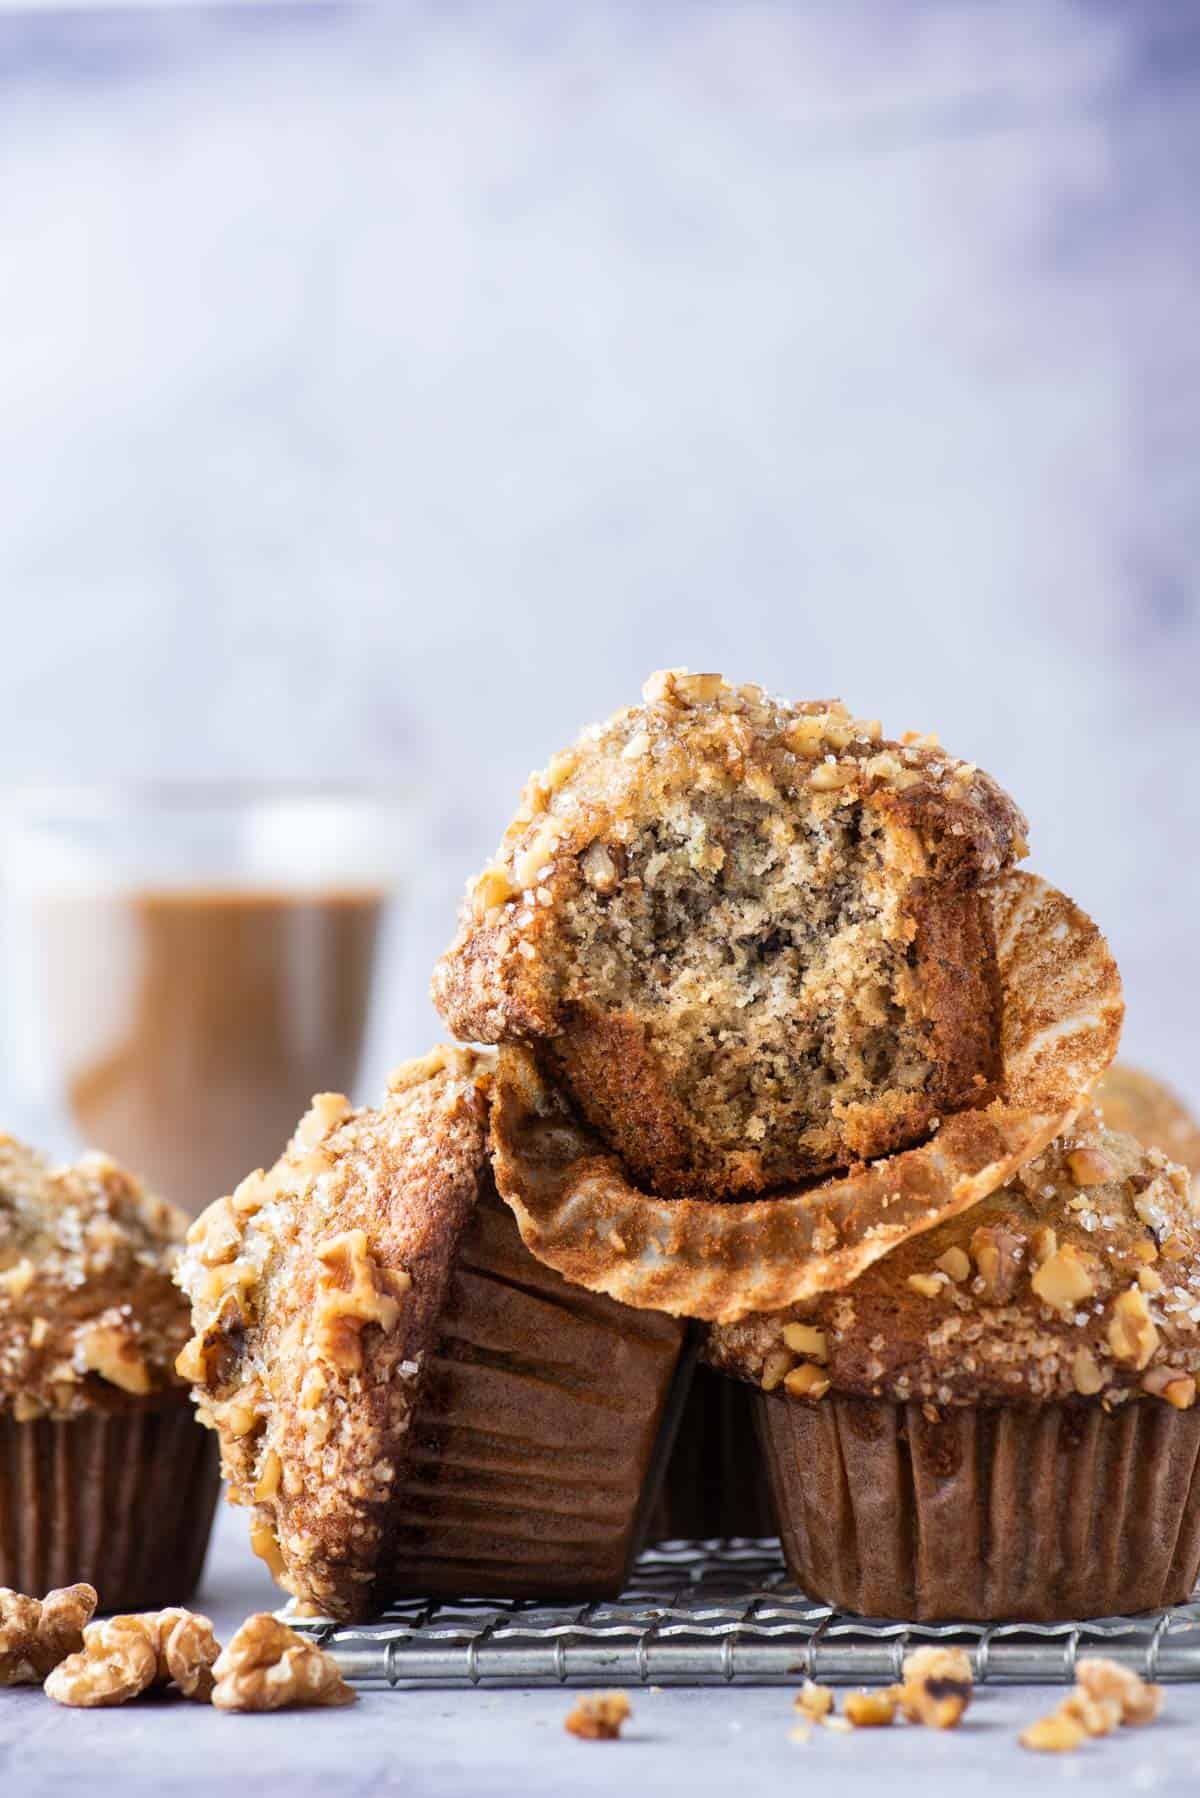
If you’ll be eating the muffins within 24 hours of baking, you can leave them uncovered on the counter. The muffins will not dry out while left at room temperature for 1 day.
In fact, muffins are so moist they can become soggy and those crunchy, sugary tops can disappear when stored in an airtight container.
But I have a trick to help that – paper towels.
For longer storage, 2-4 days, line the bottom of an airtight container with paper towels. Place the muffins in a single layer in the container then cover the muffins with any additional layer of paper towels. The paper towels will act like a sponge, absorbing the moisture they release while they are stored.
If the paper towels become too moist around day 2 or day 3, replace them with fresh paper towels.
HOW TO FREEZE MUFFINS
Individually wrap each muffin in plastic wrap. Then place them in a ziploc bag or airtight container and place in the freezer for up to 3 months.
To thaw, leave them at room temperature until defrosted, about 1 hour. Or unwrap them and microwave at 20 second intervals until defrosted.
Should banana nut muffins be refrigerated?
These muffins do not need to be refrigerated. They can be stored in an airtight container on the counter for up to 4 days.
Frequently Asked Questions
If your banana muffins feel dry and dense, the ratio of flour to bananas may be off. Be sure to properly measure the flour on a kitchen scale as well as measure the mashed banana in cups. Also watch the bake time. You want to remove the muffins from the oven once a toothpick inserted in the center comes out clean.
Be sure to bake the muffins just until done, when a toothpick inserted in the center comes out clean. To keep the muffins moist and fresh, once they have cooled, line a storage container with paper towels. Place the muffins in the container and cover the tops with one layer of paper towels. Seal with a lid. This method will keep them from becoming soggy.
Fresh, correct ingredients: First, be sure to follow all of the listed ingredient measurements, especially using the correct amount of leavening. If you used the correct amount and are still experiencing sinking, I recommend purchasing new baking powder and baking soda. These ingredients can lose their effectiveness over time.
Over-mixing the batter: Over-mixing the batter can lead to the development of too much gluten, resulting in dense and sunken muffins. When mixing your ingredients, stir until they are just combined. It’s okay if there are a few lumps or streaks of flour remaining.
Opening the oven door too early: Opening the oven door during baking can cause a sudden drop in temperature, which can affect the muffins’ rise. Avoid opening the oven door until the muffins are almost fully baked and have set around the edges.
More Muffin Recipes
These turned out sooo good!! Put chopped walnuts and crystal sugar on top for a crunchy finish! I had 3 cups of mashed banana so I made 1 & 1/2 recipe and it made 12 awesome jumbo muffins!
-Rhonda
Tap stars to rate!
Easy Recipe for Banana Nut Muffins
Ingredients
- 2 cups (460g) ripe bananas, about 4-6 mashed bananas, be sure to measure the mashed banana
- ¾ cup (170g) vegetable oil
- 3 large eggs
- 2 tsp vanilla extract
- 3 cups (360g) all-purpose flour
- 1 ¼ cups (250g) granulated sugar
- 1 ½ tsp baking soda
- 1 ½ tsp baking powder
- 1 tsp cinnamon
- ½ tsp salt
- 2 cups (230g) chopped nuts, divided (I recommend walnuts or pecans)
Video
Instructions
- Mash 4-6 bananas, then measure out 2 cups using dry measuring cups, not liquid measuring cups. It’s important to measure the banana since the size of each banana can vary so much.
- In a mixing bowl combine the mashed bananas, vegetable oil, eggs and vanilla extract. Stir to combine with a spatula.2 cups (460g) ripe bananas, ¾ cup (170g) vegetable oil, 3 large eggs, 2 tsp vanilla extract
- In a separate bowl combine the flour, granulated sugar, baking soda, baking powder, cinnamon, salt, and 1 1/2 cups nuts.3 cups (360g) all-purpose flour, 1 ¼ cups (250g) granulated sugar, 1 ½ tsp baking soda, 1 ½ tsp baking powder, 1 tsp cinnamon, 1/2 tsp salt, 2 cups (230g) chopped nuts
- Gradually mix the dry ingredients to the wet ingredients, mixing by hand just until combined. The batter will be thick.
- Cover the bowl with a towel and allow the batter to rest for 15 minutes. During this time, preheat the oven to 425ºF.
- For bakery style muffin tops, line a 12 count muffin pan with 6 muffins liners, meaning you’ll only fill every other muffin well with batter. Fill the liners super full with batter, about 6-8 heaping tablespoons. Top the muffins with additional nut pieces and sanding sugar.
- Place one pan in the center of the oven and bake for 7 minutes at 425ºF, then keep the muffins in the oven, and turn the temperature down to 350ºF and bake for 13-16 minutes or until a toothpick inserted in the center comes out clean. Allow the muffins to cool in the pan for 15 minutes before removing. Repeat with the remaining batter, bumping the temperature back up to 425ºF.
Notes









My new go-to banana bread recipe!!! I doubled the recipe and they still came out perfectly moist with the bakery-style muffin tops. I did variations with chocolate walnut & blueberry swirl. Thank you for sharing this!!!
Made this recipe today. The muffins turned out wonderfully and smells so delicious.
Can I use butter instead of oil in the same quantity? Thanks!!
Hi Noemi! Oil tends to make muffins that are lighter, fluffier, and have a taller dome. If you use butter in place of the oil, they will still taste good, I wouldn’t expect the same results in terms of the muffin height.
Turned out beautiful !
So good and so easy ti make! Thank you for sharing the recipe!
I have been meaning to make this banana nut muffin recipe as I saw my bananas on the counter starting to get more ripe…we’re all guilty! I finally made them and may I say they turned out fabulous! The aroma in my home is bananas! Followed the recipe as written and highly recommend! Thank you Beth for creating delicious muffin recipes!
I have made these 4 times, all jumbo, and they are remarkable. Only difference I found was that the batch made with Dixie Lily( a low protein flour-( almost as low as cake flour), had a more tender texture.
My favorite muffin. People always are amazed how uniform they are.
Please, I need your original posted recipe for these banana nut muffins. The one that used only brown sugar. We loved these so much, not real sweet, just right. Wish I had written it down. I am a diabetic, and these were just sweet enough. Please, I need that recipe. Thank you so much.
Hi Sharon! My original banana muffin recipe didn’t use brown sugar, just granulated sugar, but maybe you replaced it with brown sugar? The recipe here is the same recipe, only scaled up to yield more batter.
I used the recommended temps but my nuts on top burned and they are dry. Second batch going in at 400 instead and will use less time. They did rise quite nicely.
How did you measure the flour? The most accurate way to measure flour is to use a kitchen scale, weighing it in grams.
If you don’t have a kitchen scale, follow this method.
1. Aerate the flour with a whisk or spoon. Flour becomes heavy and compact as it sits. Aerating is the same as fluffing the flour, but not the same as sifting it. Do not sift the flour unless the recipe specifically calls for it.
2. Use a spoon to sprinkle the flour into the measuring cup. Do not tap the cup against the counter, as this will compact the flour.
3. Use the back of a butter knife to level off the excess.