
This post may contain affiliate links. Please read our disclosure policy.
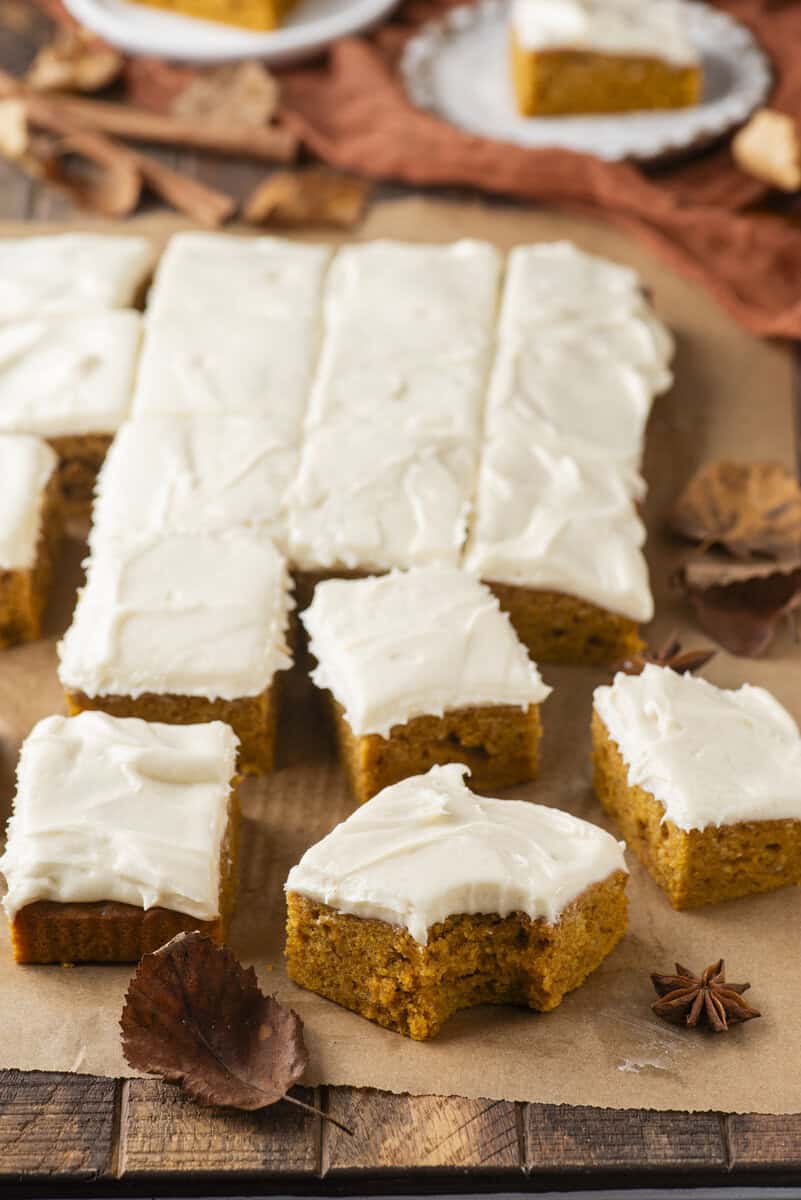
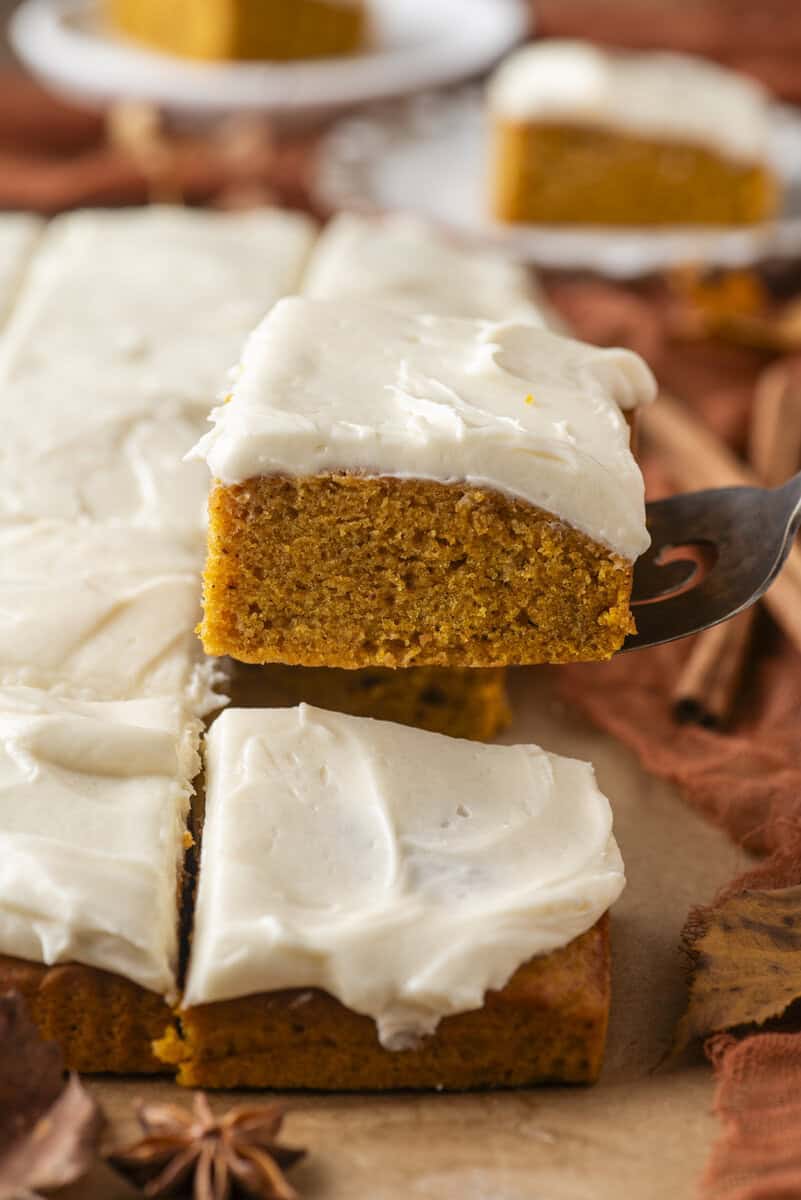
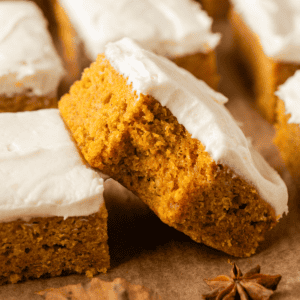
Here is the thing about pumpkin bars nobody tells you, most of them are just thin pumpkin cake. I found that out the hard way through six rounds of testing before I finally cracked a version with real bar density, working toward a true mashup between pumpkin bread and pumpkin cake instead. What came out the other side actually earns the name bar, make it once and you will see exactly what I mean.
How I Tested this Recipe
I already have three pumpkin cookie recipes, a pumpkin snickerdoodle recipe, 5 pumpkin muffin recipes, a pumpkin cupcake and so many more pumpkin desserts on my site, so pumpkin bars were the obvious hole left in that lineup. Turns out, pumpkin bars turned into one of the most opinionated recipes I have ever developed, just like my corn muffins. Most people want a pumpkin bar that is actually, what I would call, pumpkin cake. But I wanted a true pumpkin bar – think of a mash up in texture between a dense pumpkin bread and pumpkin cake. So I got to testing.
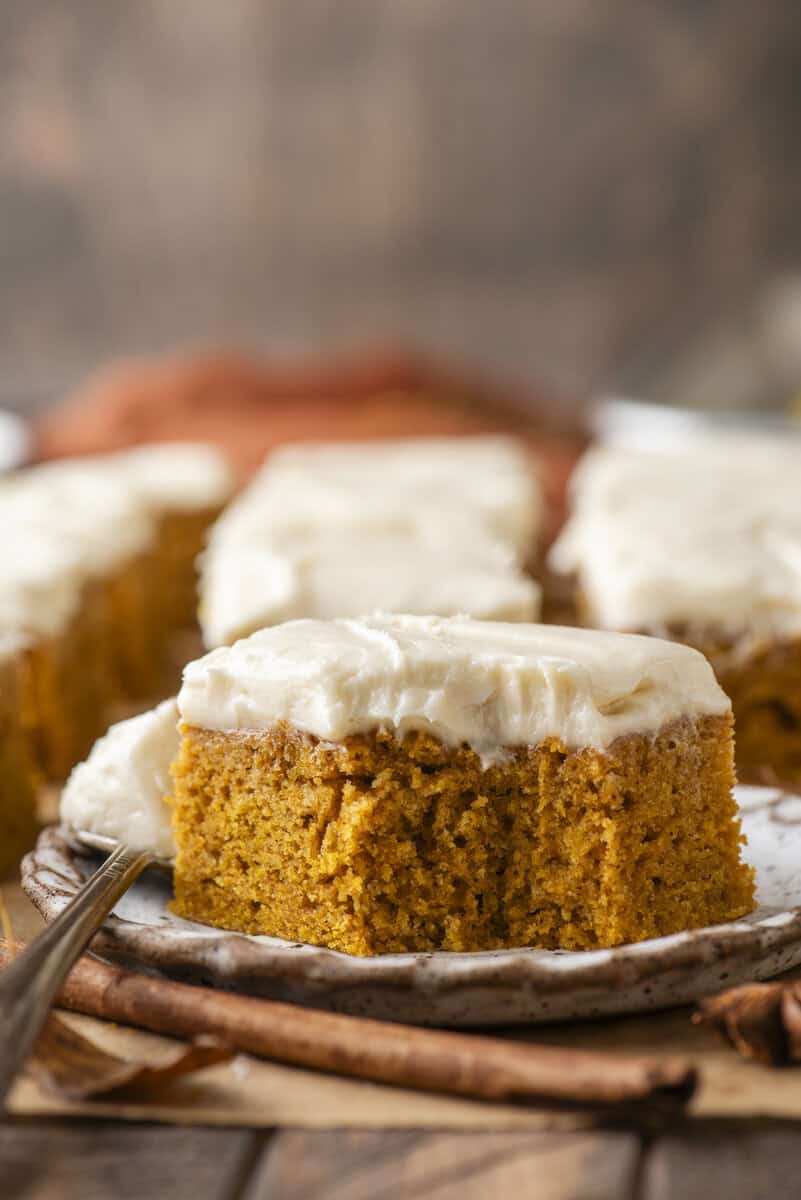
Test 1 was based on my cakey pumpkin cookies, pressed into a 9×13 pan. It baked up dense in the wrong way, more like a bar cookie than an actual pumpkin bar, and it did not have the soft crumb a bar needs. Test 2 came from a completely different place. A reader sent me her Great Aunt Theresa’s recipe, and it turned out to be an incredible pumpkin cake, light, tender, and genuinely one of the best pumpkin cakes I have made, but it just was not a bar to me.
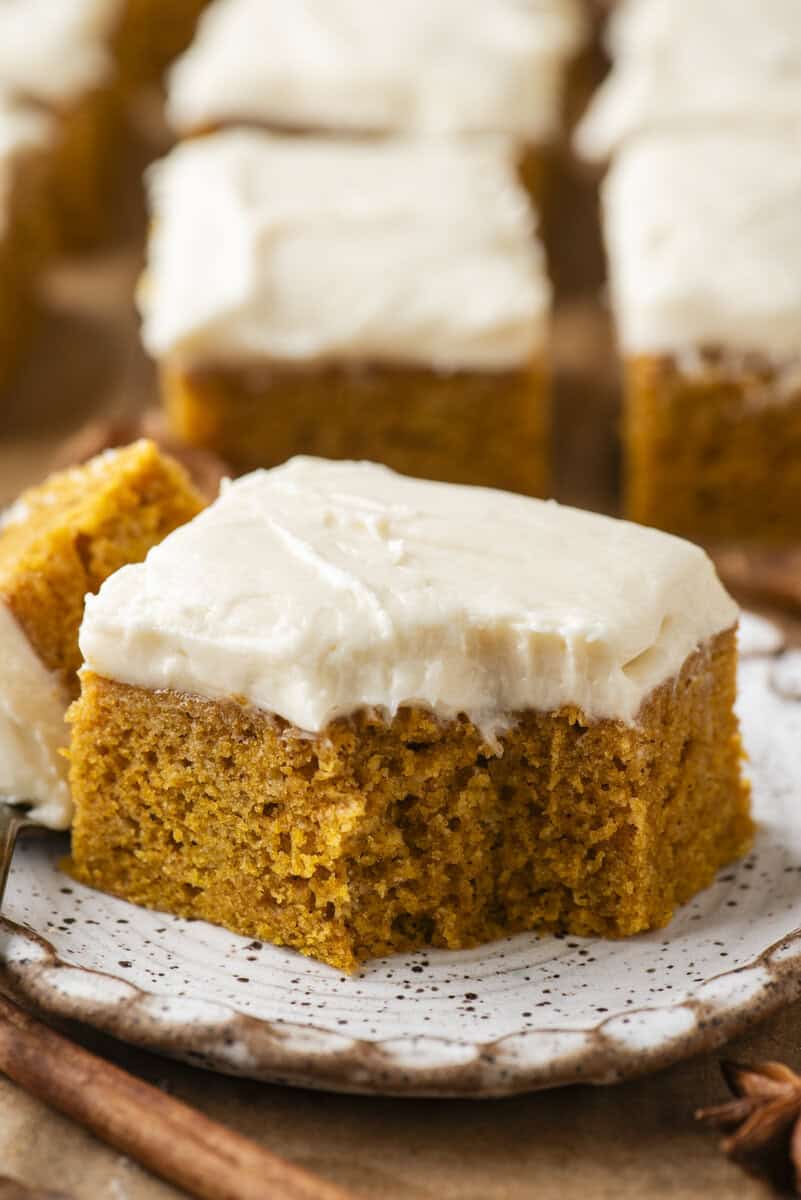
From there I spent Test 3 and Test 4 slowly pulling back the leavening and eggs from that cake, easing it toward bar territory a little at a time. I wanted it to stay soft, just not fluffy enough to call itself a cake anymore. That slow pullback is the difference between this recipe and a pumpkin cake cut into squares.
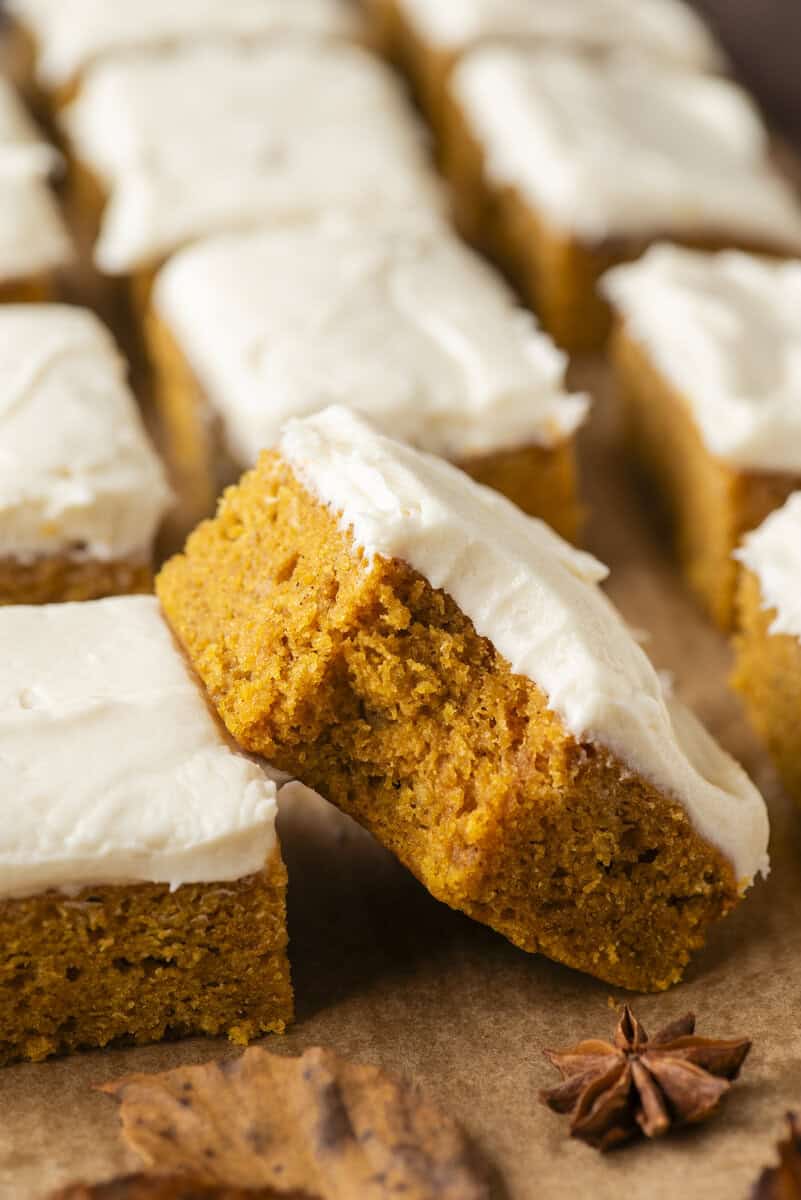
Along the way I learned that people have strong, specific opinions about pumpkin bars. Some readers want cake dressed up as a bar, which is exactly why Great Aunt Theresa’s recipe is getting its own post soon instead. Others do not think pumpkin bars should have frosting at all, which tells me the frosting on top of this one is not neutral territory, it is a stance.
So there will be people who love this recipe and people who hate it, and it all comes down to what texture you personally want from a pumpkin bar.
Key Ingredients to Highlight
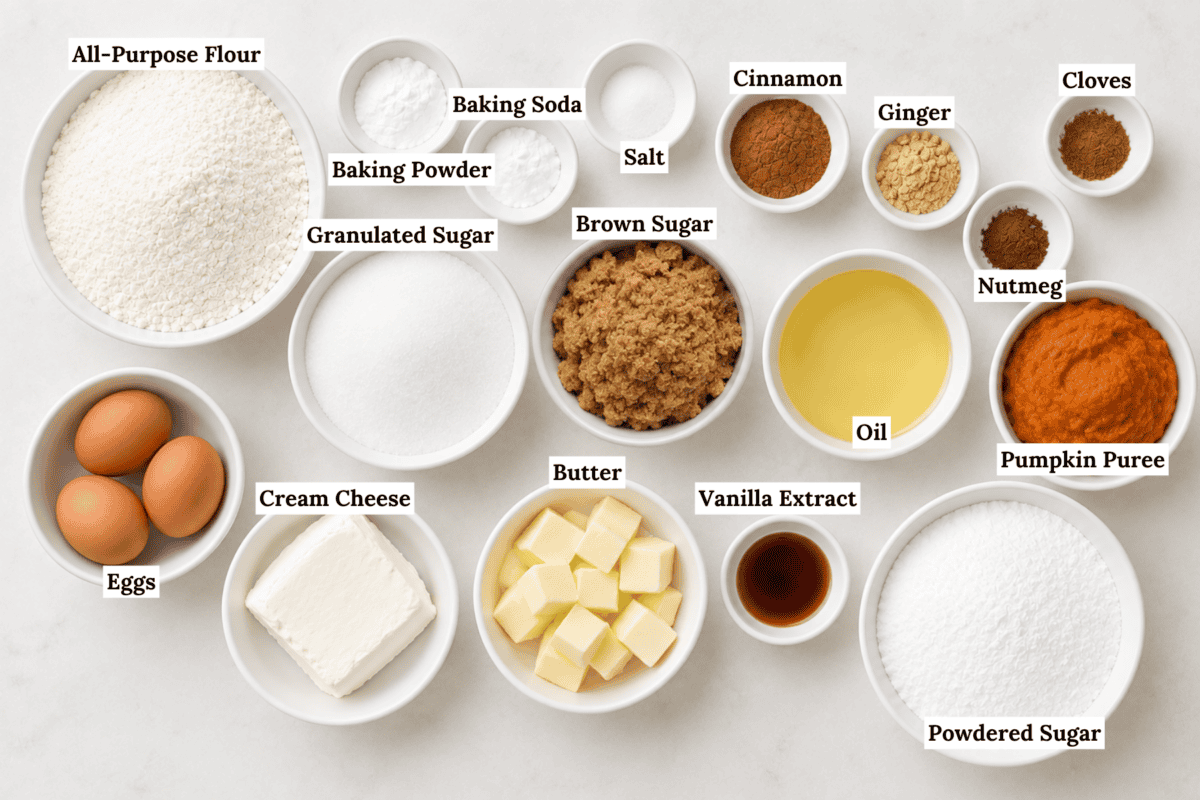
A few ingredients are doing the real work in this recipe, and knowing why they are there will help you understand what makes this a true bar instead of thin pumpkin cake. Get the full recipe with measurements and instructions in the recipe card below.
- Canned pumpkin puree: Not pumpkin pie filling. The full can of puree is what gives these bars their moisture and color, so do not swap this one.
- Vegetable oil: Oil instead of butter is the reason these bars stay moist for days instead of drying out by day two. It also keeps the crumb tender without adding the airiness that butter and creaming can bring.
- Brown and granulated sugar blend: The brown sugar brings moisture and a deeper caramel note, while the granulated sugar keeps the structure from getting too soft. Splitting the two instead of using all one or the other is part of what keeps these from turning into cake.
- Warm spice blend: Cinnamon, nutmeg, ginger, and cloves together give you that unmistakable fall flavor instead of a one note pumpkin spice taste. Cloves are the ingredient people most often skip, and it is the one I would not leave out.
- Cream cheese: Room temperature, full fat or reduced fat, either will work to give the frosting its structure and tang.
How to Make Pumpkin Bars
- Preheat the oven to 350°F. Line a 9×13 inch pan with parchment paper or coat it with non-stick spray.
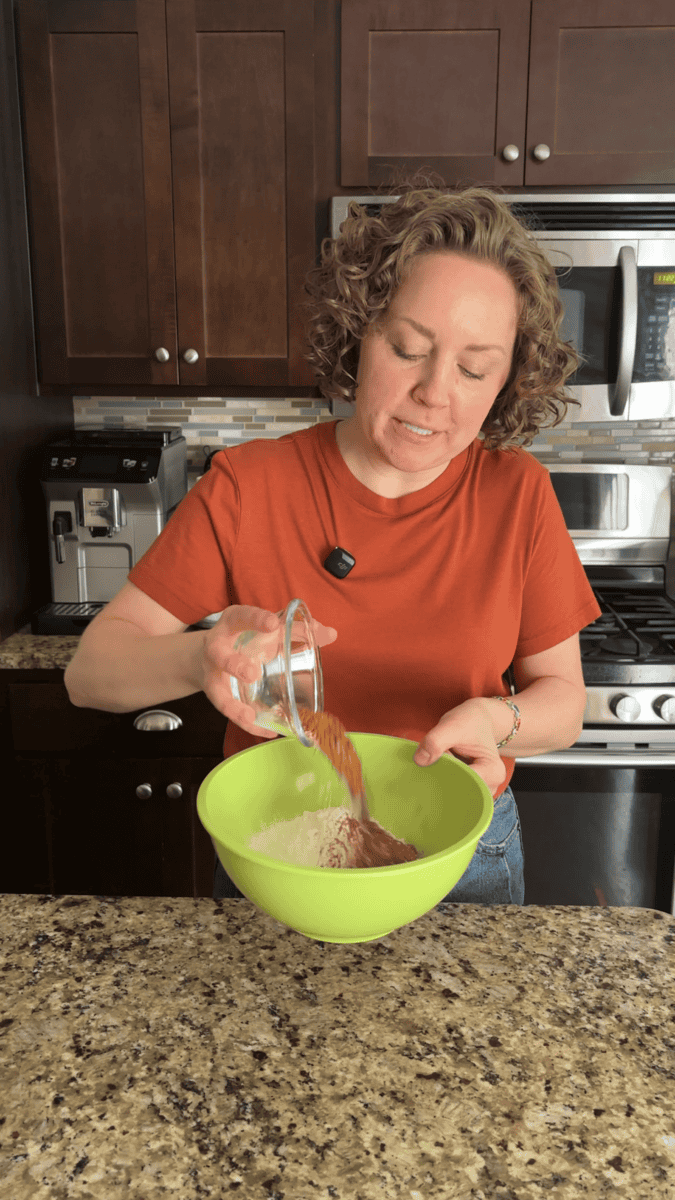
- Whisk the flour, baking powder, baking soda, salt, cinnamon, nutmeg, ginger, and cloves together in a medium bowl. Set aside.
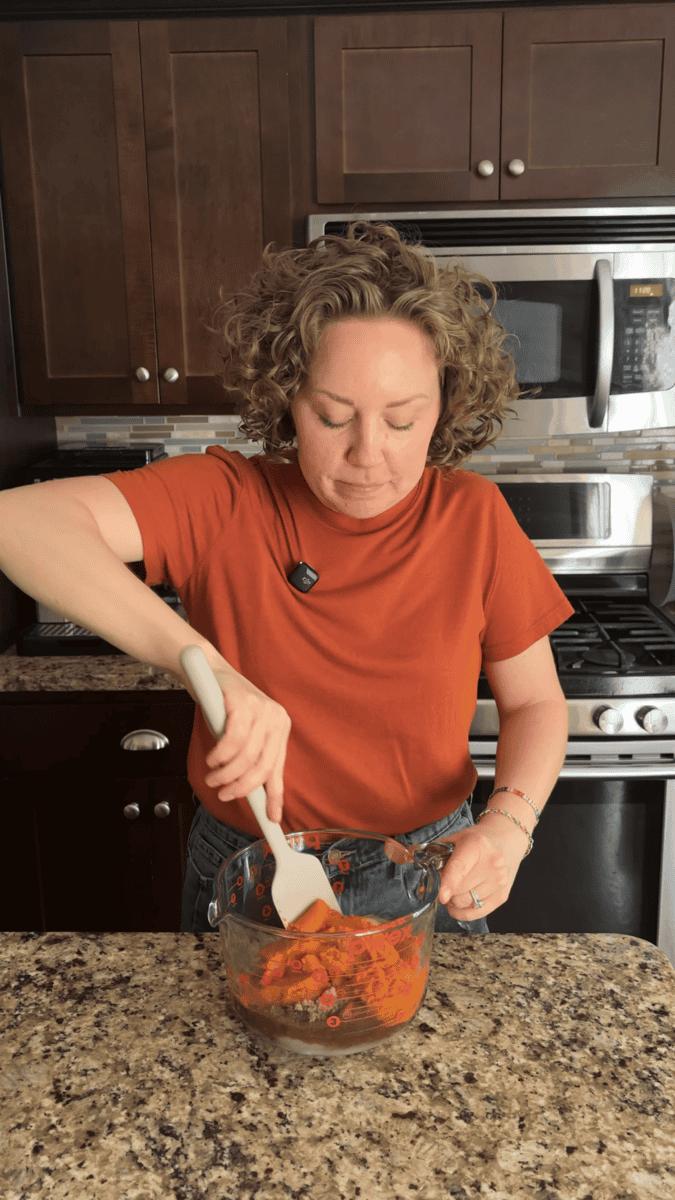
- In a large bowl, stir together the granulated sugar, brown sugar, vegetable oil, pumpkin puree, and eggs by hand with a spatula until smooth.
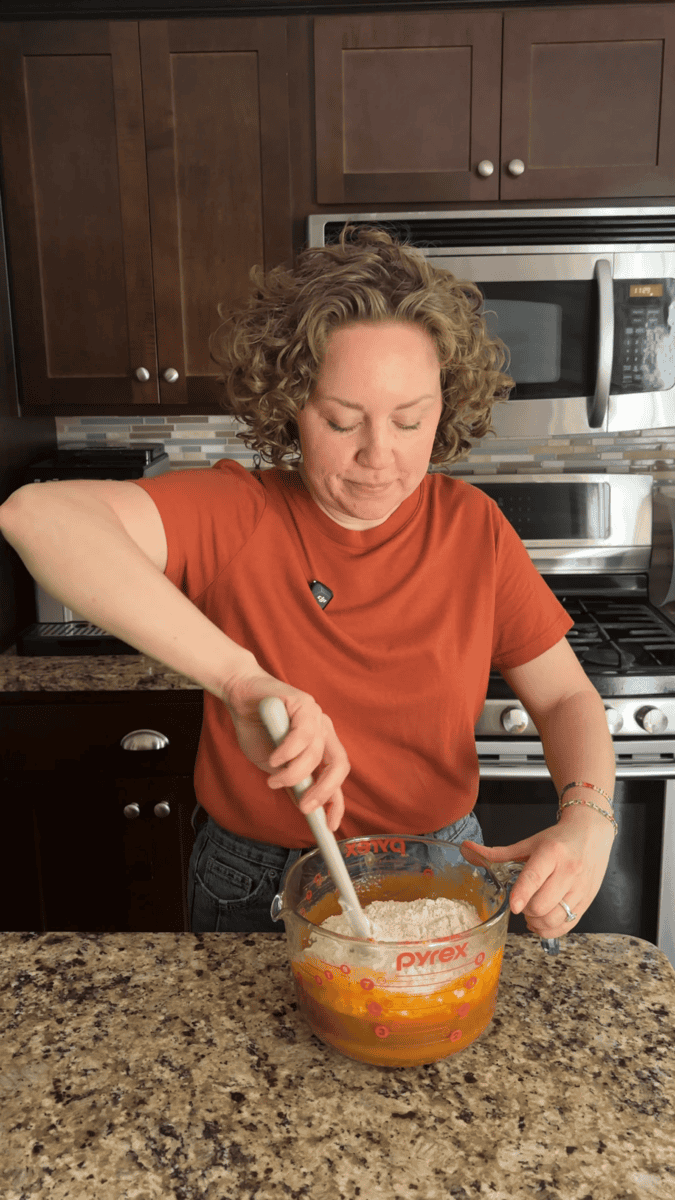
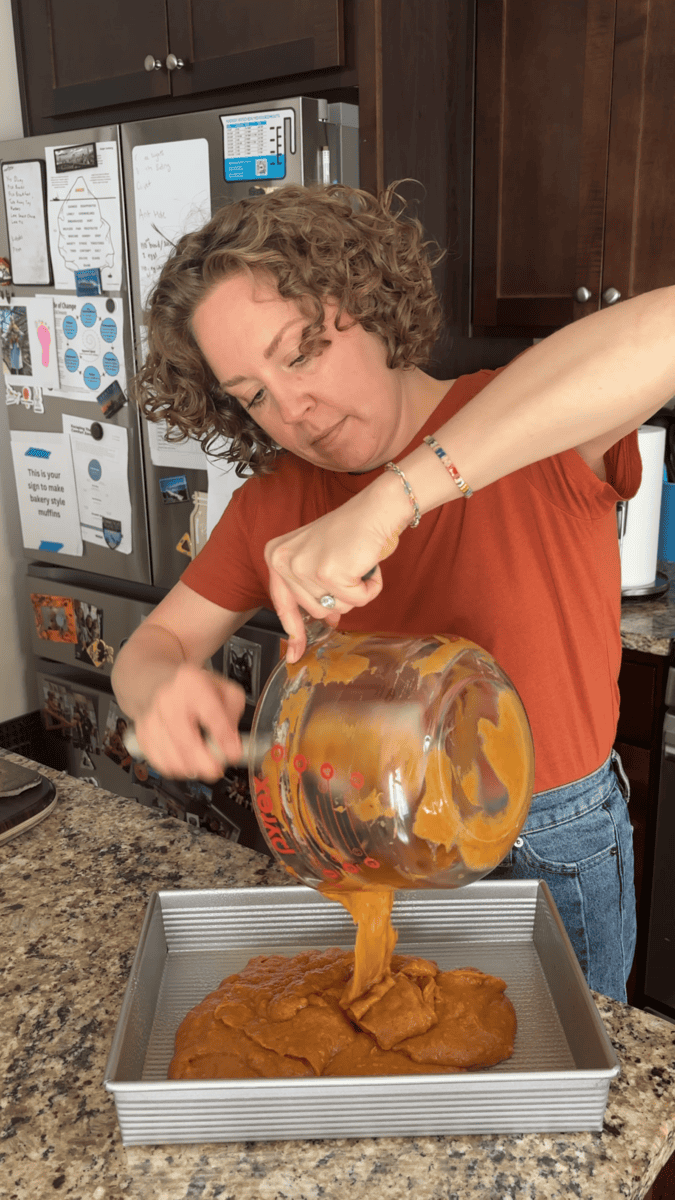
- Add the dry ingredients to the wet ingredients. Stir by hand just until no streaks of flour remain, then pour the batter into the prepared pan and spread into an even layer.
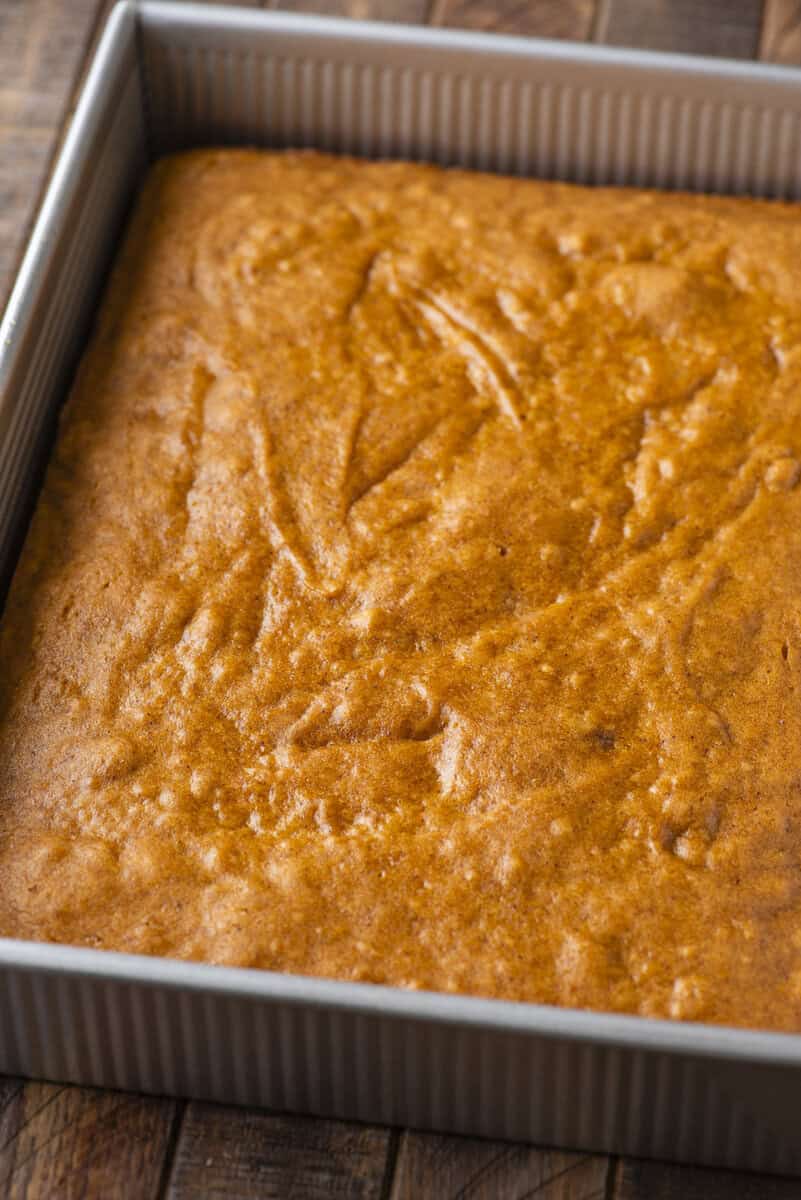
- Bake for 30 to 35 minutes, until a toothpick inserted in the center comes out clean. Cool completely in the pan, about 1 to 2 hours, before frosting.
Cream Cheese Frosting
- Beat the cream cheese, butter, salt, and vanilla extract together on medium speed for 2 to 3 minutes, until smooth and creamy.
- Add the powdered sugar gradually, then beat on low for 1 to 2 minutes, scraping down the bowl as needed. If the frosting is too thick, add a splash of milk or heavy cream and beat until smooth.
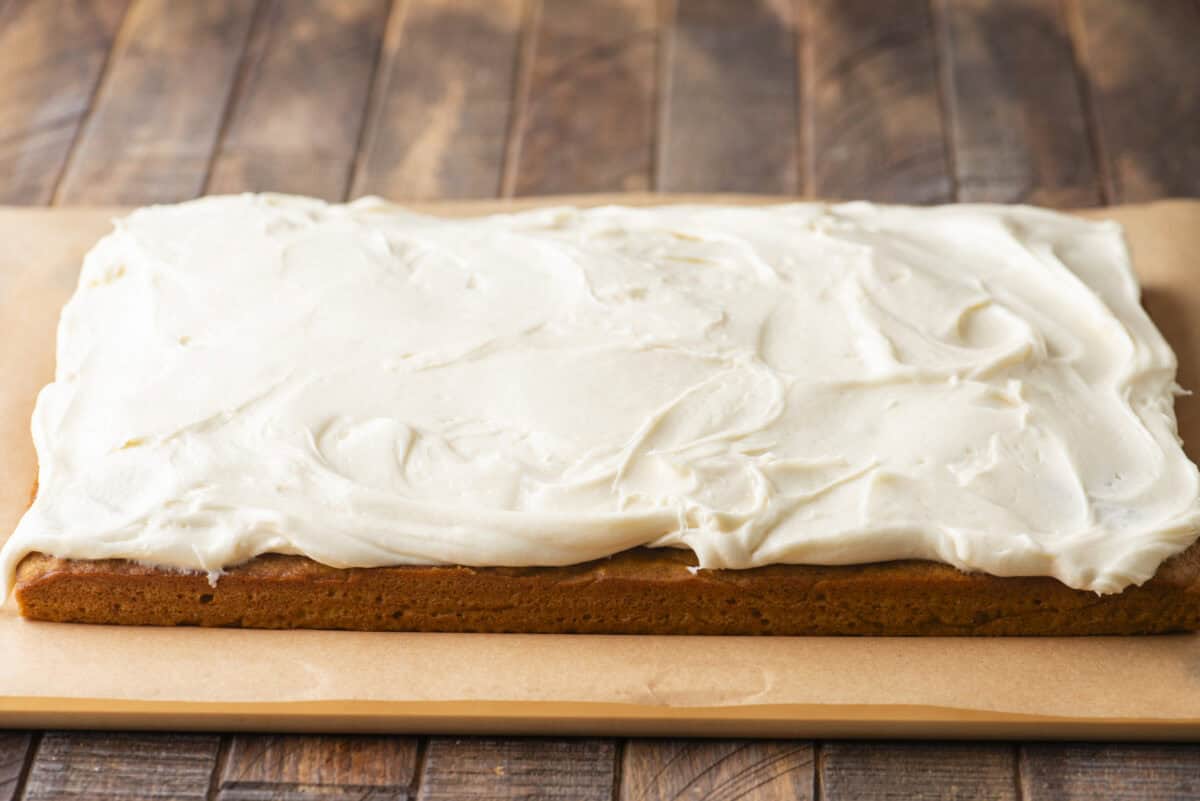
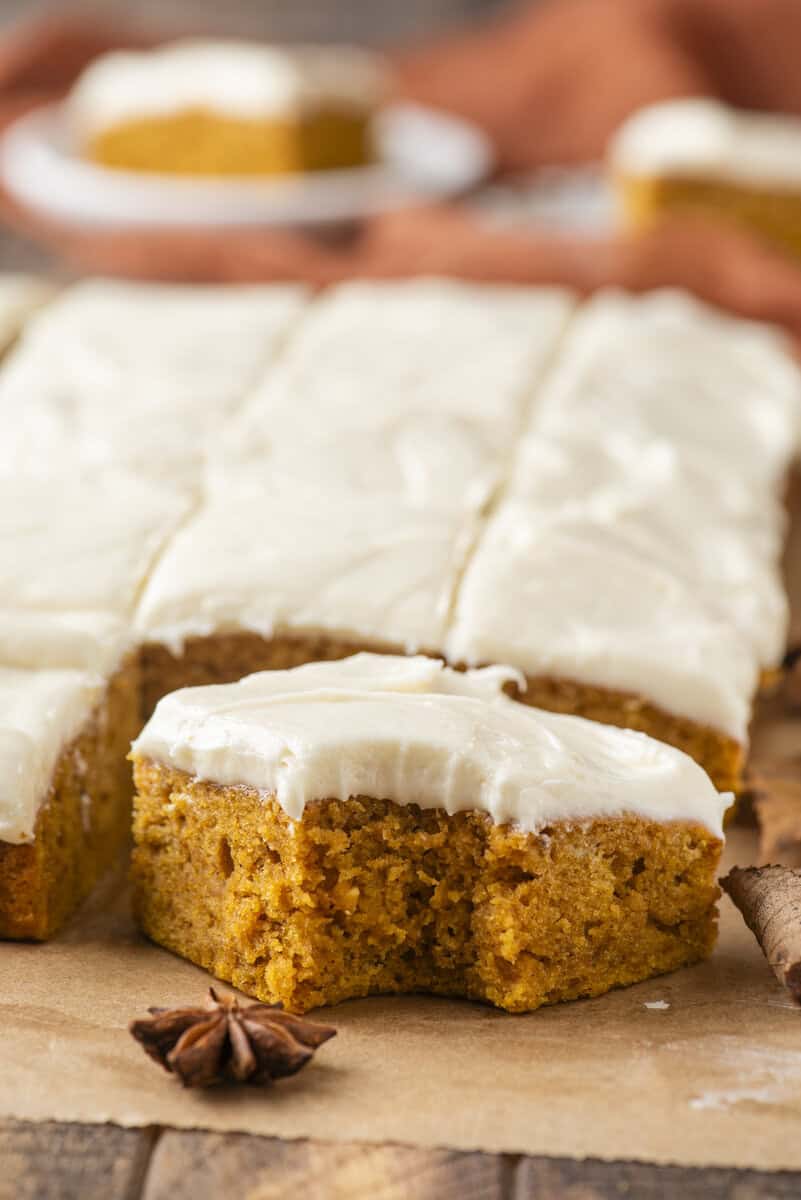
- Spread the frosting evenly over the cooled bars. Cut into squares and serve. For clean cut lines, rinse and dry your knife between each cut.
My Pro Tips for Pumpkin Bars
- Make sure your bars are completely cool before frosting. Frosting a warm pan is the fastest way to end up with a melted mess instead of a clean, thick layer on top.
- Do not skip hand mixing the batter. Using a stand mixer on this one introduces more air than the recipe wants, and that extra air is exactly what pushes a bar toward cake territory instead of staying dense.
- Measure your flour on a kitchen scale instead of scooping with cups. It is a small habit, but it is the same reason professional bakers get consistent results, and it is part of why this recipe holds its texture batch after batch.
How to Store, Make Ahead, and Freeze Pumpkin Bars
Store frosted bars covered in the refrigerator for up to 5 days, since the cream cheese frosting needs to stay cold. Let a square sit at room temperature for about 15 minutes before eating so the frosting softens back up.
You can bake the bars up to a day ahead and leave them unfrosted at room temperature, covered. The frosting can be made a day ahead too, just bring it back to room temperature and give it a quick stir before spreading.
For longer storage, freeze the bars unfrosted. Wrap the cooled, uncut slab tightly in plastic wrap and foil and freeze for up to 3 months, then thaw overnight in the fridge before frosting.
More Pumpkin Desserts
Tap stars to rate!
Pumpkin Bars with Cream Cheese Frosting
Ingredients
- 2 cups (240g) all-purpose flour
- ½ tsp baking powder
- ¼ tsp baking soda
- ½ tsp salt
- 2 tsp ground cinnamon
- ½ tsp ground nutmeg
- ½ tsp ground ginger
- ¼ tsp ground cloves
- 1 cup (198g) granulated sugar
- ⅔ cup (142g) brown sugar, packed
- ⅔ cup (132g) vegetable oil
- 1 15 oz can pumpkin puree
- 3 large eggs
Cream Cheese Frosting
- 8 oz (226g) cream cheese, room temperature
- ½ cup (57g) unsalted butter, room temperature
- ⅛ tsp salt
- 1 ½ tsp vanilla extract
- 3 cups (340g) powdered sugar
- dash milk or heavy cream
Instructions
- Preheat the oven to 350°F. Line a 9×13 inch pan with parchment paper or coat it with non-stick spray.
- Whisk the flour, baking powder, baking soda, salt, cinnamon, nutmeg, ginger, and cloves together in a medium bowl. Set aside.2 cups (240g) all-purpose flour, 1/2 tsp baking powder, 1/4 tsp baking soda, 1/2 tsp salt, 2 tsp ground cinnamon, 1/2 tsp ground nutmeg, 1/2 tsp ground ginger, ¼ tsp ground cloves
- In a large bowl, stir together the granulated sugar, brown sugar, vegetable oil, pumpkin puree, and eggs by hand with a spatula until smooth.1 cup (198g) granulated sugar, 2/3 cup (142g) brown sugar, 2/3 cup (132g) vegetable oil, 1 15 oz can pumpkin puree, 3 large eggs
- Add the dry ingredients to the wet ingredients. Stir by hand just until no streaks of flour remain, then pour the batter into the prepared pan and spread into an even layer.
- Bake for 30 to 35 minutes, until a toothpick inserted in the center comes out clean. Cool completely in the pan, about 1 to 2 hours, before frosting.
Cream Cheese Frosting
- Beat the cream cheese, butter, salt, and vanilla extract together on medium speed for 2 to 3 minutes, until smooth and creamy.8 oz (226g) cream cheese, ½ cup (57g) unsalted butter, ⅛ tsp salt, 1 ½ tsp vanilla extract
- Add the powdered sugar gradually, then beat on low for 1 to 2 minutes, scraping down the bowl as needed. If the frosting is too thick, add a splash of milk or heavy cream and beat until smooth.3 cups (340g) powdered sugar, dash milk or heavy cream
- Spread the frosting evenly over the cooled bars. Cut into squares and serve. For clean cut lines, rinse and dry your knife between each cut.
Notes
- Gluten-Free: Use a 1:1 gluten-free baking flour blend in place of all-purpose flour. I used King Arthur’s Measure for Measure Gluten Free Flour with great results.
- To Store: Store frosted bars covered in the refrigerator for up to 5 days. Let sit at room temperature for about 15 minutes before serving.
- To Make Ahead: Bake the bars up to a day ahead and leave unfrosted, covered at room temperature. Frosting can be made a day ahead and refrigerated, then brought to room temperature and stirred before spreading.
- To Freeze: Freeze the bars unfrosted. Wrap the cooled, uncut slab tightly in plastic wrap and foil, and freeze for up to 3 months. Thaw overnight in the fridge, then frost once fully thawed.