
This post may contain affiliate links. Please read our disclosure policy.
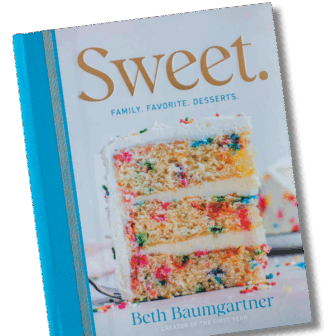
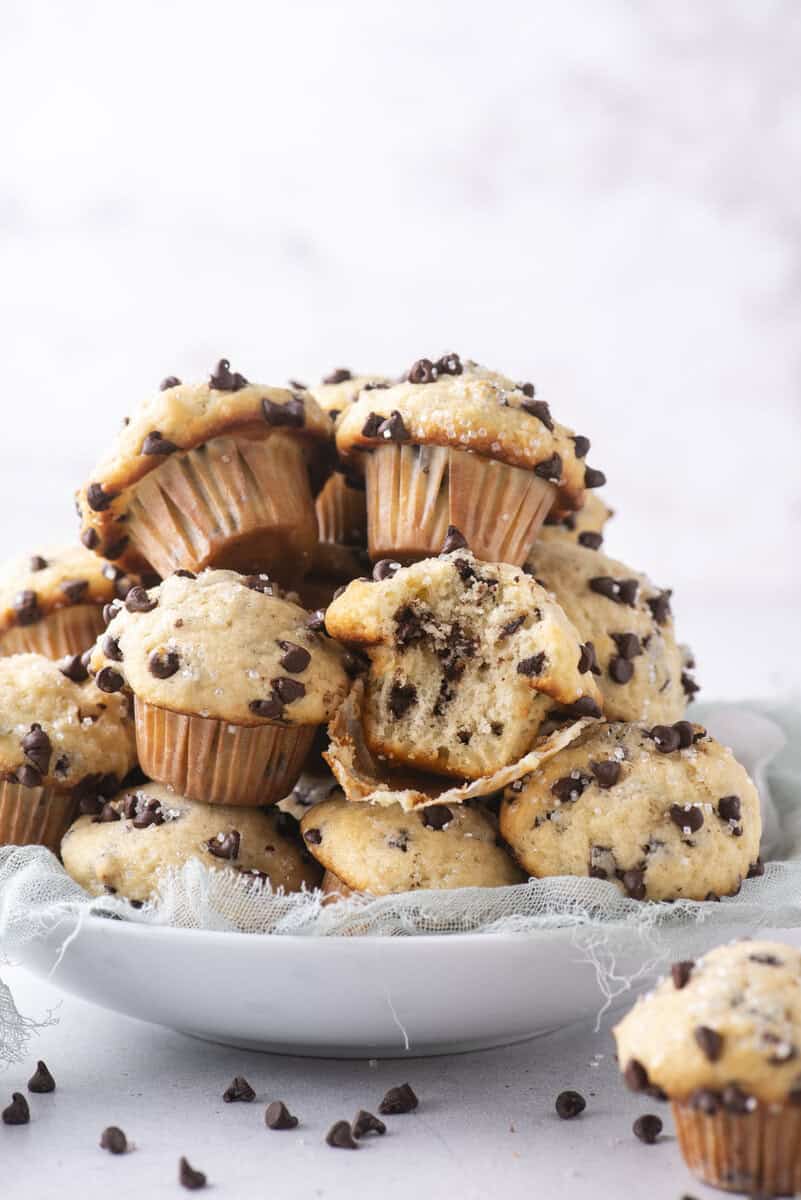
Most mini chocolate chip muffins turn out flat because the recipe skips the one trick that actually gives you that tall bakery style dome. Readers call me the internet’s muffin expert, I’ve written a whole cookbook on the subject, and this is the first mini muffin recipe I’ve trusted enough to put my name on.
It’s soft, genuinely tall, and packed with chocolate in every single bite. Once you make a batch, you’ll understand why nobody in my house has ever stopped at just one.

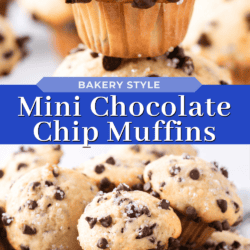
Bakery Style Mini Chocolate Chip Muffins
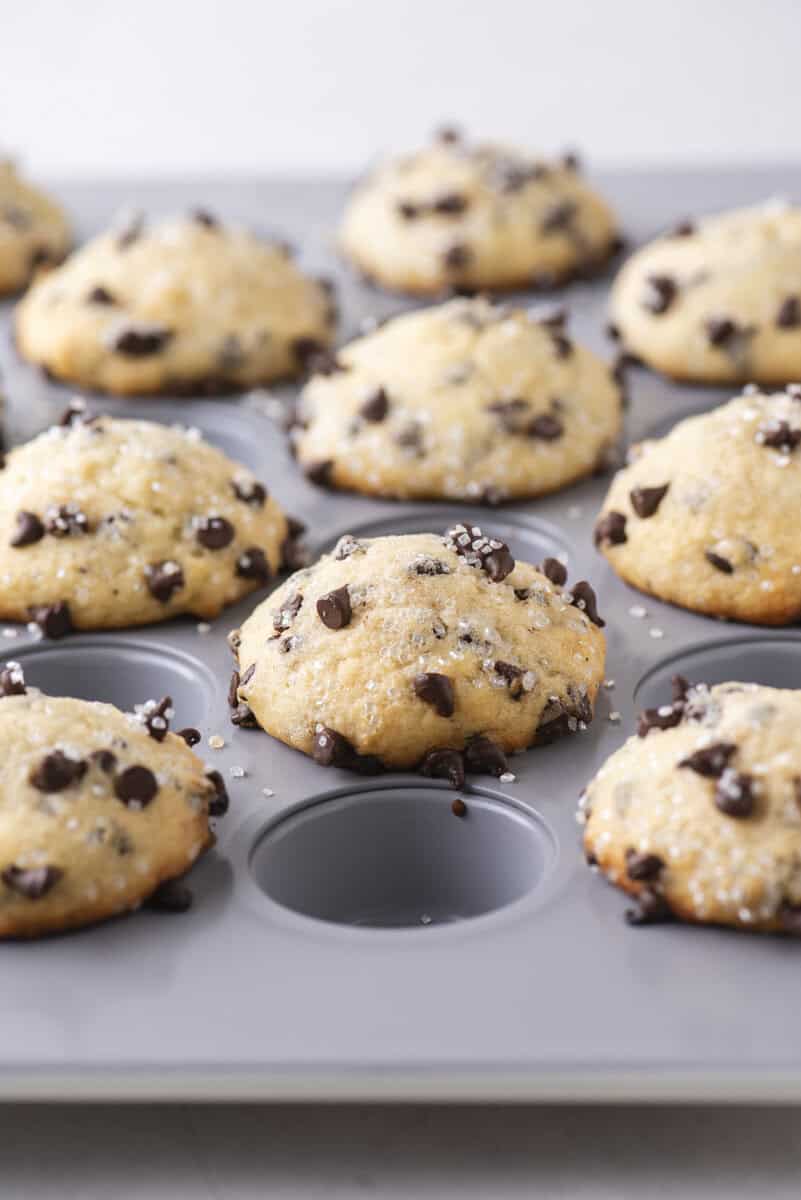
Most mini chocolate chip muffins turn out flat, and it’s almost never the recipe’s fault. It’s because the pan gets overcrowded, so every muffin is fighting its neighbor for room to rise. Skip that one problem and you get a real bakery style dome, no piping bag or fancy equipment required.
Readers have called me the internet’s muffin expert for a while now, and I even wrote a whole cookbook on the subject, so this isn’t my first attempt at solving a flat muffin. The trick is filling every other well in the pan instead of every single one, which sounds fussy but takes about ten extra seconds. I’ve been making mini muffins for my own kids just as long as I’ve been developing full size ones, but this is the first mini muffin recipe I’ve actually sat down and written out properly. Once you see the difference in how tall these bake up, you won’t skip it again.
These mini chocolate chip muffins are soft, genuinely bakery style tall, and loaded with chocolate in every bite thanks to a full 2 cups of mini chips. No mixer required, and the batter comes together in two bowls. Once you make a batch, you’ll understand why nobody in my house has ever stopped at just one.

Why Mini Muffins Go Flat (And How to Fix It)
Here’s the part most recipes skip entirely. When every single well in a mini muffin pan is filled, the muffins have nowhere to expand as they bake, so they spread instead of dome. Give them breathing room and they behave completely differently.
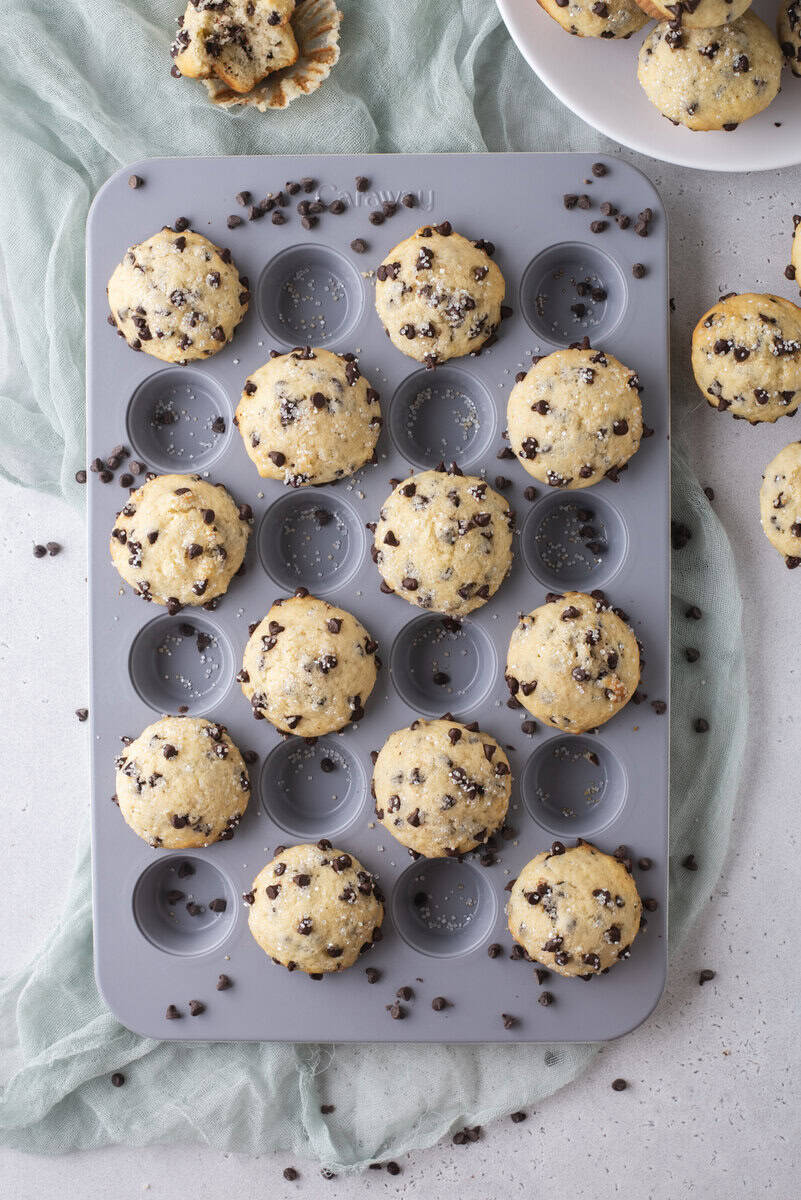
That’s the entire idea behind filling every other well. If you’re not overfilling your liners, meaning you’re using less than 3 tablespoons of batter per well, you can skip this and fill every cup. But if you want that generous, bakery style rise, giving each muffin its own space is what gets you there.
I get asked about tall, domed muffins more than almost anything else on my site, which is a big part of why readers started calling me the internet’s muffin expert. It’s also the whole reason I wrote a cookbook dedicated to bakery style muffins. This trick is the same one I use in that book, just adapted down to a mini pan.
Key Ingredients for Mini Muffins
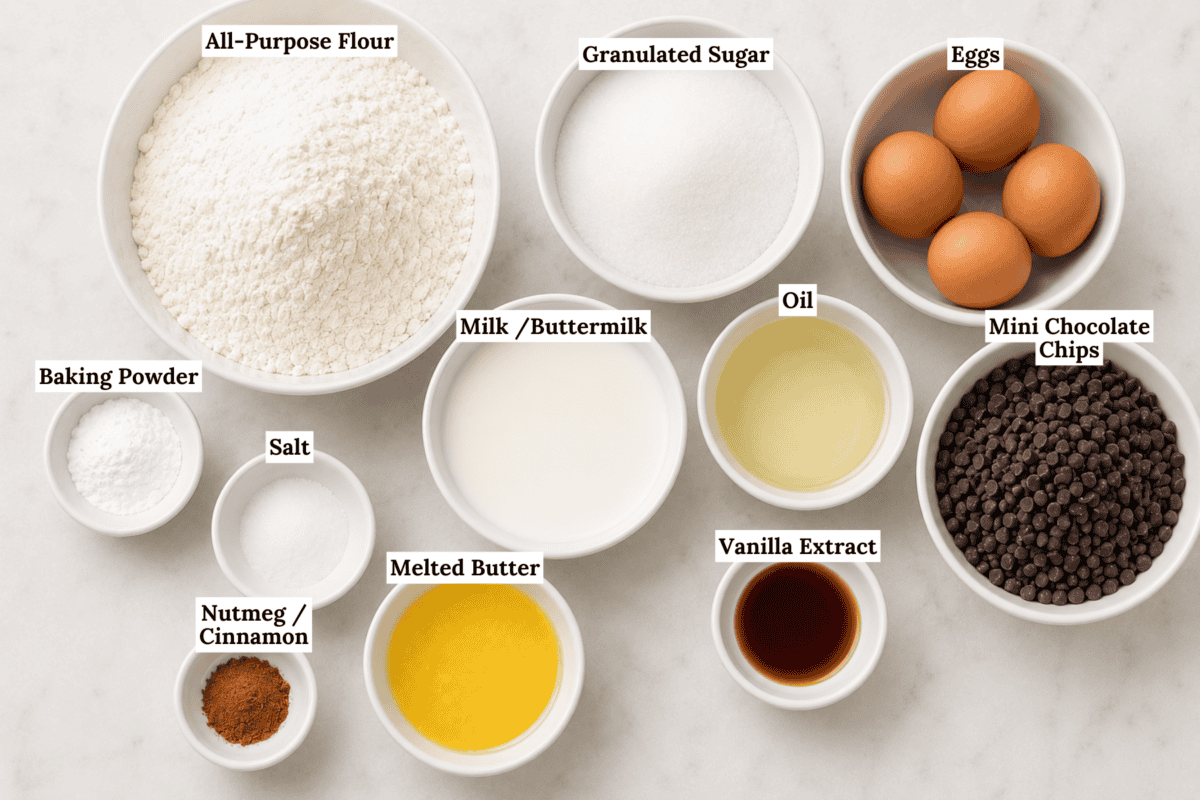
Here’s an overview of the key ingredients that make this recipe a success. Jump to the recipe card below for the full recipe.
- Mini semi-sweet chocolate chips, divided. Regular chips are too heavy for this batter and sink straight to the bottom. Using mini chips both in the batter and pressed on top before baking is also part of what gives these muffins that bakery style look.
- All-purpose flour, properly measured. Weigh it in grams if you can. If you’re scooping, aerate the flour first, spoon it into the measuring cup, and level it off without tapping the cup on the counter. Packed flour is the number one reason muffins turn out dense.
- Oil and melted butter, together. Oil keeps the crumb moist for days, and butter brings flavor oil can’t replicate on its own. Using both instead of just one is a small choice that makes a real difference in how these taste the next day.
- Nutmeg. A small amount rounds out the sweetness in a way you’ll notice if you skip it. Cinnamon works as a swap if that’s what you have in your pantry.
- Baking powder. This is what actually gives you the dome, especially with a batter this thick and wells filled this generously.
How to Create Bakery Style Mini Muffins
This is actually the same method I use to get a tall dome on my full size muffins, just scaled down for a mini pan. If you want the full breakdown of where this trick started, my basic muffin recipe walks through it in more detail.
1. The Rest Period
Let the batter rest for 15 minutes after it’s mixed and before you scoop it into the muffin pan. During the resting period, starch molecules in the flour are absorbing the liquid in the batter, causing them to swell and giving the batter a thicker consistency (ref the kitchen whisper). Our 15 minute rest is just a quick rest.
2. Fill Every Other Muffin Cup
This tip has been a game changer! For bakery style muffin tops, only fill every other muffin well with batter. Filling every other cup allows the muffins to spread and dome without running into each other. This technique also encourages the muffins to brown, creating a golden muffin top.
3. Fill Them To The Top
Fill your muffin liners to the top with batter. Yes, this goes against everything you’re heard but it’s important in helping the muffin gain that height.
4. Bake at High Temperature Initially
Bake the muffins at a high temperature (425ºF) initially, then lower to 400ºF (350ºF for regular sized muffins). Starting the muffins off at a higher temperature causes the batter to rise rapidly, setting the outer surface of the muffin, producing a dome shape.

How to Make Bakery Style Mini Chocolate Chip Muffins
Follow my step-by-step instructions below, or jump to the recipe card for the full recipe:
Properly measure flour: The most accurate way to measure flour is to use a kitchen scale, weighing it in grams. If you don’t have a kitchen scale, follow this method: Aerate the flour with a whisk or spoon. Flour becomes heavy and compact as it sits. Aerating is the same as fluffing the flour. Use a spoon to sprinkle the flour into the measuring cup. Do not tap the cup against the counter, as this will compact the flour. Use the back of a butter knife to level off the excess. You’ll need to repeat the aerating process after filling each cup.
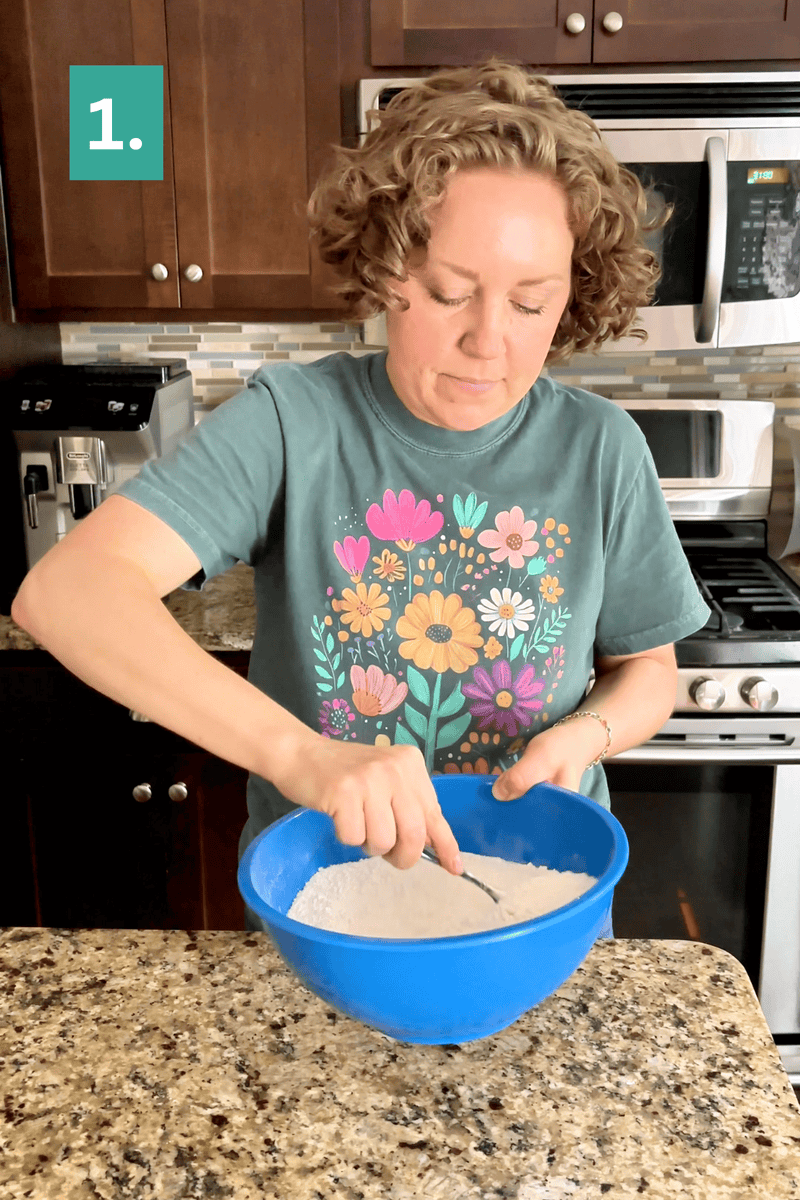
Combine dry ingredients: In a mixing bowl combine the flour, granulated sugar, baking powder, salt, and nutmeg. Stir with a spoon to combine, set aside.
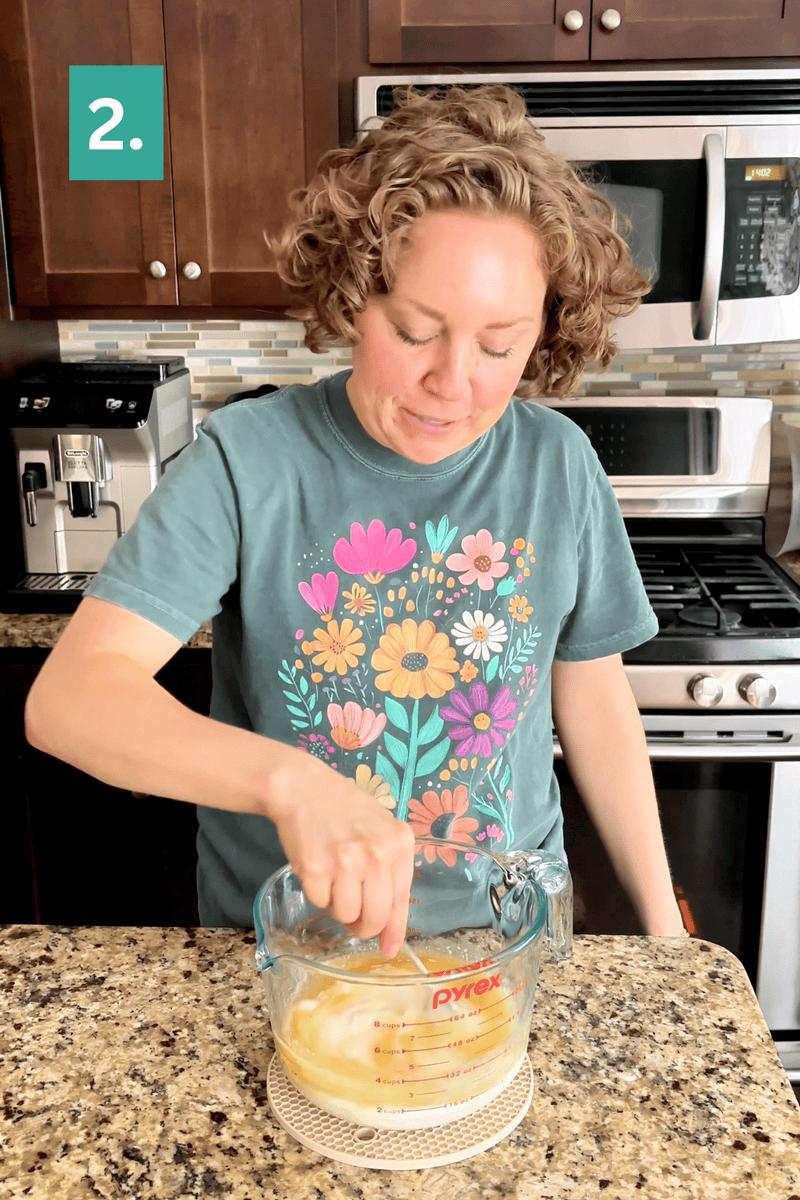
Combine wet ingredients: In a larger mixing bowl combine the eggs, milk, vegetable oil, cooled & melted butter, and vanilla extract. Stir to combine.
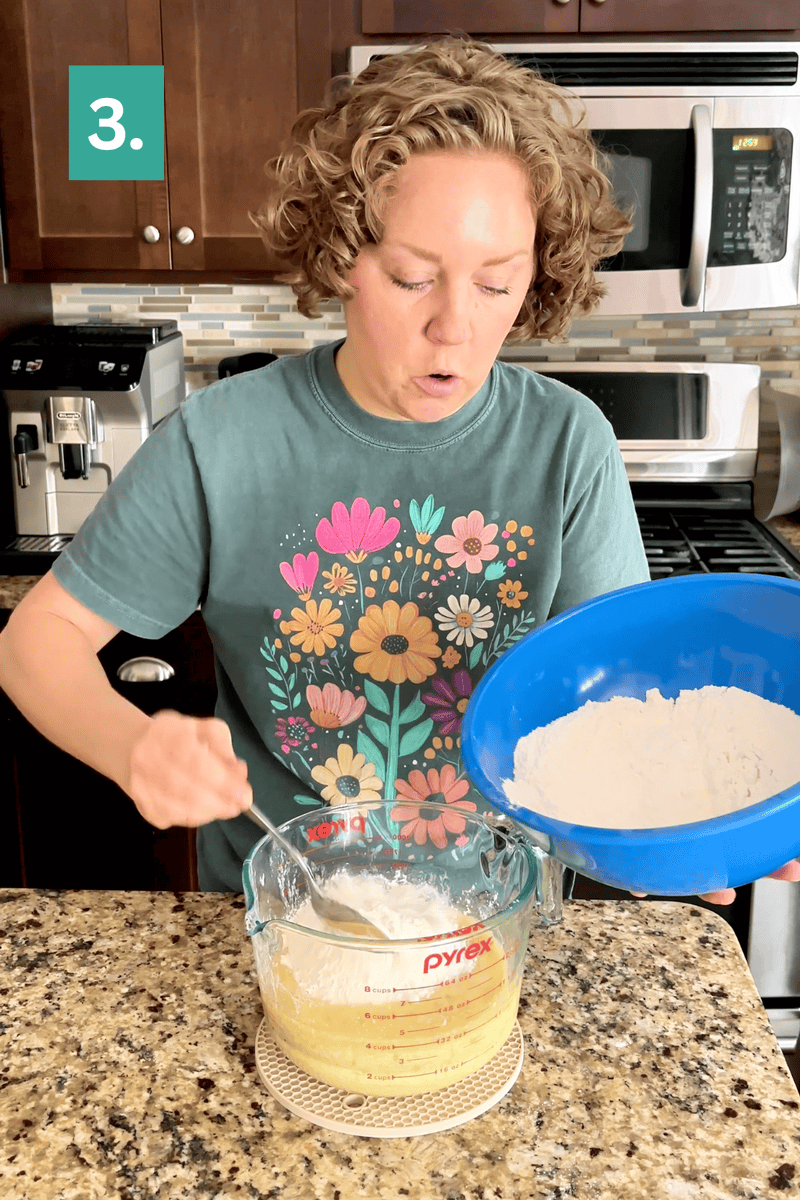
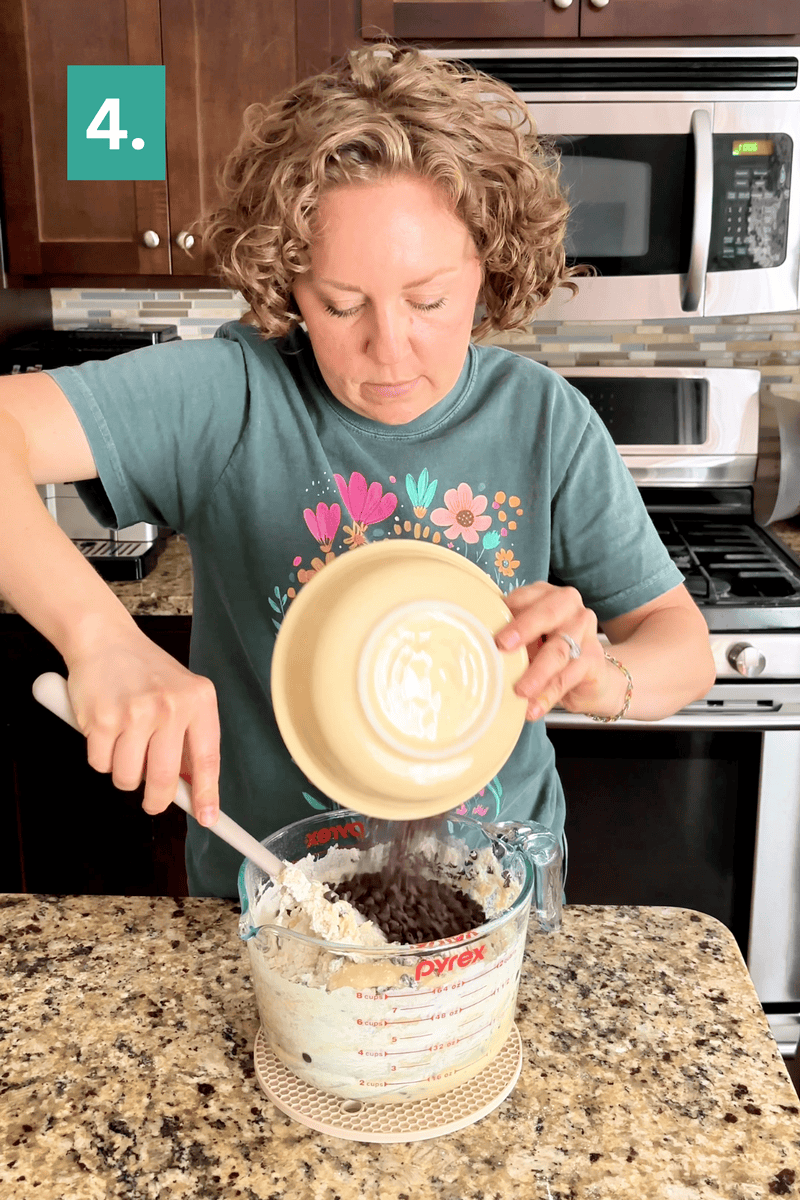
Combine wet and dry ingredients: Gradually mix the dry ingredients and 1 ½ cups chocolate chips into the wet ingredients, mixing just until combined. The batter will be very thick!
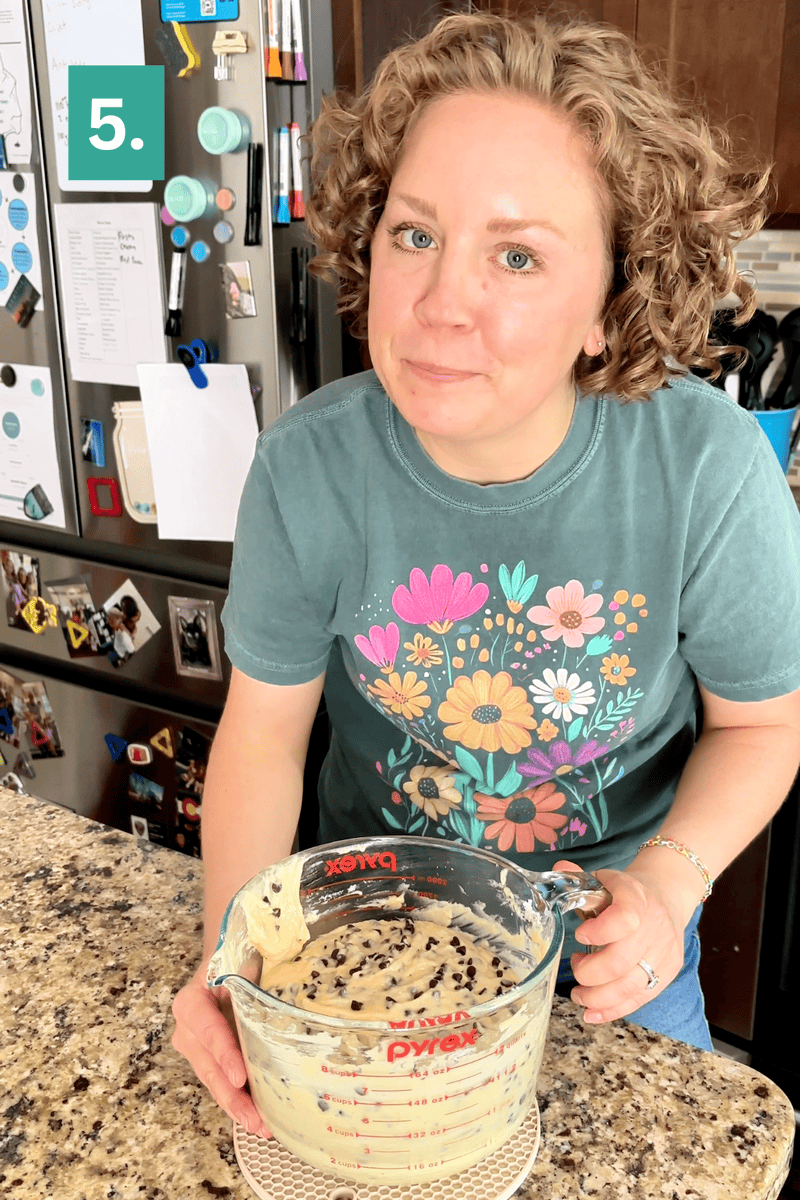
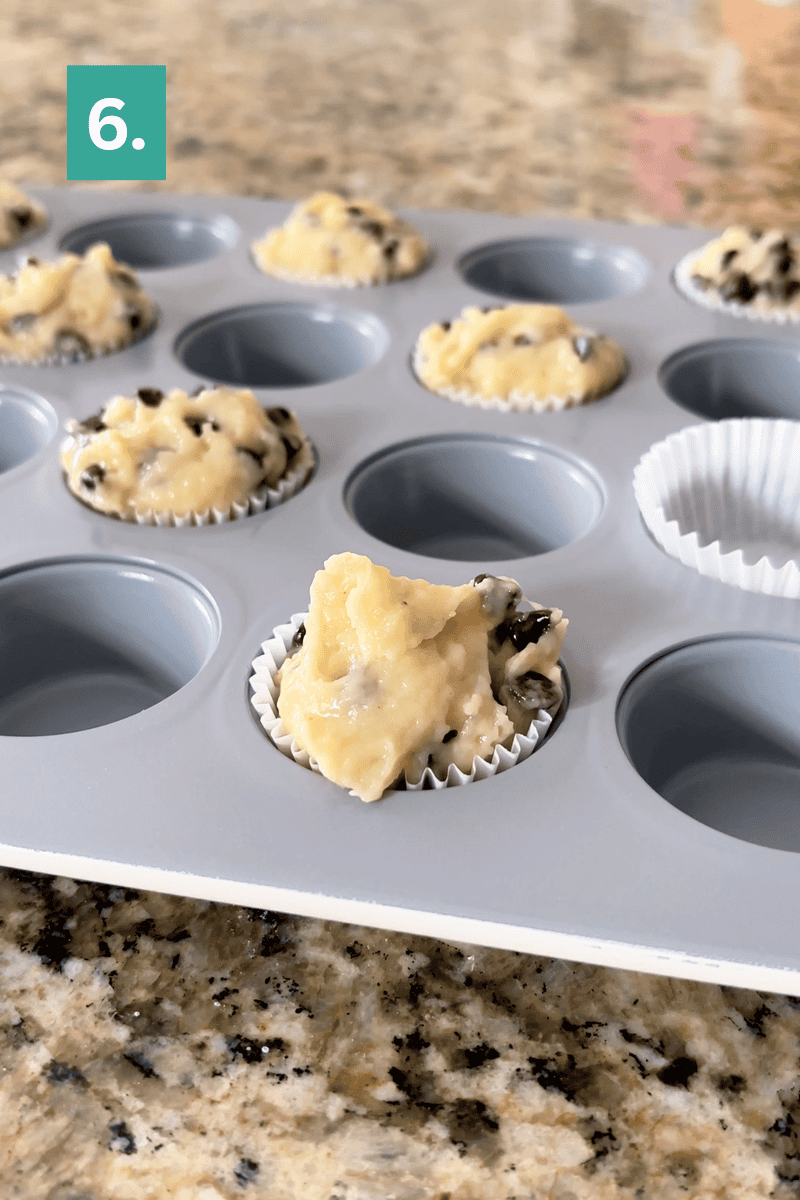
Rest batter: Cover the bowl with a towel and allow the batter to rest for 15 minutes. During this time, preheat the oven to 425ºF / 220ºC.
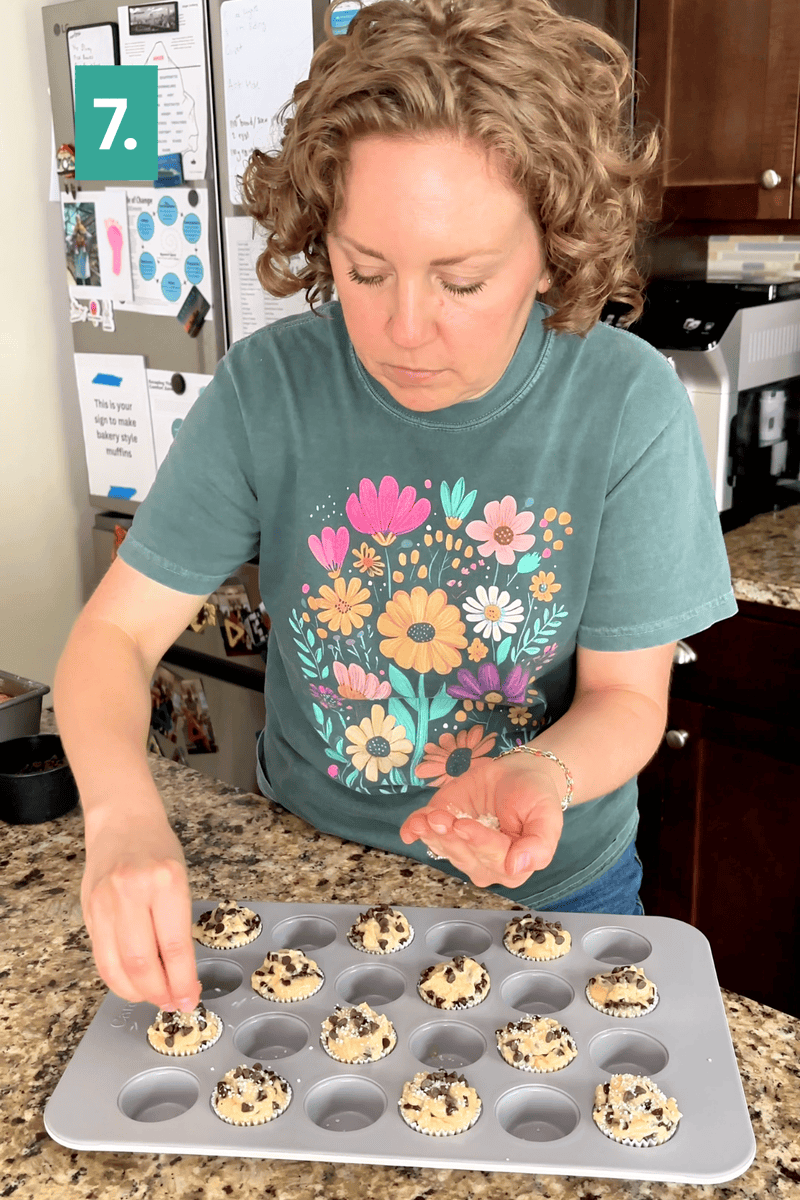
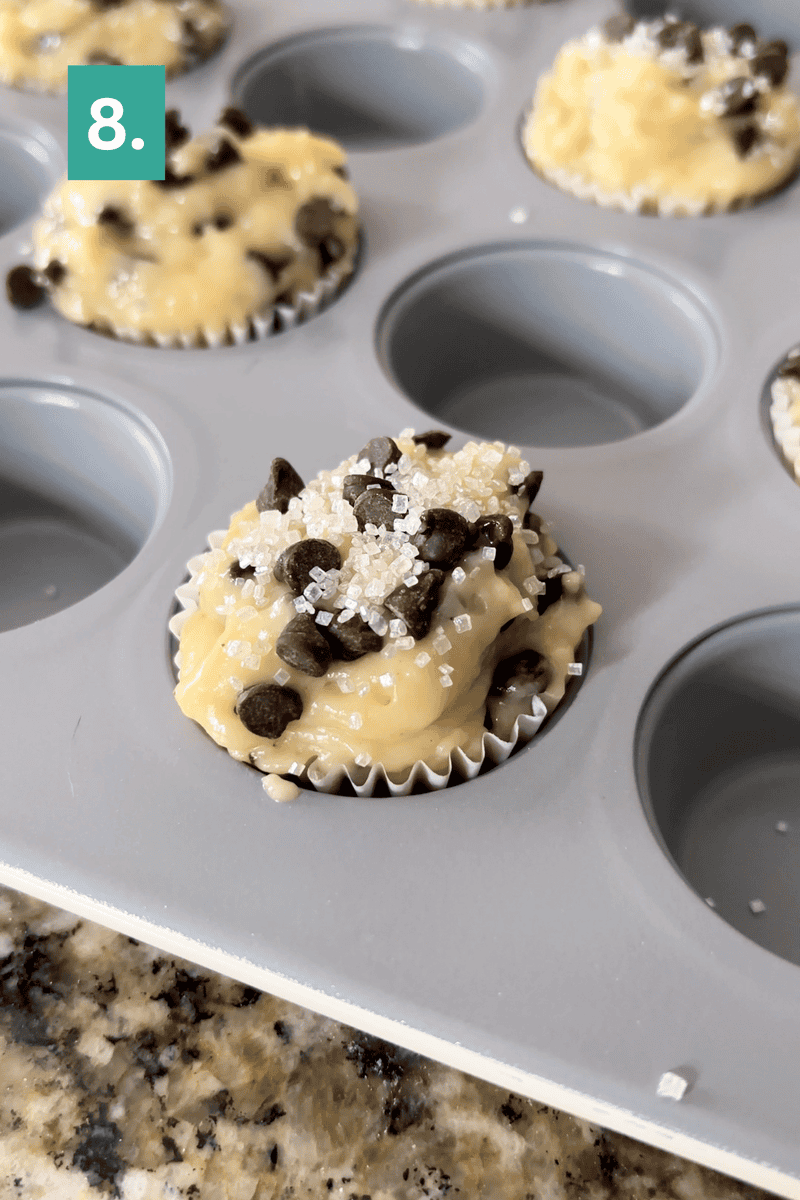
For bakery style mini muffins, line a 24 count muffin pan with 12 mini muffin liners, meaning you’ll only fill every other muffin well with batter. Fill the liners with 2-3 heaping tablespoons of batter. Top the muffins with the remaining chocolate chips. Sprinkle them with sanding sugar.
Bake: Place one pan in the center of the oven and bake for 5 minutes at 425ºF / 220ºC, then keep the muffins in the oven, turn the temperature down to 400ºF and bake for 5-10 minutes or until a toothpick inserted in the center comes out clean. Allow the muffins to cool in the pan.
Repeat: Repeat with the remaining batter, bumping the temperature back up to 425ºF.
Note: If you don’t overfill the wells, no need to do the every other method. The recommended bake times are based on filling the muffins with at least 3 tablespoons of batter, so if you put less, the bake time would need to be decreased. I have a gas conventional oven (not a convection oven) and bake on the standard setting, not convection bake. I position my oven rack so that my muffin pan sits in the middle of the oven.
Troubleshooting Bakery Style Mini Chocolate Chip Muffins
Mine turned out flat. This is almost always an overcrowded pan. If you filled every single well instead of every other one, the muffins didn’t have room to dome properly.
Mine turned out dense. Check how you measured your flour first. Scooping straight from the bag packs it down and adds more flour than the recipe calls for, so aerate it before measuring if you don’t have a scale.
Why does the batter need to rest? Fifteen minutes gives the flour time to hydrate fully, which helps the muffins bake up more tender instead of tough.
Can I skip the temperature drop and just bake at one temperature? You can, but the hot start is what sets the dome early. Skipping it usually means a flatter, less bakery style top.
Gluten-free option: Use a 1:1 gluten-free baking flour blend in place of the all-purpose flour. I used King Arthur’s Measure for Measure Gluten Free Flour with great results.
Storage and Freezing Mini Muffins
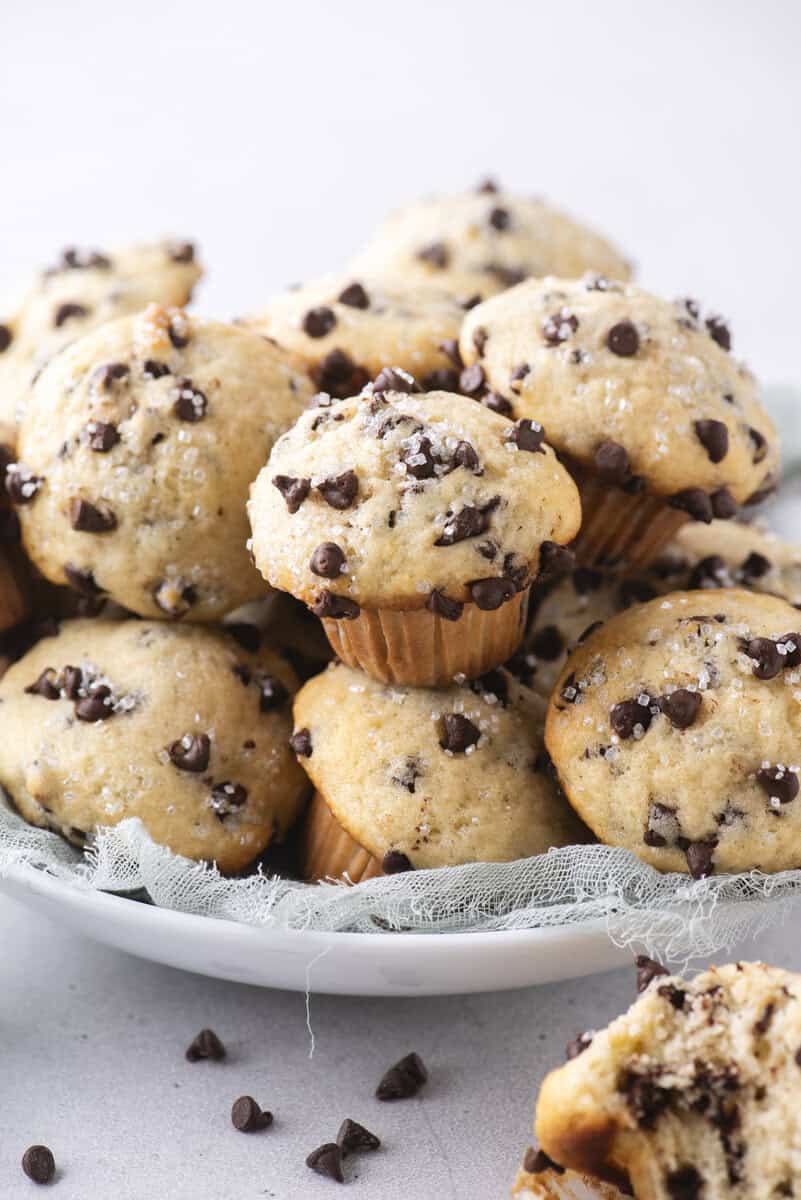
If you’ll be eating the muffins within 24 hours of baking, you can leave them uncovered on the counter. The muffins will not dry out while left at room temperature for 1 day.
In fact, muffins are so moist they can become soggy and those crunchy, sugary tops can disappear when stored in an airtight container.
But I have a trick to help that – paper towels.
For longer storage, 2-4 days, line the bottom of an airtight container with paper towels. Place the muffins in a single layer in the container then cover the muffins with any additional layer of paper towels. The paper towels will act like a sponge, absorbing the moisture they release while they are stored.
For longer storage, freeze them in a single layer until solid, then transfer to a freezer bag. They’ll keep for up to 2 months and thaw at room temperature in about 20 minutes, or in the microwave in short bursts if you’re in a hurry.

Mini Muffin Variations
Swap half the chocolate chips for chopped nuts if you want a bit of texture. A slightly heavier hand with the nutmeg, or a swap to cinnamon, works well too if you want a warmer flavor. If you want these to look even more finished, a slightly heavier sprinkle of sanding sugar before baking gives you more crunch on top.
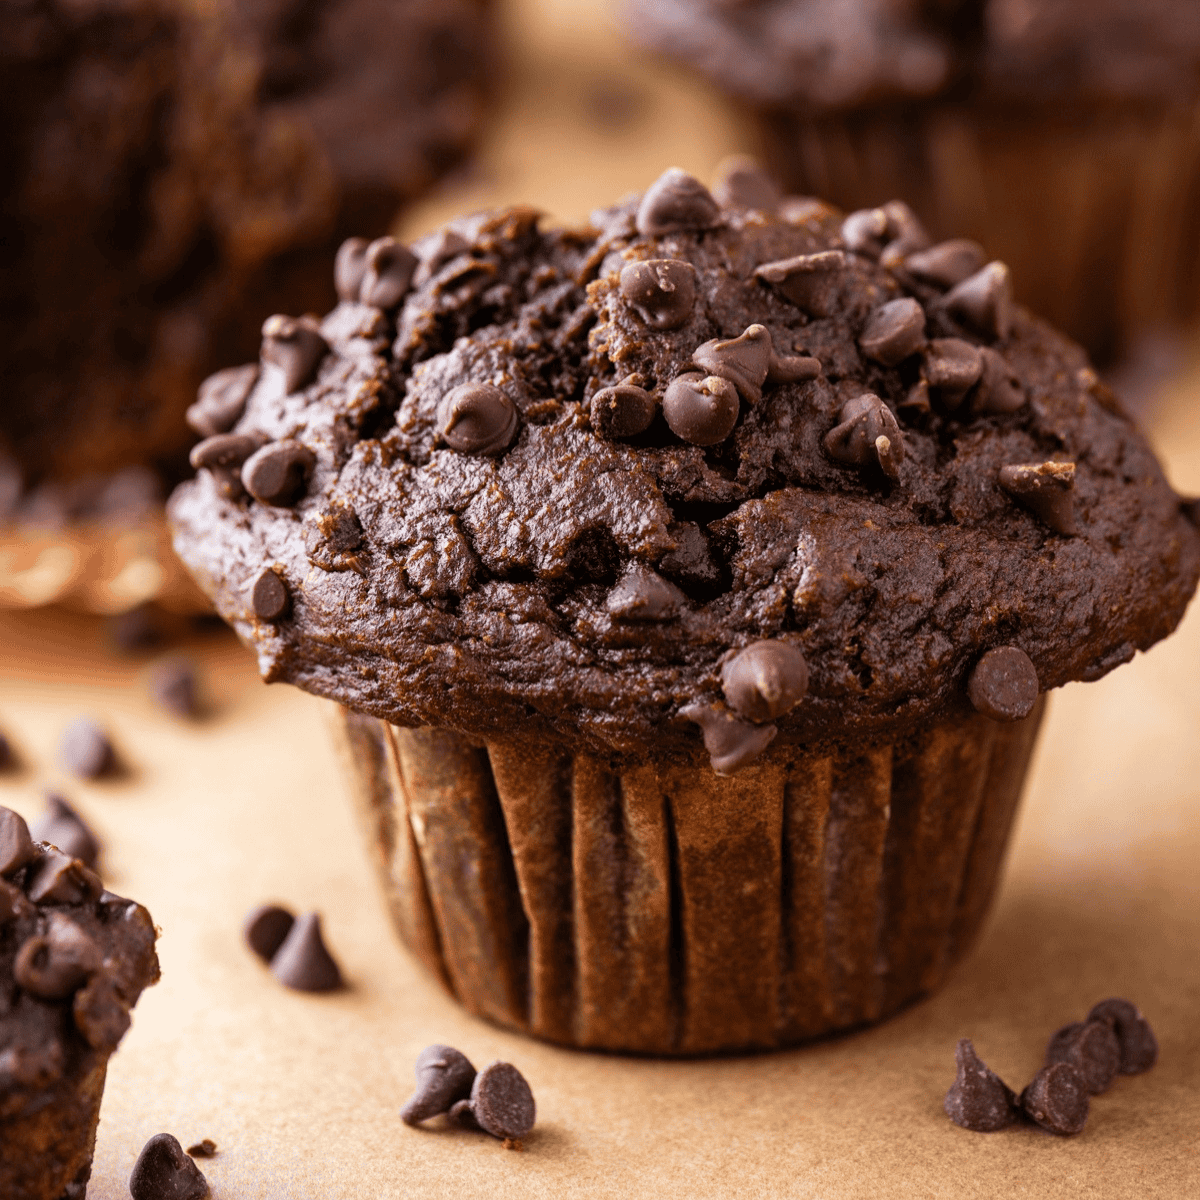
Once you’ve got this method down, you can actually use it on any of my muffin recipes, not just this one. For mini muffins, I suggest baking them at 425°F for the first 5 minutes, then lowering to 400°F for the remaining bake time, about 5 to 10 minutes, possibly longer depending on how full you fill them. I still recommend the every other well method if you’re overfilling the holes, but if you’re not overfilling them, there’s no need to skip wells. Try it with my banana chocolate chip muffins, blueberry muffins or my recipe for pumpkin muffins.

More Muffin Recipes to Try
If you loved learning the every other well trick here, I go even deeper on getting that tall, domed bakery style top in my muffin hub post, which covers the same technique for full size muffins. I use the same oil and butter combination in my banana muffins, which is where a lot of this technique started. And if you want every one of my tested muffin recipes and tips in one place, my muffin cookbook has you covered.
Did you make these? Leave a rating and a comment below, I’d love to know how they turned out for you.
More Chocolate Chip Recipes:
- Chocolate Chip Cookies
- Chocolate Chip Buttermilk Scones
- Banana Bread with Chocolate Chips
- Chocolate Chip Ice Cream

Tap stars to rate!
Bakery Style Mini Chocolate Chip Muffins
Video
Equipment
Ingredients
- 4 cups (480g) all-purpose flour, *properly measured
- 1 ½ cup (300g) granulated sugar
- 4 tsp baking powder
- 1 tsp salt
- ¼ tsp nutmeg, can also use cinnamon
- 4 large eggs
- 1 cup (227g) whole milk or 2% milk, can also use buttermilk
- ½ cup (100g) vegetable oil, can also use olive oil, avocado oil, canola oil
- 4 Tbsp (57g) unsalted butter, melted & cooled
- 2 tsp vanilla extract
- 2 cups (340g) mini semi-sweet chocolate chips, divided
- Sanding sugar, optional
Instructions
- The most accurate way to measure flour is to use a kitchen scale, weighing it in grams. If you don’t have a kitchen scale, follow this method: Aerate the flour with a whisk or spoon. Flour becomes heavy and compact as it sits. Aerating is the same as fluffing the flour. Use a spoon to sprinkle the flour into the measuring cup. Do not tap the cup against the counter, as this will compact the flour. Use the back of a butter knife to level off the excess.You’ll need to repeat the aerating process after filling each cup.
- In a mixing bowl combine the flour, granulated sugar, baking powder, salt, and nutmeg. Stir with a spoon to combine, set aside.4 cups (480g) all-purpose flour, 1 ½ cup (300g) granulated sugar, 4 tsp baking powder, 1 tsp salt, ¼ tsp nutmeg
- In a larger mixing bowl combine the eggs, milk, vegetable oil, cooled & melted butter, and vanilla extract. Stir to combine.4 large eggs, 1 cup (227g) whole milk or 2% milk, ½ cup (100g) vegetable oil, 4 Tbsp (57g) unsalted butter, 2 tsp vanilla extract
- Gradually mix the dry ingredients and 1 ½ cups chocolate chips into the wet ingredients, mixing just until combined. The batter will be very thick!2 cups (340g) mini semi-sweet chocolate chips
- Cover the bowl with a towel and allow the batter to rest for 15 minutes. During this time, preheat the oven to 425ºF / 220ºC.
- For bakery style mini muffins, line a 24 count muffin pan with 12 mini muffin liners, meaning you’ll only fill every other muffin well with batter. Fill the liners with 2-3 heaping tablespoons of batter. Top the muffins with the remaining chocolate chips. Sprinkle them with sanding sugar.Sanding sugar
- Place one pan in the center of the oven and bake for 5 minutes at 425ºF / 220ºC, then keep the muffins in the oven, turn the temperature down to 400ºF and bake for 5-10 minutes or until a toothpick inserted in the center comes out clean. Allow the muffins to cool in the pan. Repeat with the remaining batter, bumping the temperature back up to 425ºF.
- Note: If you don’t overfill the wells, no need to do the every other method. The recommended bake times are based on filling the muffins with at least 3 tablespoons of batter, so if you put less, the bake time would need to be decreased. I have a gas conventional oven (not a convection oven) and bake on the standard setting, not convection bake. I position my oven rack so that my muffin pan sits in the middle of the oven.
Last Step: I’d love to hear what you think. Leave a rating and comment here.









Can you link the muffin tin you used so I can compare the size to the one I own? I can’t wait to try these!
Definitely! I used Caraway’s pan: https://amzn.to/4f9oUtS
If we want to make mini blueberry, can we just switch out the chocolate chip?
Yes you can do that, or you can follow my specific blueberry muffin recipe.
Amazing recipe I made it for my daughters birthday and tried it also with sprinkles instead of chocolate chips it was perfect loved the result can’t express my feelings when I got the result ..thanks for the details you give I really trust only your recipes
Can I skip the liners and just spray the pan?
Yes!