
This post may contain affiliate links. Please read our disclosure policy.
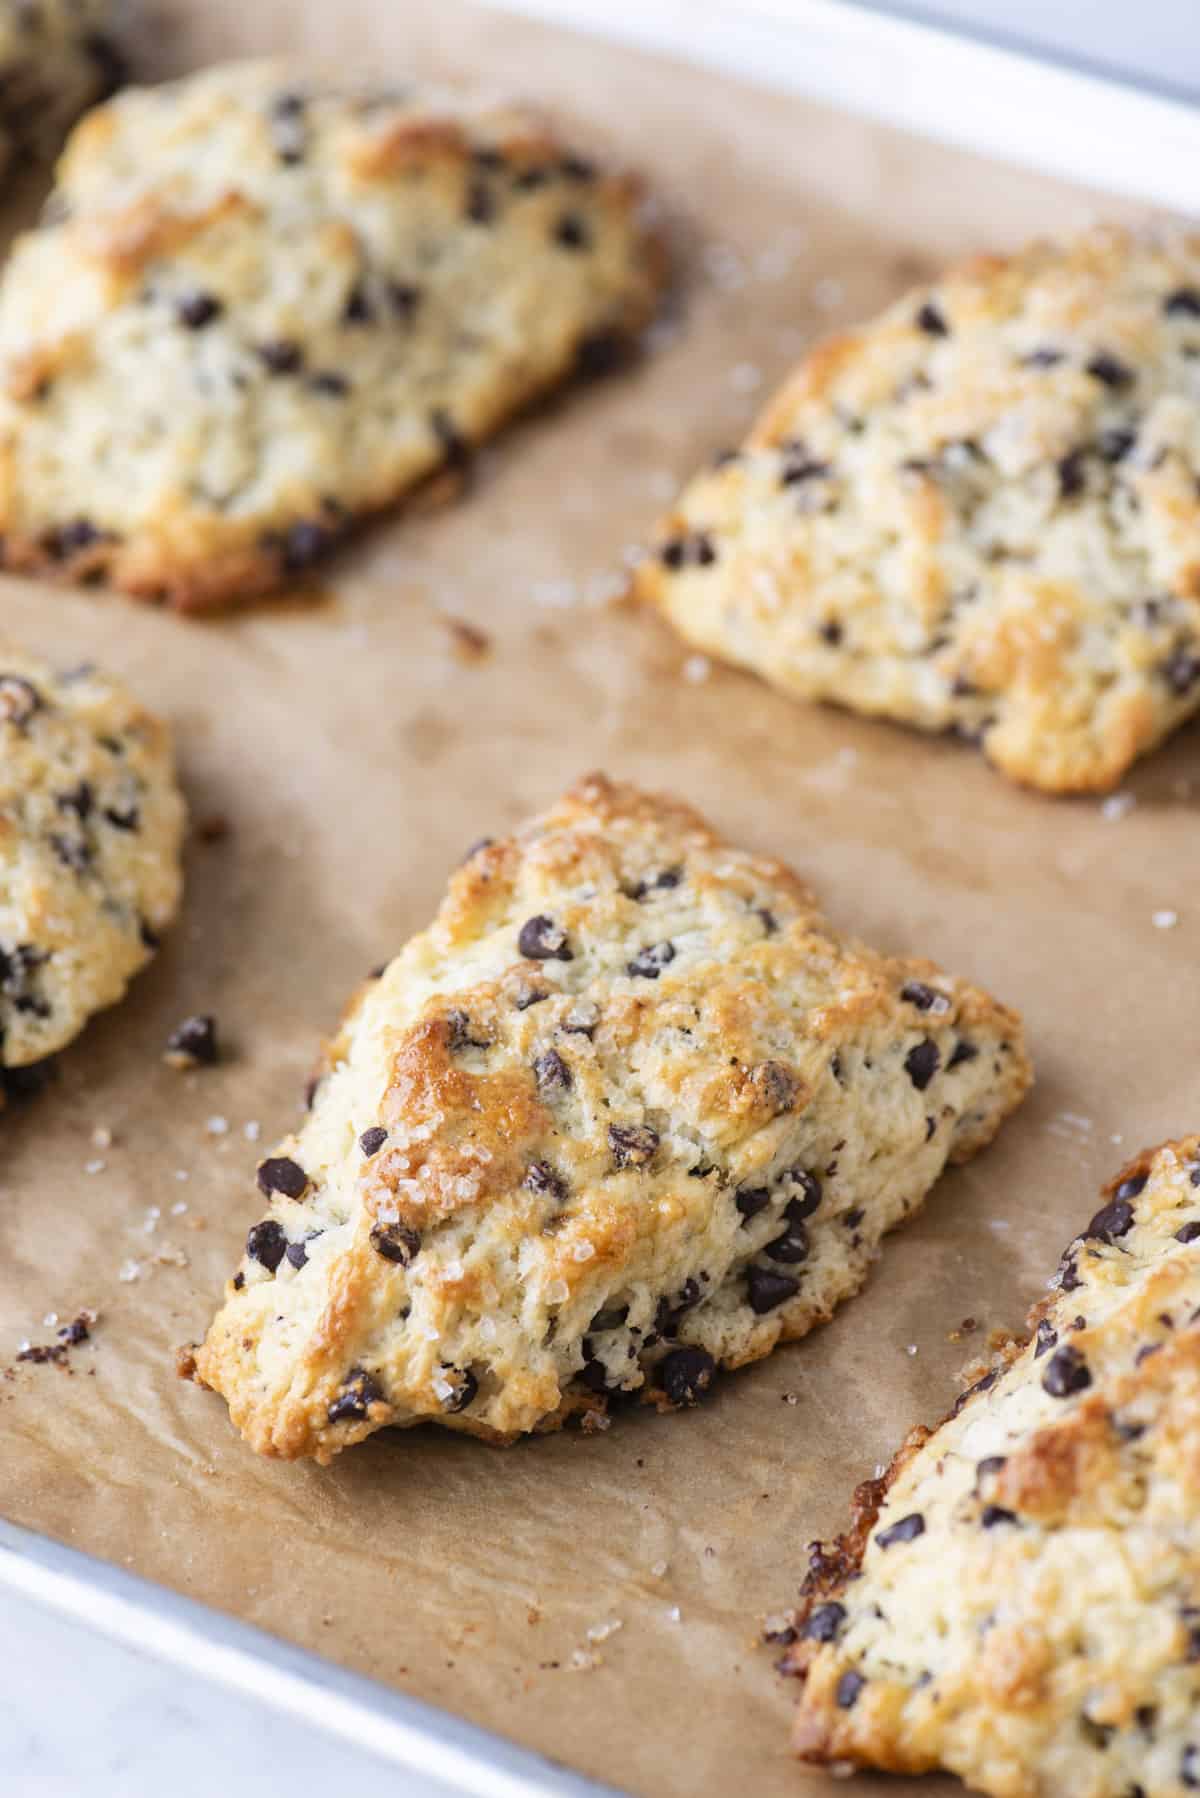
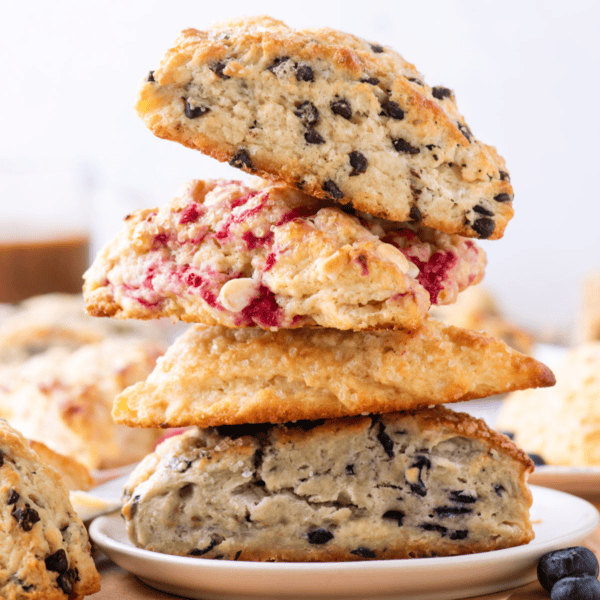
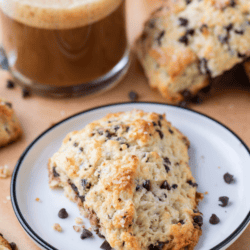
I spent hours in the kitchen perfecting the art of making fluffy, tall, bakery-style chocolate chip scones so you don’t have to. Now, you can simply follow my tried and true recipe using all my best tips and tricks.

Making scones at home can be tricky if you don’t know the right methods. They tend to come out dry, flat, or with a weird texture. You don’t have to worry about any of that though, because I’ve done all the trial and error for you.
I’ve learned that it’s all about using the right ingredients, laminating the dough (aka folding) and freezing / refrigerating the dough before baking. My recipe uses the right ratio of ingredients and teaches you my perfected methods for taller, fluffier scones at home.
These are so good. I have made lots of scones and these are by far the best. So easy and delicious.
-Elizabeth
Why Chill Scone Dough
Keeping the butter cold and the dough cold is the secret to making flaky, fluffy scones. The dough will warm up while mixing it with your hands, so it’s critical to freeze the scones for 30 minutes before baking.
Freezing scones before baking helps maintain their shape, prevents excessive spreading, and enhances the texture of the scone by keeping the butter cold.
Scones are delicate and prone to spreading during baking. Freezing the dough helps to firm up the fat (the butter) in the dough which prevents excessive spreading and helps the scones retain their shape during baking. When these cold chunks of butter hit the heat of the oven, they create steam, which contributes to the flakiness and lightness of the scones.
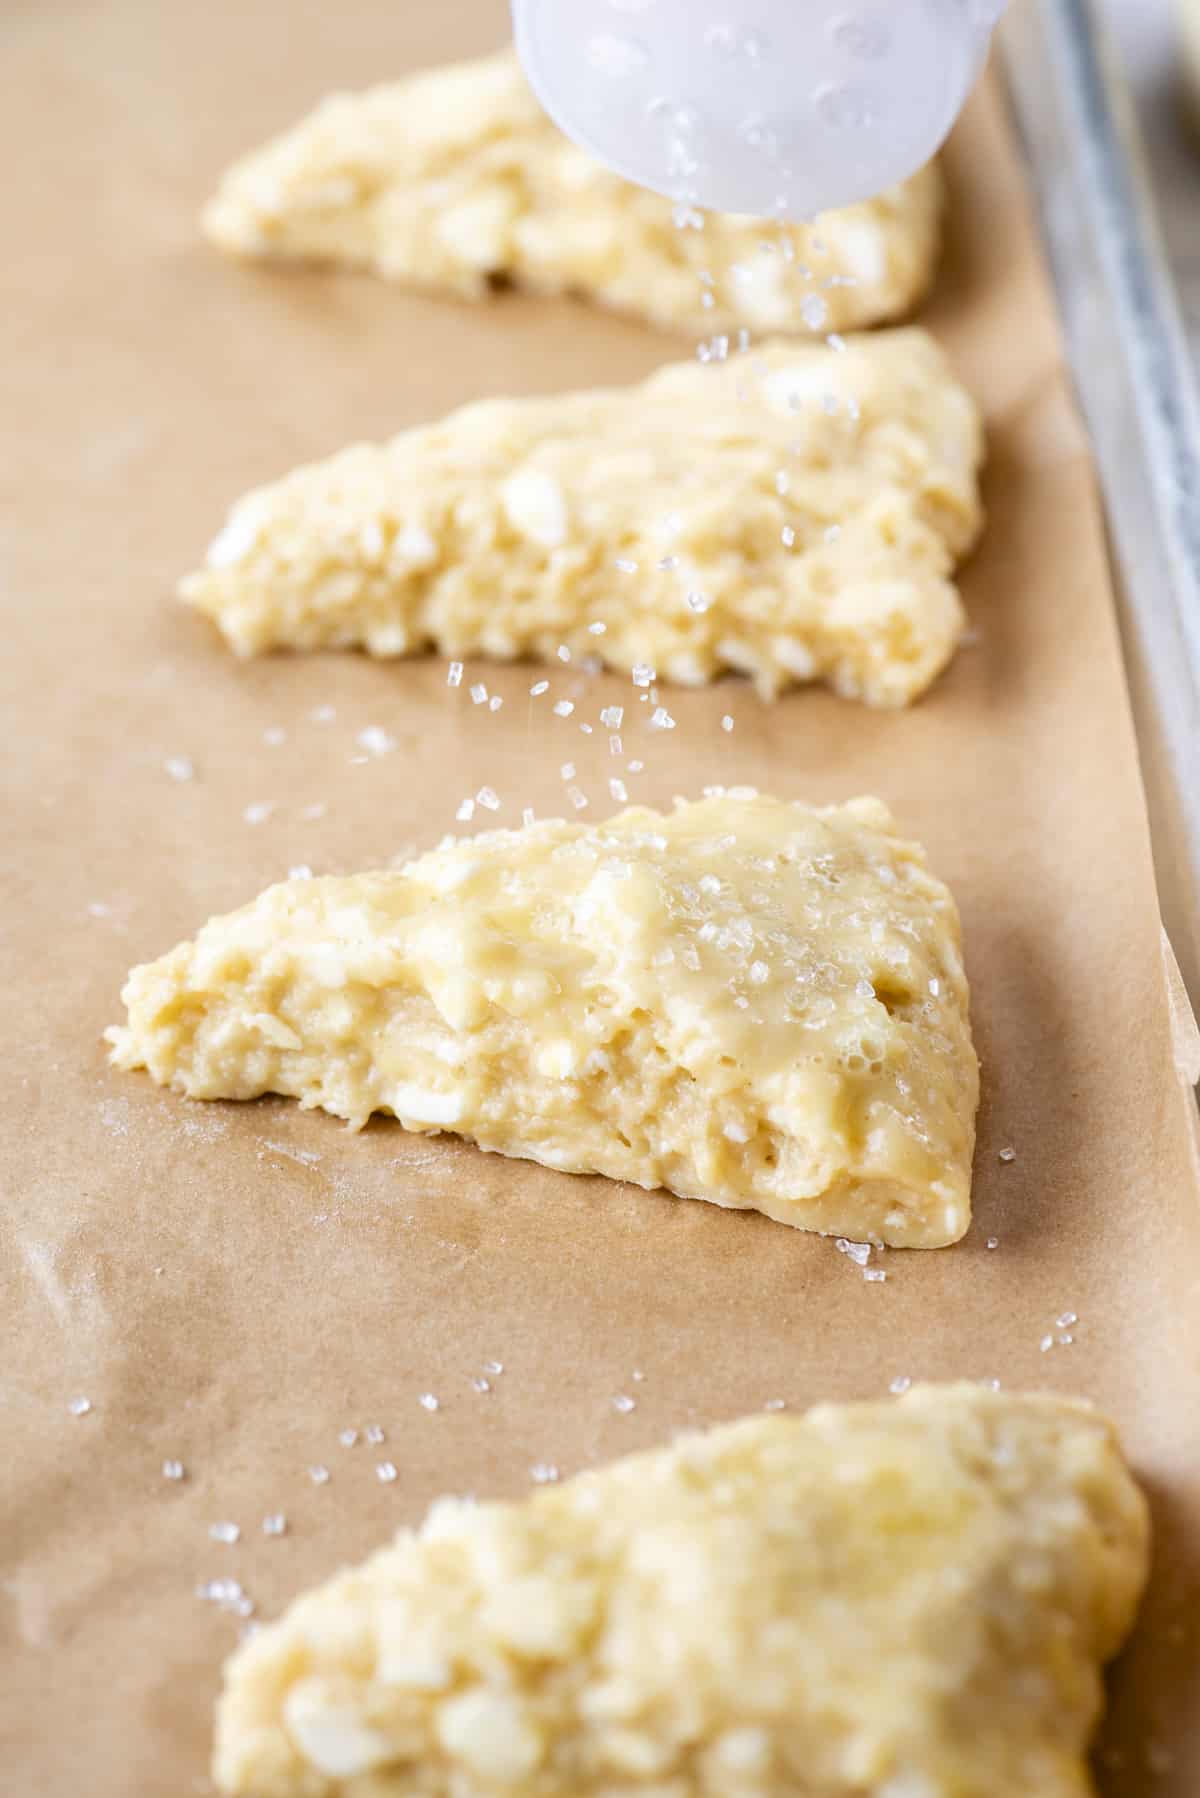
When to Chill the Dough?: Cut the scones into wedges and separate on a baking sheet, then freeze. If adding coarse sugar, an egg wash or heavy cream wash, do that right before the scones go into the oven.
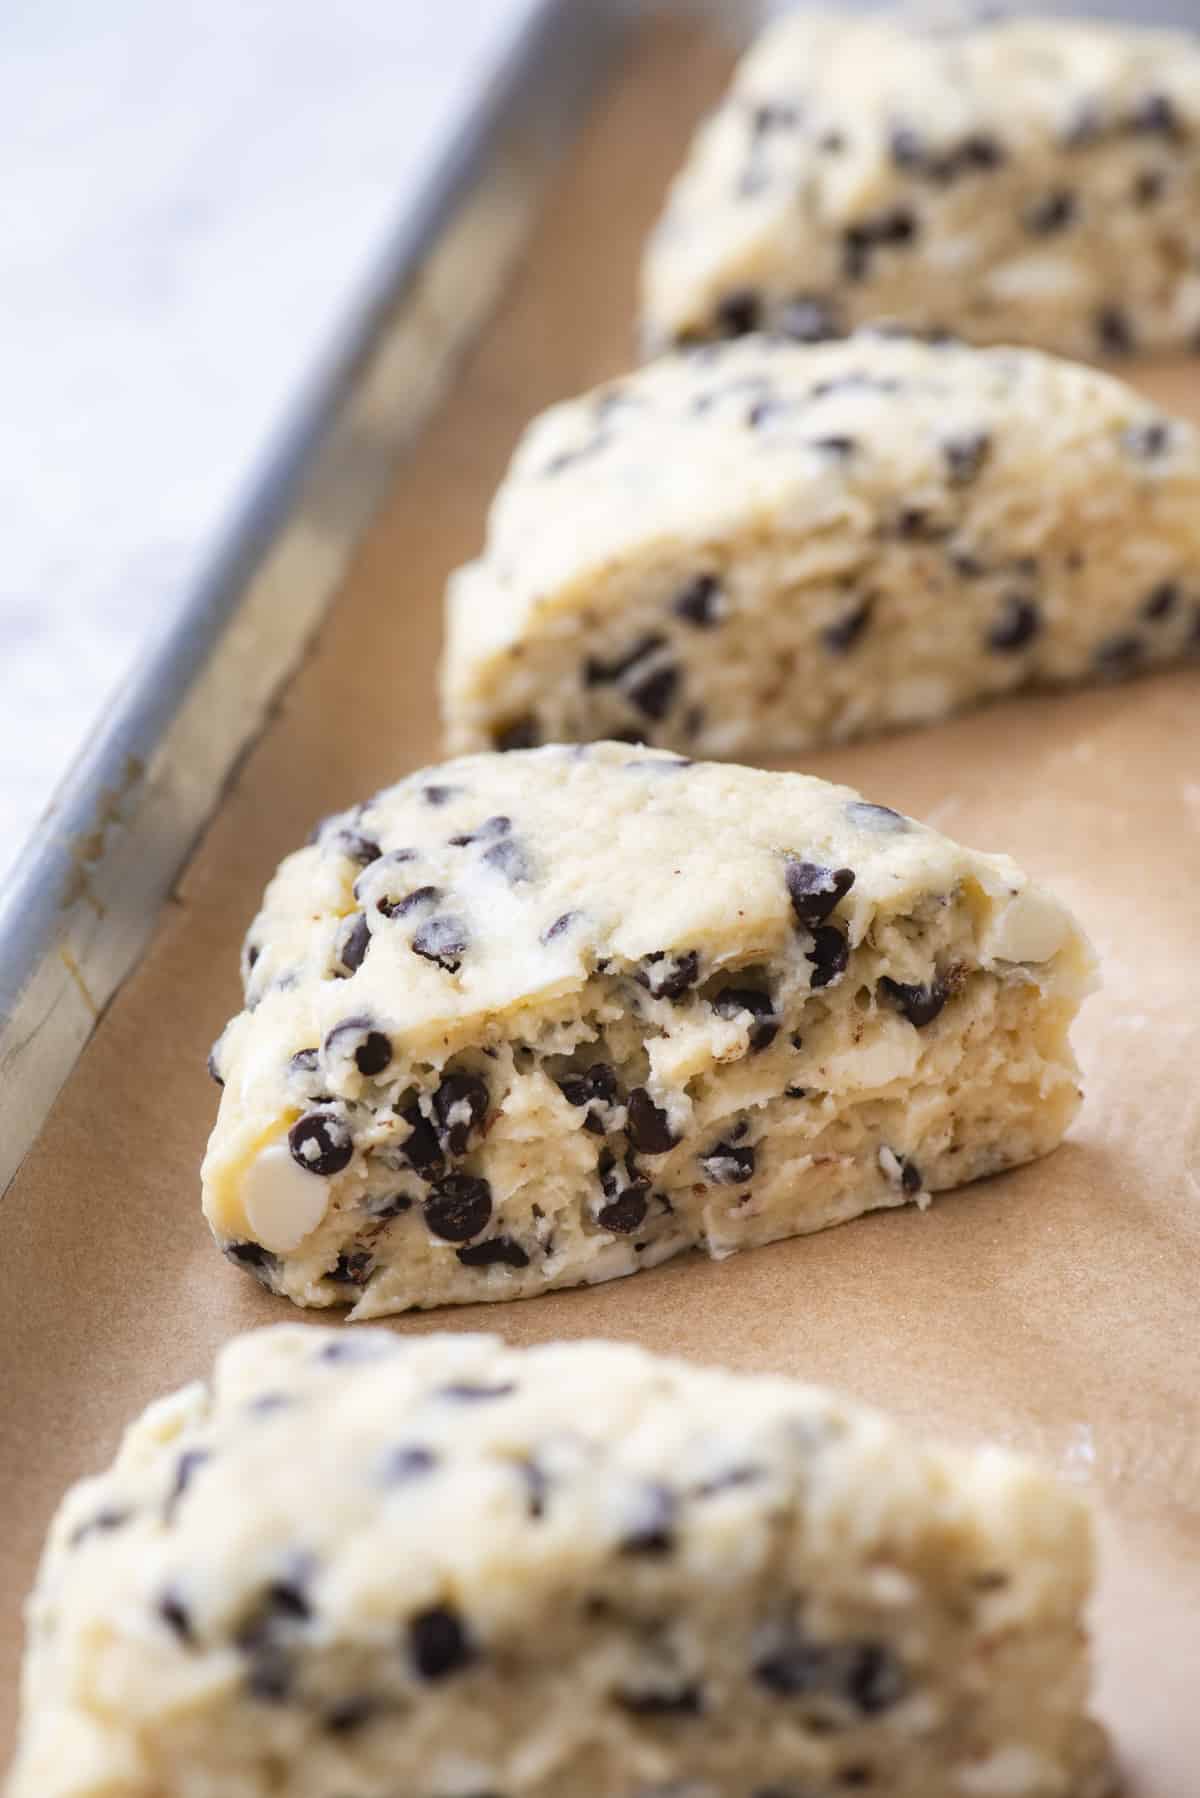
Your scones might appear small in size when they are just dough. They will expand greatly while baking because of the high amount of baking powder.
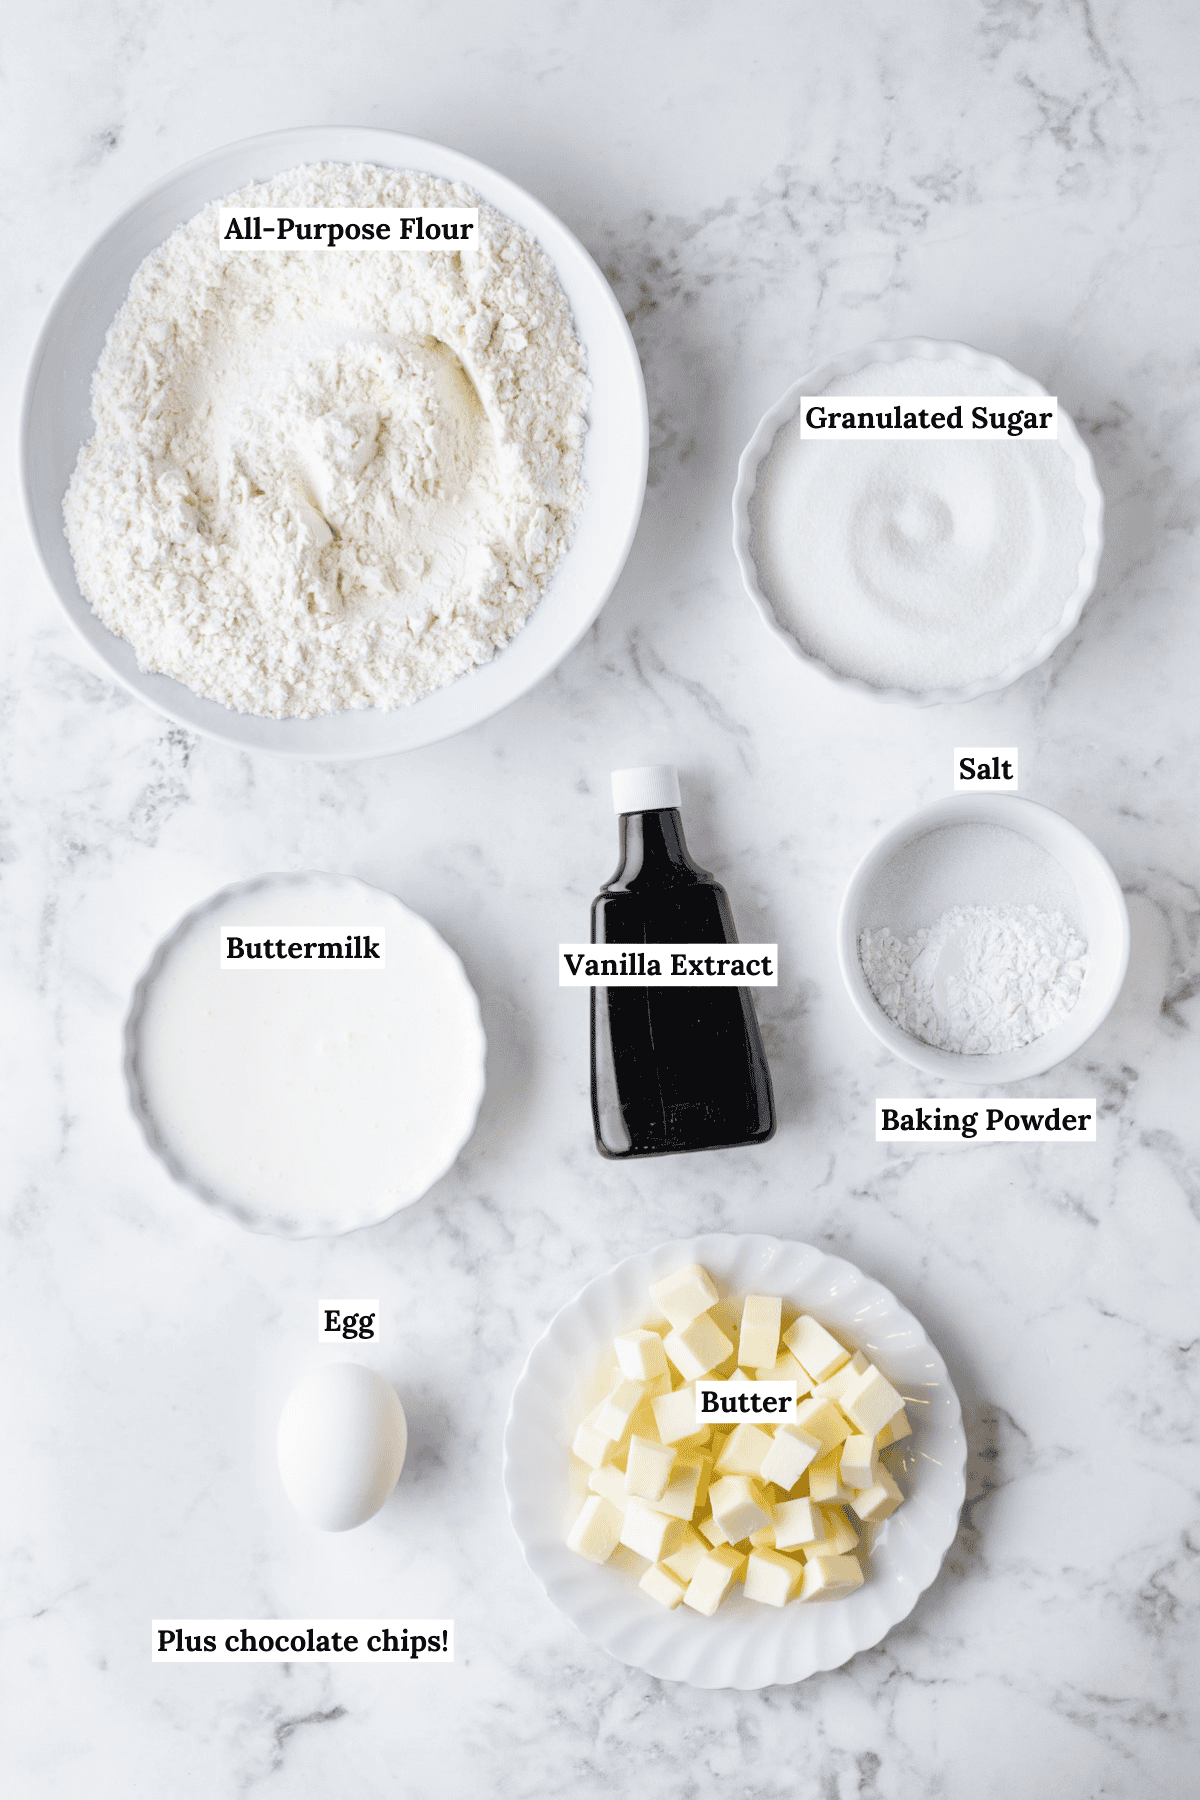
Chocolate Chip Scones Ingredients
- flour: flour is necessary to build structure
- granulated sugar: adds sweetness and flavor
- baking powder: helps to leaven and lift the dough
- salt: just a pinch to balance the sweetness and enhances the other flavors
- cold unsalted butter: cold butter helps to produce a flaky scone
- buttermilk: makes the scones extremely moist, tender, fluffy, adds a bit of tang
- vanilla extract: adds flavor
- egg: binds the batter together by providing structure
- chocolate chips or chunks: use your favorite! Milk, semi-sweet or dark.
How to Make Chocolate Chip Scones
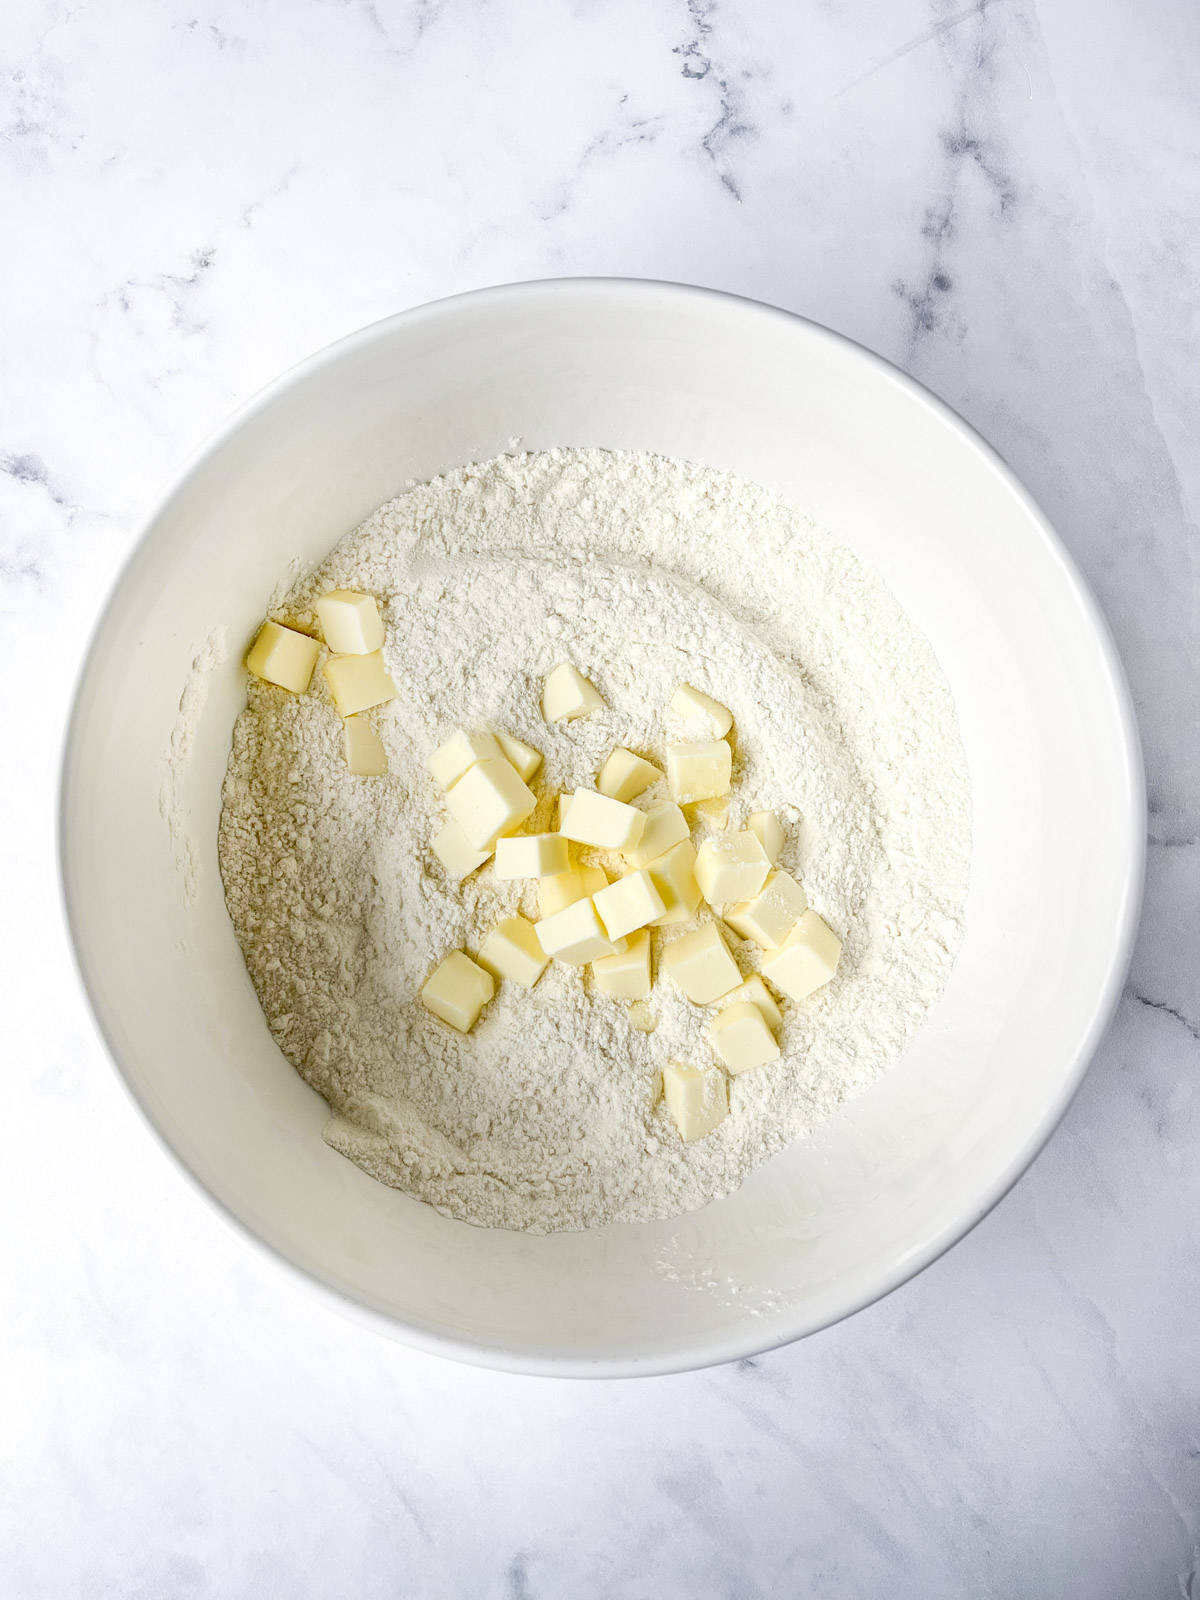
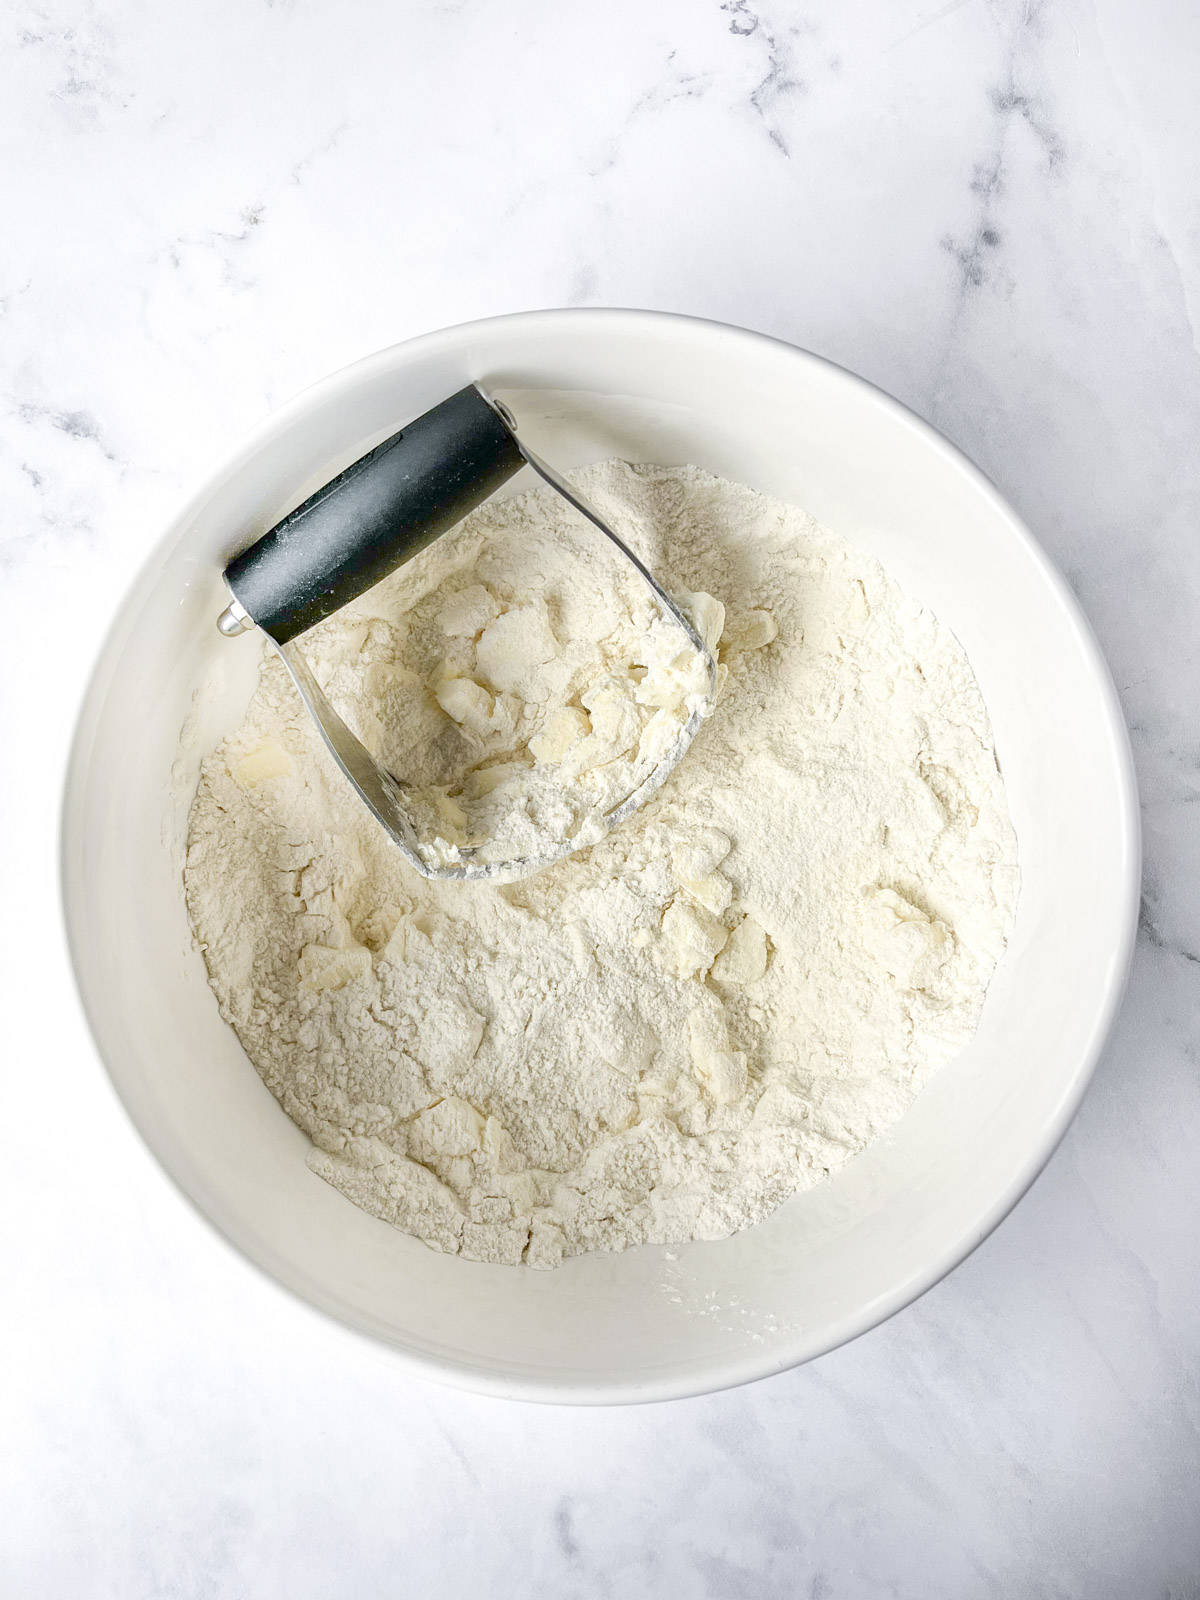
- In a large mixing bowl combine the flour, granulated sugar, baking powder, and salt. Add in the cold, cubed butter and use your hands or a pastry cutter to cut in the butter until pea sized amounts of butter remain.
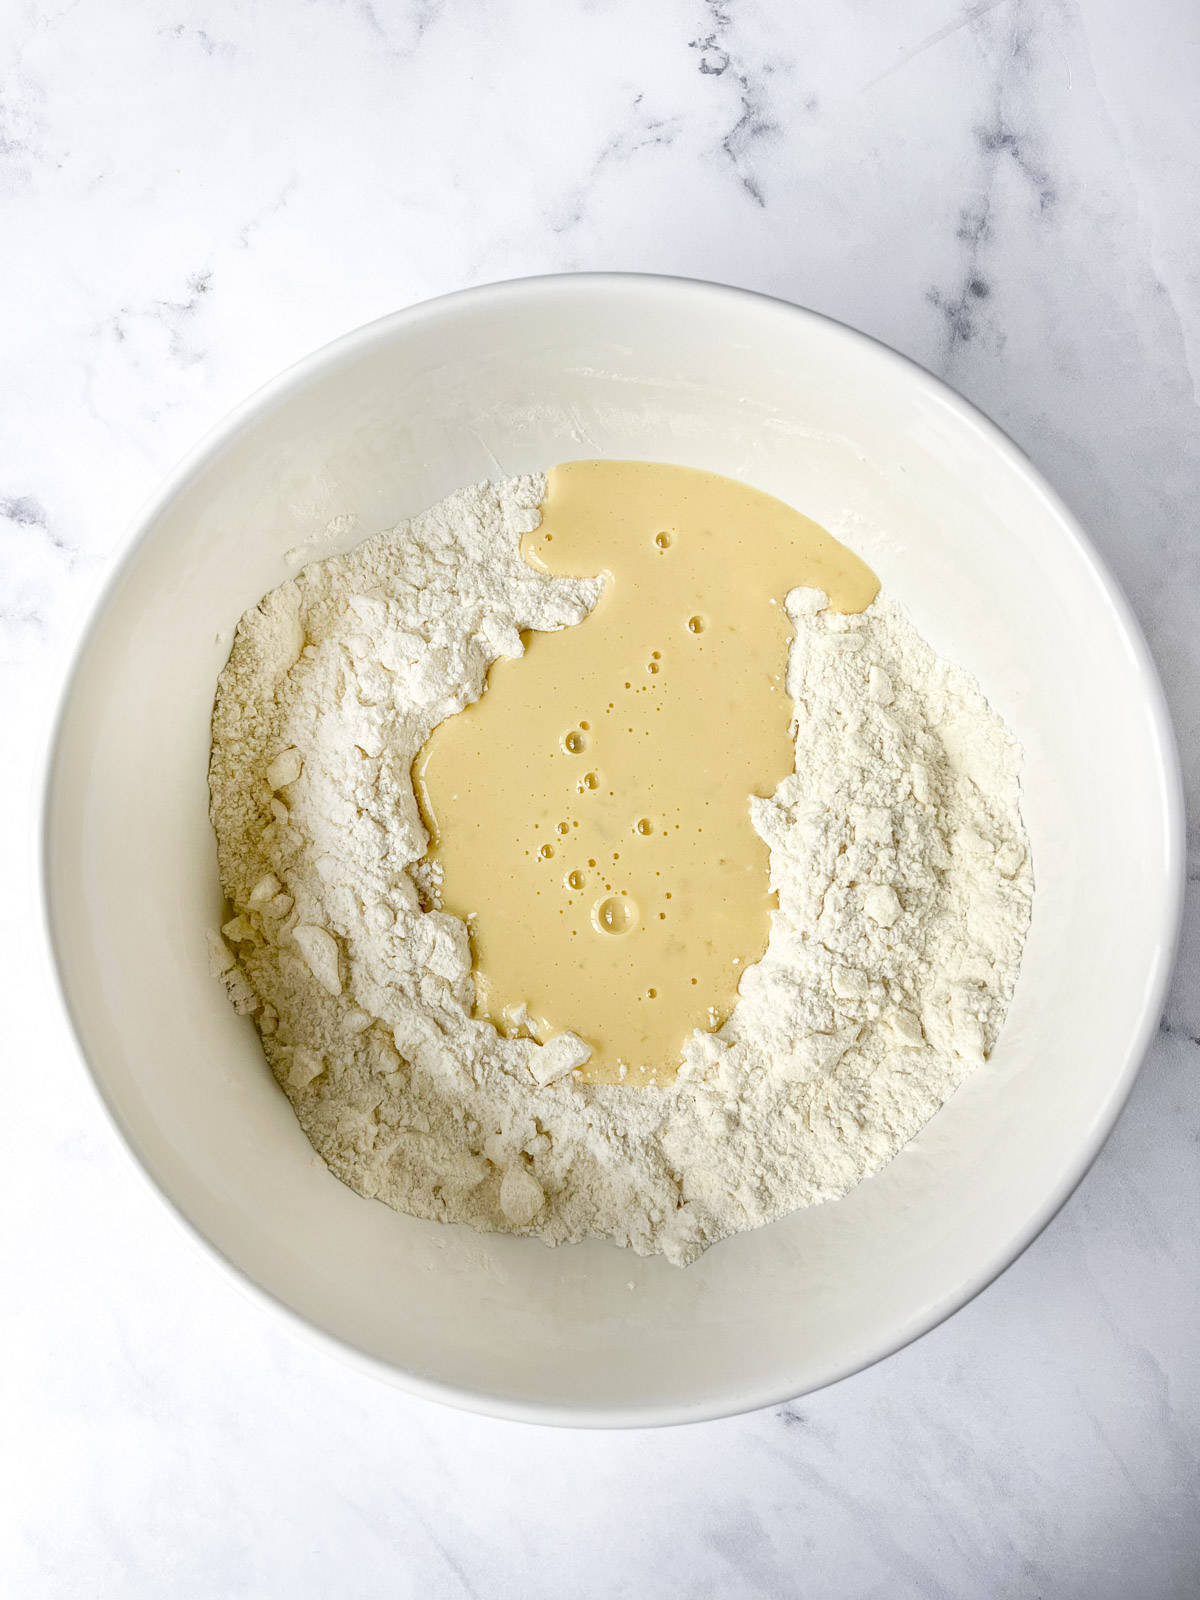
- Create a well in the center of the flour mixture. Add the buttermilk, vanilla extract, and egg. Use a spatula to gently combine until the dough is thick and sticky. Gently stir in the chocolate chips.
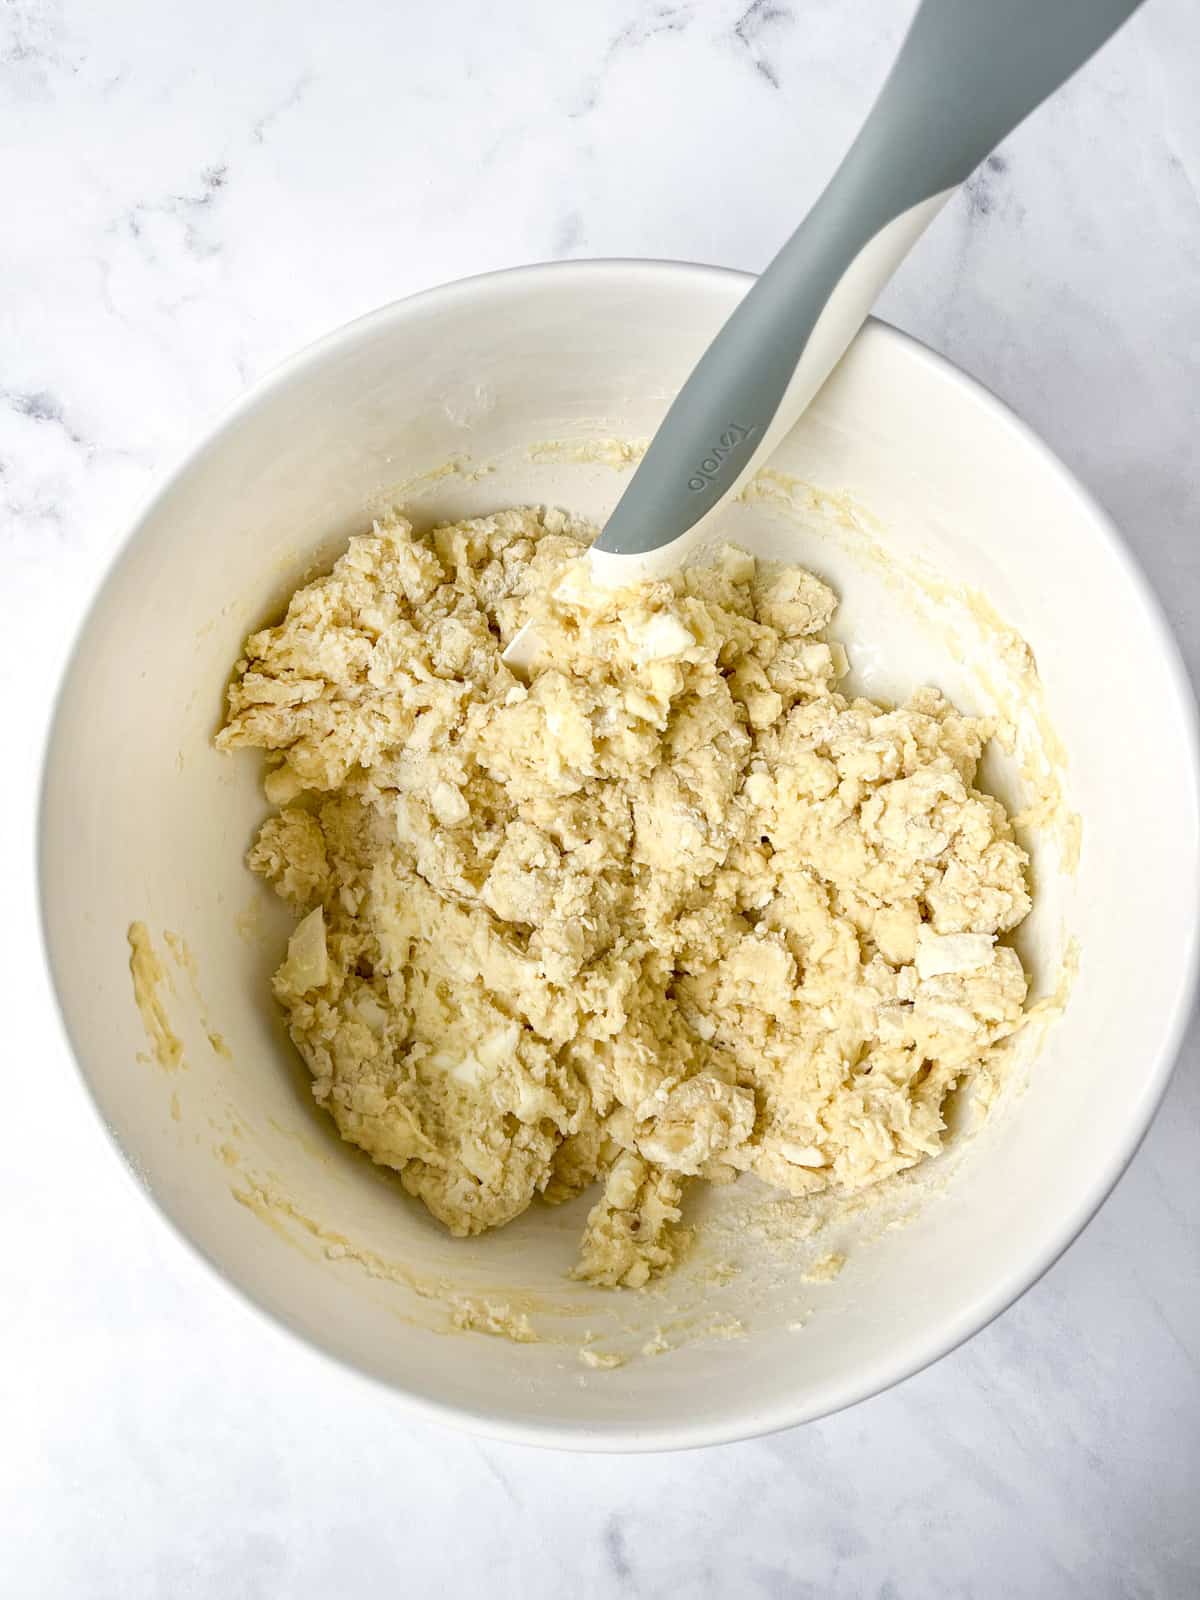
- On a silicone mat or kitchen counter, gently knead the dough, until all the flour is incorporated. Add 1-2 additional tablespoons of flour if the dough is too sticky.
- Lamination (folding the dough to create flaky layers!): Fold the dough in half, press it down slightly, then turn the dough 90 degrees and fold in half again. Repeat this folding and turning process 4-5 times.
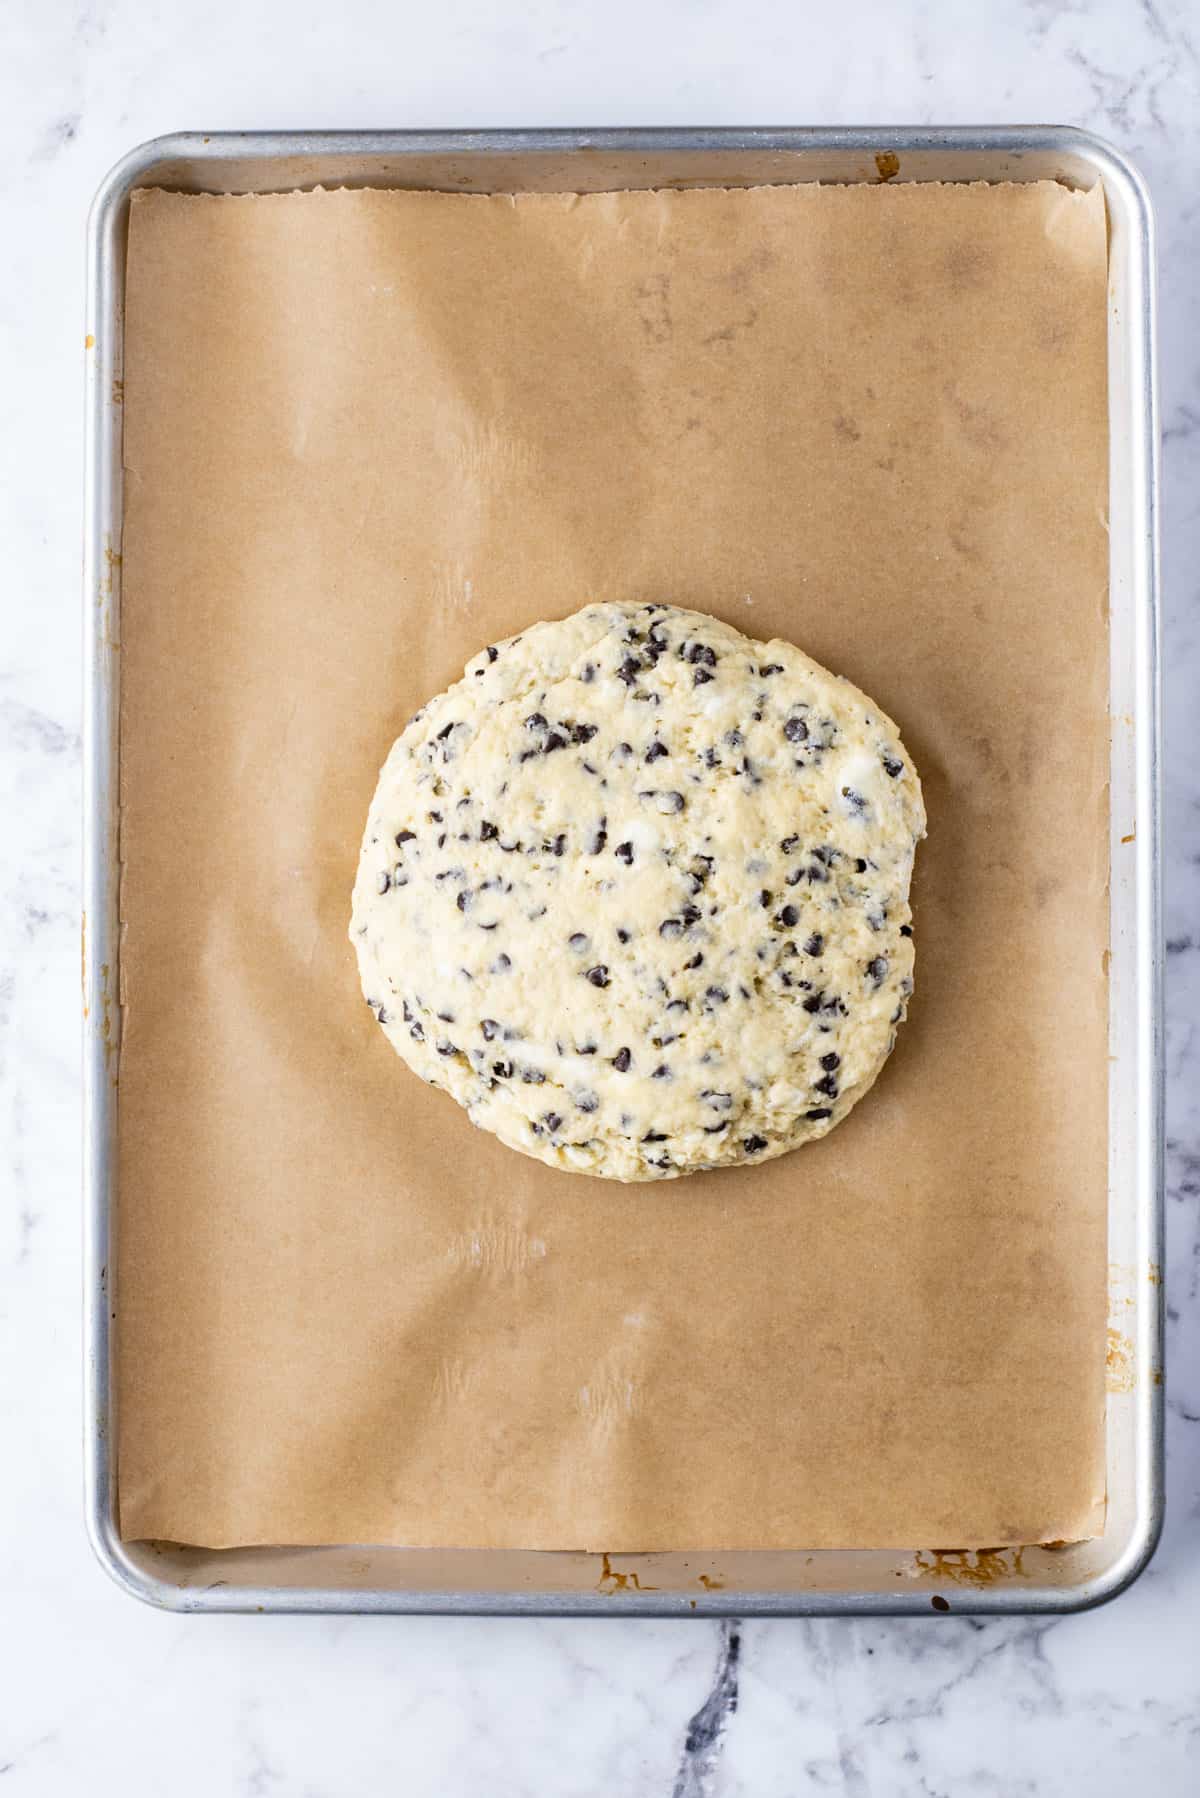
- Shape the dough into a 8-10 inch disc that is about 1.5 to 2 inches tall. Refrigerate the scone in a disc for 5-10 minutes.
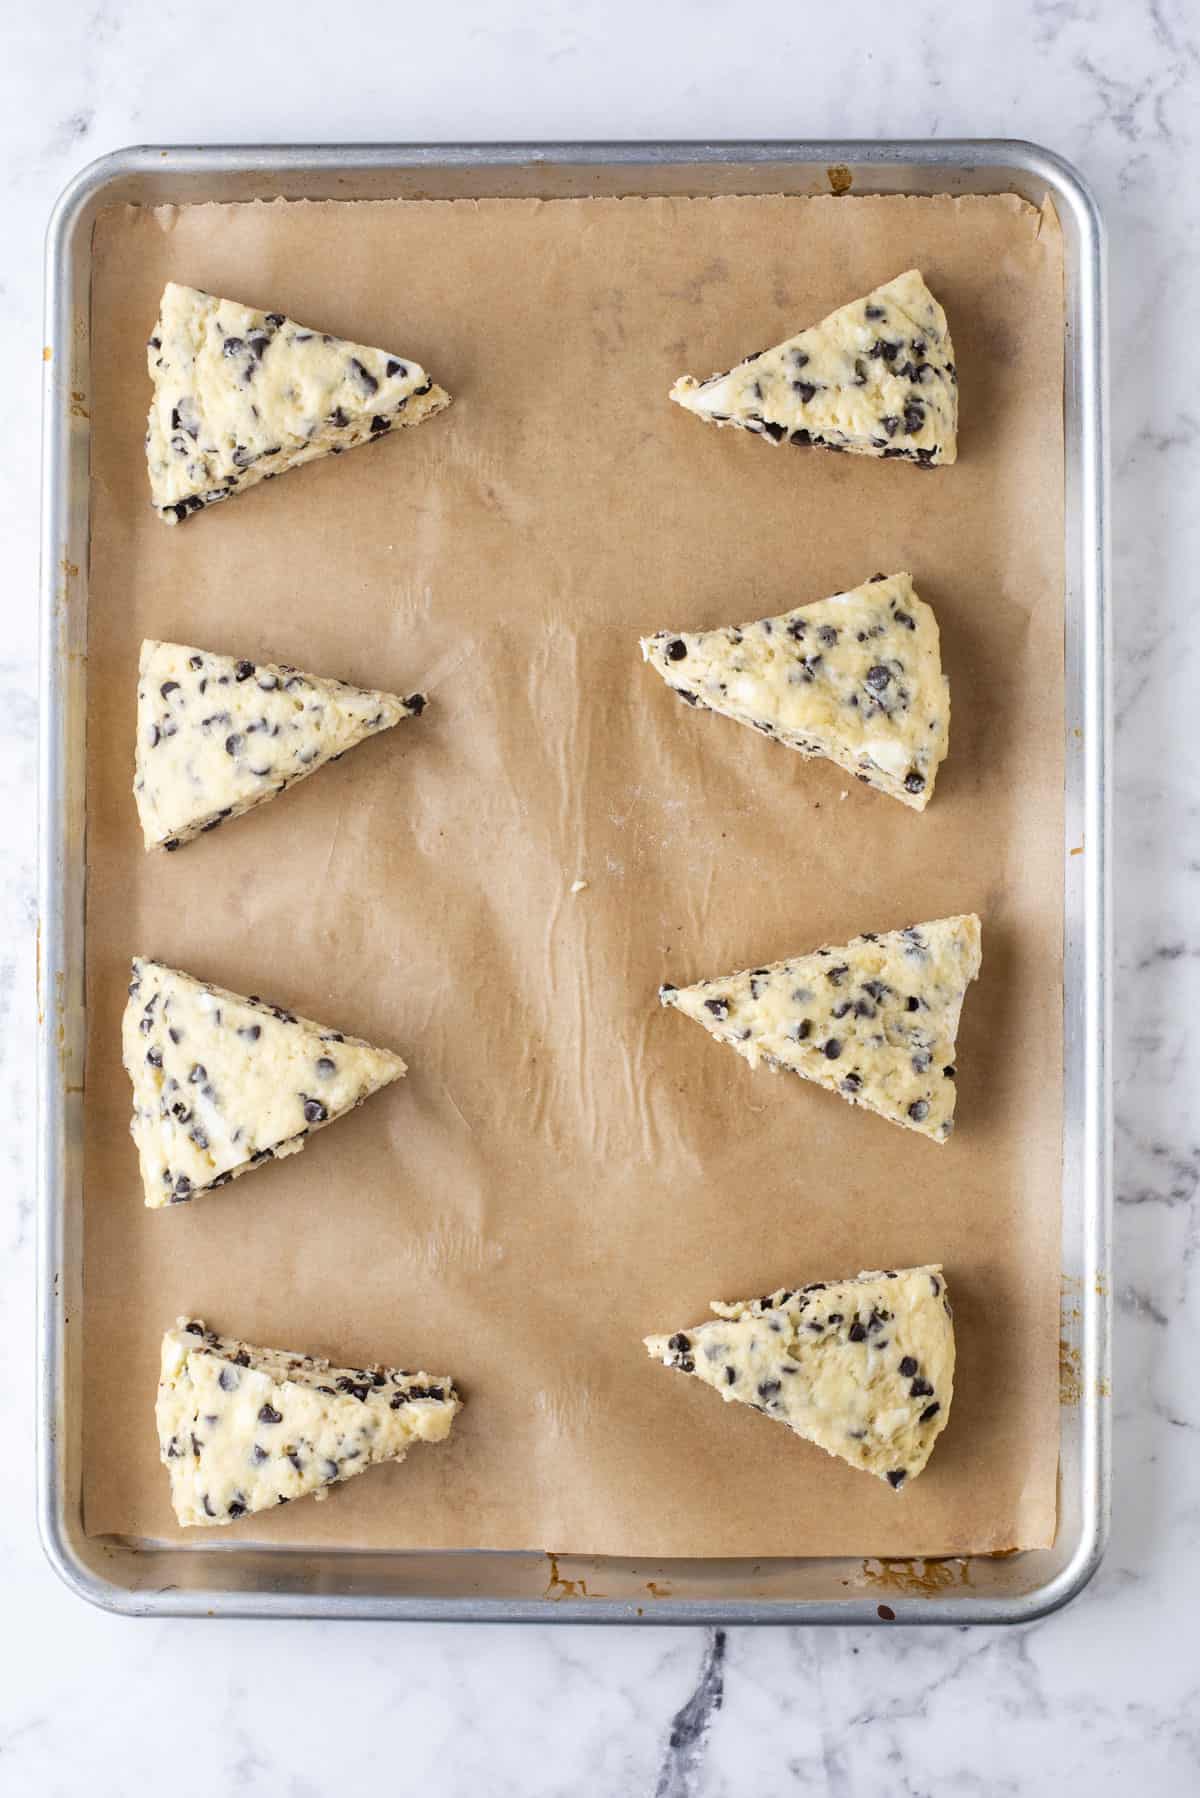
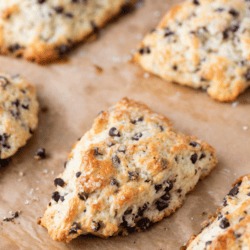
- Use a knife or pizza cutter to cut the scones into 8 equal wedges.
- Place the scones 2-3 inches apart on a baking sheet that’s lined with a silicone mat or parchment paper.
- Freeze the scones for 30 minutes. The last 5 minutes, preheat the oven to 400º F.
- Brush the tops of the scones with egg wash (1 large egg + 1 Tbsp water), buttermilk or heavy cream. Add coarse sanding sugar if desired.
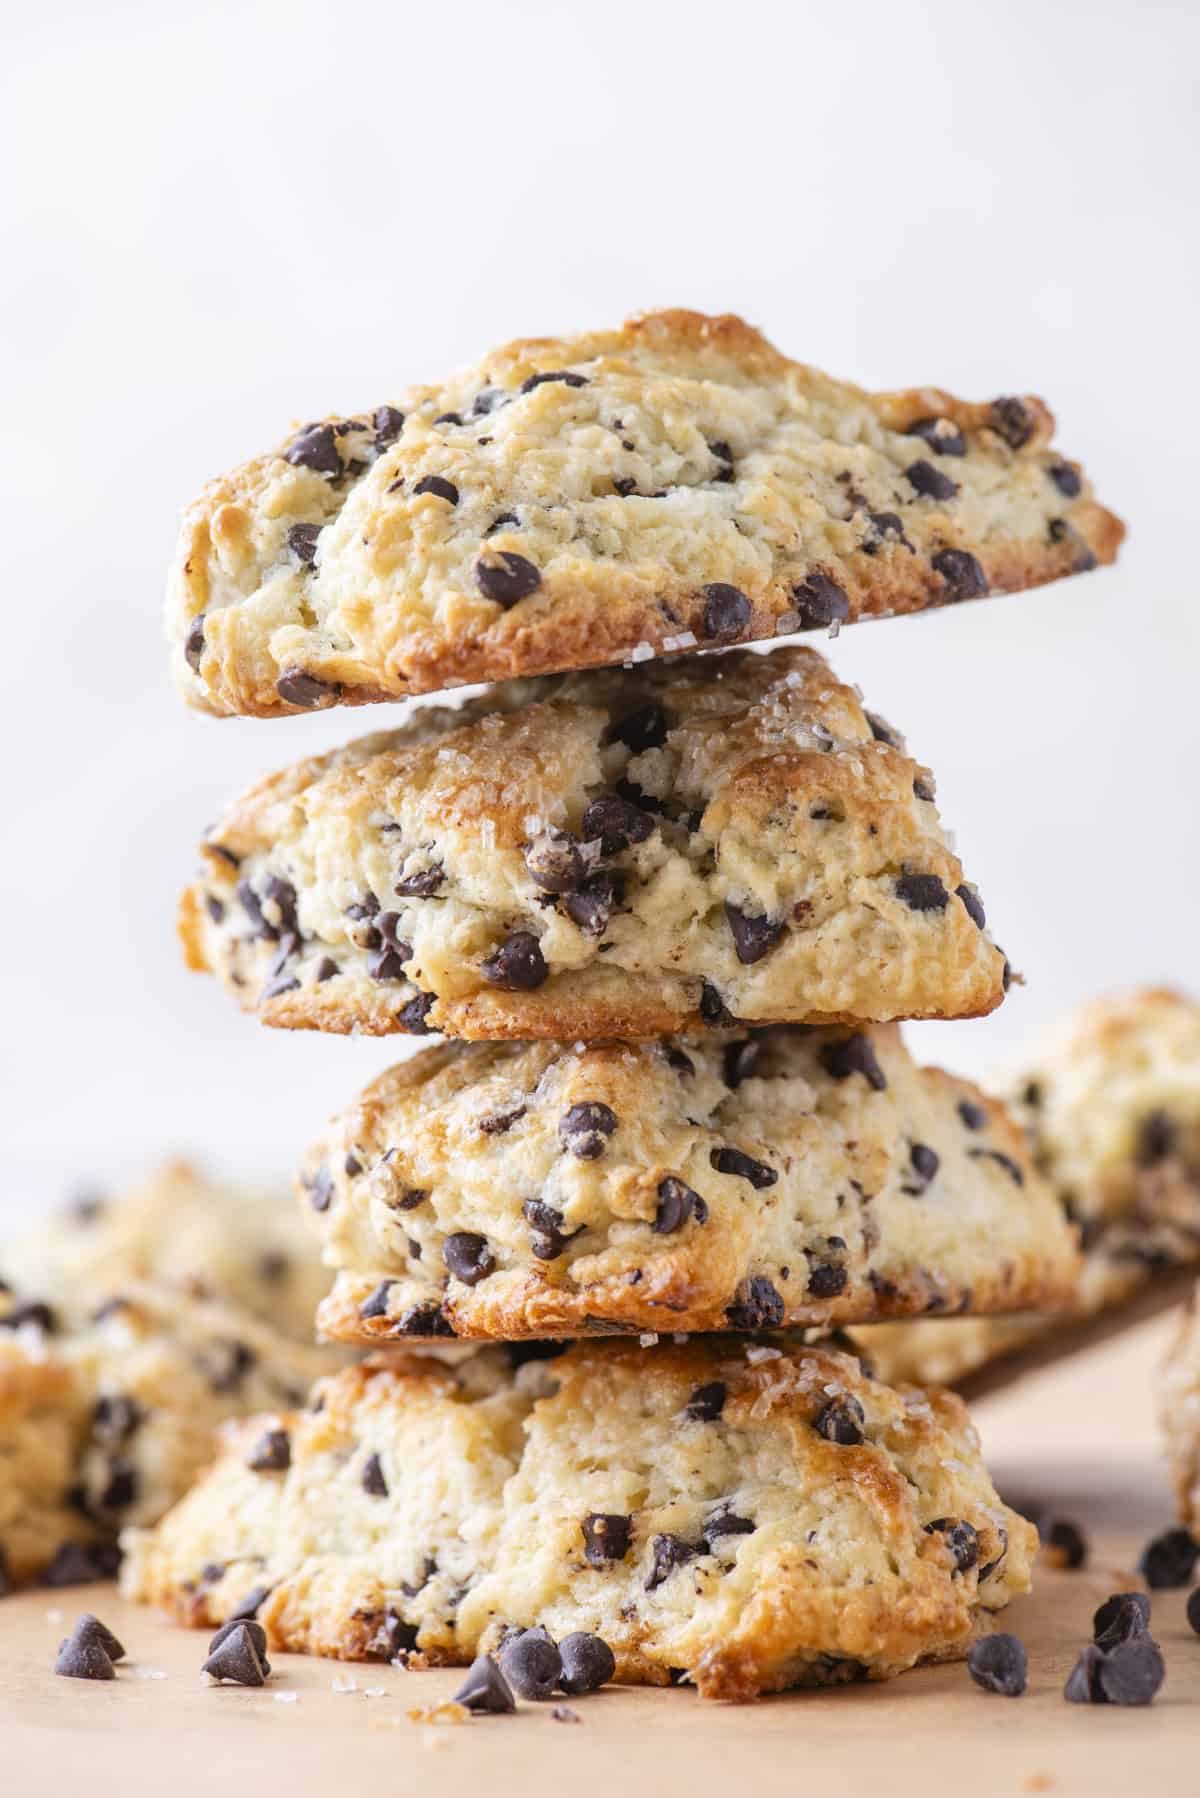
- Bake for 20-26 minutes or until the scones are lightly golden. Allow the scones to cool.
Chocolate Chip Scone Recipe Tips
- Use cold butter & cut the butter in with your fingers or pastry cutter
- Mix the dough gently – over mixing can lead to dense scones
- Use a ruler to measure an 7-8 inch disc
- Freeze the scones for 30 minutes before baking
How To Make Tall, Flaky Scones
Lamination, which is the process of folding the dough, helps to create tall, flaky scones!
Lamination works by sandwiching layers of butter between layers of dough. During baking, the butter melts and creates steam, which separates the layers of dough, resulting in a flaky texture.
The process of laminating scones is actually very easy! Once the dough is mixed together, fold the dough in half, press it down slightly, then turn the dough 90 degrees and fold in half again. Repeat this folding and turning process 4-5 times.

Buttermilk Chocolate Chip Scone Recipe Substitutions
The buttermilk can be replaced with heavy cream if you have that on hand. I do not recommend subbing milk, it will not produce the same texture.
Gluten Free Chocolate Chip Scones
I’ve made these scones with both regular and gluten free flour with awesome results on multiple occasions. I recommend King Arthur’s Gluten Free Measure for Measure Flour. Use it as a one for one substitute for regular flour.
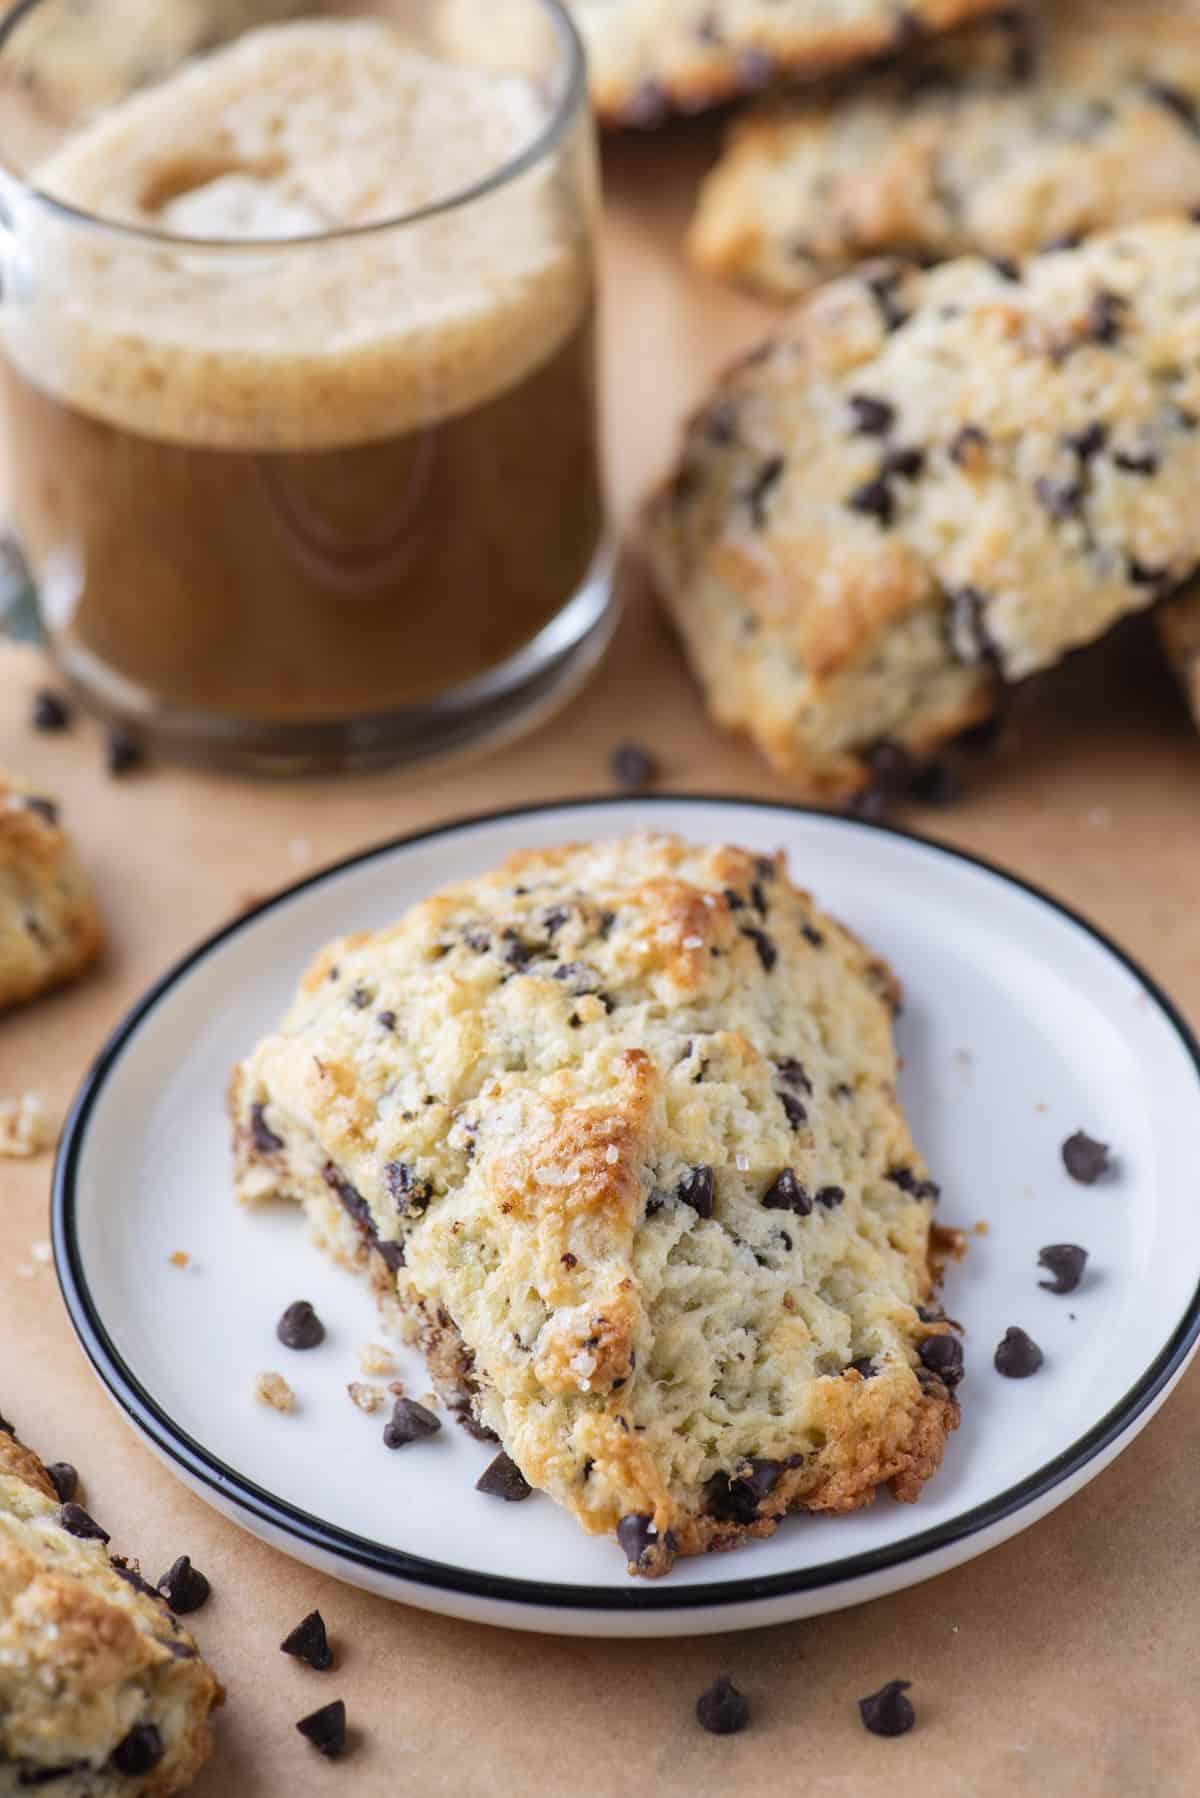
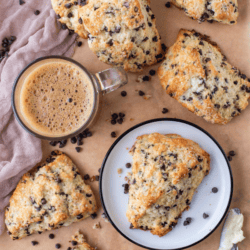
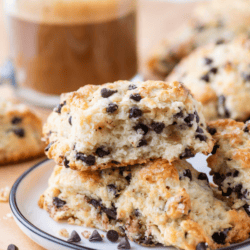
How to Serve Buttermilk Chocolate Chip Scones
The best way to enjoy these scones is to heat them up for a few seconds in the microwave so the chocolate becomes melty!
How to Store Chocolate Chip Buttermilk Scones
Store these scones in an airtight container on the counter for up to 3 days.
These are SO GOOD. Even my 13y/o son was asking for more. Easy recipe. 10/10 would recommend these scones. Do not miss out on trying this recipe.
-Michelle
More Baked Goods
Chocolate Chip Buttermilk Scones FAQs
To make perfect scones, avoid overworking the dough, which can make them tough, and ensure all ingredients, especially butter and liquids, are cold to achieve a flaky texture. Accurate measurements and not over- or under-baking are crucial, so use a kitchen scale and keep a close eye on baking times.
Your scones might not be light and fluffy because you could be overworking the dough, which develops too much gluten, or using warm ingredients instead of cold ones, affecting the texture. Additionally, incorrect measurements or not allowing the dough to rest before baking can also result in denser scones.
Buttermilk and cream both produce delicious scones but with different textures and flavors. Buttermilk gives scones a slight tang and tender crumb, while cream results in a richer, more indulgent texture. The choice depends on your preference for either a tangy, tender scone or a richer, creamier one.

Tap stars to rate!
Buttermilk Chocolate Chip Scones
Equipment
Ingredients
- 2 ¼ cups (270g) all purpose flour
- ½ cup (99g) granulated sugar
- 1 Tbsp baking powder
- ½ tsp salt
- ½ cup (113g) cold unsalted butter, cubed
- ½ cup (118ml) buttermilk
- 1 tsp vanilla extract
- 1 large egg
- 1 cup (170g) mini semi-sweet chocolate chips, or regular size chips!
Video
Instructions
- In a large mixing bowl combine the flour, granulated sugar, baking powder, and salt. Add in the cold, cubed butter and use your hands or a pastry cutter to cut in the butter until pea sized amounts of butter remain.2 1/4 cups (270g) all purpose flour, 1/2 cup (99g) granulated sugar, 1 Tbsp baking powder, 1/2 tsp salt, ½ cup (113g) cold unsalted butter
- Create a well in the center of the flour mixture. Add the buttermilk, vanilla extract, and egg. Use a spatula to gently combine until the dough is thick and sticky. Gently stir in the chocolate chips.1/2 cup (118ml) buttermilk, 1 tsp vanilla extract, 1 large egg, 1 cup (170g) mini semi-sweet chocolate chips
- On a silicone mat or kitchen counter, gently knead the dough, until all the flour is incorporated. Add 1-2 additional tablespoons of flour if the dough is too sticky.
- Lamination (folding the dough to create flaky layers!): Fold the dough in half, press it down slightly, then turn the dough 90 degrees and fold in half again. Repeat this folding and turning process 4-5 times.
- Shape the dough into a 8-10 inch disc that is about 1.5 to 2 inches tall. Refrigerate the scone in a disc for 5-10 minutes.
- Use a knife or pizza cutter to cut the scones into 8 equal wedges.
- Place the scones 2-3 inches apart on a baking sheet that’s lined with a silicone mat or parchment paper.
- Freeze the scones for 30 minutes. The last 5 minutes, preheat the oven to 400º F.
- Brush the tops of the scones with egg wash (1 large egg + 1 Tbsp water), buttermilk or heavy cream. Add coarse sanding sugar if desired.
- Bake for 20-26 minutes or until the scones are lightly golden. Allow the scones to cool.
Notes


These turned out fantastic. Thanks for the awesome recipe!
These scones look so good. Do you have a video, on these? Its so helpful to watch.
I made these today to use up some buttermilk and because they look delicious. They were so very delicious! I love baking and eating scones and this may be my new favorite recipe.
Thank you for creating and sharing the recipe!
Super easy to follow and fun recipe to make. Delicious results that everyone enjoyed. A wonderful recipe – thank you for sharing it.
Can I use margarine in the scone recipes as I don’t like butter. Thank you so much
I haven’t tested my scone recipes with margarine, so I can’t say for sure how it would affect the texture or flavor. Butter plays a key role in creating flaky layers and rich taste, but if you try it with margarine, I’d love to hear how it turns out!
Can I use margarine instead of butter??
No, I don’t recommend it.
Have you used both heavy cream and buttermilk?
For brushing the tops? Yes!
This is the best scone recipe I have ever made. They were surprisingly easy to make and baked up tall and delicious. Thanks for creating and sharing this great recipe!