
This post may contain affiliate links. Please read our disclosure policy.
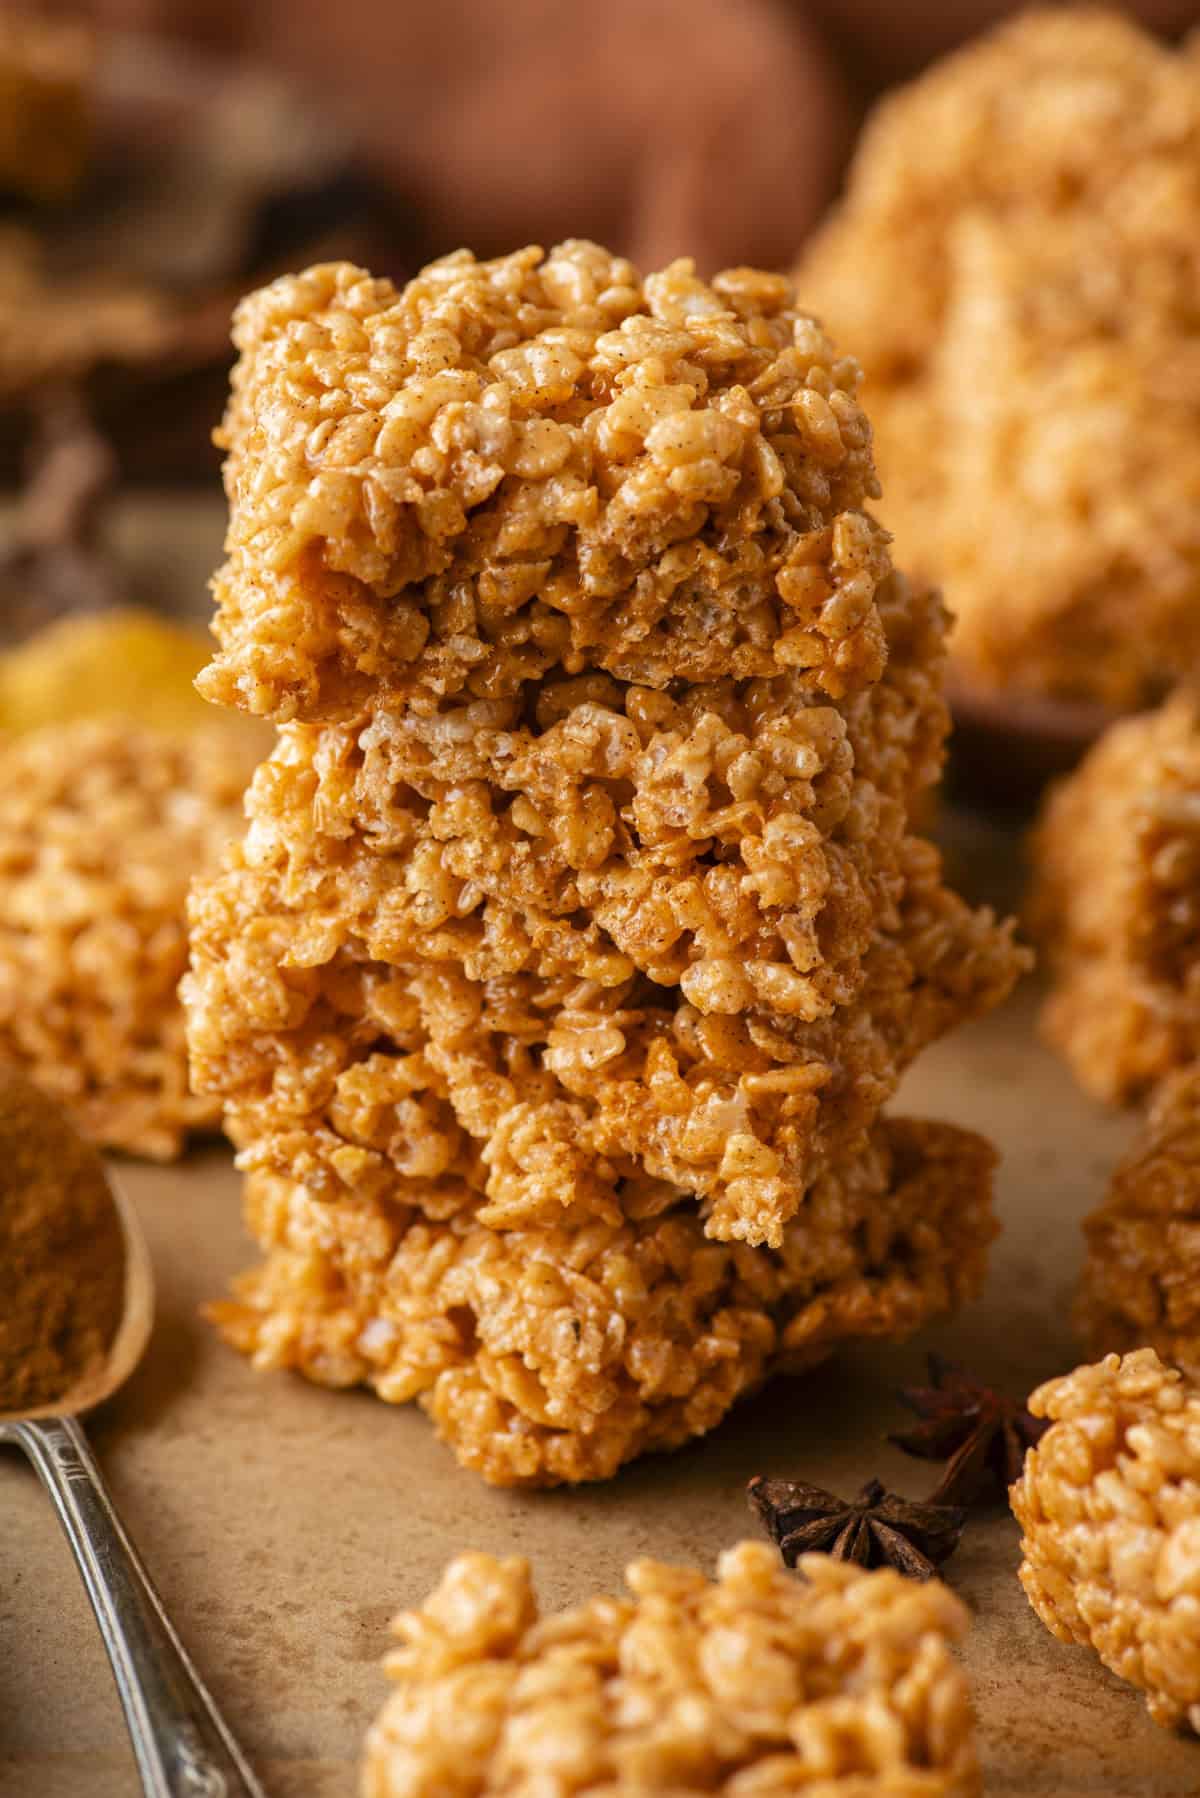
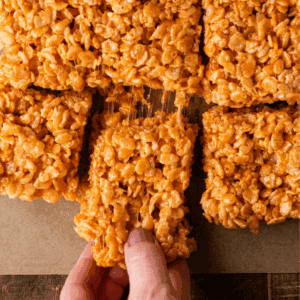
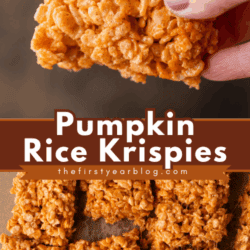
I tested five versions of Pumpkin Rice Krispies to find the best one. Brown butter? Too overpowering. Pumpkin puree? Made them wet and heavy. The winner was simple but perfect: regular butter with 3 teaspoons of pumpkin pie spice for bold, cozy flavor and classic gooey texture you can trust every time.
Getting Pumpkin Rice Krispies Just Right
Pumpkin Rice Krispies might sound like a quick seasonal twist, but I discovered they take more testing than you’d think to get the flavor and texture just right.
I tested five different versions to figure out the perfect balance between gooey marshmallow goodness and bold pumpkin spice flavor.
At first, I thought brown butter would elevate them, but it completely overpowered the warm spices. Even though brown butter is a favorite in many fall recipes, here it made the pumpkin pie spice disappear.
I also experimented with adding pumpkin puree, hoping it would intensify the pumpkin flavor. While it did add a faint extra note of pumpkin, it came at a cost: the texture became wet, heavy, and less chewy – not the fluffy, gooey bars everyone loves in a Rice Krispie treat. After that, I focused on the spice itself, testing both 2 teaspoons and 3 teaspoons of pumpkin pie spice. The 2-teaspoon version was good, but when I increased it to 3 teaspoons, the flavor was undeniable – warm, cozy, and perfectly pumpkin.
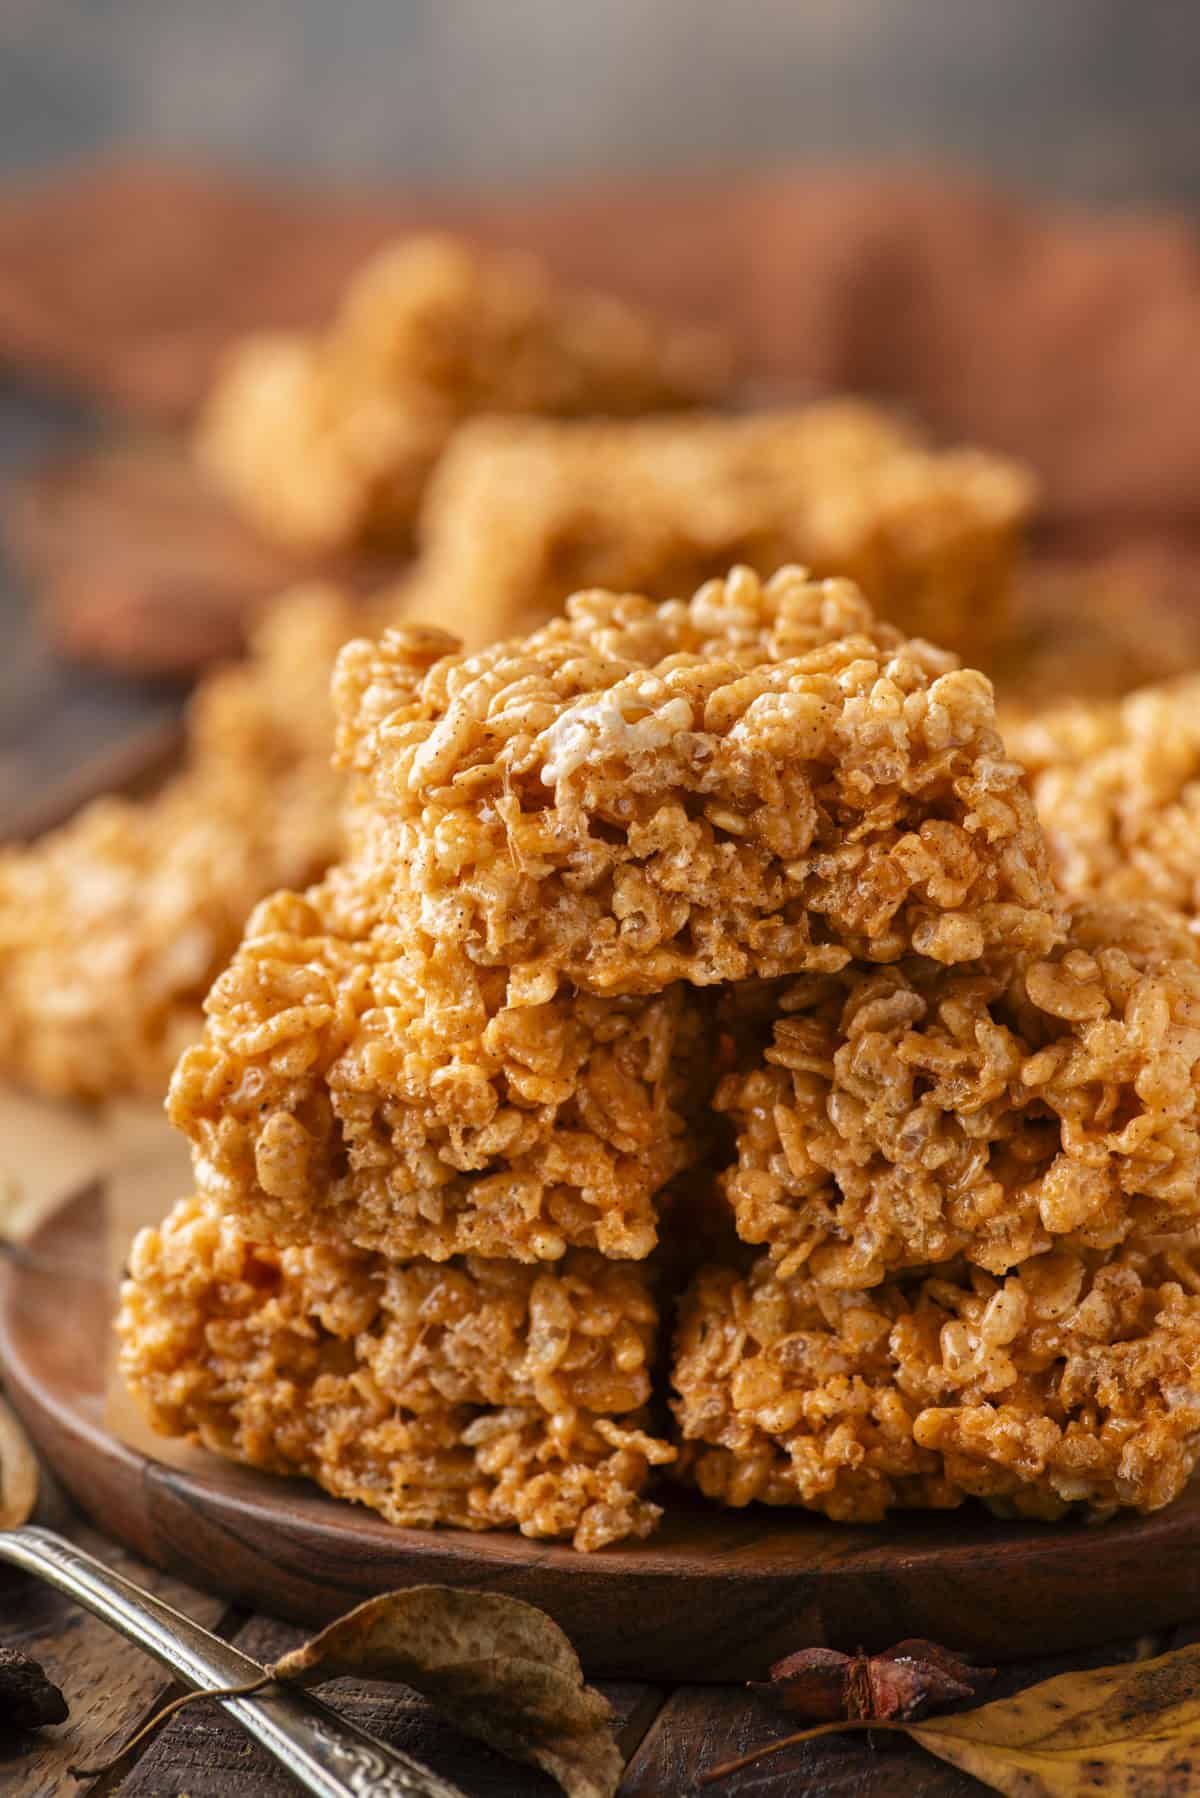
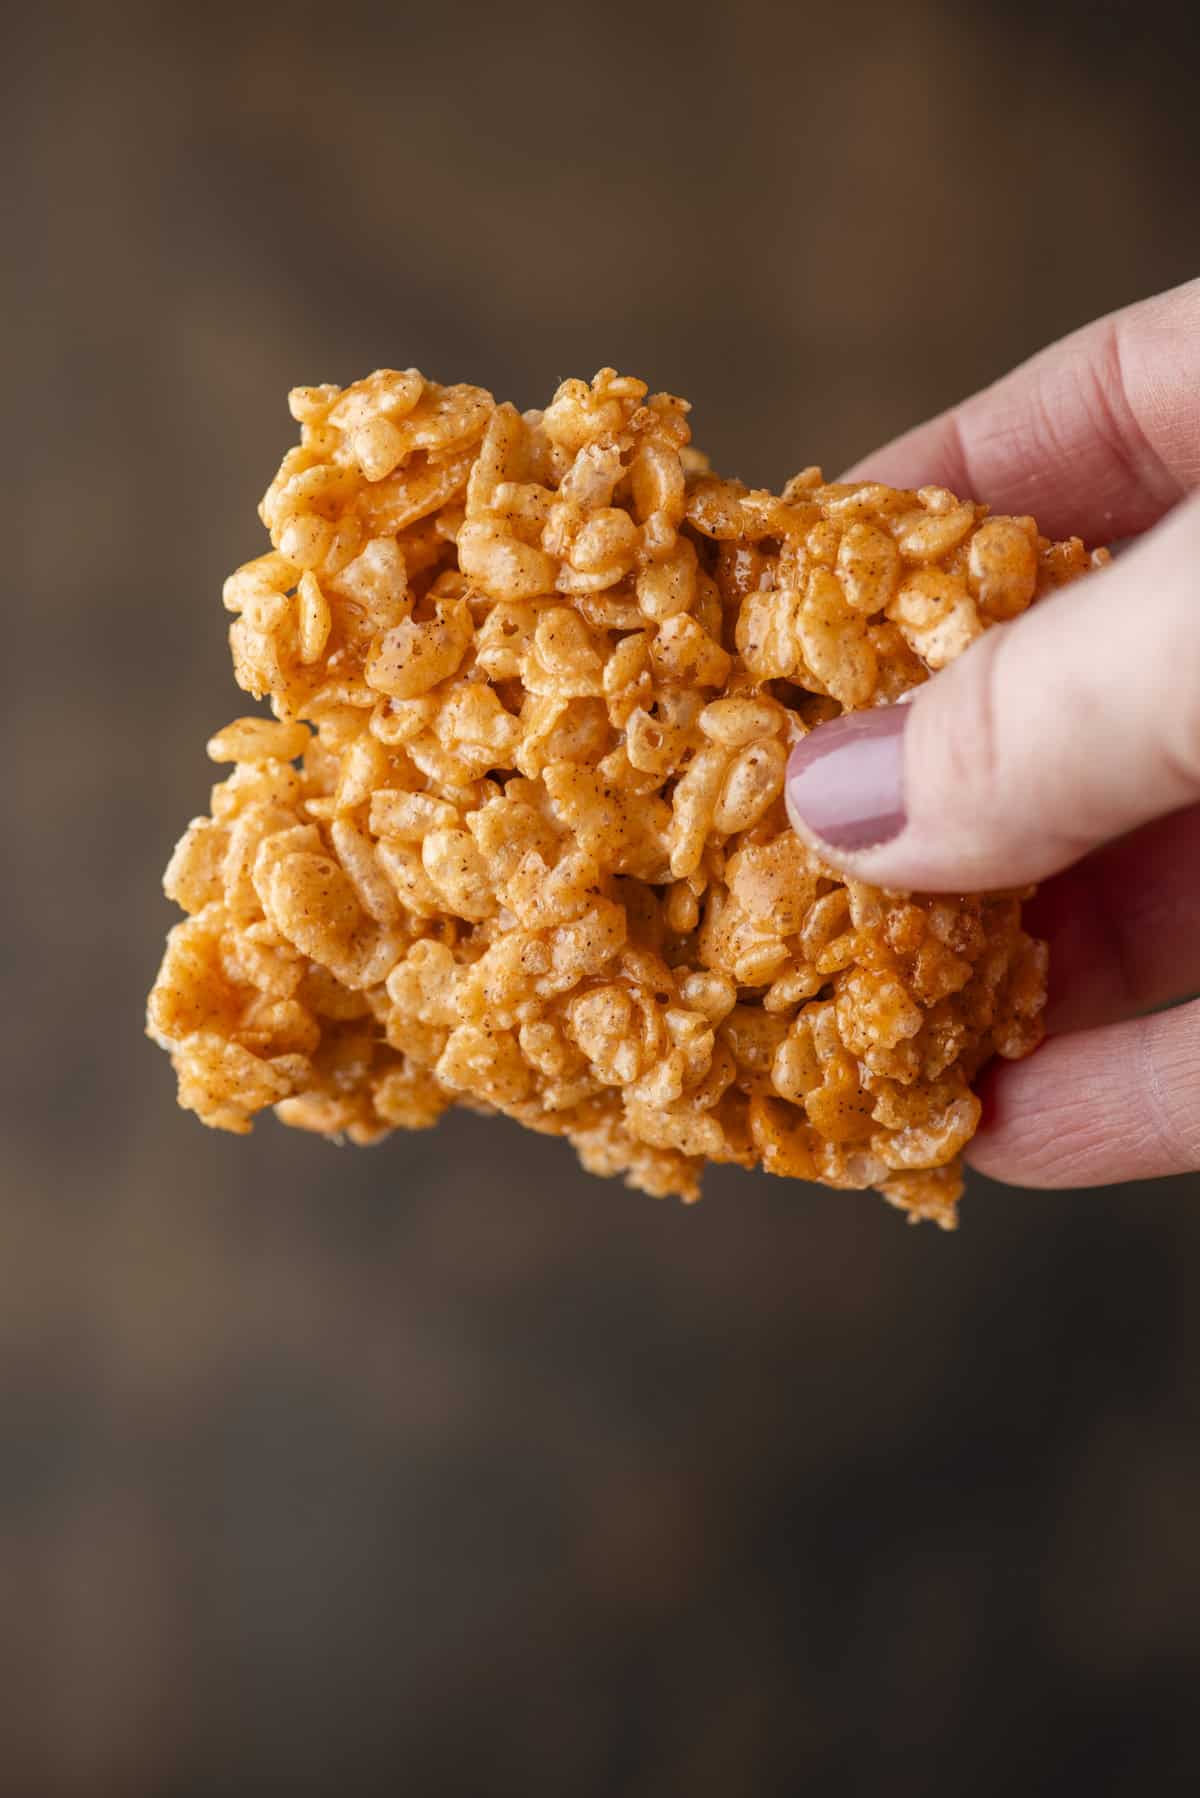
Through all this testing, I found the clear winner: regular butter, 3 teaspoons of pumpkin pie spice, and no pumpkin puree. This method preserves the gooey, chewy texture Rice Krispies are famous for while infusing them with bold pumpkin spice flavor in every bite. I’ve done the trial-and-error so you don’t have to, which means you can count on this recipe to deliver the best possible fall-inspired Rice Krispies.
What I Tested
- Regular butter + 2 tsp pumpkin pie spice: YUM
- Brown butter + 2 tsp pumpkin pie spice: only tasted brown butter
- Regular butter + pumpkin puree + 2 tsp pumpkin pie spice: texture less chewy, more “wet”
- Brown butter + pumpkin puree + 2 tsp pumpkin pie spice: too brown butter tasting, too wet, not fluffy, not gooey
- Regular butter + 3 tsp pumpkin pie spice: BOOM, WINNER!
How to Make Pumpkin Flavored Rice Krispies
Follow these 6 easy steps for delicious, pumpkin-flavored rice krispie treats without even heating up your oven! Get the full recipe with ingredients in the recipe card below.
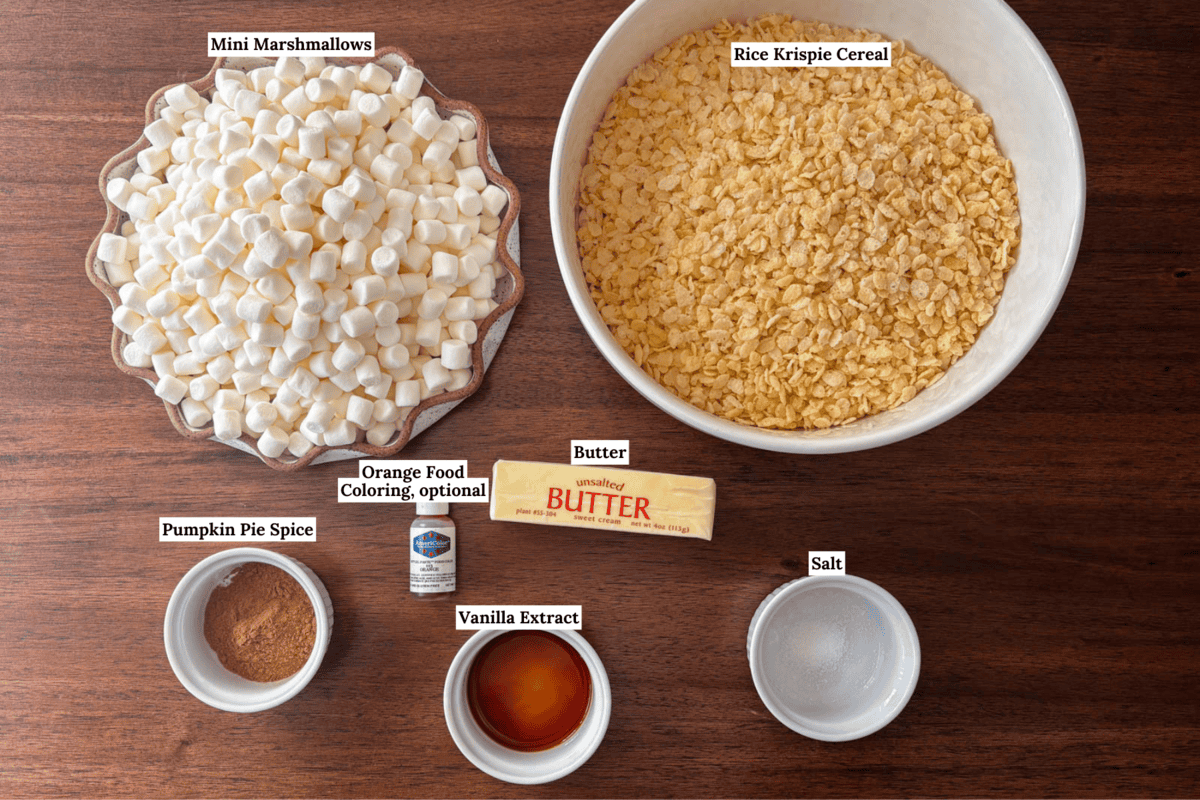
- Measure marshmallows and cereal. Measure out 10 cups of mini marshmallows. Then set 2 cups aside for later. Measure out 8 cups of Rice Krispies cereal. Set aside.
- Prep baking dish. Line a 9×13 inch baking dish with parchment paper. You can skip the parchment paper and grease your pan with butter if you prefer.
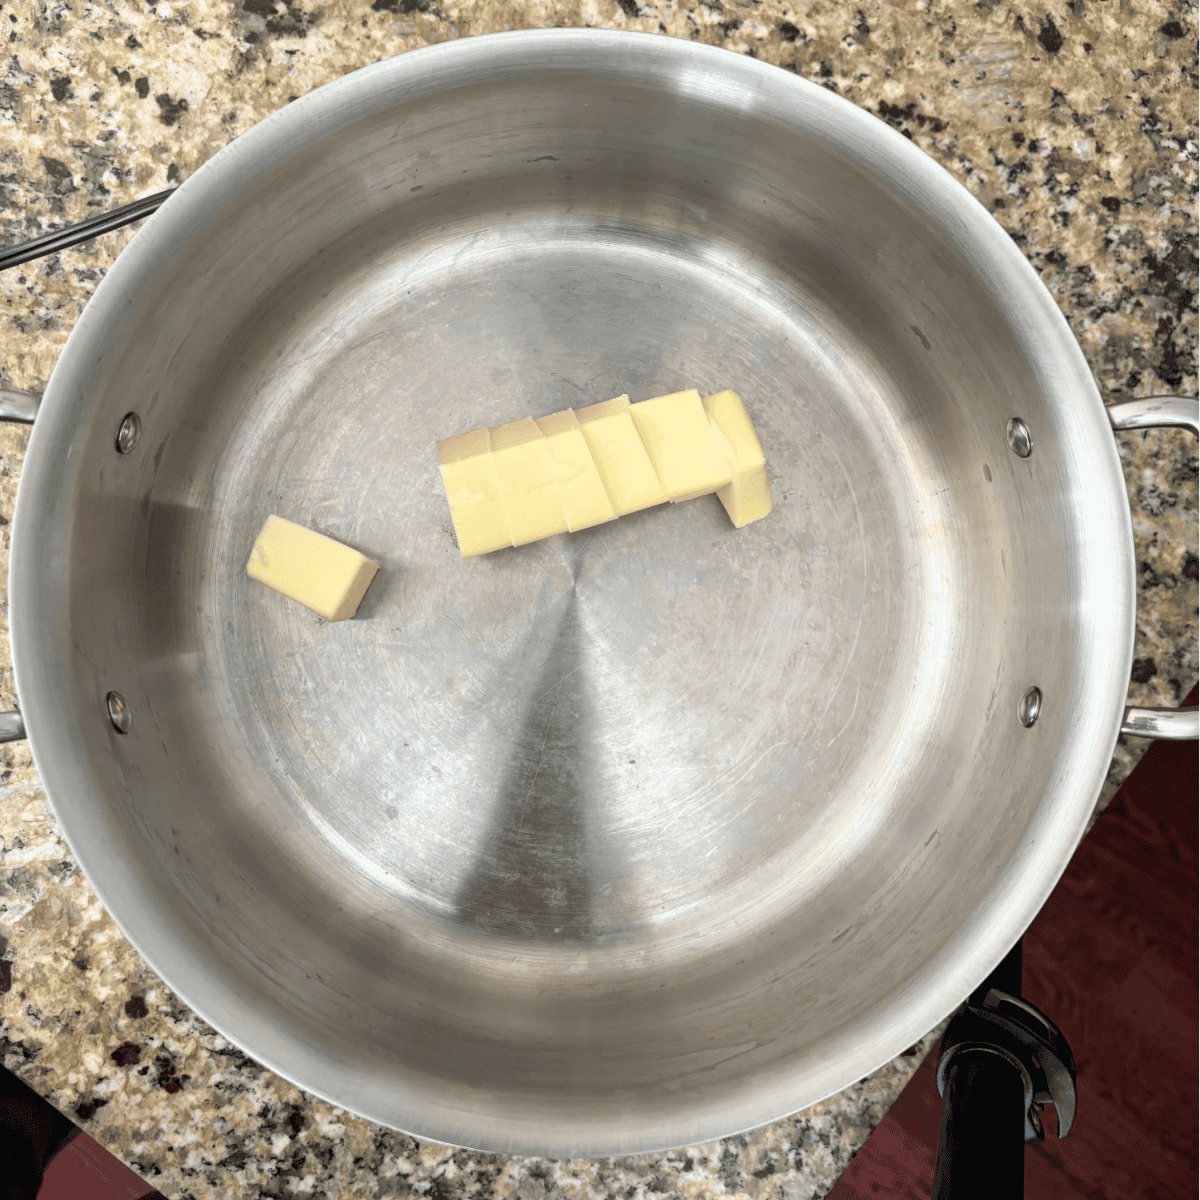
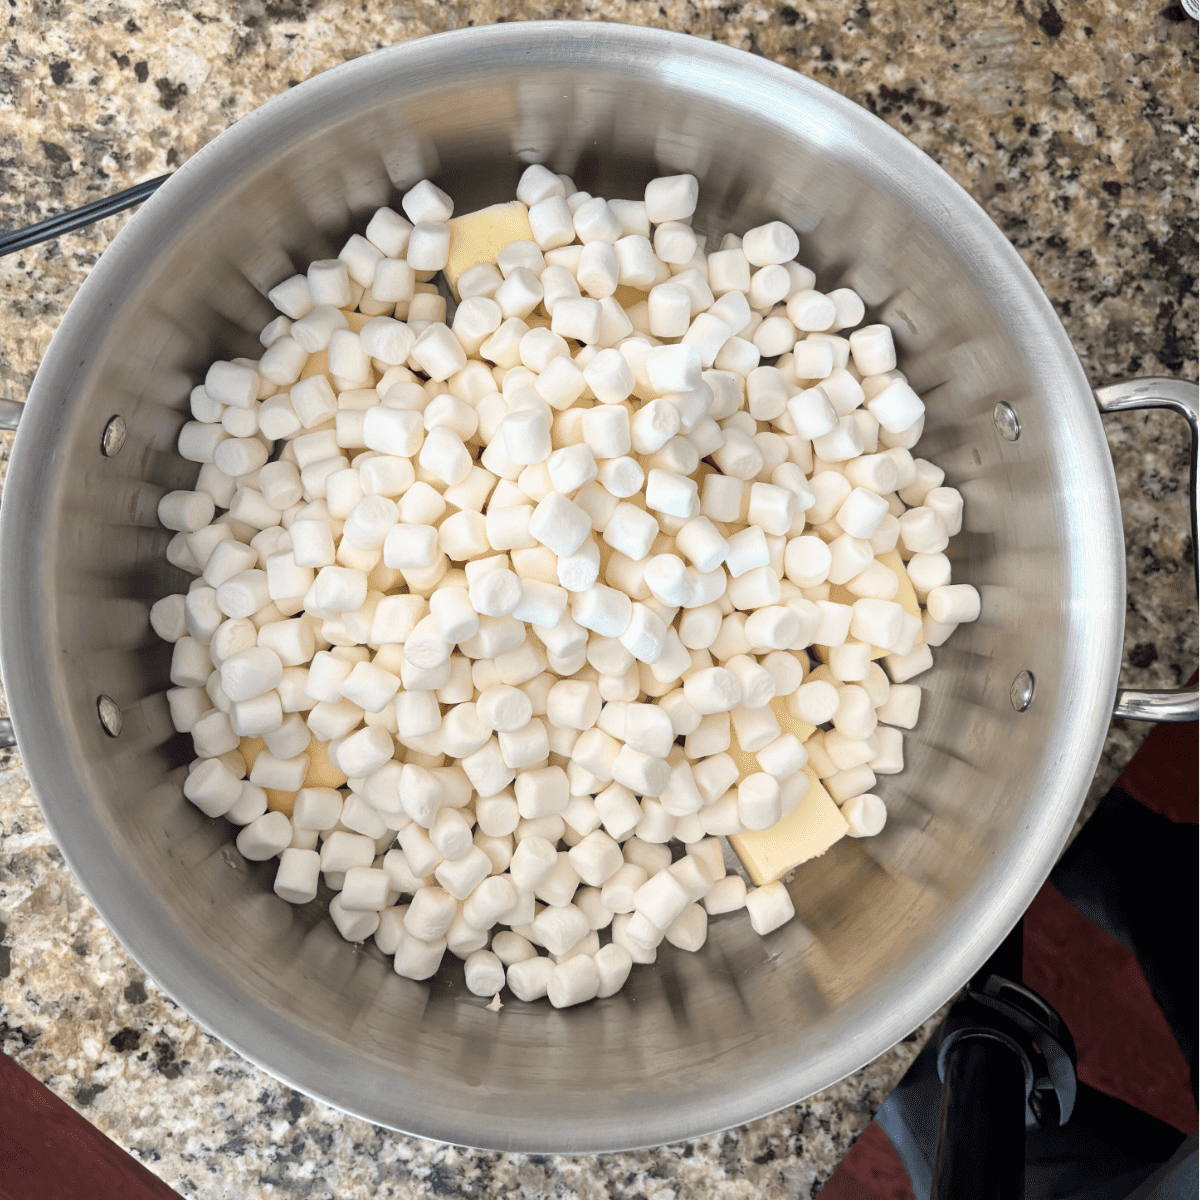
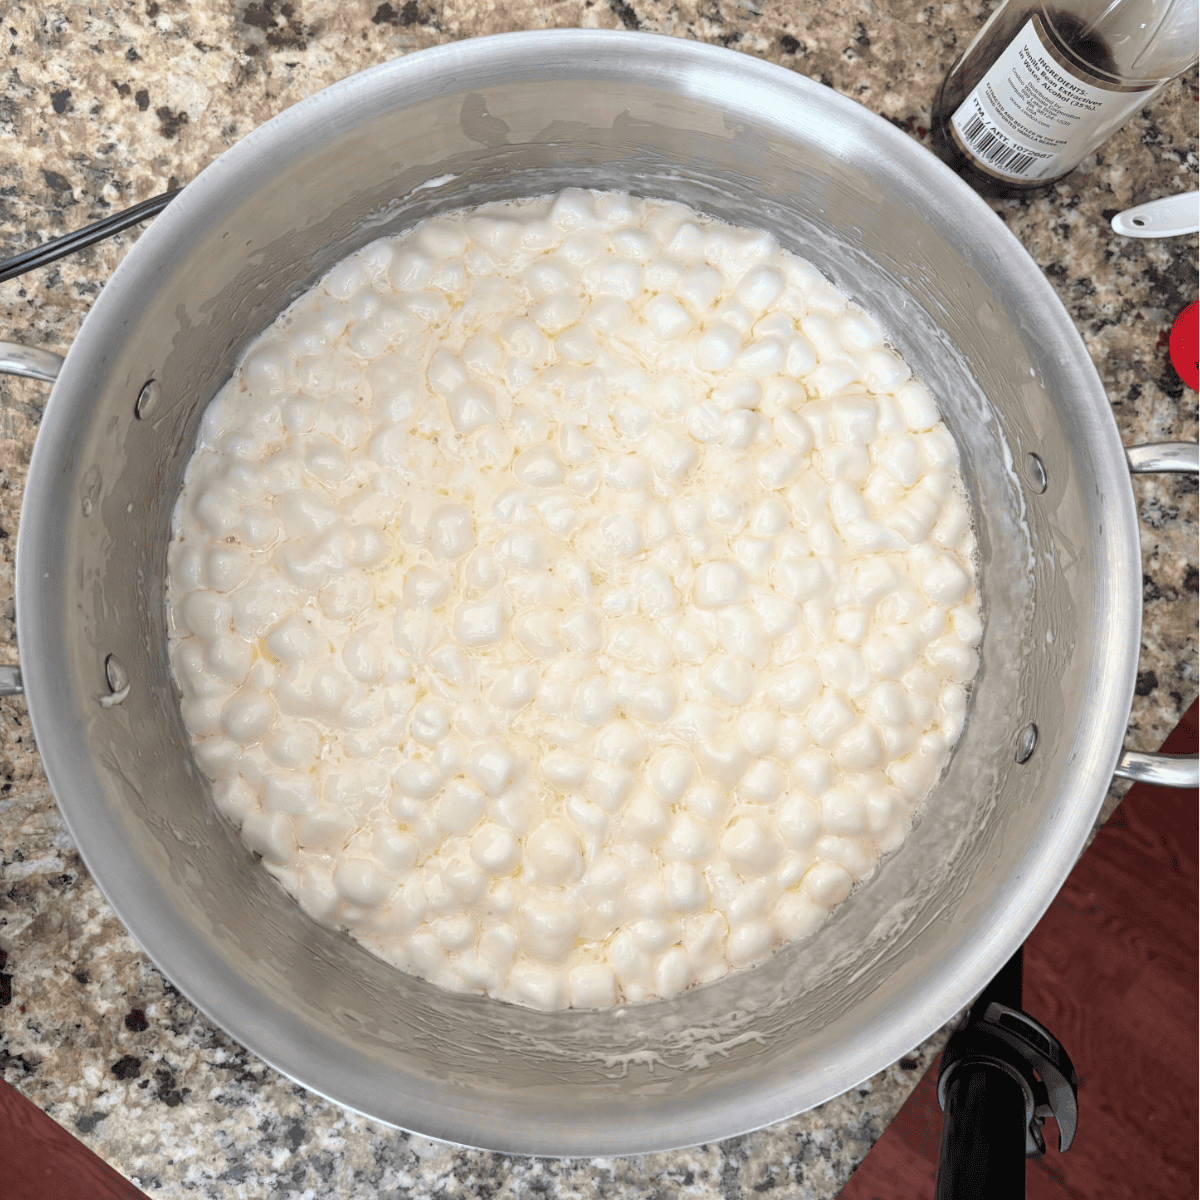

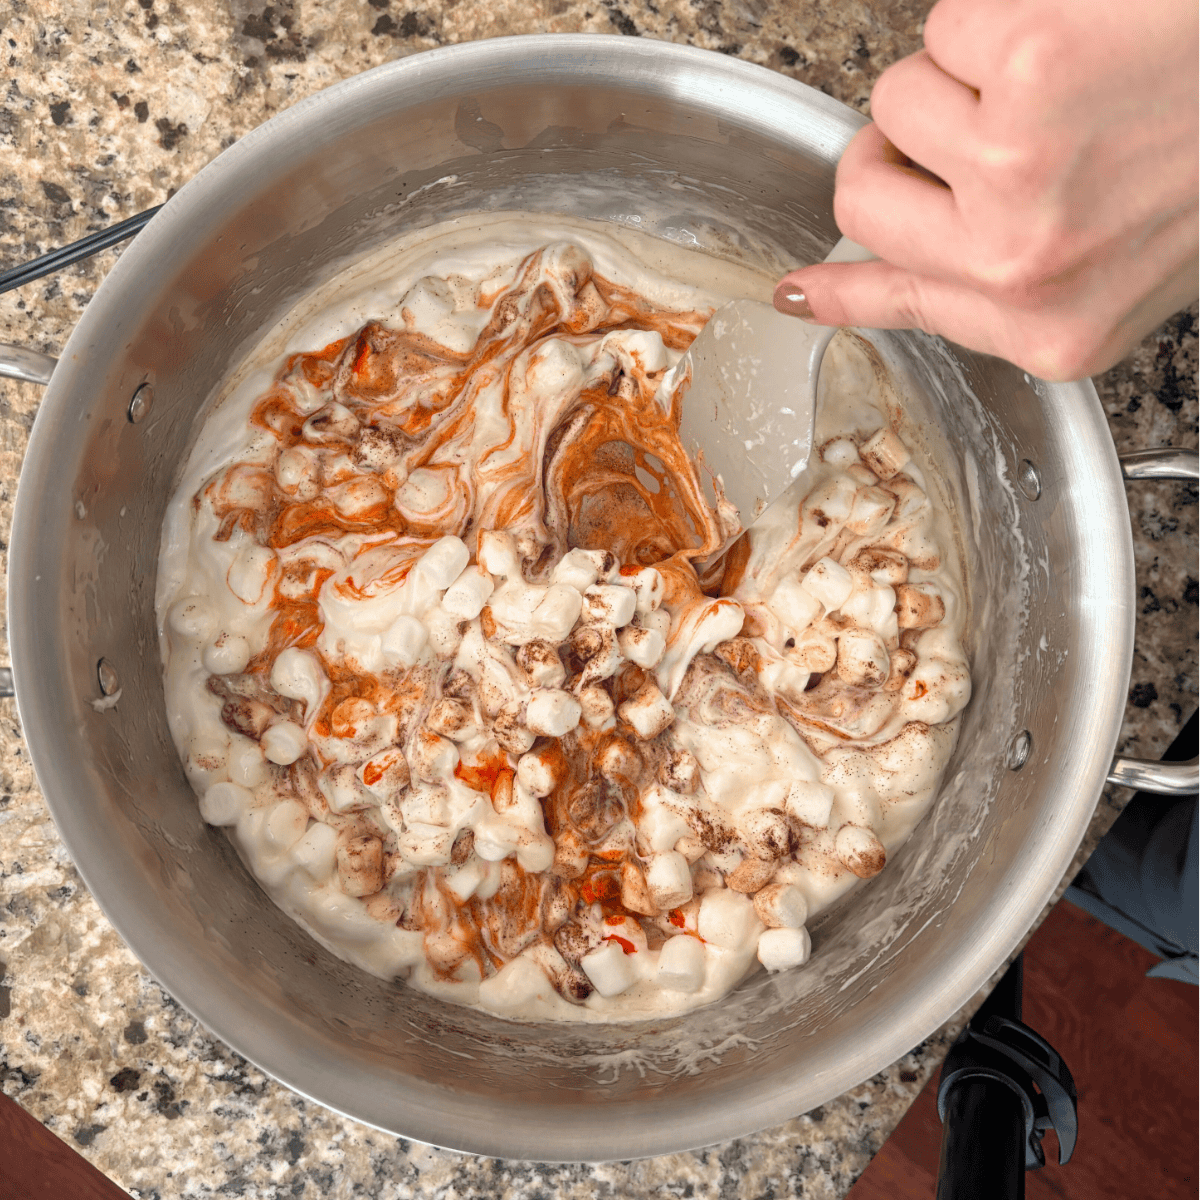
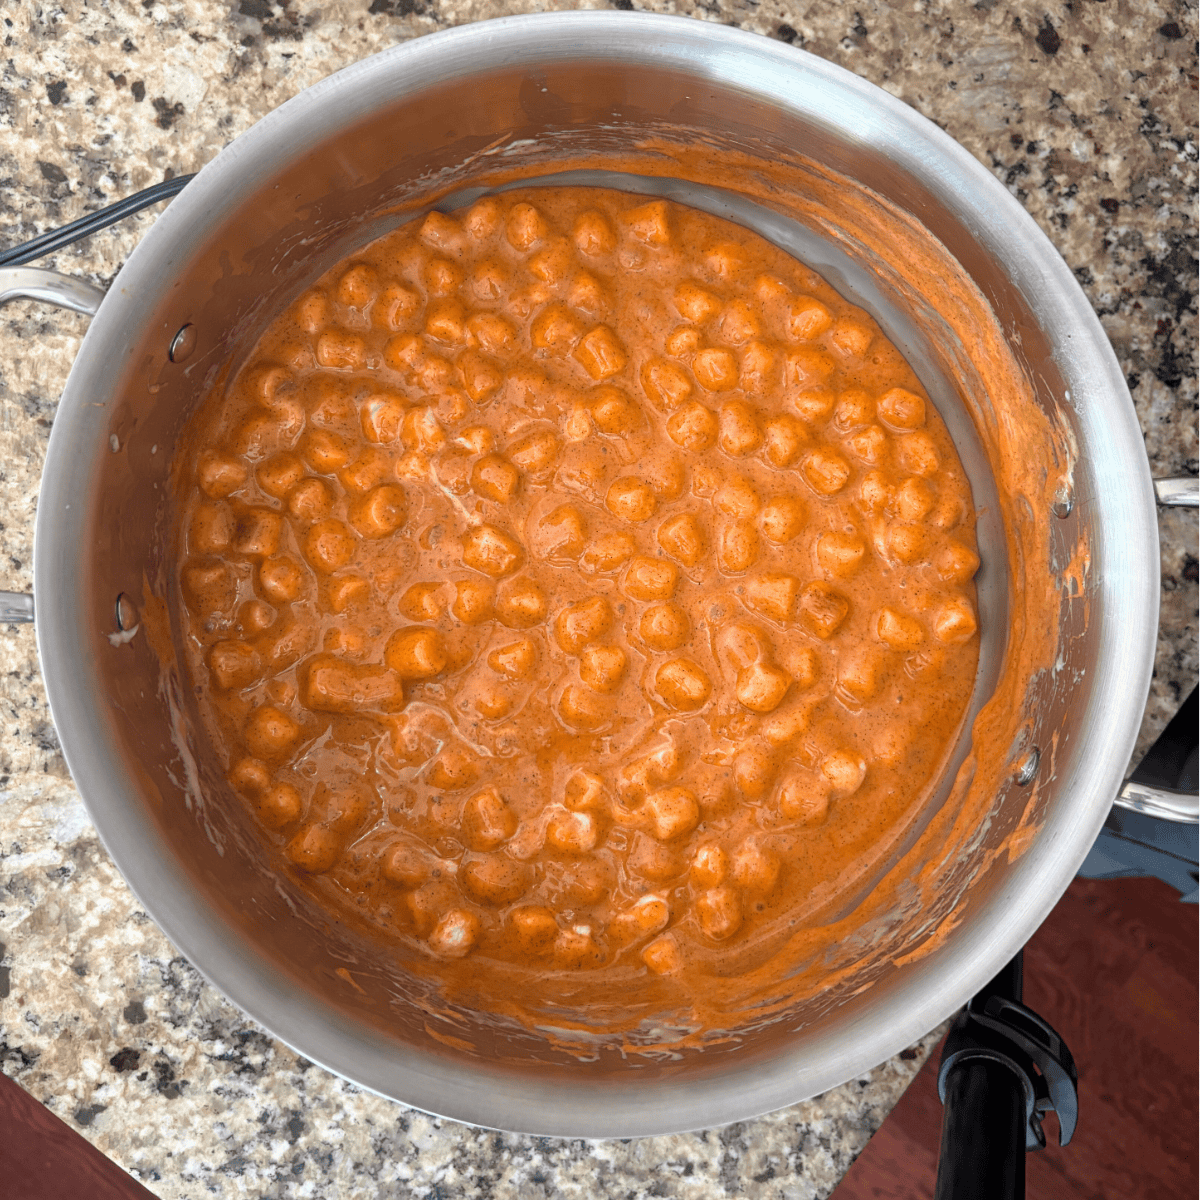
- Begin combining ingredients. In a large saucepan, melt the butter and 8 cups of mini marshmallows over medium-low heat. Stir until melted. Then stir in the pumpkin pie spice, salt, vanilla extract, orange food coloring (optional) and remaining 2 cups of marshmallows. Stir until the marshmallows are half way melted. Remove from the heat.
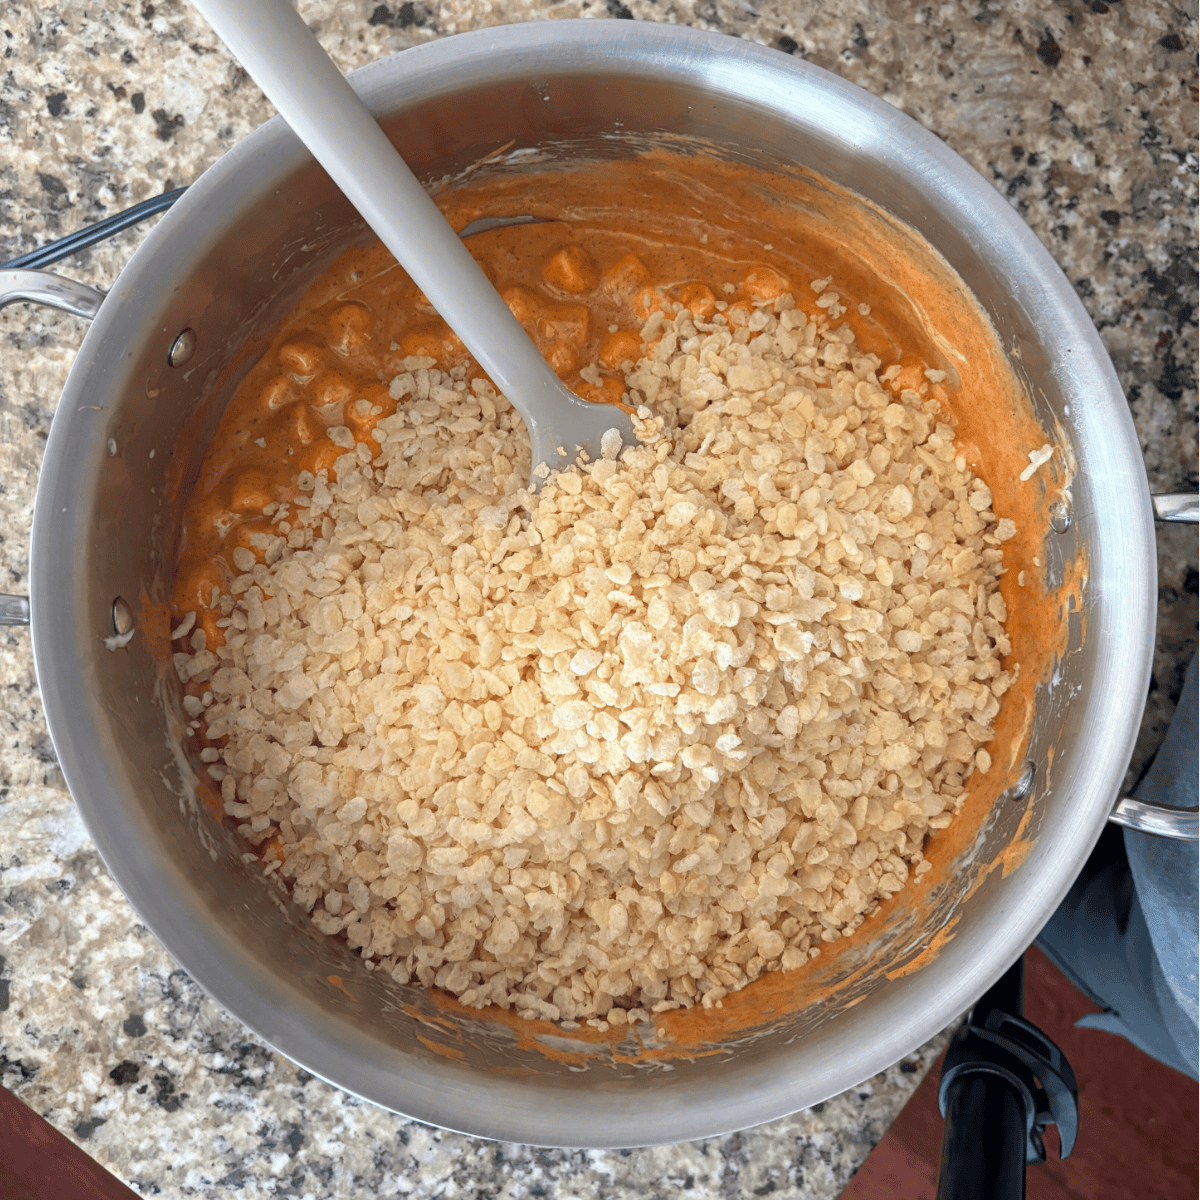
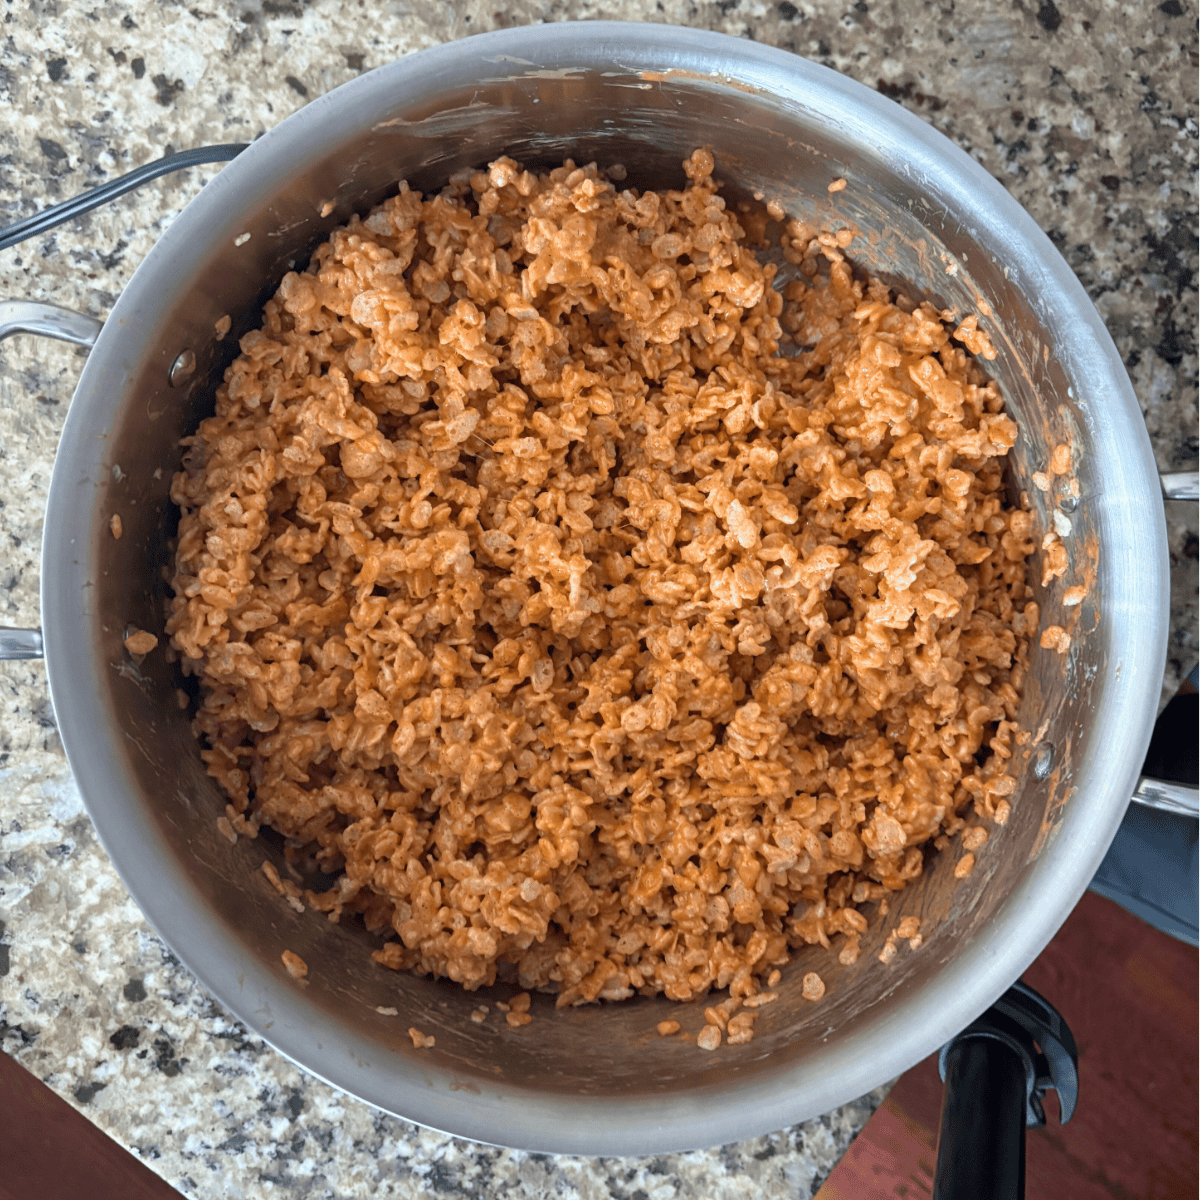
- Mix in the rice krispies, stir until completely coated.
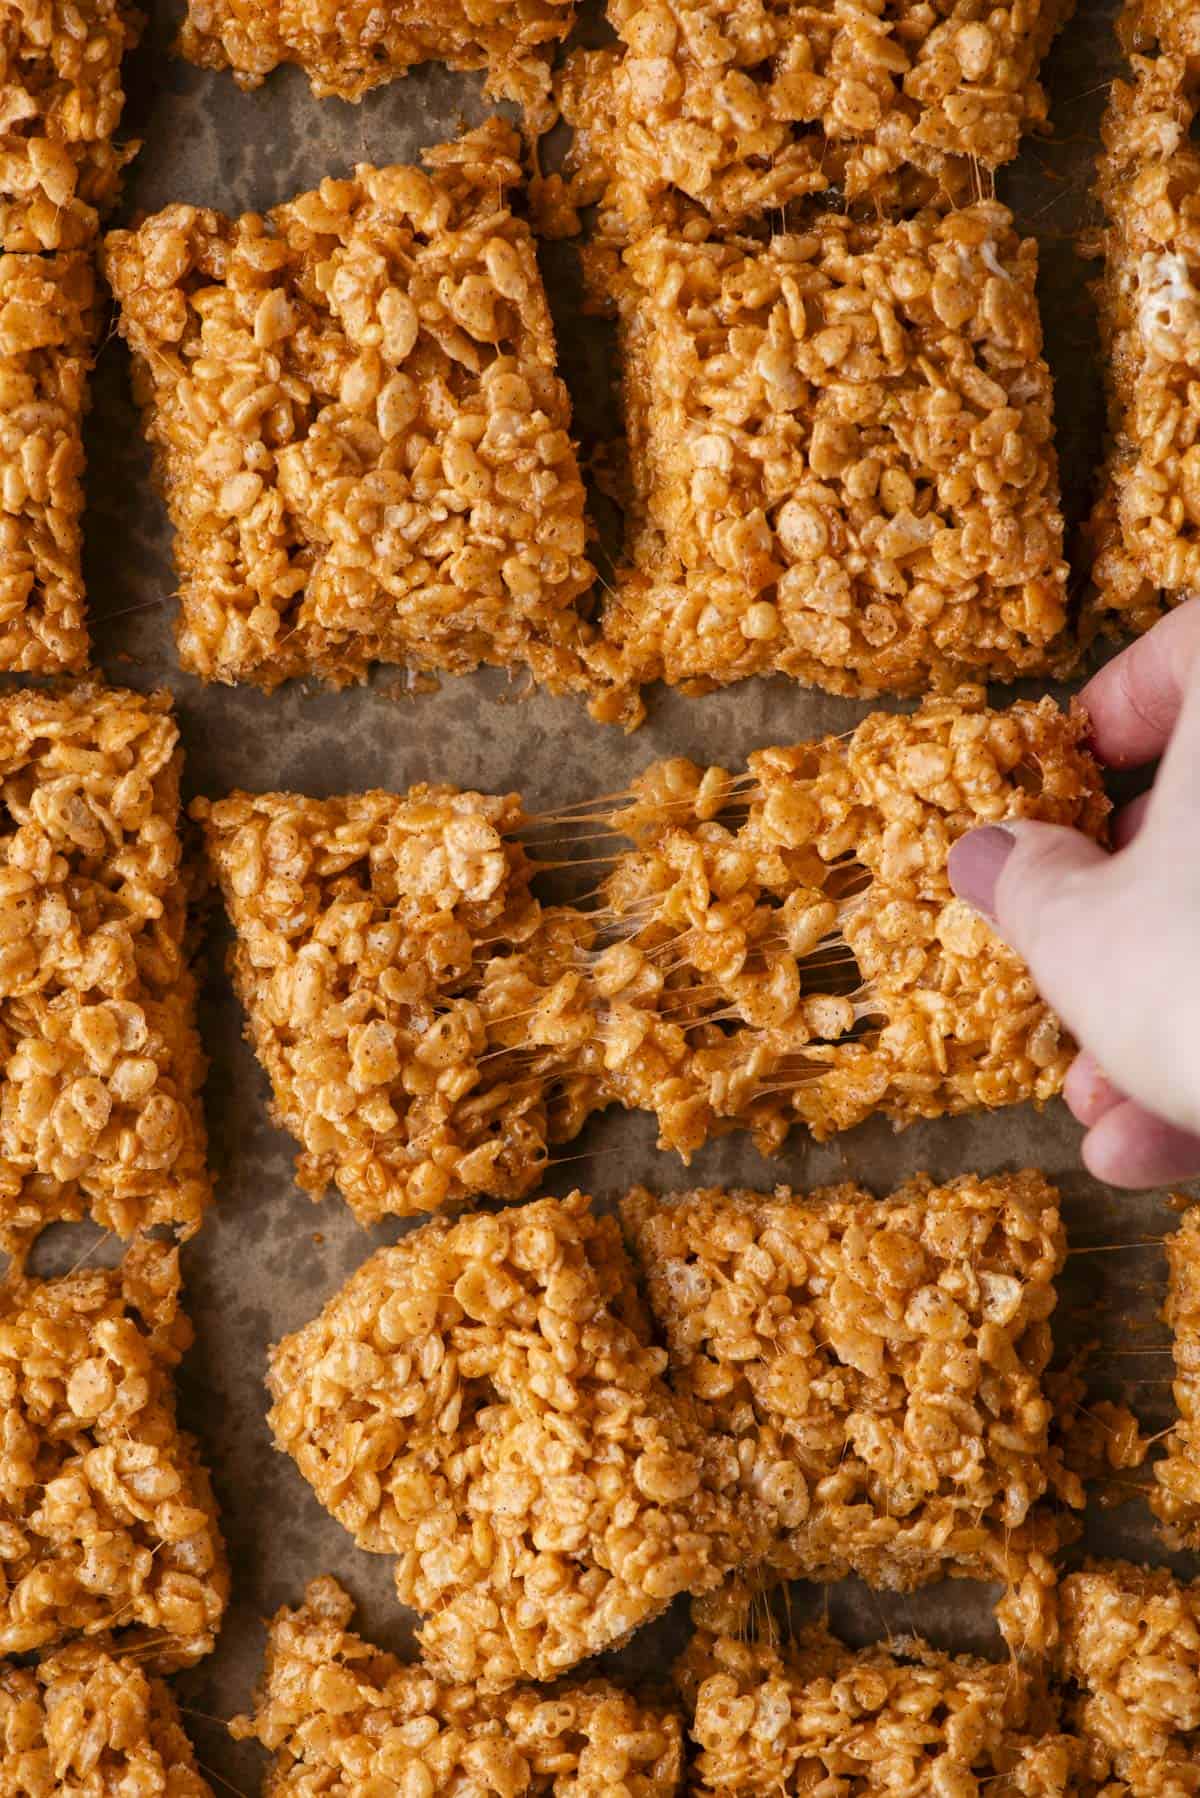
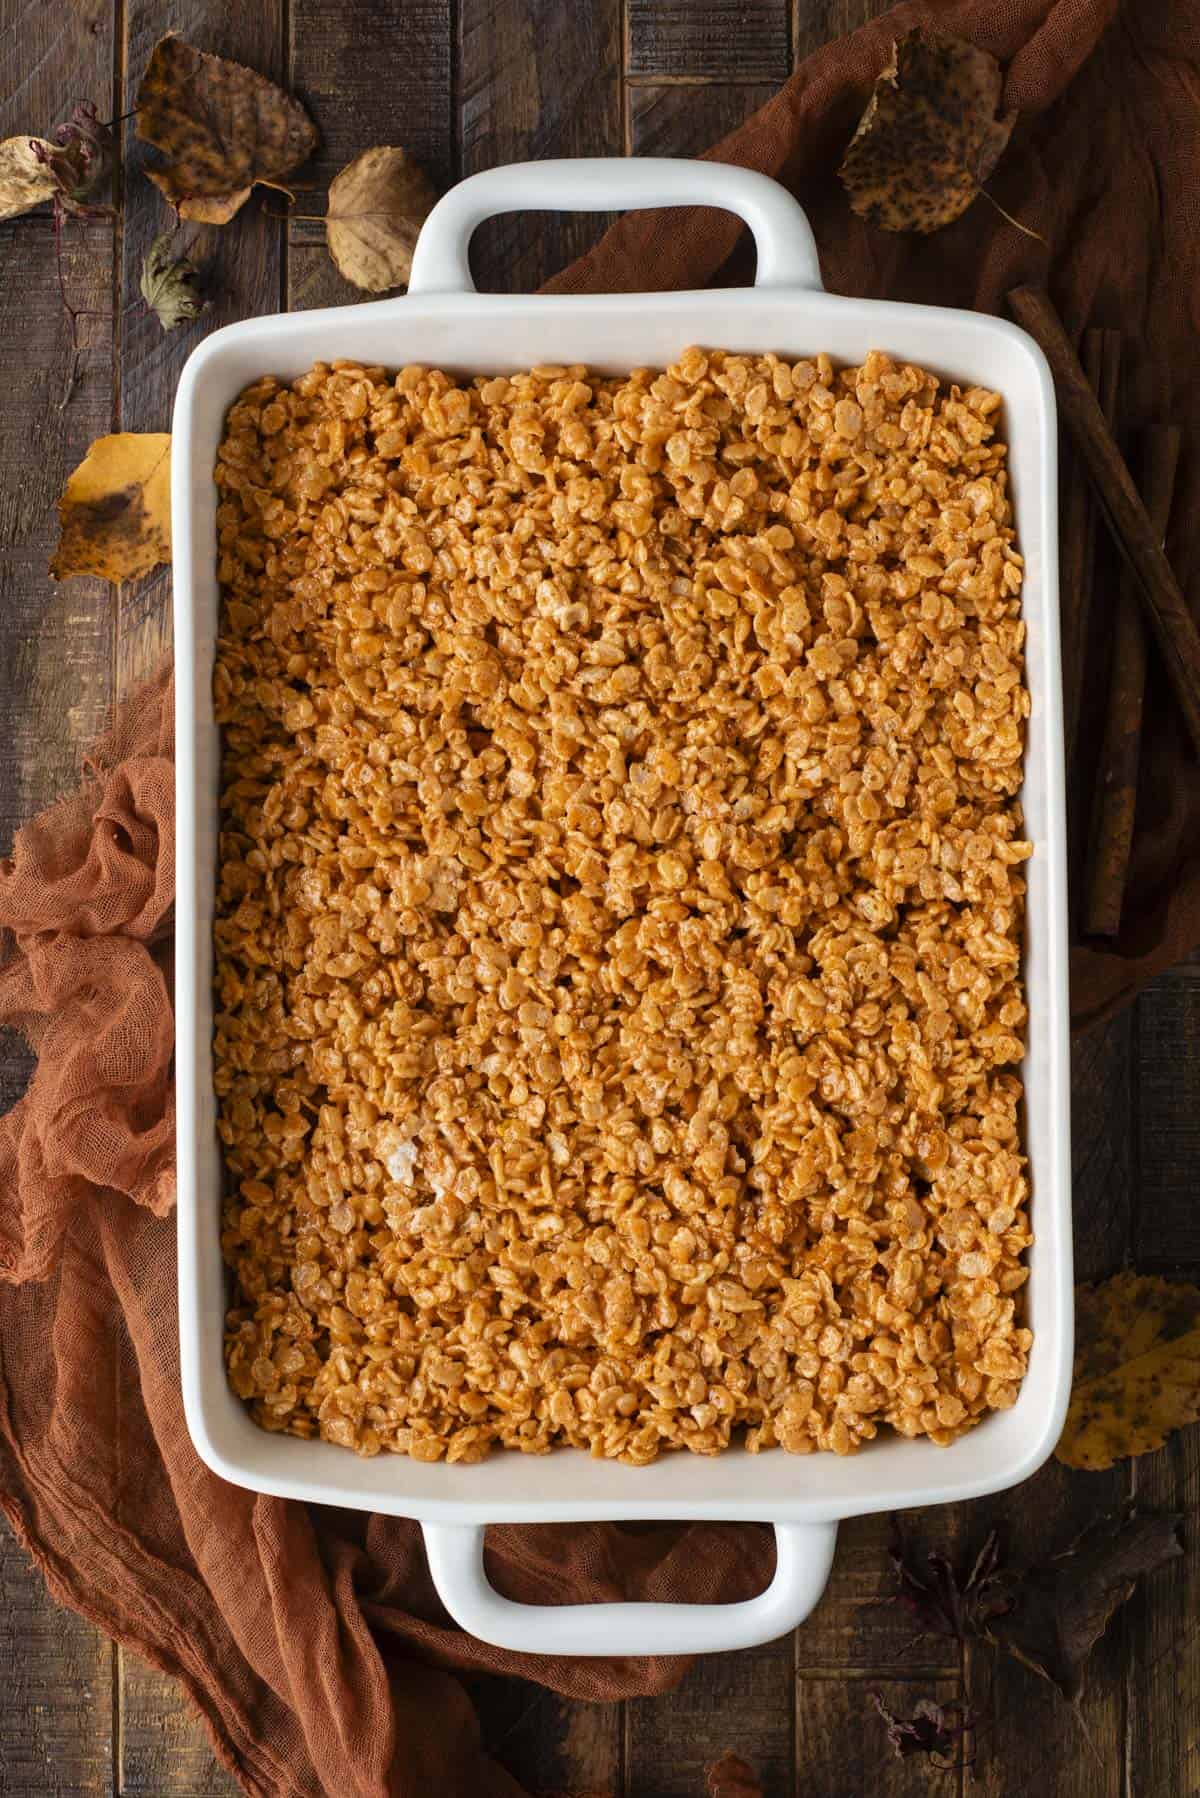
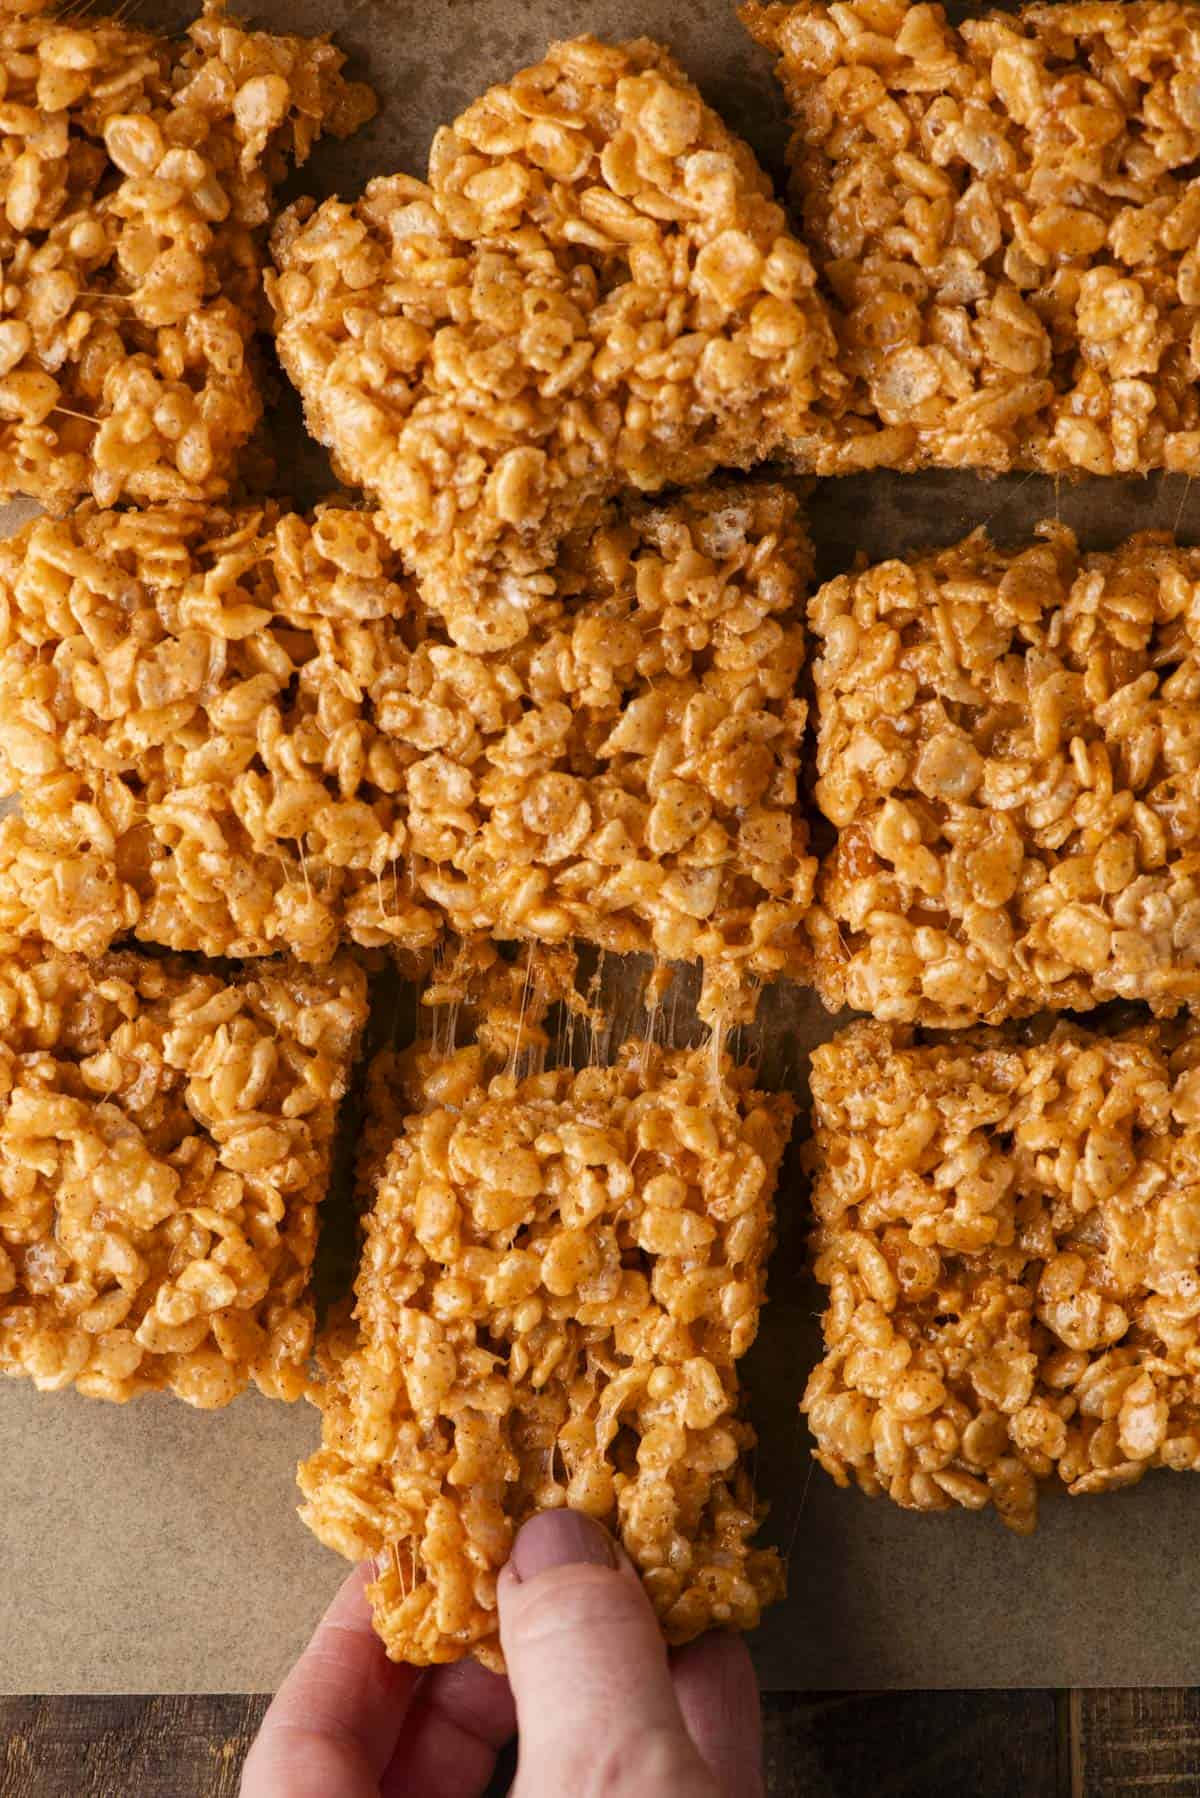
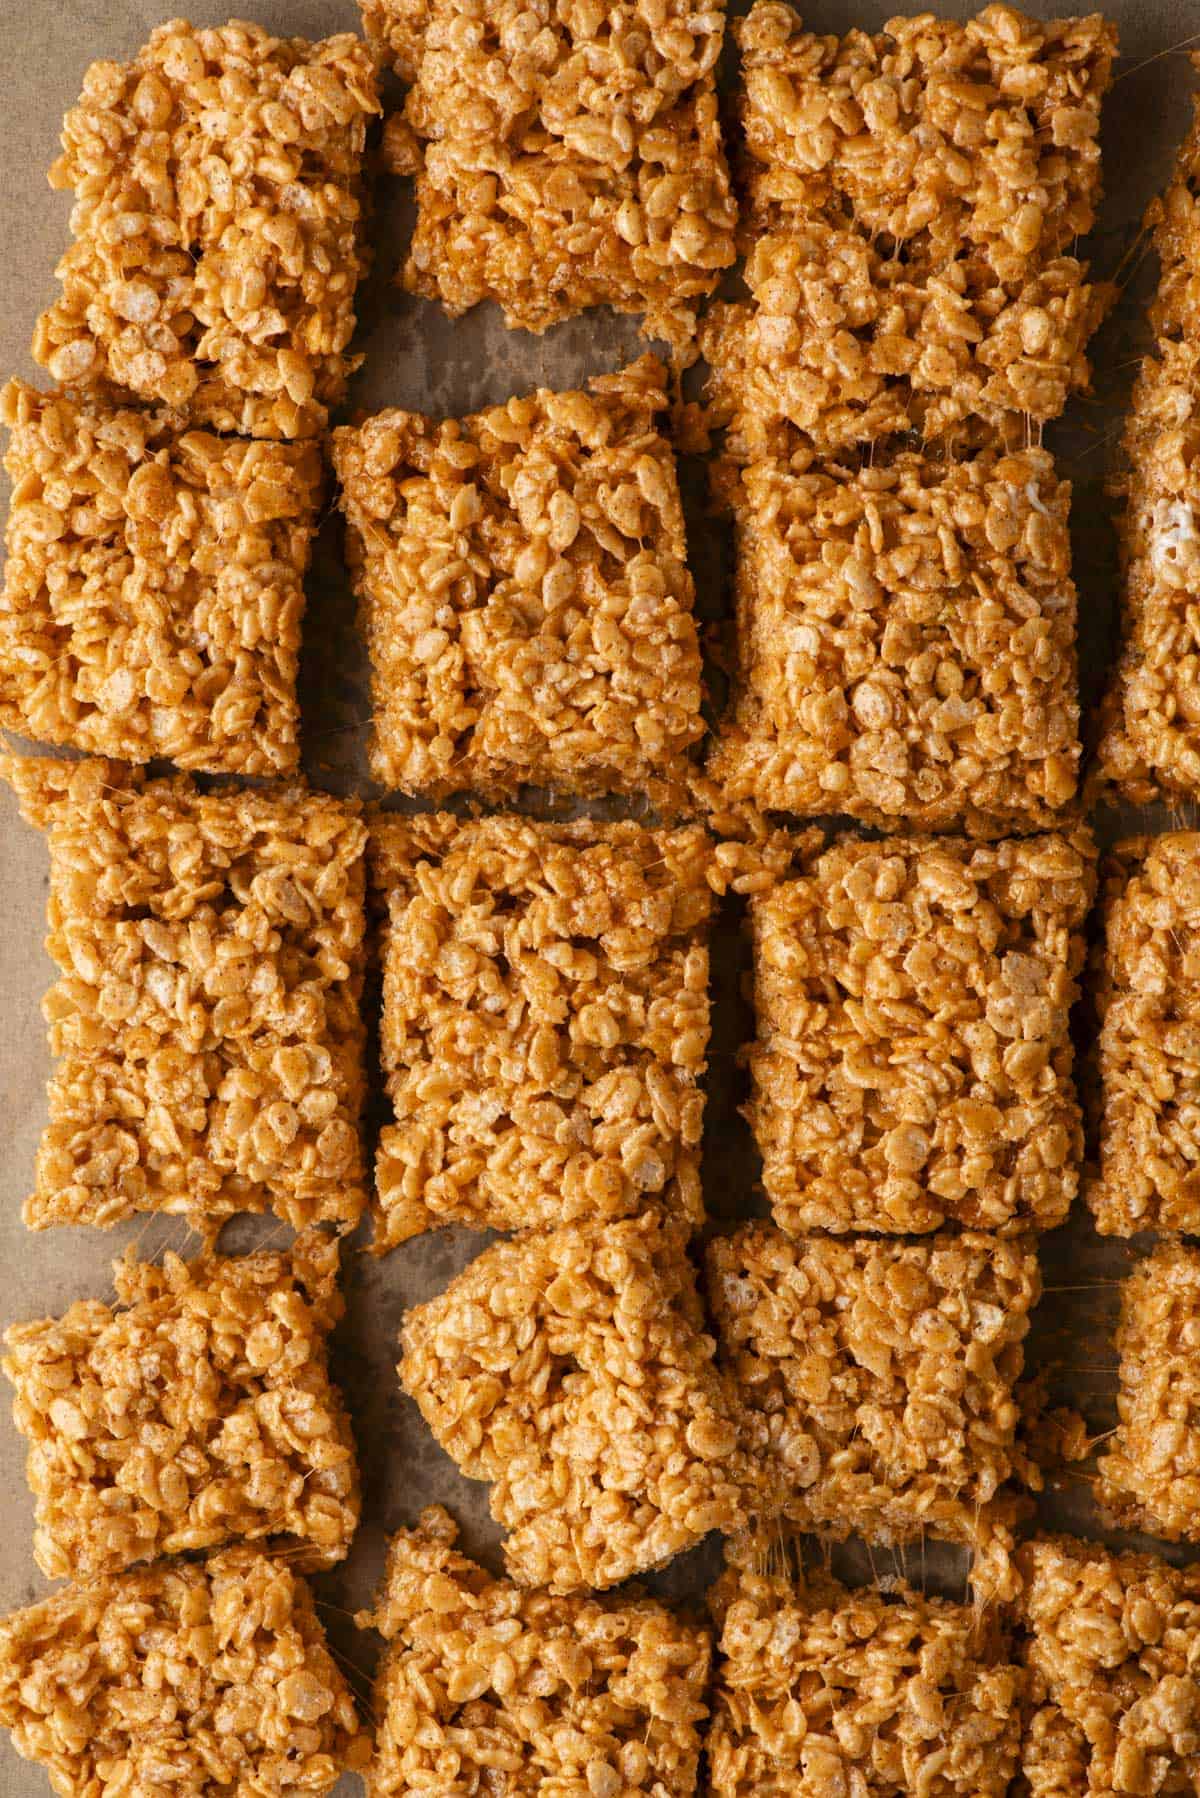
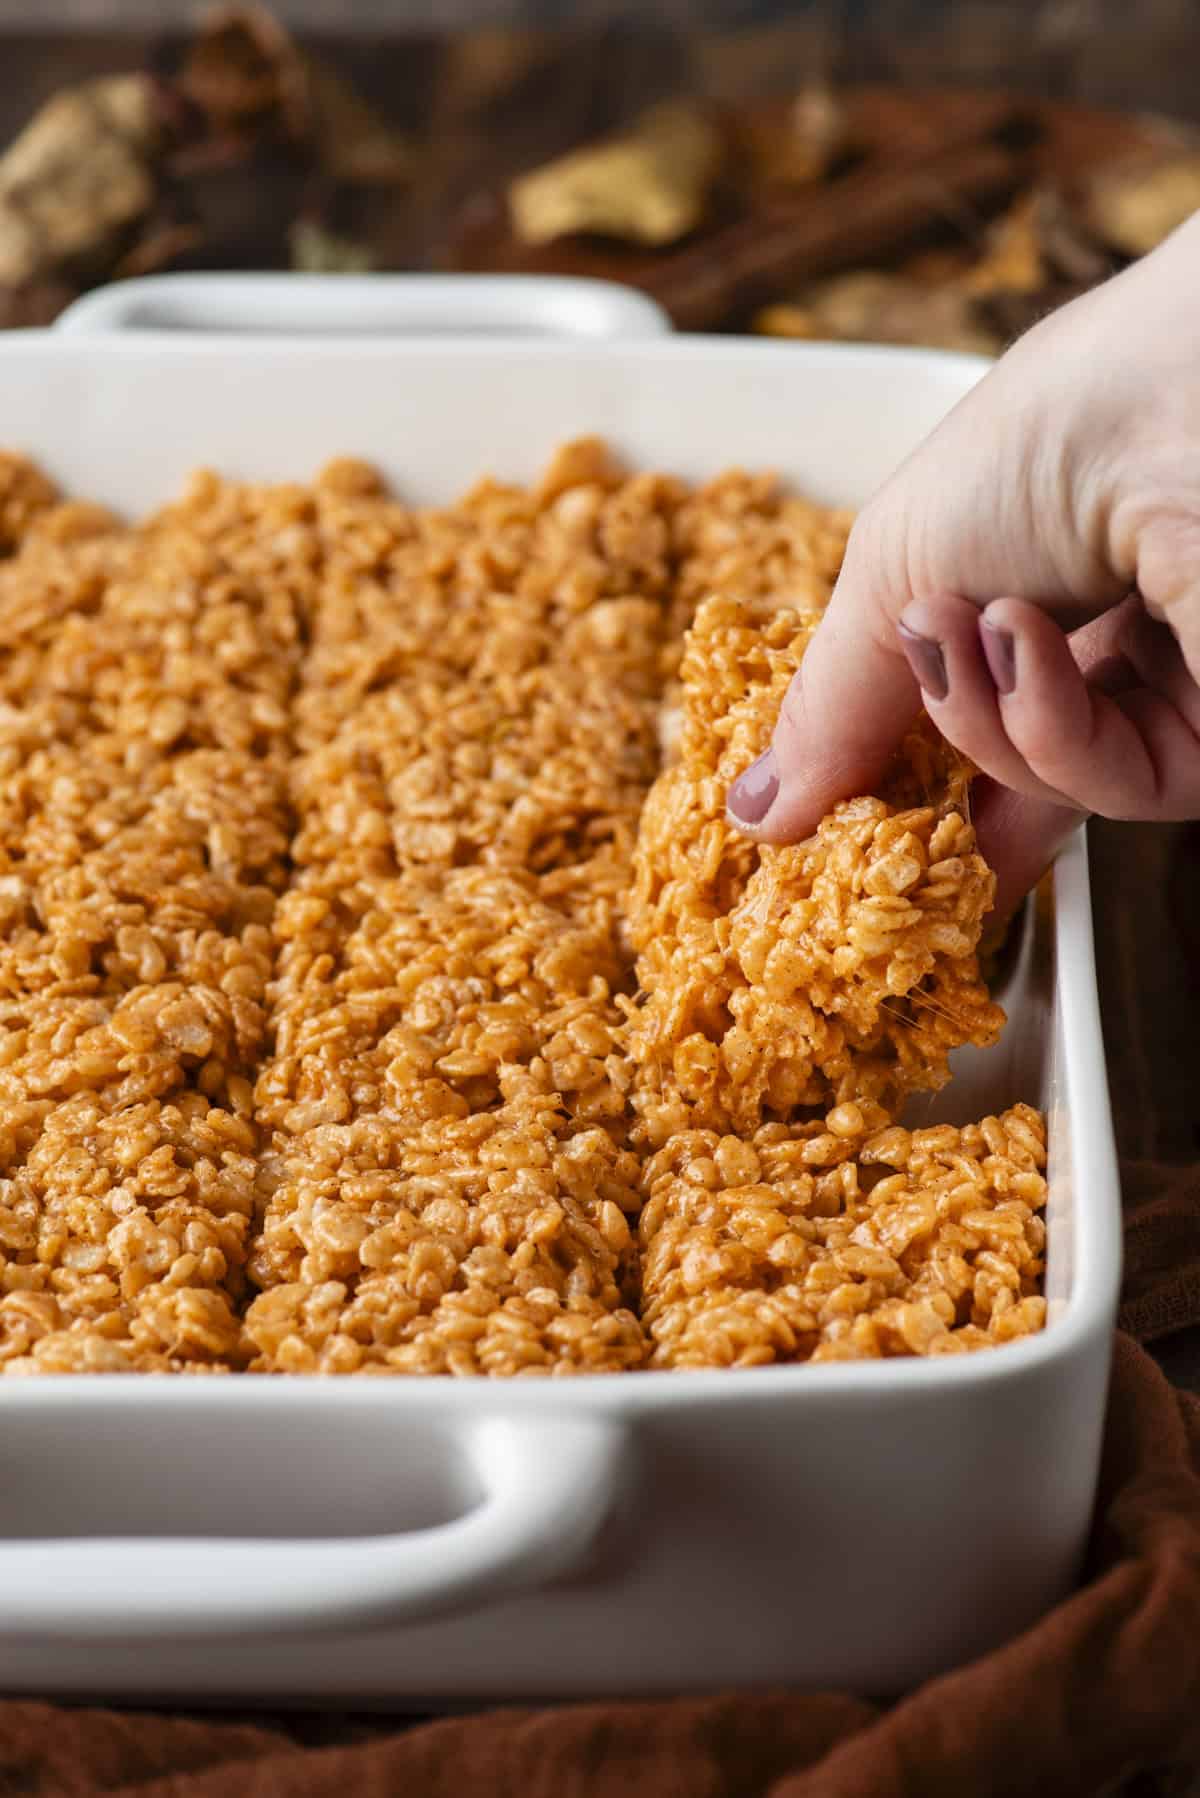
- Transfer the mixture to the baking dish. Gently press the rice krispies into the pan. The more you press them down, they become more dense and not quite as airy and gooey. Pro tip: use slightly wet hands when pressing them, this helps to prevent the mixture from sticking to your hands.
- Cool and slice. Allow them to set, about 1 hour. Then slice with a sharp knife into squares and enjoy.
Pro Tips for Rice Krispie Treat Success
- Mix carefully: Stir the marshmallow and cereal together just enough to coat the cereal. Over-mixing can make the treats dense instead of soft and fluffy.
- Boost the gooey factor: My recipe tells you to add in 2 cups of marshmallows after you mix the melted mixture with the cereal. This gives you a higher marshmallow-to-cereal ratio and extra gooey bites.
- Press lightly: Gently press the mixture into your pan. Pressing too much makes the treats less airy and less gooey. If you love fluffy, soft treats, keep the pressing minimal.
- Keep your hands slightly wet: Lightly wetting your hands before handling the mixture prevents the sticky marshmallow from clinging to your fingers, making it easier to shape.
Which Marshmallows Work Best for Rice Krispie Treats?
Mini marshmallows are the best choice for rice krispie treats. They melt quickly and evenly, leaving gooey pockets of marshmallow throughout every bite.
Storing Homemade Pumpkin Rice Krispie Treats
Keep any leftover treats in an airtight container or a ziploc bag at room temperature. If you plan to eat them within a day or two, you don’t need to wrap them individually. For longer storage, wrapping each treat tightly in plastic wrap before placing them in an airtight container will keep them fresh for 5–7 days.
Freezing isn’t recommended, as it can affect their texture. If you do choose to freeze them, separate layers with wax or parchment paper and store in an airtight container for up to 2 months. Let them thaw at room temperature before enjoying.
More Rice Krispies Recipes
- Holiday Rice Krispie Treats
- S’Mores Rice Krispie Treats
- Spider Rice Krispie Treats
- Oreo Rice Krispie Treats
Tap stars to rate!
Pumpkin Spice Rice Krispies
Equipment
Ingredients
- ½ cup (113g) unsalted butter
- 10 cups (430g) mini marshmallows, divided, this is about two 10 oz bags
- 3 tsp pumpkin pie spice *see note for homemade version
- ½ tsp salt
- 1 tsp vanilla extract
- 8 cups (224-240g) Rice Krispies cereal
- Orange food coloring, optional
Video
Instructions
- Measure out 10 cups of mini marshmallows. Then set 2 cups aside for later. Measure out 8 cups of Rice Krispies cereal. Set aside.
- Line a 9×13 inch baking dish with parchment paper. You can skip the parchment paper and grease your pan with butter if you prefer.
- In a large saucepan, melt the butter and 8 cups of mini marshmallows over medium-low heat. Stir until melted. Then stir in the pumpkin pie spice, salt, vanilla extract, orange food coloring (optional) and remaining 2 cups of marshmallows. Stir until the marshmallows are half way melted. Remove from the heat.½ cup (113g) unsalted butter, 10 cups (430g) mini marshmallows, 3 tsp pumpkin pie spice *see note for homemade version, ½ tsp salt, 1 tsp vanilla extract, Orange food coloring
- Mix in the rice krispies, stir until completely coated.8 cups (224-240g) Rice Krispies cereal
- Transfer the mixture to the baking dish. Gently press the rice krispies into the pan. The more you press them down, they become more dense and not quite as airy and gooey. Pro tip: use slightly wet hands when pressing them, this helps to prevent the mixture from sticking to your hands.
- Allow them to set, about 1 hour. Then slice with a sharp knife into squares and enjoy.
Notes


These are absolutely delicious!!!!!
My daughter said it smells like fall. We dug in & these are delicious!
Thank you
I wish I could add a picture, I poured some chocolate chips on top and they turned out amazing. My daughter is picking out every piece out the cooled pan. ❤️😋