This post may contain affiliate links. Please read our disclosure policy.
If you missed previous posts in our rustic wedding series, you can check out reception decor part 1 here and reception decor part 2 here! Today I will be sharing ceremony decor ideas.
Rustic Wedding Series – Part 3, Ceremony Decor
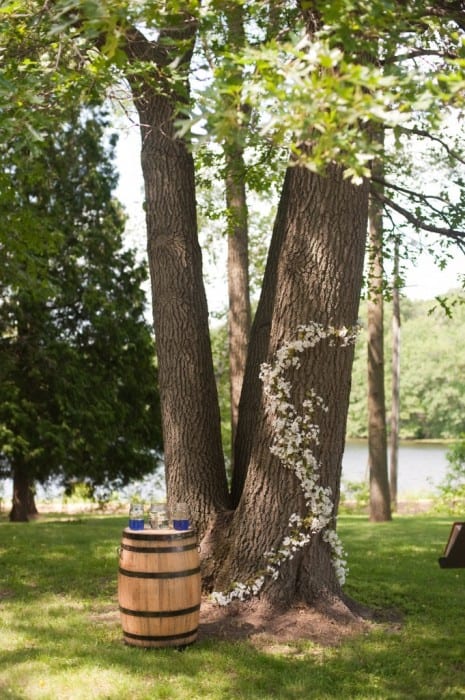
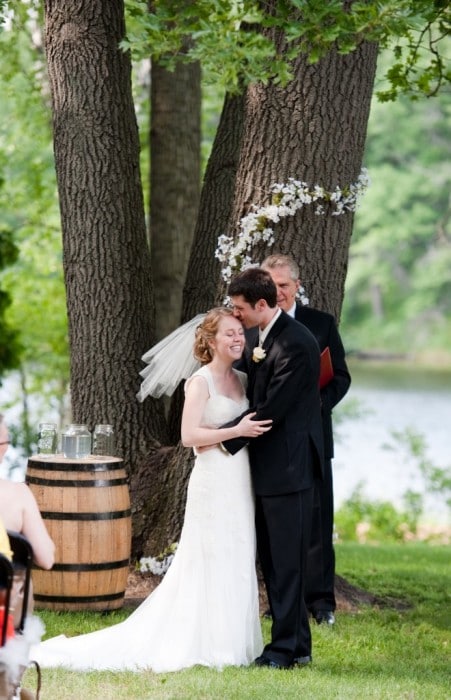
Ceremony Focal Point – a tree, not an arch!
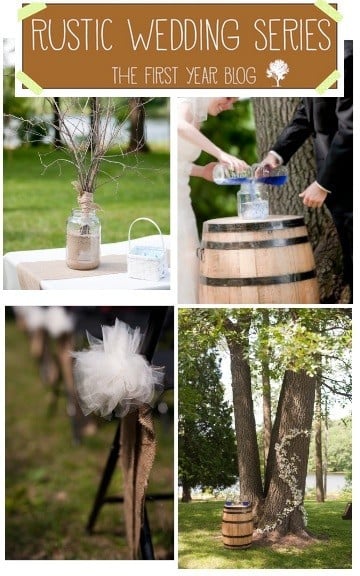
Choosing a tree as a focal point was a beautiful natural choice. We wanted to add a little definition to it, so we bought artificial flower strands at Michael’s and secured them to the tree using twine and several nails. We rented a barrel and used it as a stand to display our unity reaction. This unity reaction was super fun, I’ll describe it a little bit later.
Chair Decorations
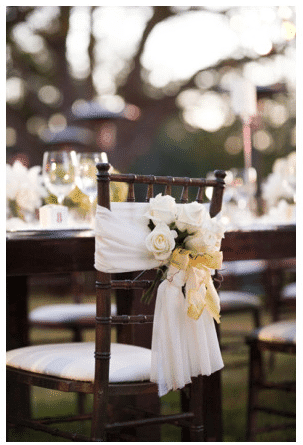
Of course I wanted to get some fancy pants chair like this..
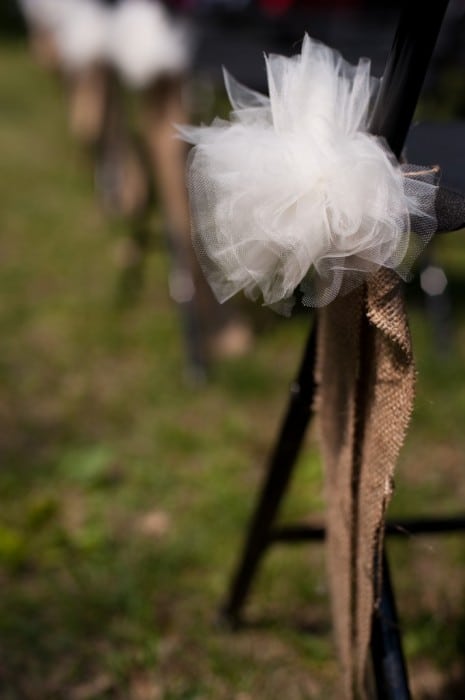
But I wasn’t going to fork over $5+ per chair. So we ended up going with simple black folding chairs. We made our own tulle puff balls with burlap and attached them to the inside aisle chairs.
Here are 2 different tutorials for making tulle puff balls. The wrap around method from Mom Dot and the strip/square method from My Creative Way.
Branch Displays
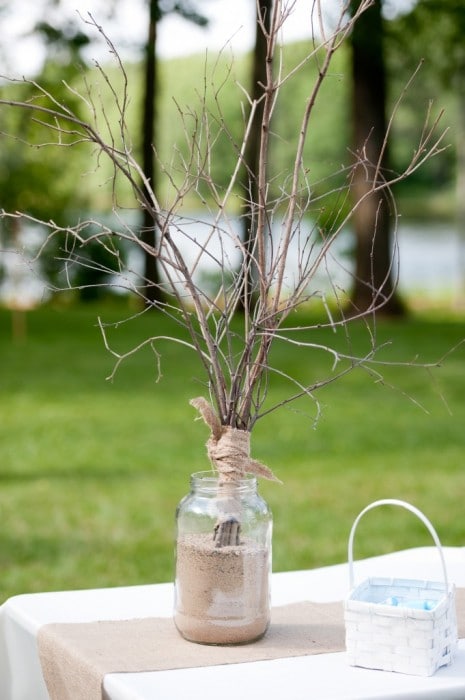
We also used several of these displays at our reception venue. We used twigs and branches from our backyard and secured them together with burlap. We got a huge (and I mean massive) roll of burlap from uline.com, so we incorporated burlap into a lot of our ideas. The glass jars came from a restaurant my sister worked at, and we filled them with sand to hold the branches in place.
Unity Reaction
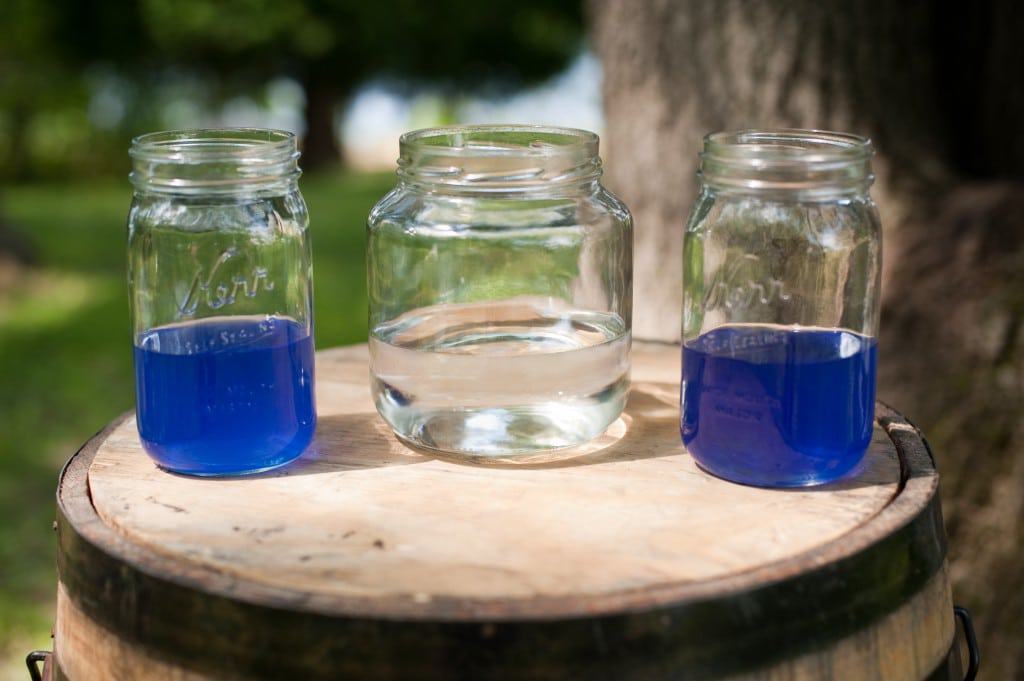
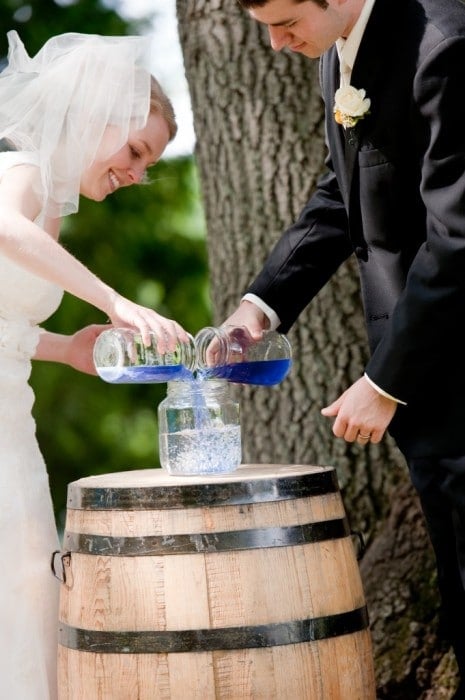
Coming up with our unity reaction was super fun. We didn’t want to do a candle or sand, so Ryan (and his smart chemistry brain) came up with this idea and we called it a “unity reaction”. When we combined the 2 blue solutions into the center jar, everything turned clear.
We had done some trial runs, but it was a huge relief when it worked!
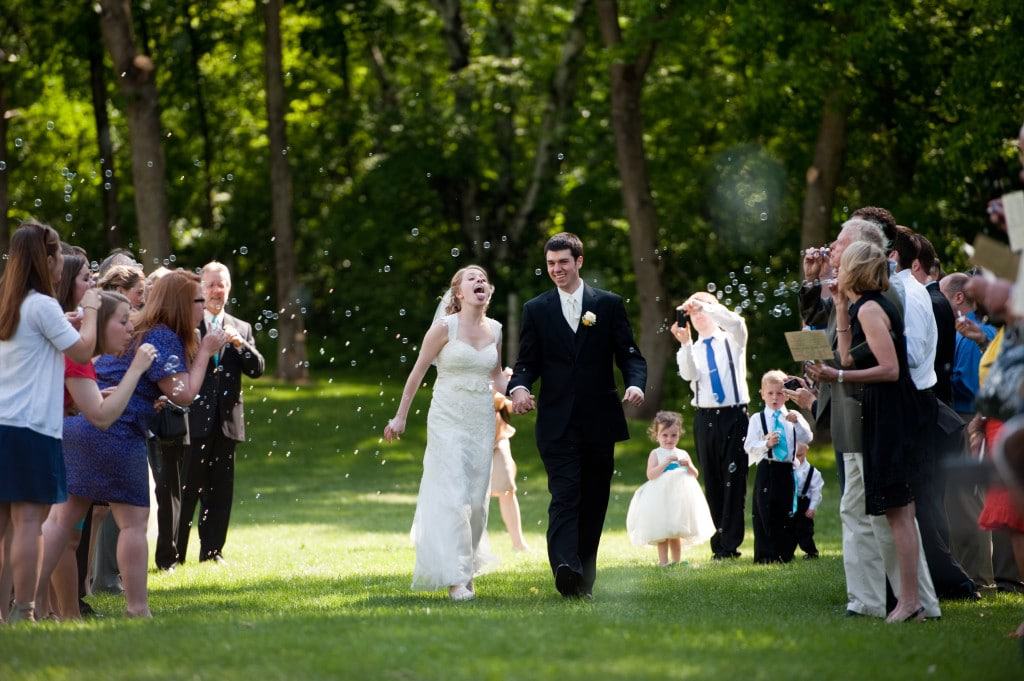
Bubble Send Off
And there I am, caught on camera, catching bubbles :-) We ordered about 150 bubbles from Oriental Trading for under $10.
Getaway Car
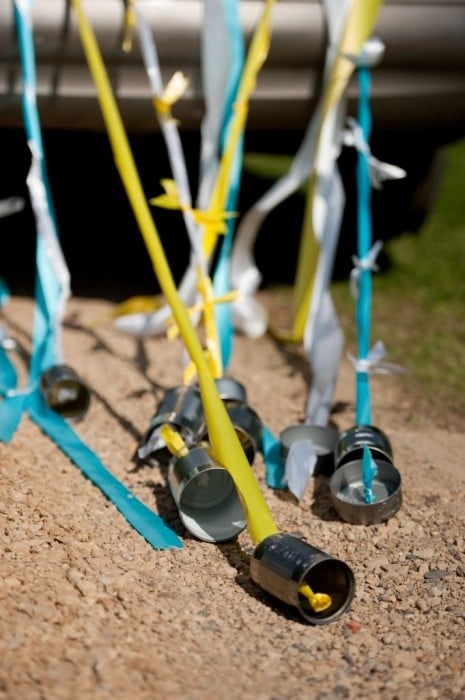
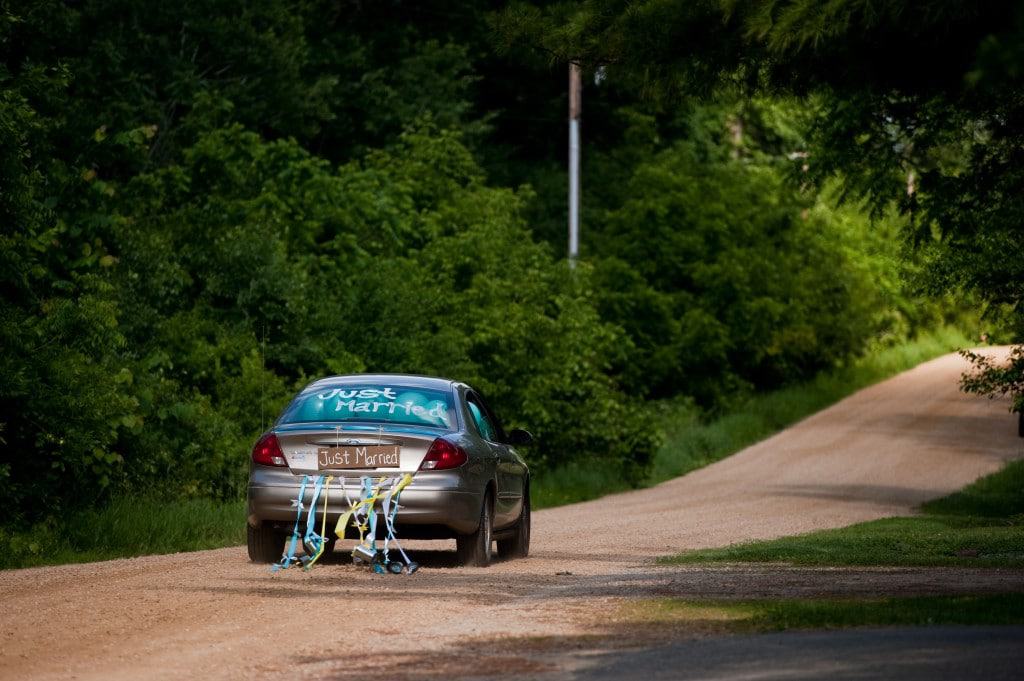
Made with ribbons and cans. All of the strands were attached to a stick, which was put inside the trunk of the car.
We also made a hanging “Just Married” sign out of wood and paint to cover the license plate. We somehow got it rigged around the trunk.
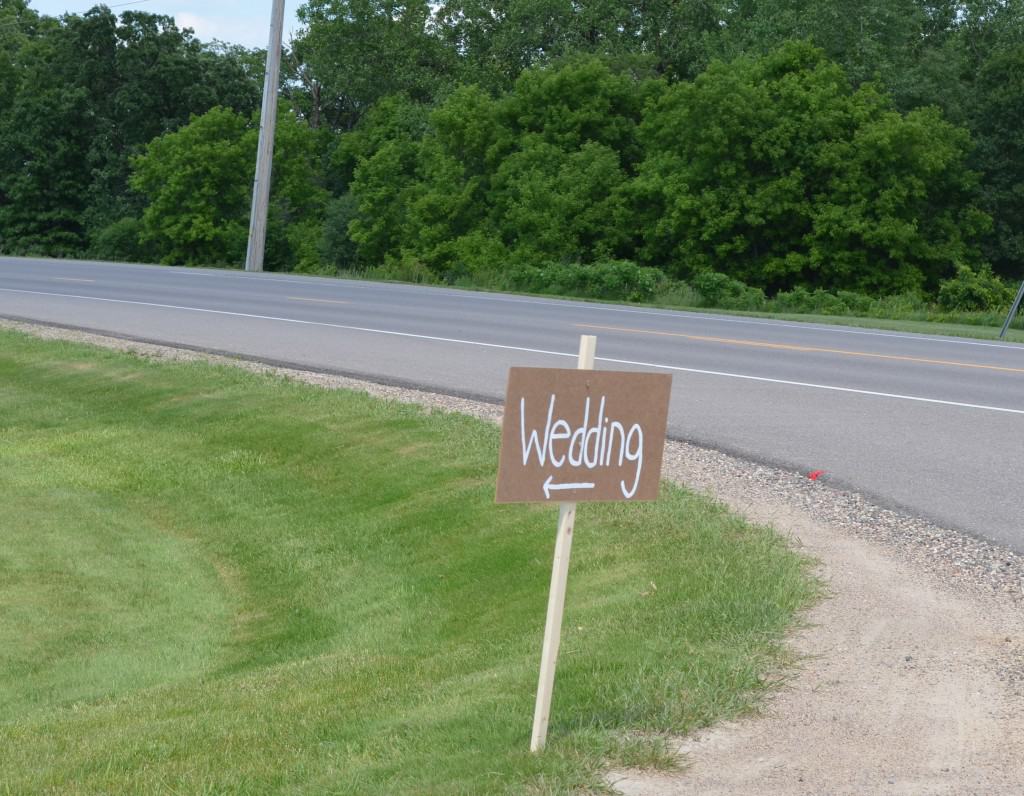
Wooden Direction Signs
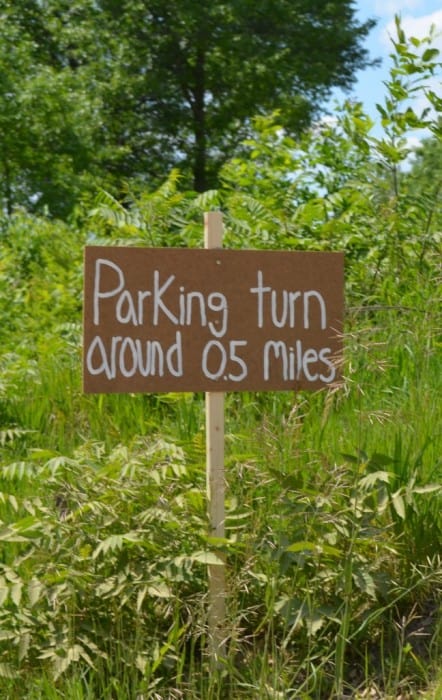
We kind of had a hidden ceremony venue, but we were very lucky because a family friend let us have our wedding on his residential property!
We used wood from Home Depot for the sign and stake and screws to hold the sign into the stake.
Coming next in the series, we will highlight all of the wedding stationary and flower details.
Most photos taken by Crystal Rose Photography.






Can you please give details on what chemicals were used for the blue water combining to become clear.
Hi Jared, we used disappearing ink and added vinegar to change the color. If you google that, directions should come up!
I wish I knew what was the blue & clear liquid. Love to use this.
Hi, I really like your unity reaction, but have been unable to find what solutions are able to start out blue then become clear when combined, would you be able to share the reaction with me? Thanks.
After consulting with my husband (the chemist!) this is what he said:
What we did is use disappearing ink (you can find it online). Then we just diluted it into a solution of sodium hydroxide (lye) and that made the blue solution. In the unity jar (the middle one) we had lots of vinegar. Pour the blue solution into the vinegar (middle jar) and it turns clear!
You’ll have to play with the proportions in order to get it to work efficiently. The key is to use just enough sodium hydroxide to get the solution to stay purple. But the more you add, the more vinegar you will have to add to get it to change to clear.
I hope that helps!
Thank u so much sharing this idea. It is so excited.I like the creativity in wedding decoration.I can’t wait for it. Iove to see your wedding pictures.