This post may contain affiliate links. Please read our disclosure policy.
I’m not just saying this is the best zucchini muffin recipe, I actually put in the work to be sure it is! I tested these 5 times before I landed on the perfect zucchini muffin, and now I’m excited to share my 39th muffin recipe with you!
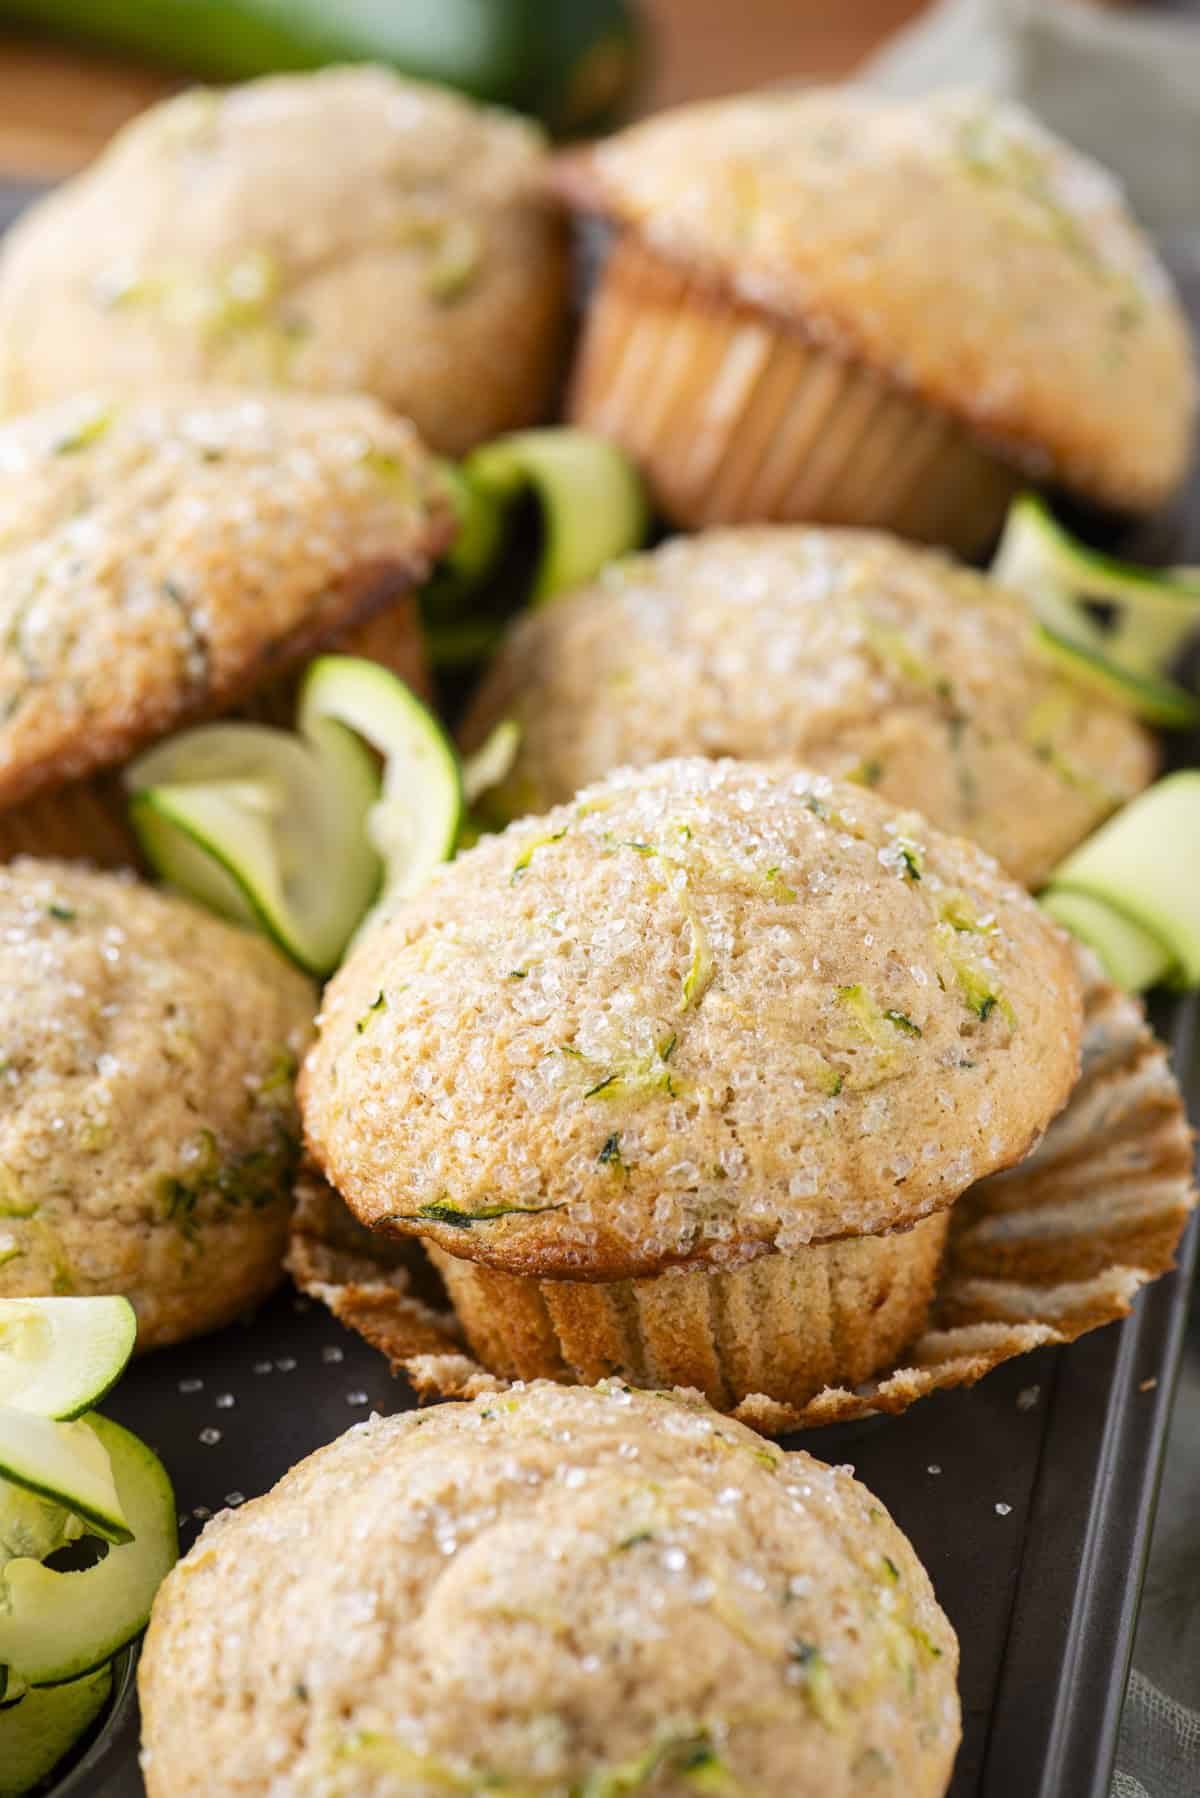
I was looking for grab and go options and this recipe seemed perfect! I made these in mini muffin tins and they were perfect! Every recipe I try from Beth is amazing and a huge hit in my house! They are delicious, moist, and just the right amount of sweet! 10/10 I will be making these again!
-Isabella
What Makes this the Best Zucchini Muffins Recipe
Some of the most common issues people run into when making homemade zucchini muffins are that they come out too soggy or too dense in texture. But I’m no stranger to perfecting muffins. I became an expert in making bakery-style muffins when testing countless muffin recipes for my muffin cookbook.
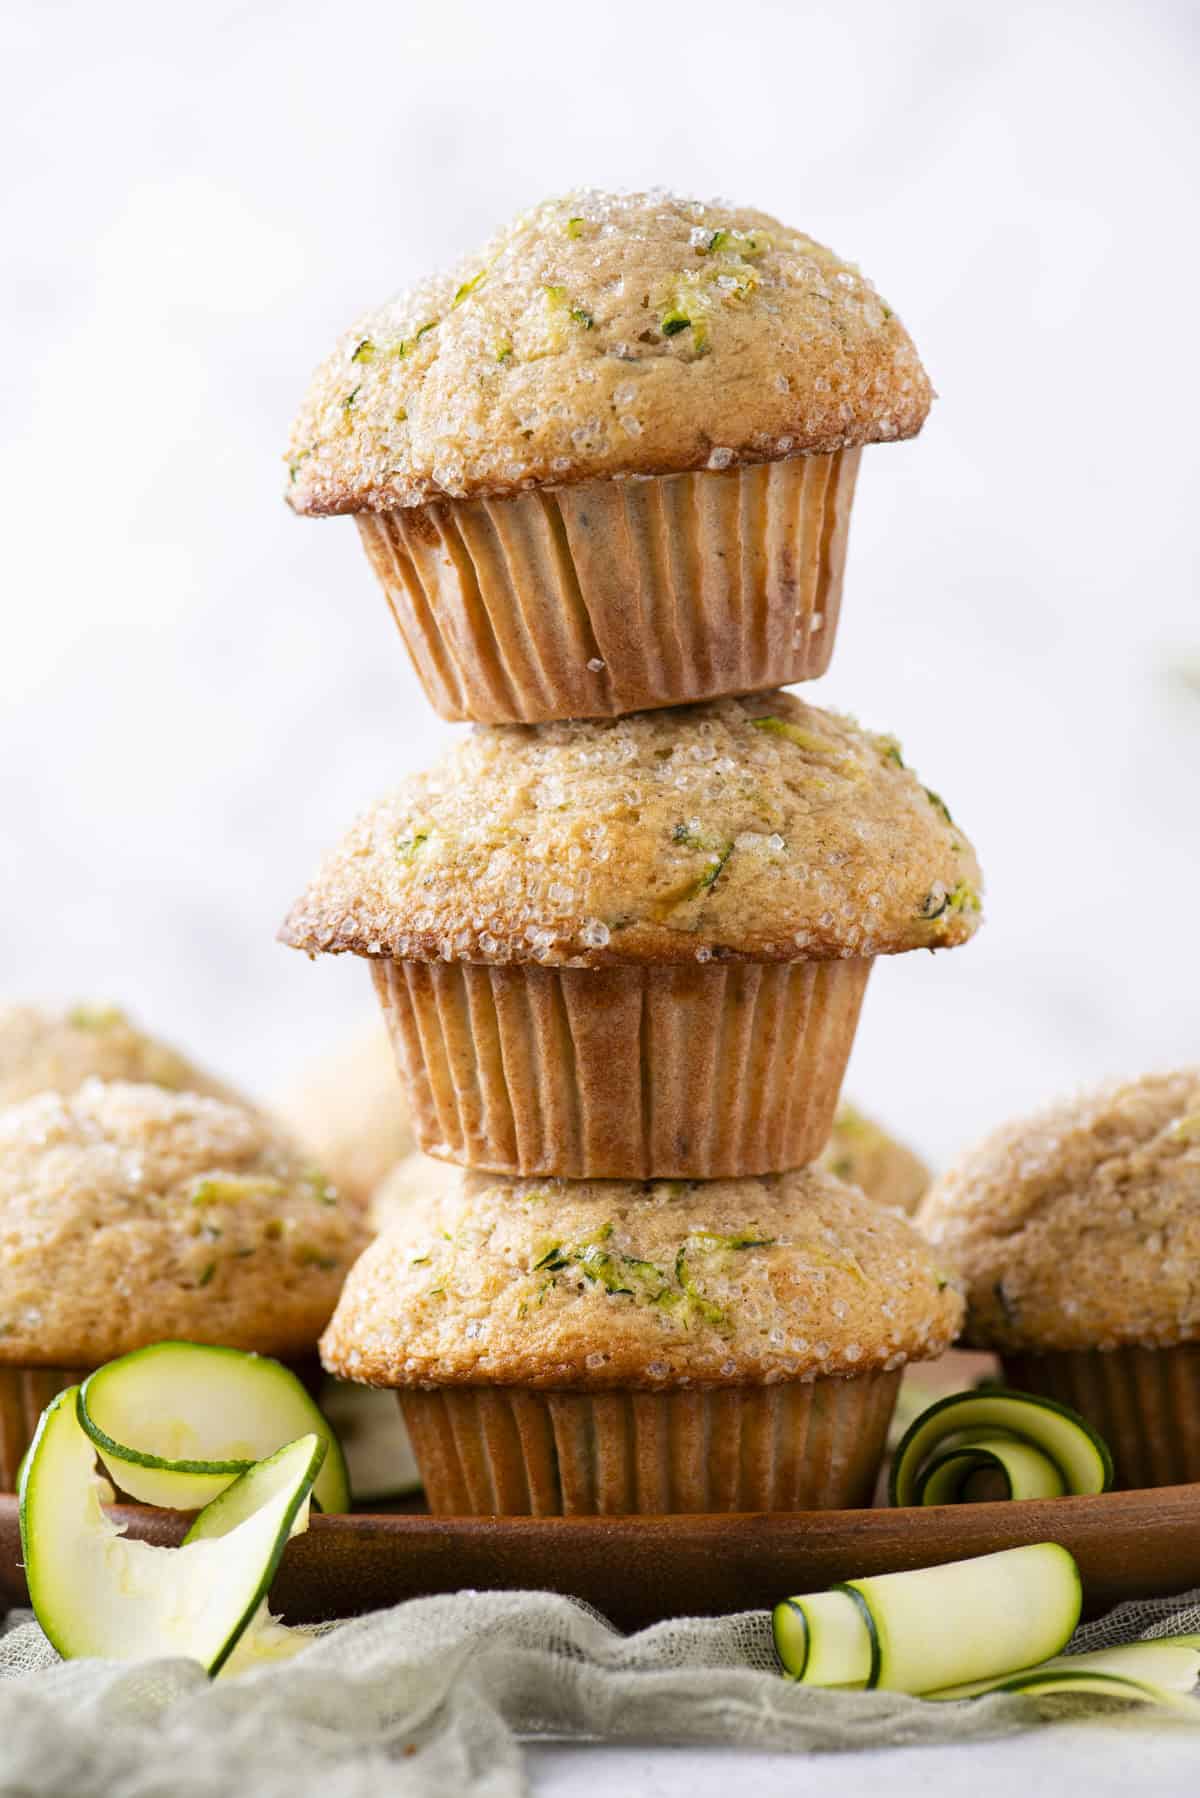
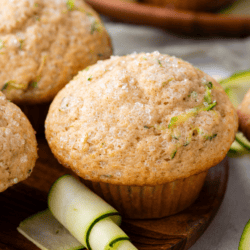
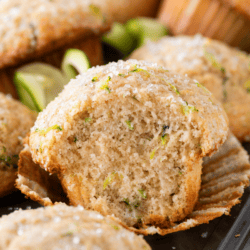
When you follow my 8 easy steps below, plus all my extra secrets for perfect muffins, you will have moist, fluffy muffins that are packed with flavor, and never soggy. I’ll also teach you my foolproof method for making tall, domed bakery-style muffin tops that will wow your friends and family. Plus, these only take 10 minutes of active prep time!
These healthy zucchini muffins are a great way to use up an abundance of zucchini during zucchini season, and I love that these make the perfect snack, treat, or dessert! They are a huge hit with my family every time I make them. As a mom, this is one of my favorite ways to sneak some extra veggies in (this and my zucchini bread recipe)!
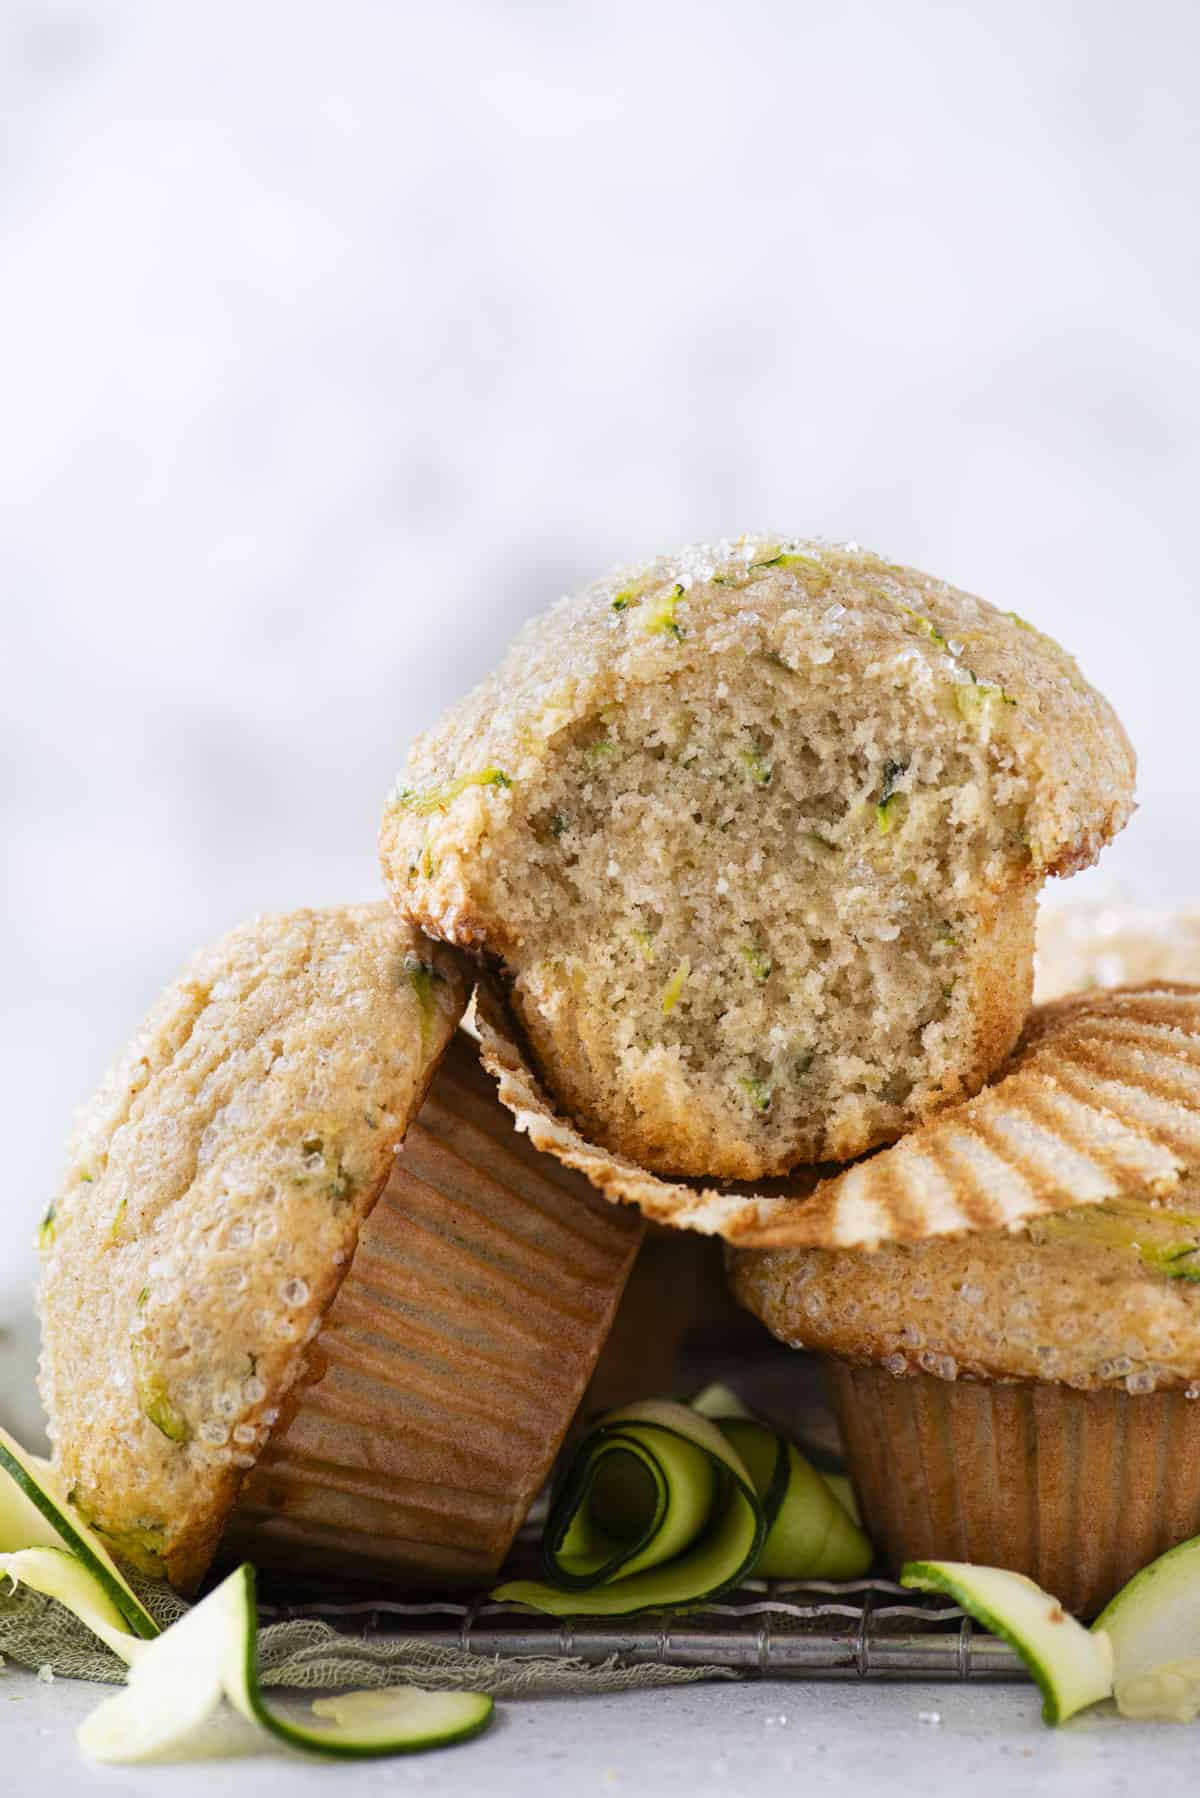
Zucchini Muffin Recipe Ingredients
These delicious zucchini muffins are made with simple ingredients you likely already have on hand in your kitchen plus, of course, zucchini! Keep reading for all my muffin tips and get the full recipe with measurements and ingredients in the recipe card below. Here’s what you’ll need:
- All-purpose flour
- Granulated sugar
- Baking powder
- Salt
- Cinnamon
- Eggs
- Buttermilk
- Vegetable oil
- Vanilla extract
- Grated zucchini: must squeeze to remove excess liquid
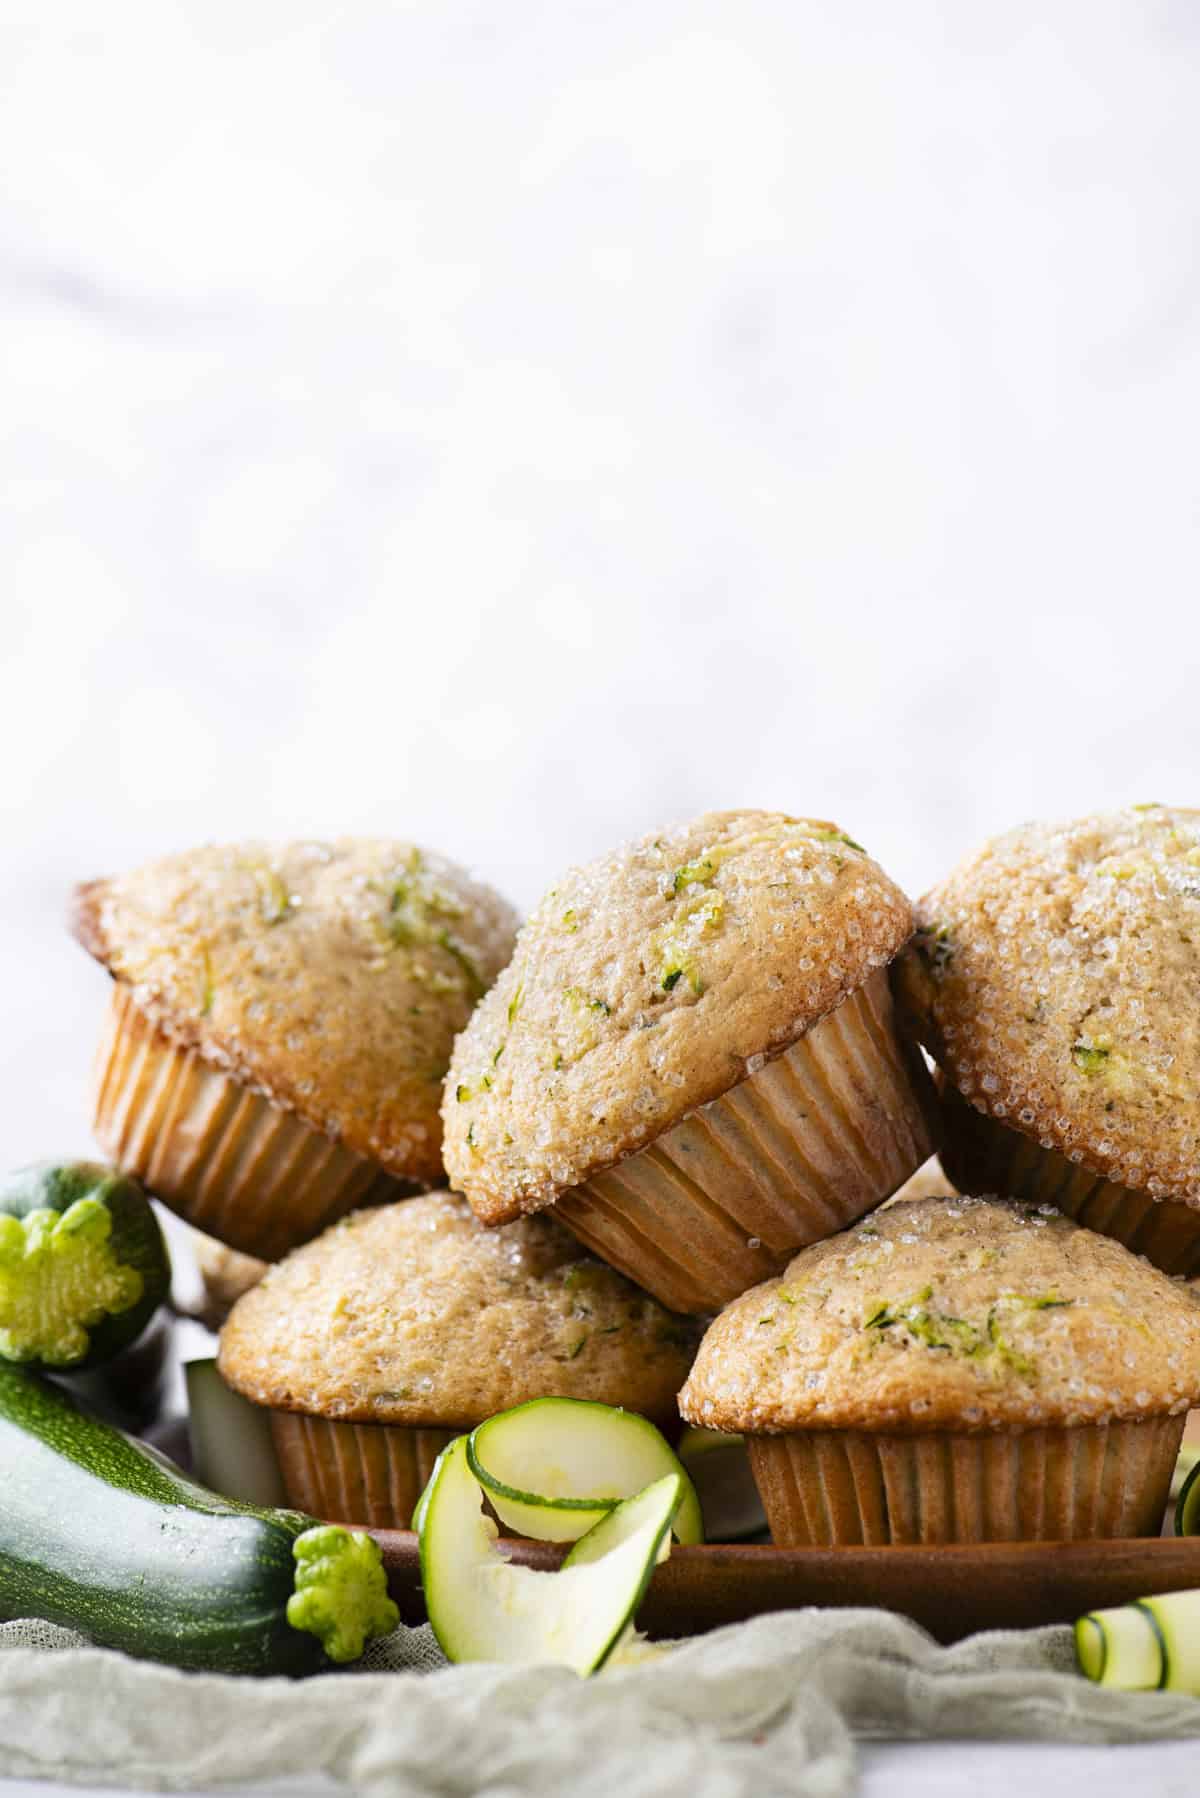
How to Make Zucchini Bread Muffins
Make my easy zucchini muffins in just 10 minutes of prep time when you follow these 8 simple steps. Keep reading to learn how to make the tops of the muffins domed just like a professional bakery! Here are the foolproof steps:
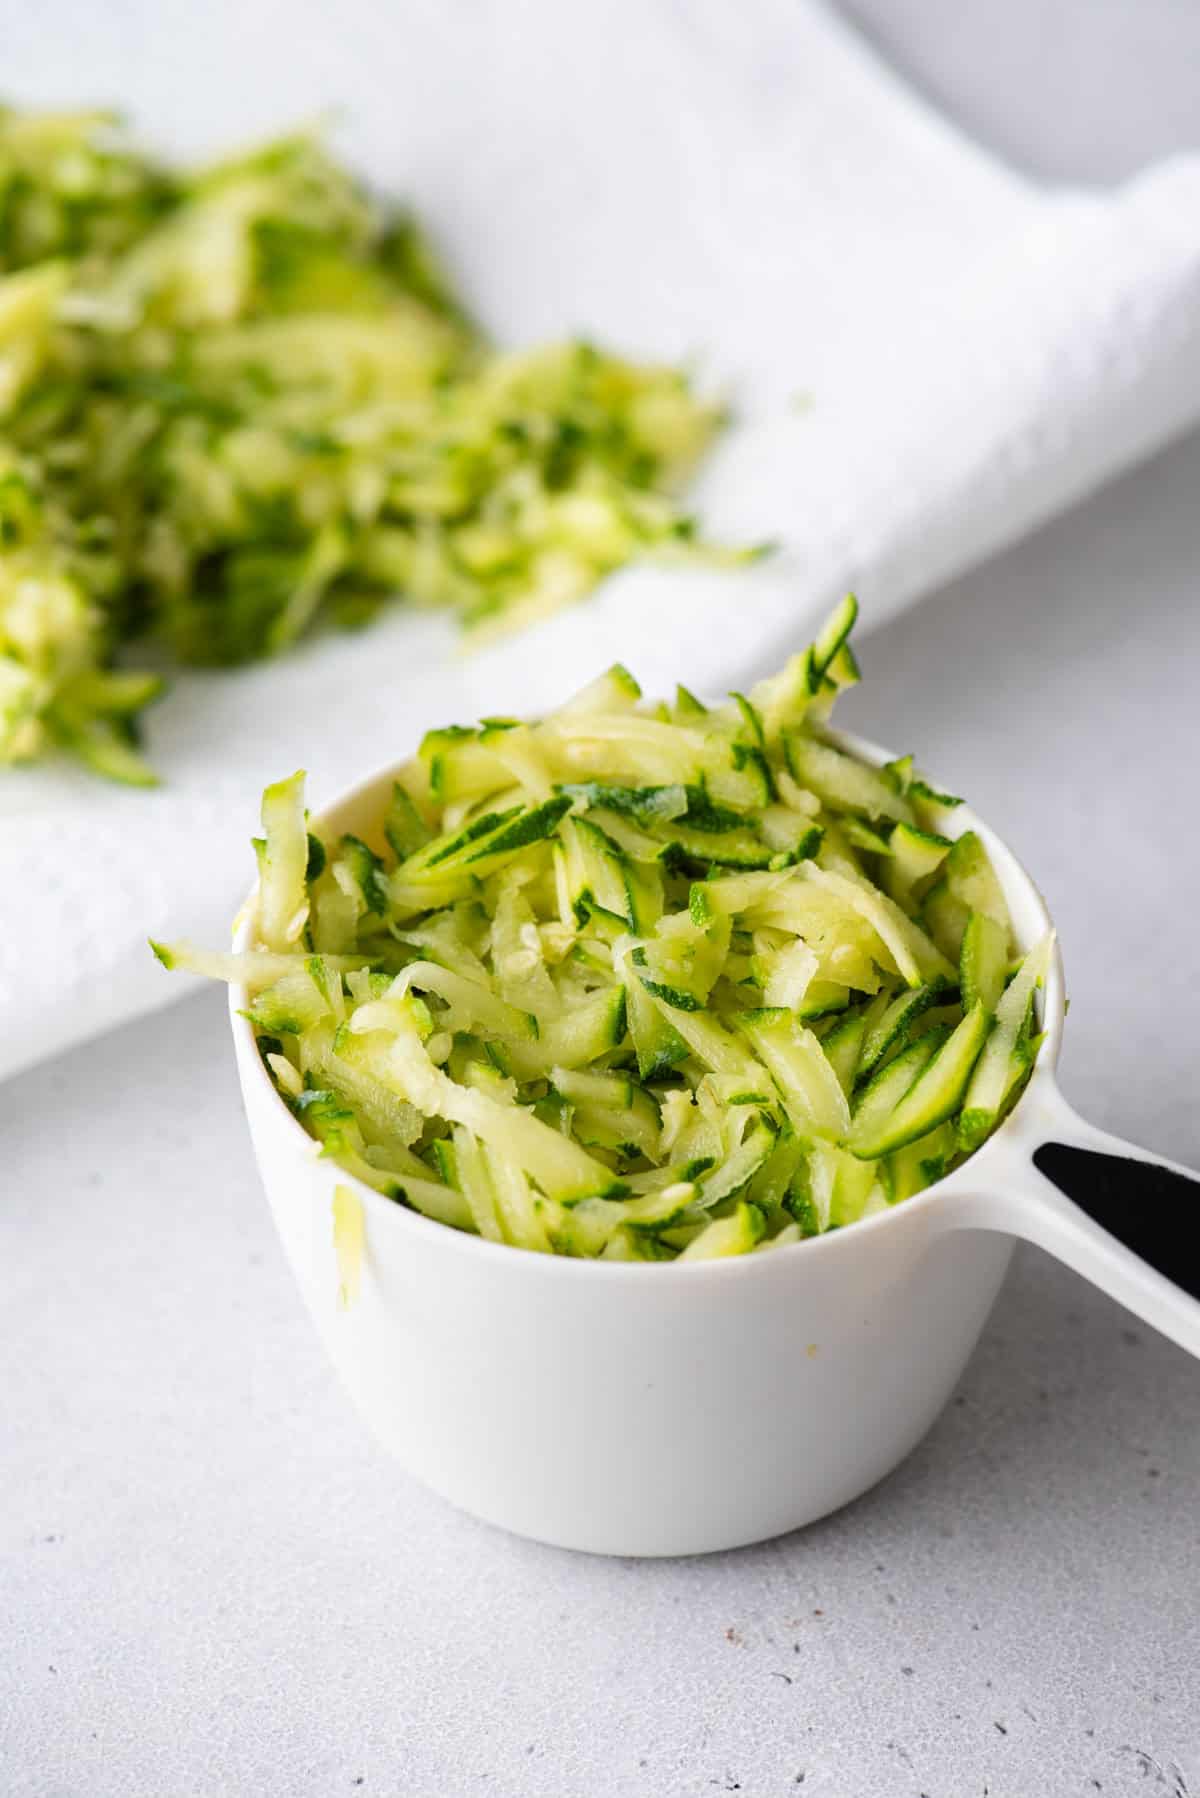
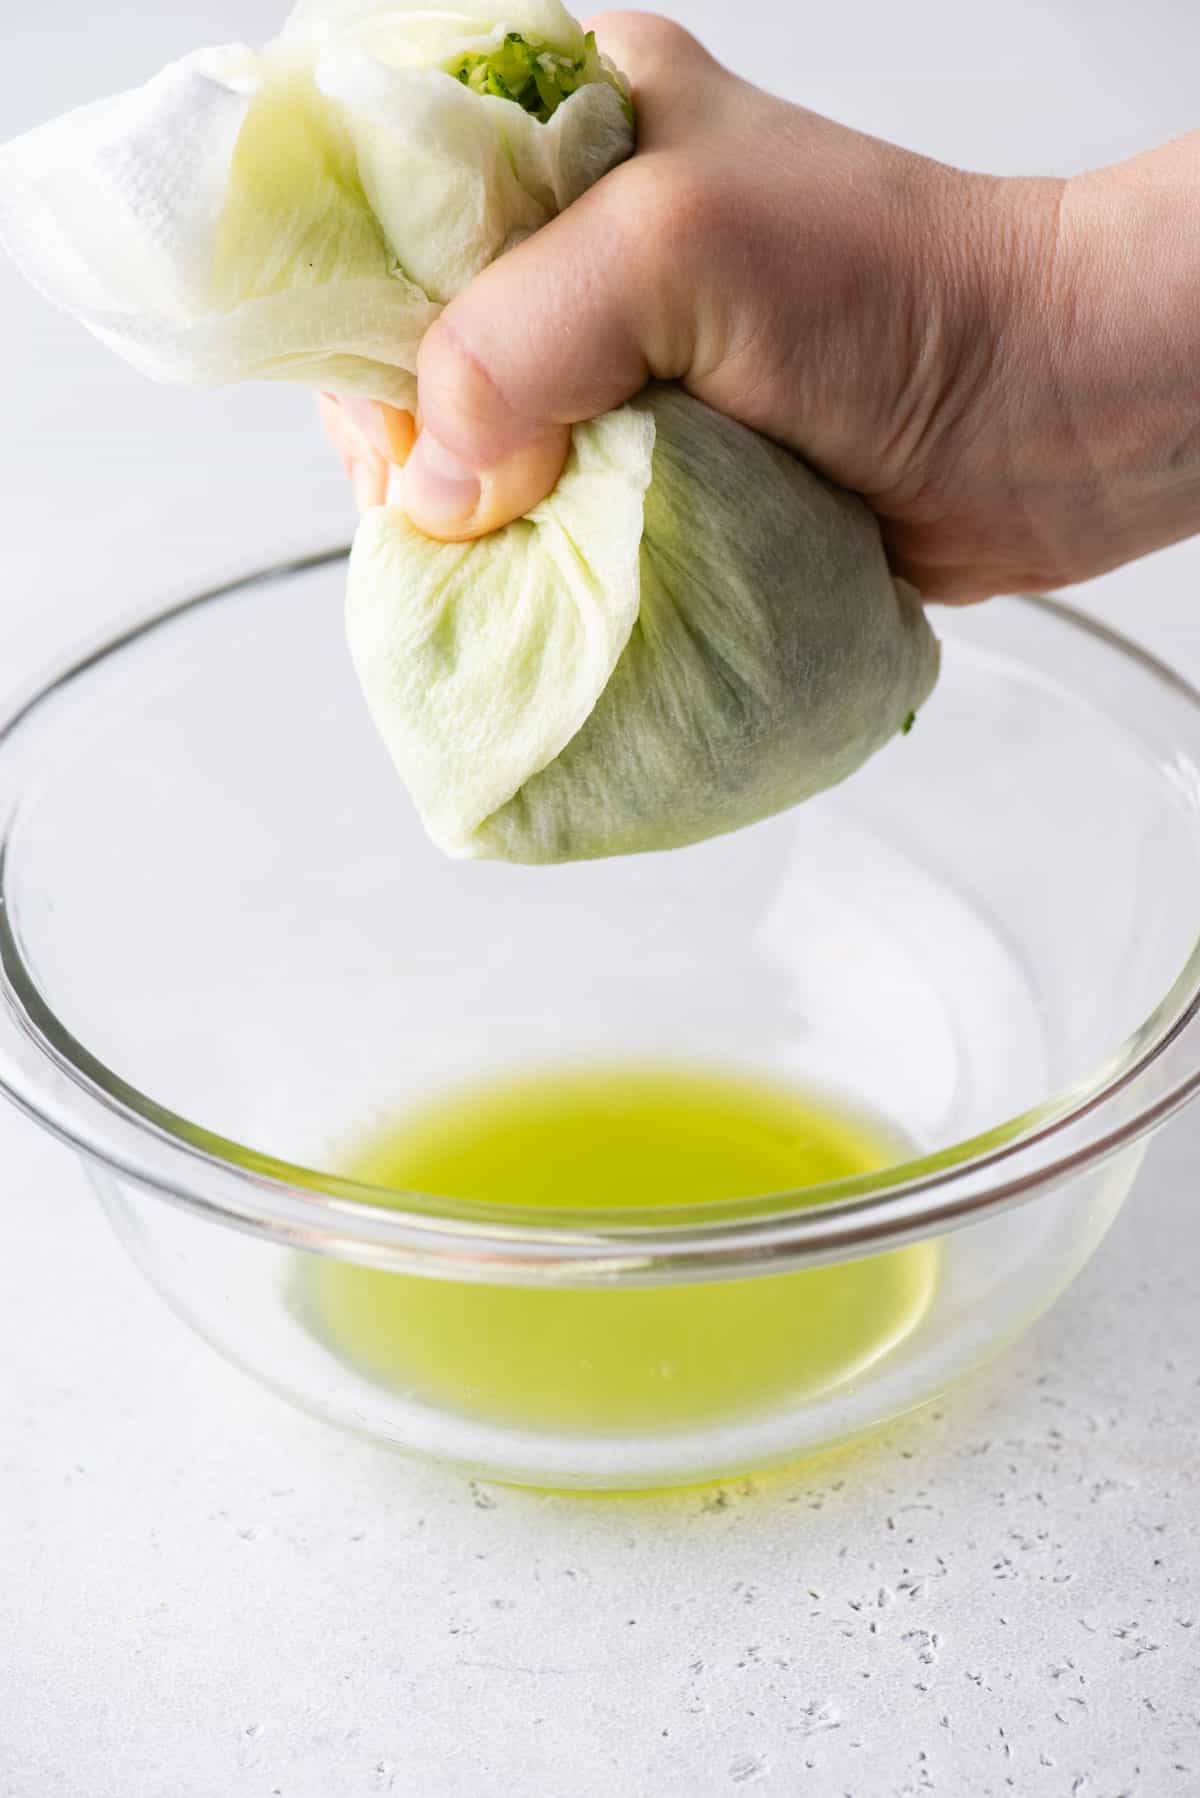
- Grate zucchini. Use a box or cheese grater to finely grate the zucchini. Measure out 2 cups. Next, wrap the shredded zucchini in a few paper towels and squeeze out the excess liquid. Discard the liquid and set the zucchini aside.
- Measure flour (read more on this below). The most accurate way to measure flour is to use a kitchen scale, weighing it in grams. If you don’t have a kitchen scale, follow this method: Aerate the flour with a whisk or spoon. Flour becomes heavy and compact as it sits. Aerating is the same as fluffing the flour. Use a spoon to sprinkle the flour into the measuring cup. Do not tap the cup against the counter, as this will compact the flour. Use the back of a butter knife to level off the excess.
- Mix dry ingredients. In a medium bowl combine the flour, sugar, baking powder, salt, and cinnamon. Stir together and set aside.
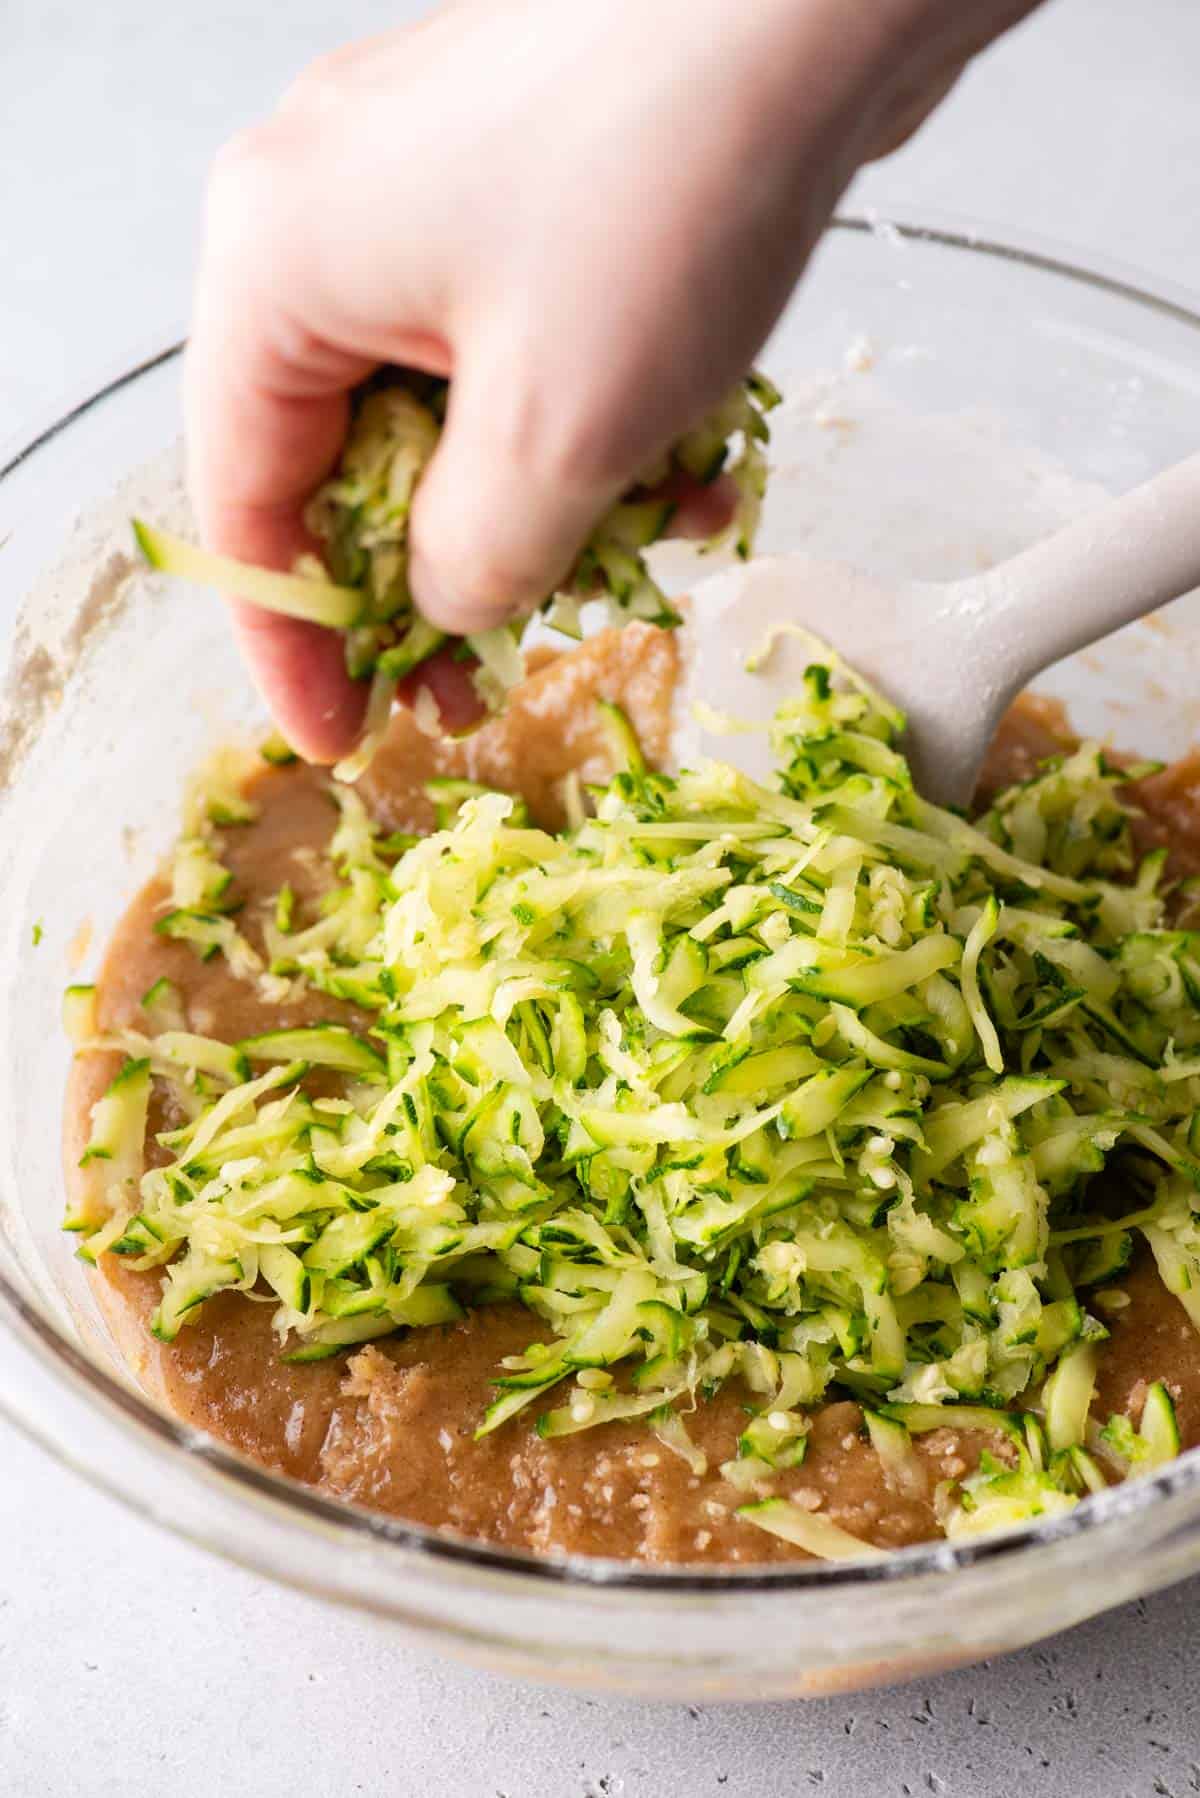
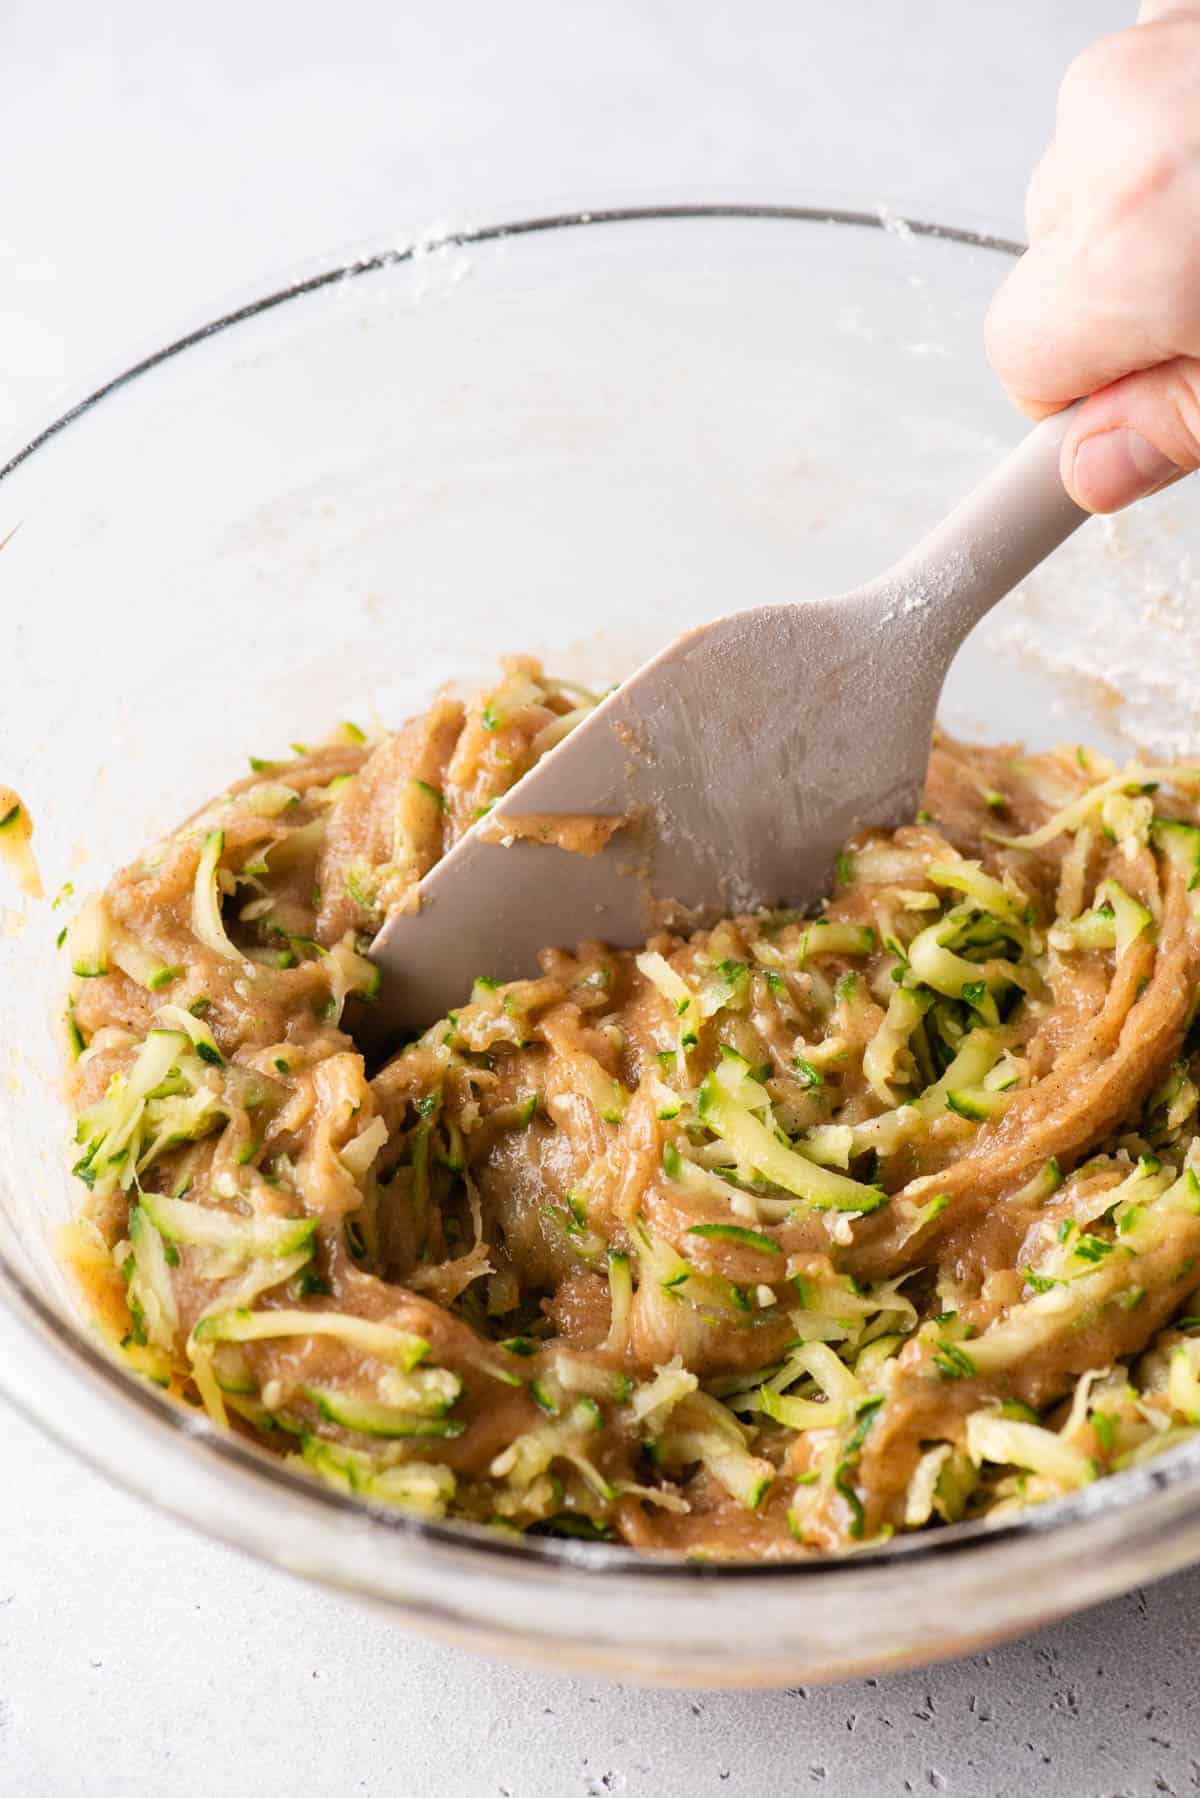
- Mix wet ingredients. In a large mixing bowl combine the eggs, buttermilk, vegetable oil, and vanilla extract. Stir to combine. Then stir in the grated & squeezed zucchini.
- Combine wet and dry ingredients. Gradually mix the dry ingredients into the wet ingredients, mixing just until combined. The batter will be thick.
- Rest better and prep oven. Cover the bowl with a towel and allow the batter to rest for 15 minutes. During this time, preheat the oven to 425ºF / 220ºC.
- Fill liners with batter. For bakery style muffins, line a 12 count muffin tin with 6 muffin liners, meaning you’ll only fill every other muffin well with batter. Fill the paper liners with 6-8 heaping tablespoons of batter. Sprinkle them with sanding sugar.

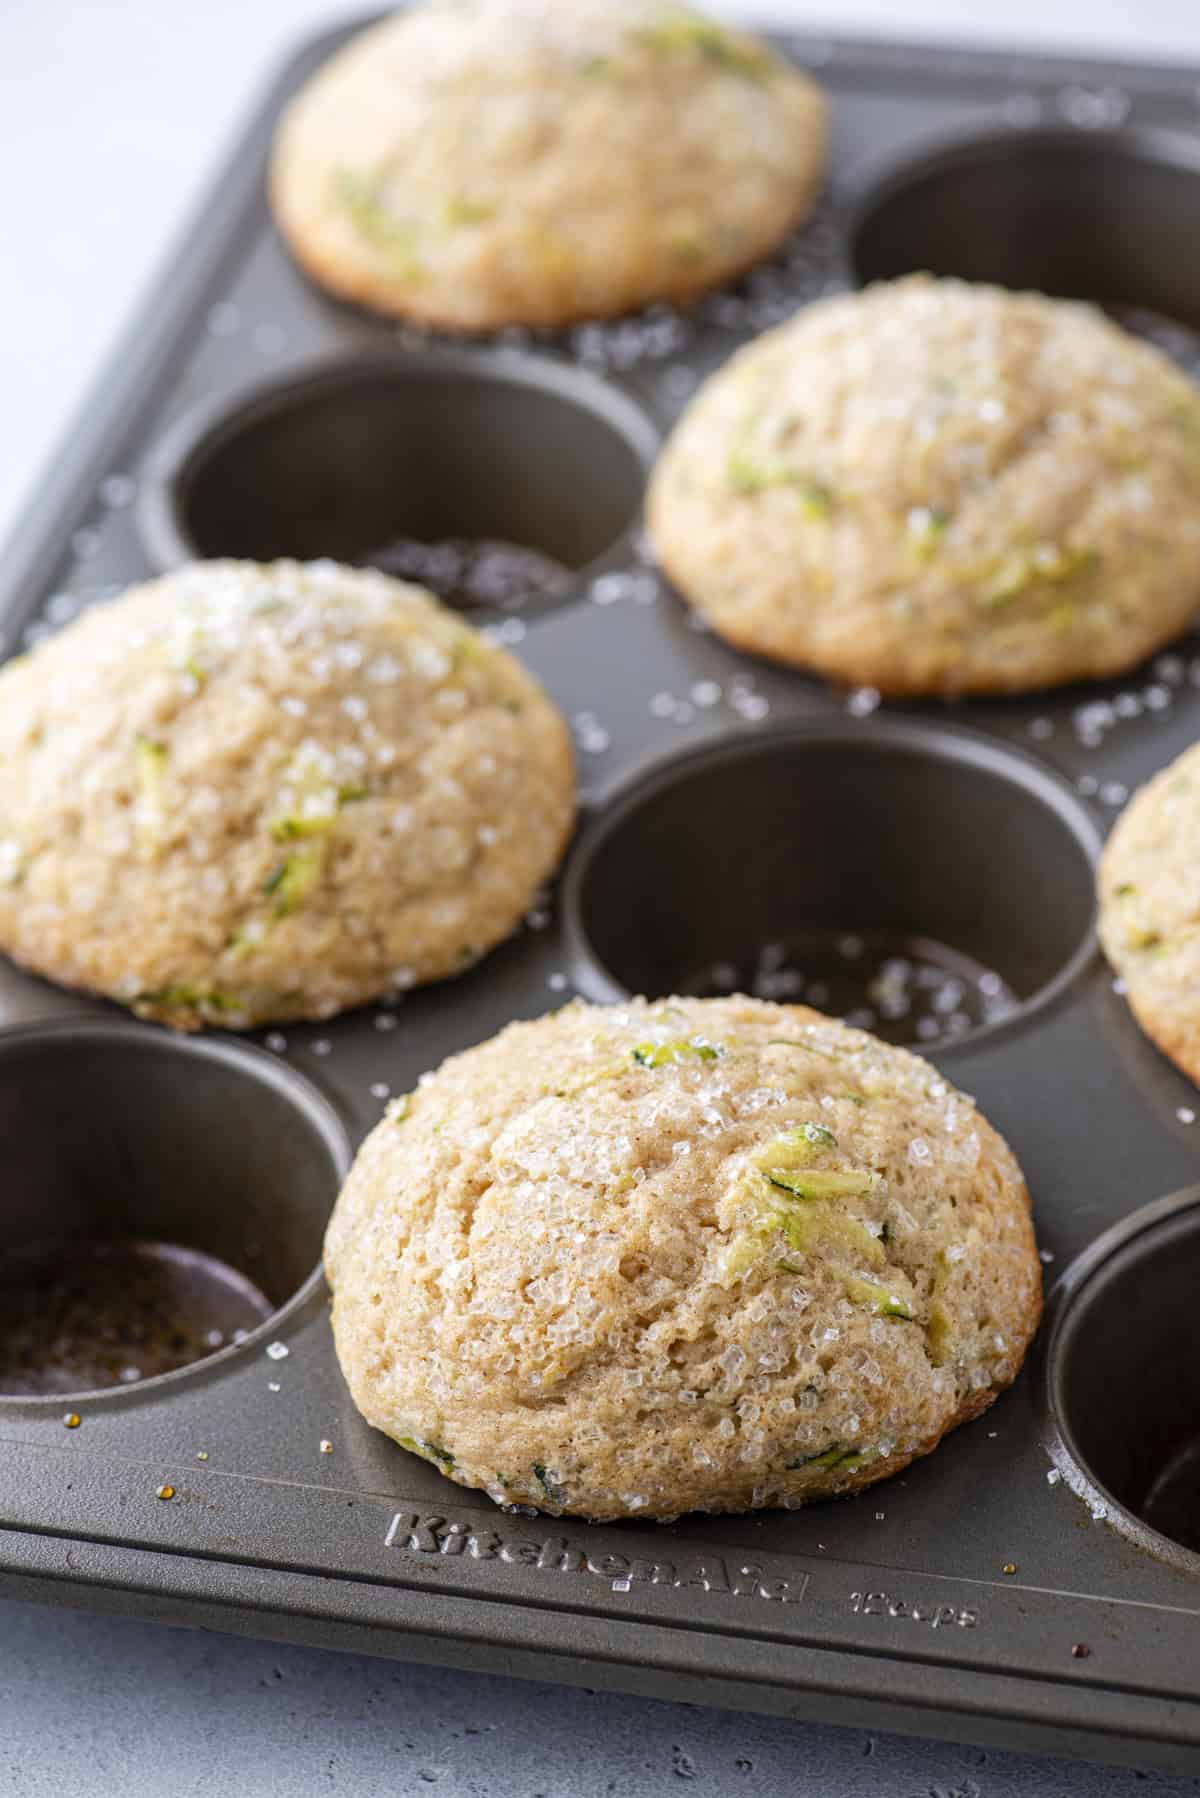
- Bake and cool. Place one pan in the center of the oven and bake for 7 minutes at 425ºF / 220ºC, then keep the muffins in the oven, turn the temperature down to 350ºF and bake for 15-18 minutes or until a toothpick inserted in the center comes out clean. Allow the muffins to cool in the pan. Repeat with the remaining batter, bumping the temperature back up to 425ºF. Using my bakery style method I got 9 muffins.
How to Create Bakery Style Muffins
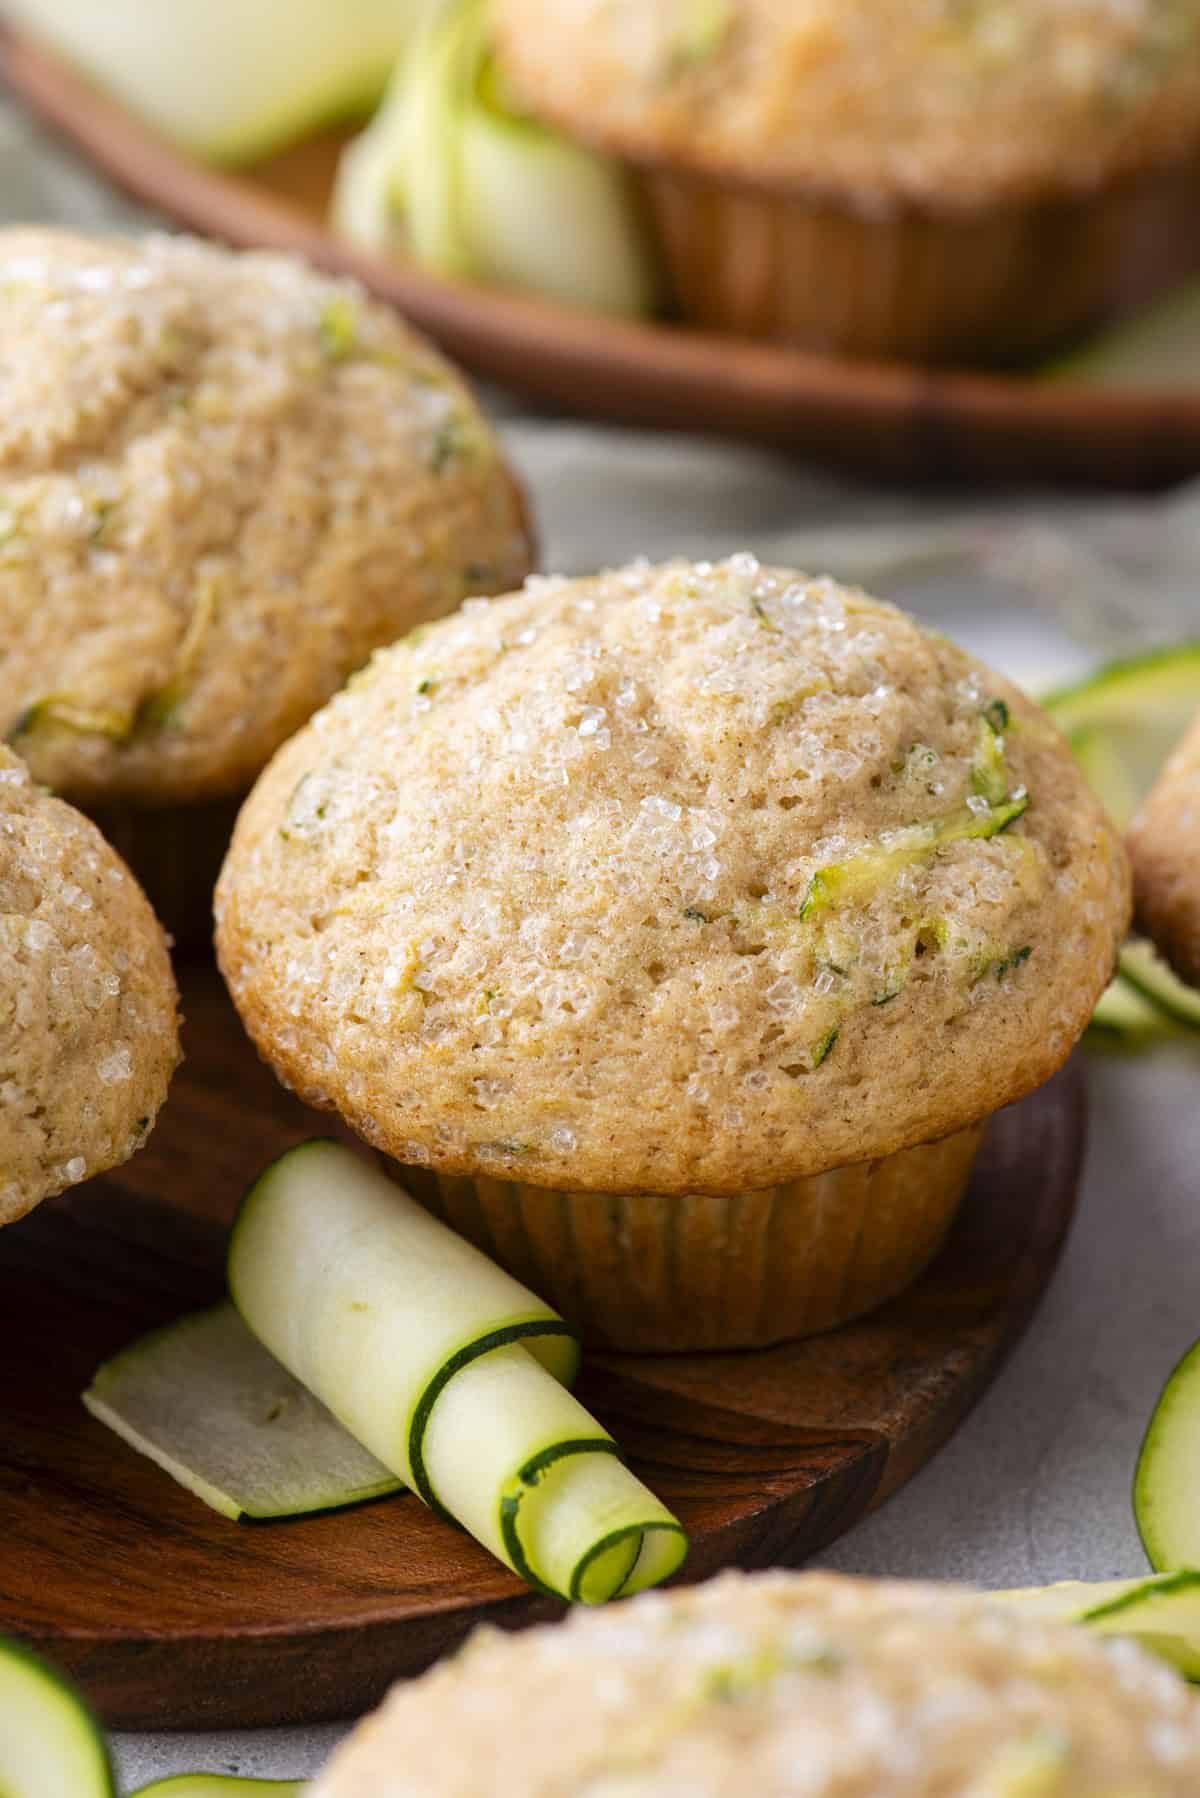
Bakery style muffins are known for their domed tops. Plus who doesn’t love them? I used a few techniques to help “lift” these muffins so they would have large, domed tops!
1. The Rest Period
Let the batter rest for 15 minutes after it’s mixed and before you scoop it into the muffin pan. During the resting period, starch molecules in the flour are absorbing the liquid in the batter, causing them to swell and giving the batter a thicker consistency (ref the kitchen whisper). Our 15 minute rest is just a quick rest.
2. Fill Every Other Muffin Cup
This tip has been a game changer! For bakery style muffin tops, line a 12 count muffin pan with 6 muffin liners, meaning you’ll only fill every other muffin well with batter. Filling every other cup allows the muffins to spread and dome without running into each other. This technique also encourages the muffins to brown, creating a golden muffin top.
3. Fill Them To The Top
Fill your muffin liners to the top with batter. Yes, this goes against everything you’re heard but it’s important in helping the muffin gain that height.
4. Bake at High Temperature Initially
Bake the muffins at a high temperature (425ºF) initially, then lower to 350ºF. Starting the muffins off at a higher temperature causes the batter to rise rapidly, setting the outer surface of the muffin, producing a dome shape.
How to Properly Measure Flour
The most accurate way to measure flour is to use a kitchen scale, weighing it in grams.
If you don’t have a kitchen scale, follow this method.
- Aerate the flour with a whisk or spoon. Flour becomes heavy and compact as it sits. Aerating is the same as fluffing the flour, but not the same as sifting it. Do not sift the flour unless the recipe specifically calls for it.
- Use a spoon to sprinkle the flour into the measuring cup. Do not tap the cup against the counter, as this will compact the flour.
- Use the back of a butter knife to level off the excess.
Zucchini Muffin Variations
This is my absolute favorite zucchini recipe and needs no changes, but there are a few ways you can change it up if you want to. Here are some ideas:
- Gluten free zucchini muffins: I’ve made these muffins with both regular and gluten-free flour with AWESOME results on multiple occasions. I recommend King Arthur Gluten Free Measure for Measure Flour. Use it as a one-for-one substitute for regular flour.
- Chocolate chip zucchini muffins: Add 1.5 cups of chocolate chips if you’re craving a chocolate chip muffin but want to make it a little healthier. It’s a great combo!
- Zest it up: Mix in 2 tablespoons of lemon zest for a fresh, bright flavor.
- Other add-ins ideas: Mix in any of your favorite add-ins like chopped nuts, shredded coconut, or raisins.

How to Store Zucchini Bread Muffins
Storing and Freezing Muffins
Muffin Storage
If you’ll be eating the muffins within 24 hours of baking, you can leave them uncovered on the counter. The muffins will not dry out while left at room temperature for 1 day.
In fact, muffins are so moist they can become soggy and those crunchy, sugary tops can disappear when stored in an airtight container.
But I have a trick to help that – paper towels.
For longer storage, 2-4 days, line the bottom of an airtight container with paper towels. Place the muffins in a single layer in the container then cover the muffins with any additional layer of paper towels. The paper towels will act like a sponge, absorbing the moisture they release while they are stored.
If the paper towels become too moist around day 2 or day 3, replace them with fresh paper towels.
How To Freeze Muffins
Individually wrap each muffin in plastic wrap. Then place them in a ziploc bag or airtight container and place in the freezer for up to 3 months.
To thaw, leave them at room temperature until defrosted, about 1 hour. Or unwrap them and microwave at 20 second intervals until defrosted.
Zucchini Muffins Recipe FAQs
No, it is not necessary to peel zucchini before grating it for zucchini muffins. The dark green skin also adds nice bits of color to the muffins.
There are a couple of reasons why your zucchini muffins may not have risen. If you used old leavening agents you may have issues with rising, so be sure to use fresh ingredients. If you didn’t squeeze the zucchini to remove the excess moisture, this can also cause the muffins not to rise.
Zucchini muffins can turn out too dense and not fluffy for a couple of reasons. Be sure to use fresh ingredients. Old leavening agents may not allow your muffins to rise properly, making them too dense. Also, be sure to remove all excess moisture from the zucchini. If you don’t this extra liquid and moisture can create dense muffins.
More Muffin Recipes
Tap stars to rate!
Zucchini Bread Muffins
Ingredients
- 3 cups (360g) all-purpose flour
- 1 ⅓ cups (264g) granulated sugar
- 3 tsp baking powder
- ½ tsp salt
- 1 tsp cinnamon
- 2 large eggs
- ¾ cup (177ml) buttermilk
- ½ cup (118ml) vegetable oil
- 2 tsp vanilla extract
- 2 cups (200-230g) grated zucchini, must squeeze to remove excess liquid
Video
Instructions
- Use a box or cheese grater to finely grate the zucchini. Measure out 2 cups. Next, wrap the shredded zucchini in a few paper towels and squeeze out the excess liquid. Discard the liquid and set the zucchini aside.
- The most accurate way to measure flour is to use a kitchen scale, weighing it in grams. If you don’t have a kitchen scale, follow this method: Aerate the flour with a whisk or spoon. Flour becomes heavy and compact as it sits. Aerating is the same as fluffing the flour. Use a spoon to sprinkle the flour into the measuring cup. Do not tap the cup against the counter, as this will compact the flour. Use the back of a butter knife to level off the excess.
- In a mixing bowl combine the flour, sugar, baking powder, salt, and cinnamon. Stir together and set aside.3 cups (360g) all-purpose flour, 1 ⅓ cups (264g) granulated sugar, 3 tsp baking powder, ½ tsp salt, 1 tsp cinnamon
- In a larger mixing bowl combine the eggs, buttermilk, vegetable oil, and vanilla extract. Stir to combine. Then stir in the grated & squeezed zucchini.2 large eggs, ¾ cup (177ml) buttermilk, ½ cup (118ml) vegetable oil, 2 tsp vanilla extract, 2 cups (200-230g) grated zucchini
- Gradually mix the dry ingredients into the wet ingredients, mixing just until combined. The batter will be thick.
- Cover the bowl with a towel and allow the batter to rest for 15 minutes. During this time, preheat the oven to 425ºF / 220ºC.
- For bakery style muffins, line a 12 count muffin pan with 6 muffin liners, meaning you’ll only fill every other muffin well with batter. Fill the liners with 6-8 heaping tablespoons of batter. Sprinkle them with sanding sugar.
- Place one pan in the center of the oven and bake for 7 minutes at 425ºF / 220ºC, then keep the muffins in the oven, turn the temperature down to 350ºF and bake for 15-18 minutes or until a toothpick inserted in the center comes out clean. Allow the muffins to cool in the pan. Repeat with the remaining batter, bumping the temperature back up to 425ºF. Using my bakery style method I got 9 muffins.
Notes










I was looking for grab and go options and this recipe seemed perfect! I made these in mini muffin tins (4 min on 425° then 4 min after setting temp to 350°) and they were perfect! Every recipe I try from Beth is amazing and a huge hit in my house! They are delicious, moist, and just the right amount of sweet! 10/10 I will be making these again!
I also made minis from the batter, although mine took longer to bake through after the 425 temperature. I baked about 9 minutes at 350. They are delicious!
Best muffins I have ever made.
Am I measuring the zucchini before squeezing out the water or after?
Grate the zucchini, measure, then squeeze out the water.