
This post may contain affiliate links. Please read our disclosure policy.
I worked hard to make old-fashioned donuts accessible for home bakers by ditching cake flour and using a DIY method with all-purpose flour and cornstarch, ensuring a light, tender crumb.
After frying over two dozen donuts, I found that 325ºF is the perfect frying temperature, and keeping the dough chilled makes it easier to handle. With a sour cream base for classic flavor and even a successful gluten-free option, this recipe is a traditional old fashioned donut with the iconic cracked, craggy surface.
Absolutely delicious. Your DIY flour is perfect! You are a genius!!! My family loved these! Plus it helps me use up those pesky extra egg yolks!
-Maria
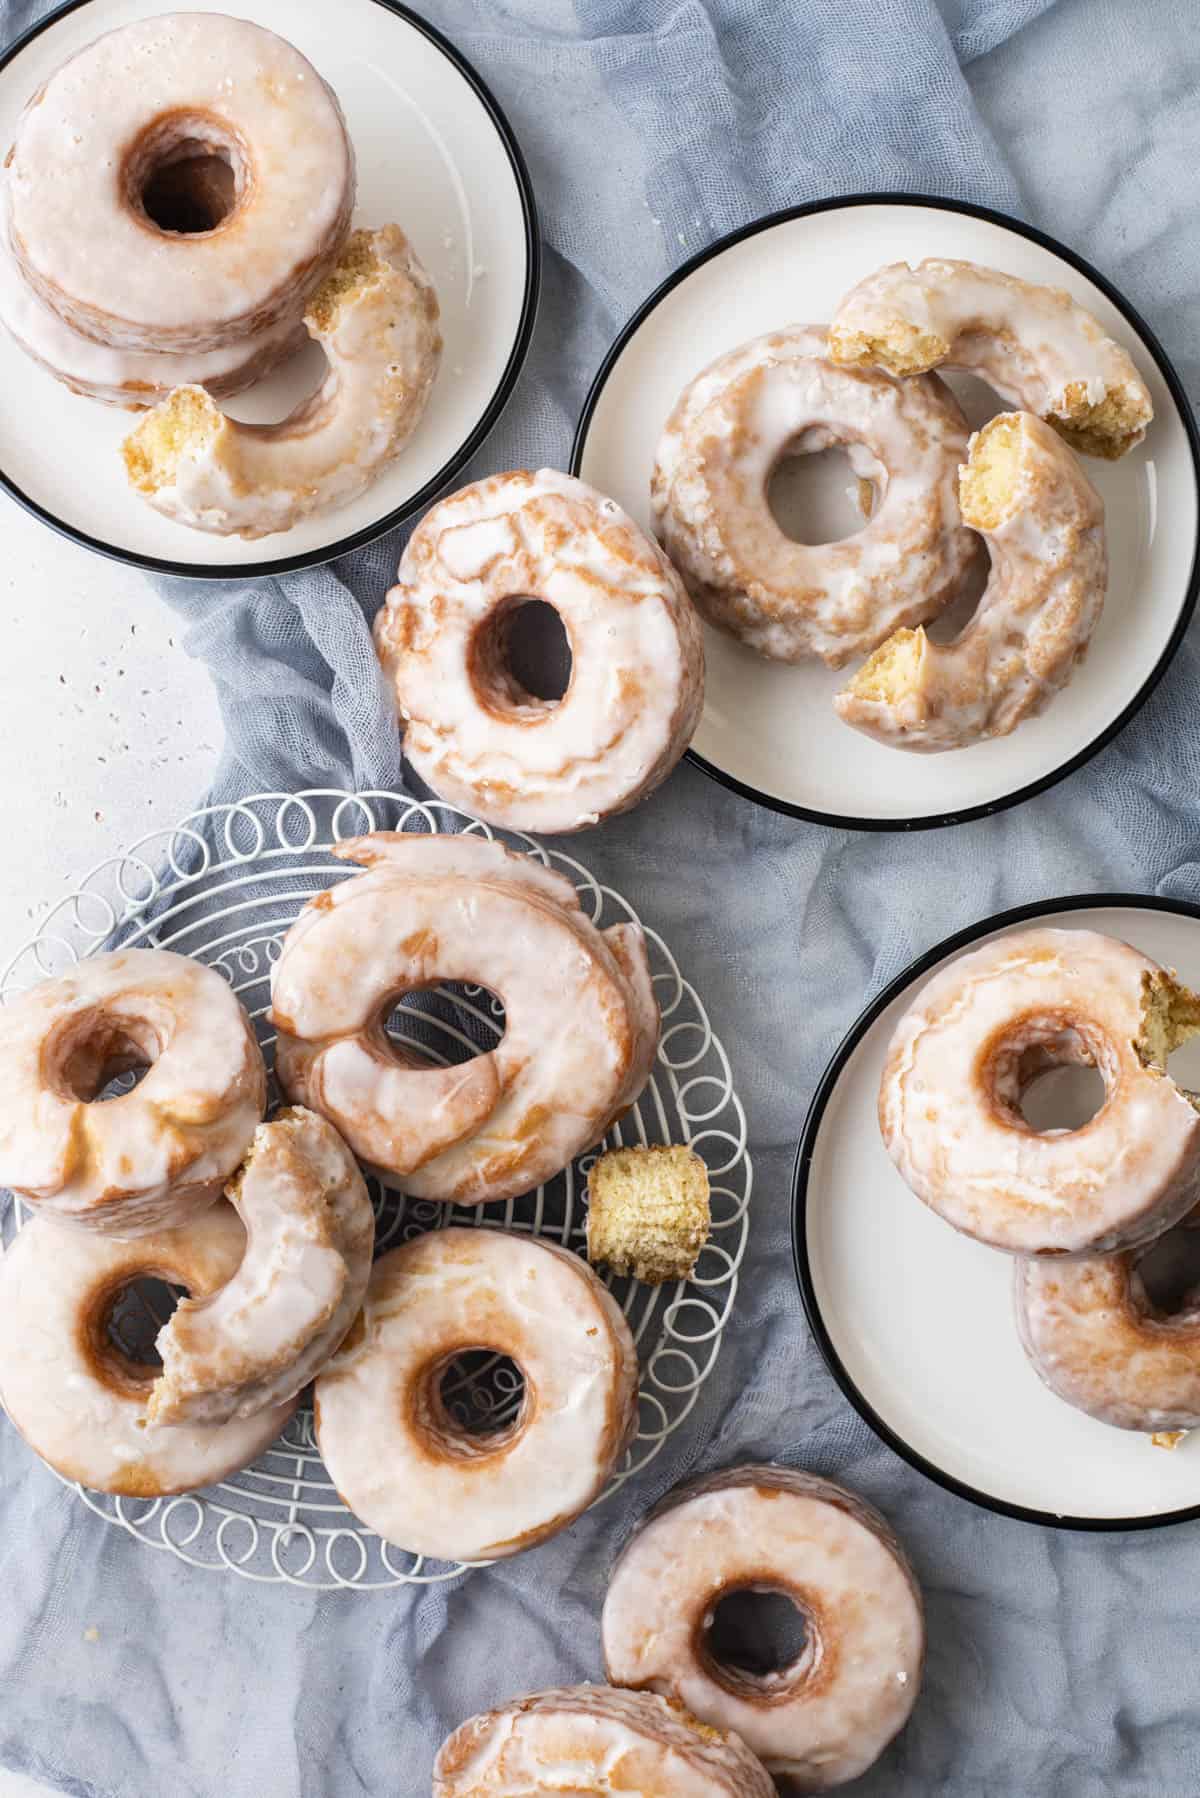
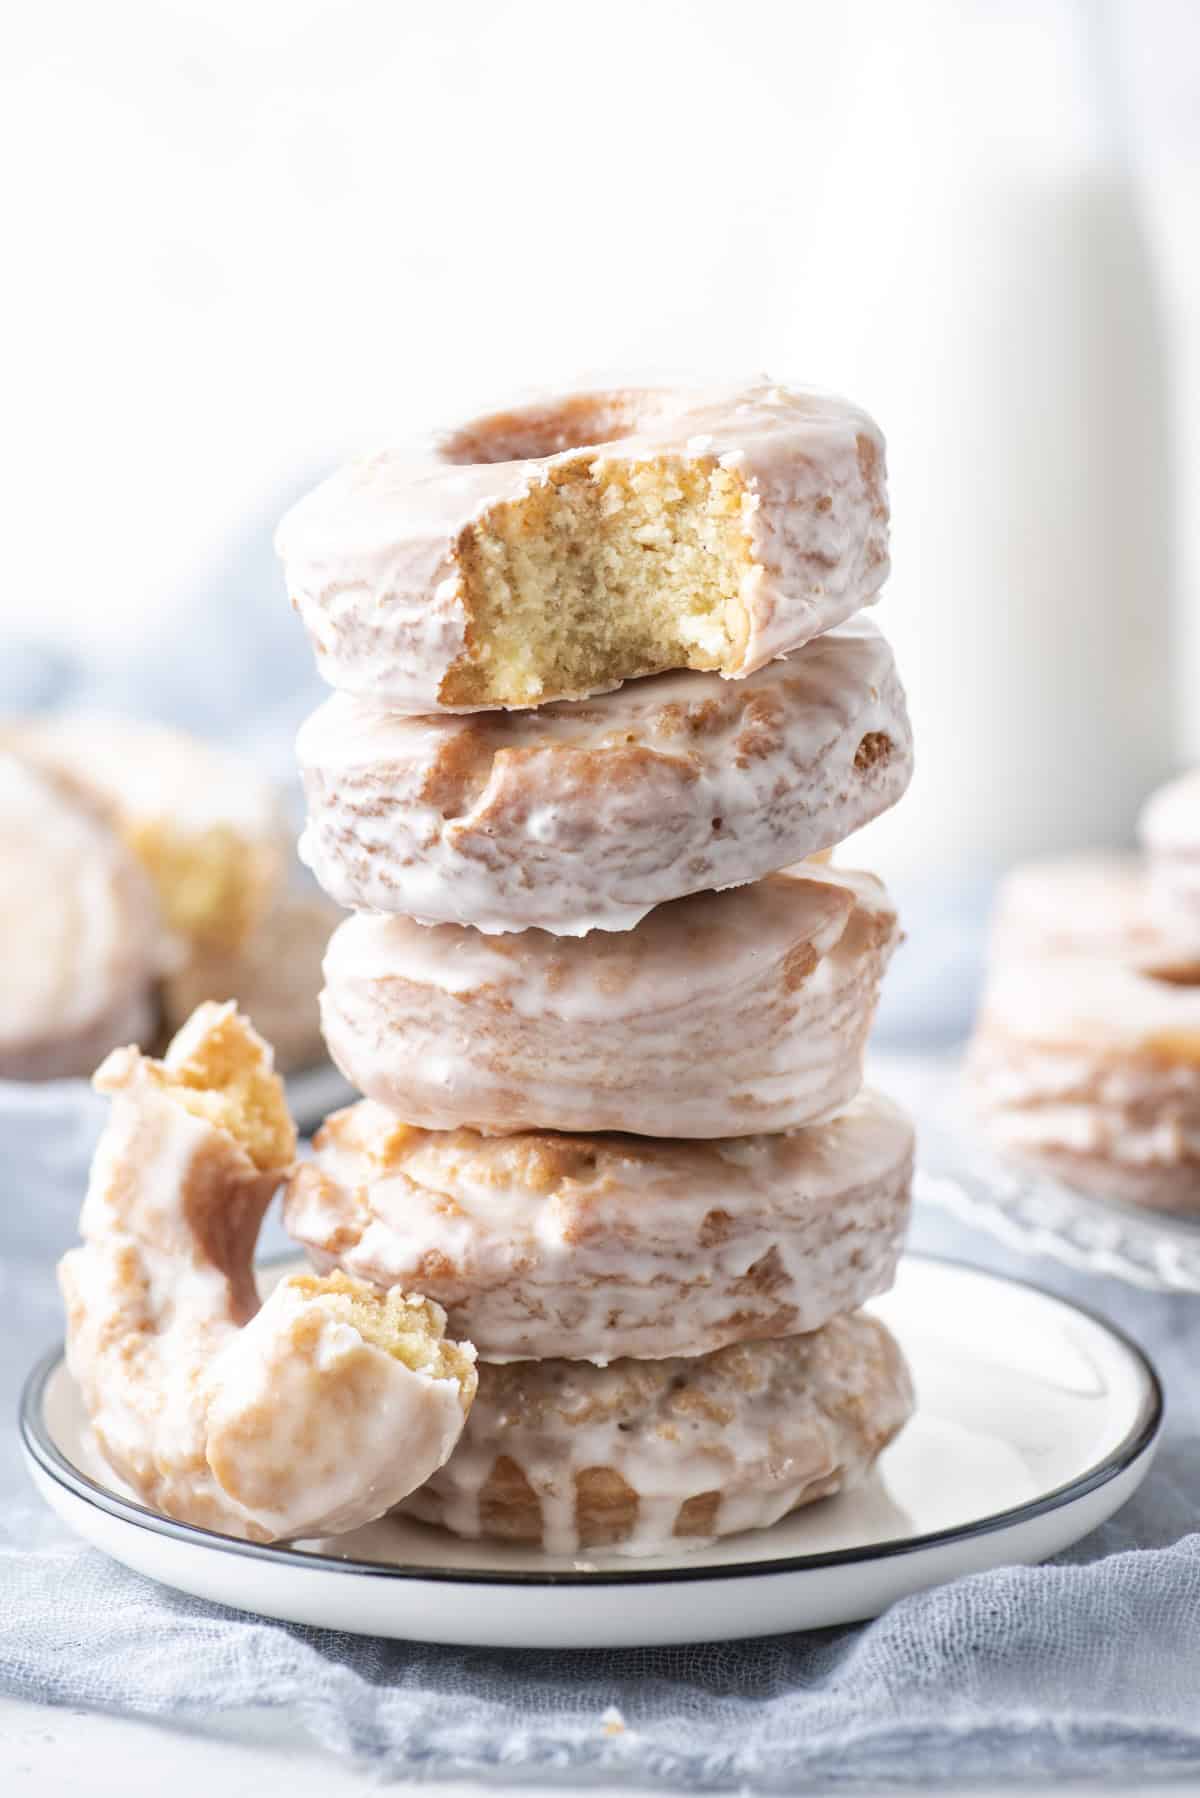
Sour Cream Donut (also known as Old Fashioned Donut)
I worked hard to make this old-fashioned donut recipe accessible for everyday home bakers. Most recipes call for cake flour, but honestly, I don’t even keep that in my pantry—and I bake all the time! I was determined to create a version using ingredients most people already have on hand. That’s where the DIY cake flour method comes in: just swap out 2 tablespoons of flour with 2 tablespoons of cornstarch per cup. Sifting the flour, cornstarch, baking powder, salt, and nutmeg is an important step to ensure light, fluffy donuts with that perfect tender crumb.
To get everything just right, I tested this recipe over and over (and fried more than two dozen donuts). I found that keeping the dough chilled until you’re ready to fry makes it easier to handle, and using a simple round cookie or biscuit cutter ensures perfectly shaped donuts every time.
Of course, the sour cream base was non-negotiable for that classic old-fashioned flavor. And if you’re gluten-free, good news—I tested this recipe with gluten-free flour, and it turned out great. After all that trial and error, I also discovered that frying at 325ºF is the sweet spot for perfectly golden, delicious donuts. This recipe keeps it simple, stays true to tradition, and is doable for any home baker!
What is an Old Fashioned Donut?
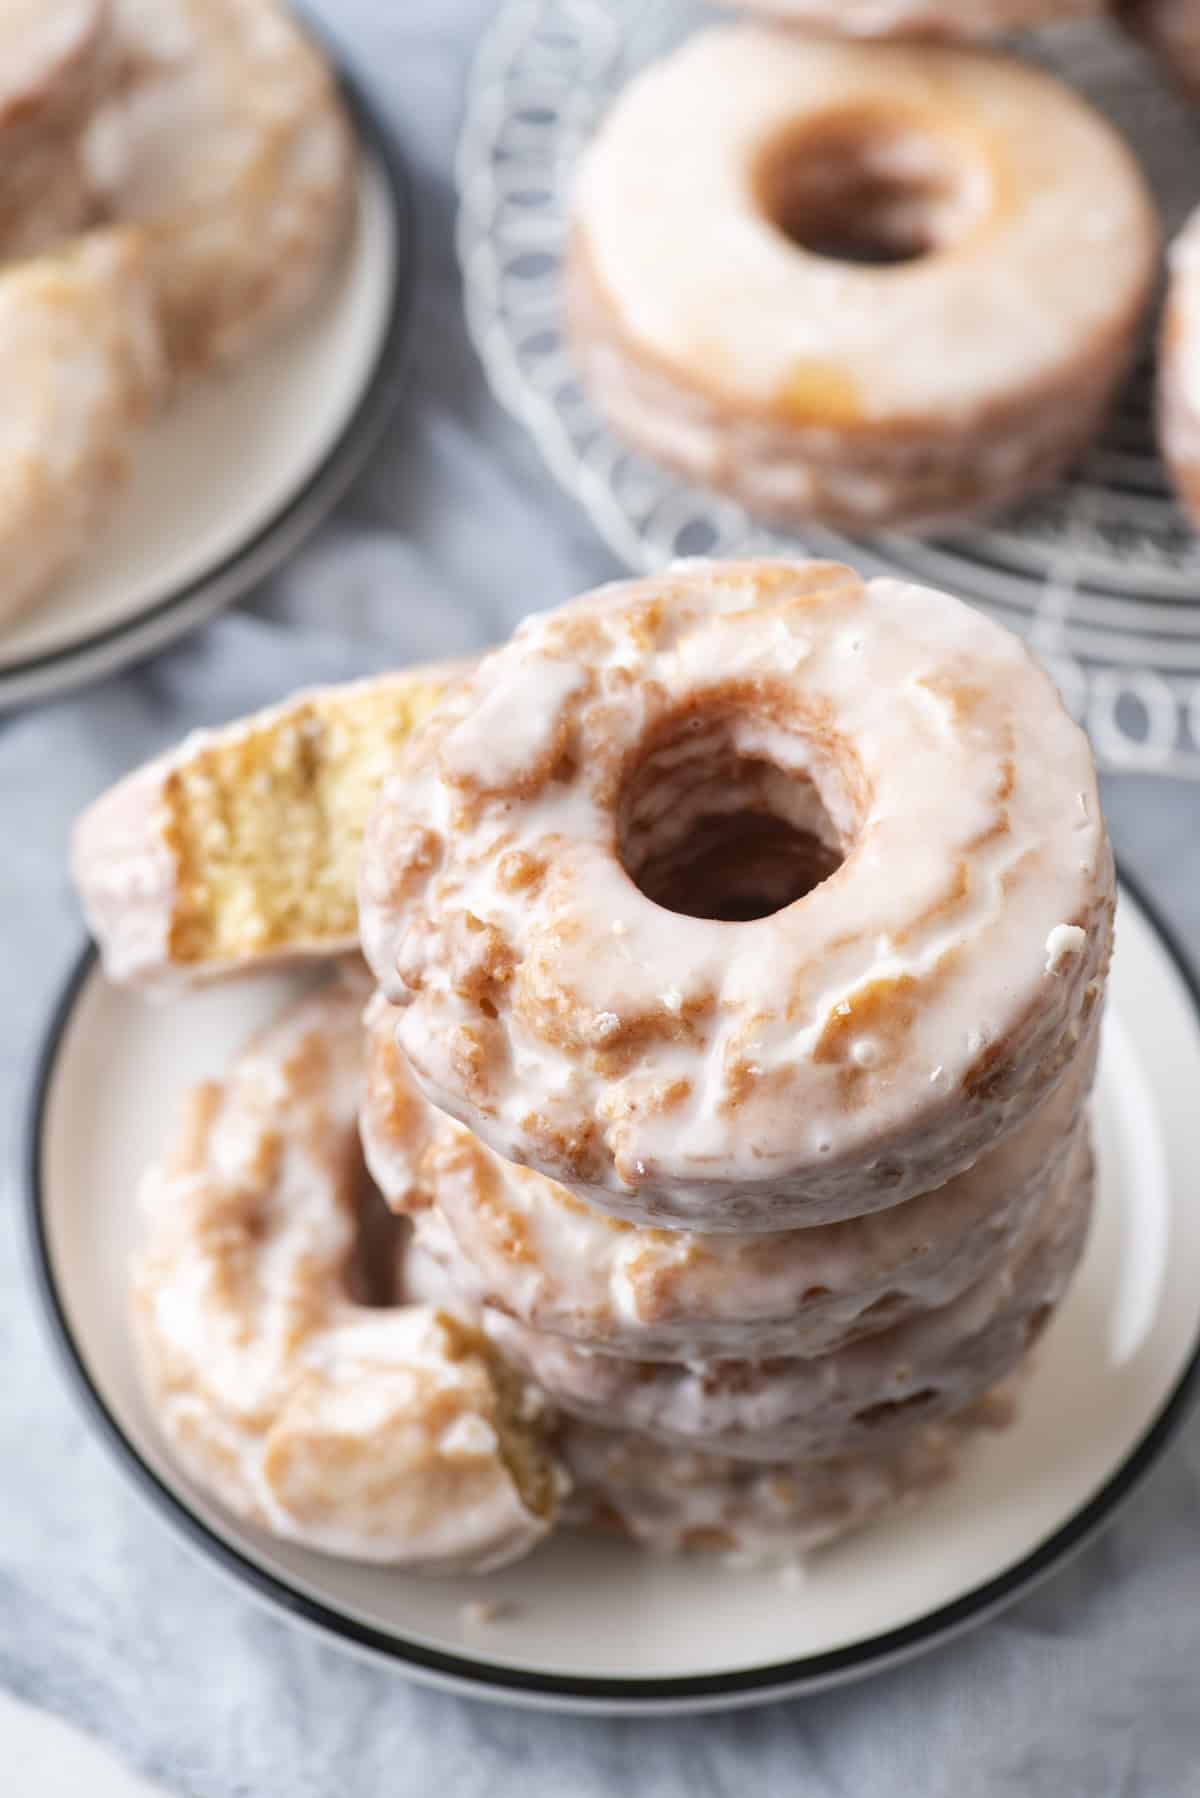
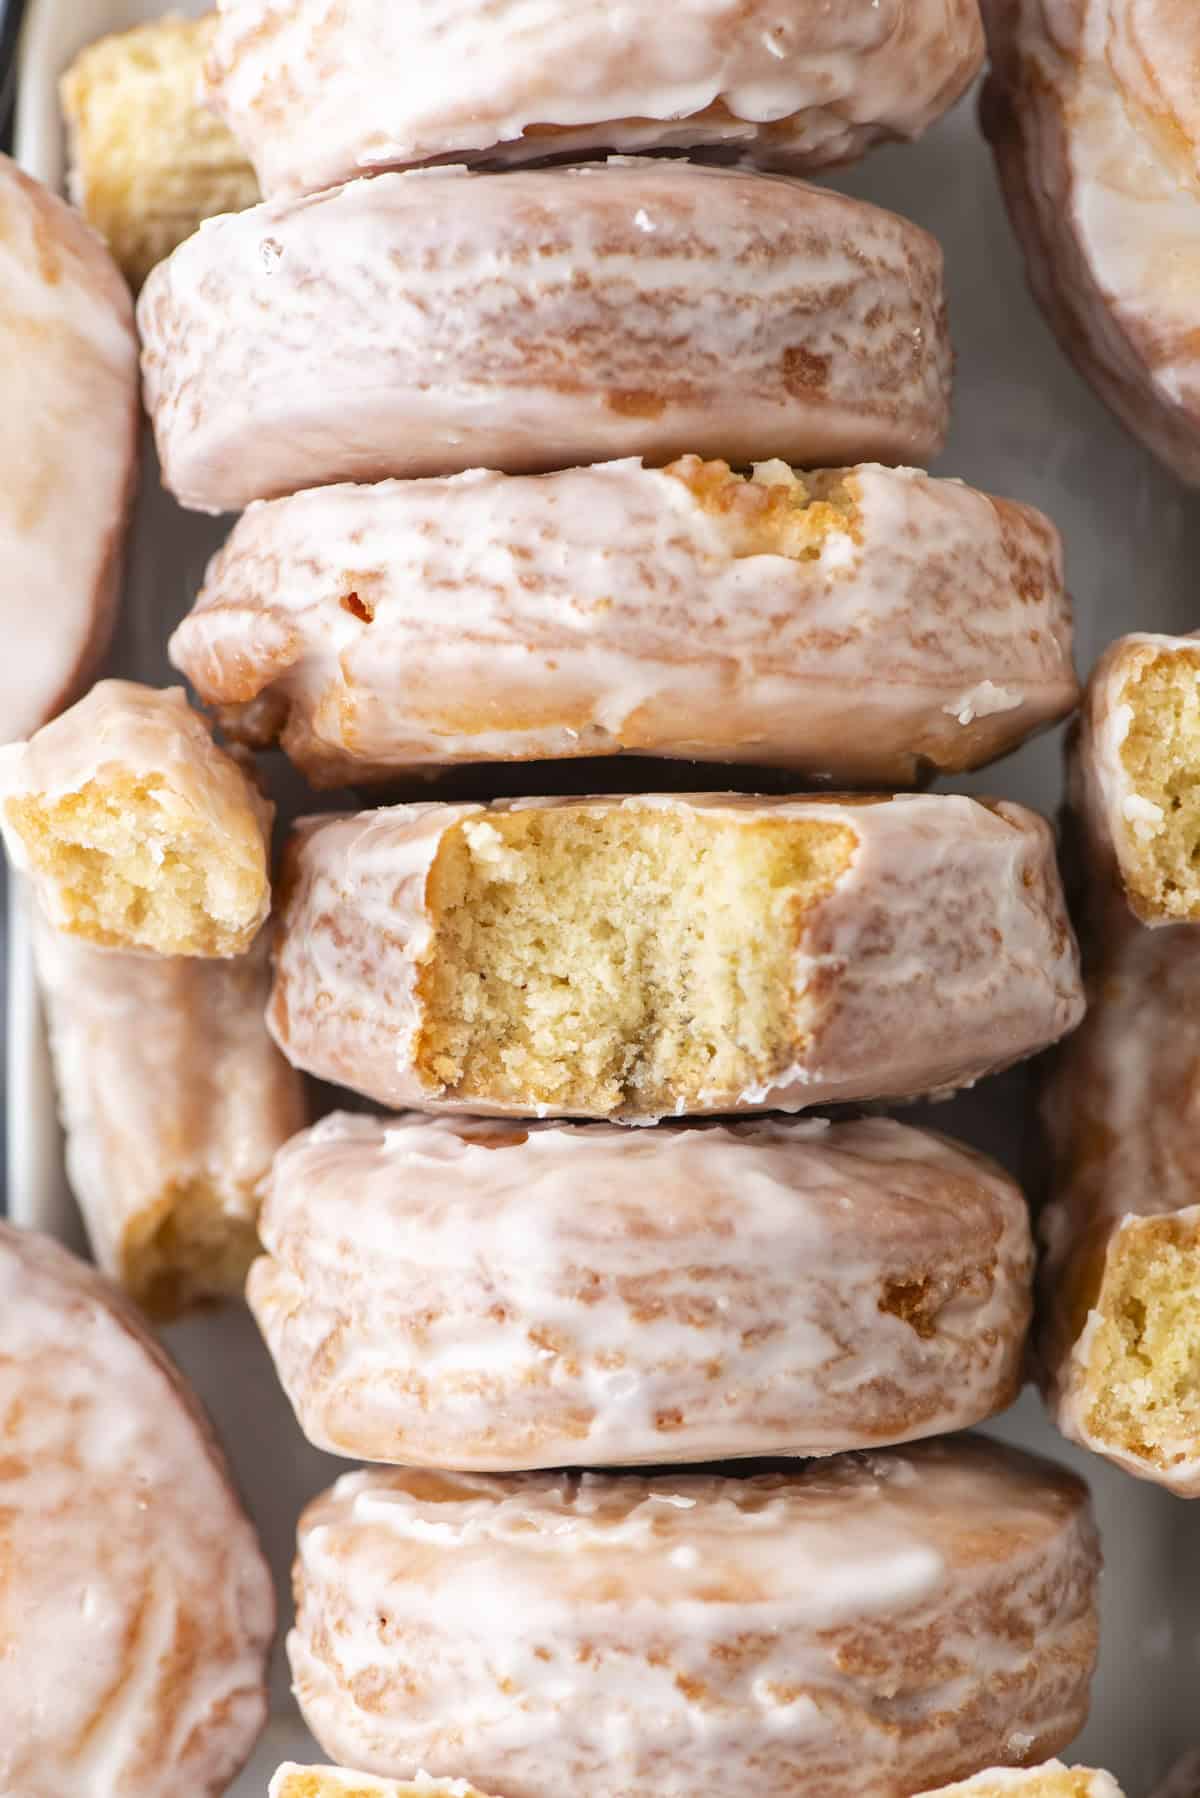
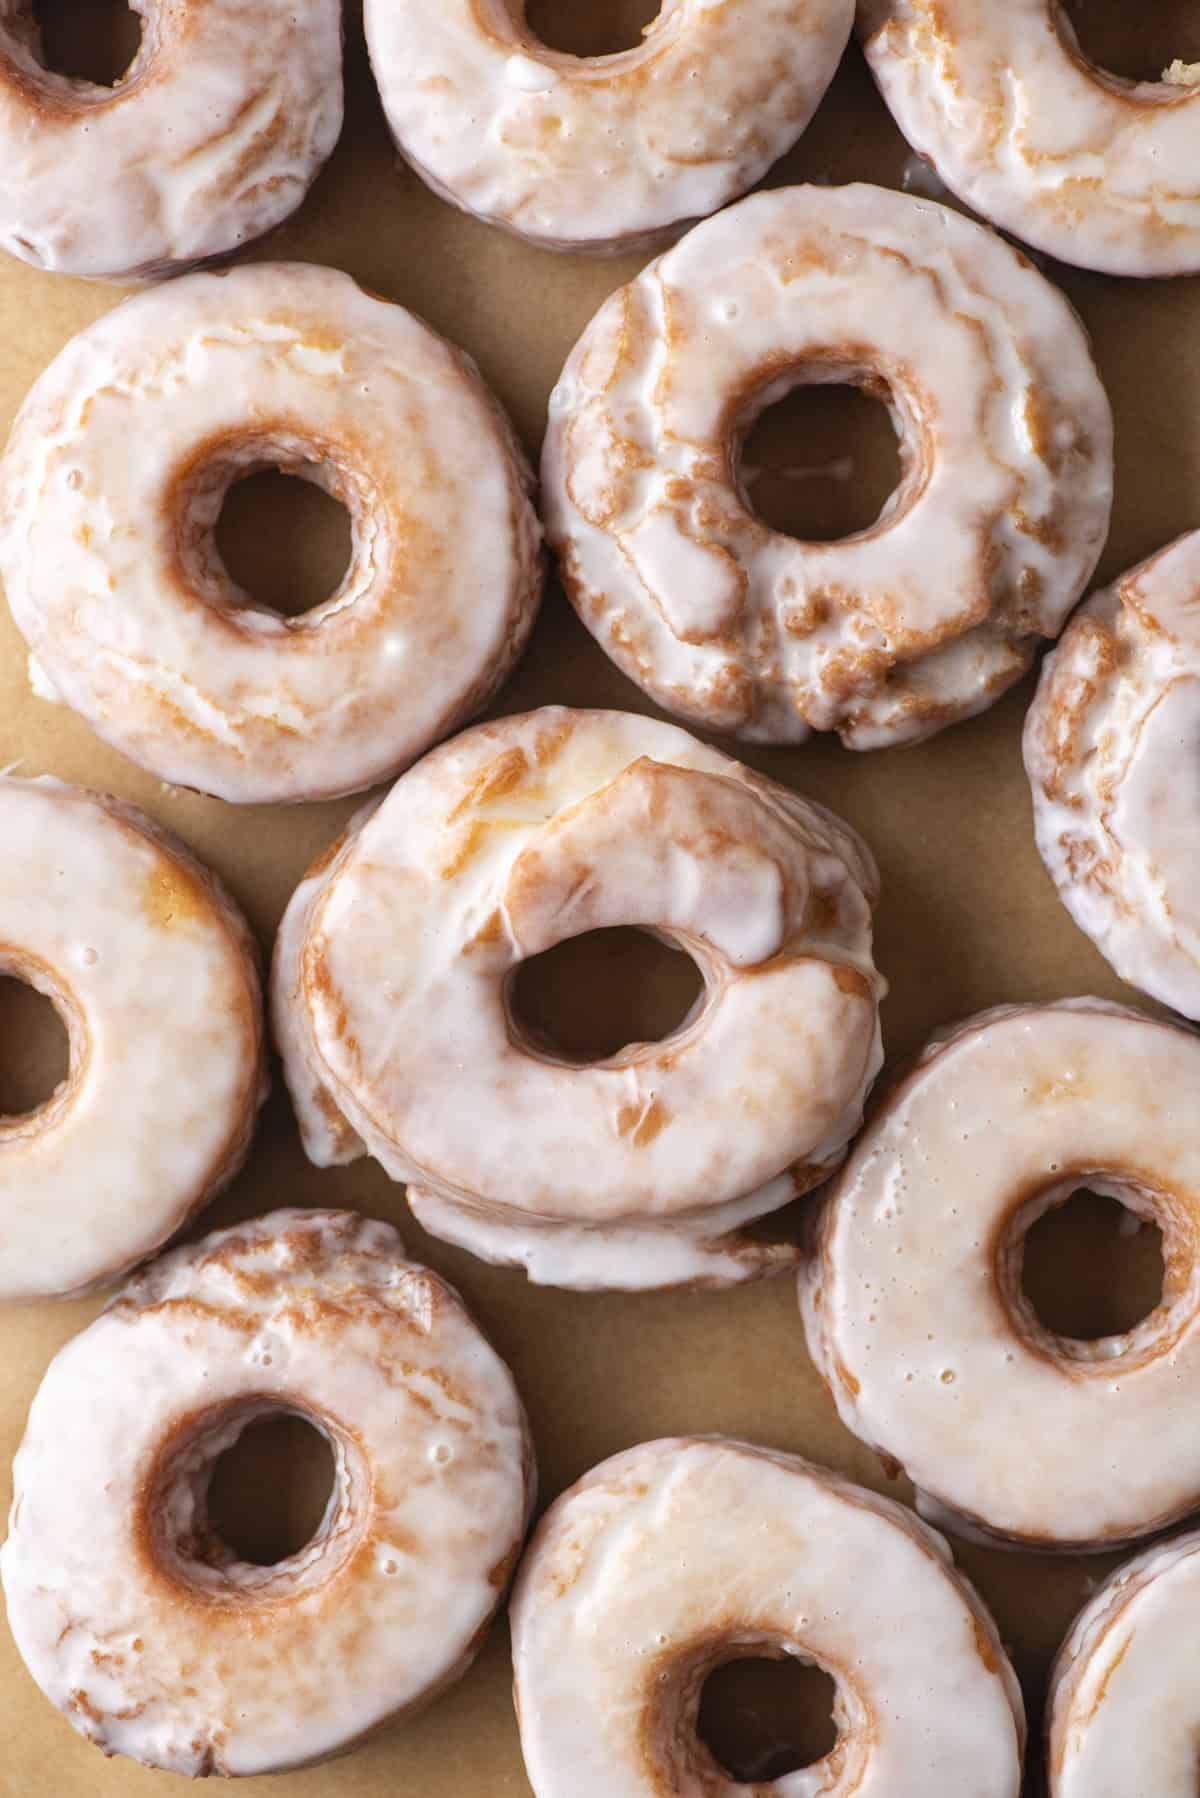
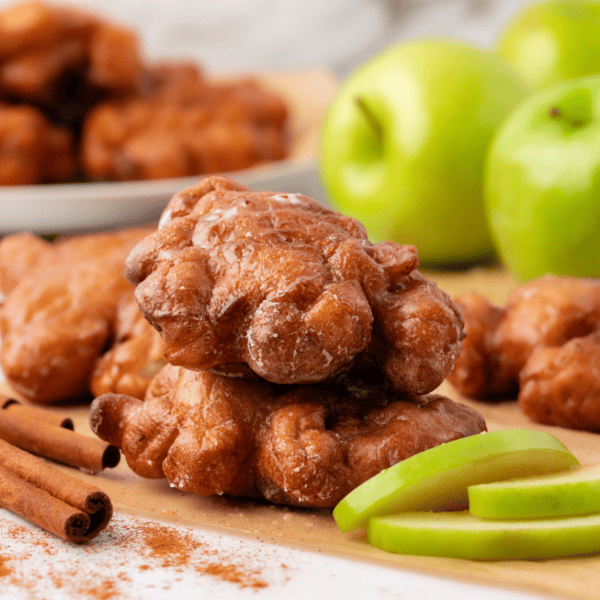
An old-fashioned donut is a type of cake donut known for their rustic appearance. They have a crispy, craggy outside and a soft, tender inside. My recipe is made with sour cream for a rich, slightly tangy batter, then fried to create the signature golden-brown, textured surface.
Cake Donut vs Old Fashioned
Cake donuts and old-fashioned donuts are both leavened with baking powder but differ in texture and appearance. Typically, Cake donuts are smooth, round, and softer, with a more uniform texture, while old-fashioned donuts are fried, denser, and feature a cracked, ridged surface, giving them a crispier exterior and tender interior.
Old Fashioned Donut Ingredients
My old fashioned donut recipe uses simple ingredients to create irresistible homemade donuts that will wow your family and friends. Get the full recipe with measurements and ingredients in the recipe card below. Here is a summary of what you will need:
- All-purpose flour
- Cornstarch
- Baking powder
- Salt
- Ground nutmeg
- Granulated sugar
- Unsalted butter, room temperature
- Egg yolks
- Sour cream
- Vanilla extract
- Canola oil
Glaze
- Powdered sugar
- Milk
- Vanilla extract
How to Make Old Fashioned Donuts
Making old fashioned sour cream donuts at home is going to be way easier than you’ve probably imagined, especially when you follow my step-by-step guide below:
- Sift dry ingredients. Sift the flour, cornstarch, baking powder, salt and nutmeg together, 2 times. Since we’re creating DIY cake flour, sifting is essential. Set aside.
- Combine butter and sugar. In the bowl of a stand mixer or using a hand mixer, beat the butter and sugar together on medium speed for 1 minute.
- Add egg yolks. Beat in the egg yolks on medium speed for 2 minutes.
- Add remaining wet ingredients. Beat in the sour cream and vanilla extract.
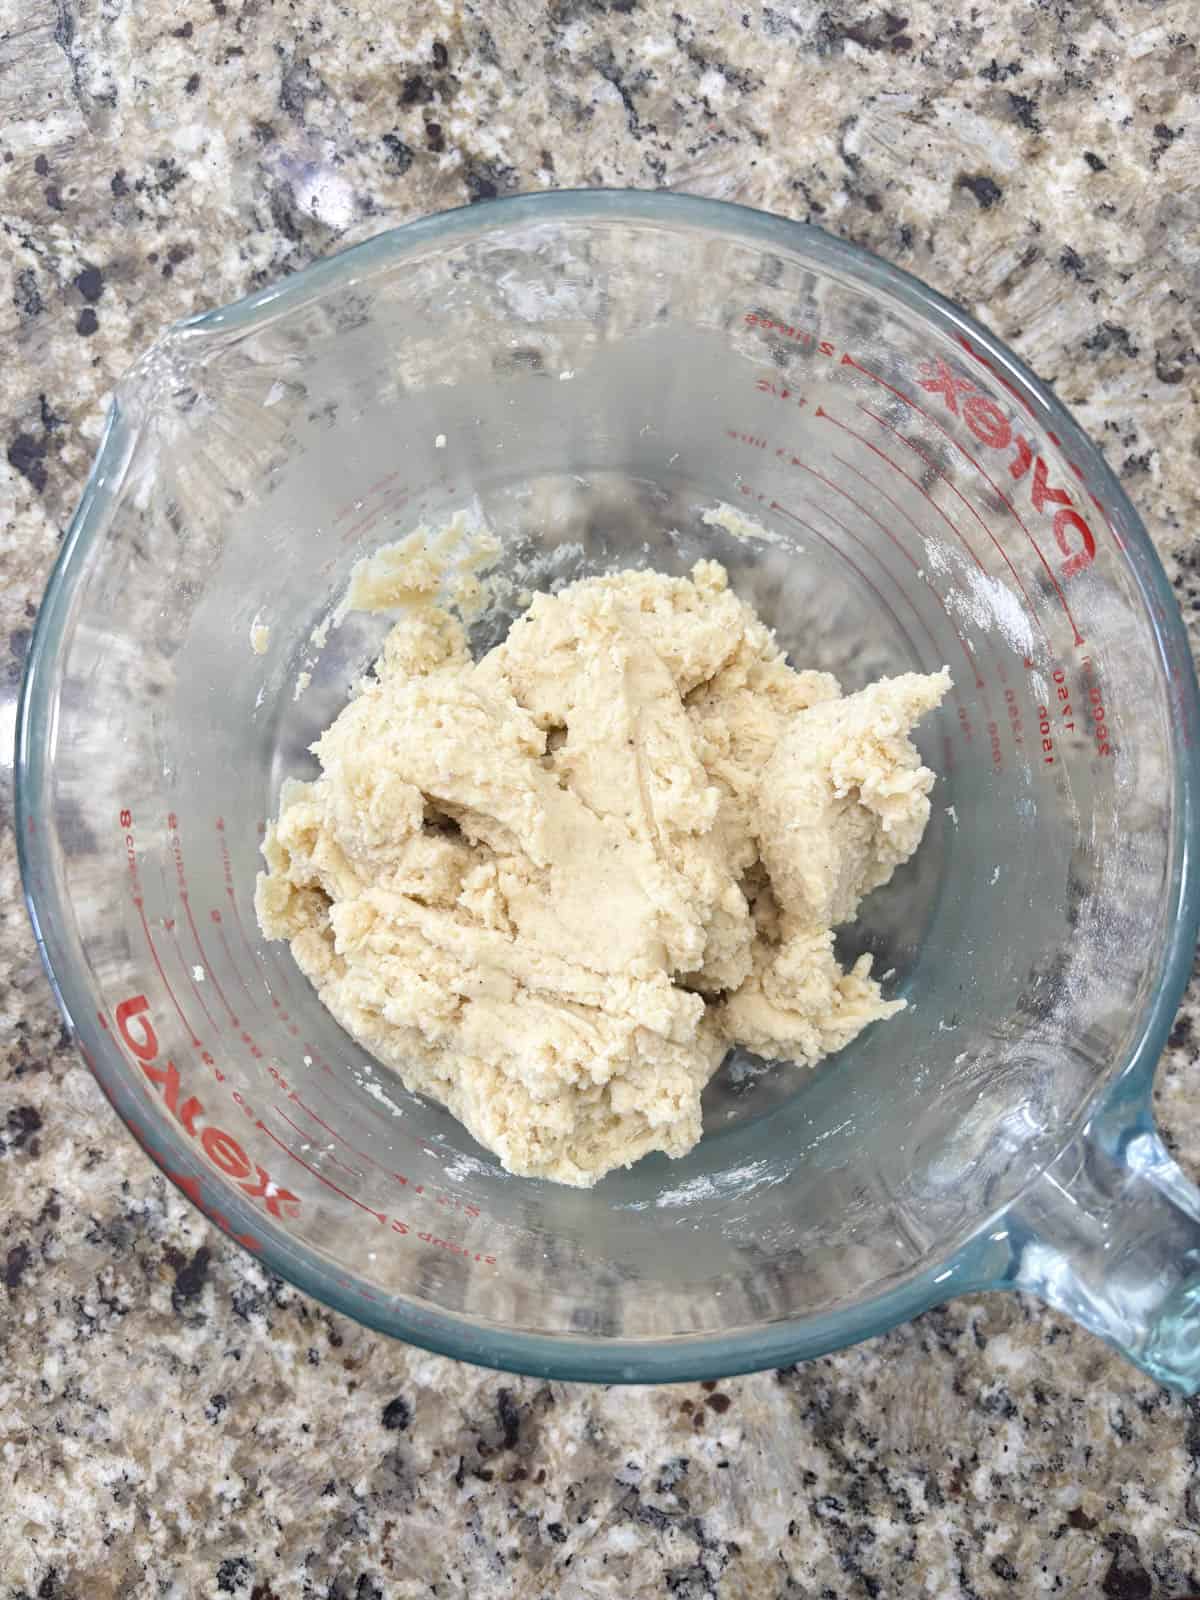
- Combine all ingredients. Gradually add the dry ingredients, mixing on low speed until fully combined.
- Chill. Cover the bowl with plastic wrap and refrigerate for at least 1 hour, until firm and not tacky. The dough can be stored like this for up to 24 hours.
- Roll out dough. Lightly flour the dough and your work surface, then roll out the dough to ½-inch thickness.
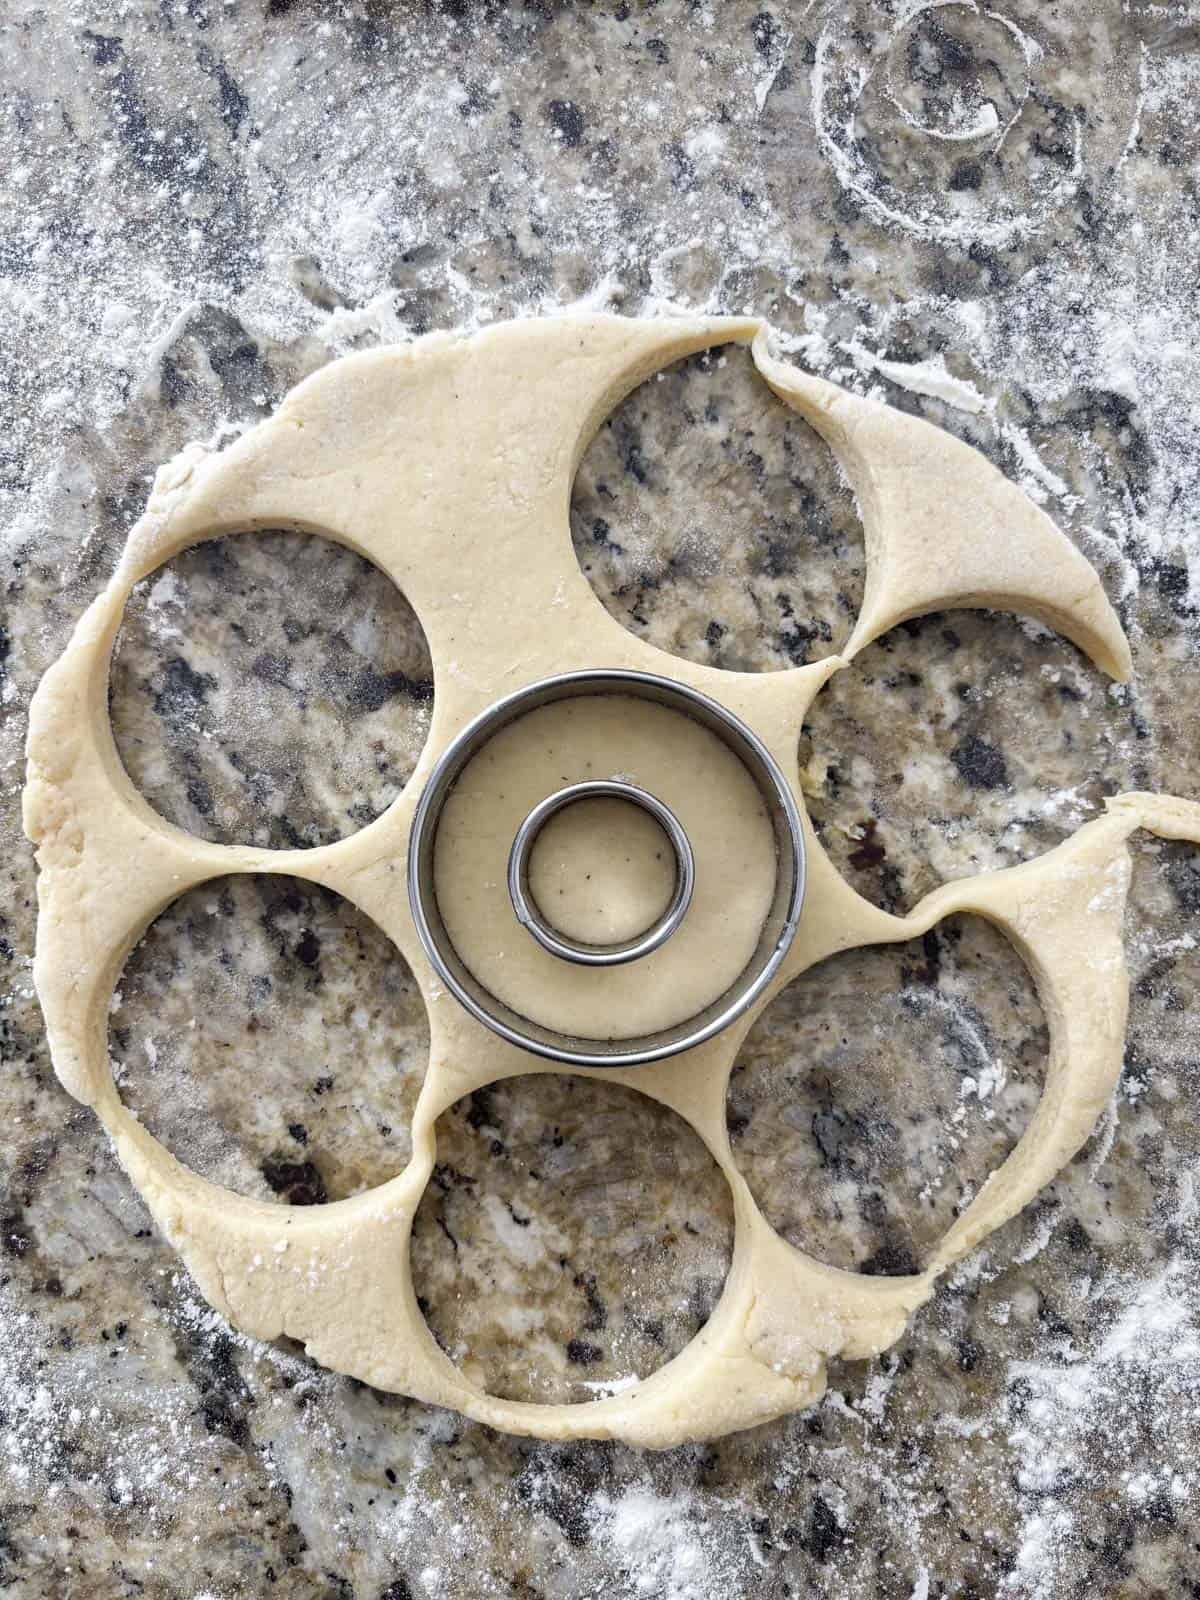
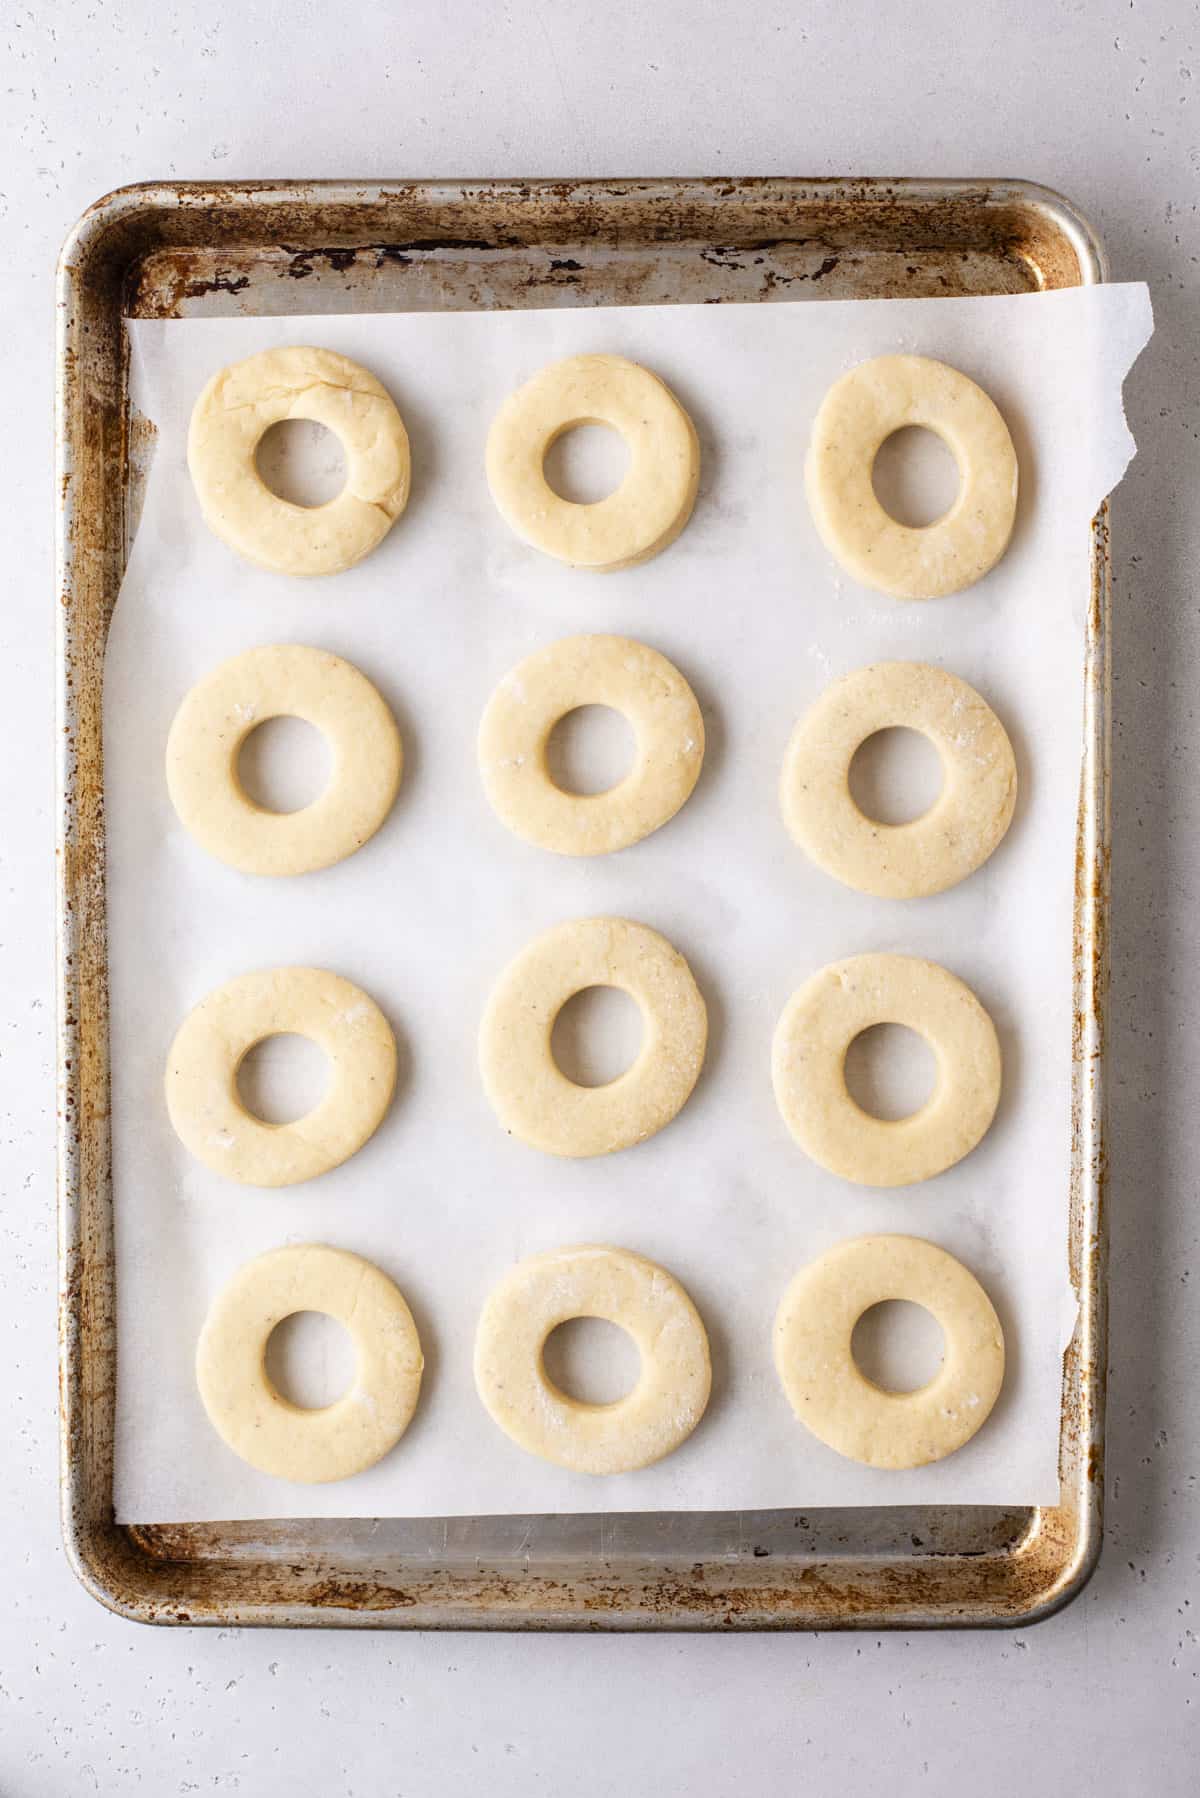
- Cut donuts. Dip a 3-inch round cookie or biscuit cutter in flour and use it to cut circles from the dough. Then cut a hole in the center of each circle with a 1 ¼-inch round cutter (you can also use the large end of a piping tip). Arrange the donuts and donut holes on a tray lined with parchment paper or a silicone mat. Place the donuts in the refrigerator while you heat the oil.
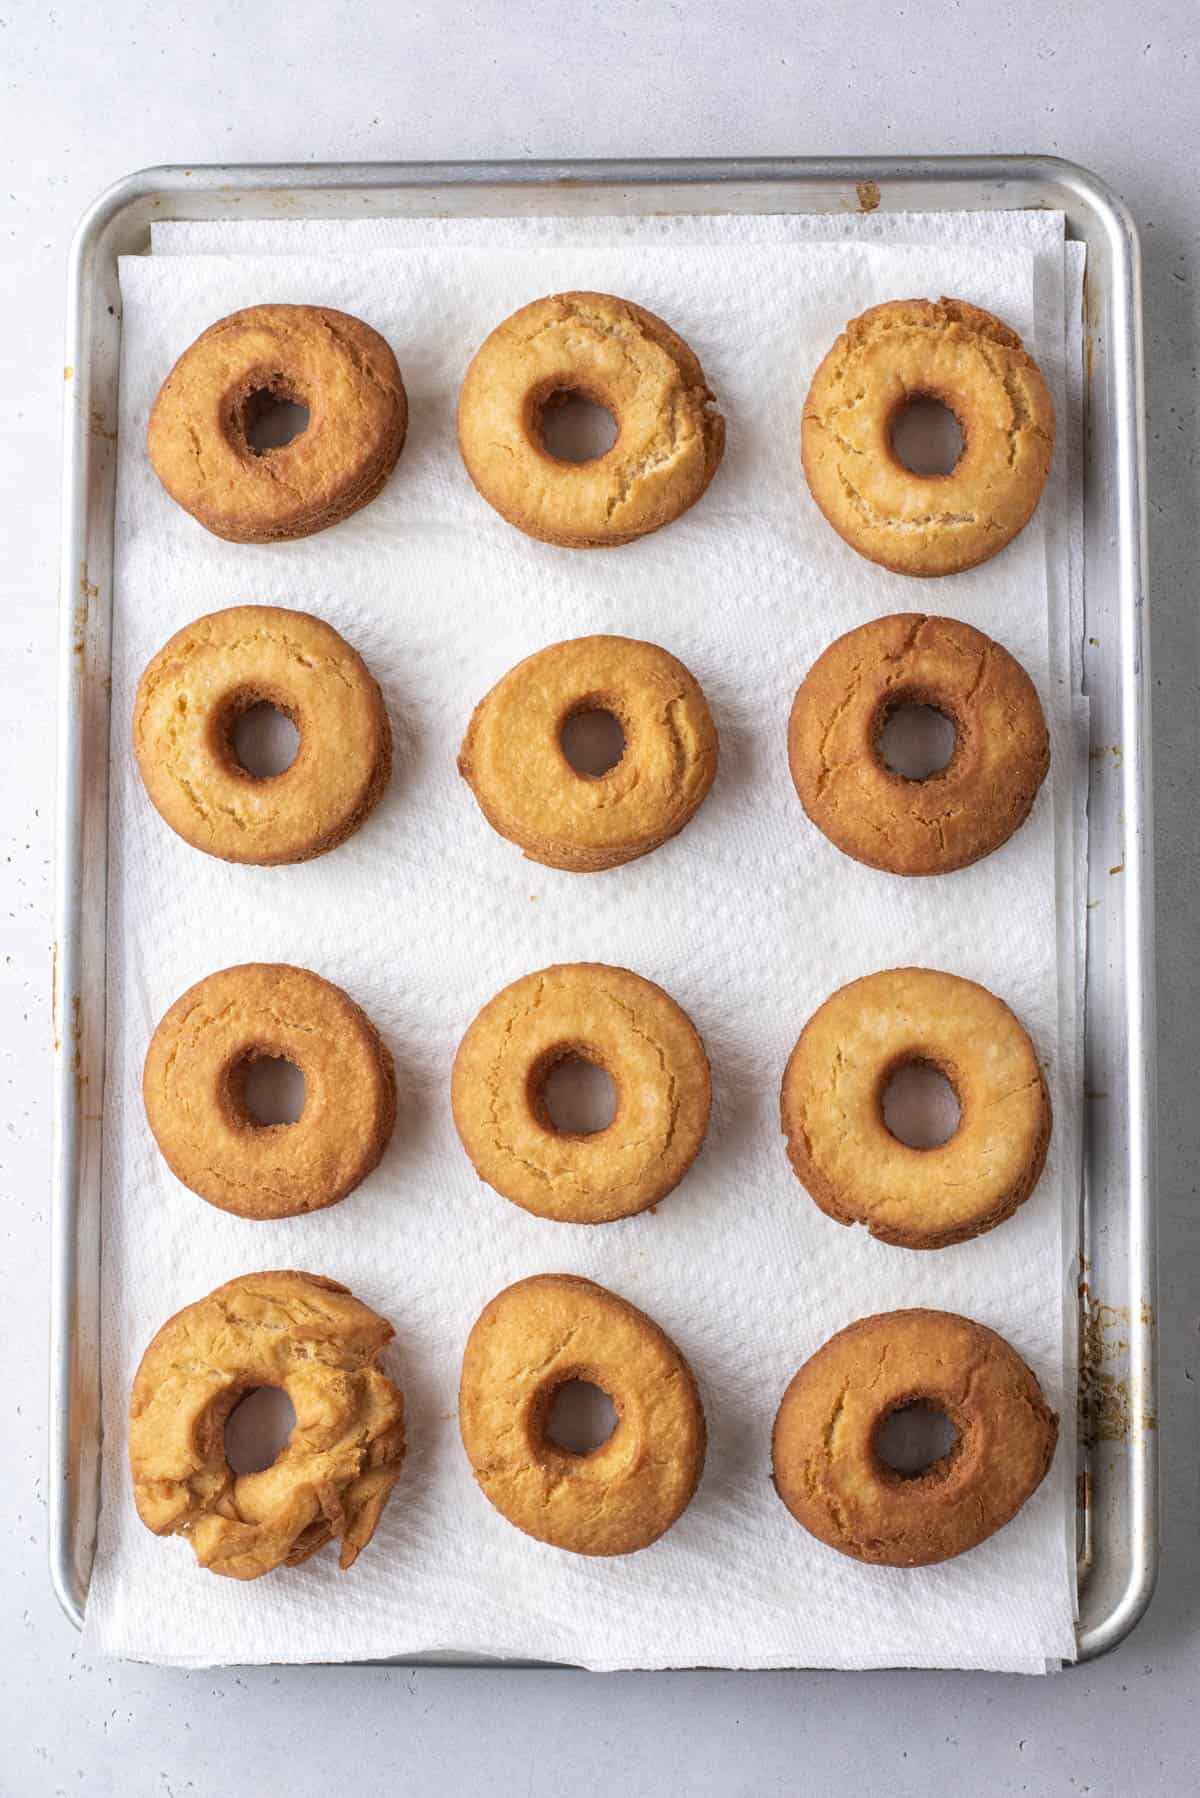
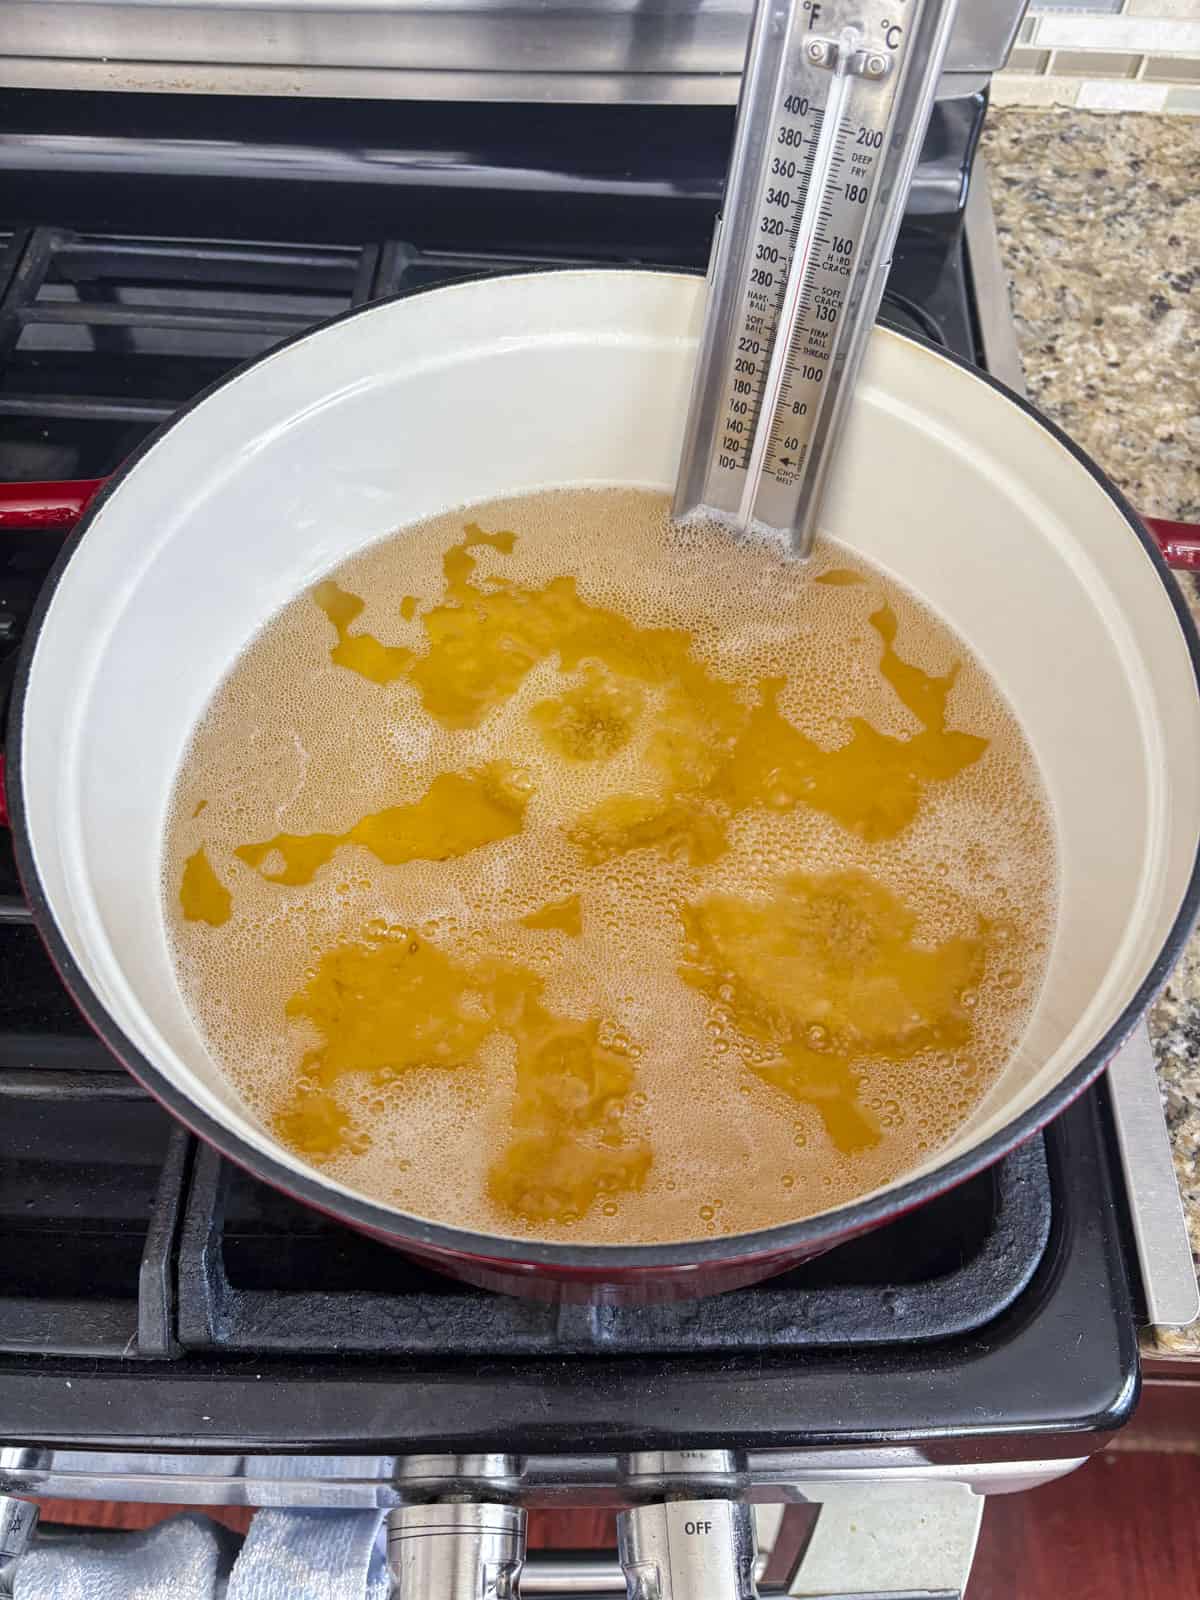
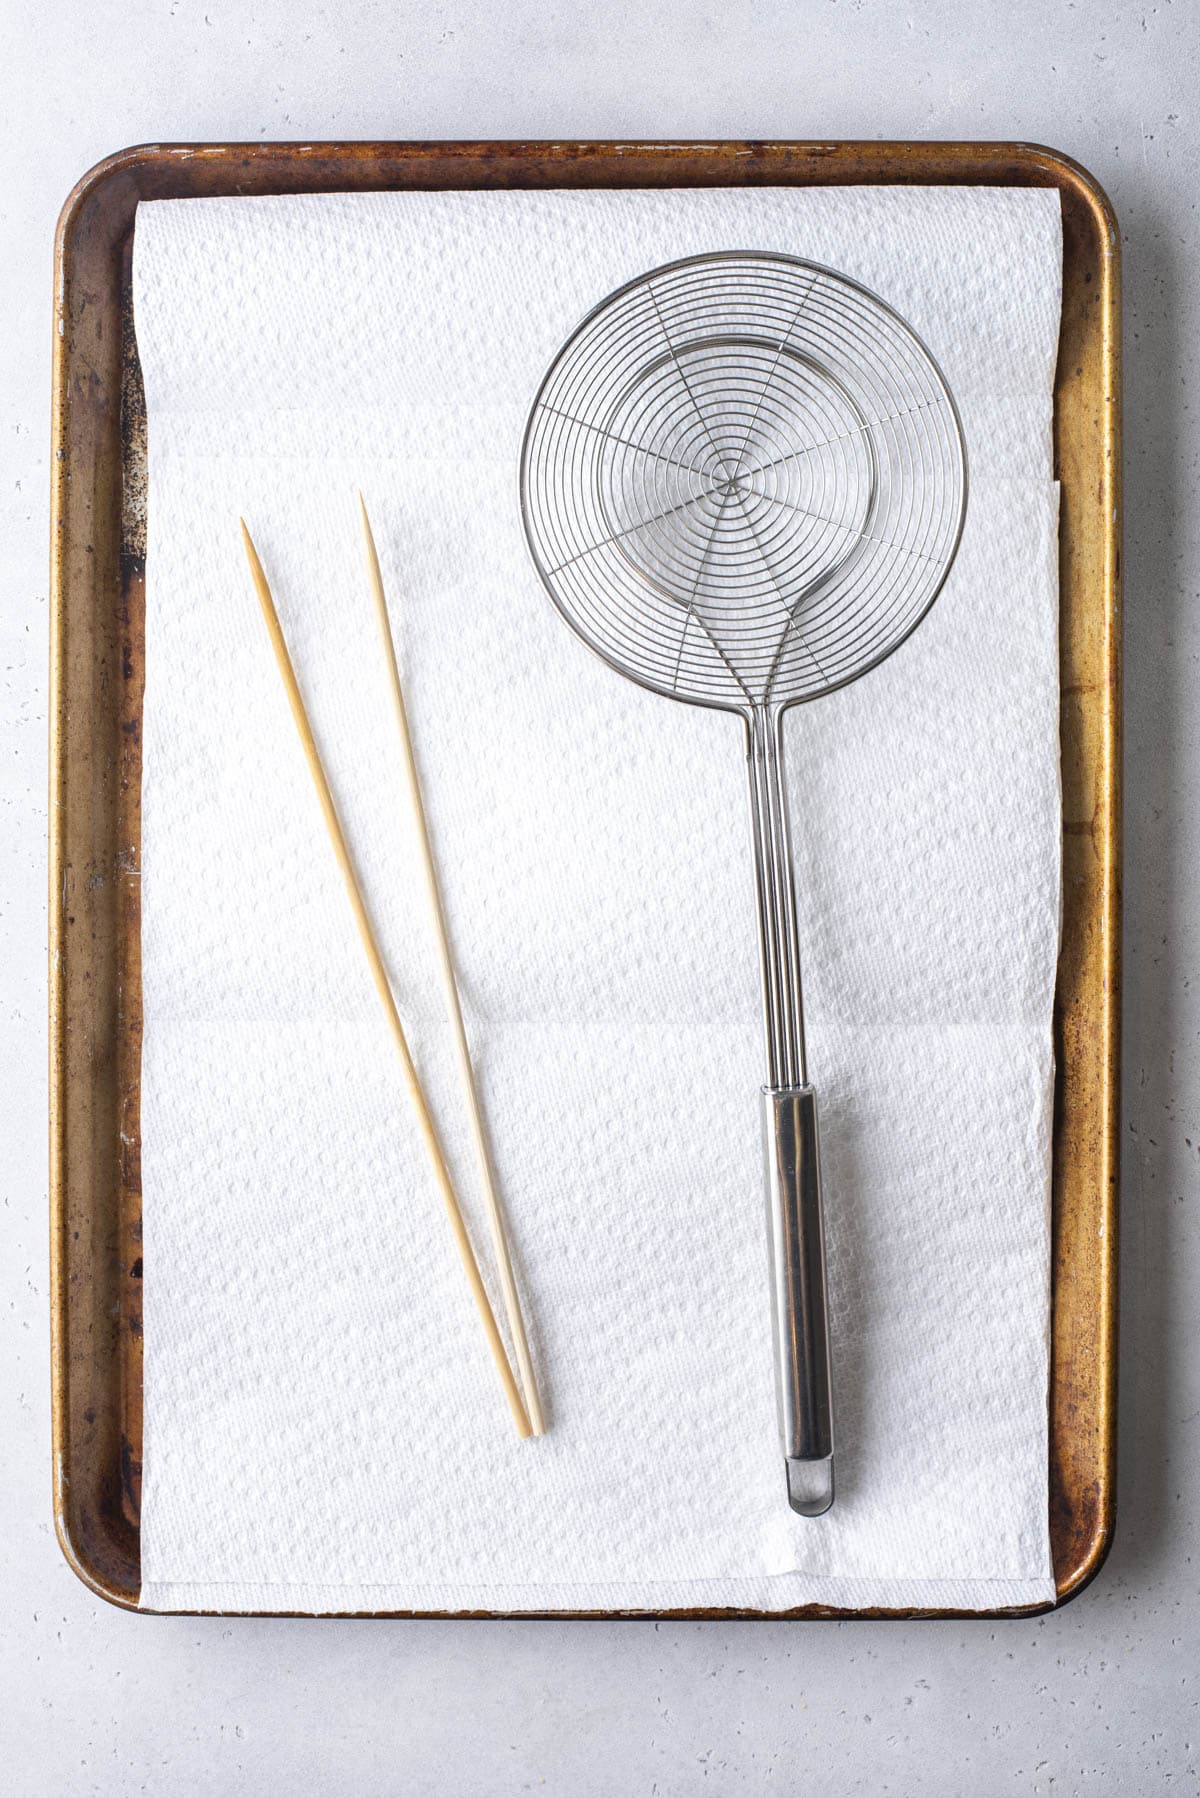
- Heat oil. Pour oil into a large, heavy-bottomed pot to a depth of 2 inches. Heat over medium heat until a deep-fry or candy thermometer reads 325°F. Line a large baking sheet with paper towels.
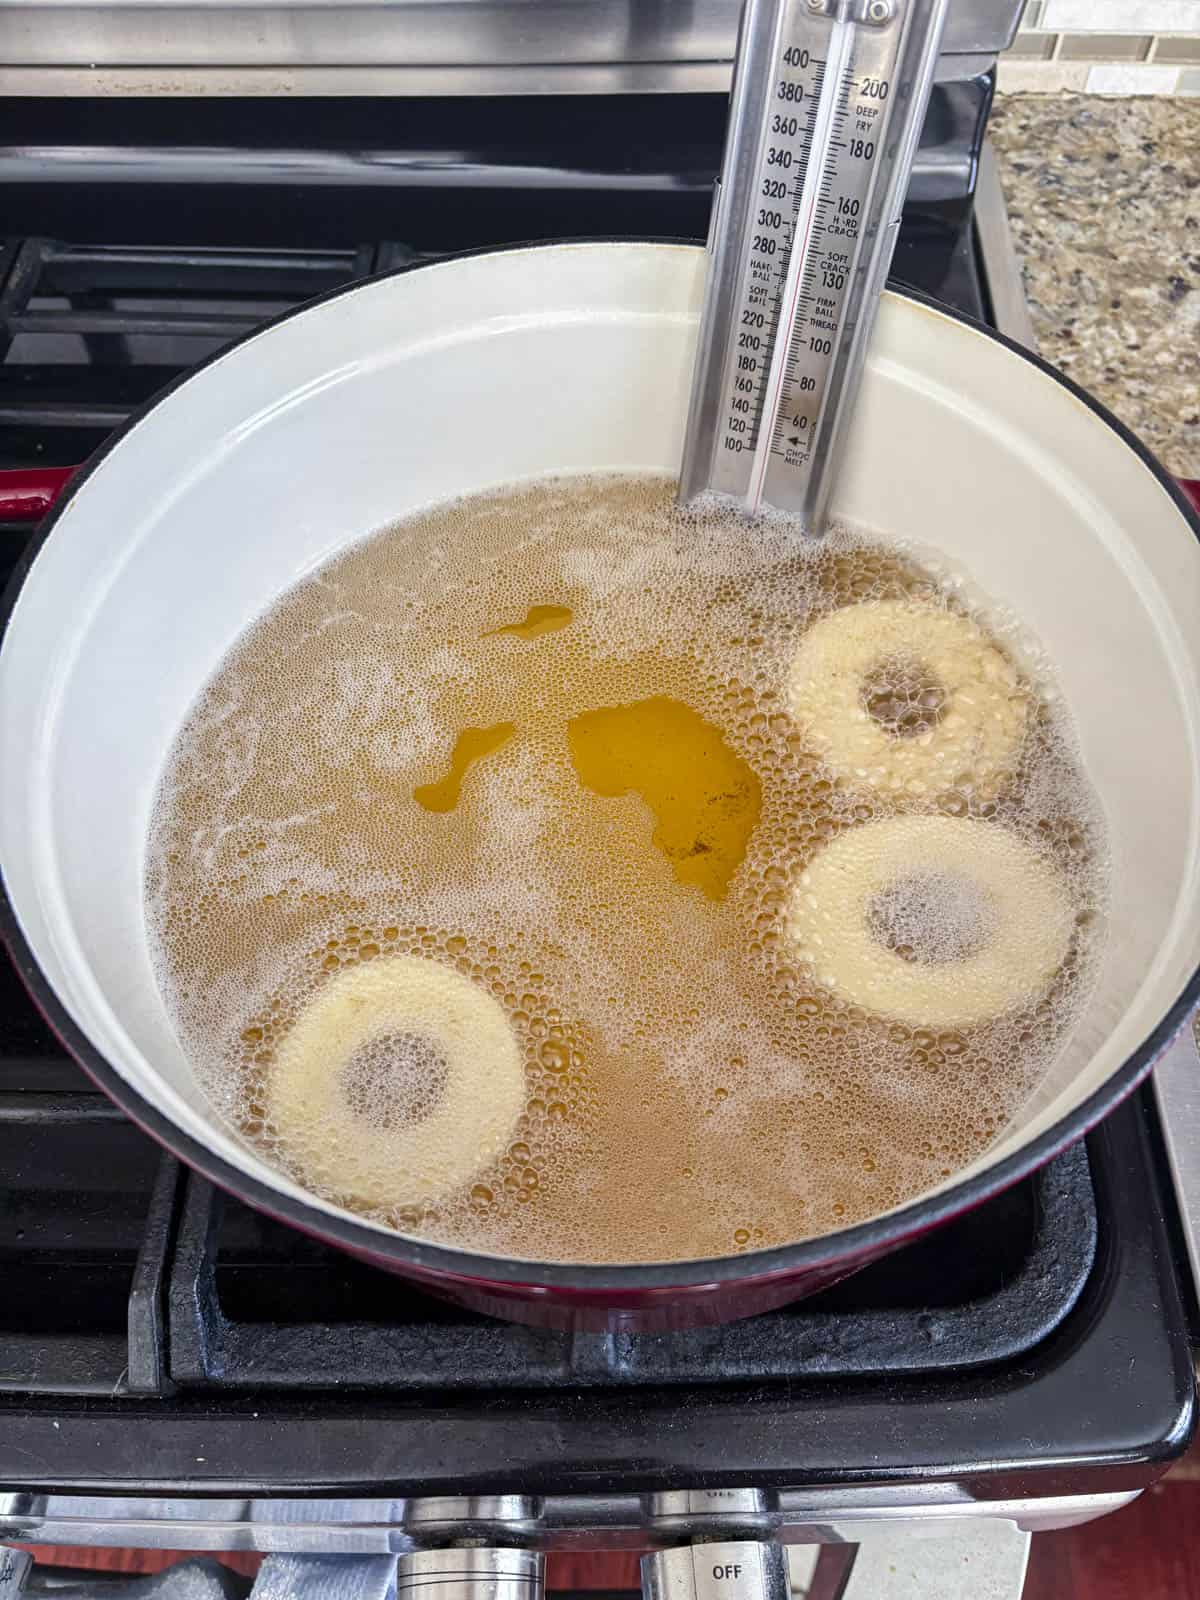
- Cook donuts. Gently add 2 to 3 donuts to the hot oil at a time.
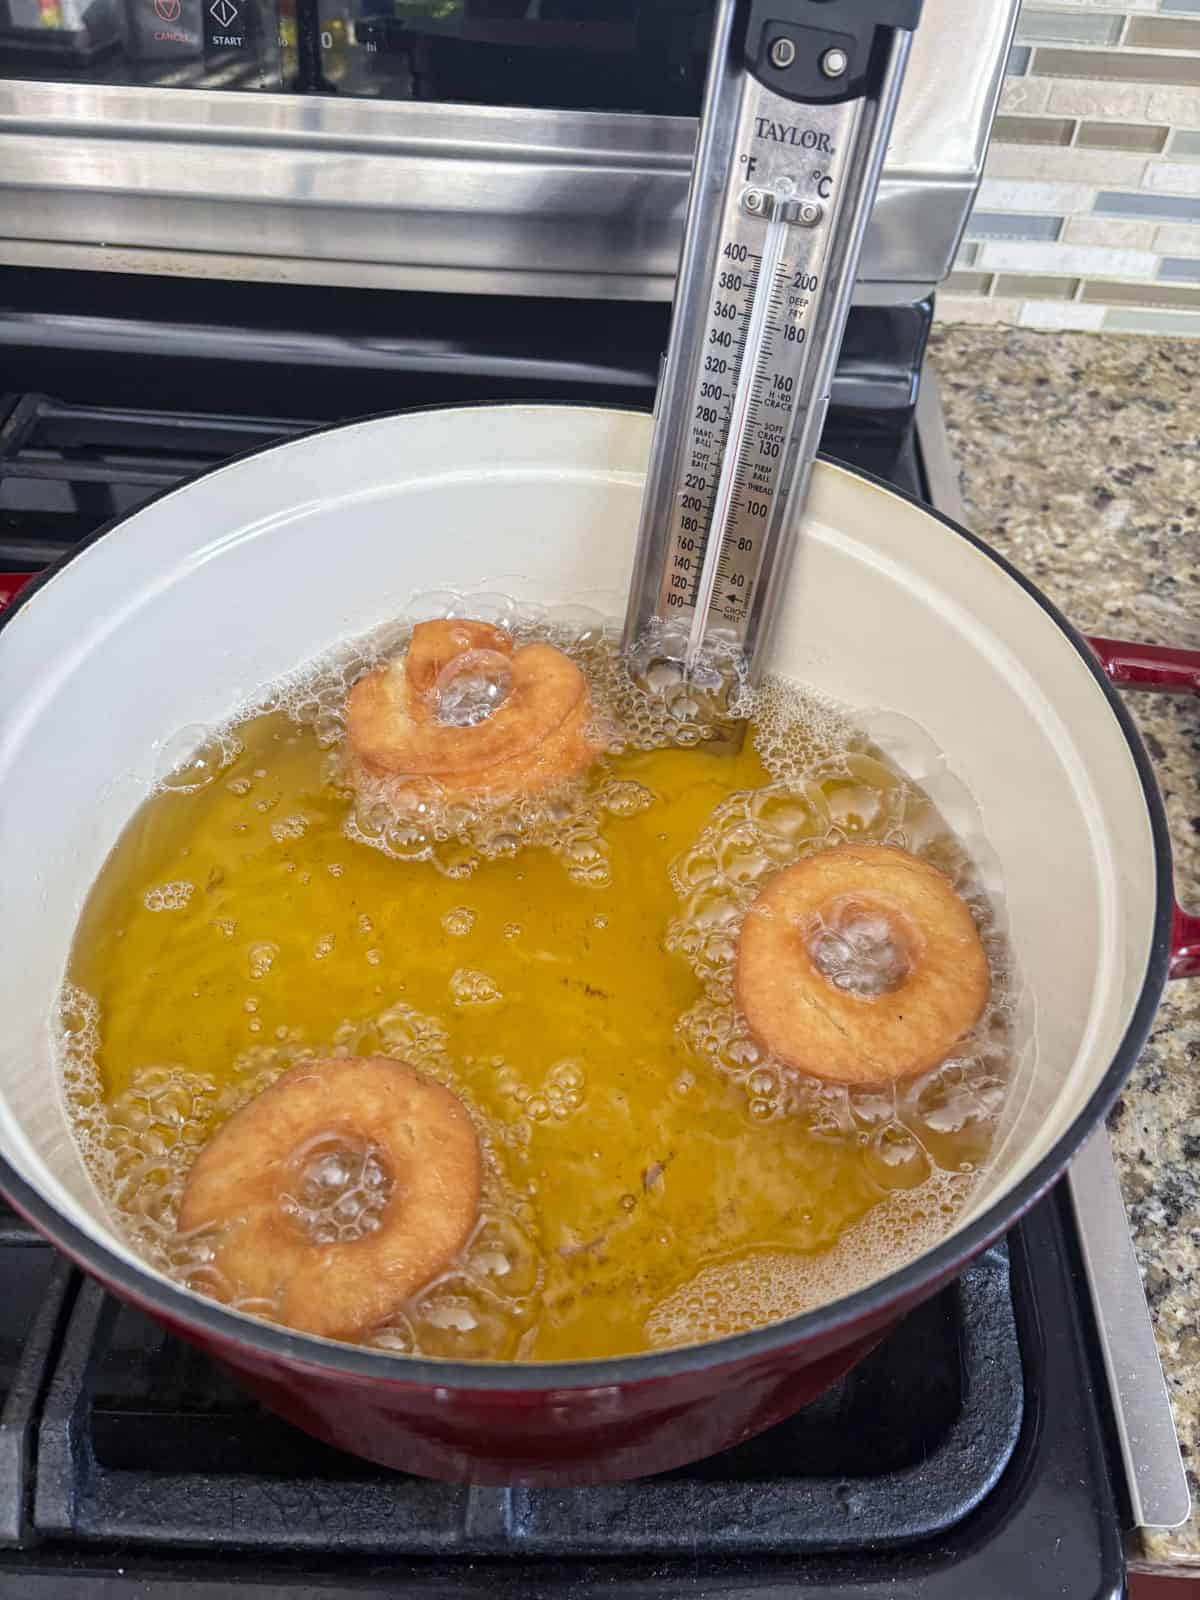
- Fry for 1 ½ -2 minutes, allowing the donuts to sink initially before they float to the surface (this should happen within 10 to 20 seconds).

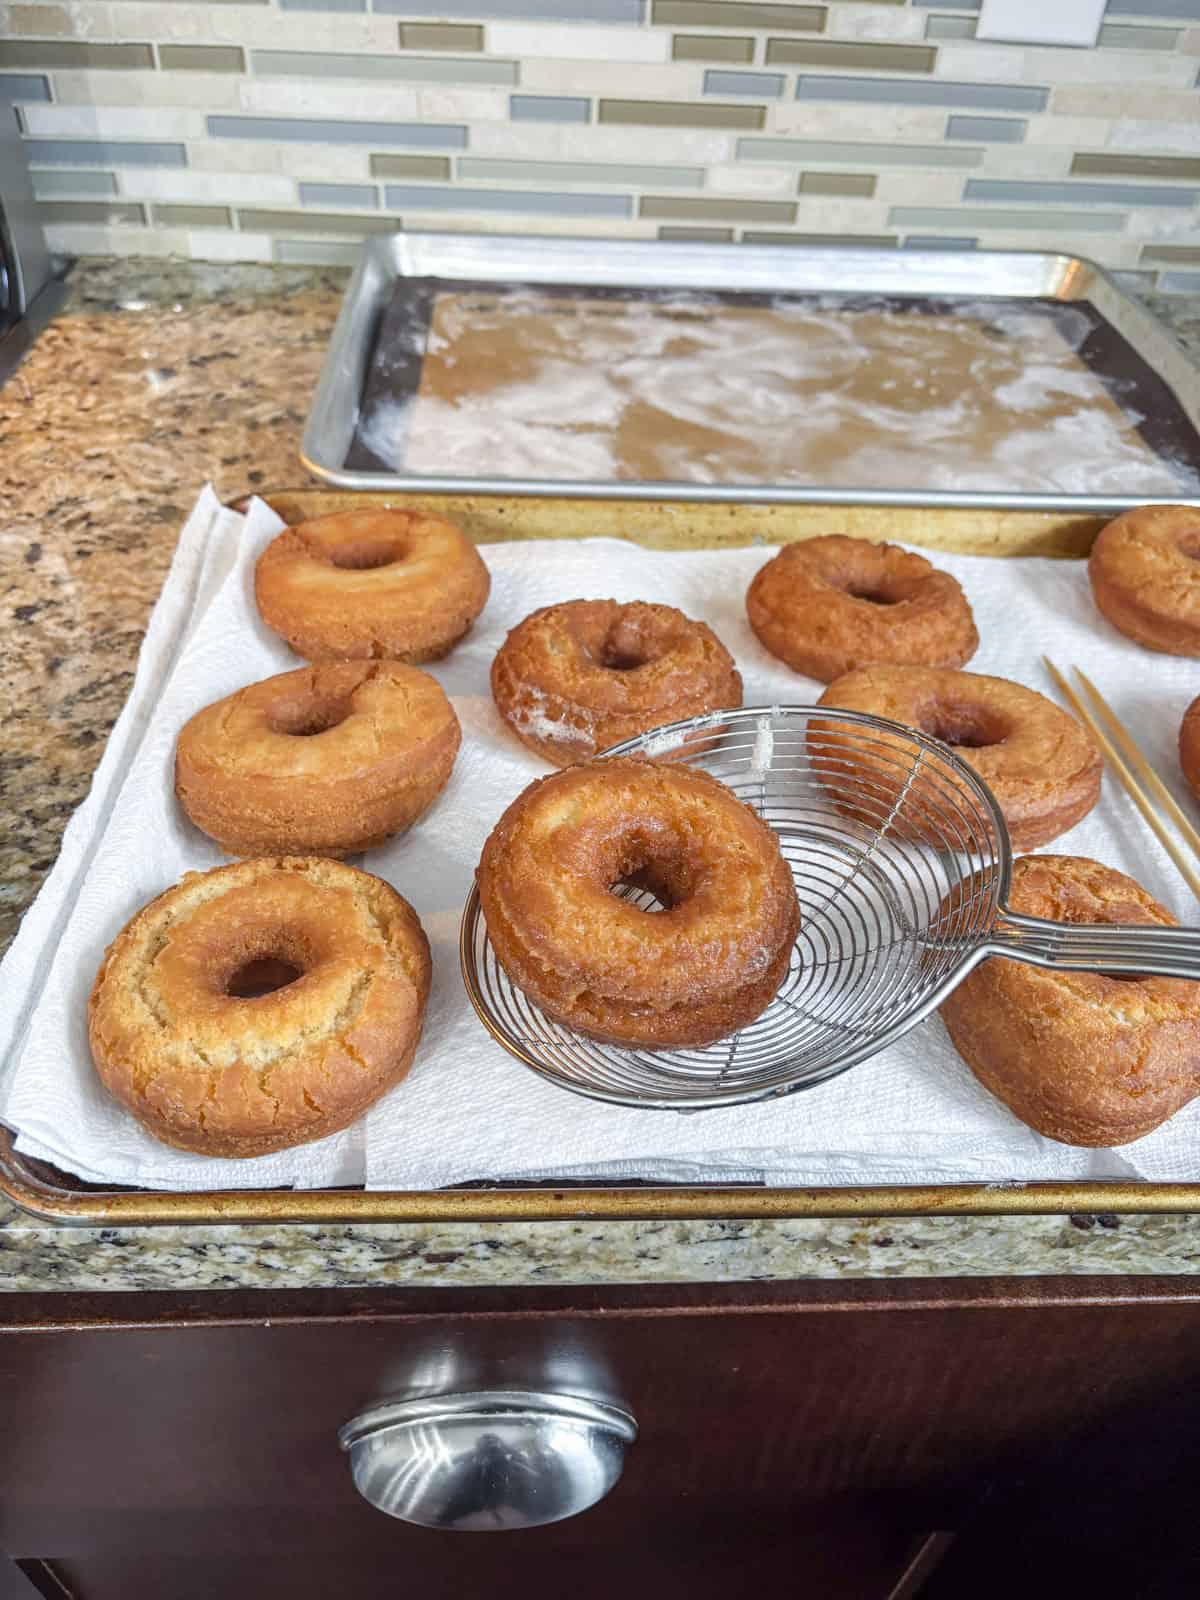
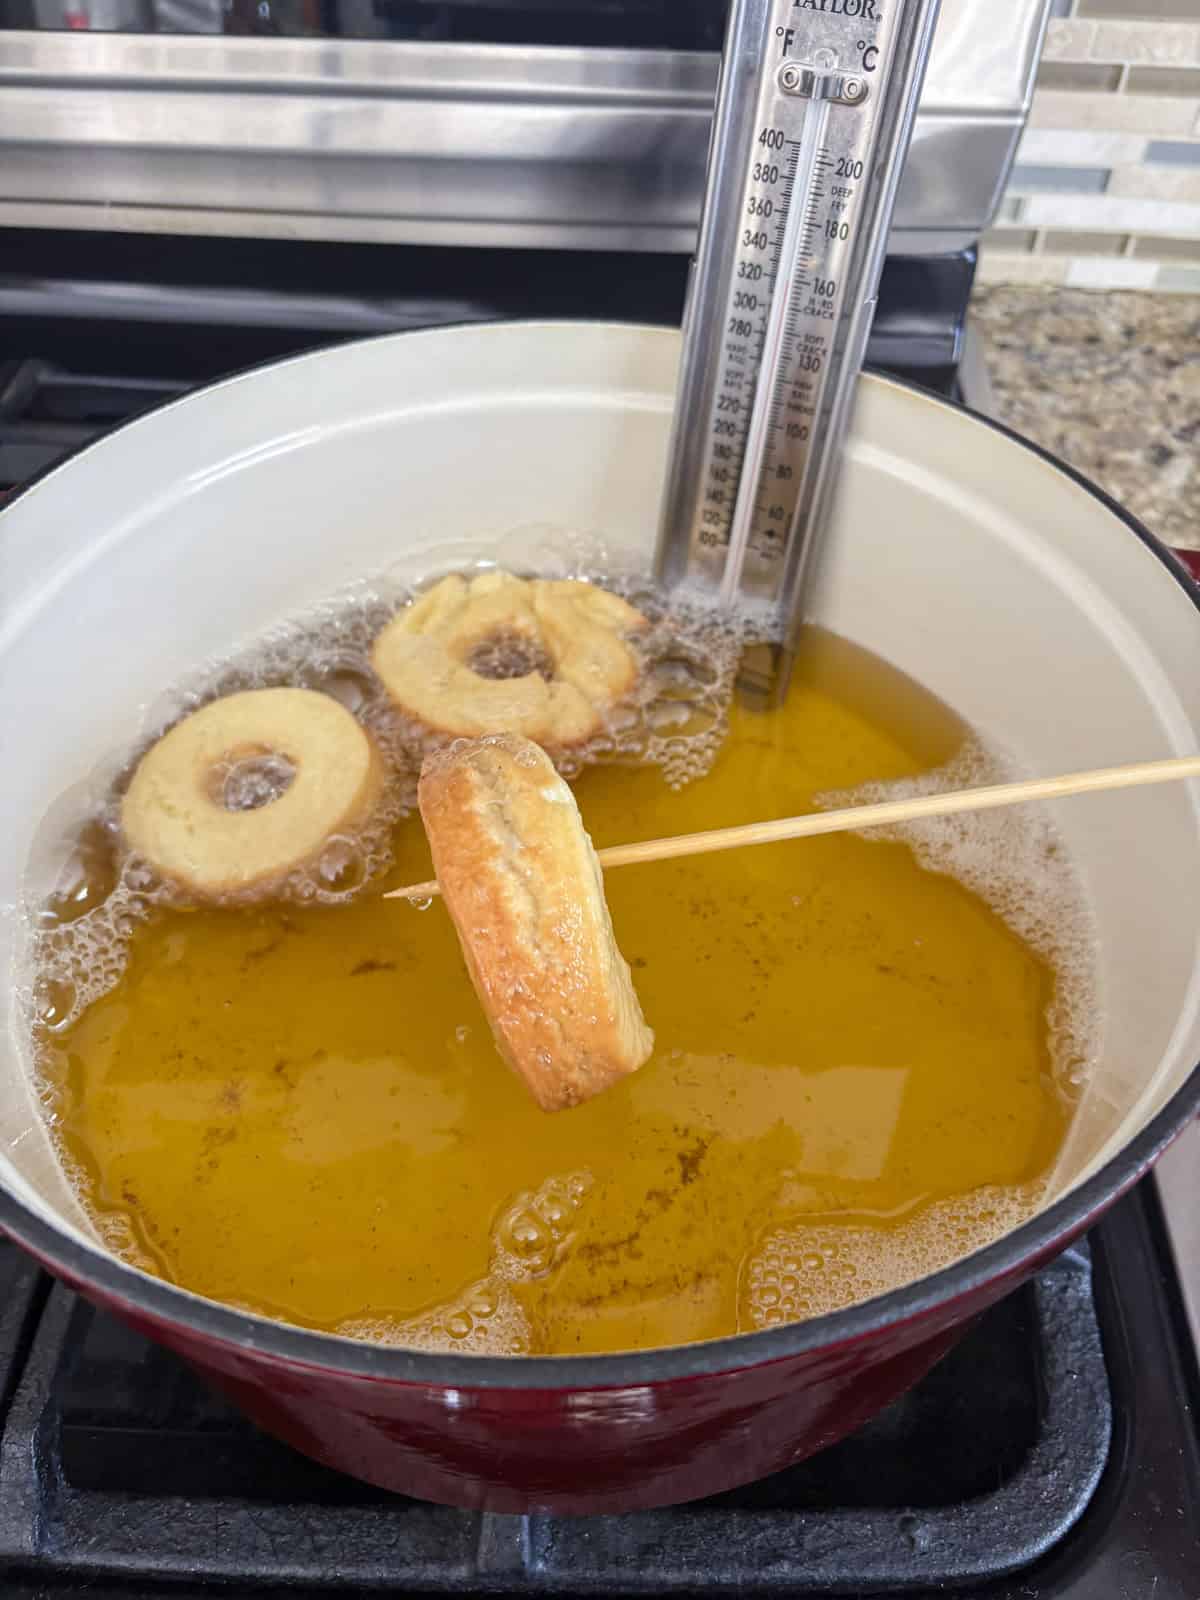
- Use a slotted spoon or chopstick to flip the donuts and fry for an additional 1 ½-2 minutes. Use a slotted spoon or spider strainer to remove the donuts and place them on the prepared baking sheet to drain. Adjust the heat as needed to maintain the oil temperature at 325°F. Fry donut holes for about 30 seconds per side.
Glaze
- Combine ingredients. In a small bowl, combine the powdered sugar, milk, and vanilla extract until pourable. Add more powdered sugar if it’s too runny or more milk if it’s too thick.
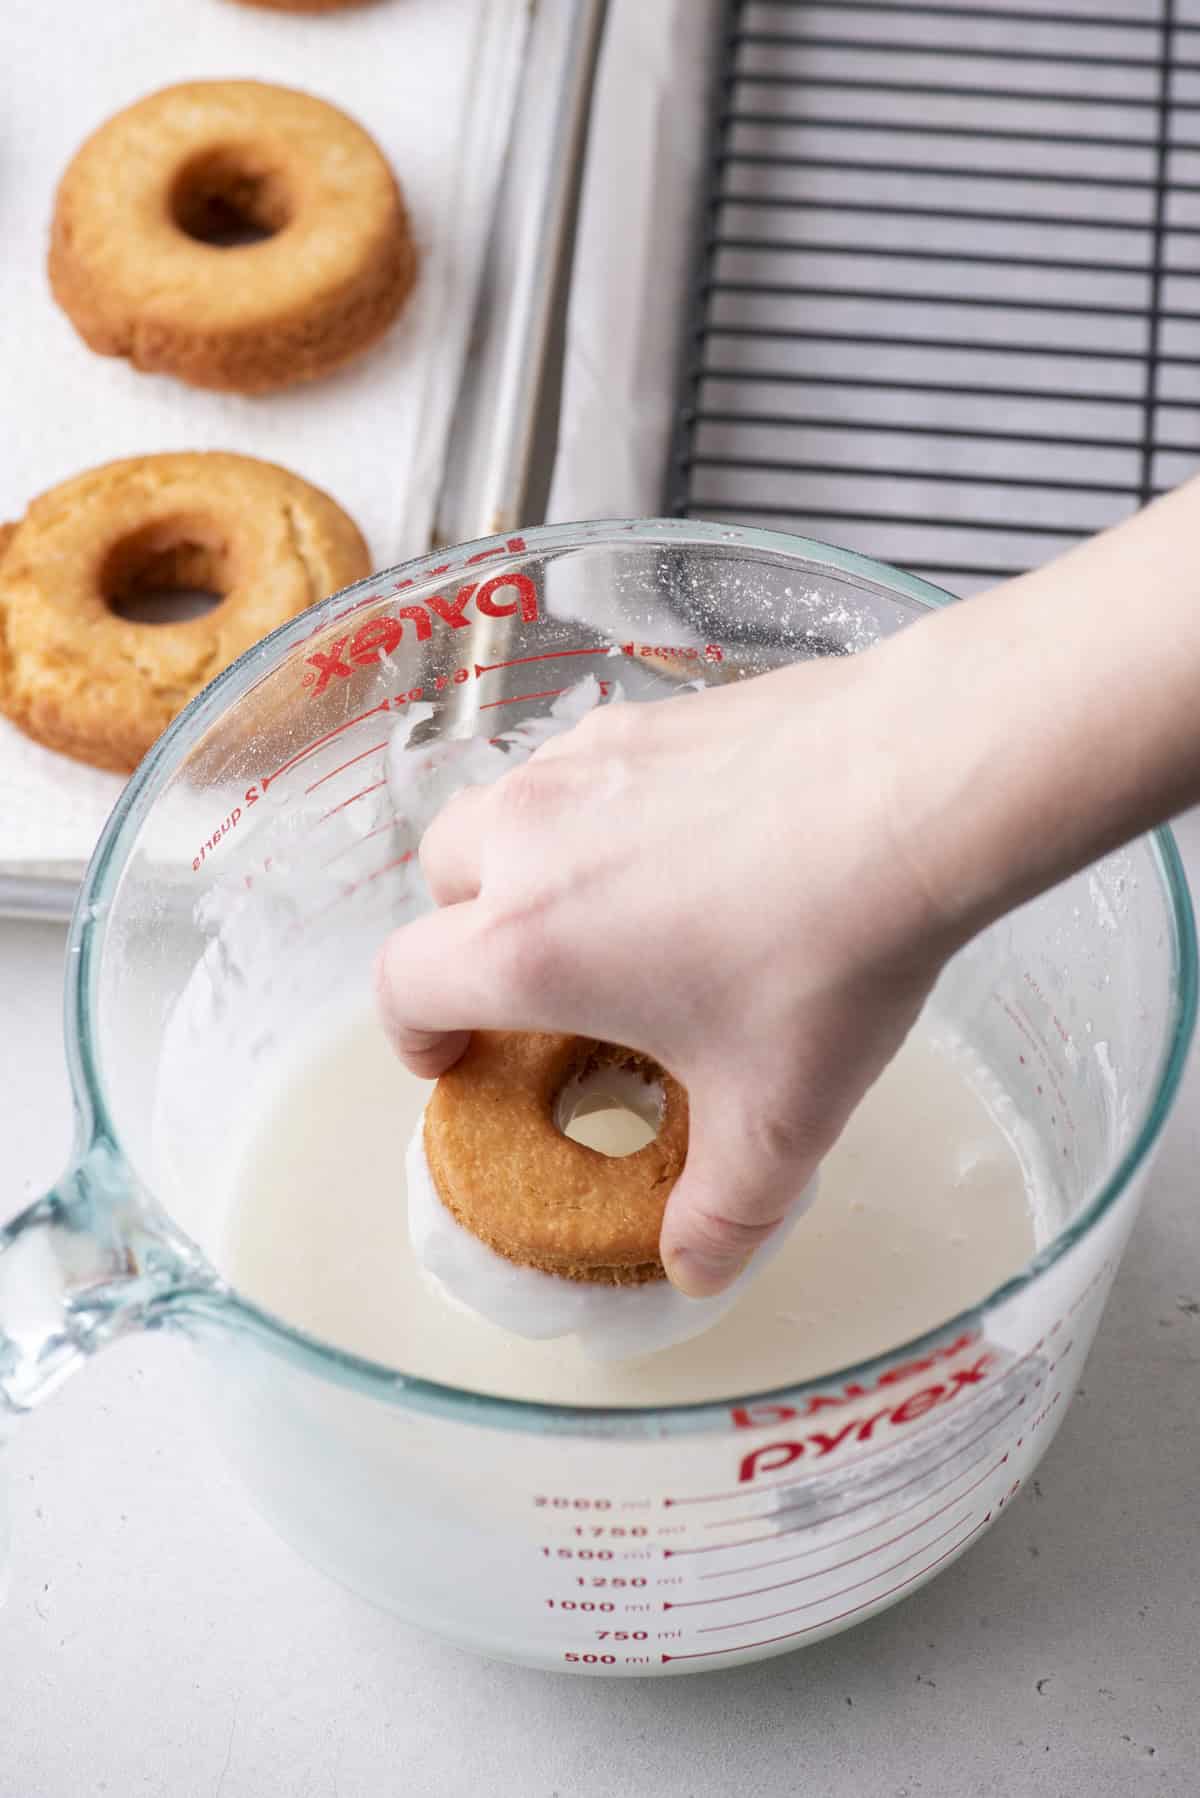
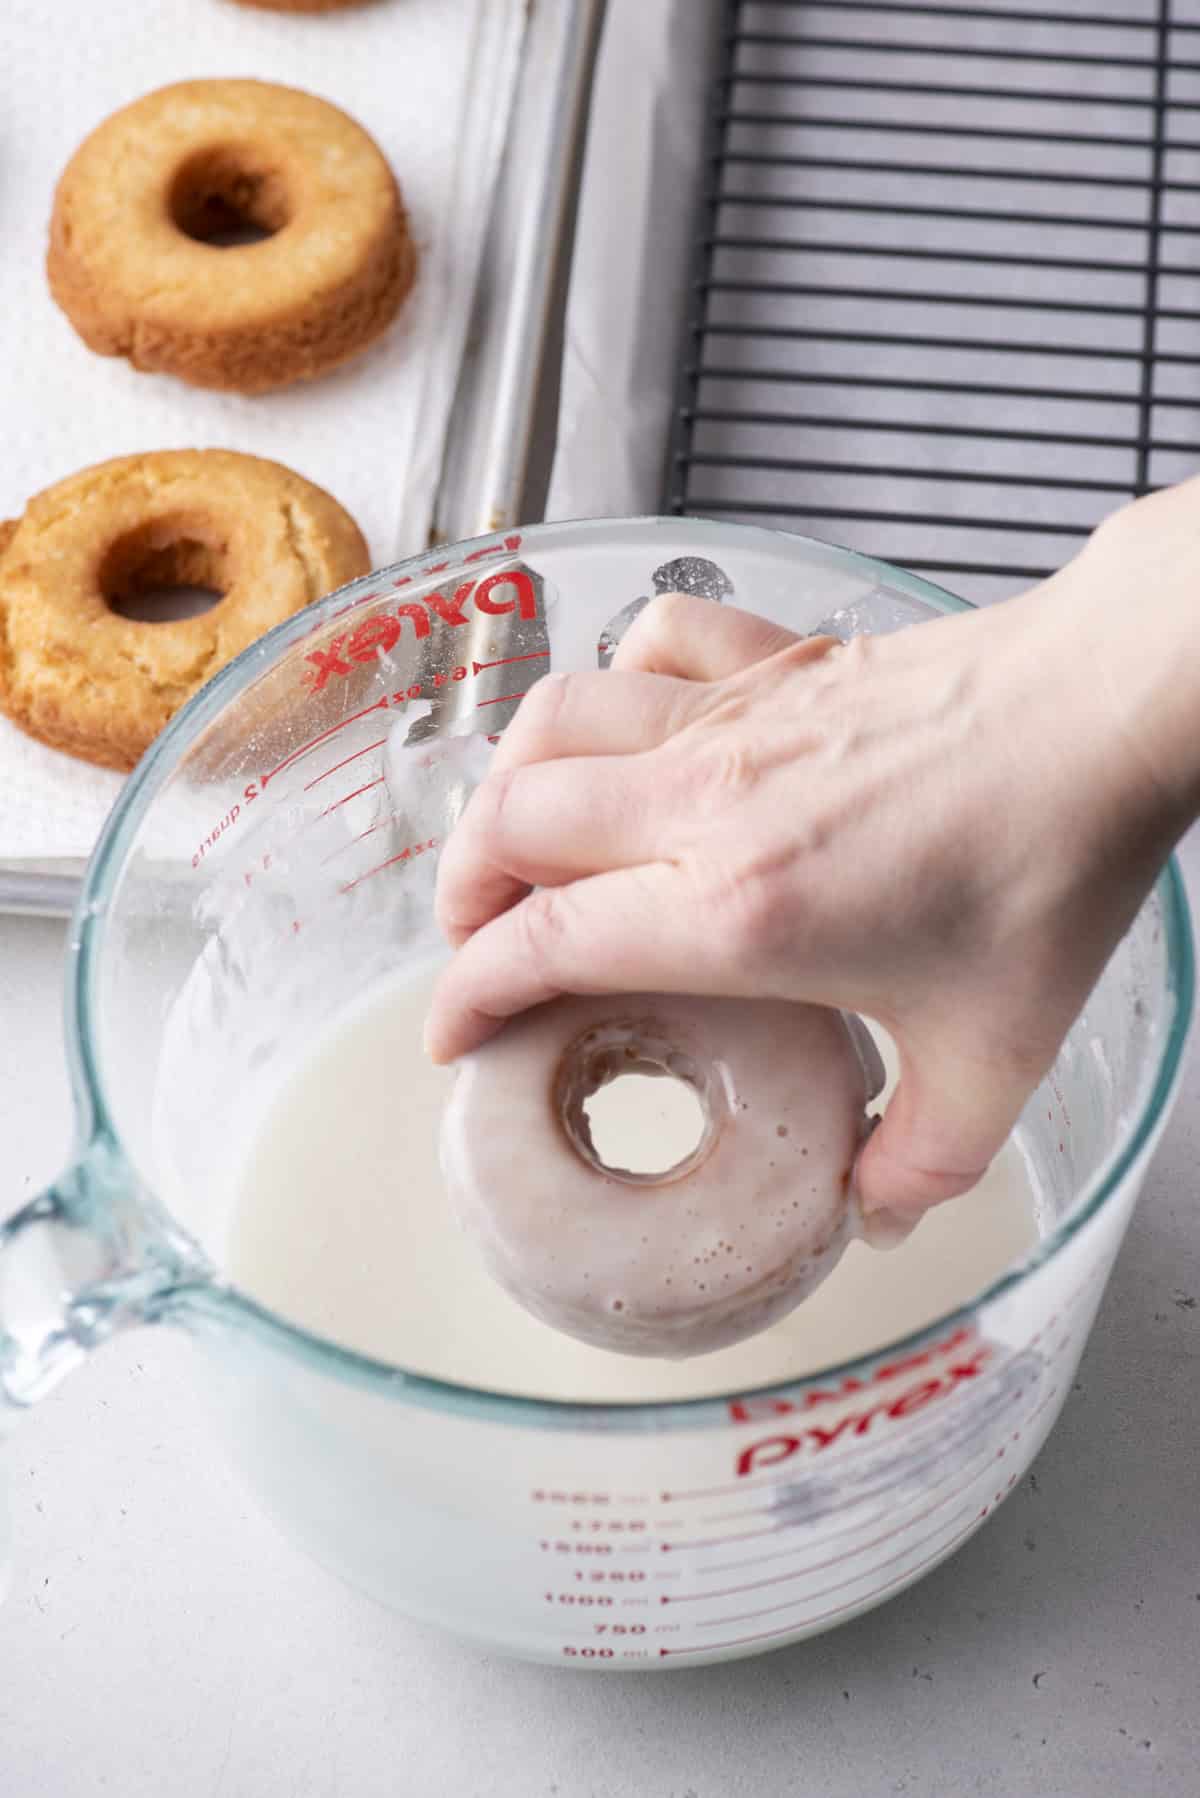
- Dip donuts. Transfer the glaze to a shallow dish. Dip one donut at a time into the glaze, allowing the excess to fall off into the bowl. I allowed my donuts to cool for 30 minutes after frying and before glazing.
Tips for making Sour Cream Donuts
For best results, follow my tried-and-true tips:
- Use fresh oil: Believe it or not, oil does go bad over time and will change the flavor of your donuts. Fresh is best!
- Use a candy thermometer: Using a thermometer helps ensure your donuts don’t end up overcooked or undercooked. Since oil temperature can fluctuate, be sure to check it regularly before adding new batches to the pot.
- Use the right tools for frying donuts: When it comes to flipping donuts while frying, having the right tools makes all the difference. A chopstick or kabob skewer is surprisingly effective for gently flipping donuts without disrupting their shape. These slim tools allow you to nudge the donuts effortlessly, ensuring even frying on both sides. For adding and removing donuts from the hot oil, a spider strainer is a game-changer. Its wide, perforated design allows you to safely lift donuts out of the oil while draining excess grease, keeping them perfectly golden and intact. With these tools in hand, you’ll feel like a pro in the kitchen!
- Let donuts cool before glazing: Be sure to allow your donuts to come to room temperature before dipping them in glaze, otherwise it will just melt off. I let mine cool for about 30 minutes after frying before glazing.
Old Fashioned Donut FAQs
Cruller donuts and old-fashioned donuts differ in texture, shape, and preparation. Crullers are made from choux pastry, giving them a light, airy, and eggy interior with a crisp, ridged exterior. They are often twisted or piped into a circular or rectangular shape before frying. Old-fashioned donuts, on the other hand, are made from cake-like batter, resulting in a denser, crumbly texture.
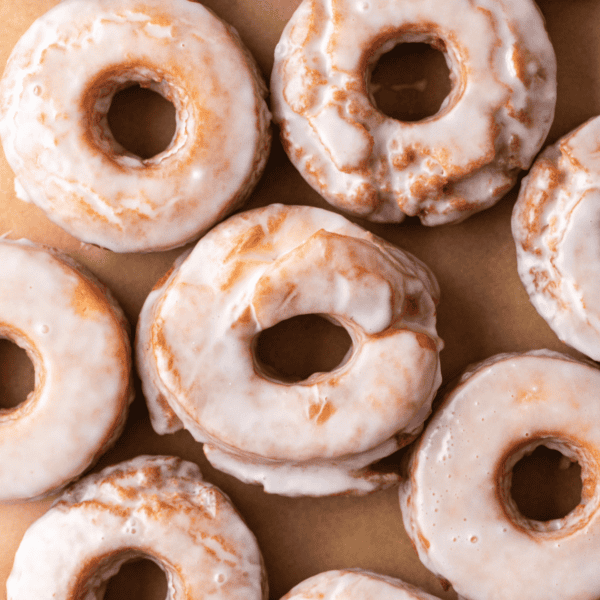
Old-fashioned donuts have a cracked surface due to their dense, cake-like dough, which expands unevenly during frying, resulting in a distinctive cracked “crown” shape.
No, the distinct characteristics that make old fashioned donuts what they are come from a combination of the ingredients and the process of frying. If you bake them, the texture and taste will not reflect a true old-fashioned donut.
Storing Old Fashioned Donuts
Leftover donuts can be stored in an airtight container at room temperature for about 3 days.
You can also freeze these donuts. Simply allow them to cool to room temperature first, then wrap individually in plastic wrap and place in a freezer-safe bag or airtight container. Freeze for up to 3 months. To thaw, microwave donuts for 20 seconds or place on the counter for 30 minutes.
Do Sour Cream Donuts need to be refrigerated?
Sour cream donuts do not need to be refrigerated. They can be stored at room temperature in an airtight container for up to 3 days. If you want to keep them fresh for longer, you can store them in the refrigerator. However, they may dry out a little.
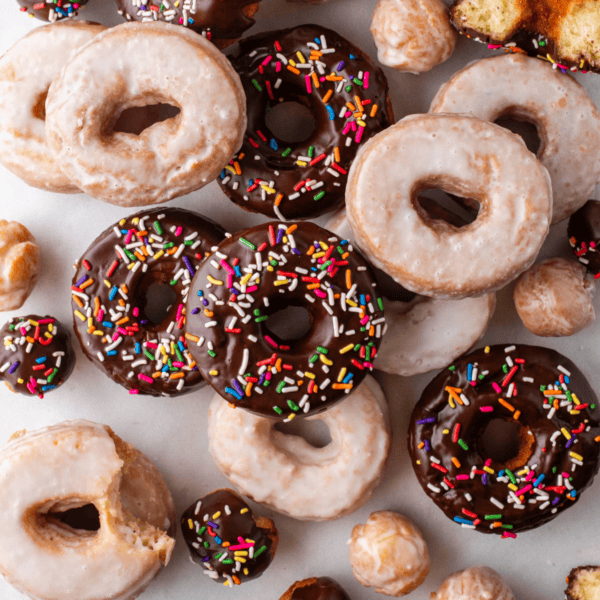
More Donut Recipes
Tap stars to rate!
Sour Cream Donut Recipe (Old Fashioned Donut)
Ingredients
- 2 cups + 3 tablespoons all-purpose flour (total 330g)
- ¼ cup + 1 tablespoon cornstarch (total 35g)
- 2 tsp baking powder
- 1 tsp salt
- ¼ tsp ground nutmeg
- ½ cup (99g) granulated sugar
- 2 Tbsp (28g) unsalted butter, room temperature
- 2 large egg yolks
- ⅔ cup (160g) sour cream
- 1 tsp vanilla extract
- Canola oil, enough to create a 2-inch depth in the pot
Glaze
- 1 ½ cups (169g) powdered sugar
- 1-2 Tbsp milk
- 1 Tbsp vanilla extract
Video
Instructions
- Sift the flour, cornstarch, baking powder, salt and nutmeg together, 2 times. Since we’re creating DIY cake flour, sifting is essential. Set aside.2 cups + 3 tablespoons all-purpose flour (total 330g) , ¼ cup + 1 tablespoon cornstarch (total 35g), 2 tsp baking powder, 1 tsp salt, ¼ tsp ground nutmeg
- In the bowl of a stand mixer or using a hand mixer, beat the butter and sugar together on medium speed for 1 minute.½ cup (99g) granulated sugar, 2 Tbsp (28g) unsalted butter
- Beat in the egg yolks on medium speed for 2 minutes.2 large egg yolks
- Beat in the sour cream and vanilla extract.2/3 cup (160g) sour cream, 1 tsp vanilla extract
- Gradually add the dry ingredients, mixing on low speed until fully combined.
- Cover the bowl with plastic wrap and refrigerate for at least 1 hour, until firm and not tacky. The dough can be stored like this for up to 24 hours.
- Lightly flour the dough and your work surface, then roll out the dough to ½-inch thickness.
- Dip a 3-inch round cookie or biscuit cutter in flour and use it to cut circles from the dough. Then cut a hole in the center of each circle with a 1 ¼-inch round cutter (you can also use the large end of a piping tip). Arrange the donuts and donut holes on a tray lined with parchment paper or a silicone mat. Place the donuts in the refrigerator while you heat the oil.
- Pour oil into a large, heavy-bottomed pot to a depth of 2 inches. Heat over medium heat until a deep-fry or candy thermometer reads 325°F. Line a large baking sheet with paper towels.Canola oil
- Gently add 2 to 3 donuts to the hot oil at a time. Fry for 1 ½ -2 minutes, allowing the donuts to sink initially before they float to the surface (this should happen within 10 to 20 seconds). Use a slotted spoon or chopstick to flip the donuts and fry for an additional 1 ½-2 minutes. Use a slotted spoon or spider strainer to remove the donuts and place them on the prepared baking sheet to drain. Adjust the heat as needed to maintain the oil temperature at 325°F. Fry donut holes for about 30 seconds per side.
Glaze
- In a small bowl, combine the powdered sugar, milk, and vanilla extract until pourable. Add more powdered sugar if it’s too runny or more milk if it’s too thick.1 ½ cups (169g) powdered sugar, 1-2 Tbsp milk, 1 Tbsp vanilla extract
- Transfer the glaze to a shallow dish. Dip one donut at a time into the glaze, allowing the excess to fall off into the bowl. I allowed my donuts to cool for 30 minutes after frying and before glazing.
Notes


I can’t wait to try these. I would like to make some chocolate ones. Should I just exchange some of the flour for Cocoa? We love your Muffins, starting on the Donut recipes next.
I made your donuts today but they came out kind of flat. They didn’t puff up at all. I put them in the fridge for 1 hour. Now, maybe my pan was too big, so the oil was only about 1.5 inches. Not sure where I went wrong.
Can we just use 365g of cake flour? Does the sour cream and yokes need to be room temp?
Can’t wait to try these recipes! Are they available in any of your cookbooks?
Hi Carrie! This recipe is not in any of my current books!
Absolutely delicious. Your DIY flour is perfect! You are a genius!!! My family loved these! Plus it helps me use up those pesky extra egg yolks! Thanks so much and keep those recipes co.i g