This post may contain affiliate links. Please read our disclosure policy.
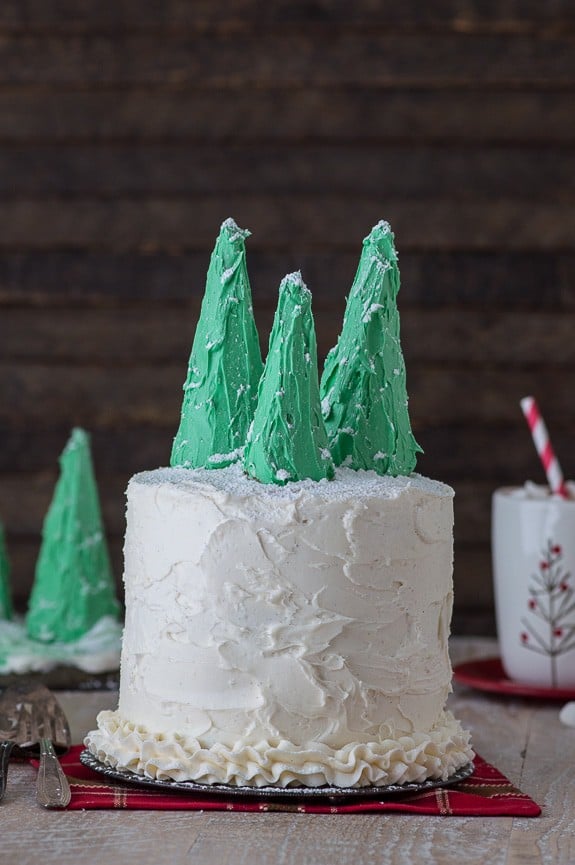 Seeing that I lived 22 years of my life in MinneSNOWta, you would think I like snow. And the cold. And shovels, winter jackets, and ice fishing.
I don’t like any of those things.
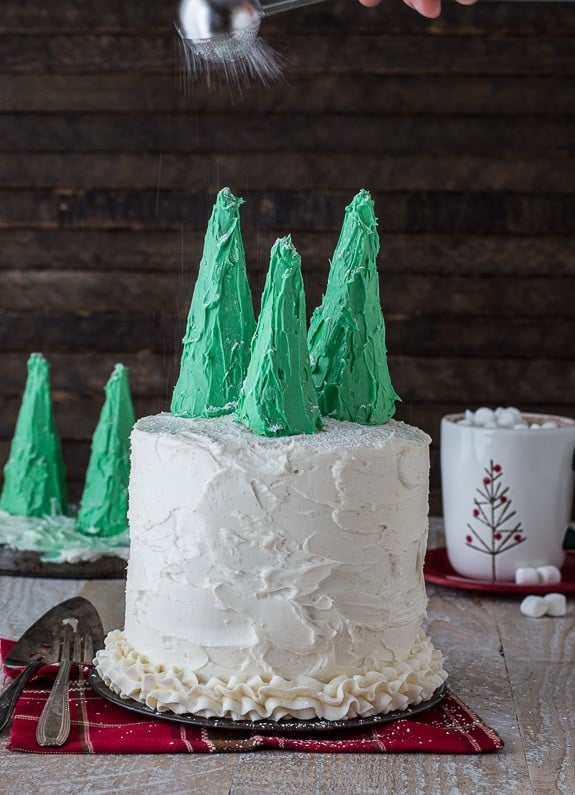 It hasn’t snowed yet this year where we live (!!!!!!!!!!!) and it’s been incredibly nice! On Saturday it was 60 degrees and I went running outside. In December! Is that what it would be like to live in Florida or California? Sounds so dreamy. Plus if we moved I could sell my north face jacket and use the money to buy baking supplies :)
But there is one place I don’t mind a little “snow”… dusted on top of cake!
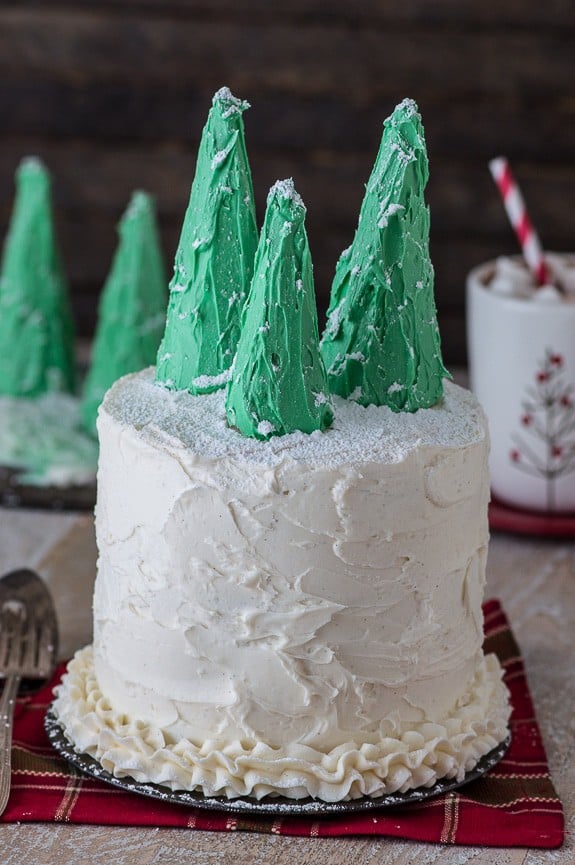 I’m so sorry guys, I’m not sure I’ll be able to bake another normal cake ever. Whenever I start brainstorming ideas for recipes, I’ll start off by determining what flavor of cake I want the actual cake to be and then all of a sudden my brain jumps to “I’M GOING TO TOP THIS CAKE WITH GREEN CHRISTMAS TREES!” Or in other cases it’s chocolate shards, crazy colored chocolate decorations, or toasted marshmallows.
If you want to stage a cake topping intervention, I’ll understand. But I secretly hope you like cake toppers because they are so fun. And I like them too much to part with them.
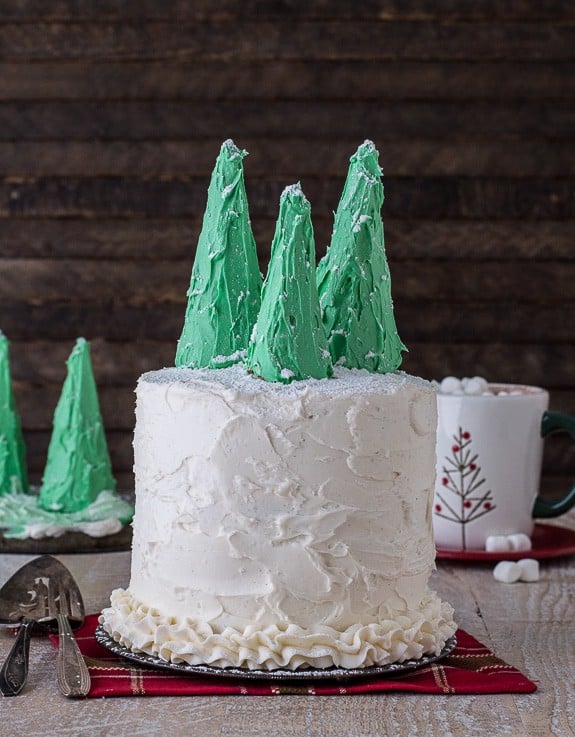
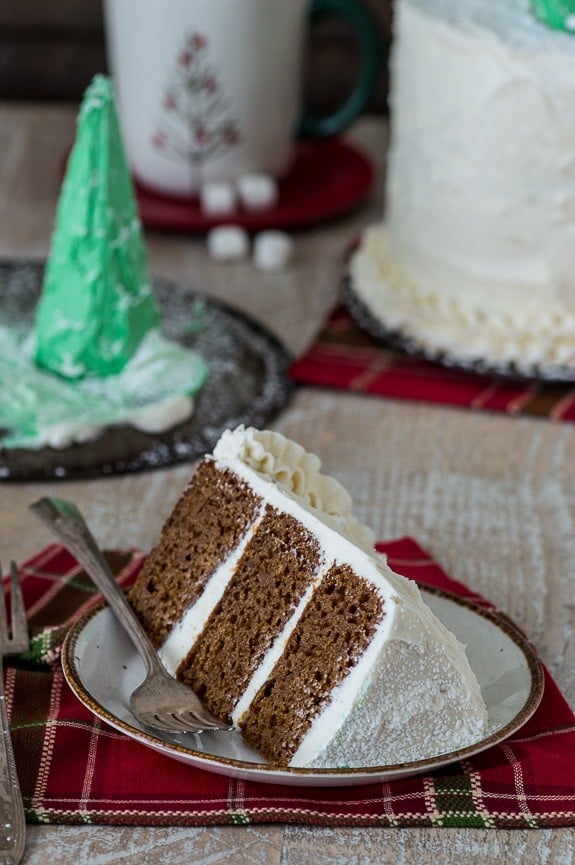 Getting christmas-y of course, the inside of this cake is homemade gingerbread cake. 3 layers of deliciousness. I’ve been craving gingerbread ever since.
I went with a vanilla bean buttercream. Simple and not too over powering. The christmas trees are made out of ice cream cones, 2 regular sized ones and then I broke the third so it was smaller. They are covered in a simple green buttercream and dusted with powdered sugar. Umm I mean snow ;)
Tap stars to rate!
Gingerbread cake topped with Snowy Trees
Ingredients
Gingerbread Cake
- 2 ½ cups all purpose flour
- 2 tsp cinnamon
- 1 ½ tsp ginger
- ½ tsp salt
- 1 tsp baking powder
- 1 tsp baking soda
- 1 stick butter, room temperature (1/2 cup)
- ¾ cup brown sugar
- 2 large eggs
- ¾ cup molasses
- 1 cup milk
Vanilla Bean Buttercream
- 3 sticks butter, room temperature (1 1/2 cups)
- ½ cup vegetable shortening
- 1 tsp vanilla bean paste, or extract or vanilla bean pods
- 3-4 cups powdered sugar
Christmas Trees
- 3 regular sugar ice cream cones
- 1 stick butter, room temperature (1/2 cup)
- ¼ cup vegetable shortening
- green food coloring
- 2 cups powdered sugar, plus extra for dusting
Instructions
Gingerbread Cake
- Preheat the oven to 350º F.
- Using butter grease the bottom and sides of three 6 inch round cake pans or springform pans and line the bottoms with a round piece of parchment paper. To ensure even baking, place a bake even strip around each pan. You can make your own homemade bake even strip by cutting a towel or shirt to fit the size of your pan. Get the fabric really wet, then squeeze out the dripping water but do not squeeze it too dry. Secure the fabric around the pan with a safety pin.
- In a small mixing bowl, combine the flour, cinnamon, ginger, salt, baking powder, and baking soda.Gently mix using a spoon.
- In a larger mixing bowl, combine the butter and sugar, beat using an electric mixer until fluffy. Add in the eggs, one at a time, lightly beat.
- Add in the molasses, mix by hand using a spatula.
- Add half of the flour mixture to the wet ingredients, do not dump it in, rather take spoonfuls of the flour mixture and gently shake it over the wet ingredients. Fold in the mixture until no flour remains.
- Add the milk, stir, then add the other half of the flour, folding it in and scraping the sides and bottom of the bowl to incorporate everything.
- Evenly divide the batter between the 3 pans, with about 1 & 1/2 cups in each pan.
- Bake for 27-30 minutes or until a toothpick inserted in the center comes out clean.
- Once the cake is done baking, allow it to cool in the pan on a cooling rack for 10 minutes. After 10 minutes, carefully remove the cake from the pan. If using a springform pan, remove the sides and bottom. Allow the cake to cool completely on a cooling rack. Once cool, remove the parchment paper round from the bottom of the cake. If you need to level the top of your cake, do so now using either a cake lever or knife.
- If you’ll be assembling the cake later, wrap the cake layers really good in plastic wrap and place them in the refrigerator. They will be good for up to 5 days.
Vanilla Bean Buttercream
- In a mixing large bowl, combine the butter and vegetable shortening, beat using an electric mixer until fluffy, 2 minutes.
- Add in the vanilla bean paste, beat using electric mixer.
- Begin to add the powdered sugar, about 1-2 cups at a time, mixing by hand first, then with the electric mixer. Continue adding powdered sugar until the frosting tastes good to you.
Christmas Trees
- In a mixing large bowl, combine the butter and vegetable shortening, beat using an electric mixer until fluffy, 2 minutes.
- Add in the green food coloring, beat using electric mixer.
- Begin to add the powdered sugar, about 1 cup at a time, mixing by hand first, then with the electric mixer. Continue adding powdered sugar until the frosting tastes good to you. Add more green food coloring to get your desired color.
- Carefully spread the frosting on the ice cream cones. I used 2 regular sized cones and then broke the bottom of the third to make a smaller tree.
How to assemble the cake
- Spread a small amount of buttercream on a 6 inch round cardboard cake circle. Place your first layer of cake on top of the cardboard. Put buttercream on top of the first layer and spread it as even as possible with an offset spatula. Decide how much or how little frosting you want in-between each layer, you can measure the frosting, I use 1/3 to 1/2 cup in between each layer.
- Repeat this process for each layer of cake. Once all of the layers are stacked and frosted, spread some frosting (the same amount as you did between the layers) on the top of the cake.
- Next, it’s time to do a crumb coat. The crumb coat will help seal the crumbs in. Using your offset spatula, spread a thin layer of buttercream around the sides and the top of the cake. It’s easiest to start off with more frosting on the cake and remove some as needed.
- Place the entire cake in the freezer or fridge for 20 minutes to harden the crumb coat.
- Begin to add the second layer of frosting. Spread an even layer of frosting on the top of the cake. Next spread the frosting around the sides of the cake. I used a small offset metal spatula to give the frosting a textured look.
- Transfer the cake to your desired serving plate. Using a piping bag and a piping tip (I used a wilton 1M) to pipe a border of buttercream around the bottom of a cake.
- Top the cake with the christmas trees and dust them with powdered sugar.
- Slice and serve!





Your cakes area always the absolute cutest! Love the fluffy gingerbread cake as a base – I’m sold! <3
Oh thank you Jenn!
Such a gorgeous cake! It looks delicious as well.
What a festive looking cake! The gingerbread flavor is perfect :)
You’ve done it again–this adorable!
Thanks Christina!!
Oh gir I am with you. This is the only way I want to see snow!
Hehehe :)
Haha, California does get a bit cold during the winter time (at least northern California). But it’s probably nowhere near as cold as Minnesota! I LOVE your festive cakes! Don’t stop with the decorations!
I remember there being like 6 feet of snow and it was -25 degrees and there was still school in MN!
Your cake toppers are the most fun EVER! Don’t ever change.
OKAY!!
This is such a centerpiece cake- love it!
So adorable. ALMOST too cute to eat ; )
Dear Beth, can you believe THIS is December??! But I’m not going to complain, just going to get my evening walks in while I still can. I know we will probably be in for a quite a snowy January/February. In fact, winter took it’s time getting here last year and I remember we had snow in March for my birthday. Crazy weather patterns!
This cake is stunning…it captures the spirit of the holidays and I can only imagine how beautiful it will be on the Christmas table. I would love a slice too! xo, Catherine
We always had snow in MN in March and April!!