This post may contain affiliate links. Please read our disclosure policy.
Caramel sauce looks easy but it can go wrong fast, and I know because I have burned plenty of batches. Over the years I perfected a method that is approachable for home bakers yet delivers pro-level results.
My step-by-step recipe explains the “why” behind each step so you feel confident instead of guessing. If you have ever been nervous to make caramel, this recipe will get you there.
Caramel Sauce Mistakes
Caramel sauce looks simple, just sugar, butter, and cream, but it can be intimidating. I didn’t get it right the first time. I burned batches, ruined pans, and learned the hard way that you cannot rush caramel. Turning the heat up too high only leads to scorched sugar, and if you do not have everything prepped ahead of time, you will end up scrambling while the caramel overcooks. Those mistakes taught me patience and precision, which are the real secrets to consistently smooth, golden caramel sauce.
Through years of recipe testing, I have refined my technique into a method that is foolproof for home bakers. I use clear, step-by-step instructions and I explain the “why” behind each step so you understand exactly what is happening in the pan. My recipes have been tested with both beginner and experienced bakers in mind, and I always include troubleshooting tips from my own failures to help you avoid them.
I am a self-taught baker who has spent over a decade developing classic dessert recipes, and caramel sauce has become one of those recipes I can confidently guide you through. If you have been nervous to try making it at home, this is the recipe to start with. I have made the mistakes so you do not have to, and the reward is a glossy, rich caramel sauce you will want to pour on everything.
How to Make Homemade Caramel Sauce
Ready to make delicious caramel sauce like a pro? Here is my step-by-step guide:
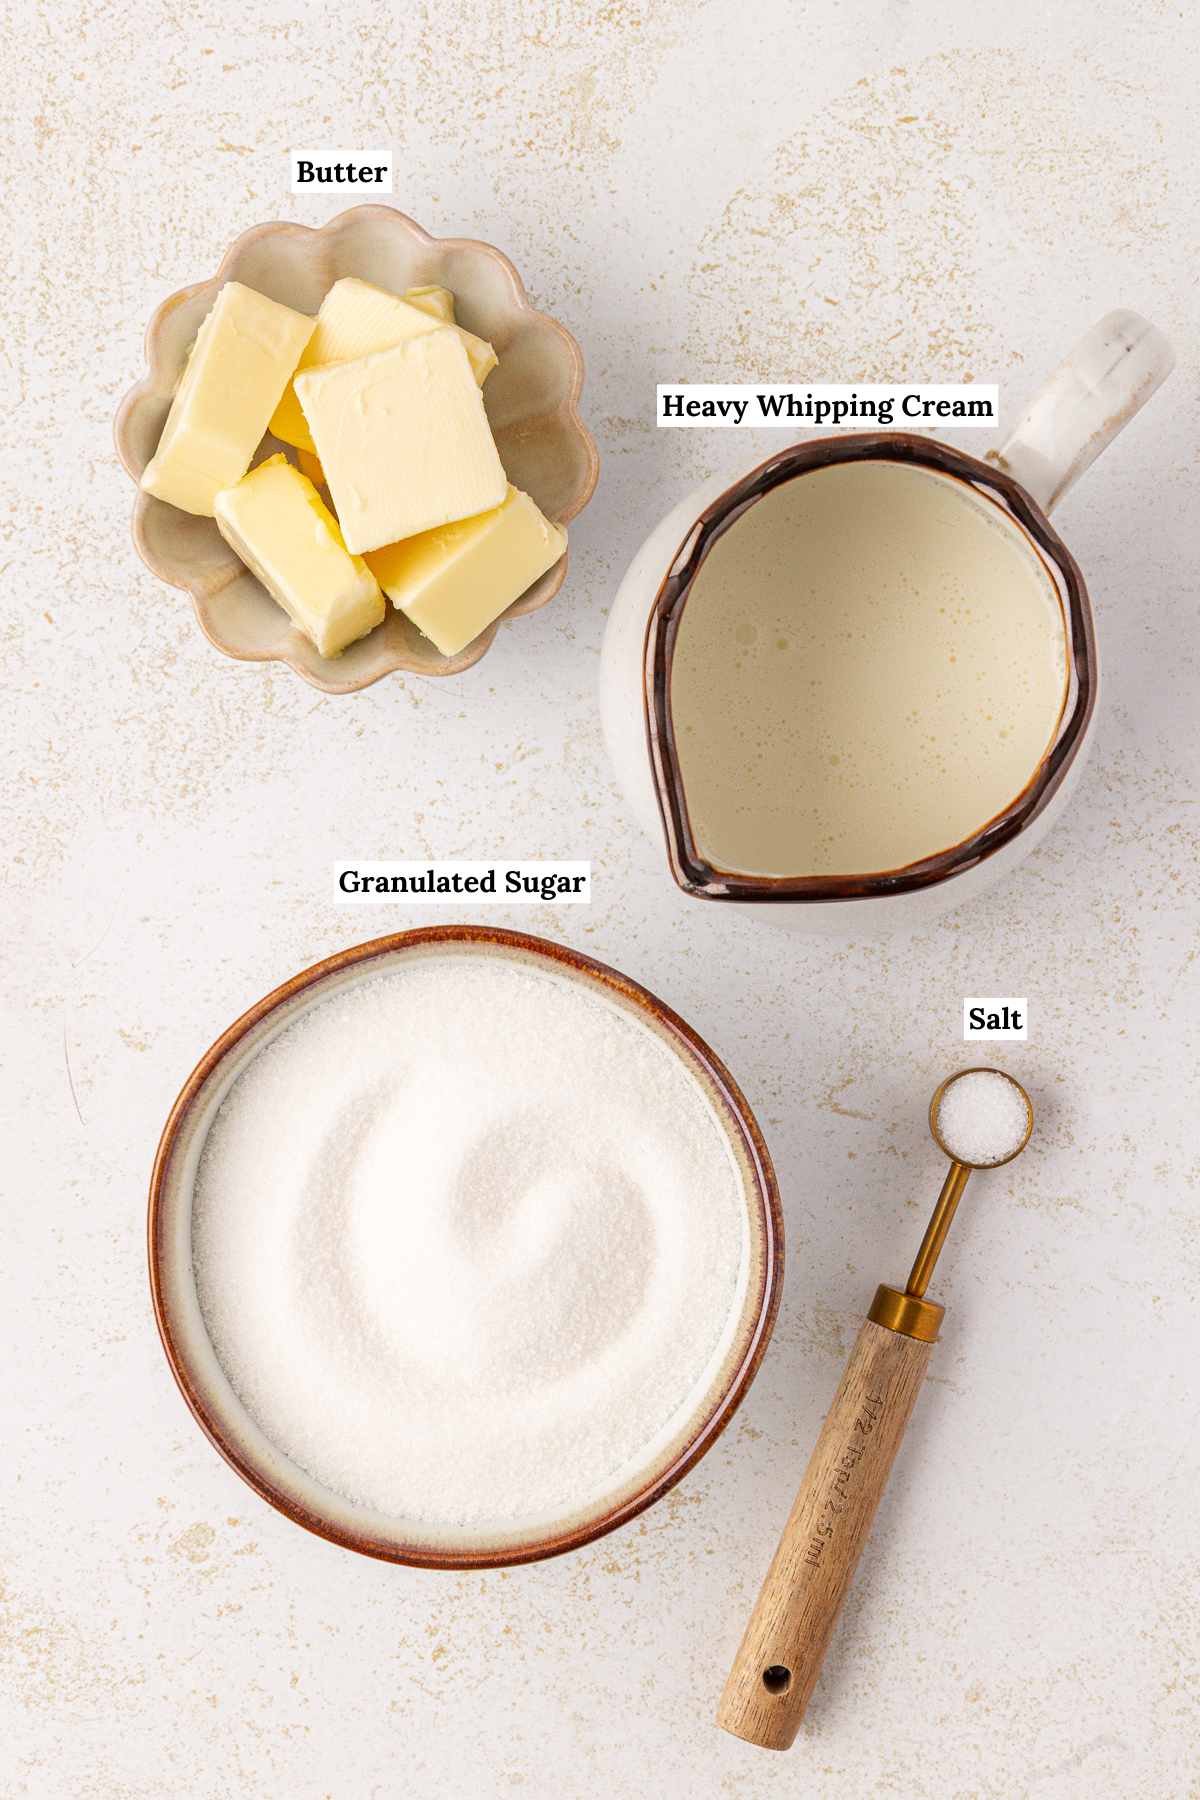
- Before you start: Caramel moves fast, so have every ingredient measured, at room temperature, and within arm’s reach of the stove before turning on the heat. Slice the butter into pieces, pour the cream into a measuring cup, and set the salt nearby. Once the sugar melts, you won’t have time to scramble for ingredients, being ready means you can work quickly and avoid burning or seizing.
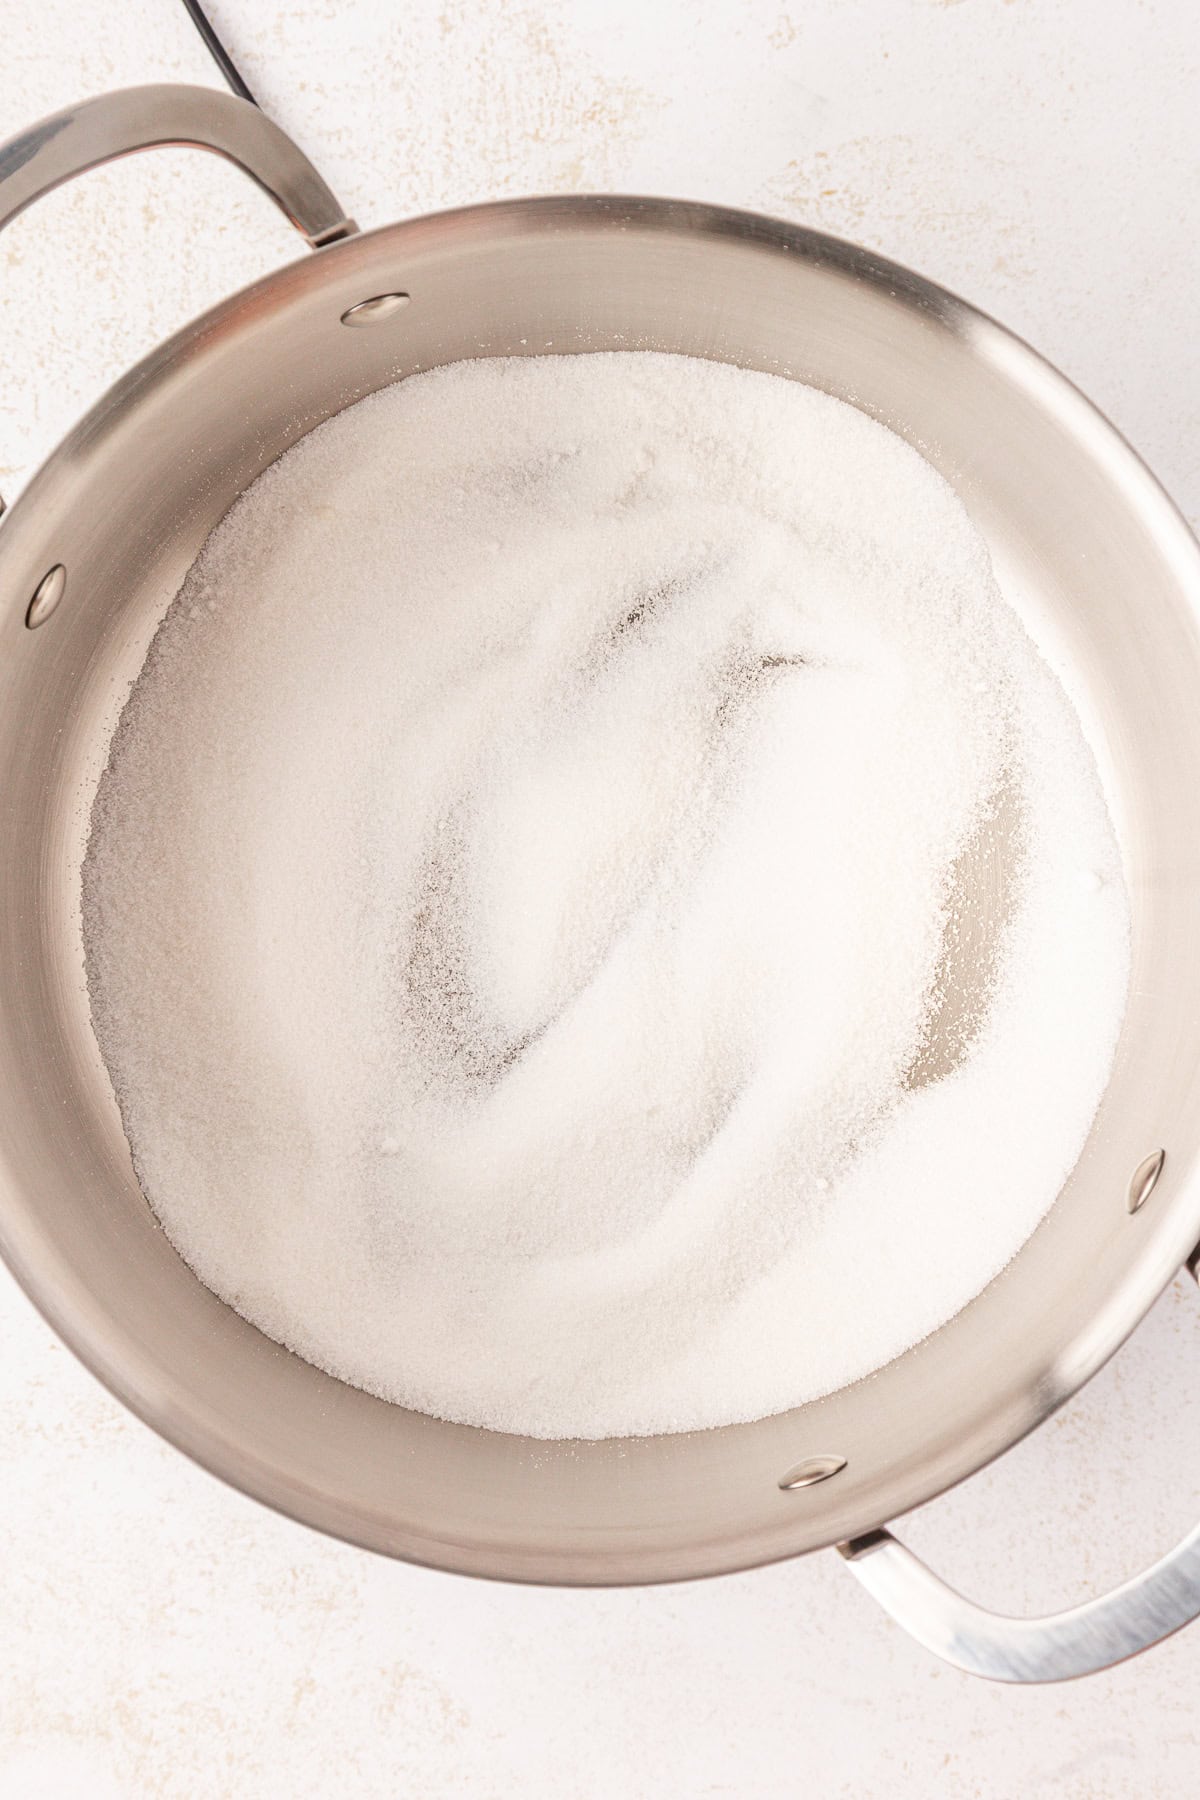
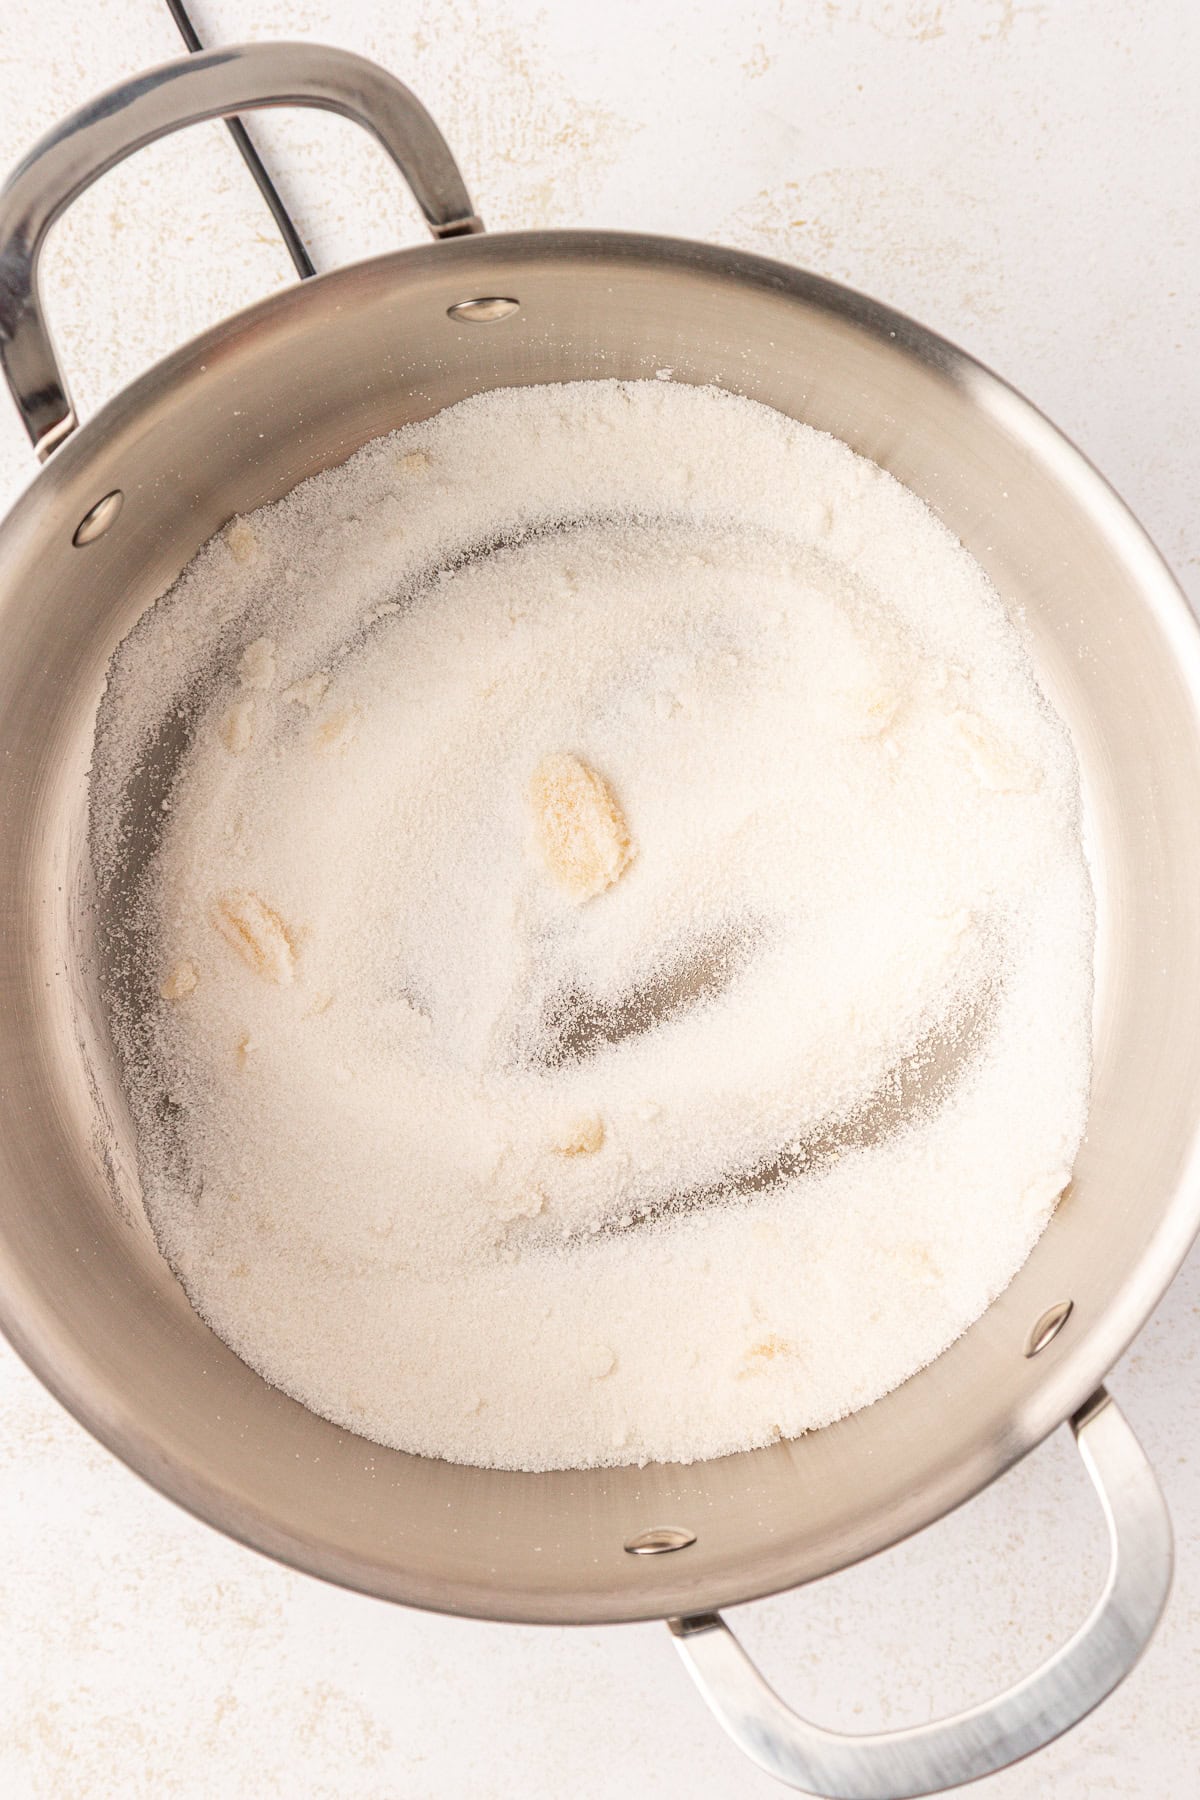
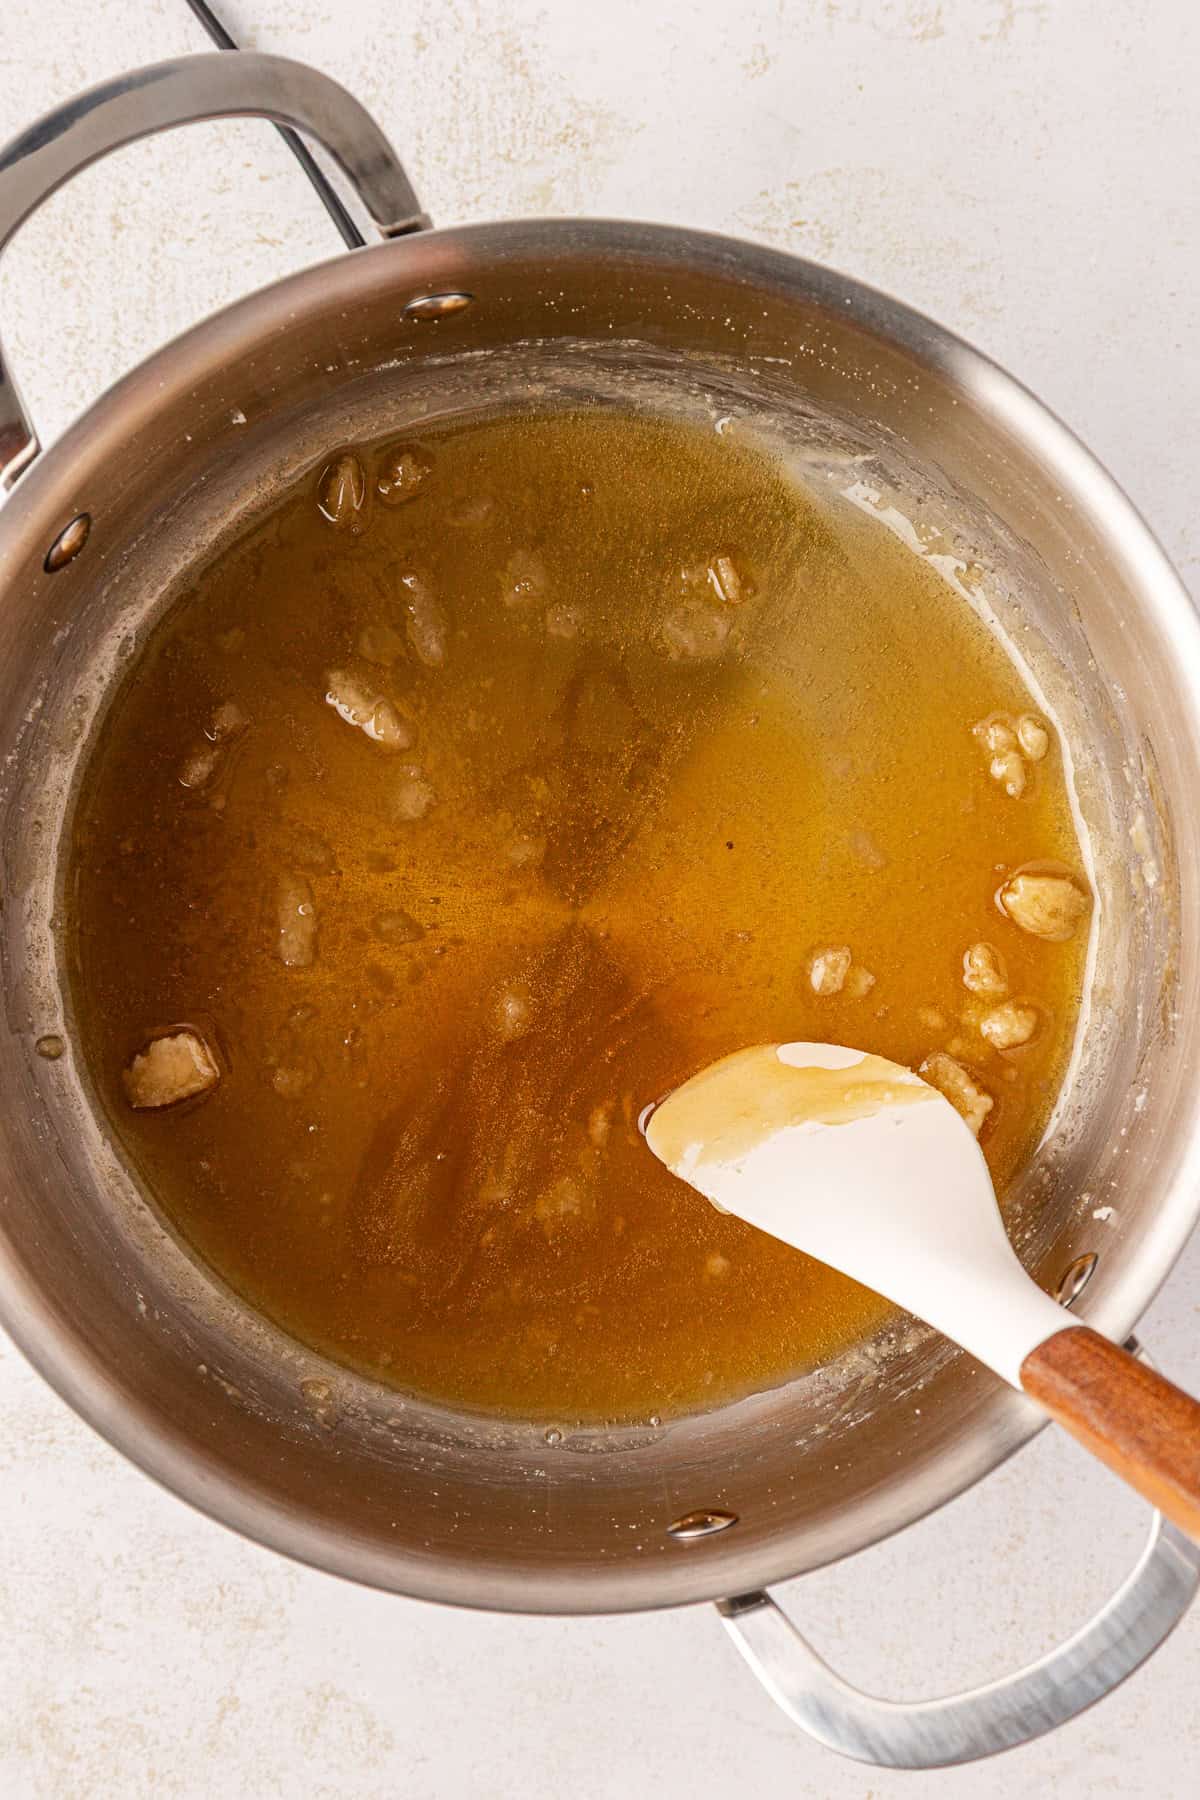
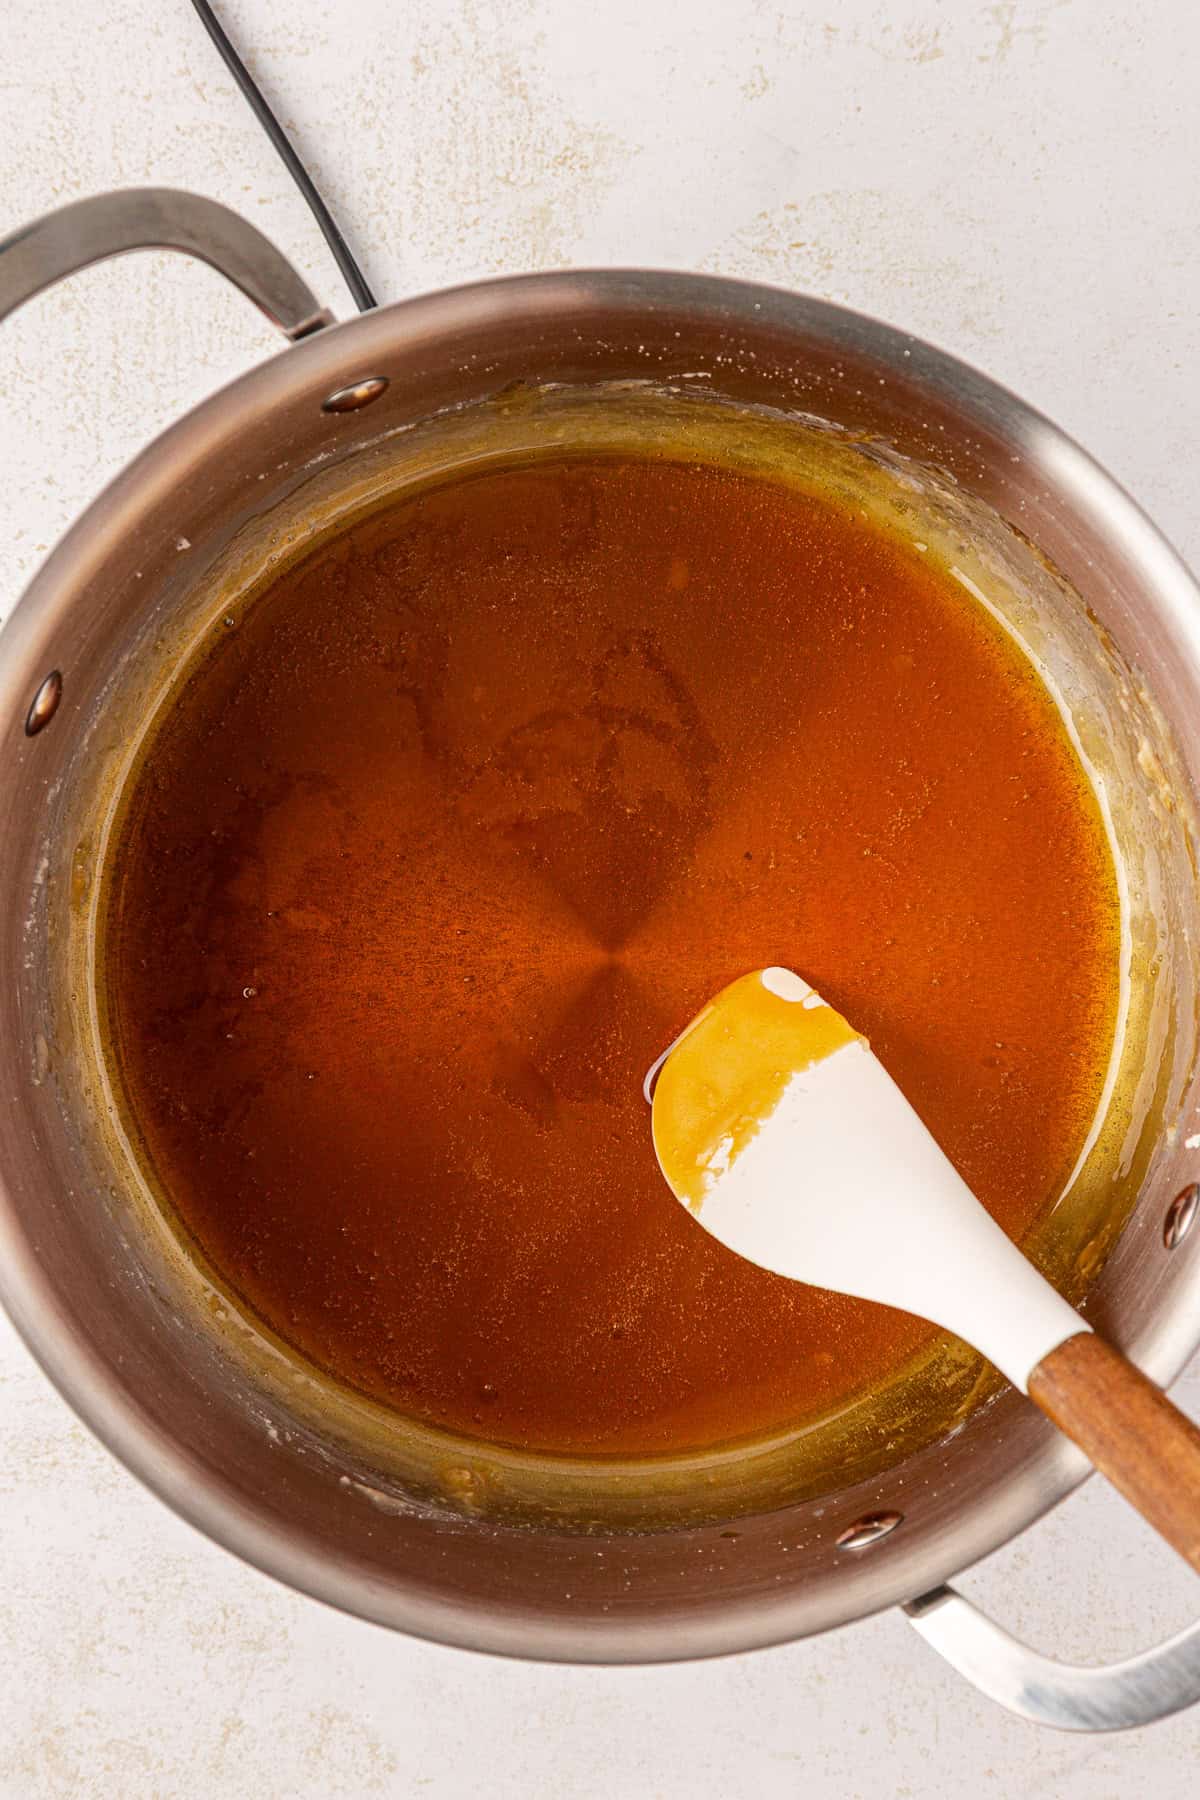
- Melt the sugar: Place the granulated sugar in a stainless steel heavy-bottomed saucepan (must be stainless steel, no non-stick pans). Heat over medium, stirring constantly with a heatproof spatula or wooden spoon. The sugar will look like it’s doing nothing for the first 3 minutes, keep stirring. The sugar will first clump and melt at the edges of the pan, then it will clump everywhere. From the time you put the sugar into the pan until it just begins to turn amber, will be about 5-7 minutes. Patience. Don’t crank the heat. Keep stirring until all of the sugar is melted and it’s completely amber, this can take an additional 3-5 minutes.
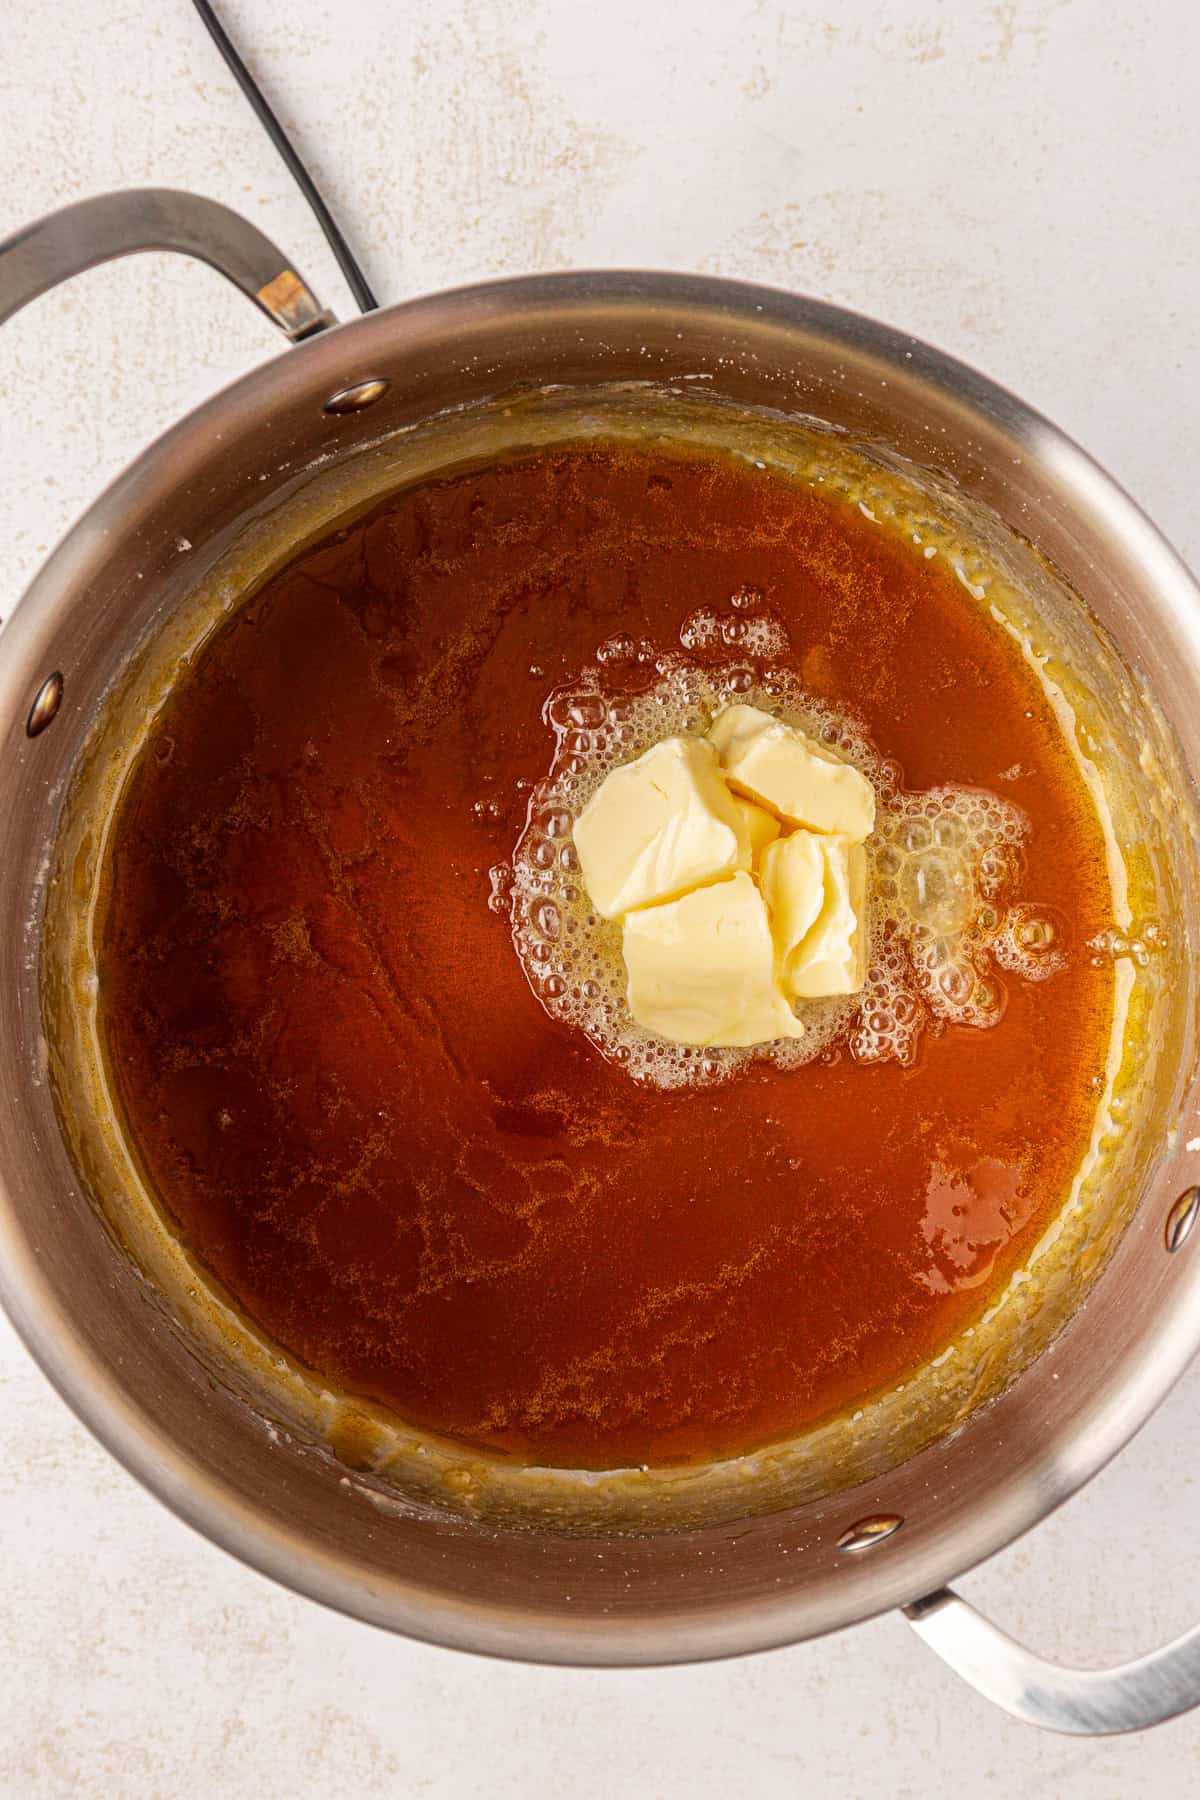
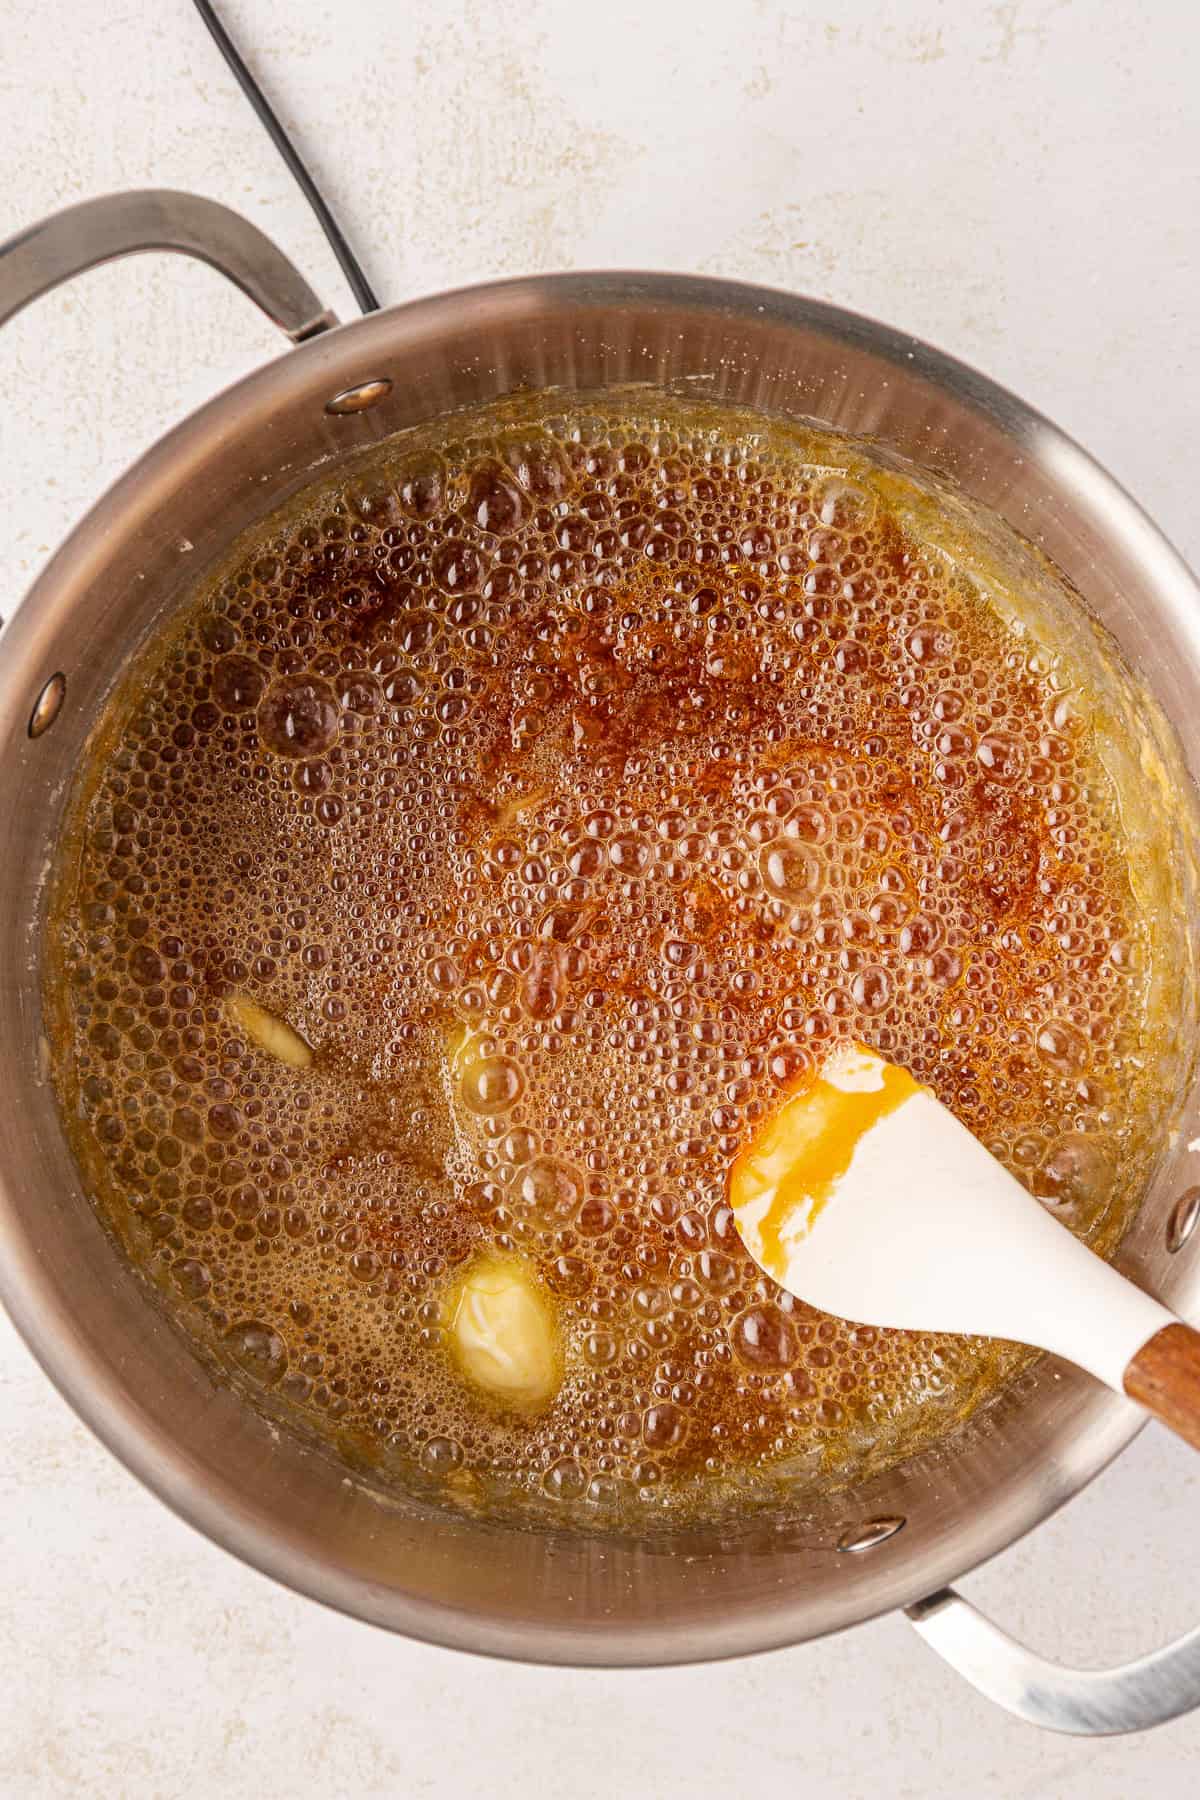
- Add the butter: Once the sugar is fully melted and a medium amber color, carefully add the sliced butter. I added my butter into the pot via a spoon. The caramel will bubble up and hiss, this is normal. Stir until the butter is completely melted and incorporated, 1–2 minutes. It will be frothy this whole time. Tip: If the caramel becomes clumpy after adding the butter, just keep stirring it gently over the heat until it melts back into a smooth mixture before pouring in the cream.
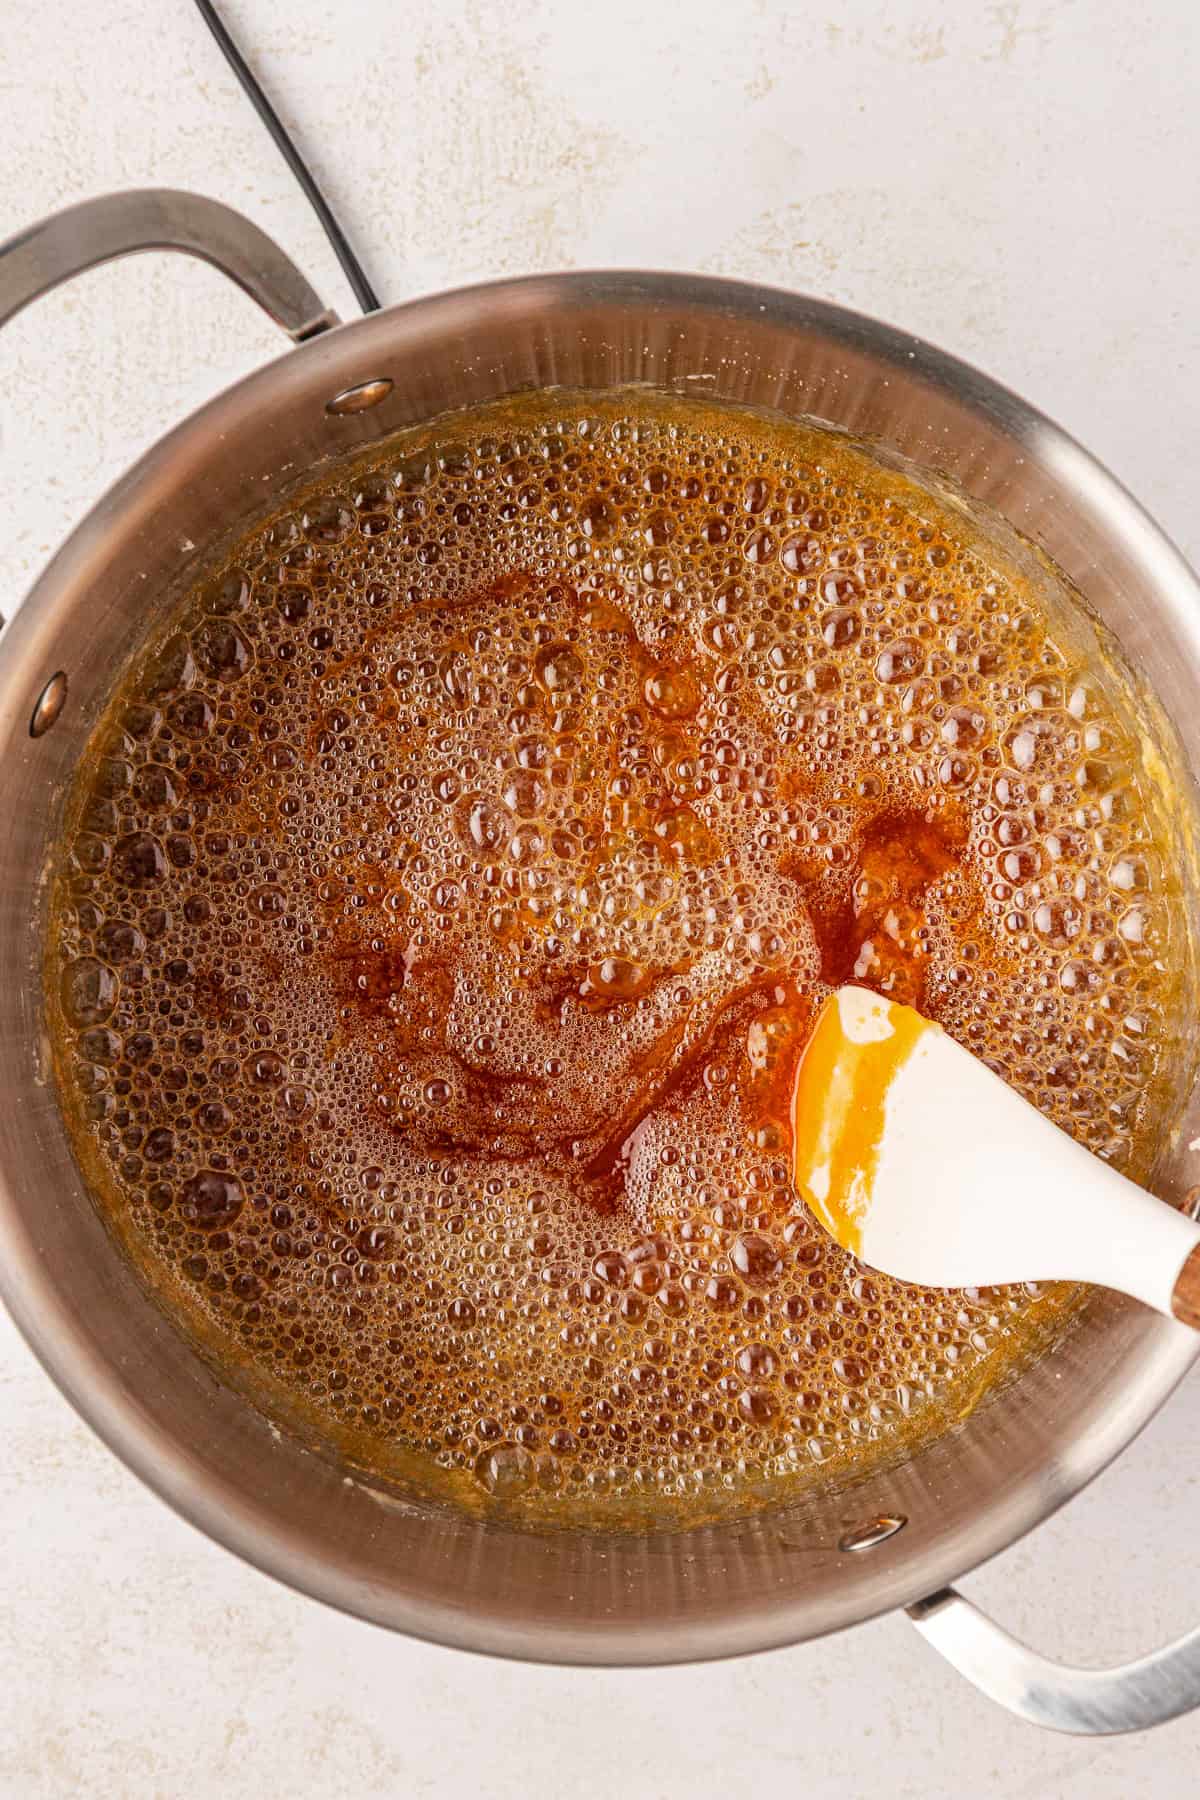
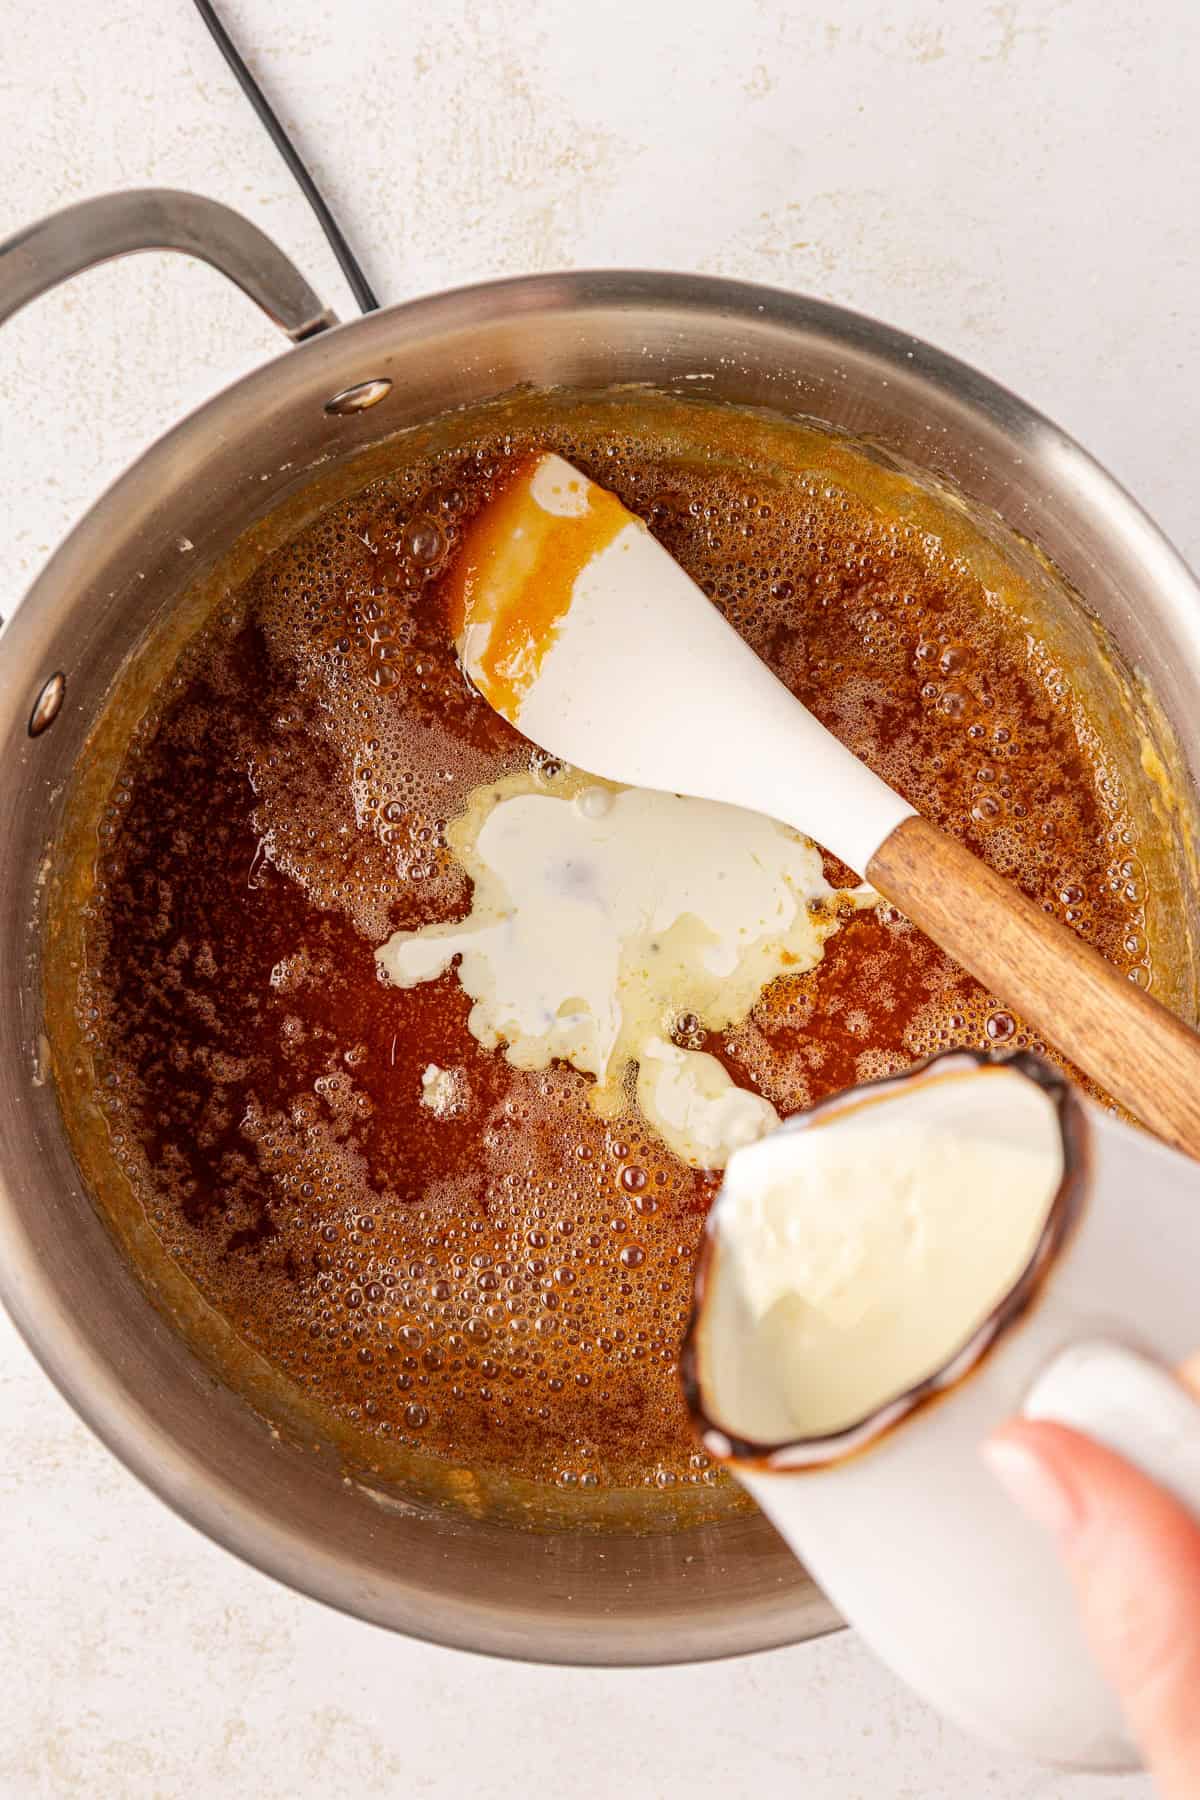
- Add the cream: Very slowly pour in the heavy cream while stirring. The mixture will foam and bubble rapidly, then settle. Continue stirring until smooth, about 1 minute.
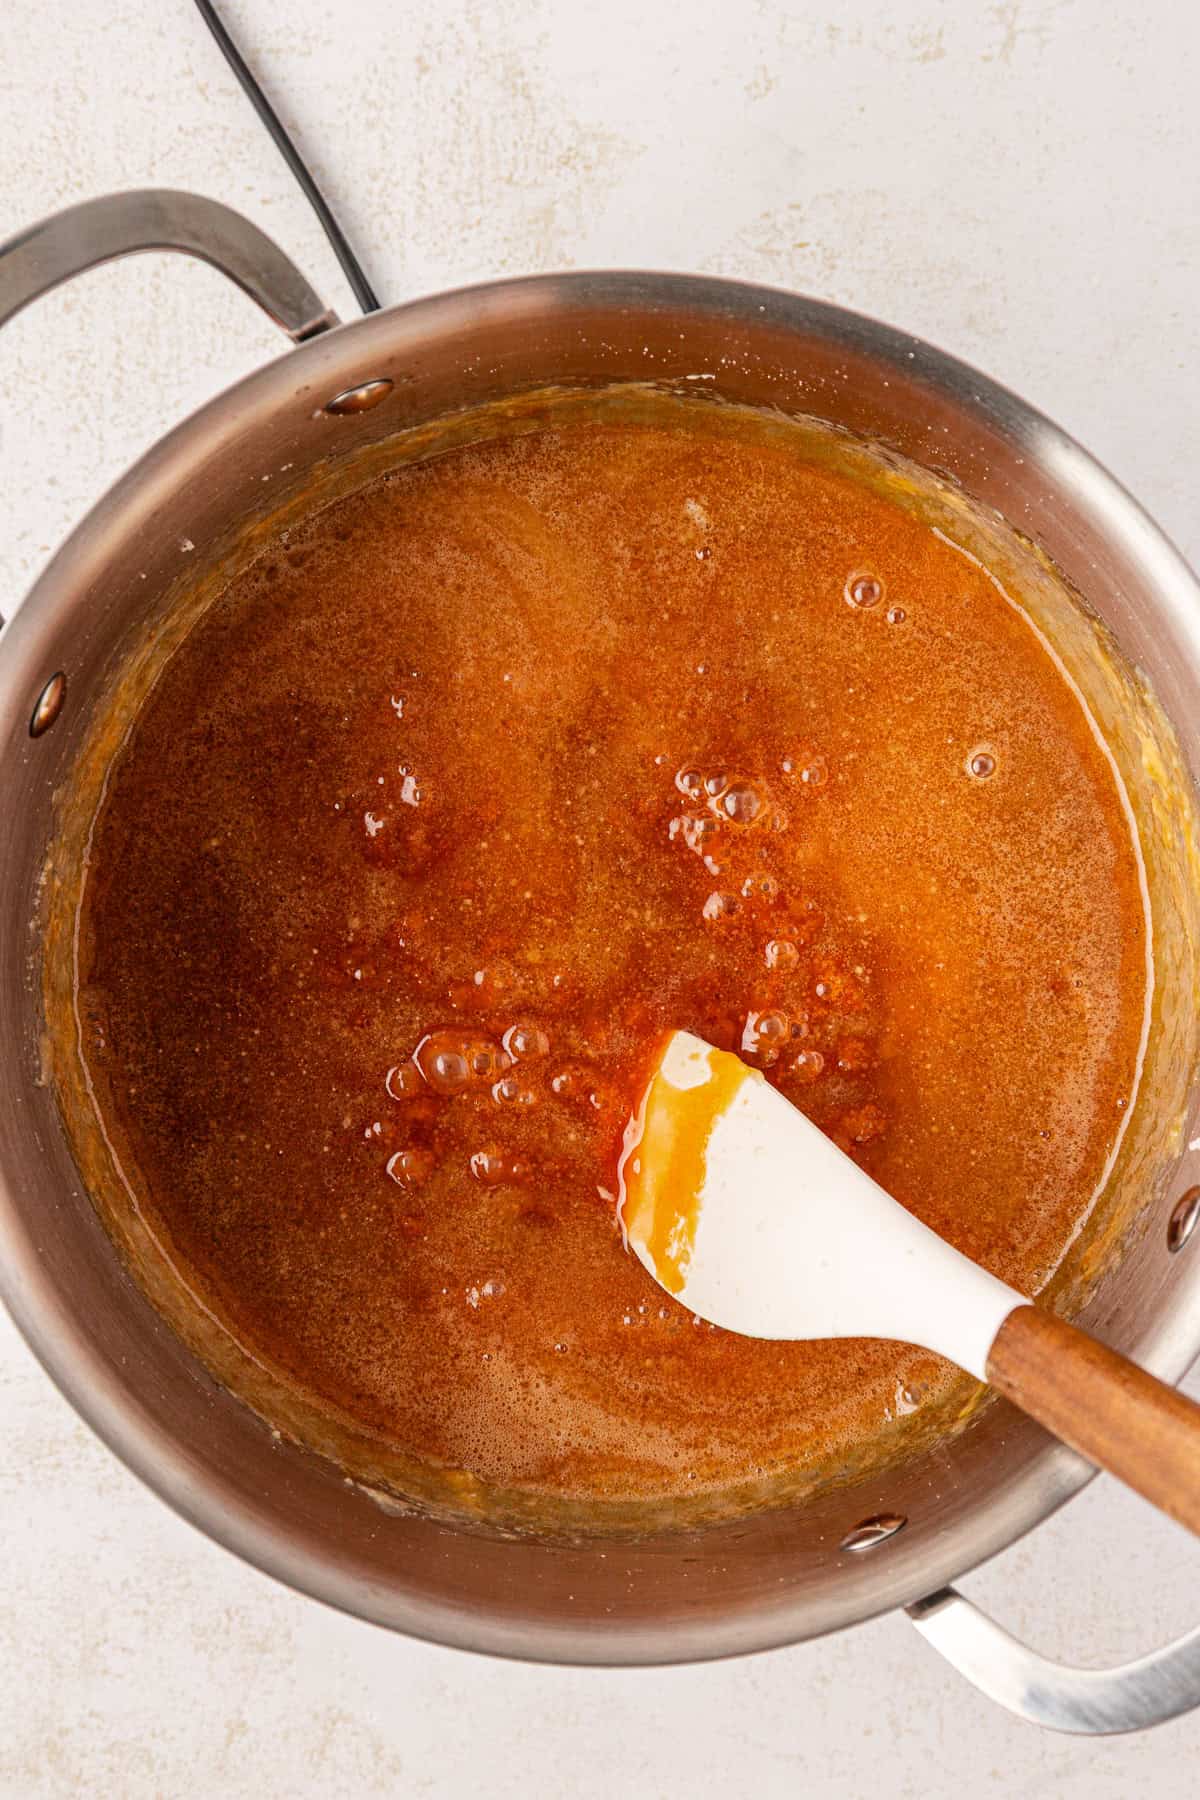
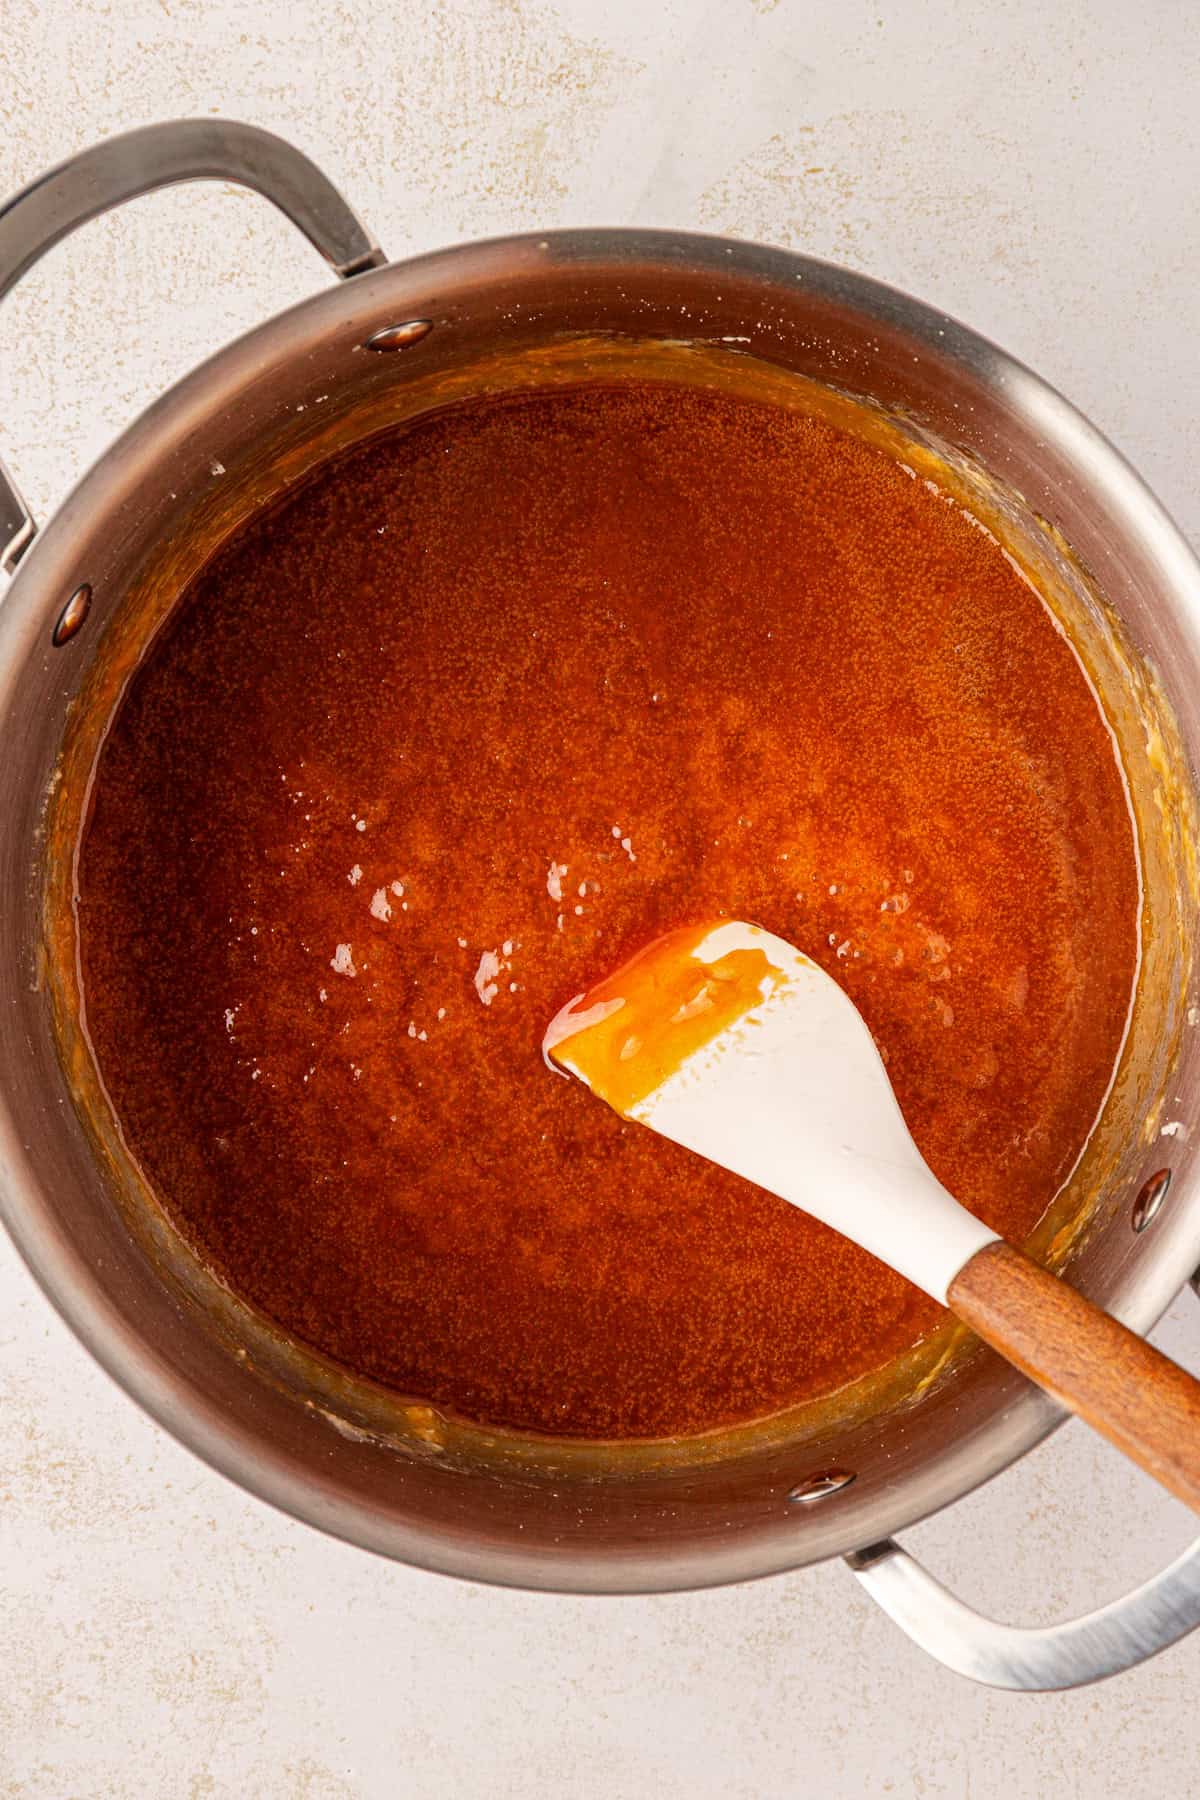
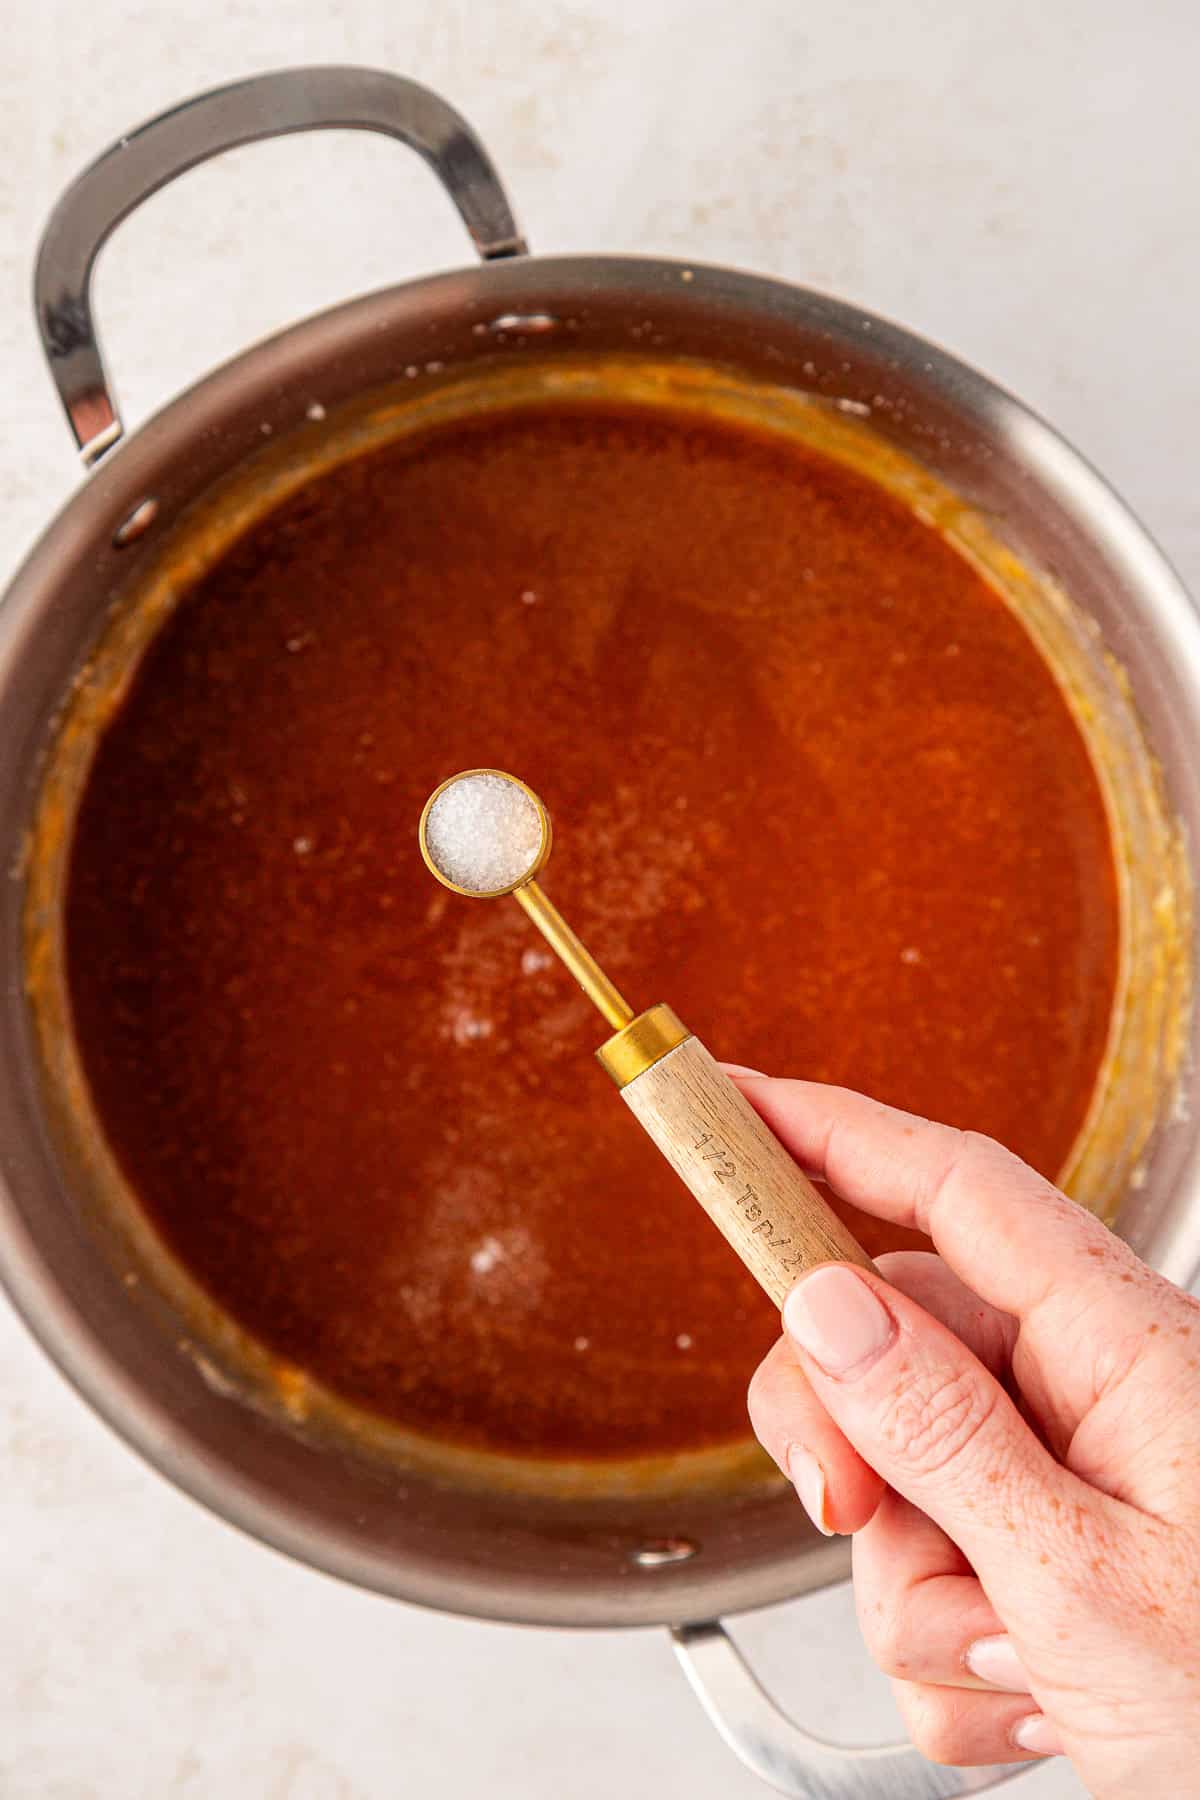
- Remove from heat and stir in the salt. Let the caramel cool in the pan for 10–15 minutes before transferring to a heatproof jar or container. Tip: The sauce will thicken as it cools. If it’s too thick after chilling, gently reheat and whisk in 1–2 tablespoons of warm cream to loosen it.
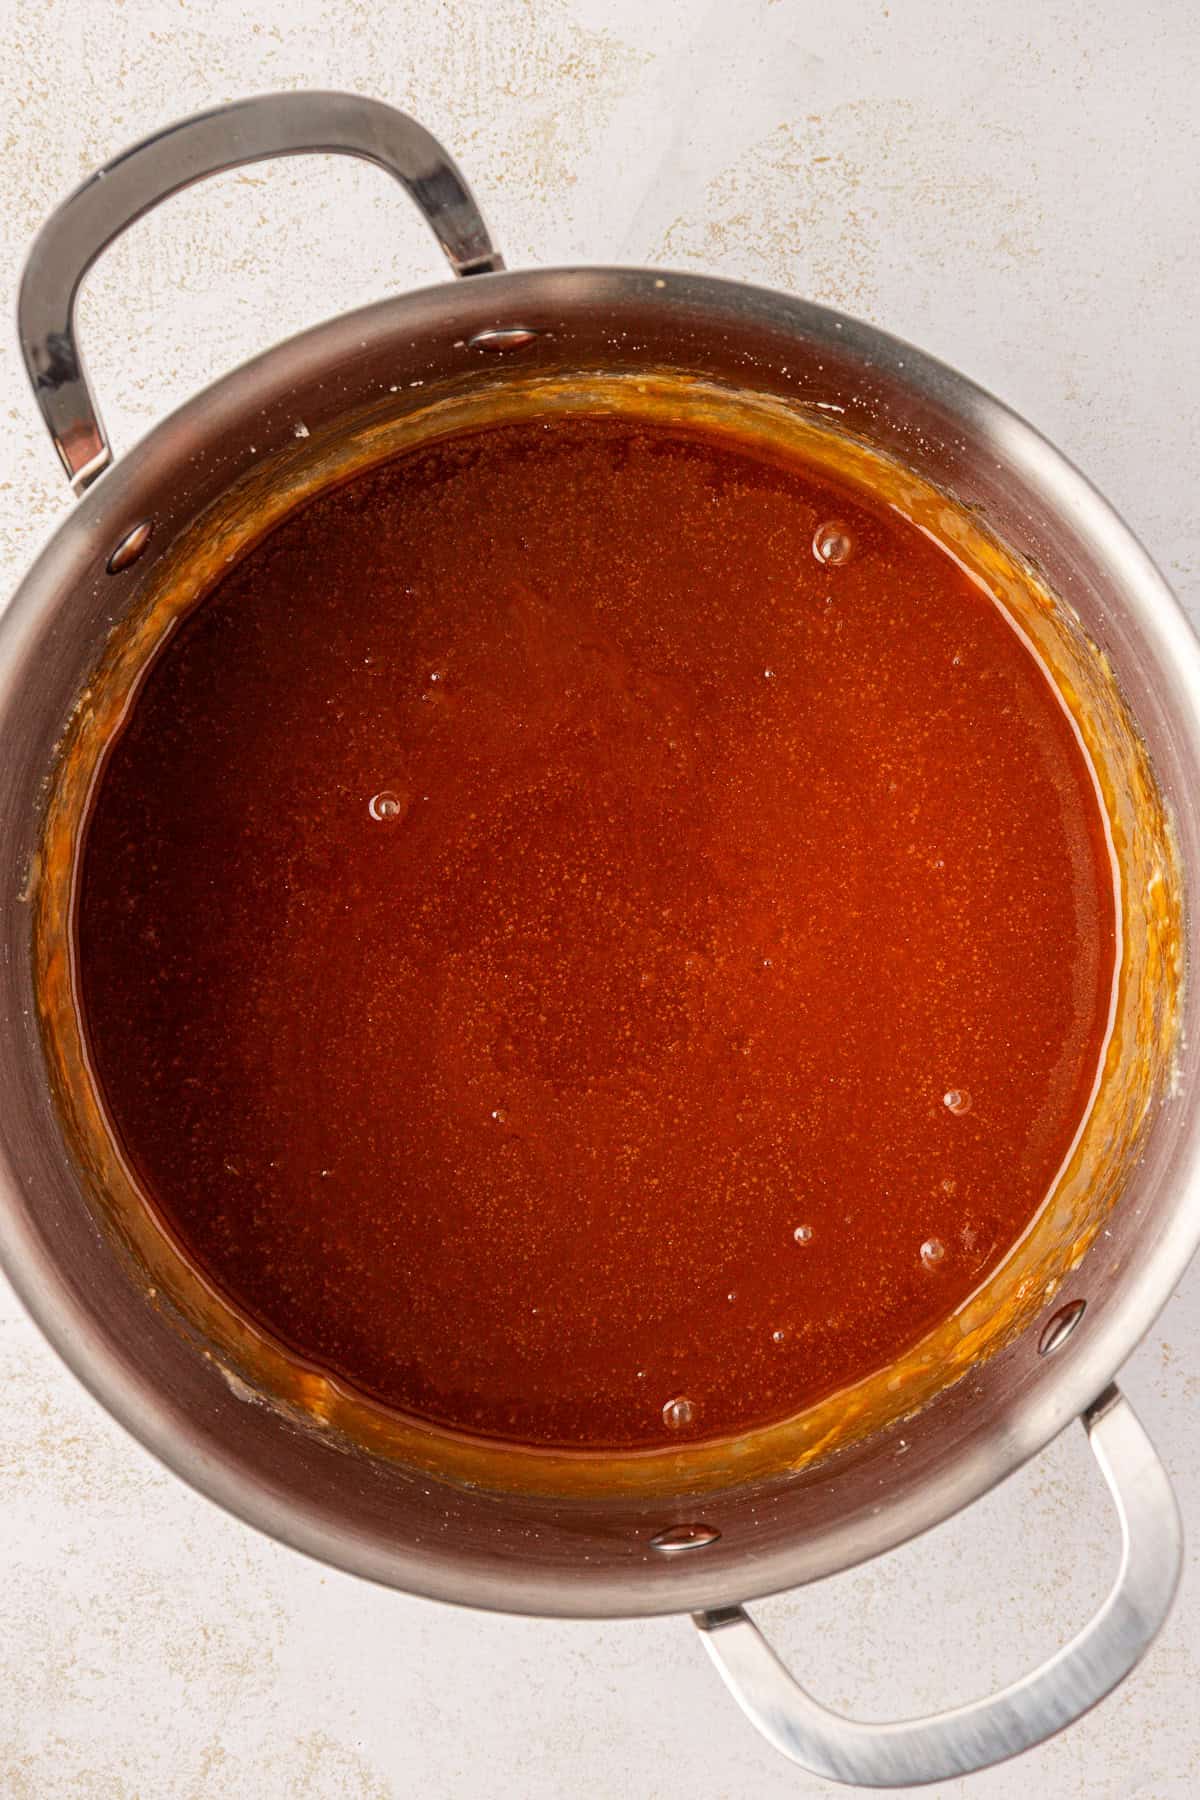
- Storage: Once fully cooled, cover and refrigerate for up to 1 month. Warm gently before serving.
Step-by-Step “Watch for These Signs” Caramel Visual Guide
1. Dry Sugar Stage
- What you’ll see: Loose white granules in the pan.
- What to do: Heat over medium, stir constantly with a heatproof spatula or wooden spoon. It will look like nothing is happening for the first 3-4 minutes. Don’t crank the heat
2. Clumping Stage (totally normal)
- What you’ll see: Sugar will start melting at the edges, then form big clumps.
- What to do: Keep stirring. It will take the clumps about 4-5 more minutes to fully melt down.
3. Fully Melted Sugar
- What you’ll see: Thick, smooth liquid that’s pale amber.
- What to do: Keep stirring and watch closely — color will deepen fast now.
4. Deep Amber Stage (flavor stage)
- What you’ll see: Rich golden-brown, almost copper. It smells like caramel, not burnt sugar.
- What to do: The instant it reaches this color, add the butter (via a spoon) to stop the cooking.
5. Butter-In Stage
- What you’ll see: The caramel will hiss, foam, and bubble like it’s mad at you.
- What to do: Stir constantly until butter is completely melted and incorporated.
6. Cream-In Stage
- What you’ll see: Another round of big bubbling and steam. The sauce will look streaky at first.
- What to do: Pour cream in slowly, stirring the whole time until it’s smooth and uniform.
7. Salt + Cool Stage
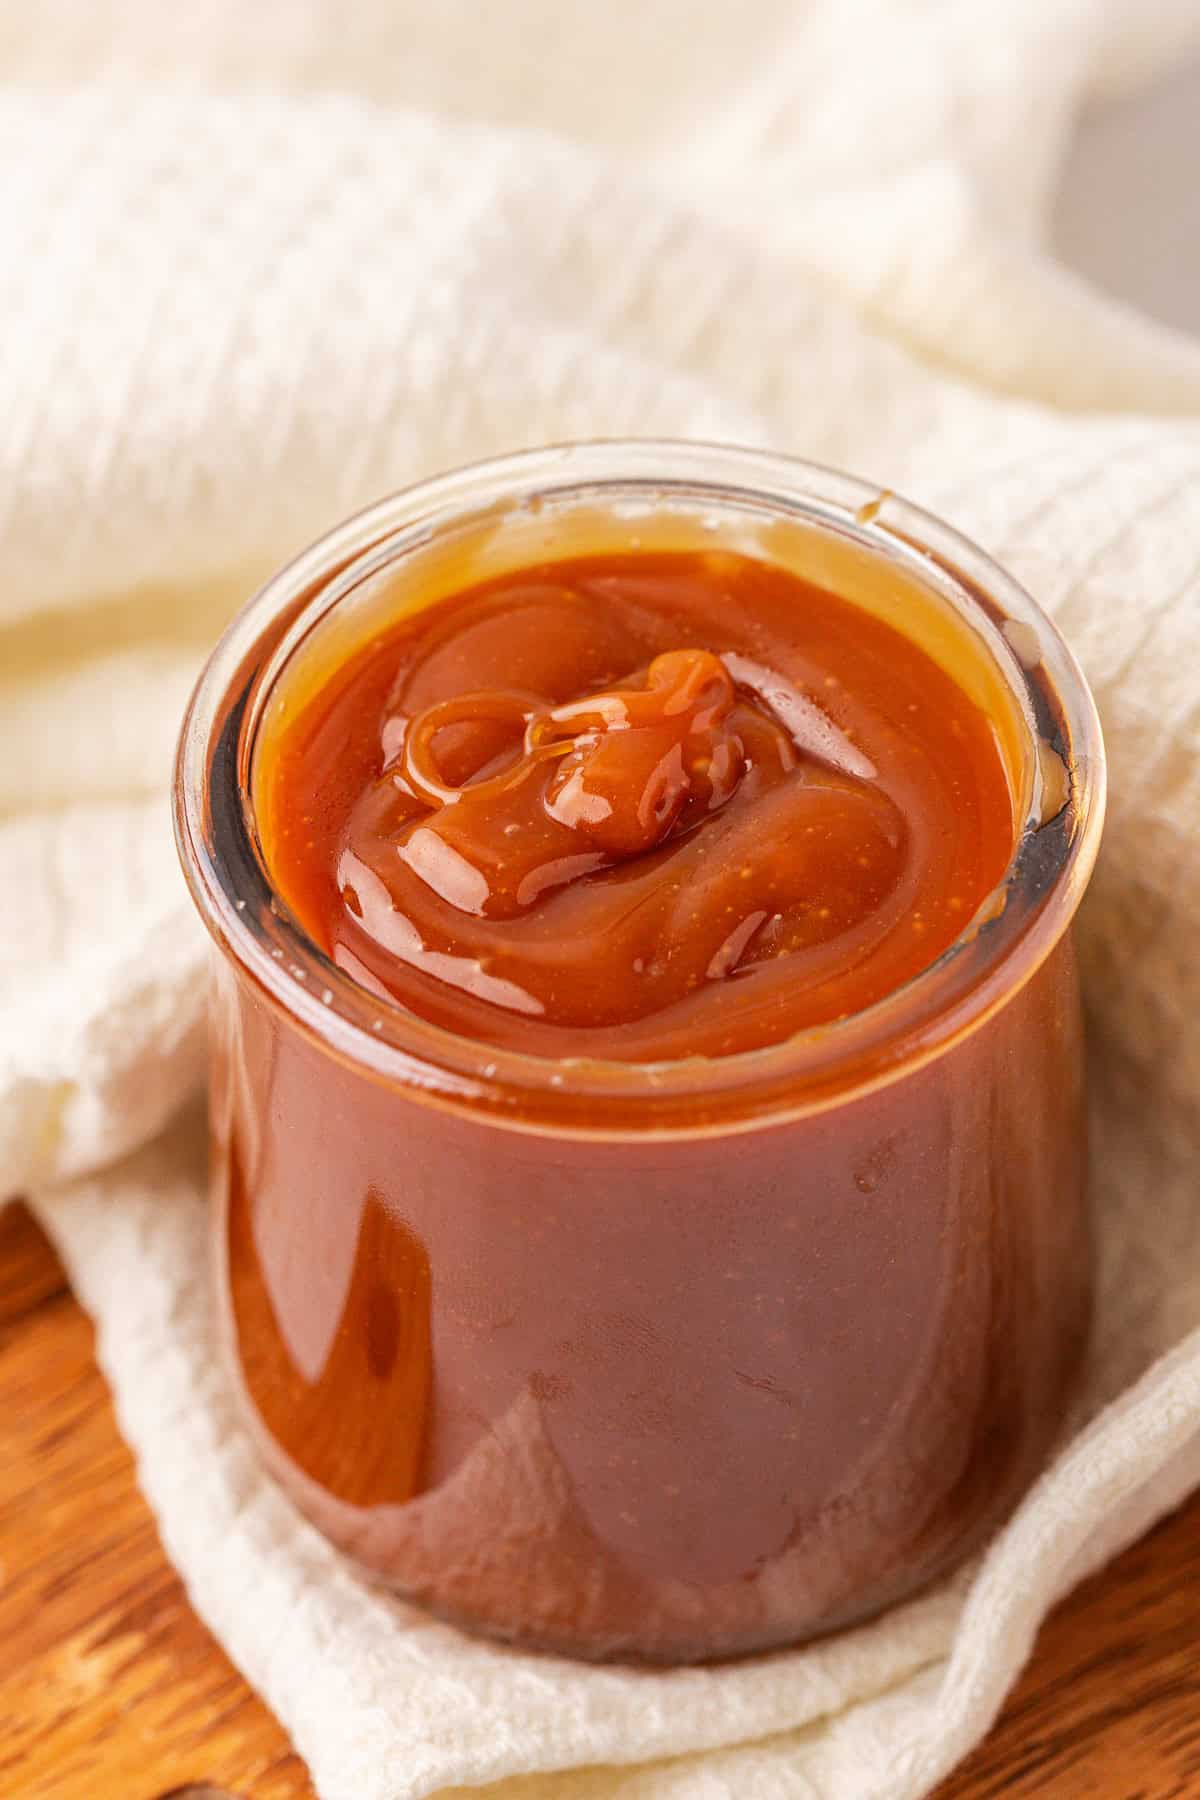
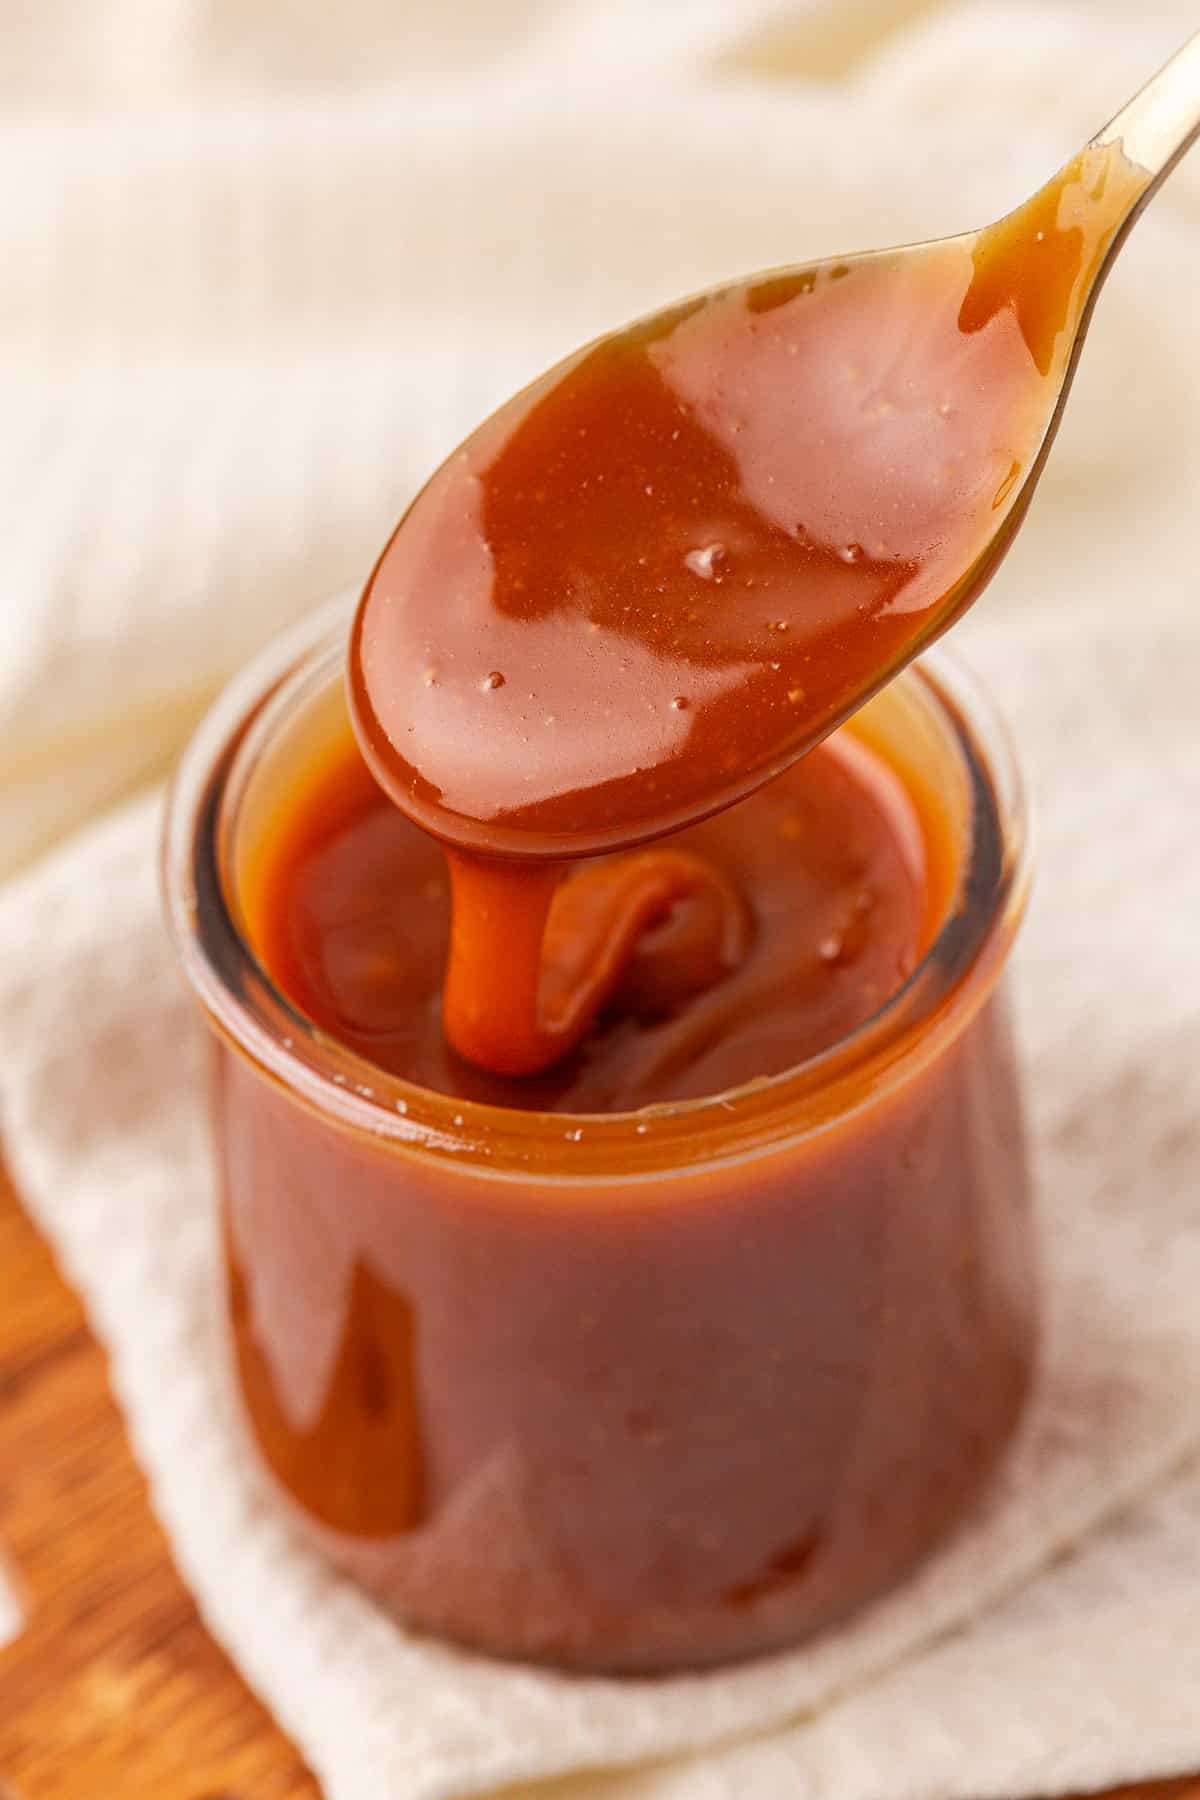
- What you’ll see: Smooth, glossy caramel sauce.
- What to do: Stir in salt, then let it cool before transferring to a jar. It will thicken as it cools.
Pro-Baker Caramel Sauce Troubleshooting Guide
1. Sugar Won’t Melt / Clumps Too Long
Why it happens: Heat is too low or you stopped stirring too early.
Fix: Keep the sugar moving with a heatproof spatula or wooden spoon until it turns into an even amber liquid. If needed, turn the heat up slightly — but not so high that it scorches.
2. Sugar Burns
Why it happens: Heat is too high or you walked away (caramel changes from perfect to burnt in seconds).
Fix: Stay with it the whole time. The moment it hits a deep amber, add the butter to stop cooking. Use a light-colored pan so you can clearly see the color change.
3. Caramel Seizes into a Hard Clump After Adding Butter or Cream
Why it happens: Adding cold butter or cream shocks the hot sugar.
Fix: Make sure both butter and cream are at room temperature before starting. If it still seizes, keep stirring gently over low heat until it melts back into a smooth sauce.
4. Grainy Texture
Why it happens: Sugar crystals formed and multiplied during cooking.
Fix: Don’t scrape down the sides of the pan once the sugar starts melting — any undissolved crystals can cause grittiness. If you see crystals forming, you can brush the sides of the pan with a wet pastry brush to dissolve them.
5. Too Thin or Too Thick
Too thin: Cook a bit longer after adding cream to reduce and thicken.
Too thick: Stir in a tablespoon or two of warm cream until it reaches the consistency you want.
Pro Tip for Beginners: If you’re nervous about burning sugar, start with medium-low heat. It’ll take longer to melt, but you’ll have more control over the color and flavor.
Ways to Use Caramel Sauce
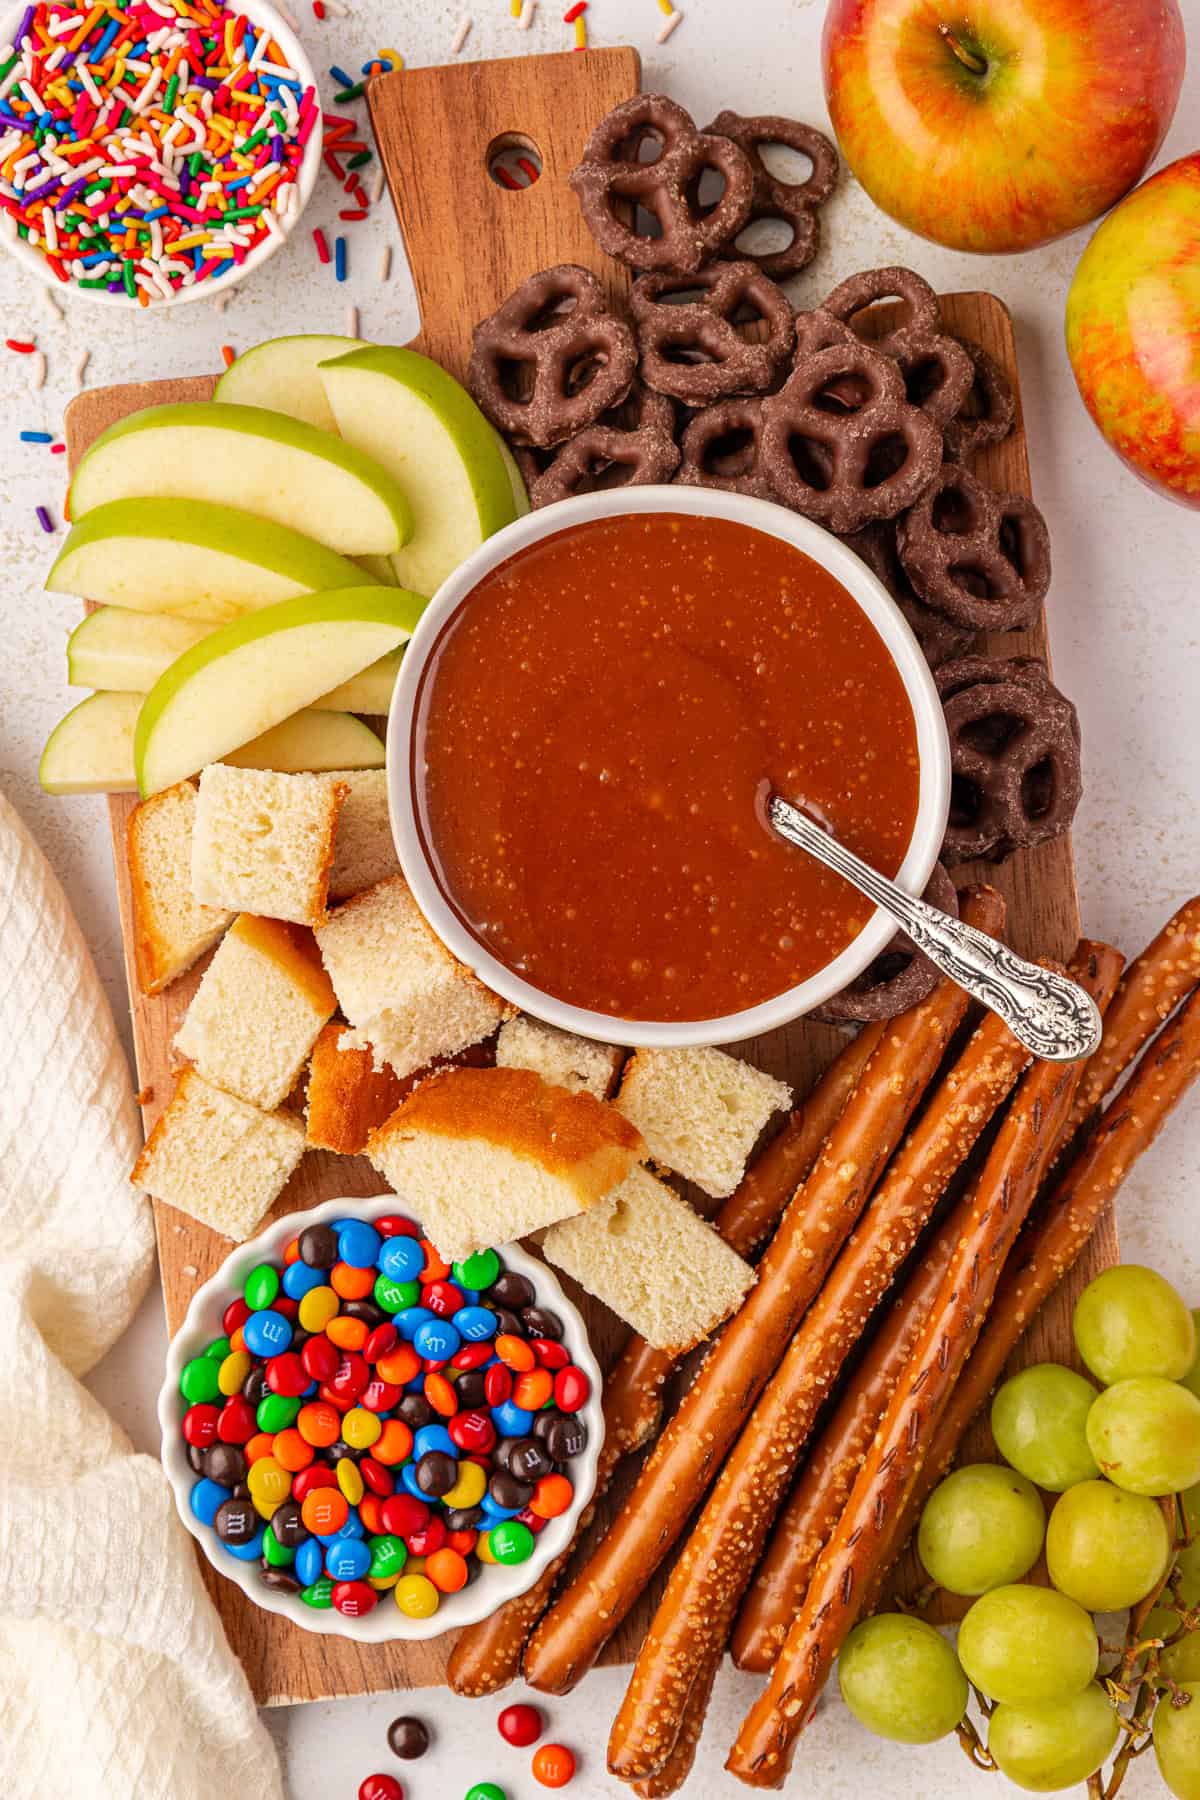
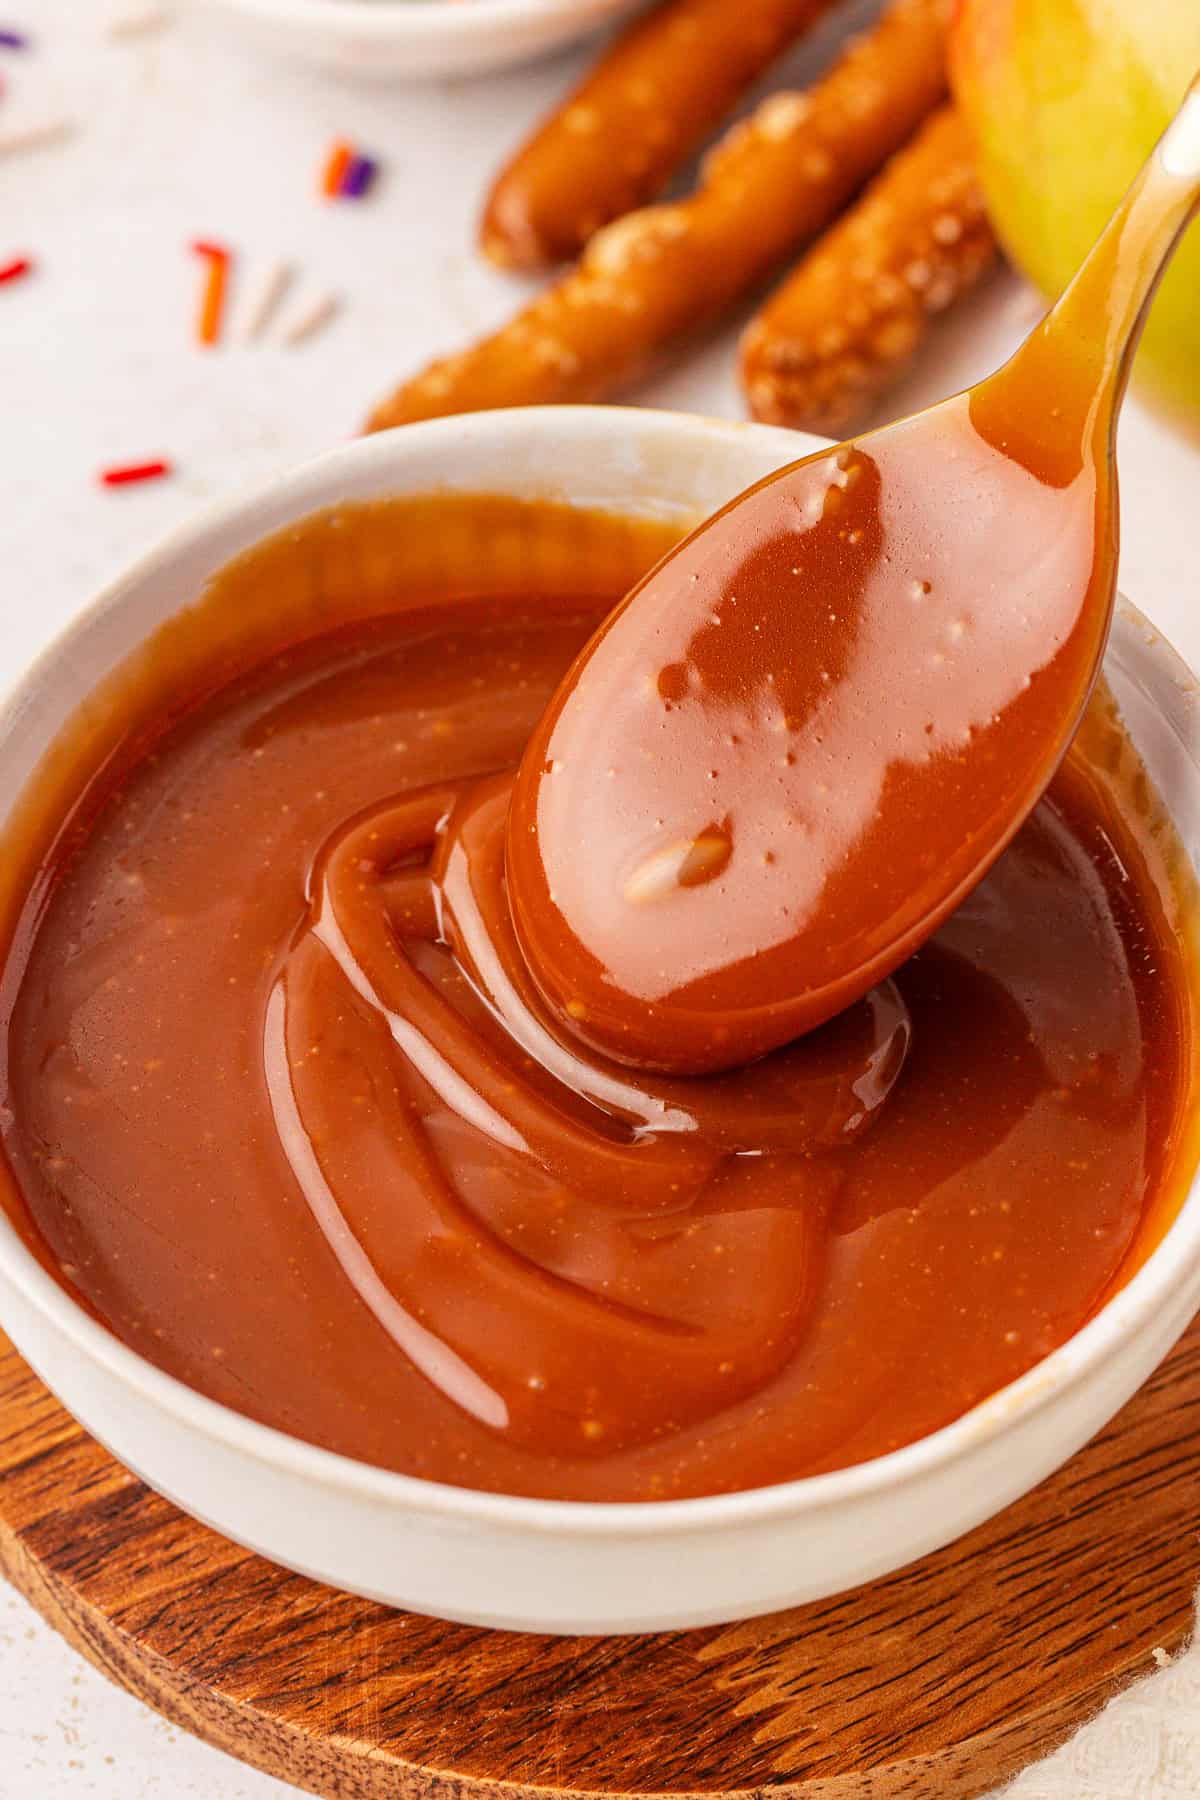
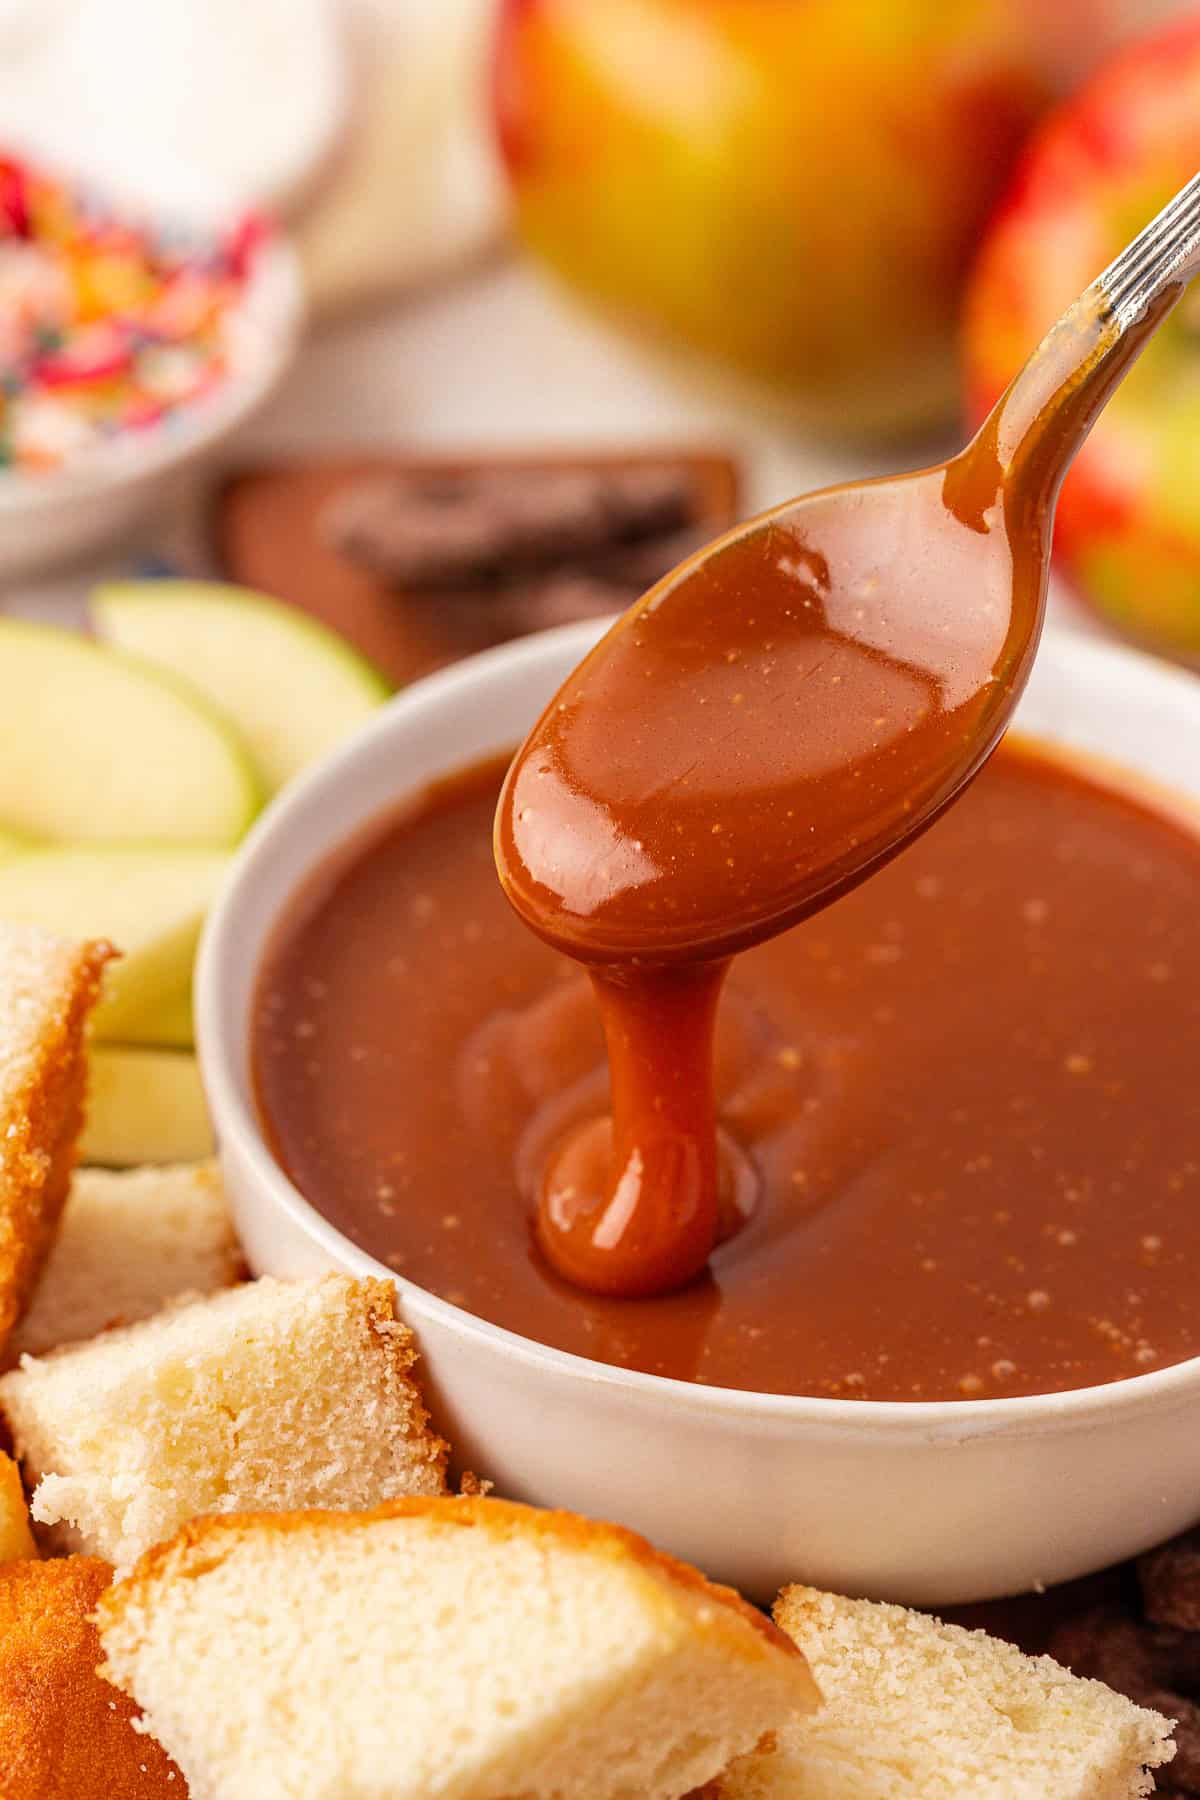
Once you make your own caramel sauce, you’ll want to have it on hand all the time. There are so many ways to use this creamy caramel sauce. Here are some of my favorite ways:
- Drizzle over vanilla ice cream
- Stir a tiny bit into your morning coffee
- Make caramel apple cookies (or caramel apples)
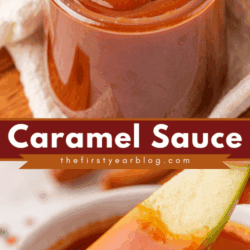
- Use it as a dip for fresh cut apple slices
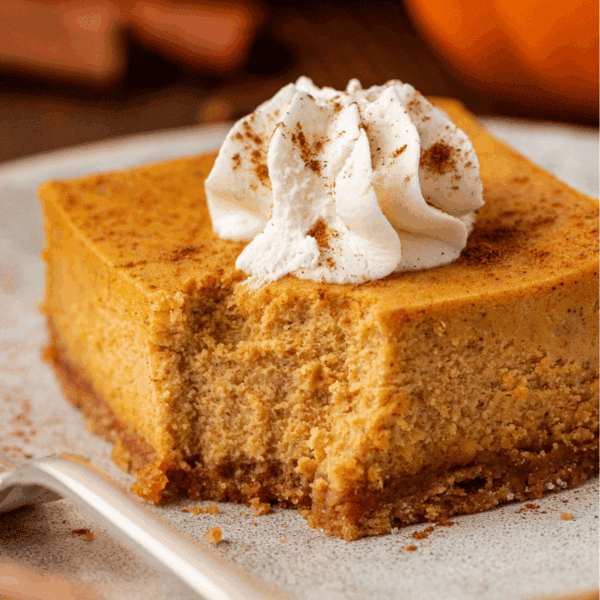
- Drizzle over pumpkin cheesecake
- Add caramel flavor to an apple crisp
Caramel Sauce Storage
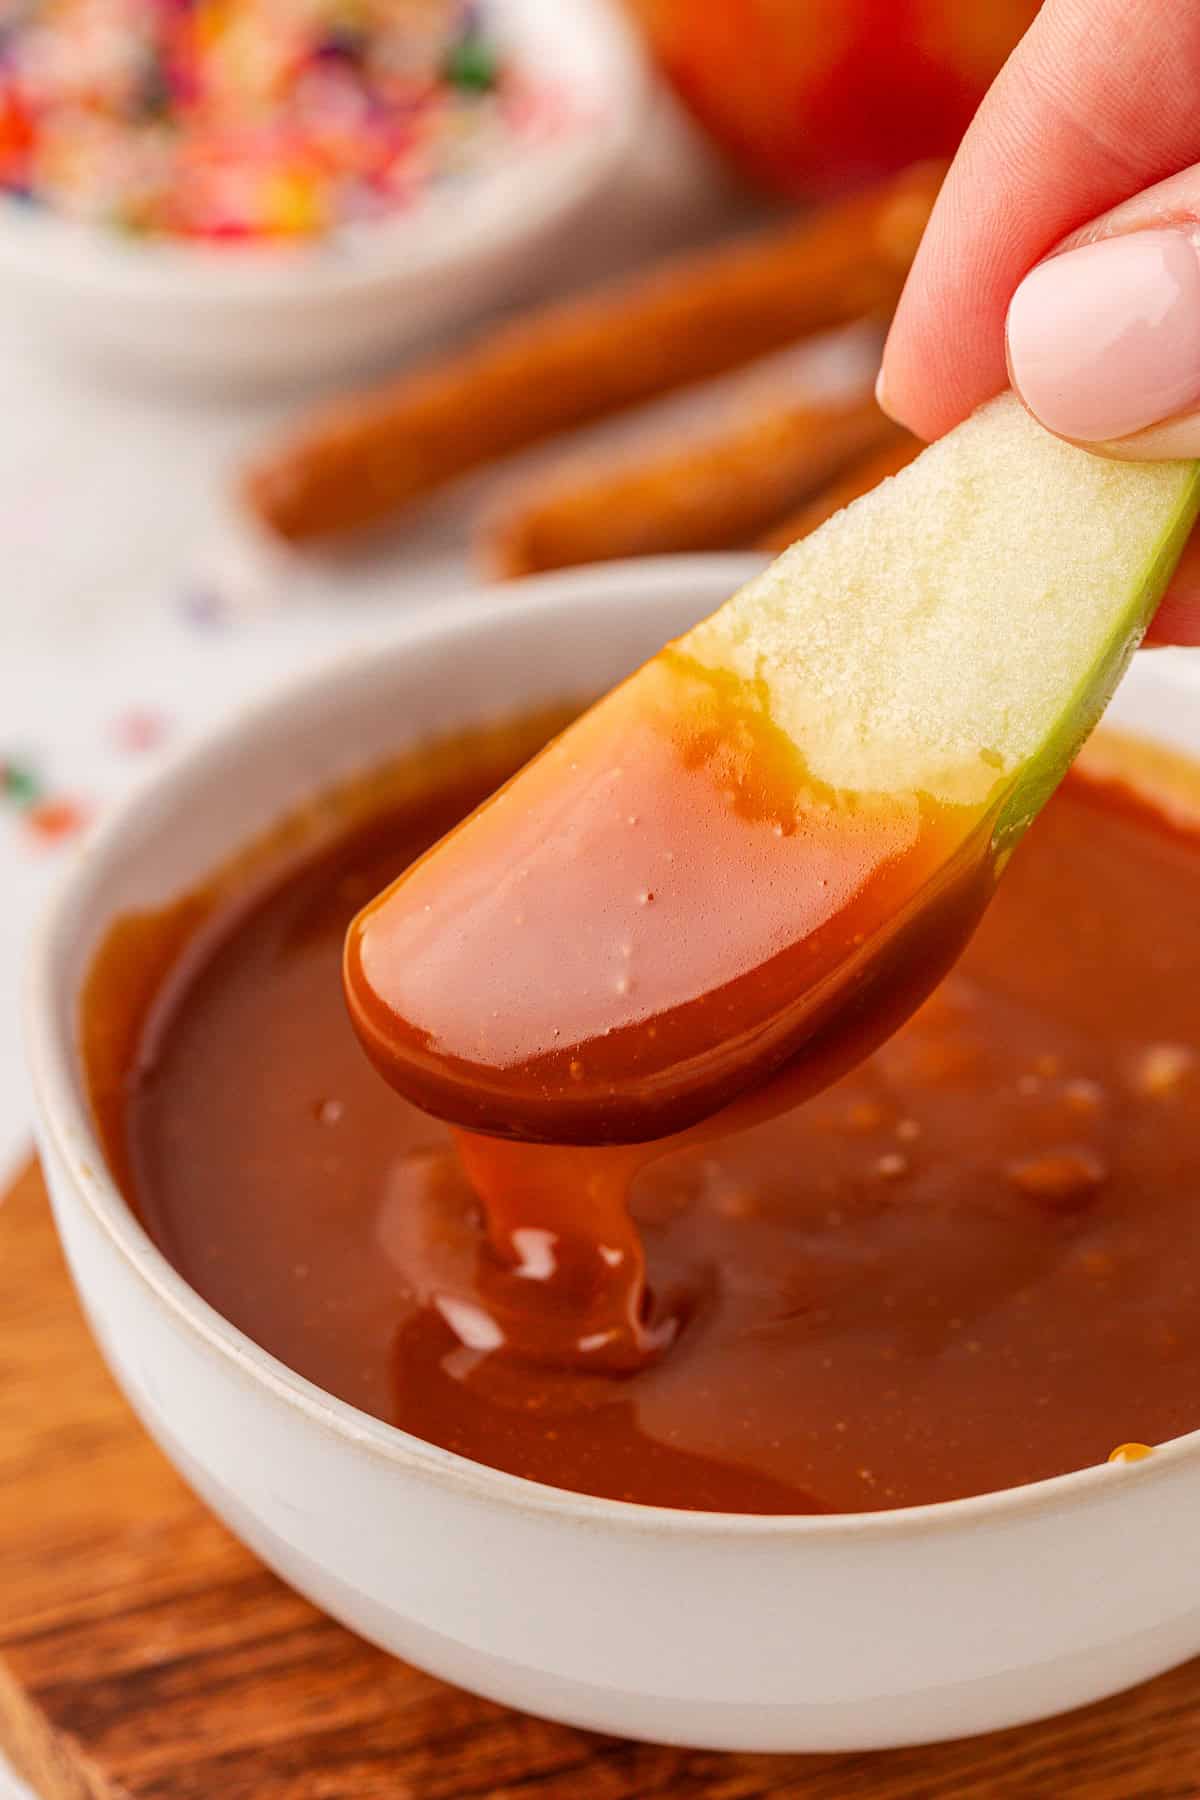
Let the caramel fully cool before refrigerating. Store caramel sauce in an airtight container (a glass jar is a great option) for up to 1 month in the refrigerator. Microwave it for a few seconds when ready to serve.
You can also freeze this caramel recipe for up to 3 months and then thaw it in the refrigerator.
More Sauce & Topping Recipes
Tap stars to rate!
Caramel Sauce
Ingredients
- 1 cup (198g) granulated sugar
- 6 Tbsp (86g) unsalted butter, sliced into pieces
- ½ cup (114g) heavy whipping cream
- ½ tsp salt
Video
Instructions
- Before you start: Caramel moves fast, so have every ingredient measured, at room temperature, and within arm’s reach of the stove before turning on the heat. Slice the butter into pieces, pour the cream into a measuring cup, and set the salt nearby. Once the sugar melts, you won’t have time to scramble for ingredients, being ready means you can work quickly and avoid burning or seizing.
- Melt the sugar: Place the granulated sugar in a stainless steel heavy-bottomed saucepan (must be stainless steel, no non-stick pans). Heat over medium, stirring constantly with a heatproof spatula or wooden spoon. The sugar will look like it’s doing nothing for the first 3 minutes, keep stirring. The sugar will first clump and melt at the edges of the pan, then it will clump everywhere. From the time you put the sugar into the pan until it just begins to turn amber, will be about 5-7 minutes. Patience. Don’t crank the heat. Keep stirring until all of the sugar is melted and it’s completely amber, this can take an additional 3-5 minutes.1 cup (198g) granulated sugar
- Add the butter: Once the sugar is fully melted and a medium amber color, carefully add the sliced butter. I added my butter into the pot via a spoon. The caramel will bubble up and hiss, this is normal. Stir until the butter is completely melted and incorporated, 1–2 minutes. It will be frothy this whole time. Tip: If the caramel becomes clumpy after adding the butter, just keep stirring it gently over the heat until it melts back into a smooth mixture before pouring in the cream.6 Tbsp (86g) unsalted butter
- Add the cream: Very slowly pour in the heavy cream while stirring. The mixture will foam and bubble rapidly, then settle. Continue stirring until smooth, about 1 minute.1/2 cup (114g) heavy whipping cream
- Remove from heat and stir in the salt. Let the caramel cool in the pan for 10–15 minutes before transferring to a heatproof jar or container. Tip: The sauce will thicken as it cools. If it’s too thick after chilling, gently reheat and whisk in 1–2 tablespoons of warm cream to loosen it.½ tsp salt
- Storage: Once fully cooled, cover and refrigerate for up to 1 month. Warm gently before serving.



Is this good for carmel apples on a stick?
No, this isn’t the recipe you’d want to use for caramel apples on a stick. Usually caramel apple caramel contains corn syrup to help it set.
Can I use salted butter and omit salt in this recipe?
Yes, you can!
Easy recipe! So so yummy!
Can this be frozen or canned
I don’t have experience with canning, but this caramel recipe can be frozen for up to 3 months and then thaw it in the refrigerator.