
This post may contain affiliate links. Please read our disclosure policy.
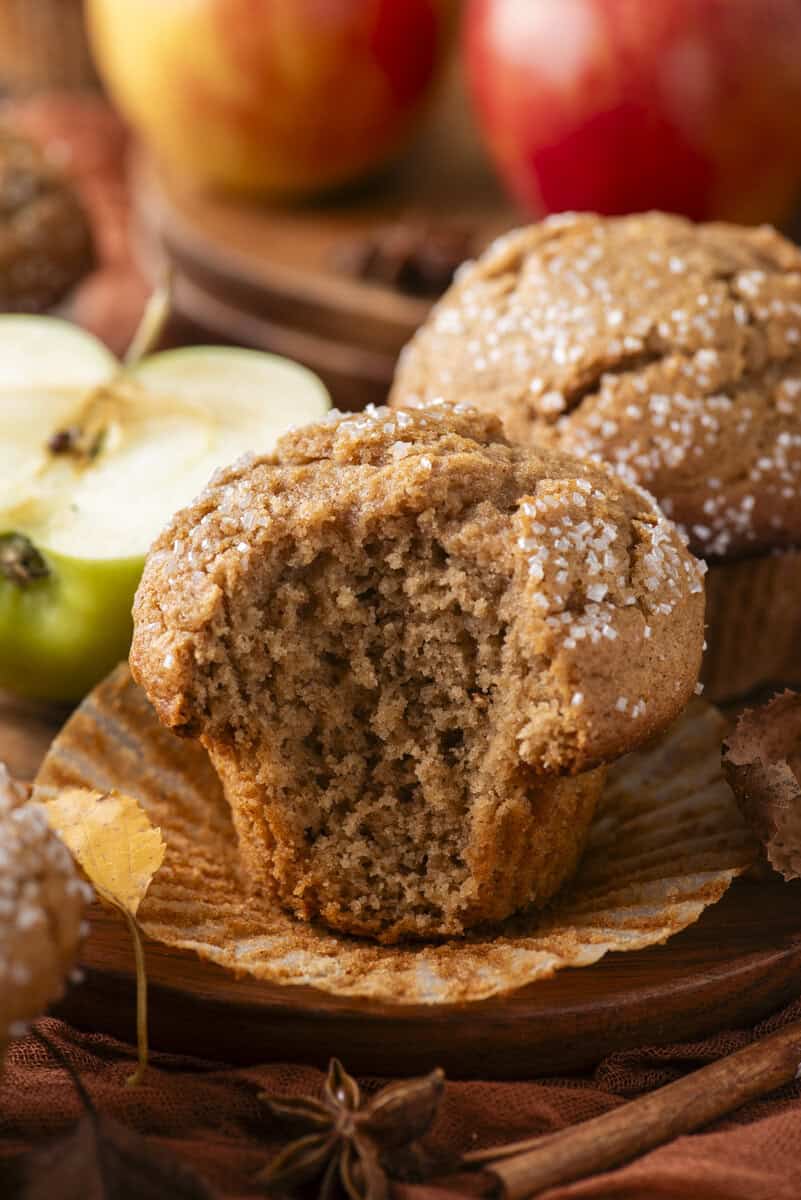
You have a jar of apple butter in your fridge and no idea what to do with it besides toast. Here is your answer, apple butter muffins. I turned it into the moistest muffin I have made all season, packed with fall flavor and zero extra spices needed. One bowl, fifteen minutes of hands on time, and you will wonder why you did not try this sooner.
You Asked, So I Tested It: Apple Butter Muffins
For months readers kept asking me the same question in my applesauce muffin comments. Can I use apple butter instead? As someone known for testing muffin recipes until they’re right, I finally tested it side by side in my kitchen and the answer surprised even me. Apple butter does not just work as a swap, it makes a better muffin. If you have a jar of homemade apple butter or a store bought one sitting in your fridge with no real plan for it, this is the recipe that gives it a job.
How Apple Butter Changes the Muffin
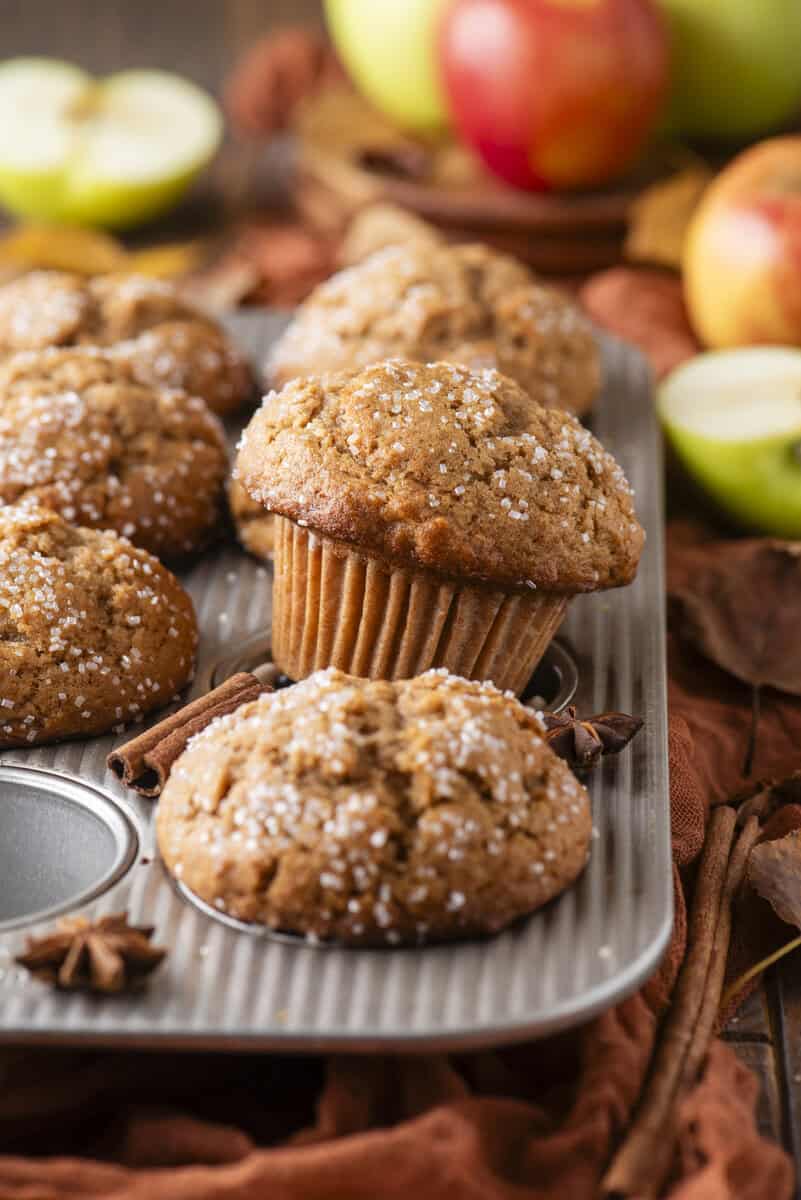
Apple butter is not just a thicker version of applesauce. It’s apples that have been slow cooked down with sugar and spice until they turn into something concentrated and deeply flavored. That gives the batter something applesauce can’t, real apple pie flavor built right in, on top of the moisture you’d already expect. Applesauce keeps things light and mild. Apple butter brings more weight and spice to the party. Different jobs, different muffins, and I wanted to test apple butter properly instead of assuming it would behave the same way applesauce does.
Apple Butter Muffins Ingredients
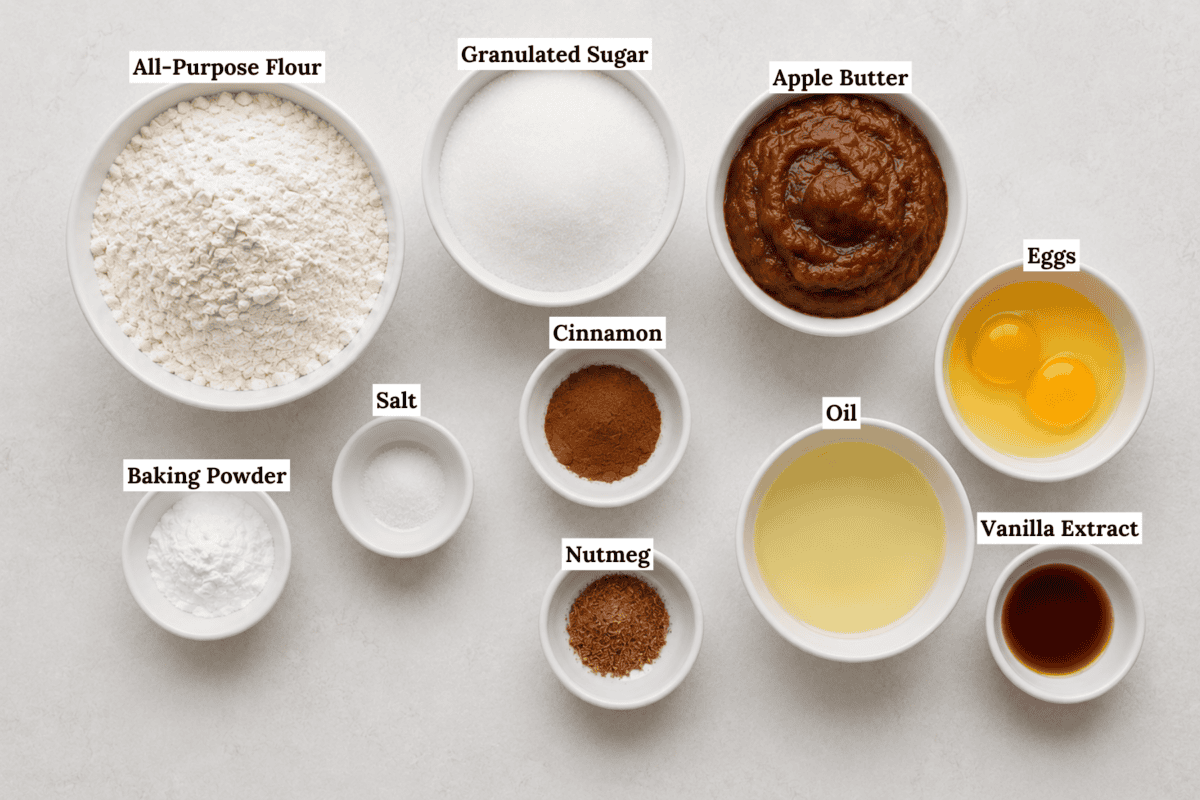
Apple butter is doing the heavy lifting here. It’s swapping in for the applesauce in my base recipe and bringing moisture, spice, and real apple flavor along with it, no extra cinnamon measuring required.
- All-purpose flour builds the structure that gives these muffins their tall, bakery style dome.
- Granulated sugar adds sweetness without fighting the apple butter’s own natural sugars.
- Eggs hold everything together and help the muffins set up with a tender, not crumbly, texture.
- Vegetable oil keeps the crumb moist for days, even after they’ve cooled completely.
- Vanilla extract rounds out the spice and apple flavor so nothing tastes flat.
- Baking powder is your lift. Combined with the rest period and high heat start, it’s what gives these muffins their height.
- Salt and cinnamon are small amounts doing a big job, balancing the sweetness and layering in that warm fall flavor apple butter already started.
How to Make Apple Butter Muffins
Follow my easy step-by-step instructions for perfect apple butter muffins every time. You can also jump to the recipe card below for the full recipe.
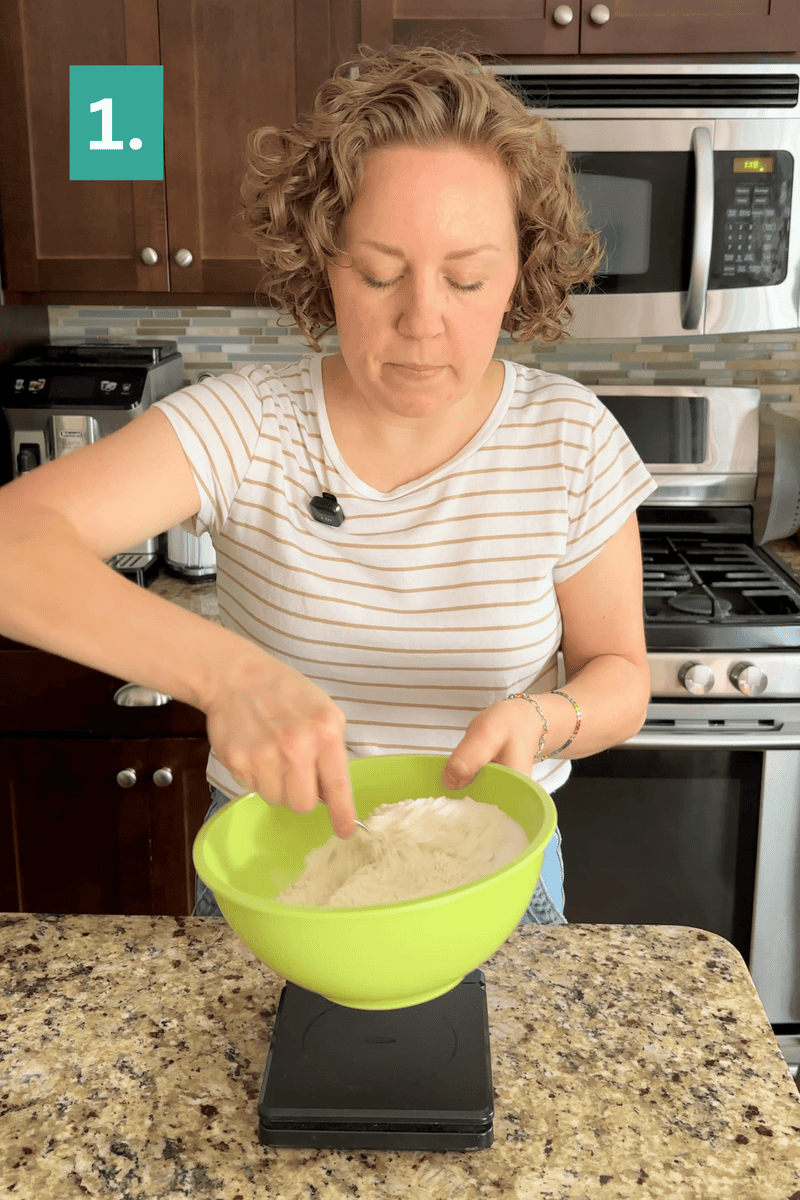
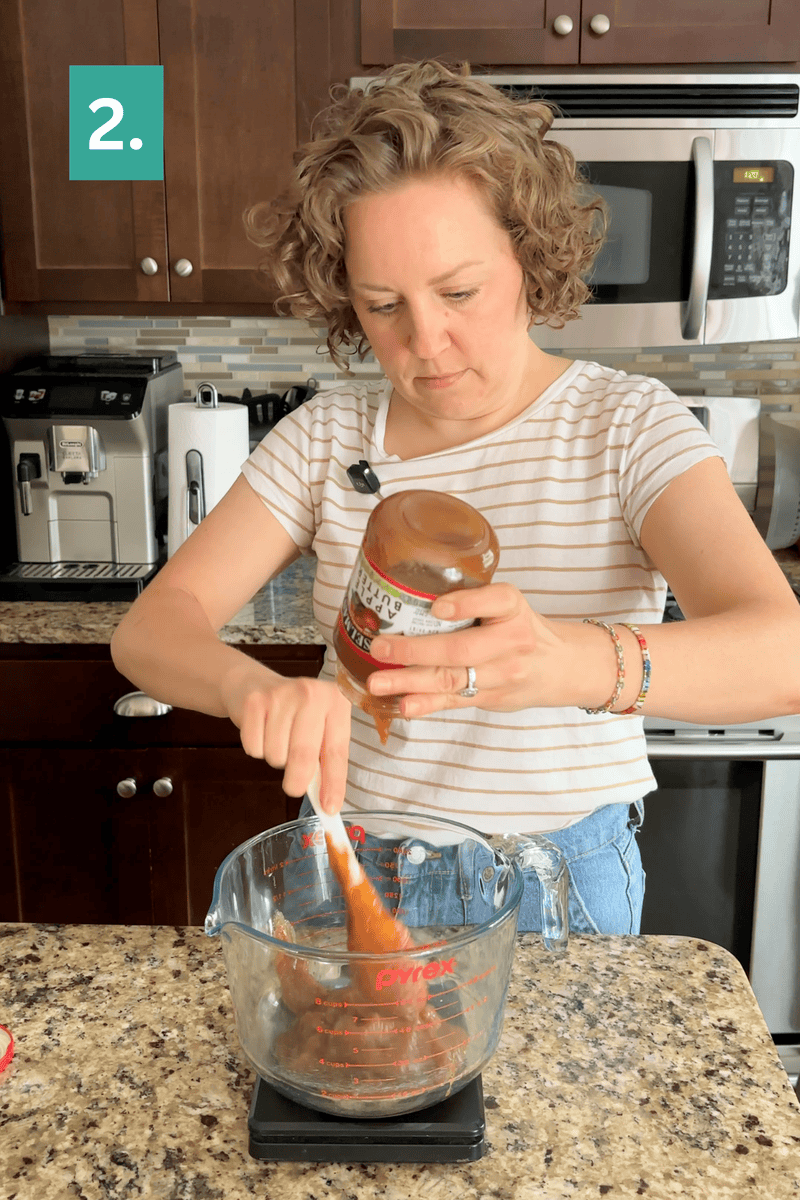
Combine dry ingredients: In a mixing bowl combine the flour, granulated sugar, baking powder, salt, cinnamon and nutmeg. Stir together and set aside.
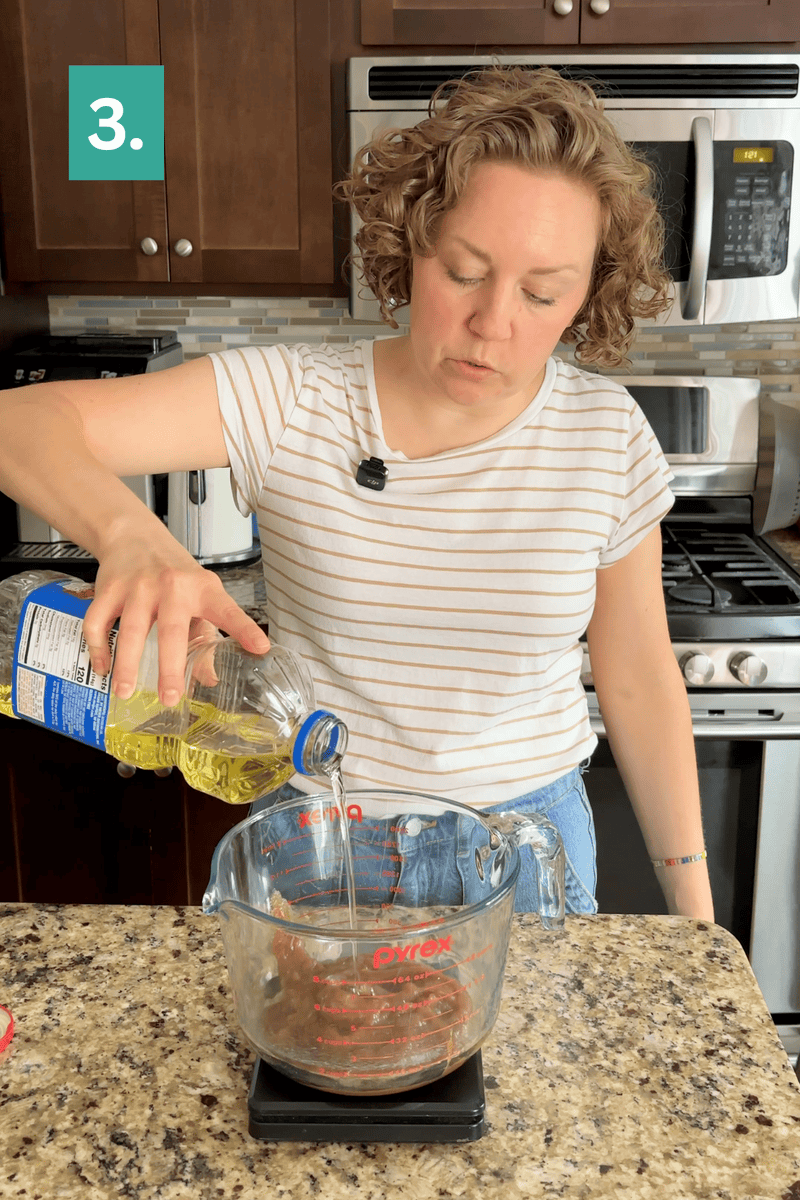
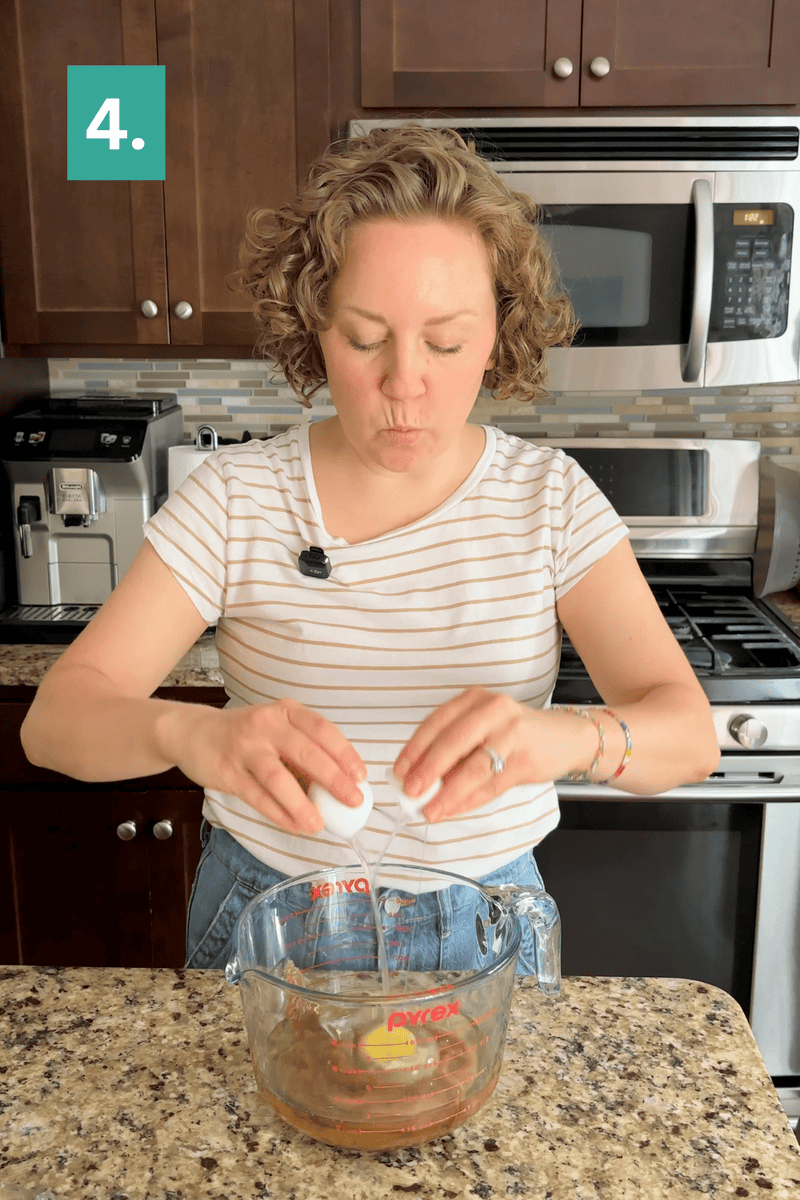
Combine wet ingredients: In a larger mixing bowl combine the apple butter, eggs, vegetable oil, and vanilla extract. Stir to combine.
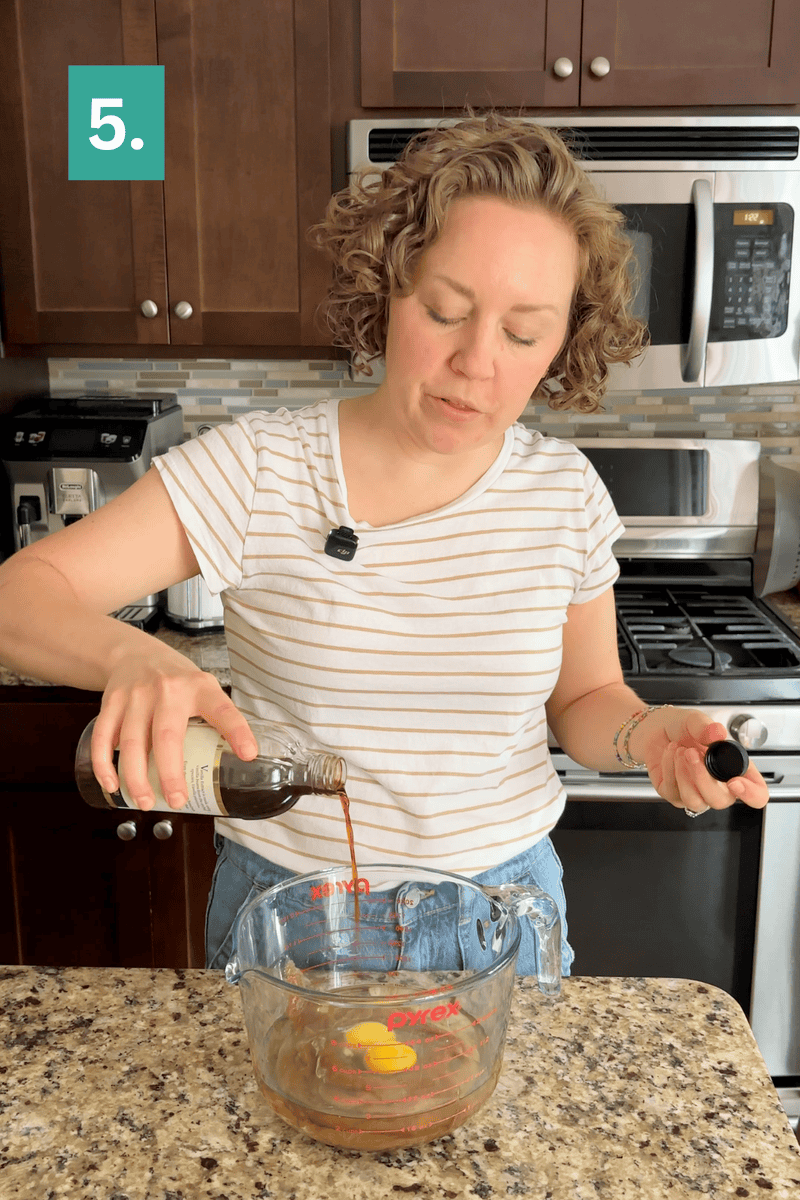
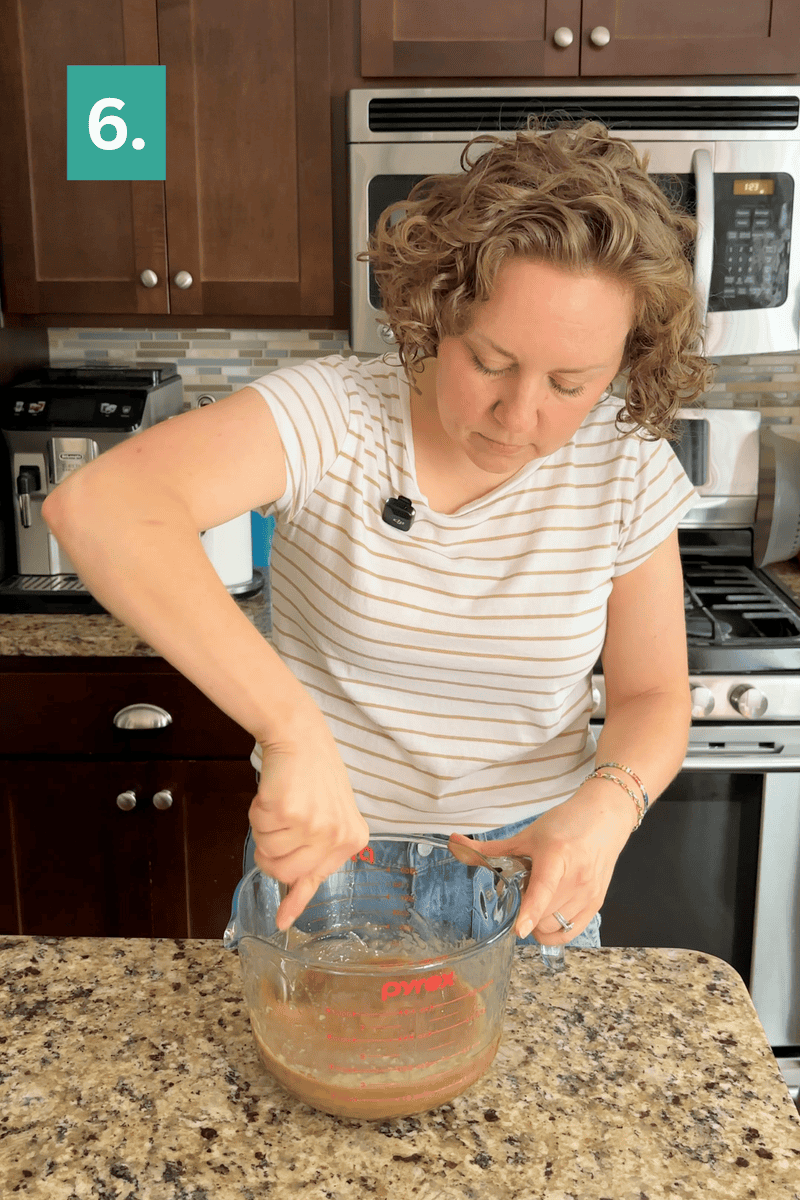
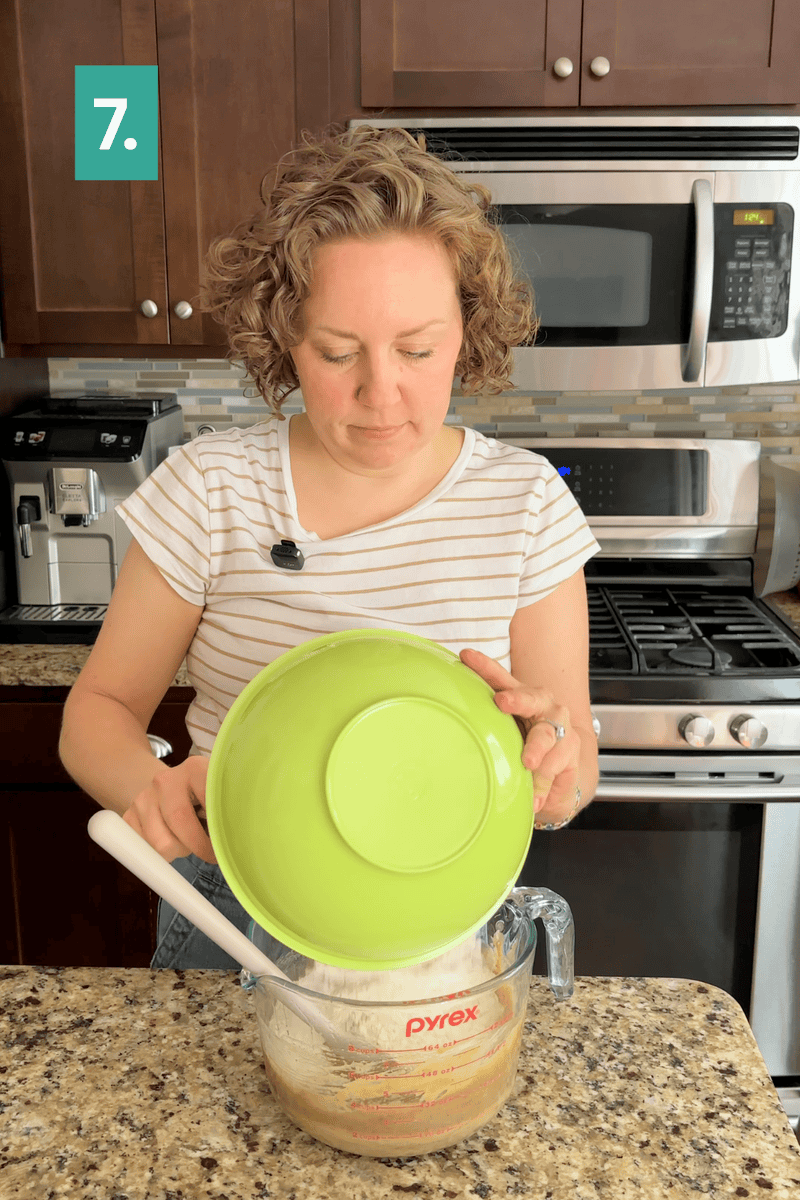
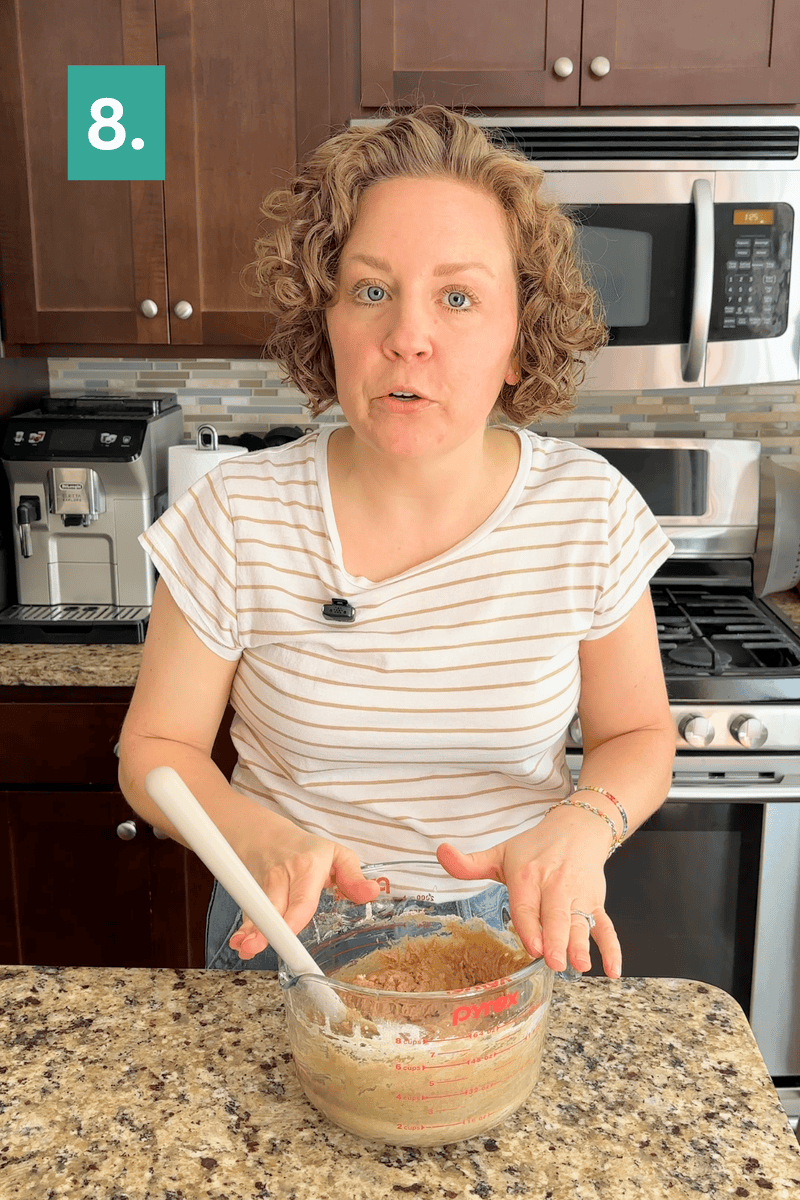
Combine wet and dry ingredients: Gradually mix the dry ingredients into the wet ingredients, mixing just until combined. The batter will be very thick.
Rest batter: Cover the bowl with a towel and allow the batter to rest for 15 minutes. During this time, preheat the oven to 425ºF / 220ºC.
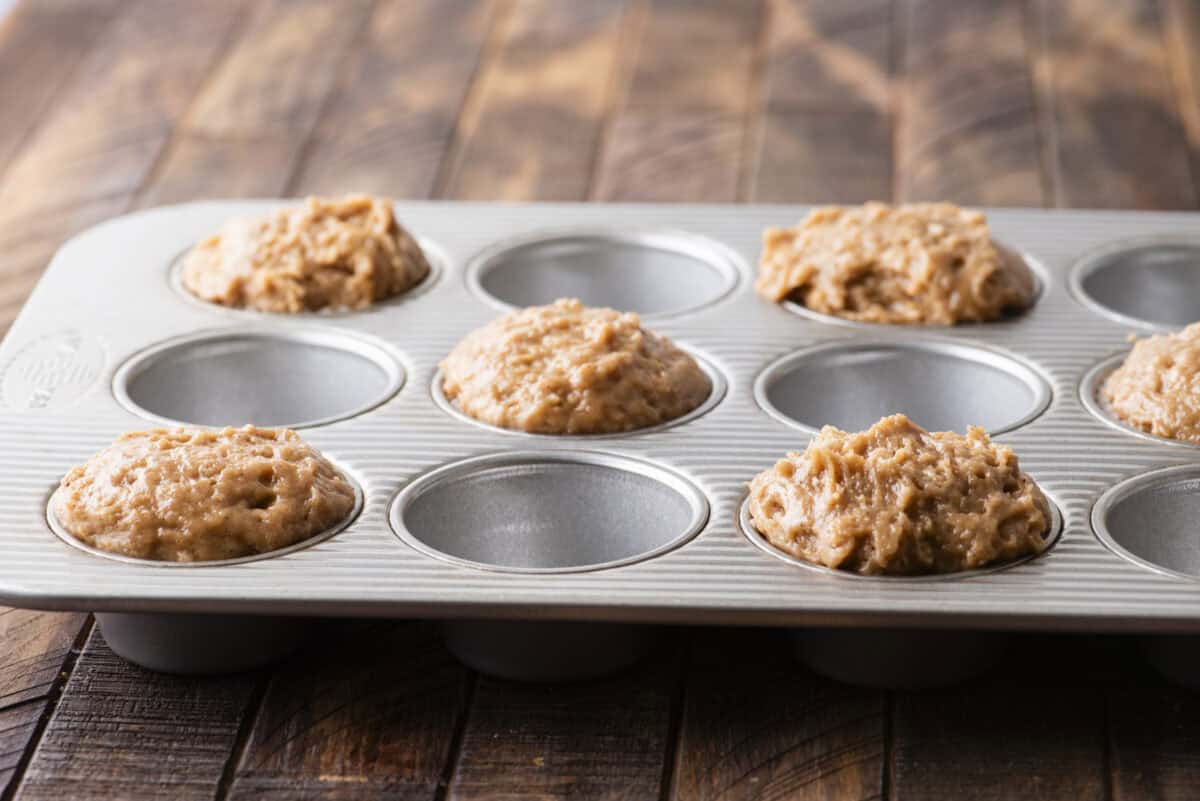
For bakery style muffins, line a 12 count muffin pan with 6 muffin liners, meaning you’ll only fill every other muffin well with batter. Fill the liners with 6-8 heaping tablespoons of batter. Sprinkle the tops with sanding sugar.
Bake and cool: Place one pan in the center of the oven and bake for 7 minutes at 425ºF / 220ºC, then keep the muffins in the oven, turn the temperature down to 350ºF / 180ºC and bake for 13-19 minutes or until a toothpick inserted in the center comes out clean. Allow the muffins to cool in the pan. Repeat with the remaining batter, bumping the temperature back up to 425ºF / 220ºC.
How to Properly Measure Flour
The most accurate way to measure flour is to use a kitchen scale, weighing it in grams. If you don’t have a kitchen scale, follow this method.
- Aerate the flour with a whisk or spoon. Flour becomes heavy and compact as it sits. Aerating is the same as fluffing the flour, but not the same as sifting it. Do not sift the flour unless the recipe specifically calls for it.
- Use a spoon to sprinkle the flour into the measuring cup. Do not tap the cup against the counter, as this will compact the flour.
- Use the back of a butter knife to level off the excess. You’ll need to repeat the aerating process after filling each cup.
How to Create Bakery Style Muffins
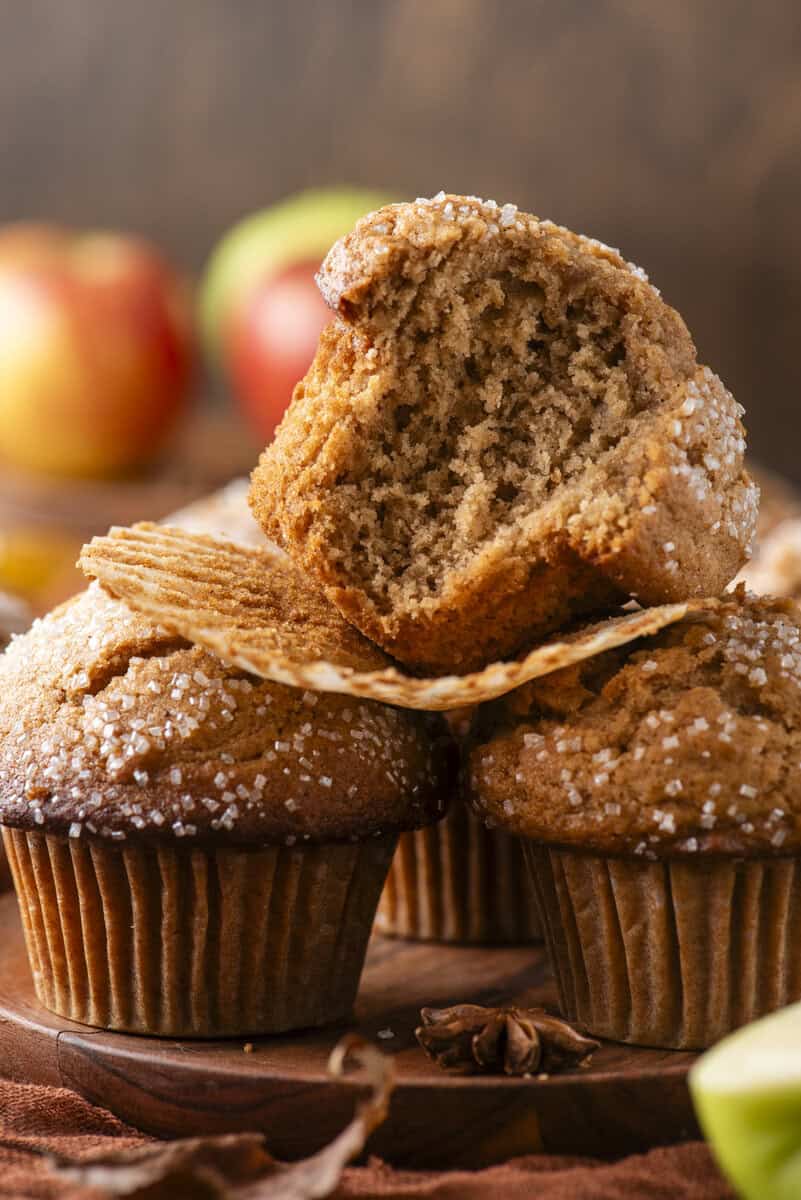
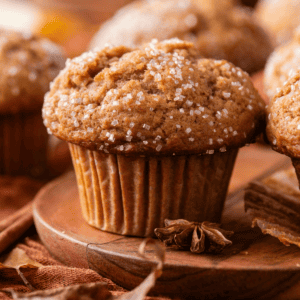
Bakery style muffins are known for their domed tops. Plus who doesn’t love them? I used a few techniques to help “lift” these muffins so they would have large, domed tops!
1. The Rest Period
Let the batter rest for 15 minutes after it’s mixed and before you scoop it into the muffin pan. During the resting period, starch molecules in the flour are absorbing the liquid in the batter, causing them to swell and giving the batter a thicker consistency (ref the kitchen whisper). Our 15 minute rest is just a quick rest.
2. Fill Every Other Muffin Cup
This tip has been a game changer! For bakery style muffin tops, line a 12 count muffin pan with 6 muffin liners, meaning you’ll only fill every other muffin well with batter. Filling every other cup allows the muffins to spread and dome without running into each other. This technique also encourages the muffins to brown, creating a golden muffin top.
3. Fill Them To The Top
Fill your muffin liners to the top with batter. Yes, this goes against everything you’re heard but it’s important in helping the muffin gain that height.
4. Bake at High Temperature Initially
Bake the muffins at a high temperature (425ºF) initially, then lower to 350ºF. Starting the muffins off at a higher temperature causes the batter to rise rapidly, setting the outer surface of the muffin, producing a dome shape.
Gluten Free Apple Butter Muffins
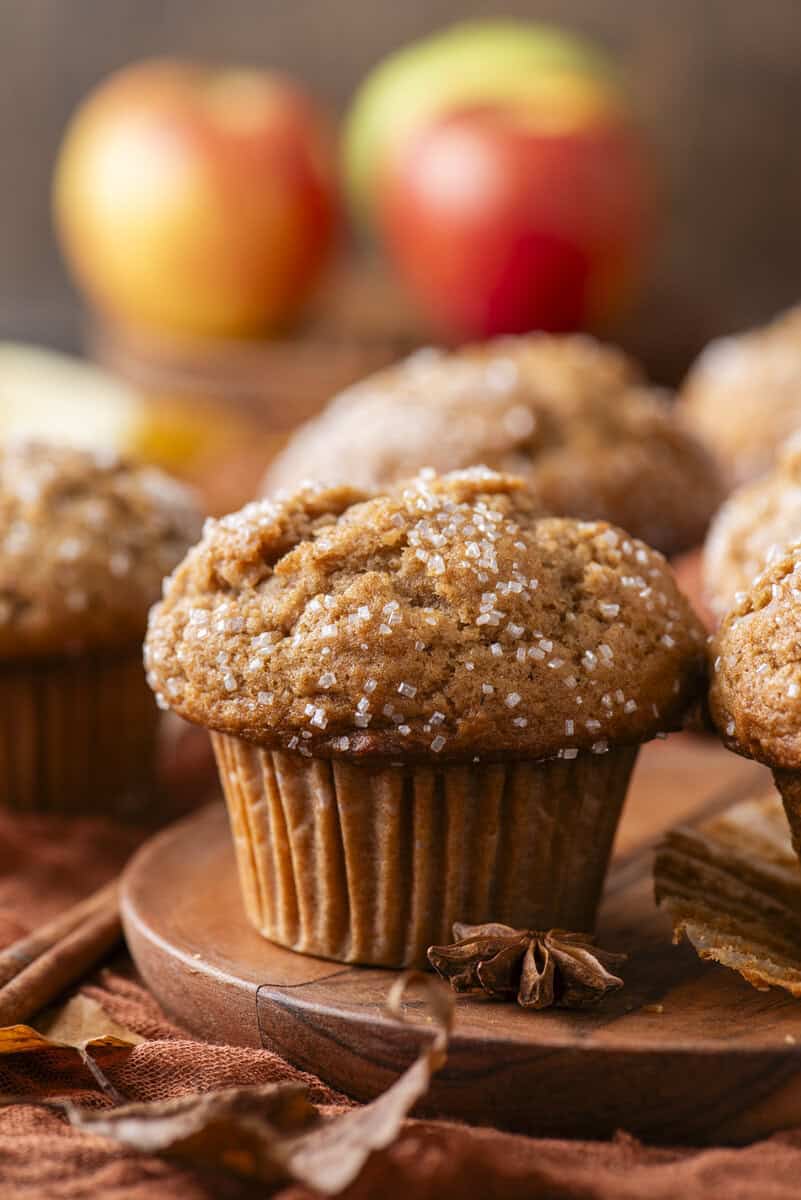
I’ve made this recipe with both regular and gluten free flour with great results. Looking for more gluten free desserts? Use a 1:1 gluten-free baking flour blend in place of all-purpose flour. I used King Arthur’s Measure for Measure Gluten Free Flour with great results
Storage and Freezing Fall Muffins
If you’ll be eating the muffins within 24 hours of baking, you can leave them uncovered on the counter. The muffins will not dry out while left at room temperature for 1 day.
In fact, muffins are so moist they can become soggy and those crunchy, sugary tops can disappear when stored in an airtight container.
But I have a trick to help that – paper towels.
For longer storage, 2-4 days, line the bottom of an airtight container with paper towels. Place the muffins in a single layer in the container then cover the muffins with any additional layer of paper towels. The paper towels will act like a sponge, absorbing the moisture they release while they are stored.
If the paper towels become too moist around day 2 or day 3, replace them with fresh paper towels.
How To Freeze Muffins
Individually wrap each muffin in plastic wrap. Then place them in a ziploc bag or airtight container and place in the freezer for up to 3 months.
To thaw, leave them at room temperature until defrosted, about 1 hour. Or unwrap them and microwave at 20 second intervals until defrosted.
FAQs
Any smooth, store bought or homemade apple butter works here. If you want the richest flavor, my homemade apple butter recipe is a great place to start, just make sure it’s on the thicker side since a runny apple butter can throw off the batter consistency.
You can, but the flavor and texture will be different. Applesauce is thinner and less sweet, so you’ll lose some of the depth apple butter brings. If you only have applesauce on hand, my applesauce muffins recipe is built specifically around that ingredient instead.
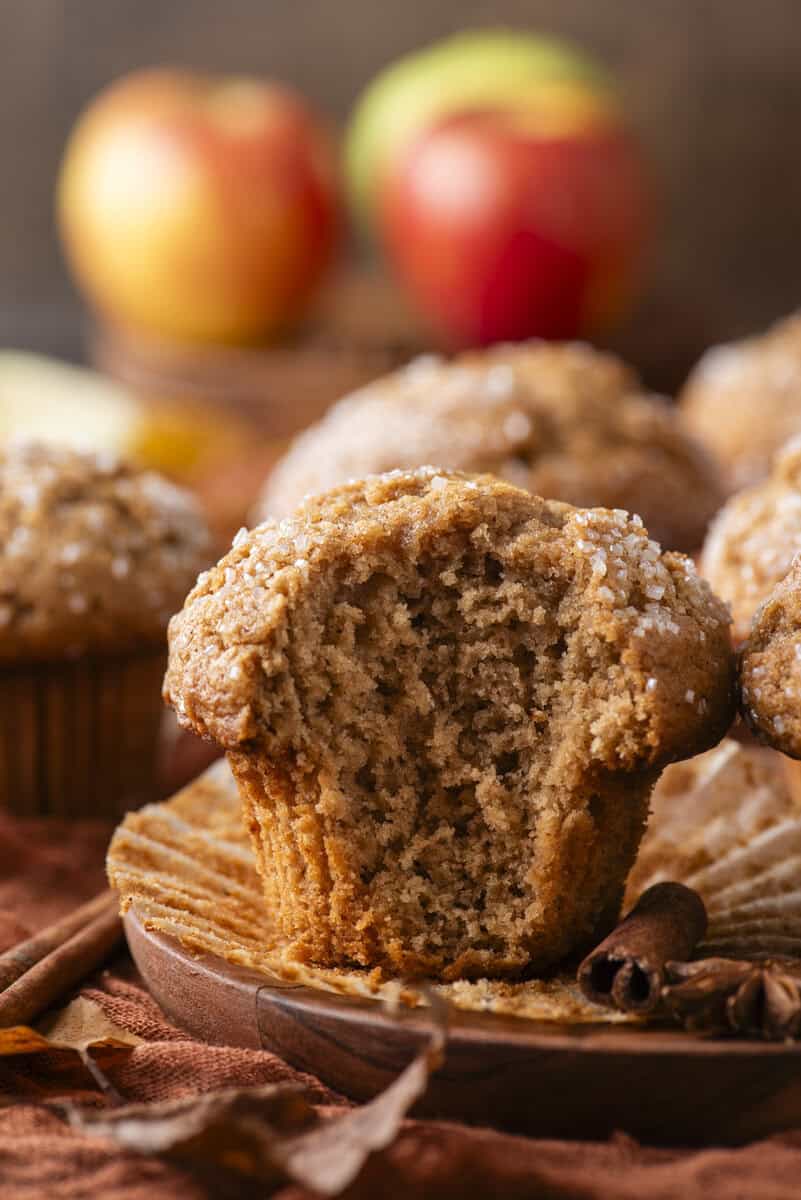
That’s apple butter doing its job. It’s more concentrated than applesauce or oil, so the batter will look and feel heavier before it bakes. That’s exactly what you want for a tall, moist crumb.
More Fall Recipes
Tap stars to rate!
Apple Butter Muffins
Video
Ingredients
- 3 cups (360g) all-purpose flour
- 1 cup (200g) granulated sugar
- 3 tsp baking powder
- 1 tsp salt
- 2 ½ tsp ground cinnamon
- 1 tsp ground nutmeg
- 1 ½ cups (408g) apple butter
- 2 large eggs
- ¾ cup (149g) vegetable oil
- 1 tsp vanilla extract
- sanding sugar, for topping muffins
Instructions
- In a mixing bowl combine the flour, granulated sugar, baking powder, salt, cinnamon and nutmeg. Stir together and set aside.3 cups (360g) all-purpose flour, 1 cup (200g) granulated sugar, 3 tsp baking powder, 1 tsp salt, 2 ½ tsp ground cinnamon, 1 tsp ground nutmeg
- In a larger mixing bowl combine the apple butter, eggs, vegetable oil, and vanilla extract. Stir to combine.1 ½ cups (408g) apple butter, 2 large eggs, ¾ cup (149g) vegetable oil, 1 tsp vanilla extract
- Gradually mix the dry ingredients into the wet ingredients, mixing just until combined. The batter will be very thick.
- Cover the bowl with a towel and allow the batter to rest for 15 minutes. During this time, preheat the oven to 425ºF / 220ºC.
- For bakery style muffins, line a 12 count muffin pan with 6 muffin liners, meaning you’ll only fill every other muffin well with batter. Fill the liners with 6-8 heaping tablespoons of batter. Sprinkle the tops with sanding sugar.sanding sugar
- Place one pan in the center of the oven and bake for 7 minutes at 425ºF / 220ºC, then keep the muffins in the oven, turn the temperature down to 350ºF / 180ºC and bake for 13-19 minutes or until a toothpick inserted in the center comes out clean. Allow the muffins to cool in the pan. Repeat with the remaining batter, bumping the temperature back up to 425ºF / 220ºC.
Last Step: I’d love to hear what you think. Leave a rating and comment here.
Notes
- Gluten-Free: Use a 1:1 gluten-free baking flour blend in place of all-purpose flour. I used King Arthur’s Measure for Measure Gluten Free Flour with great results.
- To Store: Leave the muffins uncovered on the counter if you’ll eat them within 24 hours. For longer storage, line an airtight container with paper towels, place the muffins in a single layer, and cover with another layer of paper towels. This absorbs extra moisture and keeps the tops from going soft. Replace the paper towels if they get too damp around day 2 or 3. Best eaten within 2 to 4 days.
- To Make Ahead: Mix the batter and let it rest in the fridge, covered, for up to 24 hours before scooping and baking. Bake straight from the fridge like normal.
- To Freeze: Wrap each muffin individually in plastic wrap, then store in a freezer bag or airtight container for up to 3 months. To thaw, leave at room temperature for about 1 hour, or unwrap and microwave in 20 second bursts.







Could I use coconut oil or extra light EVOO as that is all I have on hand? Thank you!
I would recommend coconut oil!
Could I add small chopped apples to this as well? If so, should I cook them a little first?
Hi Erin! Yes, I would recommend stove top cooking them first otherwise I don’t think they would become soft enough just baking them.
They were great!!!How would you store them after the first day? Refrigerate or counter?
Counter is fine!
These muffins were delicious! The kids devoured them. Very easy to put together, and perfect for fall with all the fresh apple butter around. I made the apple cider glaze for the top also.
I have just taken these muffins out of oven, and oh my goodness they are so good. Will be baking these often. Thanks for sharing your recipe for Apple Butter Muffins. 💞
Love these but everyone mentions your streusel topping all I am seeing is the sugar topping. If it’s a streusel do you have recipe for it??? Also how many does this recipe make???? Thank you.
Hi Avis! Here is my crumb topping recipe: https://thefirstyearblog.com/how-to-make-crumb-topping/
This recipe yields 12-14 muffins!
Recipe was on point and came out beautifully
Great
I was going to try and make this into a loaf. What do you think?
I give these 4.5 stars. Made exactly as written (used store bought White House brand apple butter) and added 3/4 cup raisins for my boys. Added sparkling sugar to the tops of half of them and left the other half unadorned. Recipe made 19 muffins for me. The reason for a half star deduction is that they are very sweet. The muffin texture and Fall flavors are spot on. My picky boys (ages 5, 6, and 13) all agreed that they were good and asked for seconds! I’ll definitely make this recipe again. Not sure if I’ll attempt to reduce the sugar as I know that will affect the texture. Maybe I’ll try subbing unsweetened applesauce for 1/4 of the sugar…
I am confused as to why you deducted part of a star for the recipe when you added raisins that weren’t part of the original recipe? Seems like it was your addition not the recipe that made the muffins so sweet. Don’t blame the recipe author for changes you made