
This post may contain affiliate links. Please read our disclosure policy.
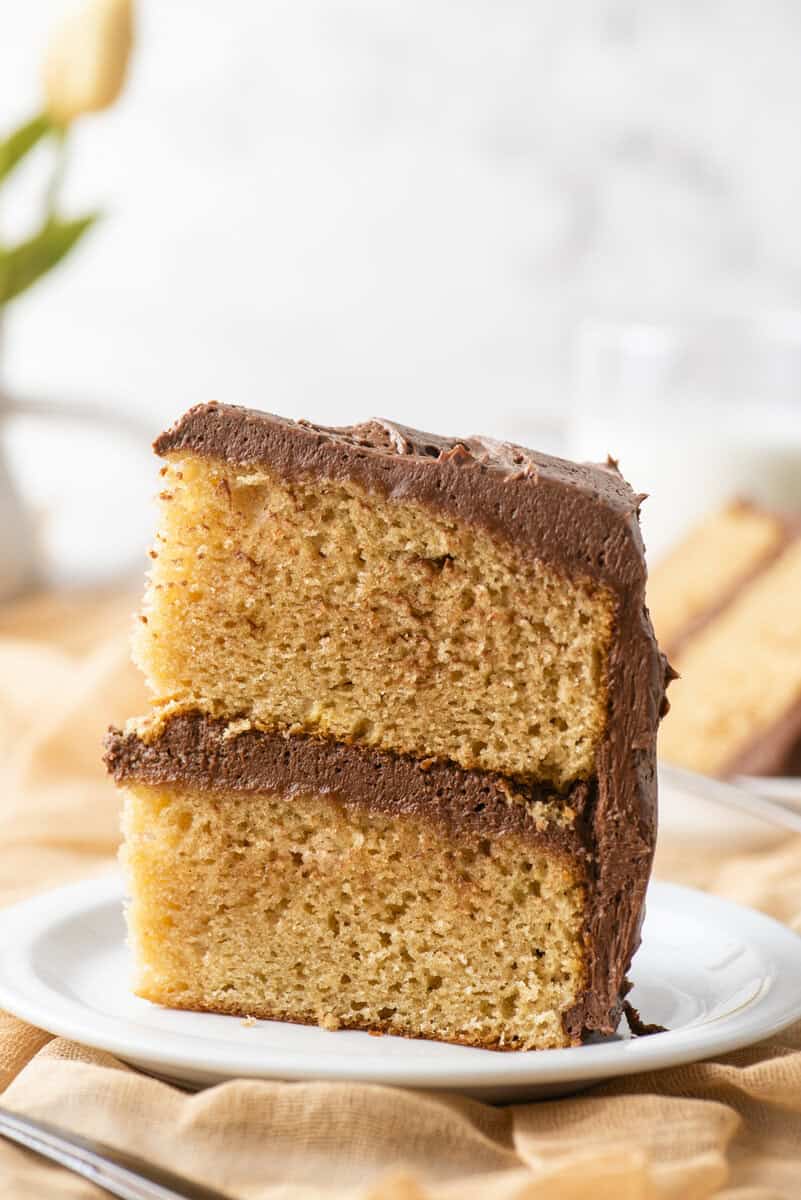
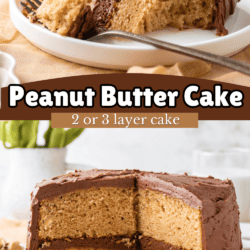
Most peanut butter cakes taste like vanilla cake that forgot the peanut butter was supposed to be the point. I started with my trusted vanilla cake base and worked out the ratio for peanut butter’s fat and moisture, and it came out fluffy and unmistakably peanut butter forward on the very first try.
Then I let my own audience settle the frosting question, chocolate or peanut butter cream cheese, and chocolate won by a landslide. This is the peanut butter cake I would actually hand a friend and tell them to trust me on.
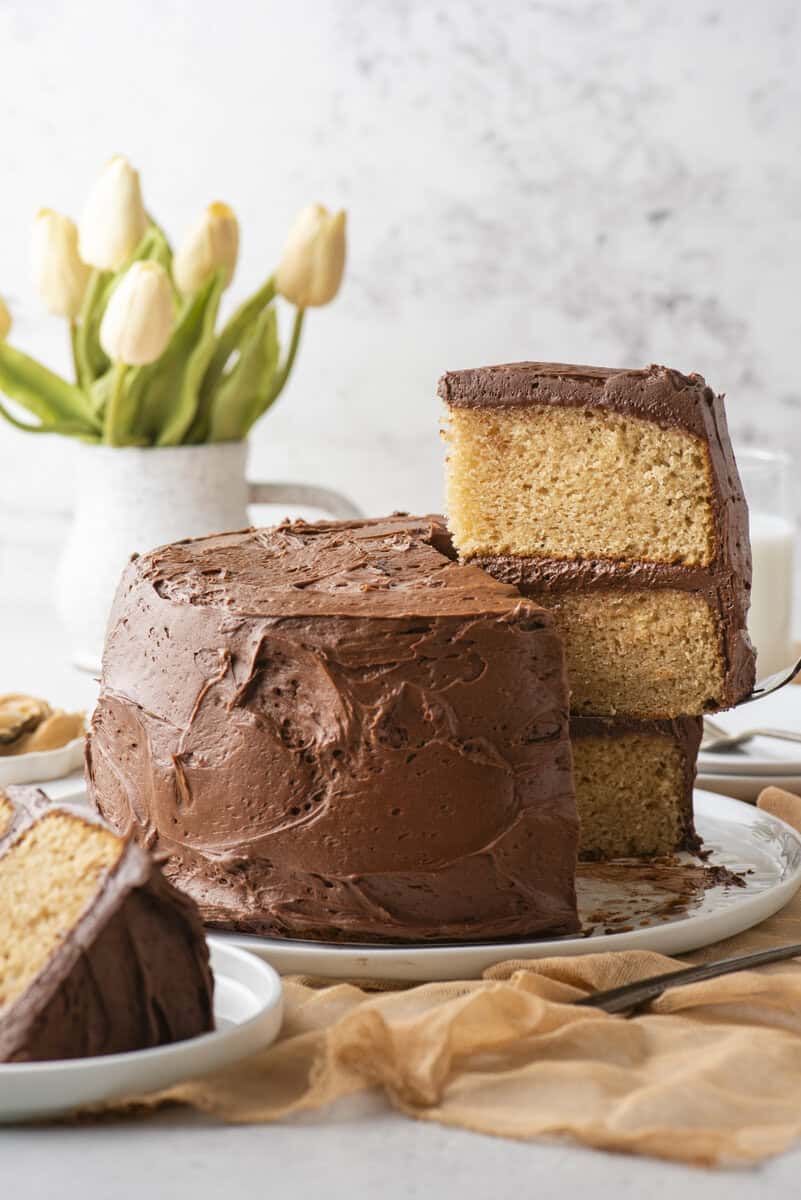
Most peanut butter cakes taste like vanilla cake that forgot the peanut butter was supposed to be the point. I started with my trusted vanilla cake base, the one I have made more times than I can count, and worked out the ratio for peanut butter’s fat and moisture.
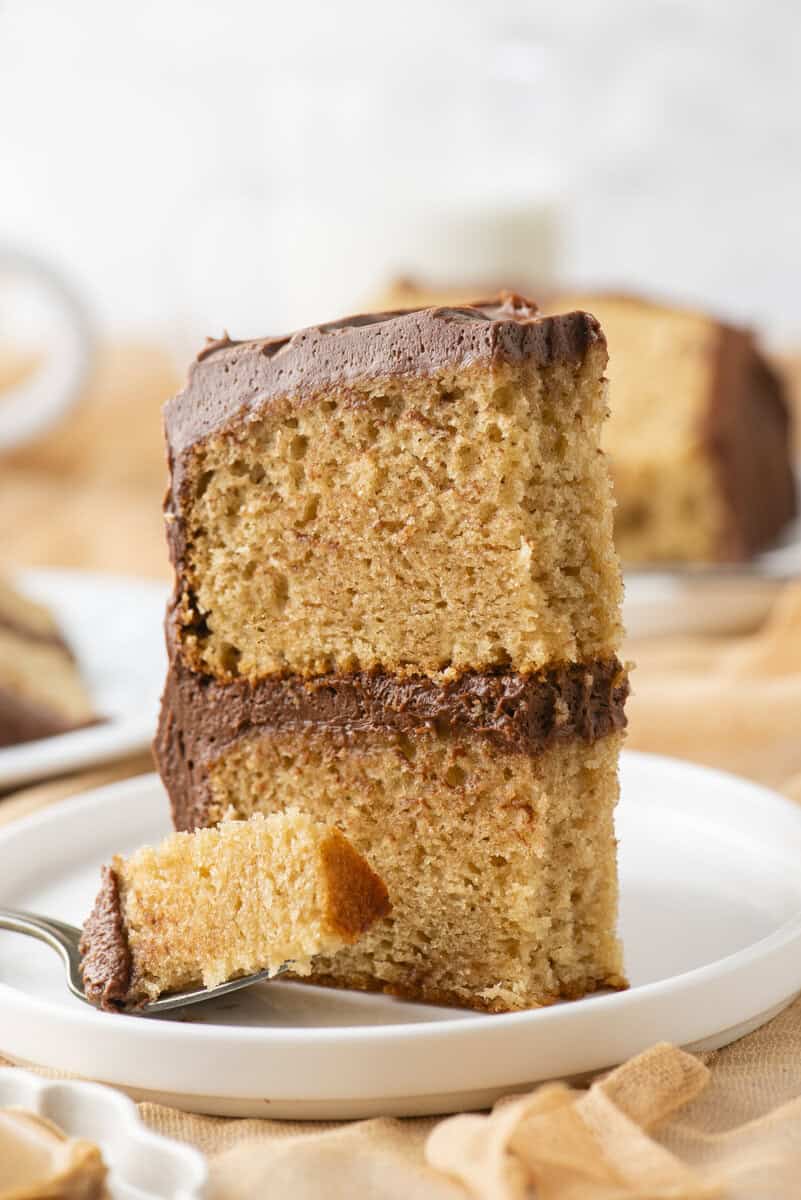
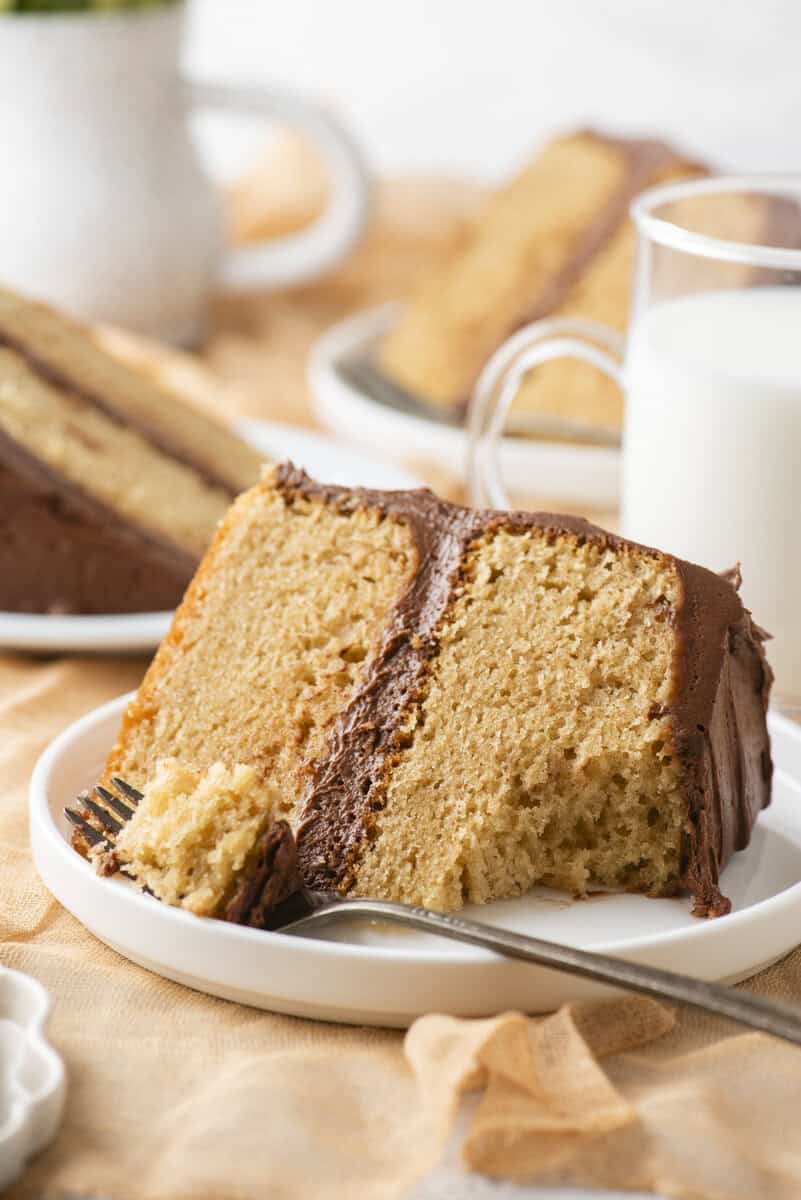
It came out fluffy and unmistakably peanut butter forward on the first bake, no dense crumb, no greasy texture, just real peanut butter flavor in a cake that still feels light enough to eat a proper slice of. I built this one specifically to round out a flavor gap on my site, everyone needs a peanut butter cake recipe!
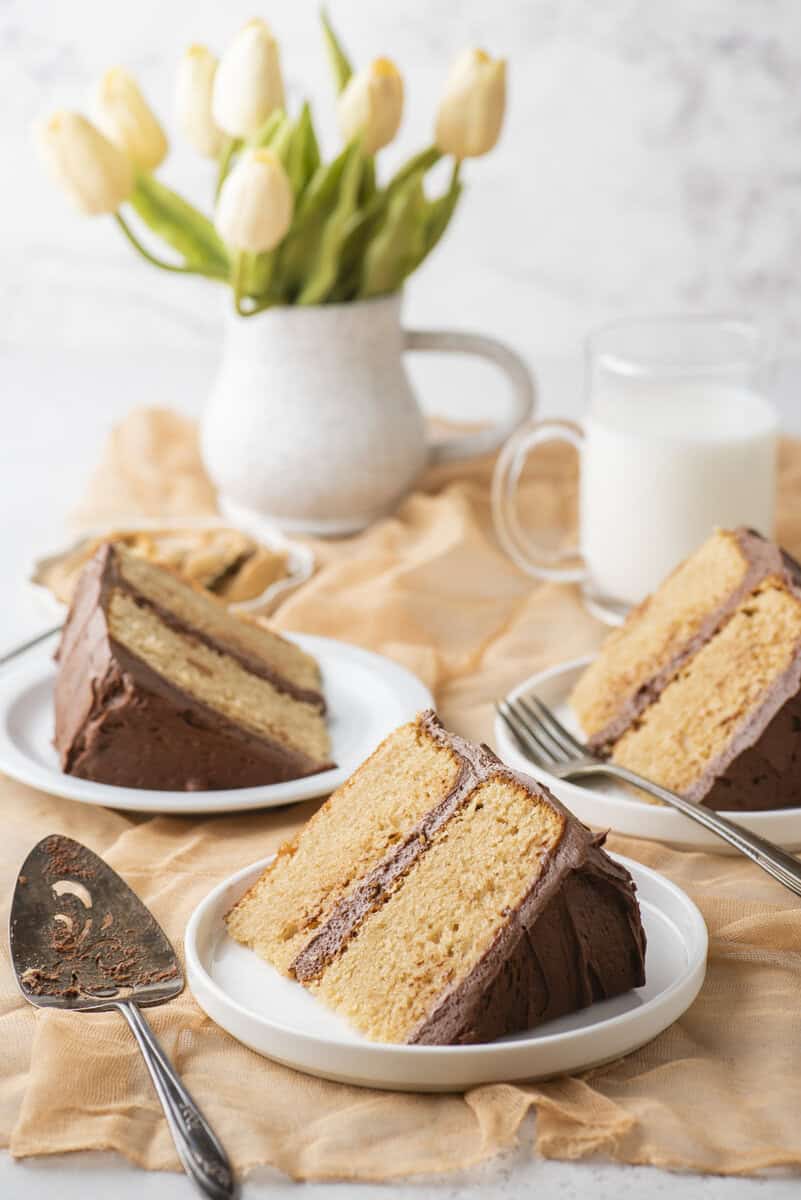
Next up? The frosting. I could have just picked a frosting and called it done. Instead, I put it to my audience, peanut butter cream cheese or chocolate buttercream. Chocolate won at 60%, and once you taste peanut butter and chocolate together in this combination, you will understand why. It is a classic pairing for a reason, and this frosting is rich enough to stand up to a peanut butter cake without overpowering it.
The Peanut Butter Problem
Peanut butter is one of the trickiest ingredients to bake into a cake correctly. It is heavy in fat, which means too much of it weighs a batter down fast. Add too little and you end up with a cake that only hints at peanut butter, which honestly defeats the whole purpose of making this cake in the first place.
This recipe uses a specific ratio of peanut butter alongside vegetable oil and sour cream, so the fat content stays balanced and the crumb stays fluffy instead of dense.
Key Ingredients & Their Function
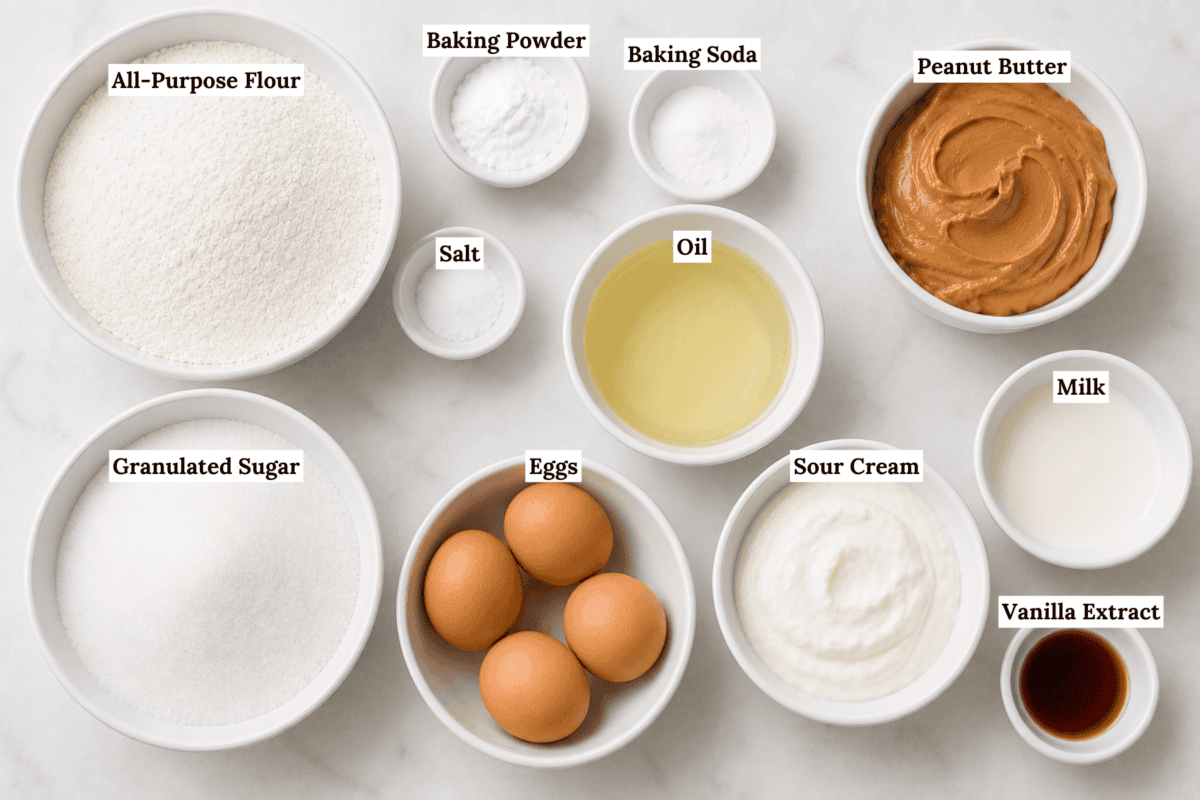
These ingredients play a key role this recipe’s success. Jump to the recipe card below for the full recipe:
- Creamy peanut butter: Regular creamy peanut butter, not natural, keeps the fat and moisture content consistent so the cake bakes predictably. Natural peanut butter separates and can throw off the texture.
- Vegetable oil: Oil keeps this cake moist for days in a way butter alone cannot, and it lets the peanut butter flavor stay front and center instead of competing with a butter flavor.
- Sour cream: This is what gives the crumb its soft, tender texture and adds a slight tang that balances the sweetness of the cake and frosting.
- Room temperature eggs and milk: Cold ingredients can cause the batter to look curdled or bake unevenly, so pulling these ahead of time actually matters here.
- Natural cocoa powder: Sifting this into the frosting breaks up clumps and is the difference between a gritty frosting and a smooth, fluffy one.
2 Layers or 3 Layers – You Pick!
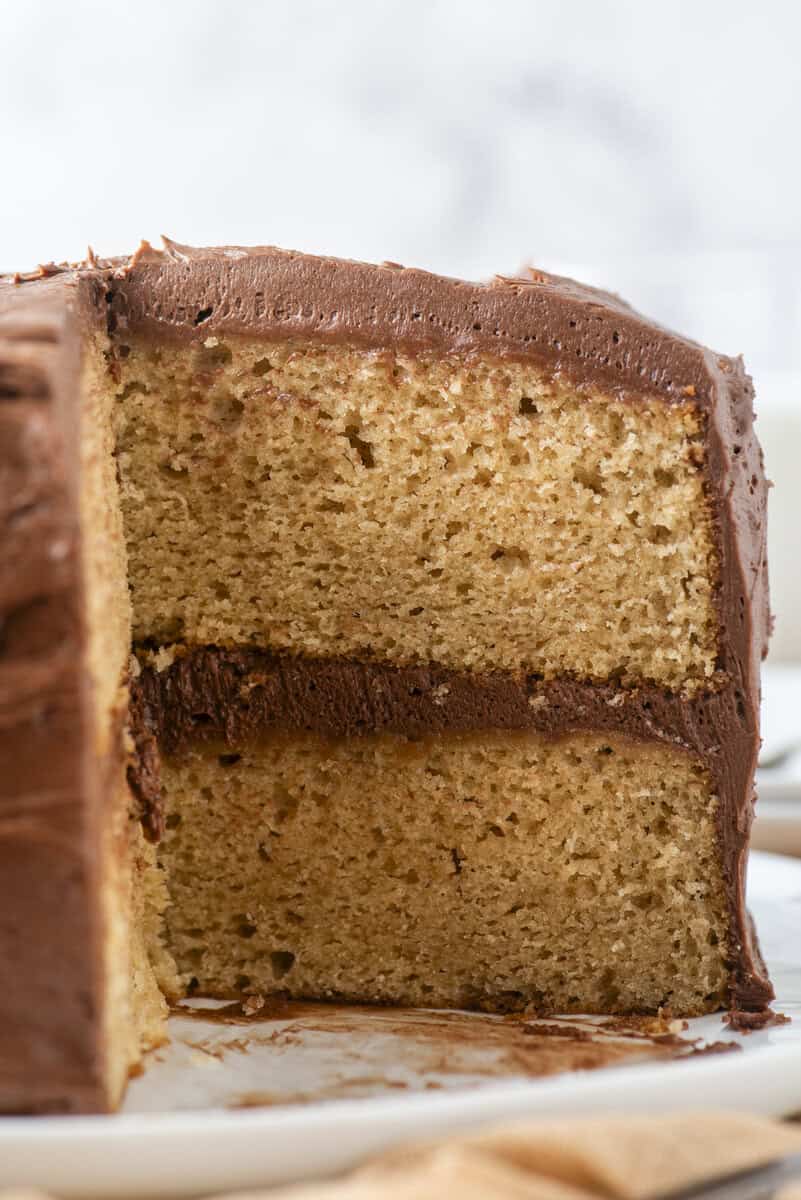
This recipe works as a 2 layer or 3 layer cake, so choose based on what you have and how the cake will be served. Two layers gives you a slightly taller slice per layer and is the more forgiving option if you are newer to layer cakes. Three layers gives you more frosting in every bite and a slightly more impressive presentation, which is worth it if this is for a birthday or celebration.
How to Make Homemade Peanut Butter Cake
These easy steps walk you through the process with zero guesswork. You can also jump to the recipe card below for the full recipe.
Preheat your oven to 350º F. Grease the bottom and sides of two or three 8 inch pans and line each with a parchment circle, this makes removing the cakes later far less stressful.
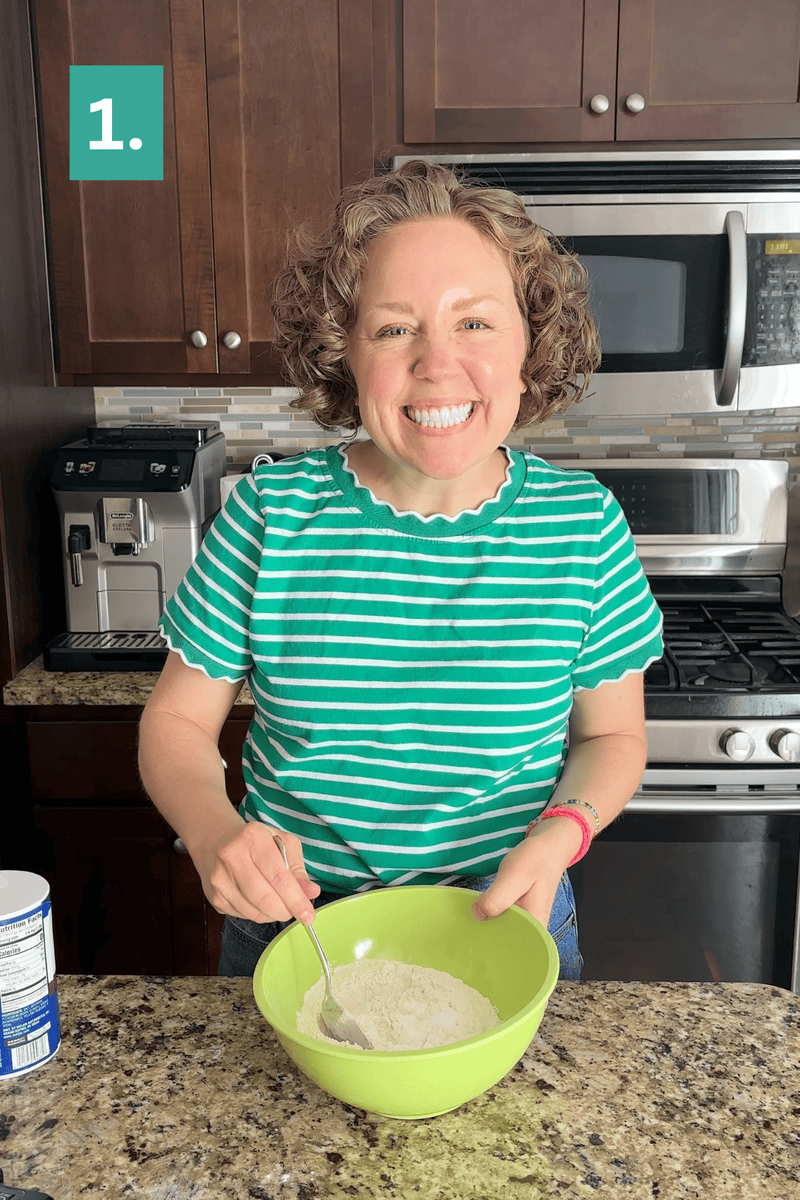
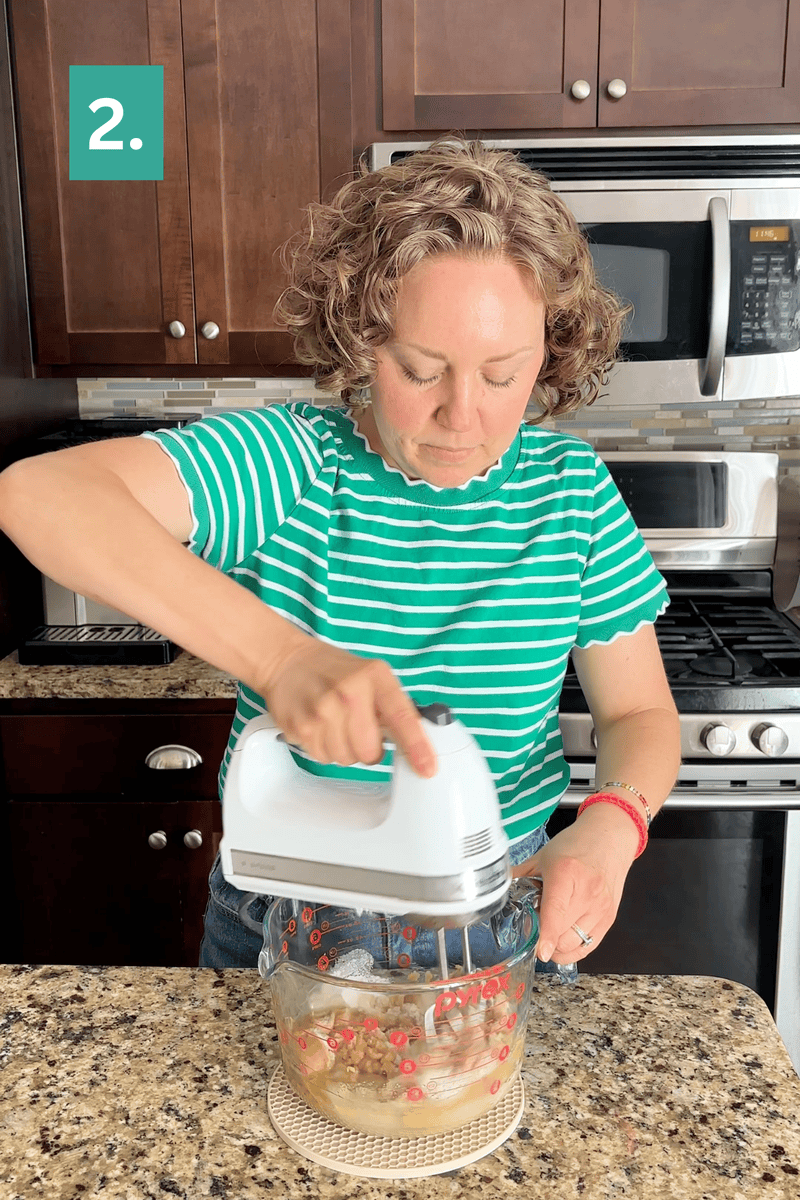
Whisk together the flour, baking powder, baking soda, and salt in a bowl and set it aside. In a separate large bowl, beat the peanut butter, vegetable oil, and sugar together for about a minute until combined.
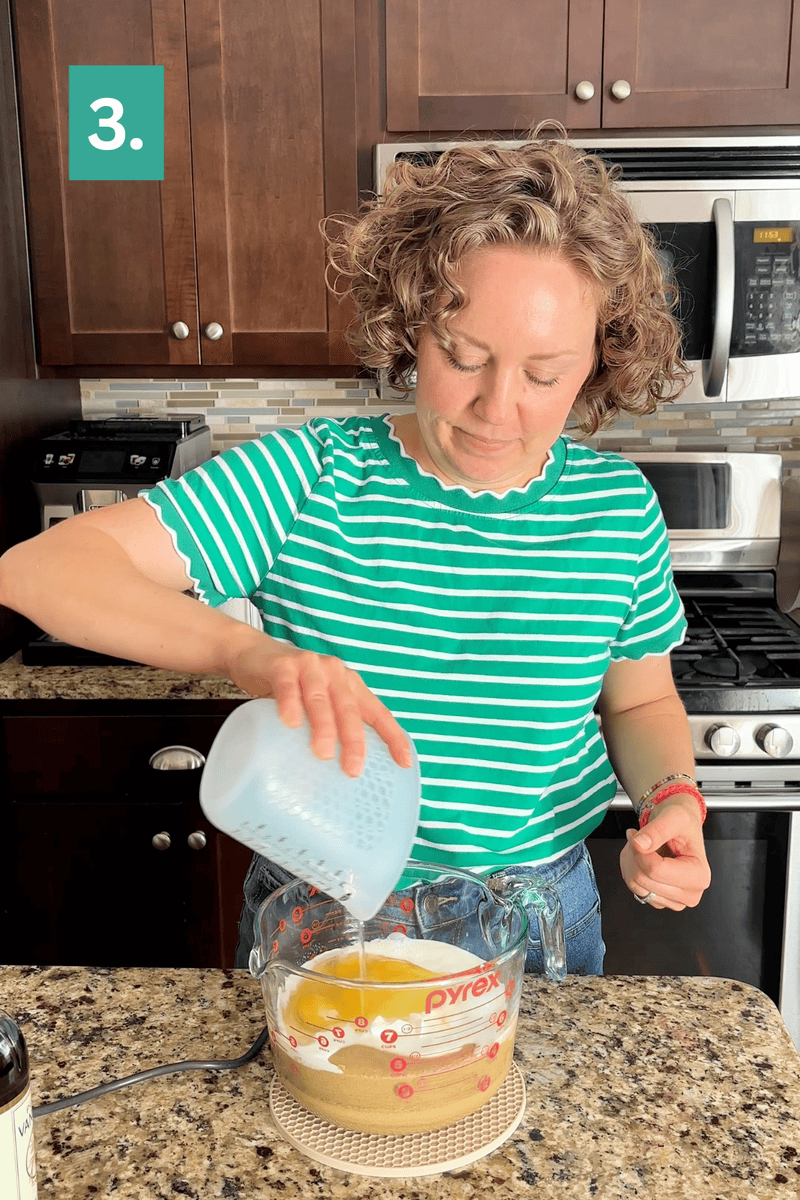
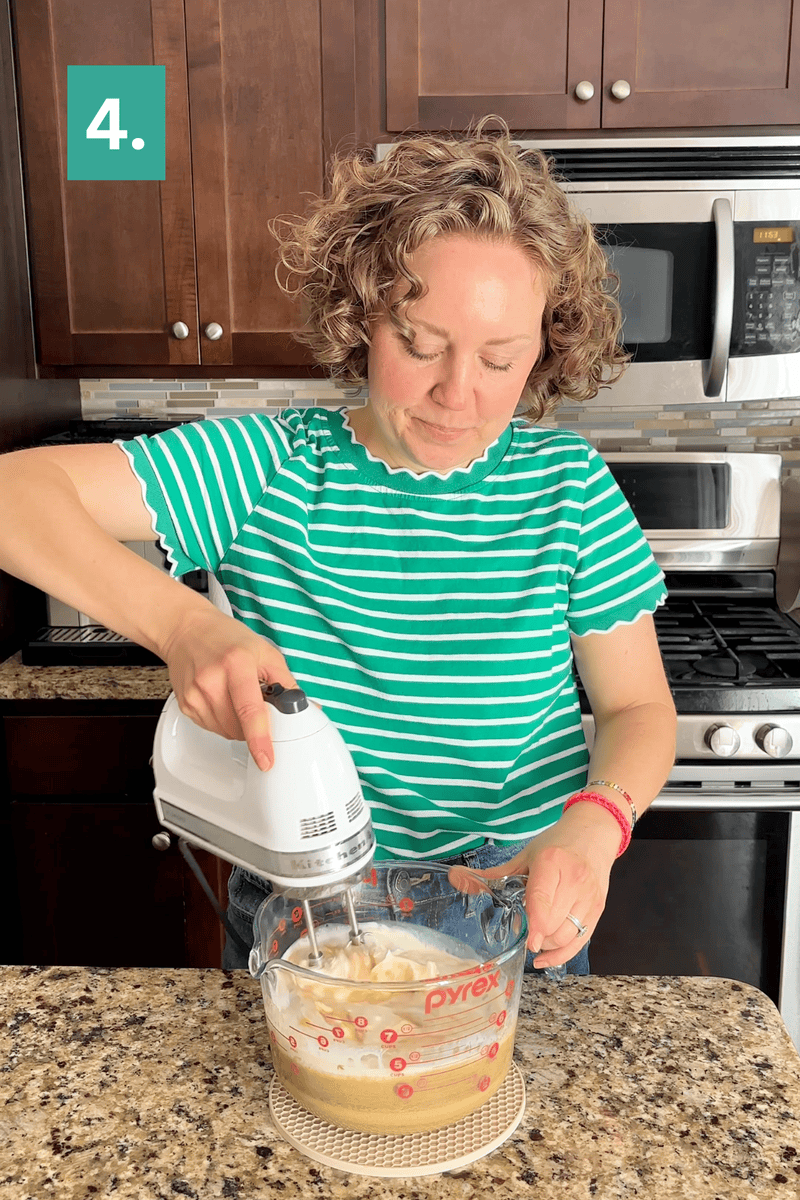
Add in the eggs, sour cream, milk, and vanilla extract and beat again.
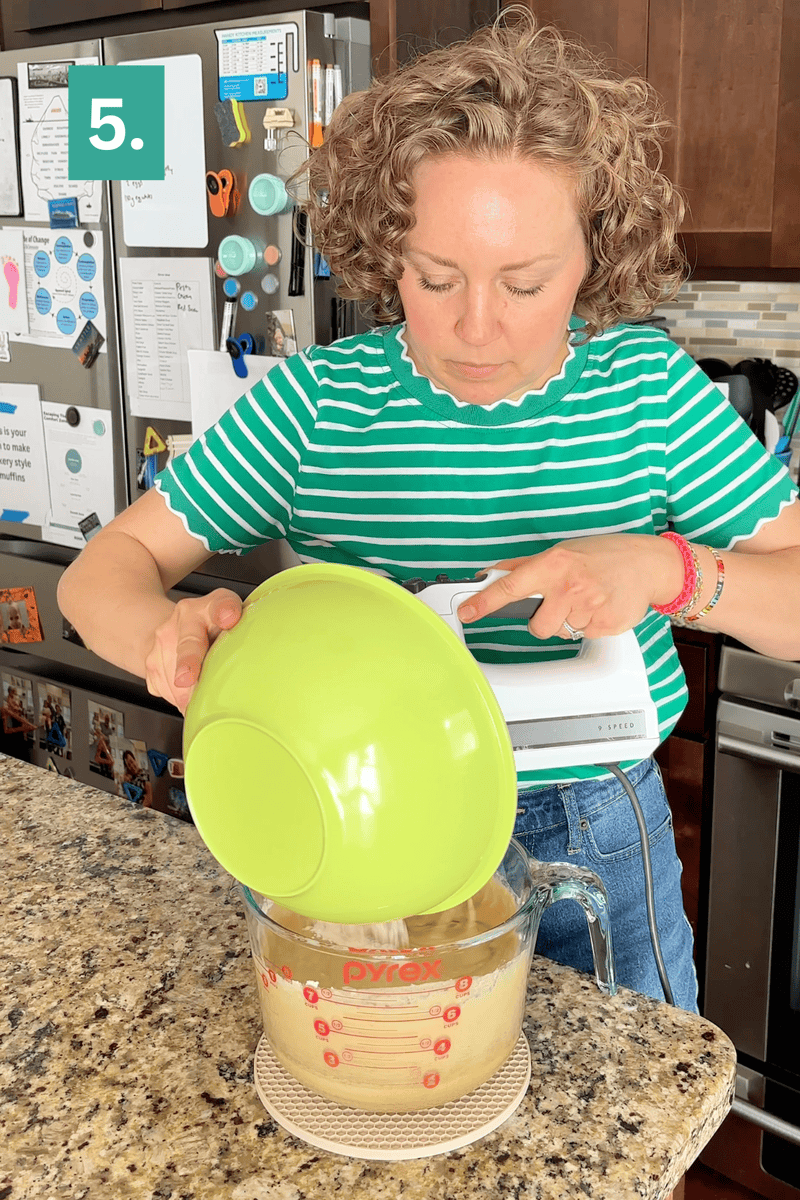
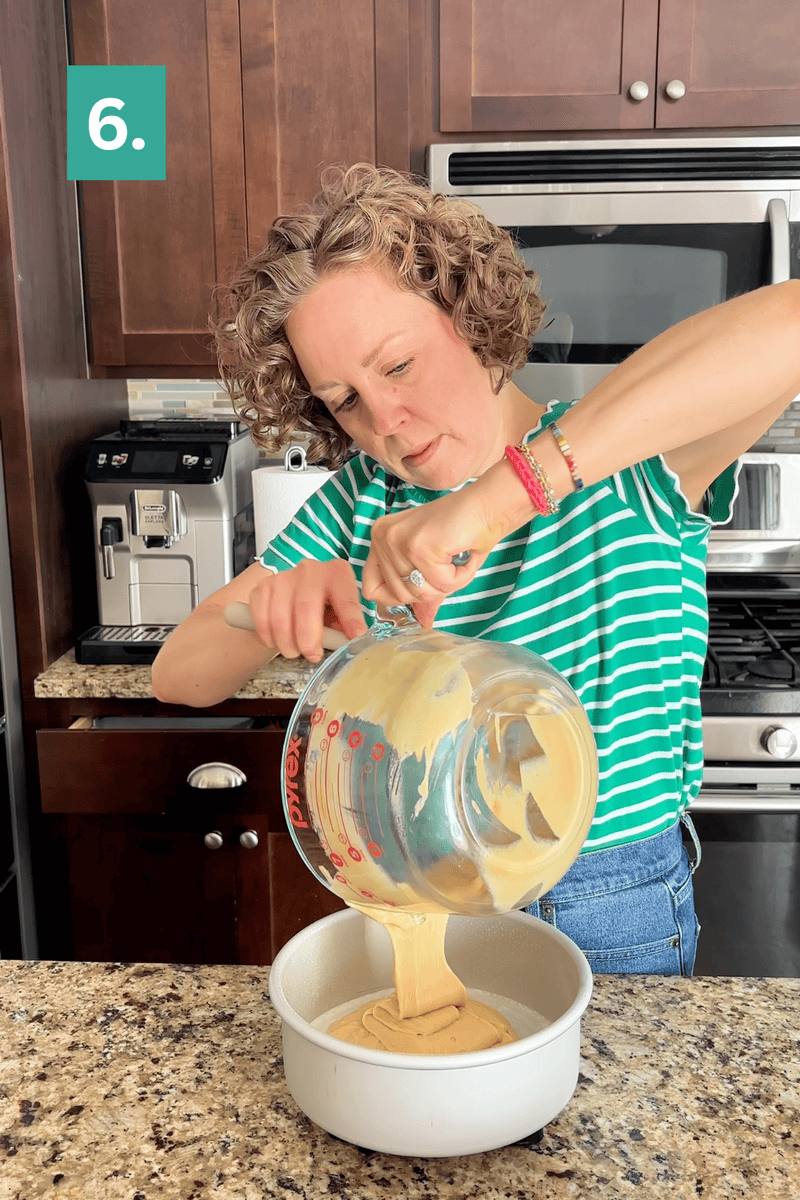
Add the flour mixture gradually, mixing just until it disappears into the batter. Overmixing here is the most common reason a cake turns tough, so stop as soon as you no longer see dry flour.
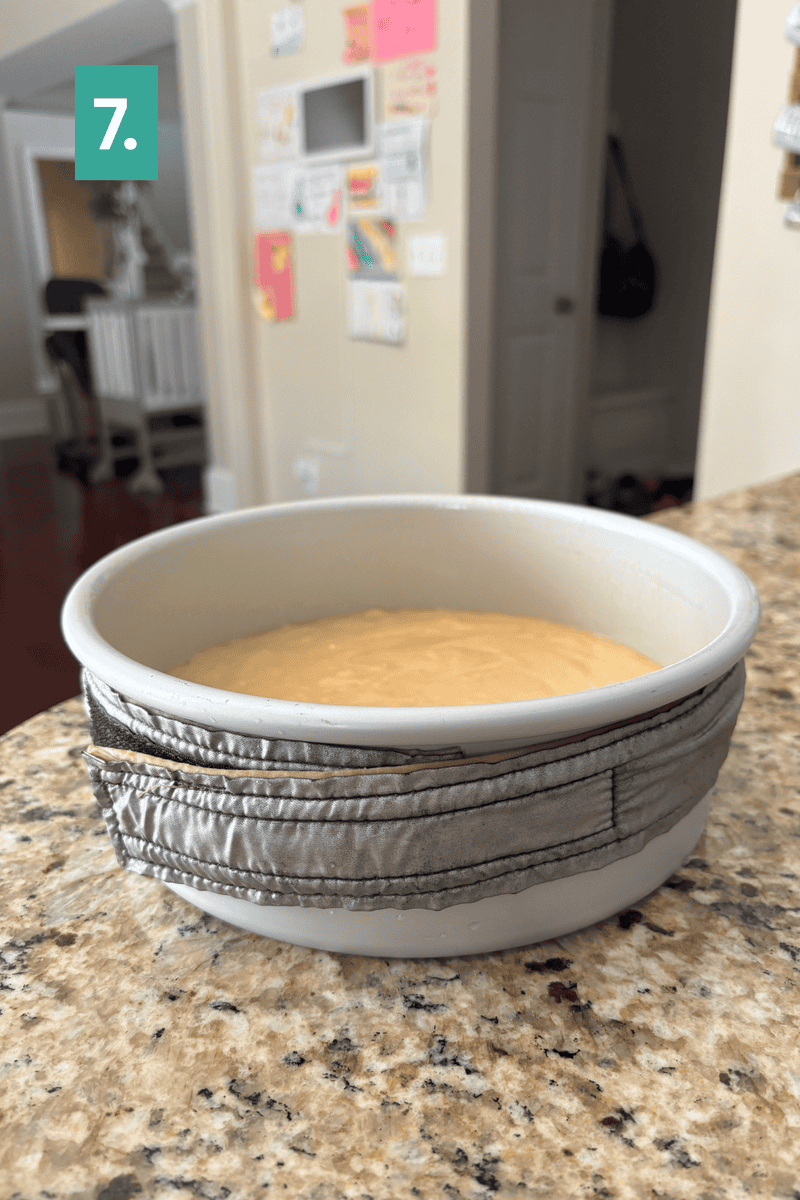
Divide the batter evenly. For two pans, that is about 3 cups or 730 grams per pan. For three pans, about 2 cups or 480 grams per pan. If you use bake even strips, this is the point to add them.
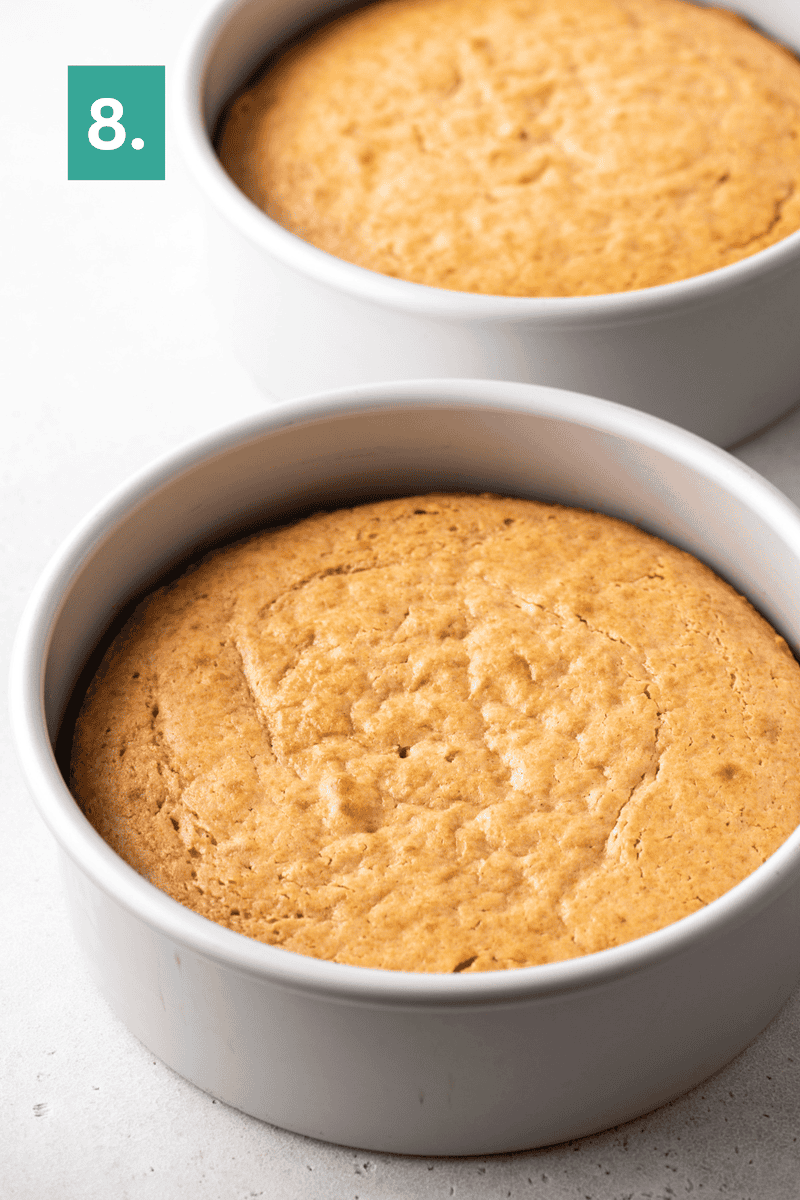
Bake two pans for 38 to 45 minutes or three pans for 30 to 37 minutes, until a toothpick comes out clean. Let the cakes cool in their pans for 20 to 30 minutes, then loosen the edges with a small spatula and move them to a cooling rack to cool completely before frosting.
The Chocolate Frosting
Beat the butter on high for a full 2-3 minutes, this step matters more than it seems, it is what makes the frosting fluffy instead of dense. Sift in the cocoa powder and 3 cups of powdered sugar, sifting breaks up clumps and keeps the texture smooth. Beat on low until combined and thick.
Mix in 3 tablespoons of heavy cream, the vanilla, and the salt. Add the remaining 1 to 2 cups of powdered sugar on low speed, adjusting with an extra tablespoon of cream if the frosting feels too thick. Taste as you go, this is your frosting, make it exactly as sweet as you want it. Want chocolate on chocolate? I’ve got you covered with chocolate cake.
Assembling the Cake
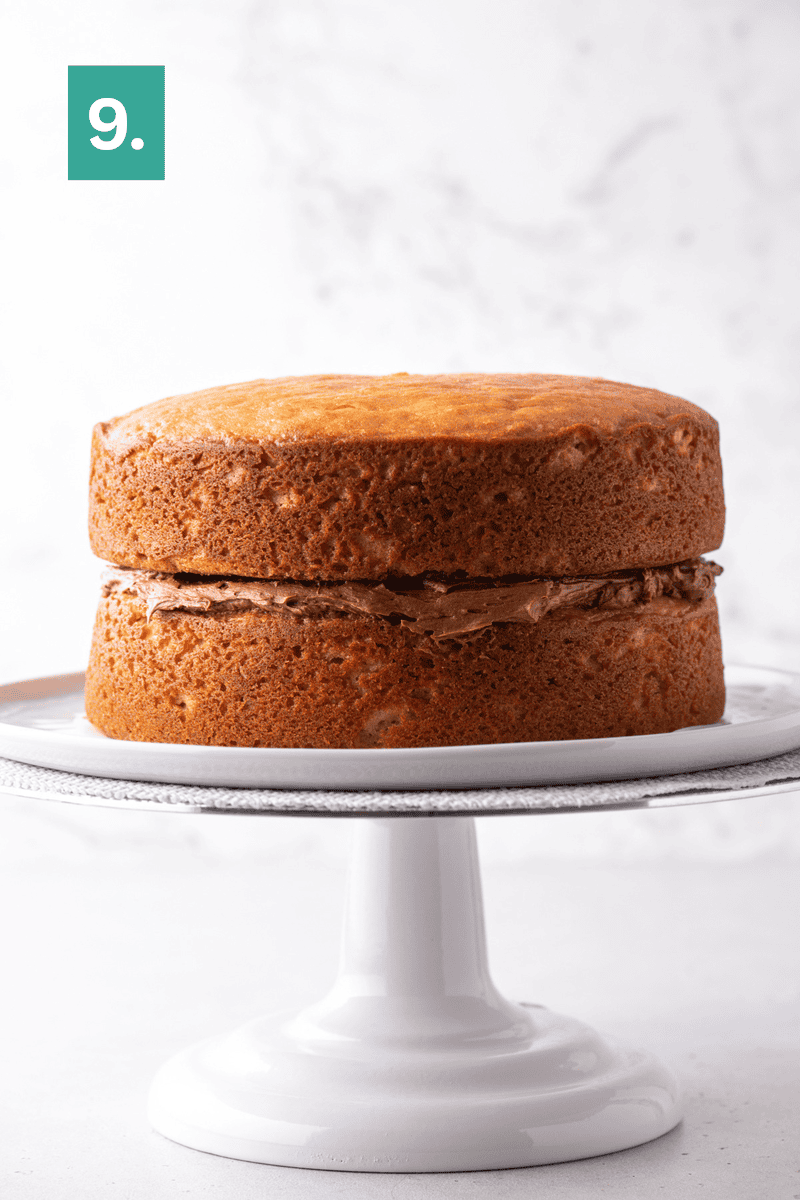
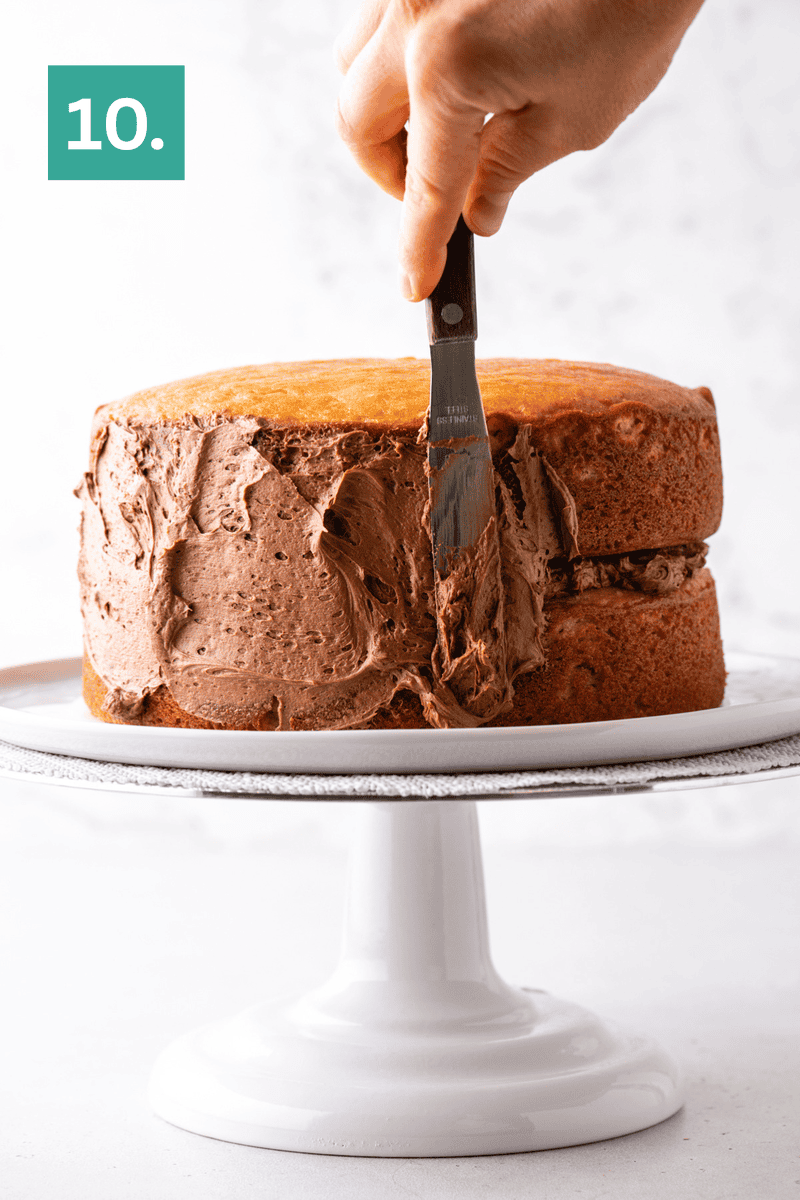
Spread a small amount of frosting on your cake plate first, this acts as glue and keeps the first layer from sliding. Place your first cake layer down. For a 2 layer cake, spread 1 cup of frosting on top before adding the second layer, then use the rest around the top and sides. For a 3 layer cake, use ¾ cup of frosting between each layer instead.
Storage and Make Ahead
This cake genuinely holds up well. Day 2 and day 3, the crumb stays just as moist as it was on day one, which is not something every peanut butter cake can claim once oil and sour cream sit for a while. You can also freeze the cake layers, just wrap each one tightly in plastic wrap before freezing, then thaw and frost when you are ready to serve.
FAQ
I do not recommend it. Natural peanut butter separates, with the oil sitting on top of the jar, so the fat and moisture content is inconsistent. Stick with regular creamy peanut butter for the texture this recipe is designed for.
Yes. Wrap the cooled cake layers individually in plastic wrap and freeze them before frosting. Thaw them at room temperature still wrapped, then frost as directed.
Yes, if you prefer peanut butter frosting, a peanut butter cream cheese frosting pairs well here too, simply add 8 oz of cream cheese to the recipe linked above.
More Peanut Butter Dessert Recipes:
- Peanut Butter Cups
- Chocolate Peanut Butter Bars
- Homemade Peanut Butter Cookies
- Peanut Butter Cupcakes
Tap stars to rate!
Peanut Butter Cake with Chocolate Frosting
Ingredients
Peanut Butter Cake
- 2 ½ cups (300g) all-purpose flour
- 2 ¼ tsp baking powder
- ½ tsp baking soda
- ½ tsp salt
- ¾ cup (201g) creamy peanut butter
- ⅔ cup (132g) vegetable oil, any neutral oil works
- 1 ¾ cups (346g) granulated sugar
- 4 large eggs, room temperature
- 1 cup (227g) sour cream, room temperature
- ½ cup (113g) milk, room temperature
- 1 Tbsp vanilla extract
Chocolate Frosting
- 2 cups (452g) unsalted butter, room temperature
- 1 cup (84g) unsweetened natural cocoa powder
- 4-5 cups (454-567g) powdered sugar
- 3-4 Tbsp heavy cream or milk
- ¼ tsp salt
- 1 tsp vanilla extract
Video
Instructions
Cake
- Preheat the oven to 350º F. Grease the bottom and sides of two or three 8 inch pans and line each pan with a parchment paper circle for easy cake removal. Set aside.
- In a small mixing bowl combine the flour, baking powder, baking soda, and salt.2 ½ cups (300g) all-purpose flour, 2 ¼ tsp baking powder, ½ tsp baking soda, ½ tsp salt
- In a large mixing bowl combine the peanut butter, vegetable oil, and sugar, beat using an electric mixer, 1 minute until combined.¾ cup (201g) creamy peanut butter, ⅔ cup (132g) vegetable oil, 1 ¾ cups (346g) granulated sugar
- Add in the eggs, sour cream, milk, and vanilla extract. Beat with the electric mixer.4 large eggs, 1 cup (227g) sour cream, ½ cup (113g) milk, 1 Tbsp vanilla extract
- Gradually add the flour mixture to the wet ingredients, mixing just until the flour is incorporated.
- Evenly divide the batter among the pans. If using 2 pans, that’s about 3 cups or 730 grams of batter per pan, if using 3 pans, that’s about 2 cups or 480 grams of batter per pan. If you have bake even cake strips, soak them, then secure them around the outside of the pans.
- Bake 2 pans for 38-45 minutes or 3 pans for 30-37 minutes or until a toothpick inserted in the center comes out clean.
- Allow the cakes to cool for 20-30 minutes in the pans, then use a small spatula to loosen the cake from the edge of the pan. Remove the cake from the pans and allow them to cool completely on a cooling rack.
Chocolate Frosting
- In a mixing bowl, beat the butter on high for 3 minutes.2 cups (452g) unsalted butter
- Sift in the cocoa powder and 3 cups of powdered sugar. I like to sift these in because it helps break up clumps, creating a light and fluffy frosting. Beat the frosting on low speed until combined and thick.1 cup (84g) unsweetened natural cocoa powder, 4-5 cups (454-567g) powdered sugar
- Mix in 3 Tbsp of heavy cream, vanilla extract and salt.3-4 Tbsp heavy cream or milk, ¼ tsp salt, 1 tsp vanilla extract
- Add in the additional powdered sugar (1-2 cups), mix on low. If the frosting is too thick, beat in an additional tablespoon of heavy cream. Taste as needed to determine if you want more powdered sugar.4-5 cups (454-567g) powdered sugar
Assemble the Cake
- If needed, level the cooled cakes using a cake levered or serrated knife.
- Spread a small amount of frosting on the bottom of your cake plate / stand, this acts as “glue” to prevent the cake from moving. Place one cake layer over the frosting. If making a 2 layer cake, measure 1 cup of frosting and evenly spread that on top of the first layer. Top with the second cake layer and spread another 1 cup of frosting on top of that layer. Use the remaining frosting around the sides and top of the cake. If making a 3 layer cake, put ¾ cup of frosting between the layers.
Notes
- Gluten-Free: Use a 1:1 gluten-free baking flour blend in place of all-purpose flour. I used King Arthur’s Measure for Measure Gluten Free Flour with great results.
- To Store: Keep covered at room temperature or in the fridge, the cake stays moist through day 2 and day 3.
- To Make Ahead: Bake the layers up to a day ahead, wrap tightly in plastic wrap, store on the counter, and frost when you are ready to serve.
- To Freeze: Wrap cooled, unfrosted layers individually in plastic wrap and freeze. Thaw at room temperature still wrapped, then frost.







Beth, do you happen to have a zucchini brownie recipe?
I had one, many years ago but can’t find it!!
Thanks,
Sue
Yes, follow my recipe for zucchini brownies.