This post may contain affiliate links. Please read our disclosure policy.
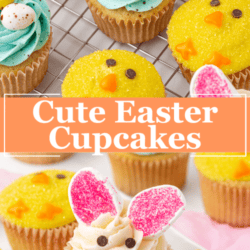
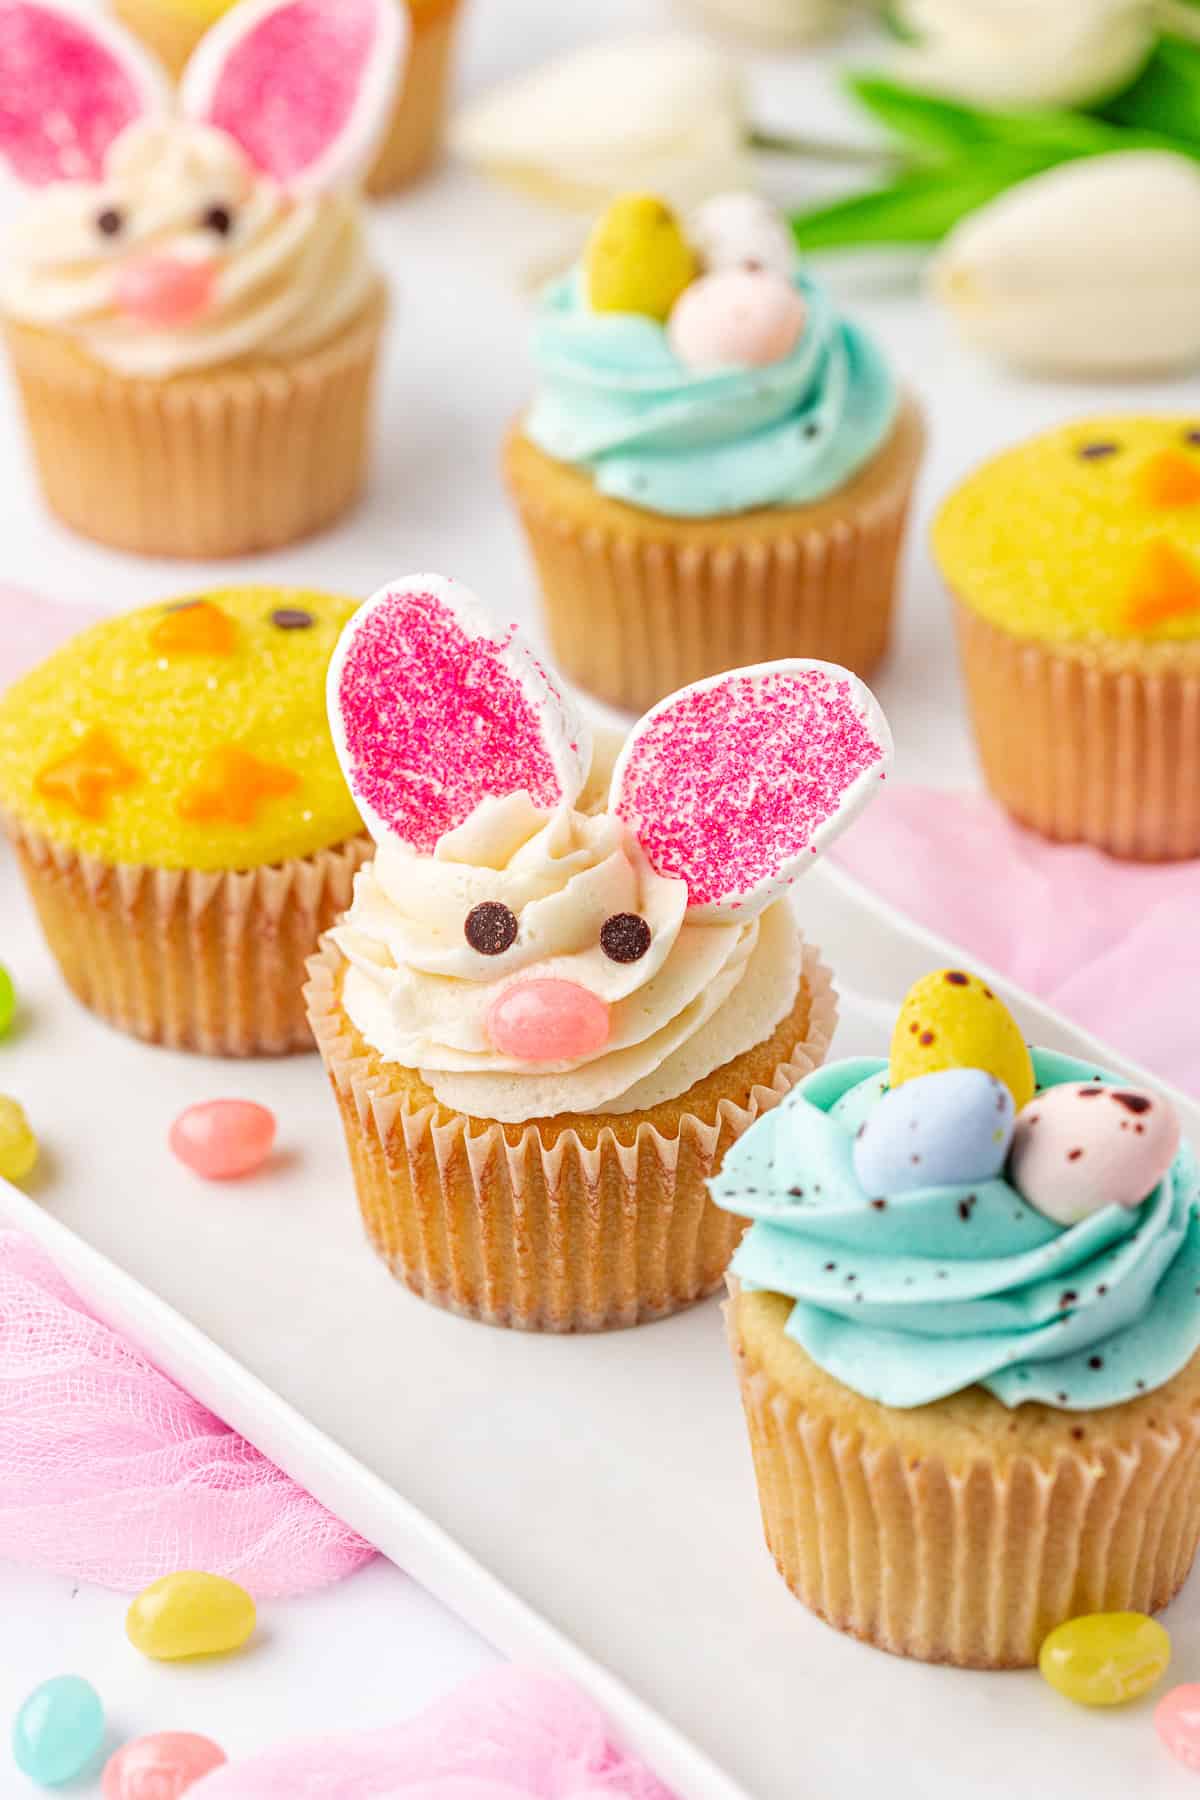
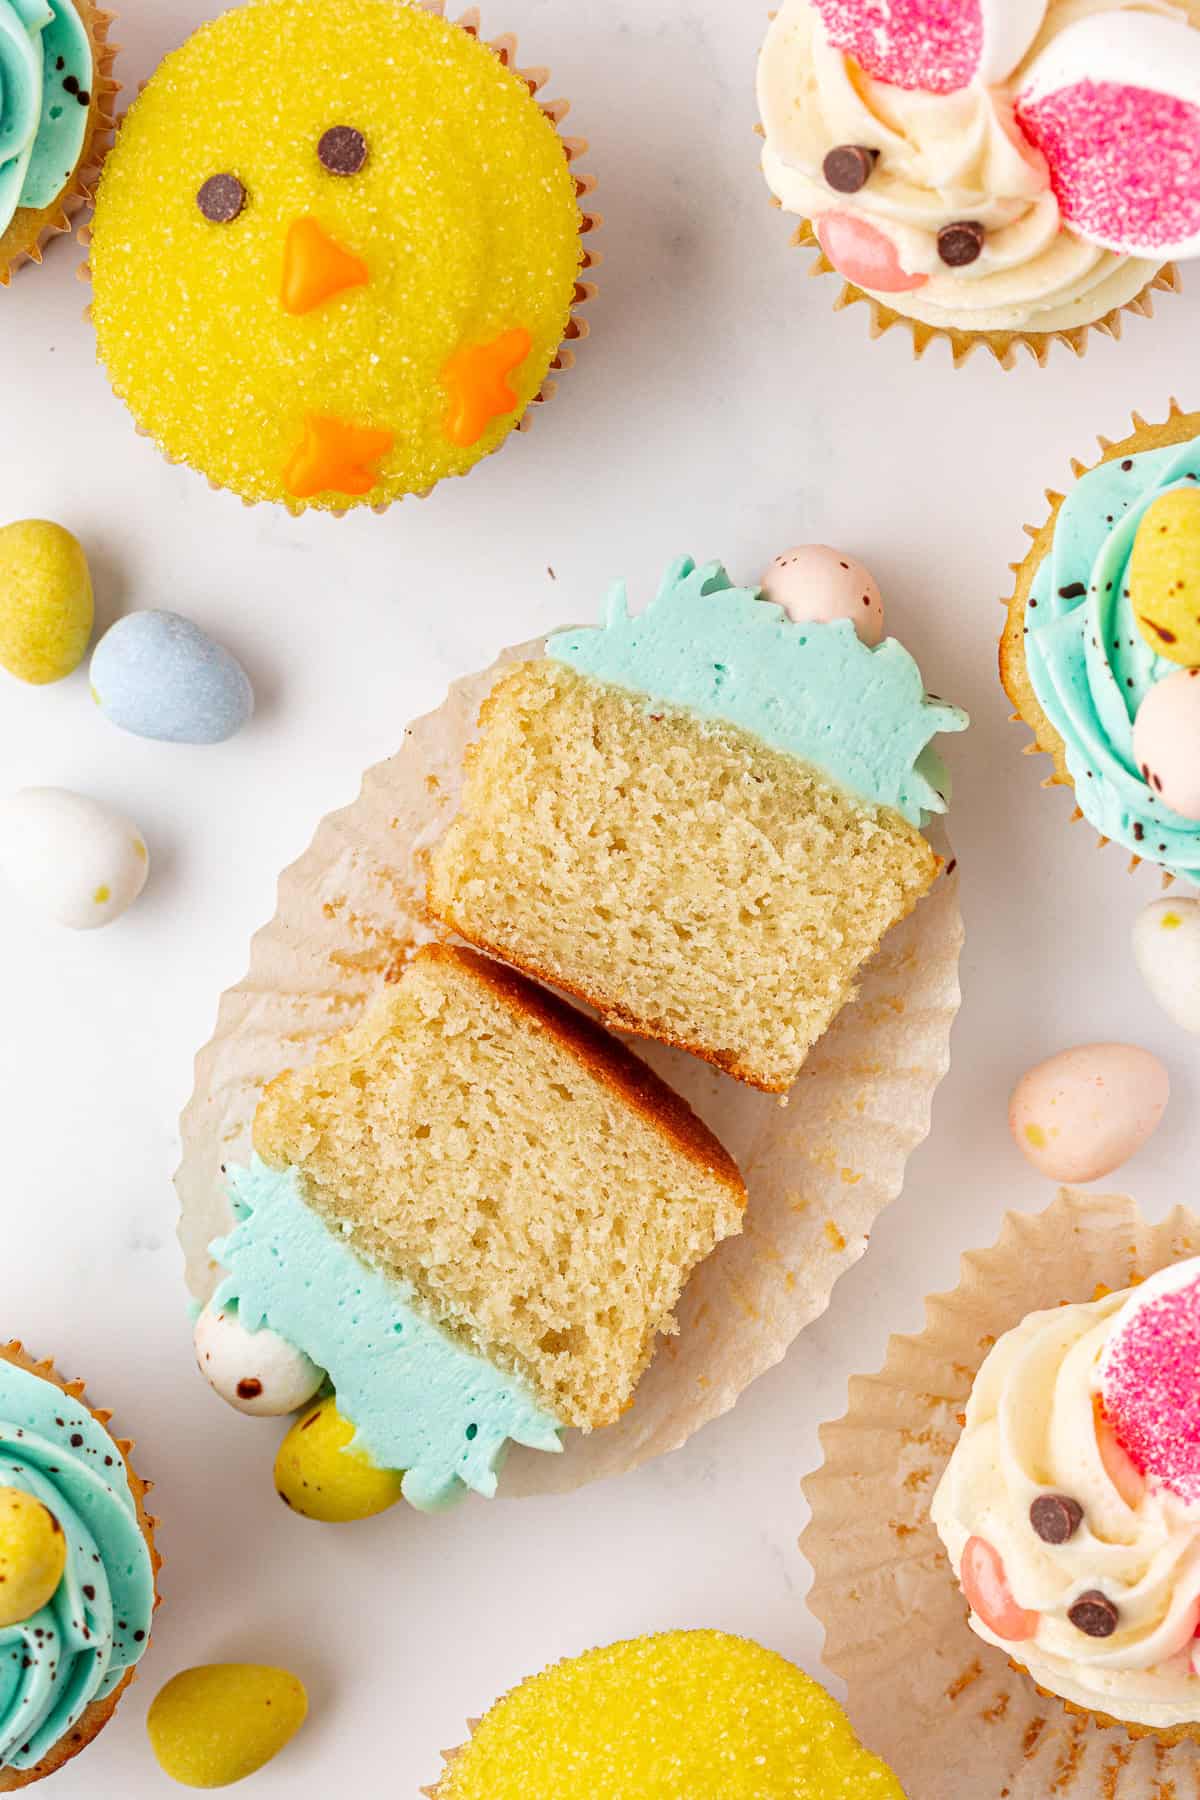
These festive Easter cupcakes start with my tried-and-true vanilla cupcake recipe—tested and perfected for bakery-style results at home! I’ll walk you through step-by-step how to turn them into adorable chicks, bunnies, or robin’s eggs with easy decorating ideas that are kid-friendly and totally do-able, even for beginners.
These aren’t just cute Easter cupcakes—they’re built on a rock-solid foundation: my trusted and tested vanilla cupcake recipe that’s been a reader favorite for years. I’ve made these cupcakes dozens of times while testing for my cookbooks and blog, and I know exactly how to get the soft, moist crumb and consistent results every time. No dry cupcakes here—just perfectly tender vanilla flavor that pairs well with any decorating theme.
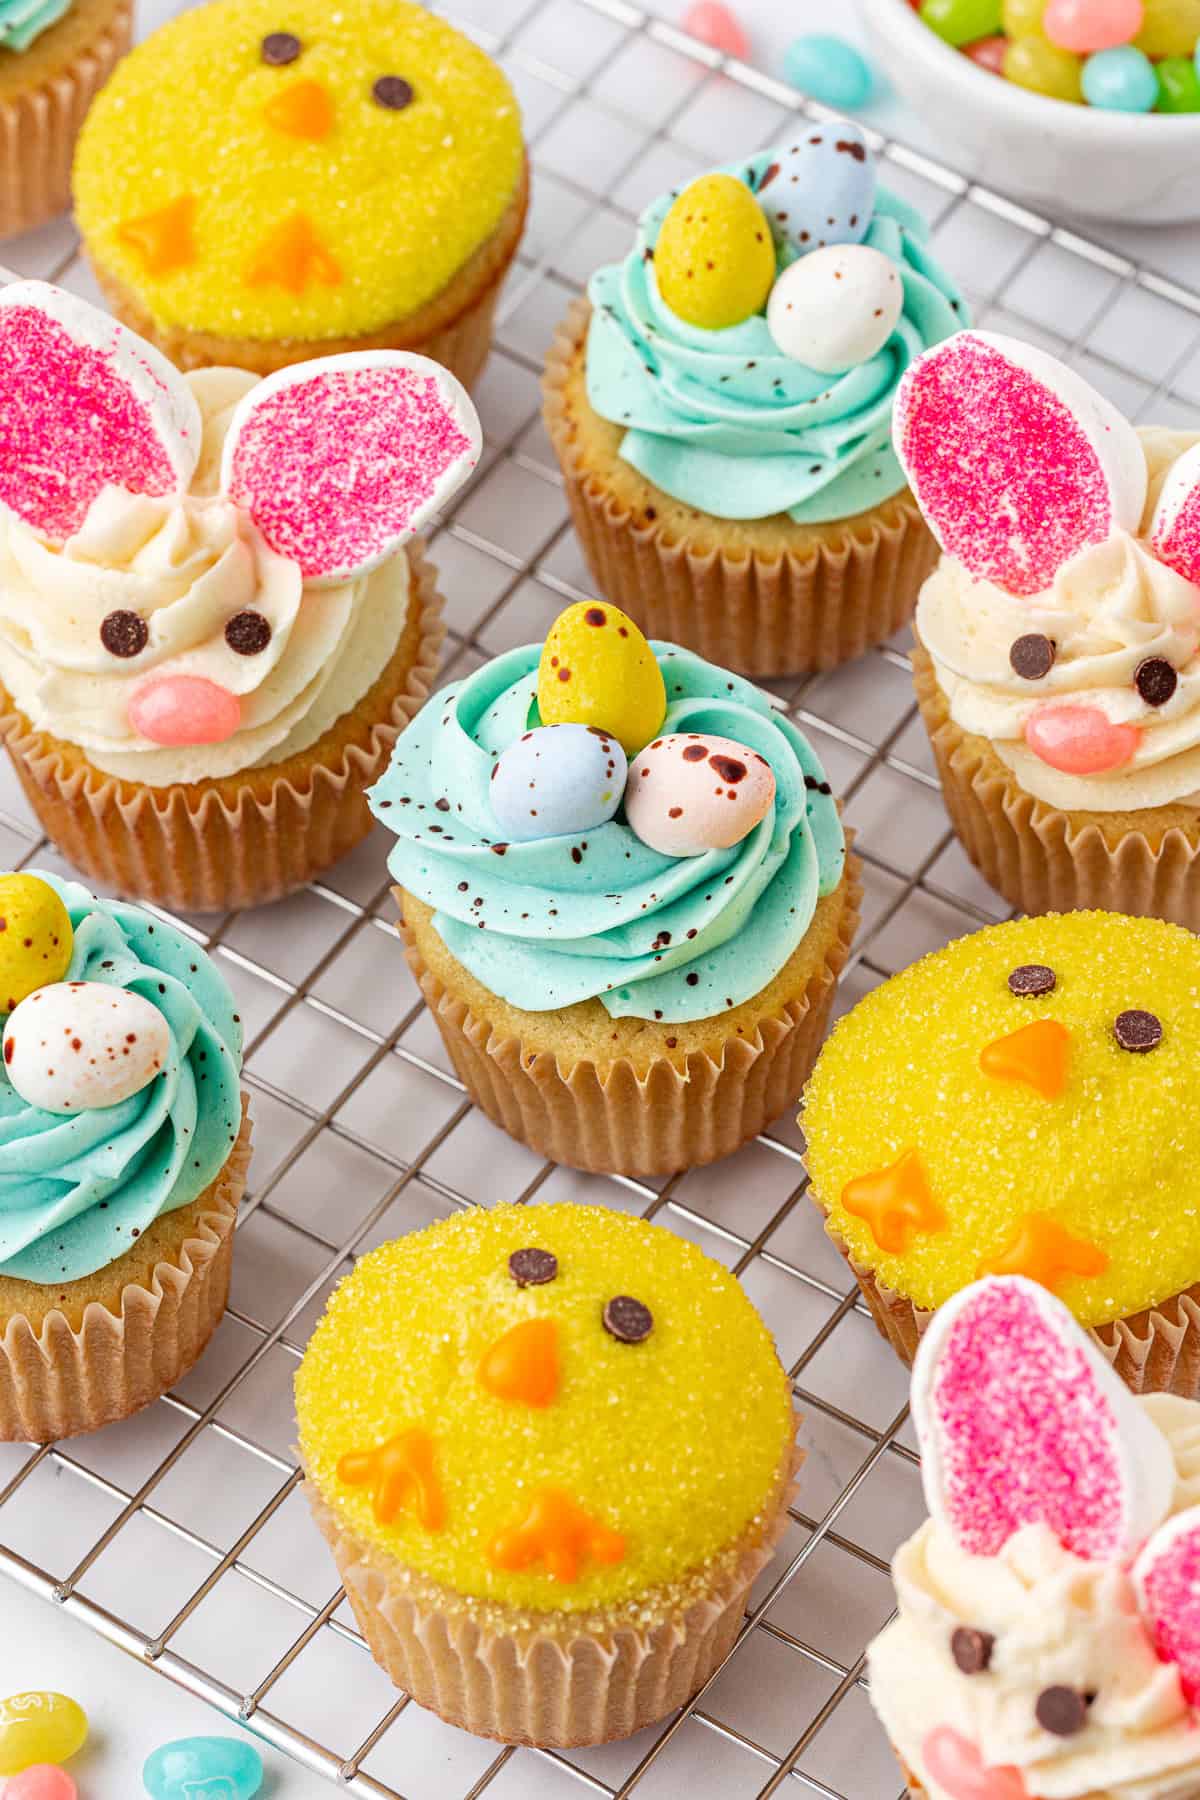
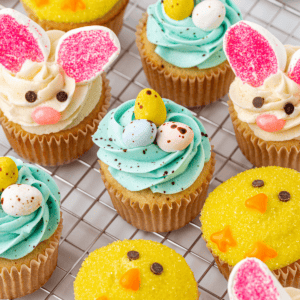
What sets these Easter cupcakes apart is the balance of professional-quality results with kid-friendly fun. I’ve broken down the steps so even beginner bakers (and their little helpers!) can jump in. Whether you’re making fluffy yellow chicks with sanding sugar, sweet bunny faces with marshmallow ears, or speckled robin’s egg cupcakes with candy eggs and cocoa paint—these are decorating ideas you can actually pull off at home with confidence.
I don’t just bake—I test, tweak, and teach. Every variation you see here has been created and refined in my kitchen so you can skip the trial-and-error. If you’ve ever been overwhelmed by Pinterest-perfect cupcakes, this is your sign that yes, you can absolutely do this. Let’s make something festive, fun, and 100% delicious this Easter.
Tips for Decorating these Easy Easter Cupcakes with Kids
Baking with kids doesn’t have to be chaotic—it can actually be one of the best parts of the holiday! Here are a few of my go-to tips to make decorating Easter cupcakes a smooth and fun experience for everyone:
- Prep in Advance: Measure and tint the frosting, cut marshmallows for bunny ears, and prep candy toppings before inviting the kids in. When everything’s ready to go, it keeps things moving and minimizes mess.
- Give Age-Appropriate Tasks: Younger kids love simple jobs like sprinkling sanding sugar, placing candy eggs, or pressing on mini chocolate chips for eyes. Older kids can help pipe frosting or “paint” speckles on robin’s egg cupcakes.
- Set Up a Decorating Station: Use muffin tins or small bowls to hold toppings—this keeps things contained and lets kids see all their options clearly.
- Embrace the Imperfection: Not every bunny will look the same, and that’s part of the fun. Let them be creative and make it their own—the memories matter more than the symmetry.
- Snap a Photo Before the Taste Test: Trust me, once they’re decorated, they won’t last long! Take a quick picture before little hands grab their masterpiece.
How to Make these Easter Cupcake Ideas
These easy Easter cupcakes hit all the marks from taste to presentation, and they’re fun to make with your kids! Follow these simple steps for some tasty Easter fun:
Easter Cupcakes
- Prep oven and pan: Preheat the oven to 350ºF (180°C). Line a muffin pan with liners and set aside.
- Combine dry ingredients: In a mixing bowl, whisk together flour, baking powder, baking soda, and salt. Set aside.
- Combine wet ingredients: In a stand mixer or using a hand mixer, beat the butter, sugar, and oil on medium speed for 2 minutes until light and fluffy. Add eggs, sour cream, milk, and vanilla extract, then beat for 1 minute.
- Combine wet and dry ingredients: On low speed, mix in the dry ingredients until fully combined.
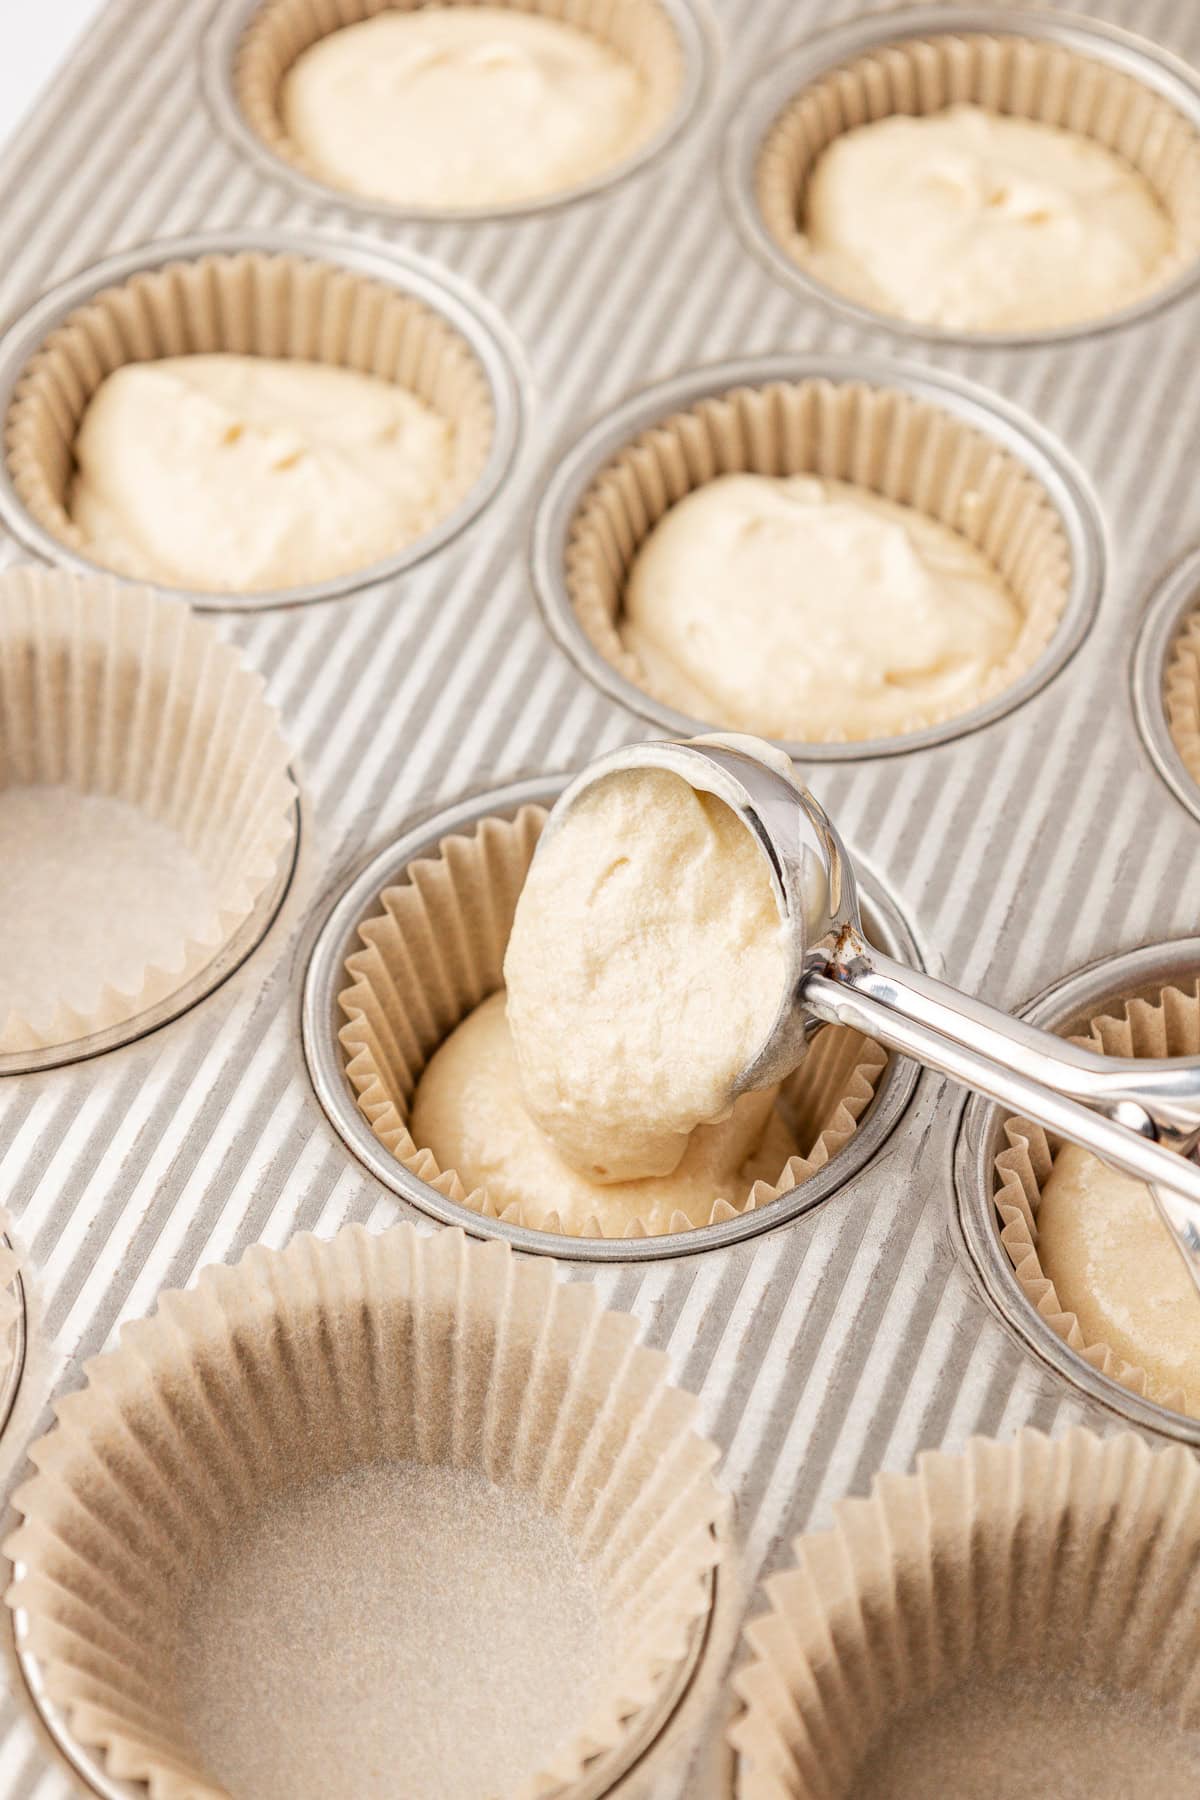
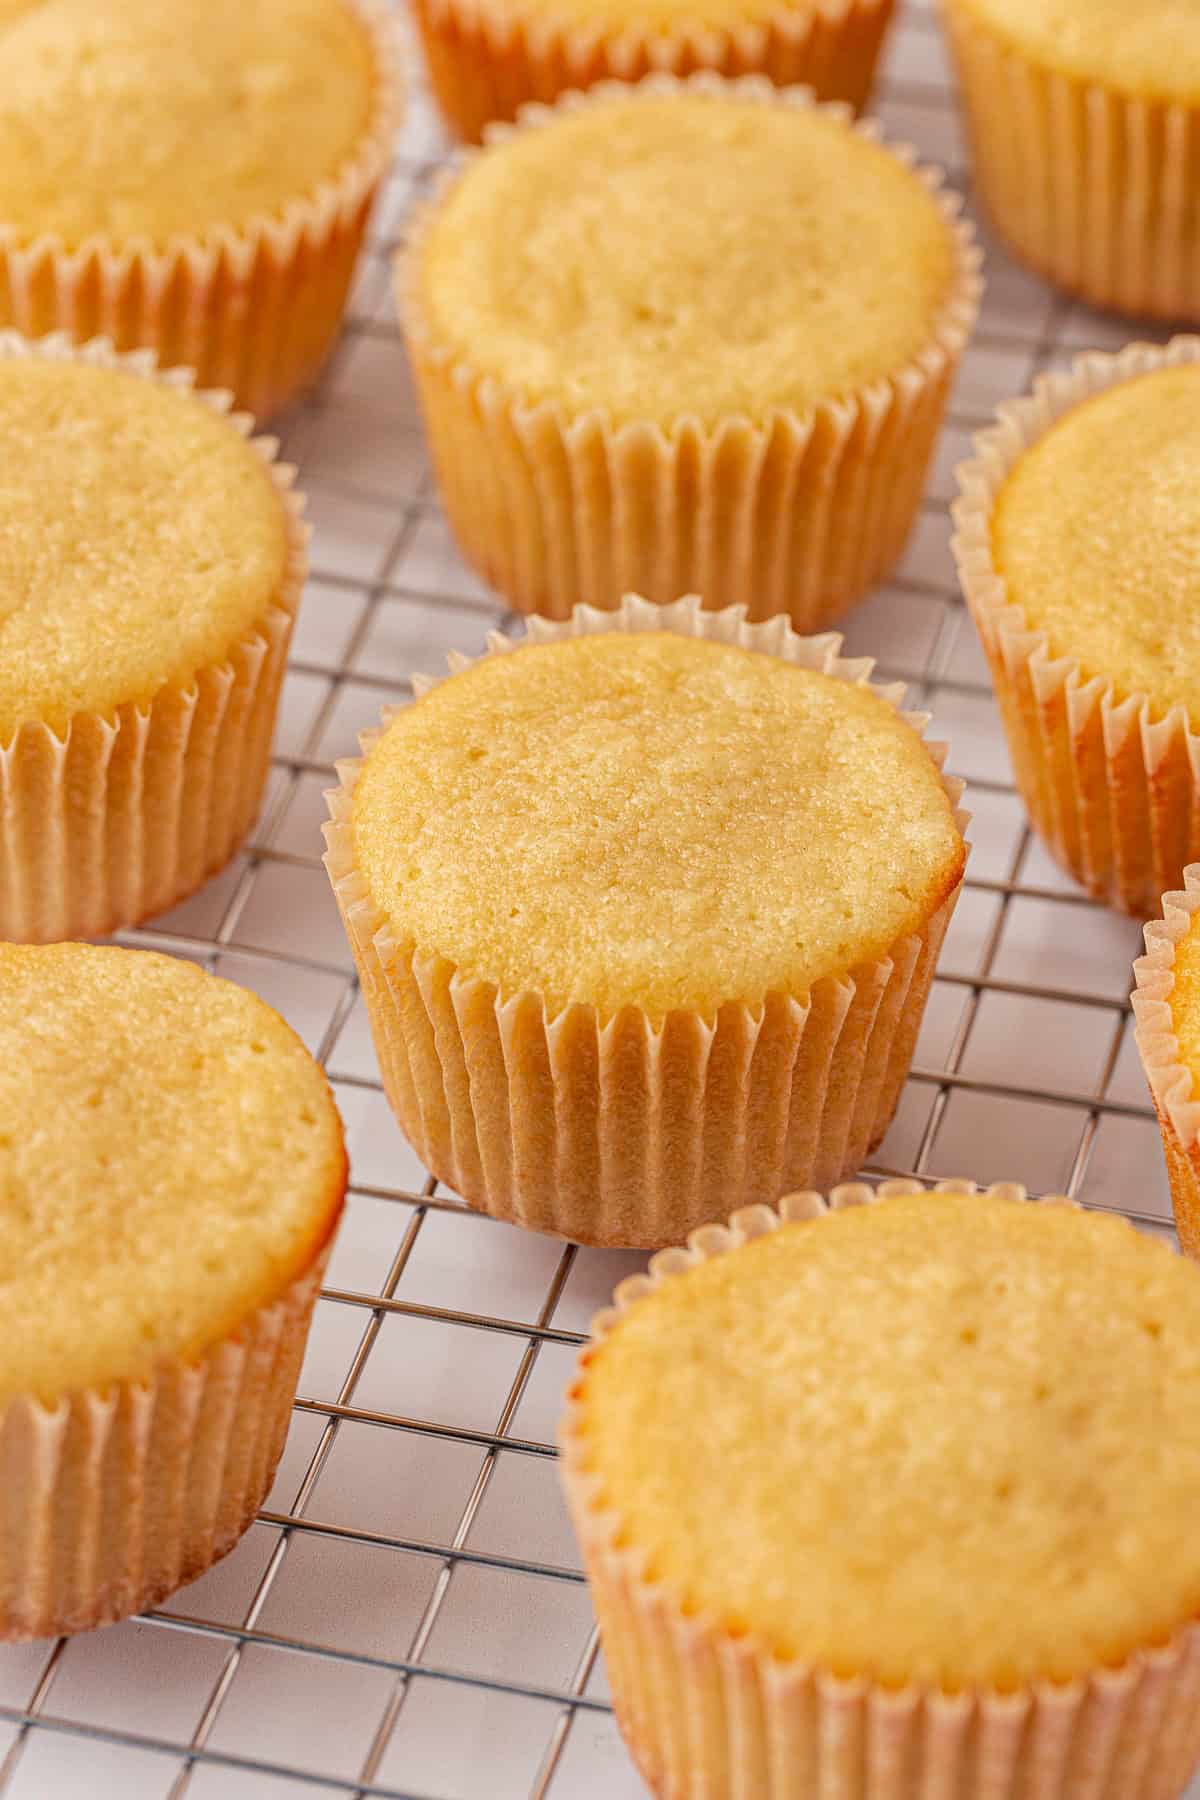
- Bake and cool: Fill the muffin liners halfway. Bake for 17-19 minutes, or until a toothpick inserted into the center comes out with a few moist crumbs. Let the cupcakes cool completely before frosting.
Vanilla Frosting
- Combine ingredients and adjust as needed: Beat butter, vanilla extract, and salt on medium speed for 2 minutes until light and fluffy. Gradually add powdered sugar and 3 tablespoons of milk or cream, mixing on low until smooth. Adjust sweetness by adding more powdered sugar if desired. If too thick, thin with 2-4 additional tablespoons of milk or cream.
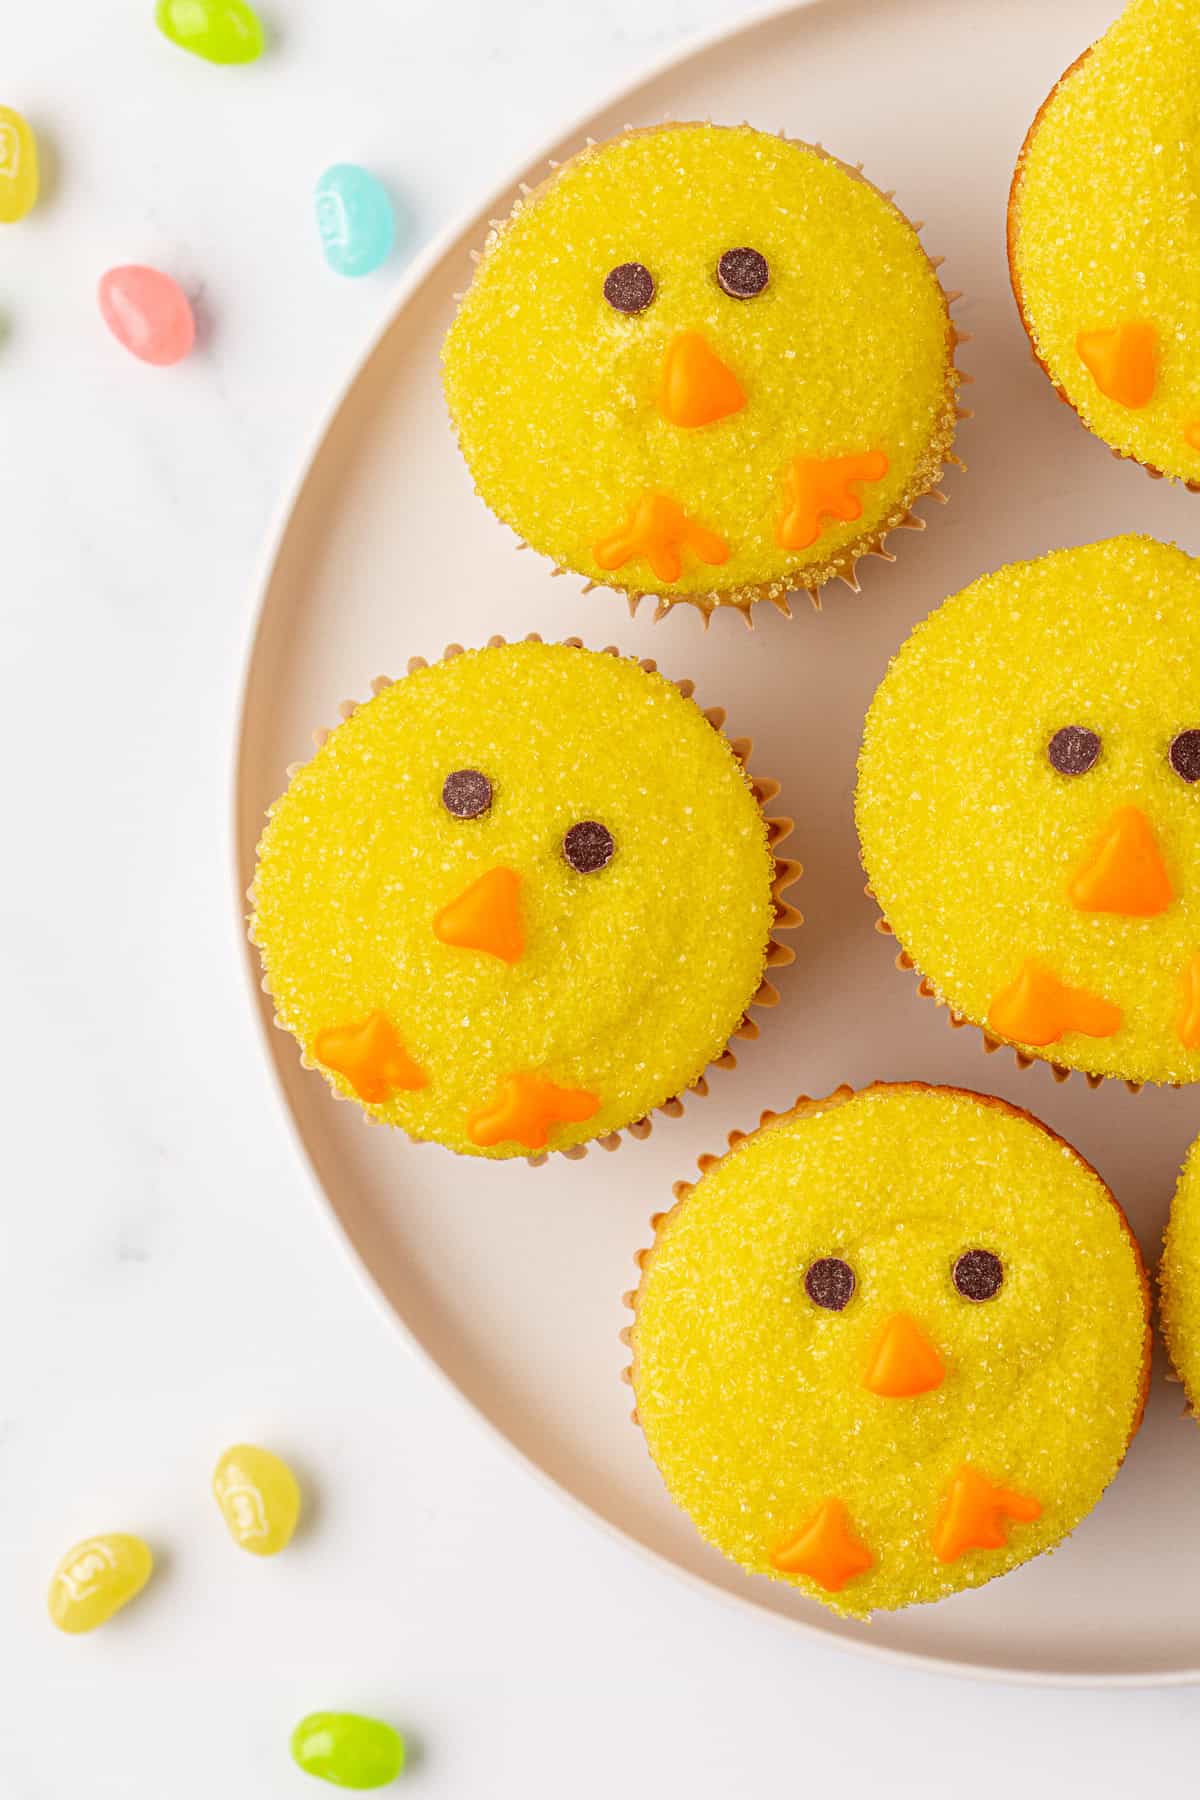
Chick Design
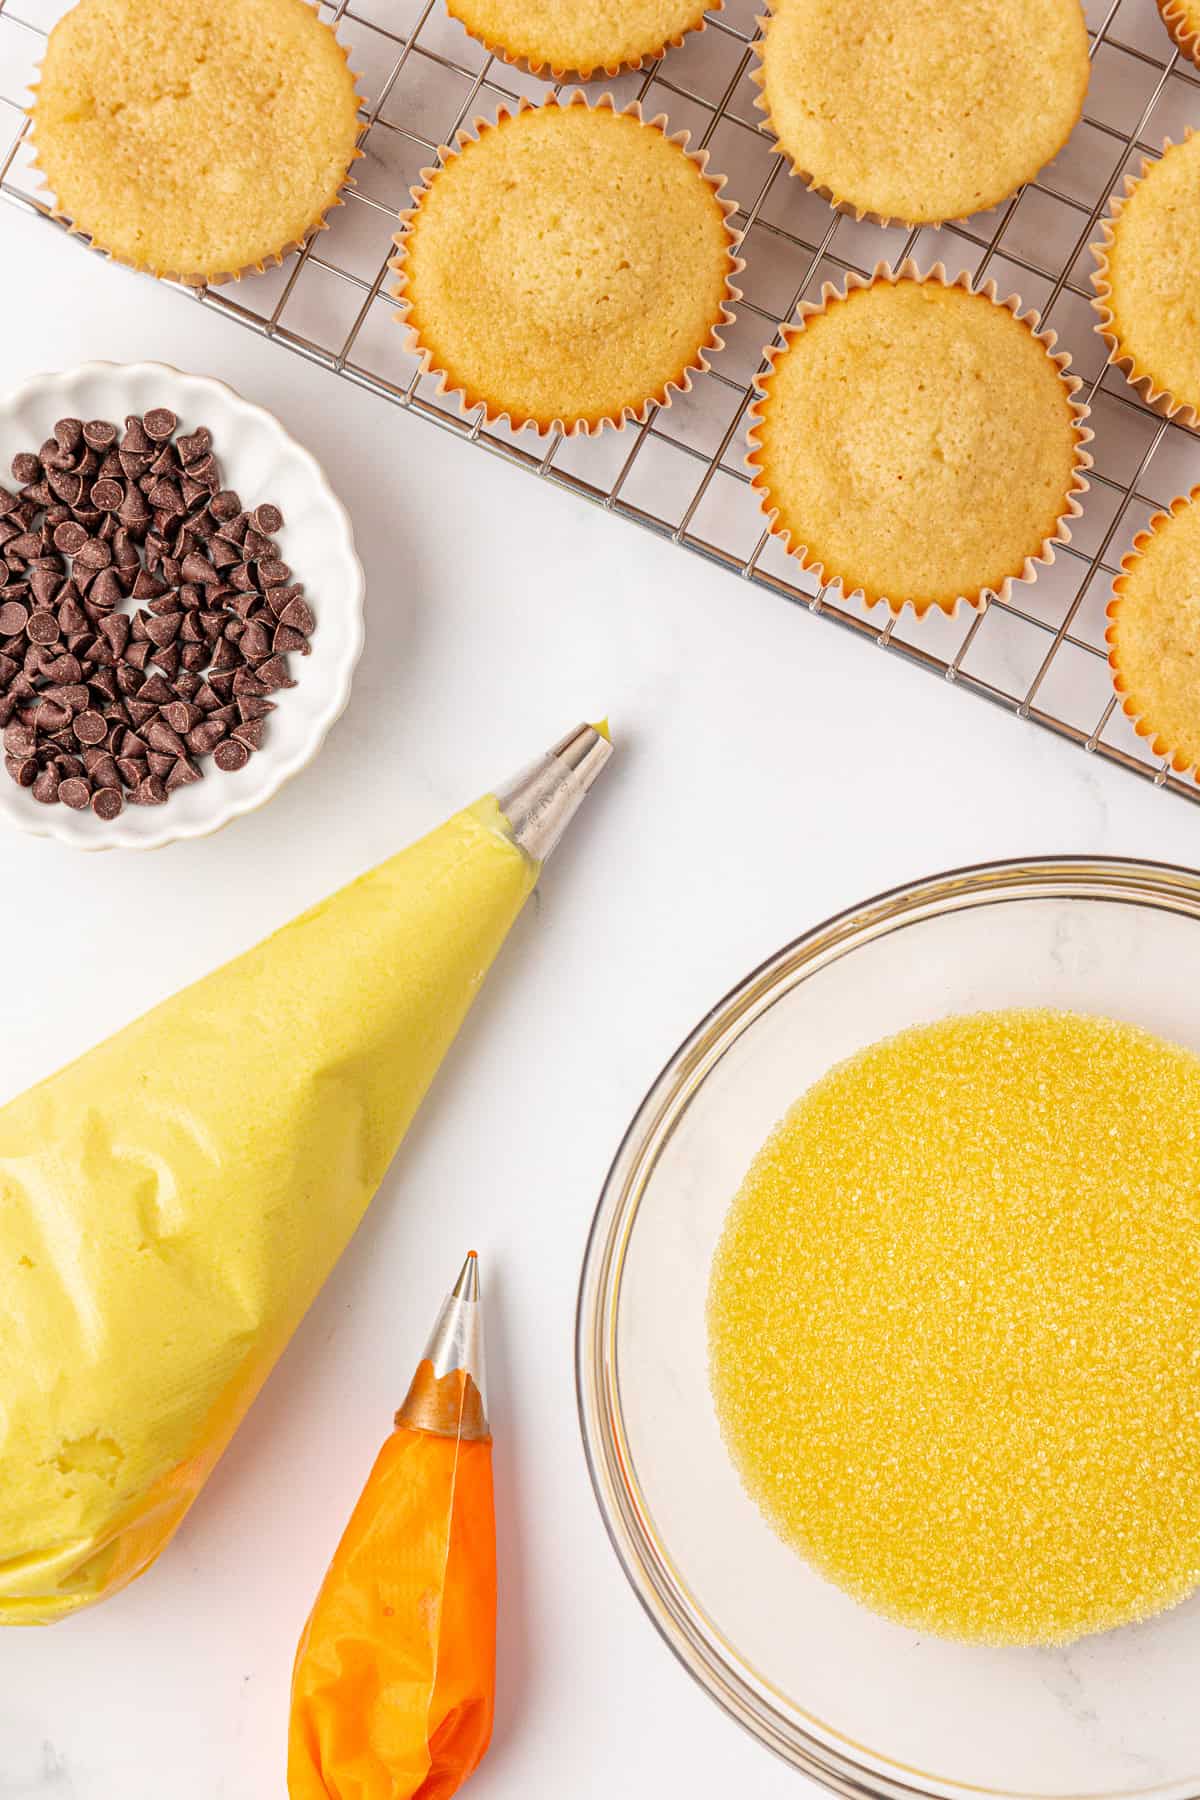
- Color frosting: Use gel food coloring to dye about 1 ½ cups frosting yellow and about 2 Tablespoons frosting orange. Mix until fully tinted.
- Frost top of cupcakes: Using an offset spatula or butter knife, frost the top of each cupcake with a generous amount of yellow frosting, smoothing it into a dome shape.
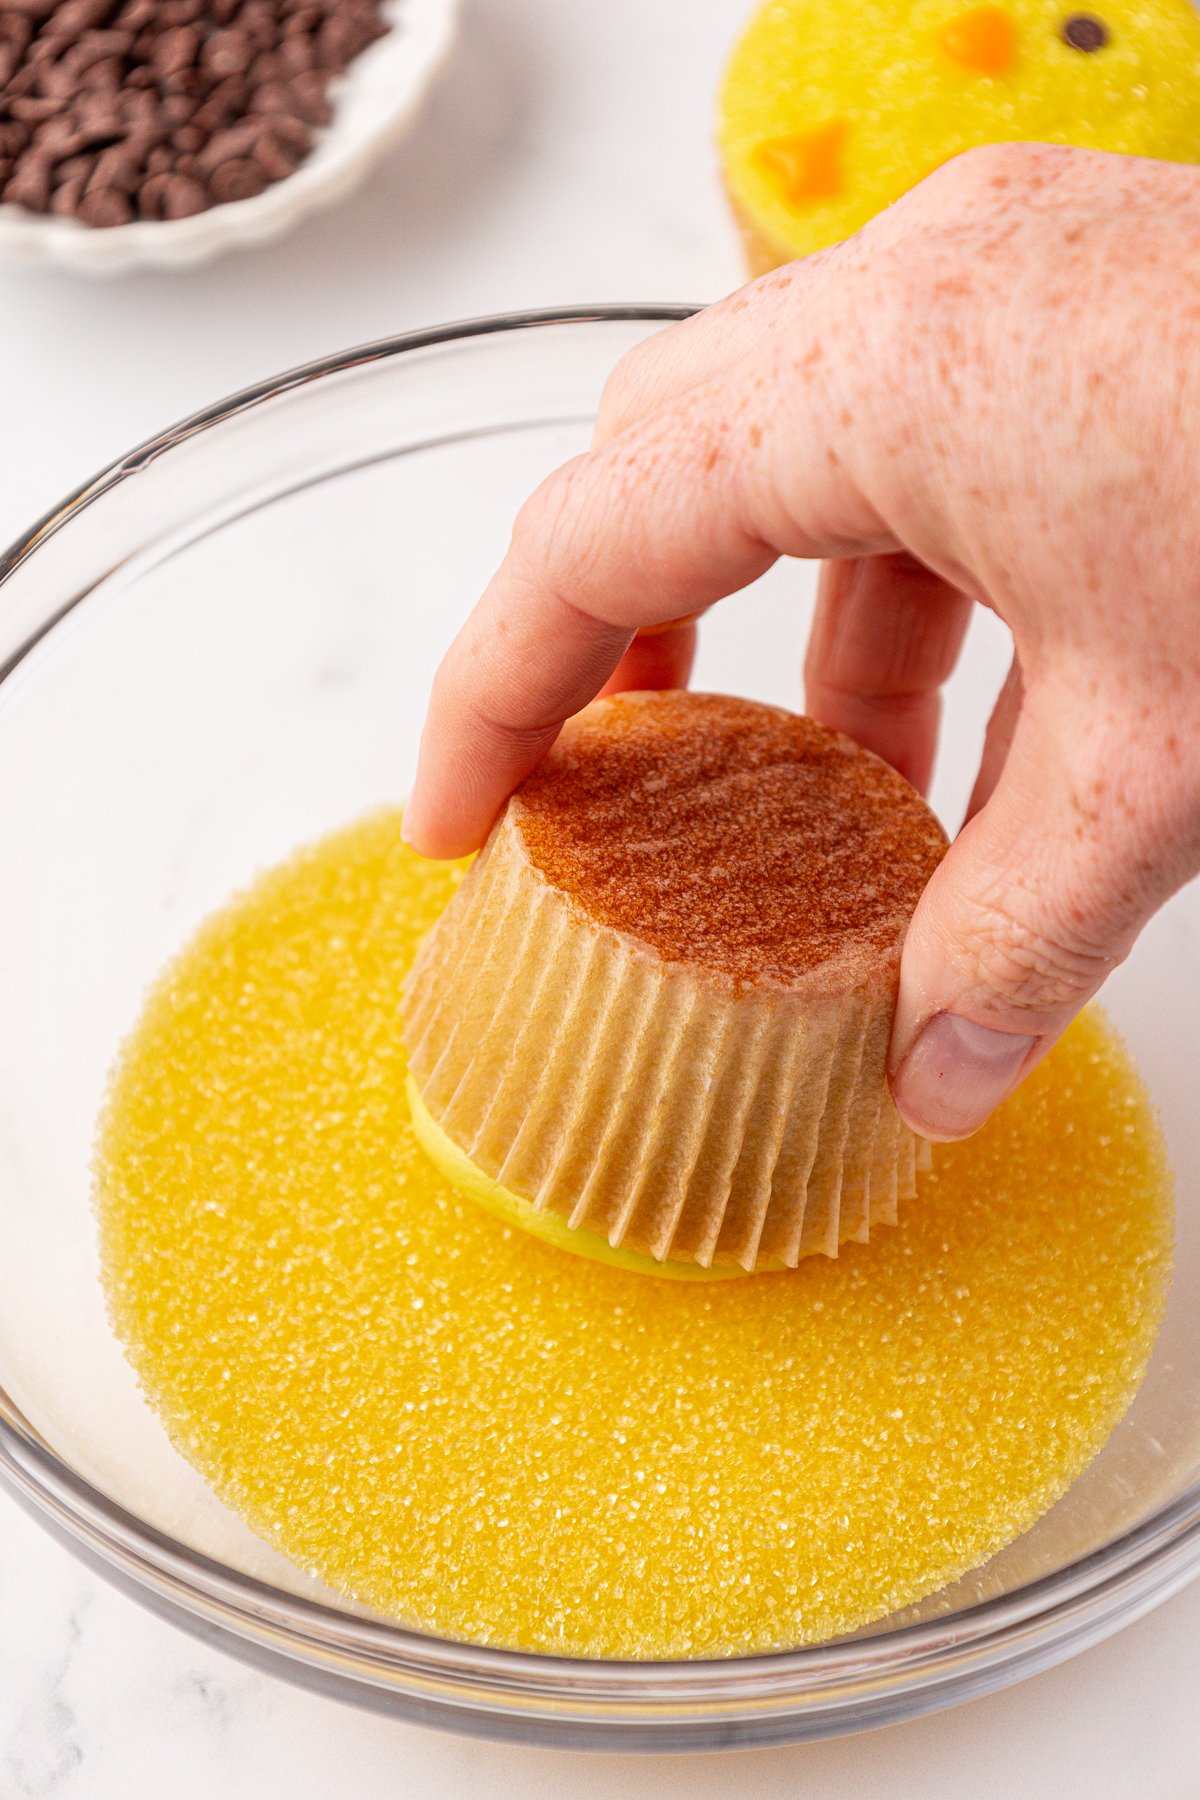
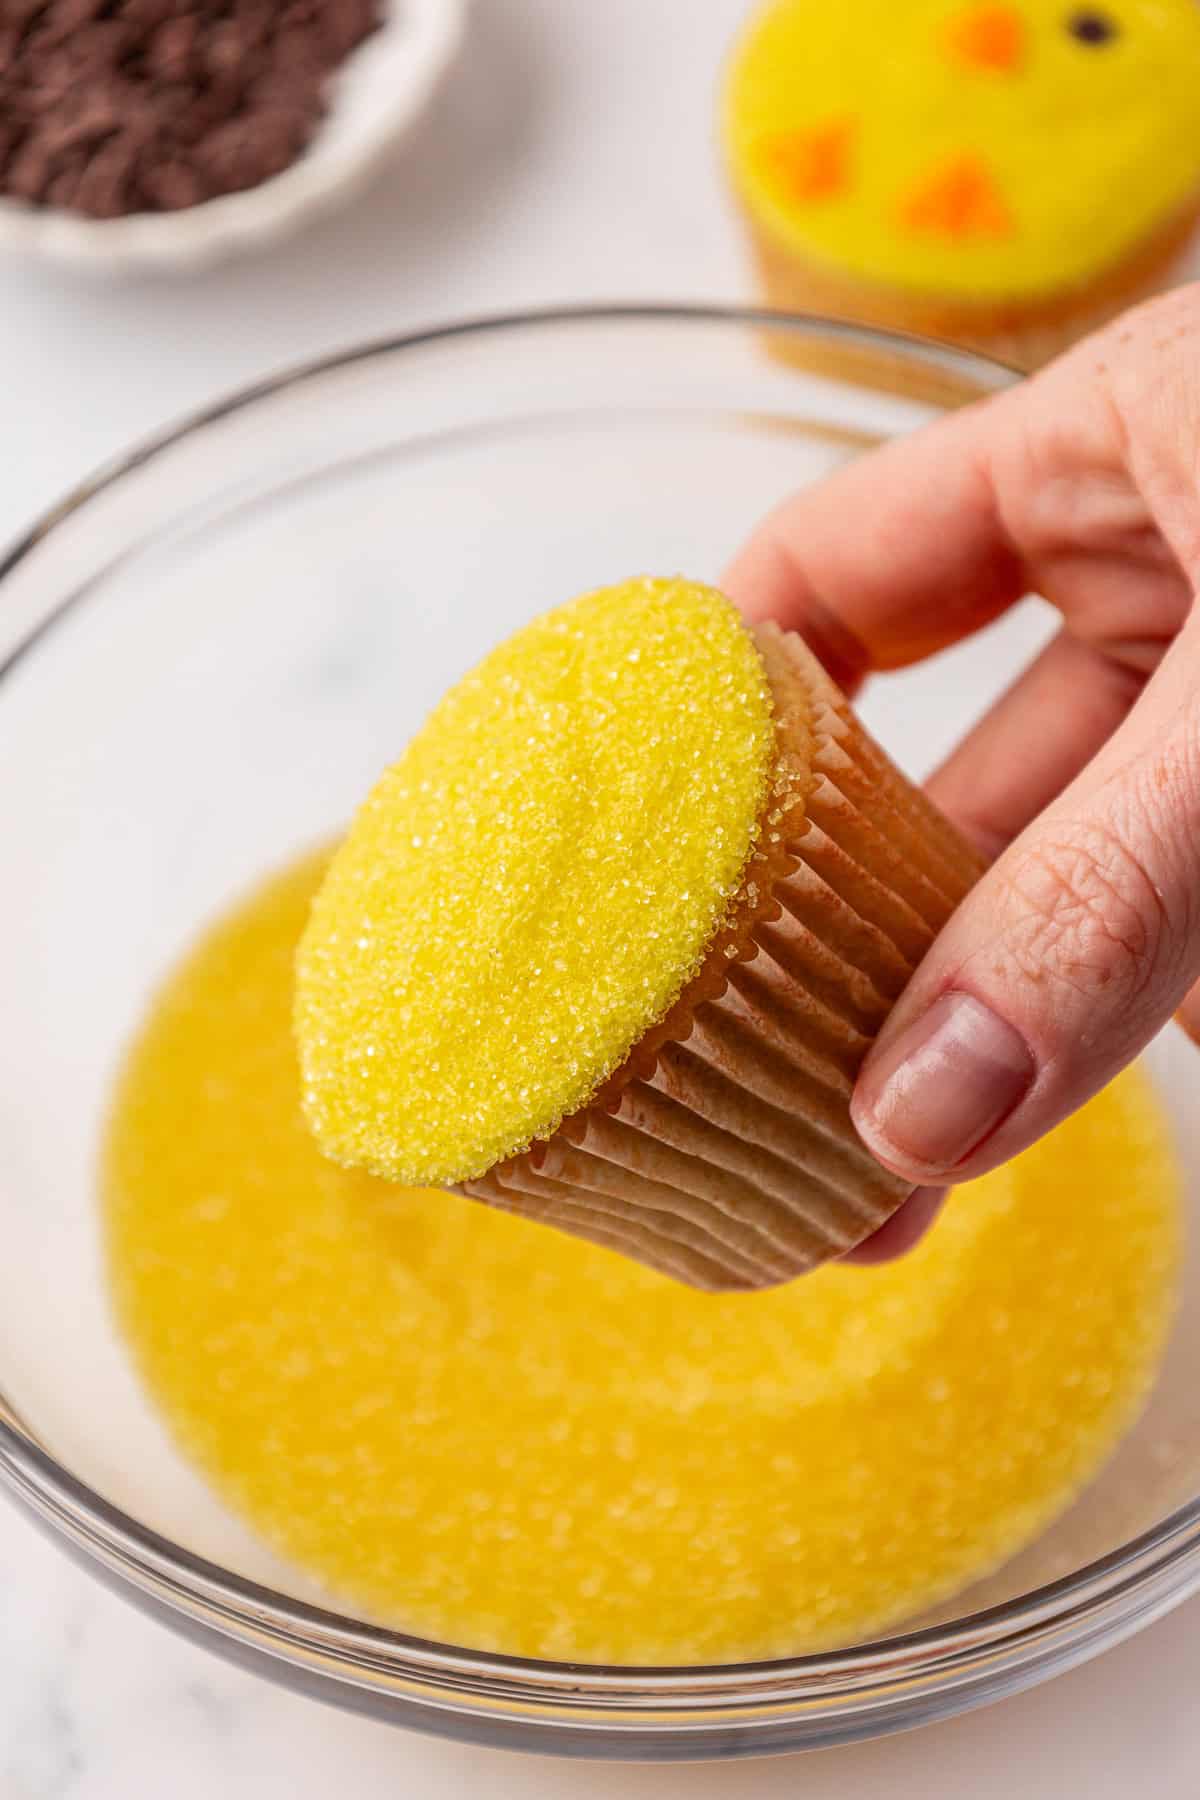
- Add sanding sugar: Gently roll or sprinkle the frosted top with yellow sanding sugar until it’s fully coated. This gives the chicks a fluffy, sparkly look.
- Add eyes: Place 2 mini chocolate chips, point side down, near the top center of each cupcake for the eyes.
- Add beak and feet: Use the orange frosting in a piping bag (or a zip-top bag with the tip snipped) to pipe a small triangle beak just below the eyes. Pipe two small orange feet at the bottom using the same piping bag.
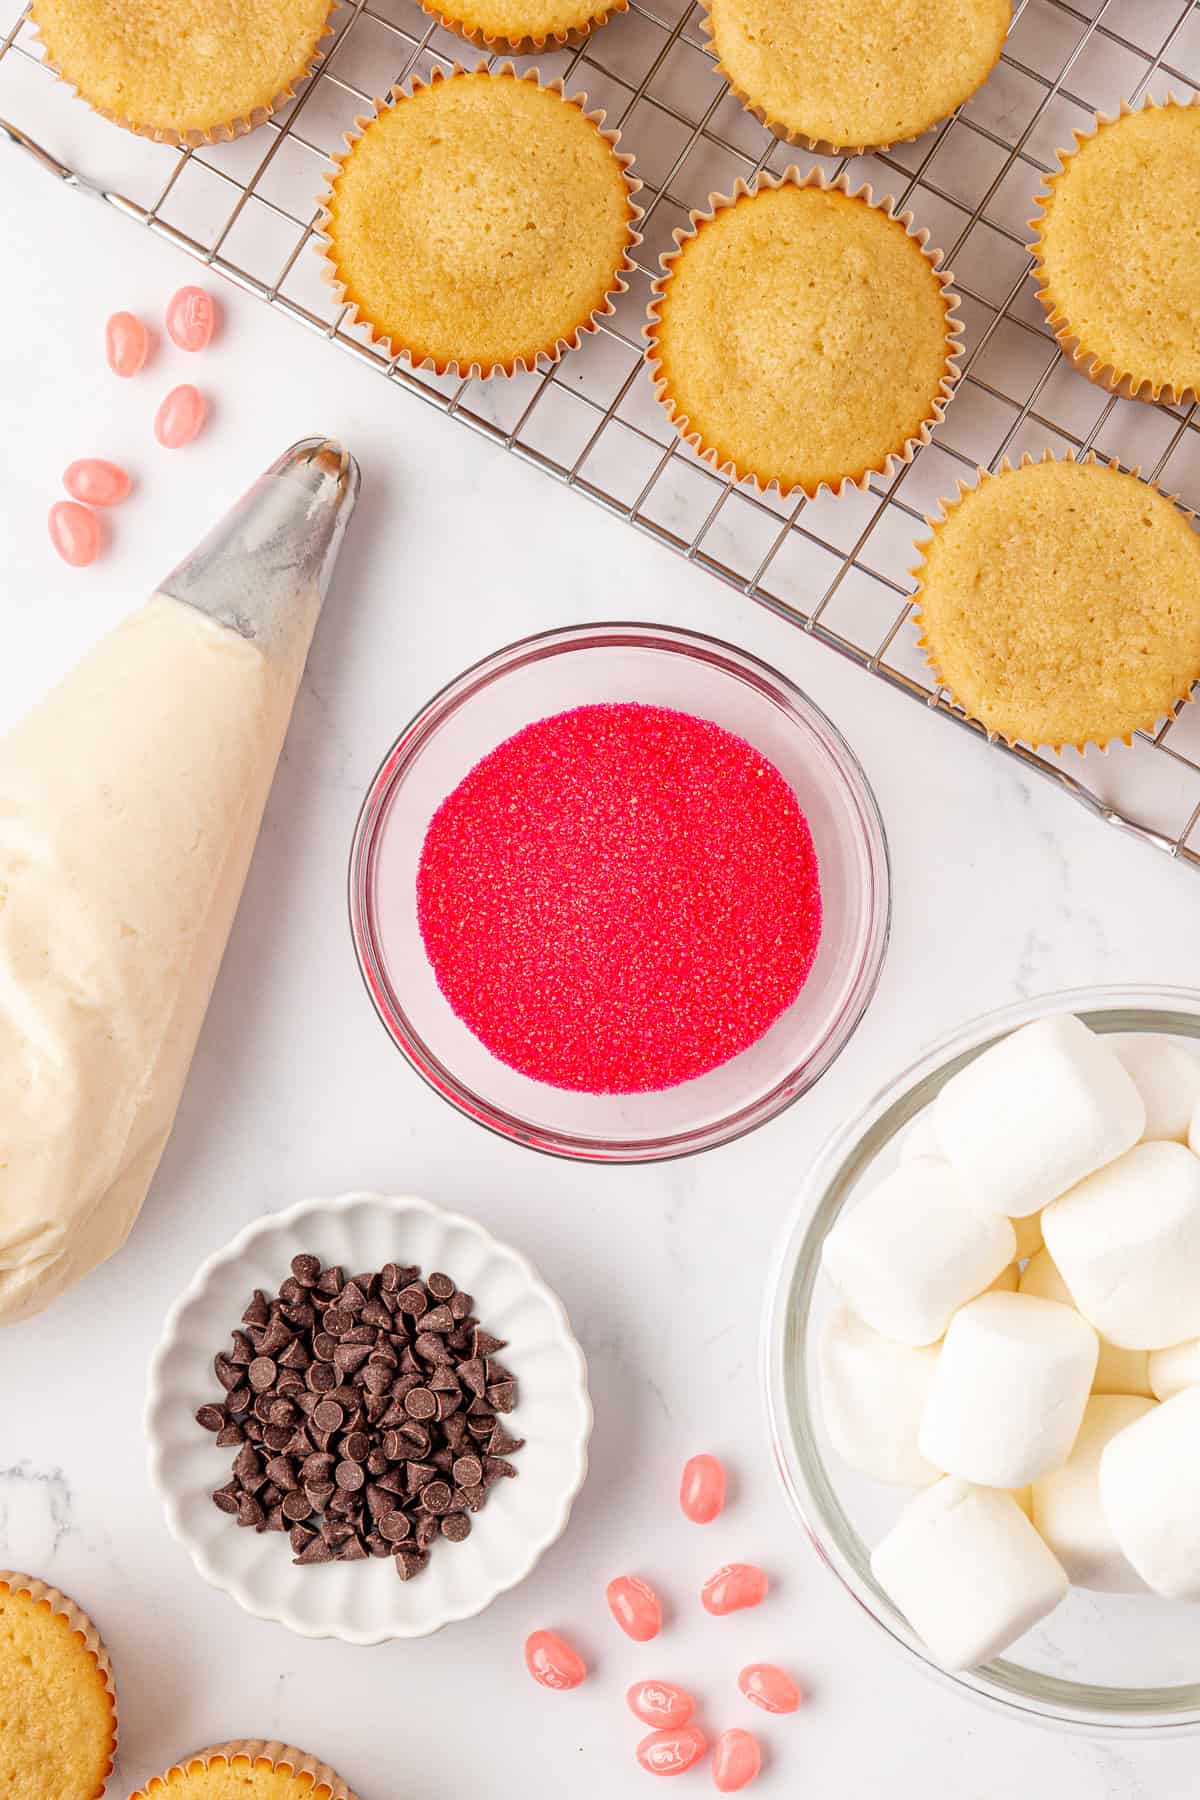
Bunny Design
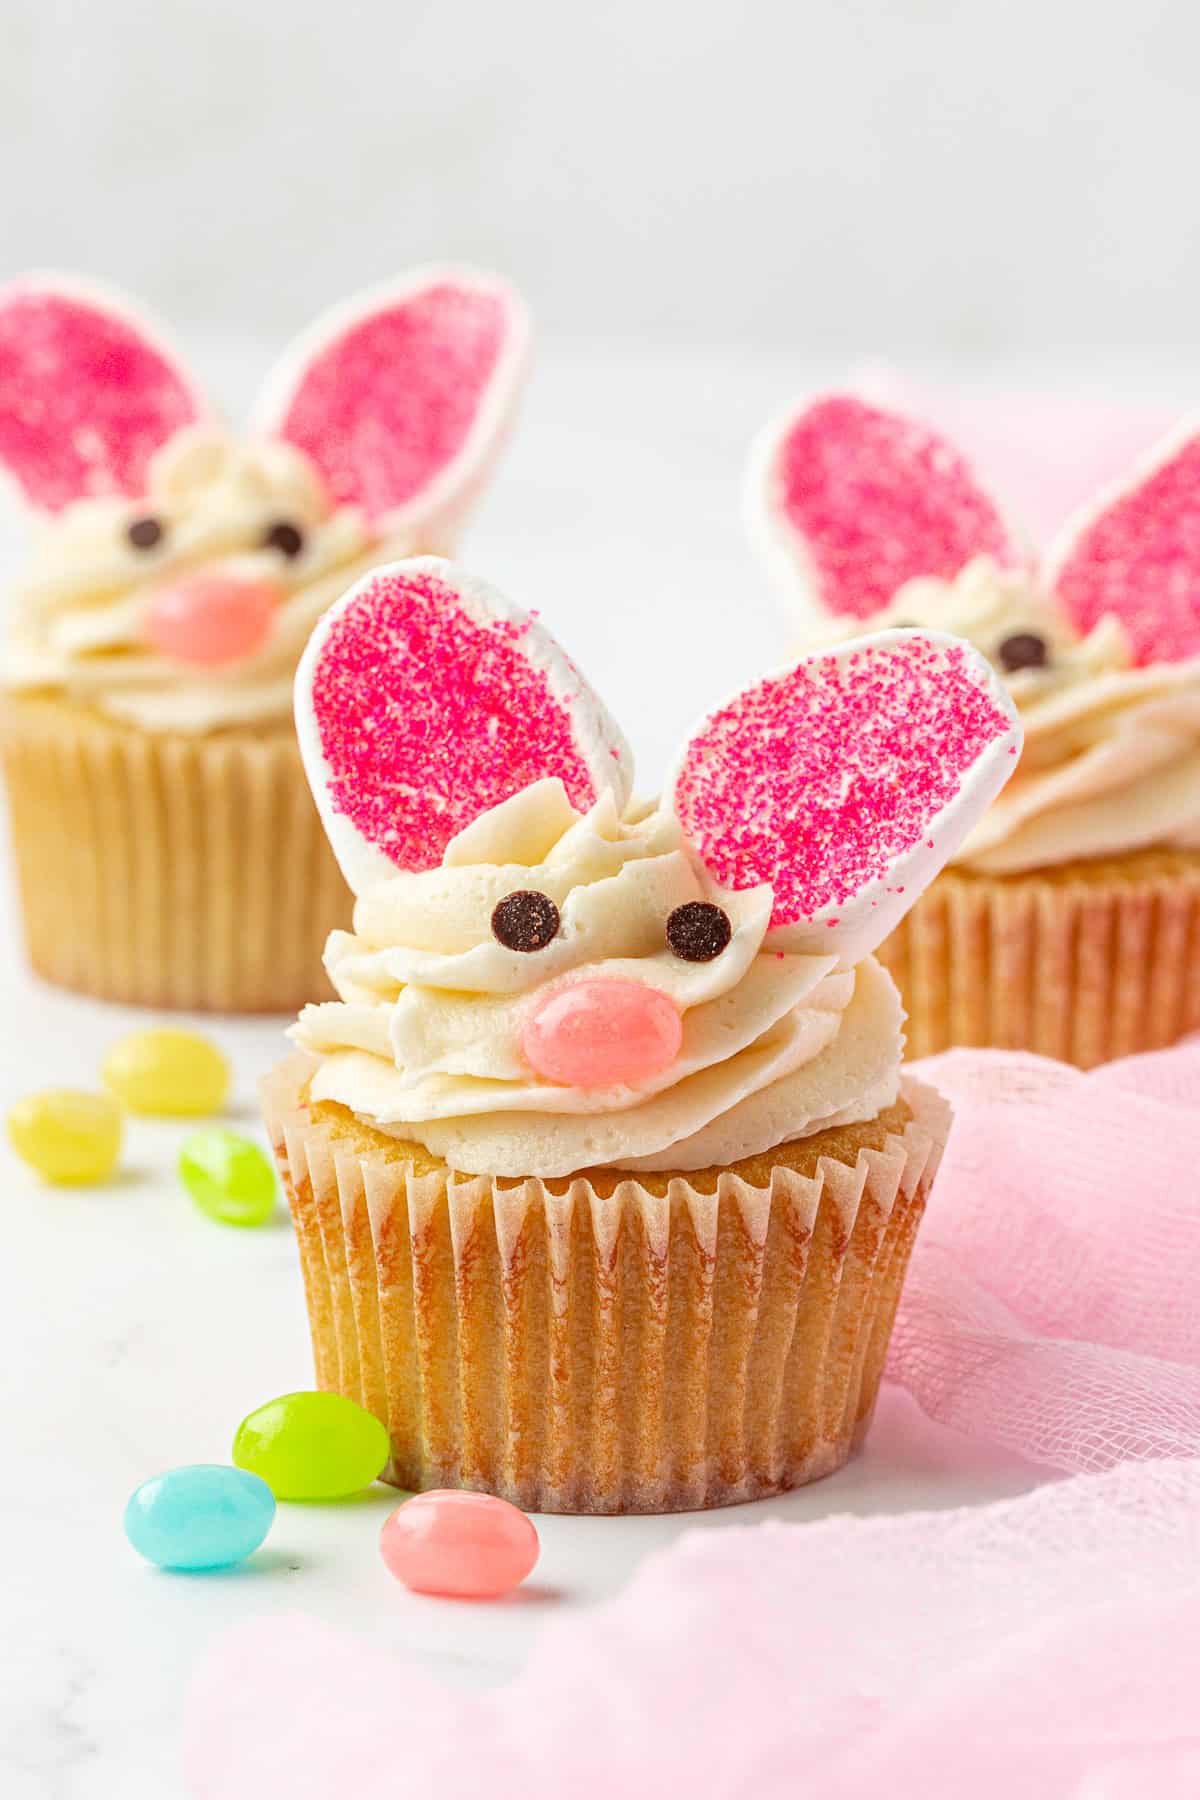
- Frost top of cupcakes: Using a piping bag or spatula, frost each cupcake with a generous swirl of vanilla frosting. For a tall swirl, use a large round tip and pipe in a spiral from the outer edge inward.
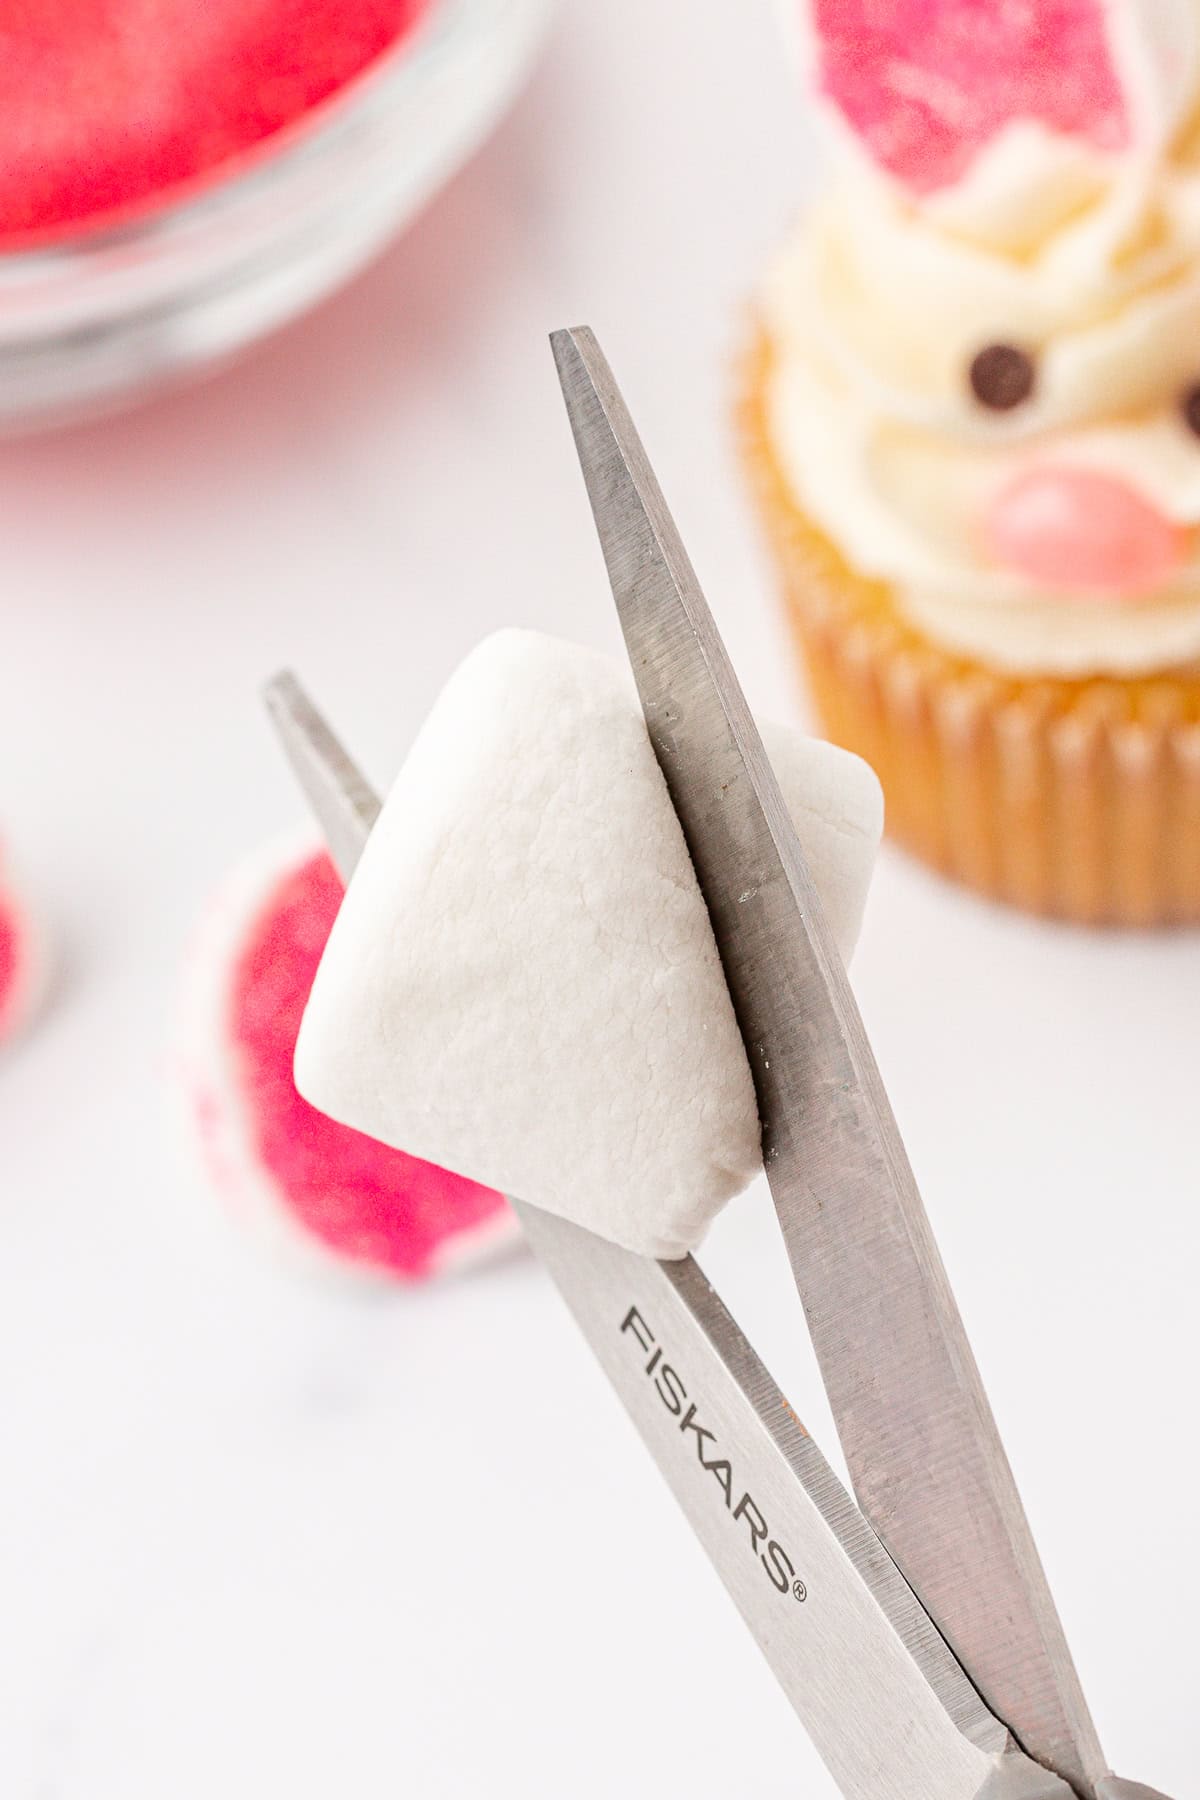
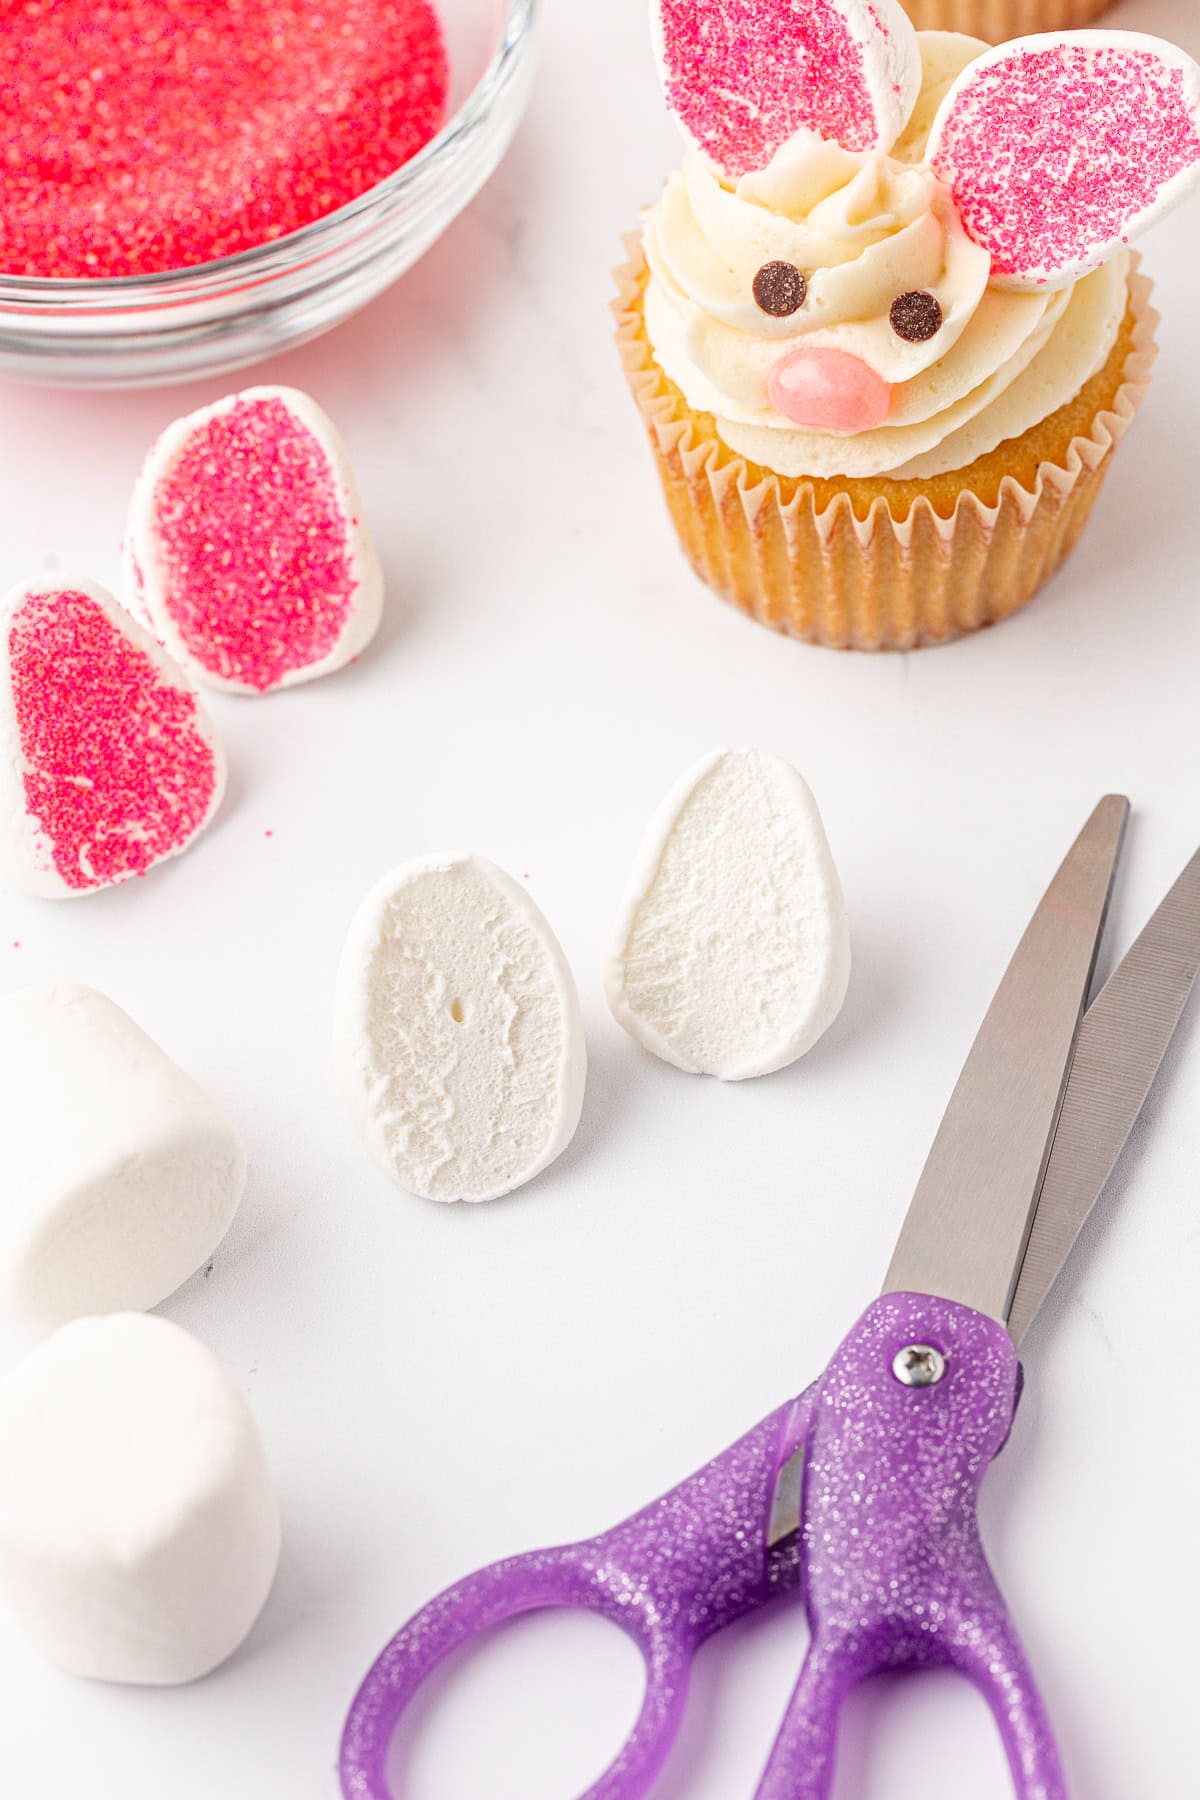
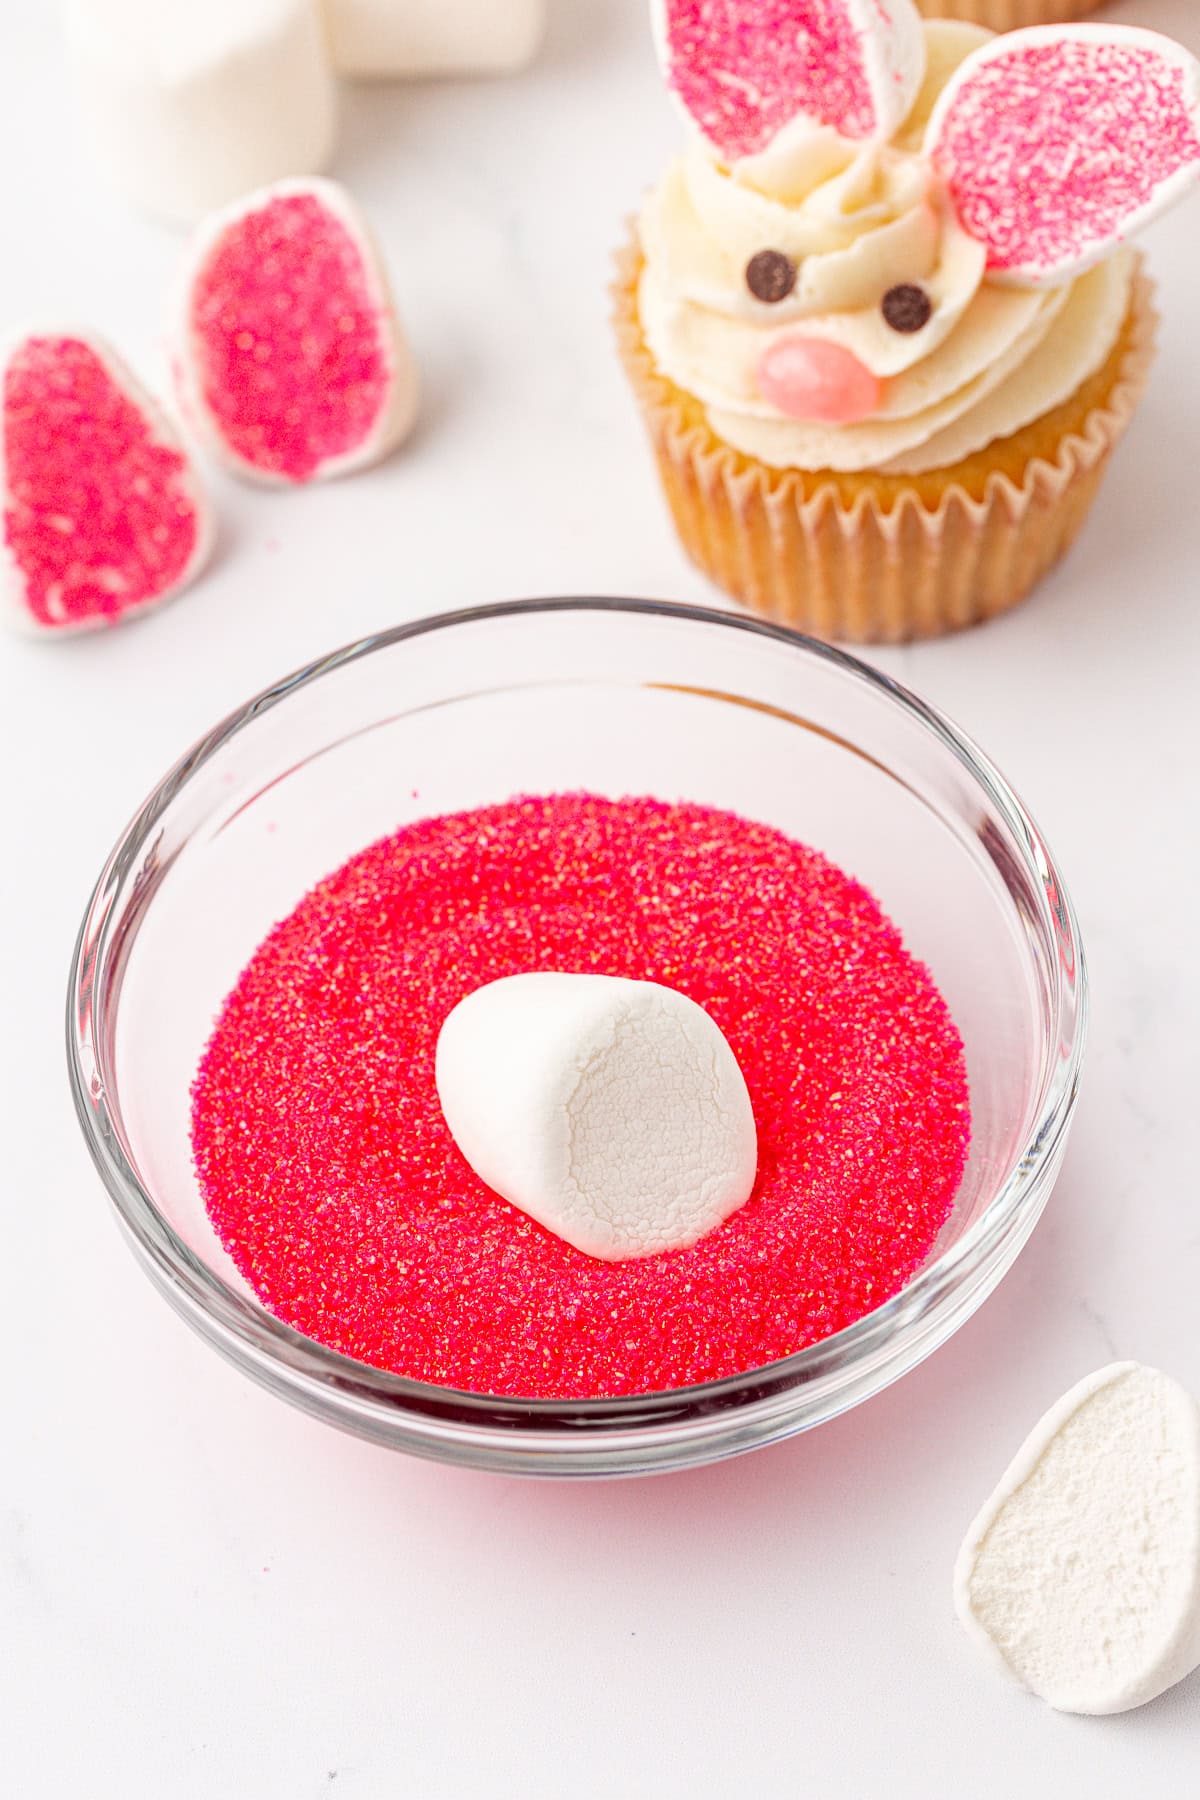
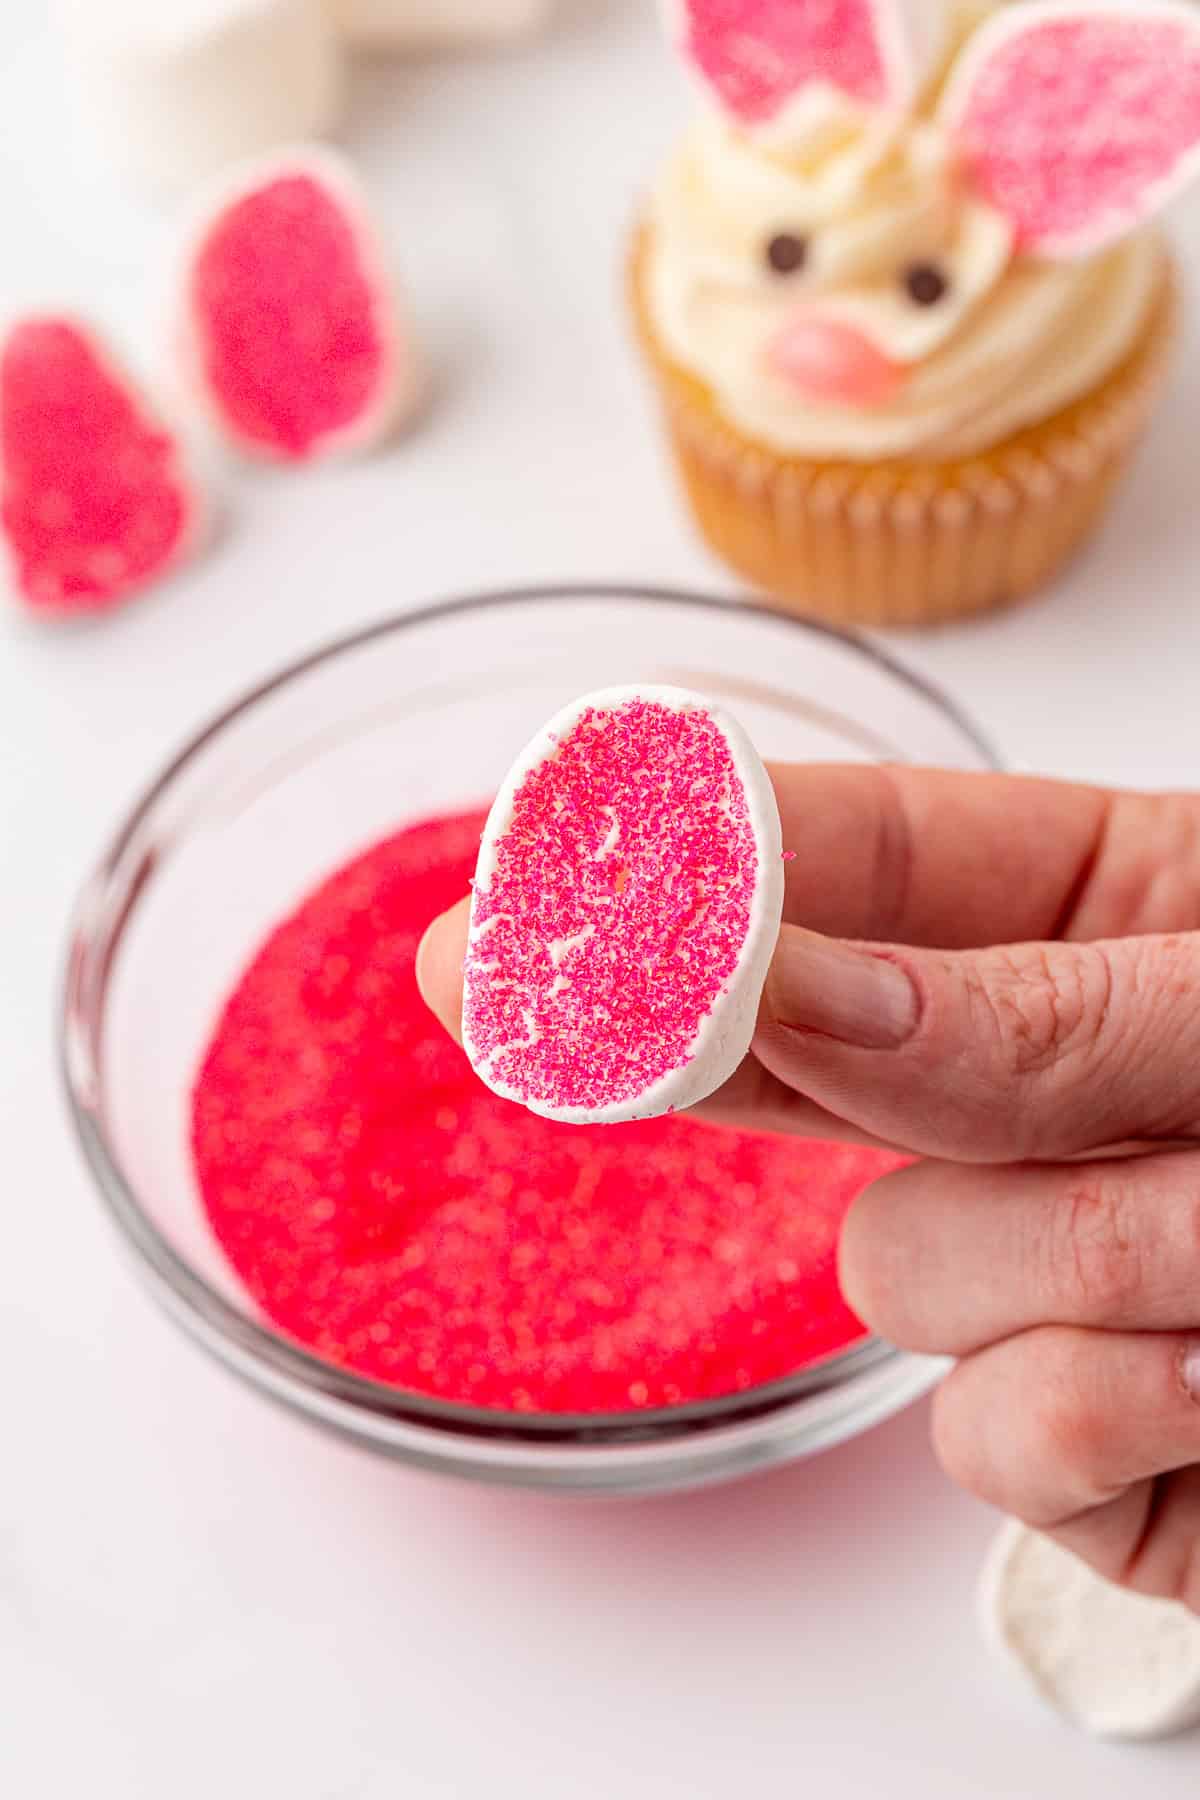
- Make the Bunny Ears: Lightly dip your kitchen scissors in water before cutting to prevent the marshmallow from sticking. Cut each marshmallow in half on the diagonal to create two teardrop-shaped pieces—these will be the ears. Immediately dip the sticky cut side of each piece into pink sanding sugar to create the “inner ear” look. Gently press two ears into the top of each frosted cupcake.
- Add the Face: Place two mini chocolate chips, tip side down, for the bunny’s eyes. Press a pink jelly bean below the eyes for the nose.
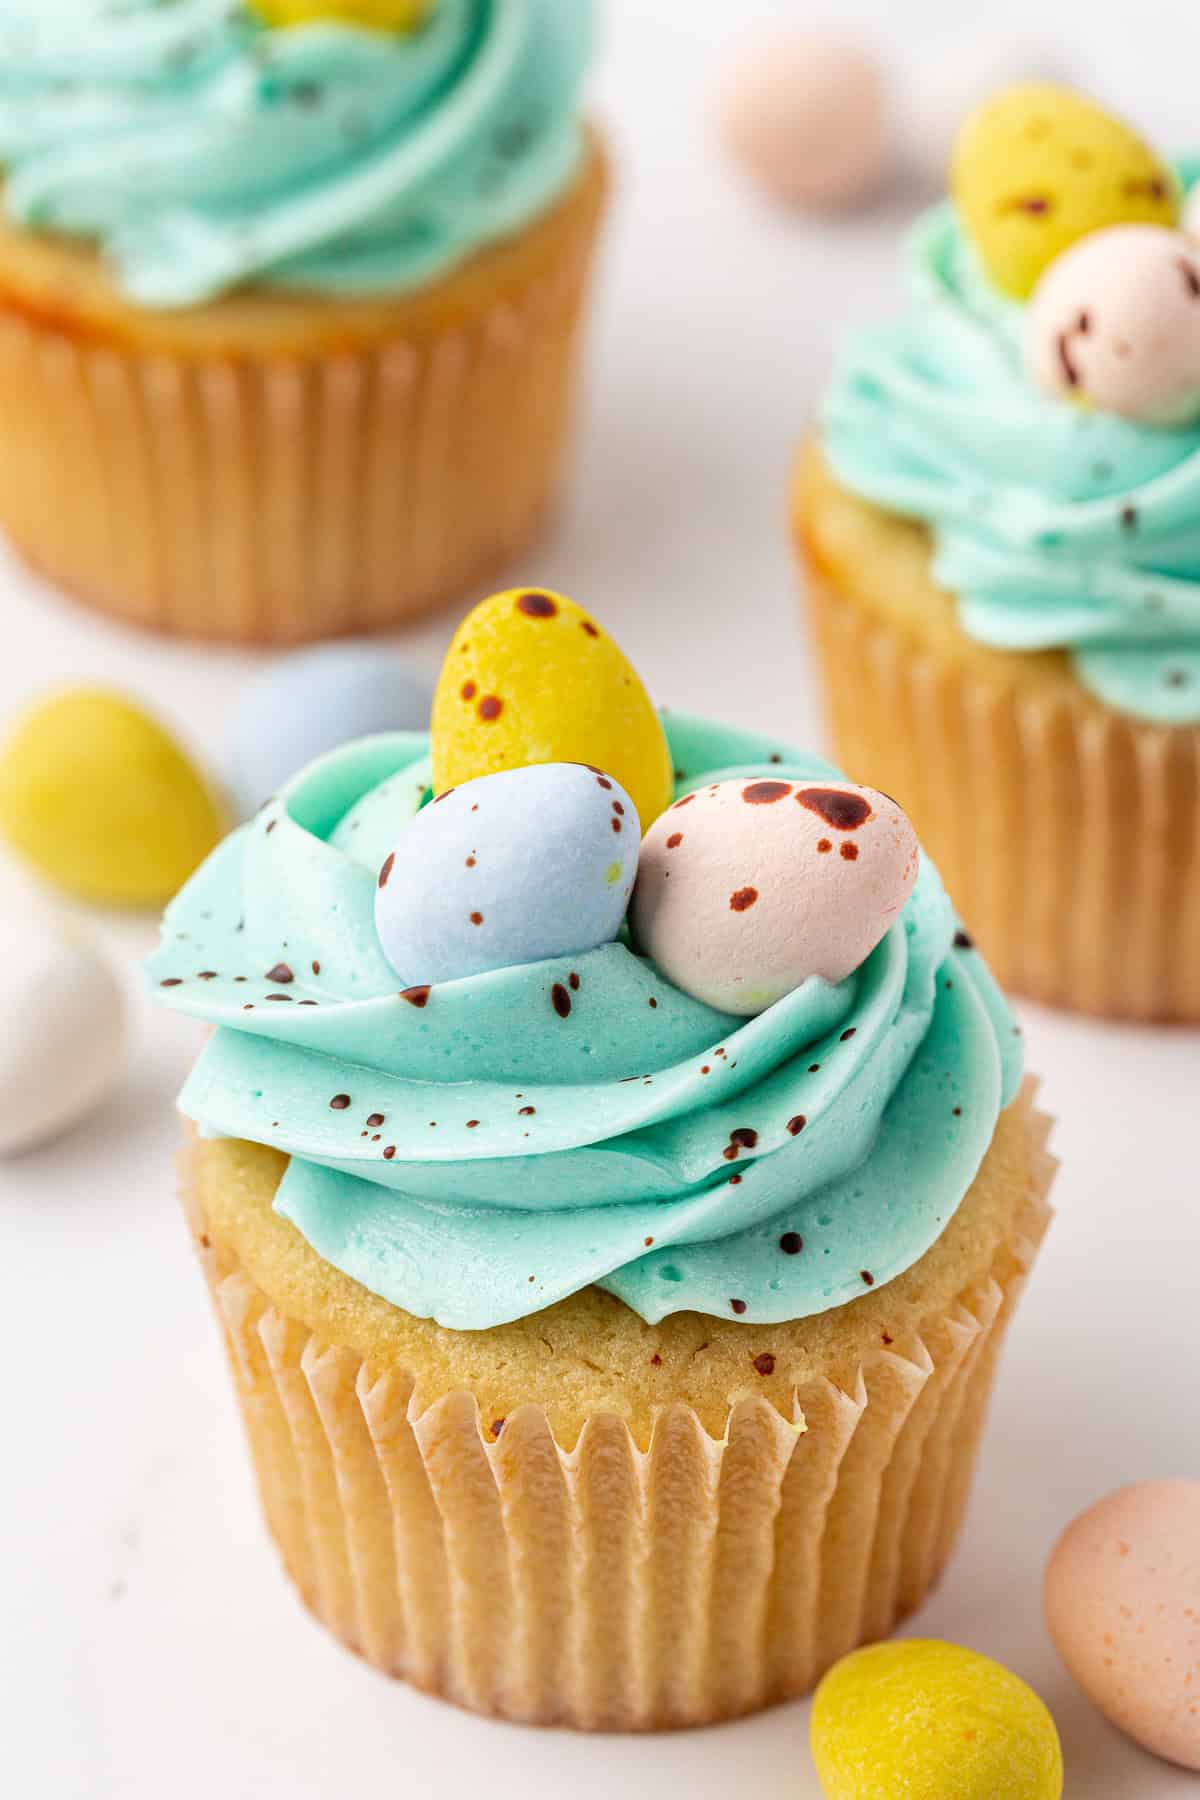
Robin’s Egg Design
- Color frosting: Add a small amount of blue gel food coloring to your buttercream to create a soft, robin’s egg blue. Mix well until the color is evenly distributed.
- Frost the Cupcakes: Using a piping bag or spatula, frost each cupcake with a generous swirl or dome of blue frosting. Smooth the tops for a clean look.
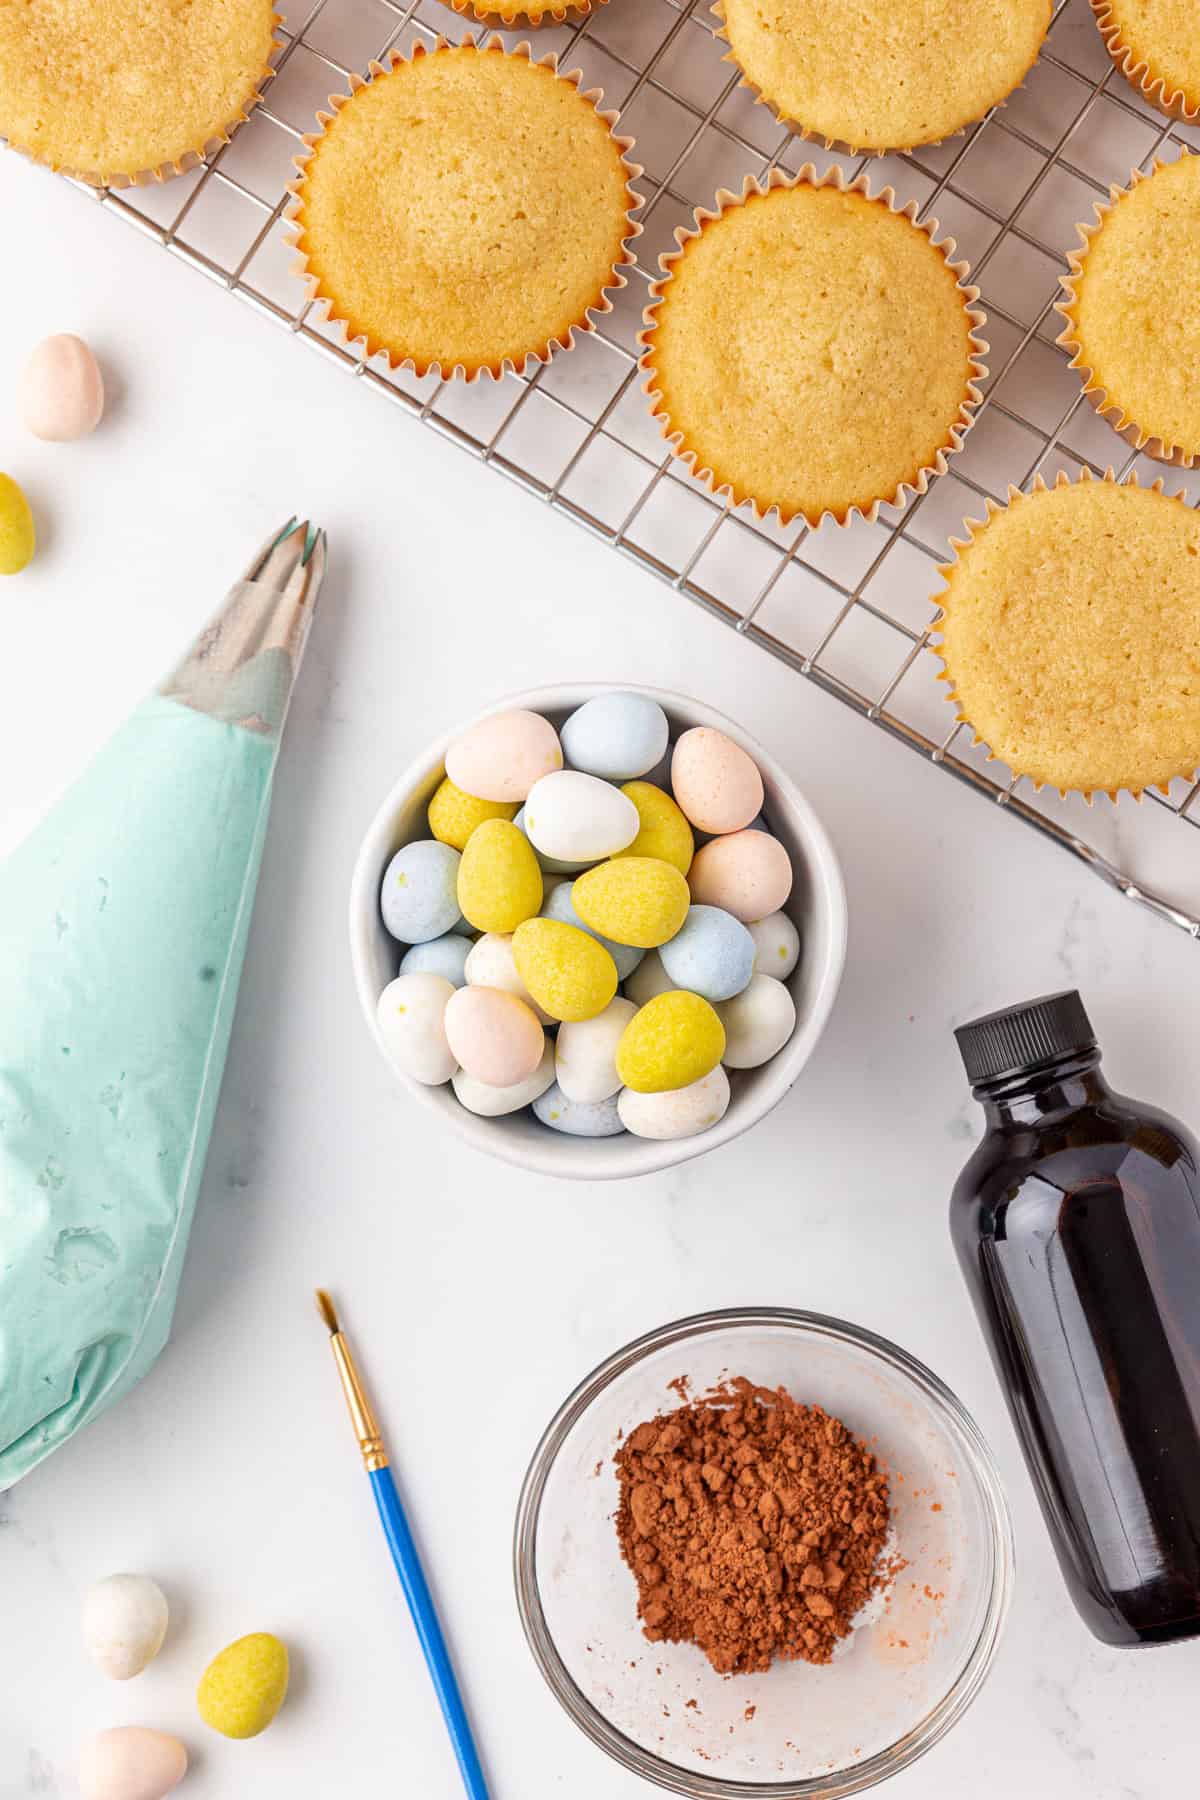
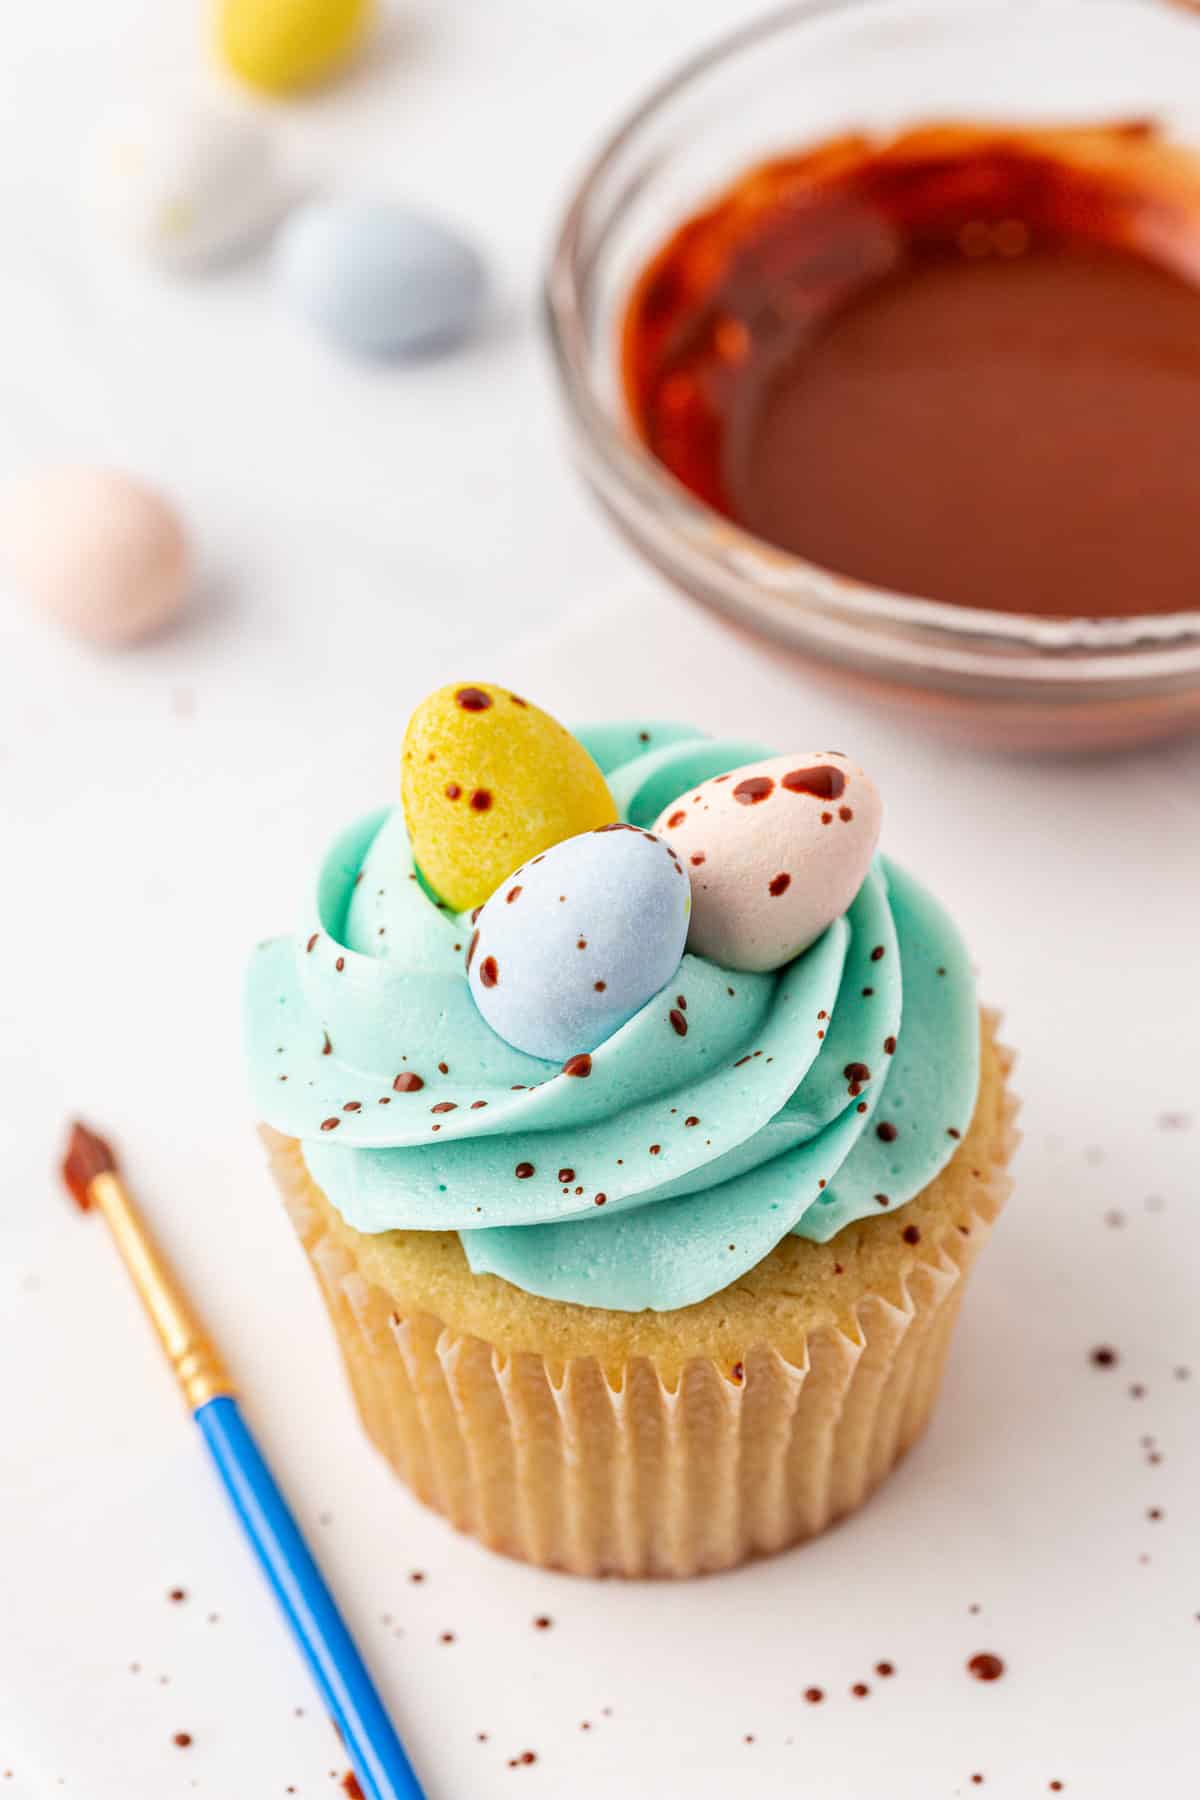
- Create nest: Gently press 2–3 Cadbury Mini Eggs into the top center of each frosted cupcake to resemble a little bird’s nest of eggs.
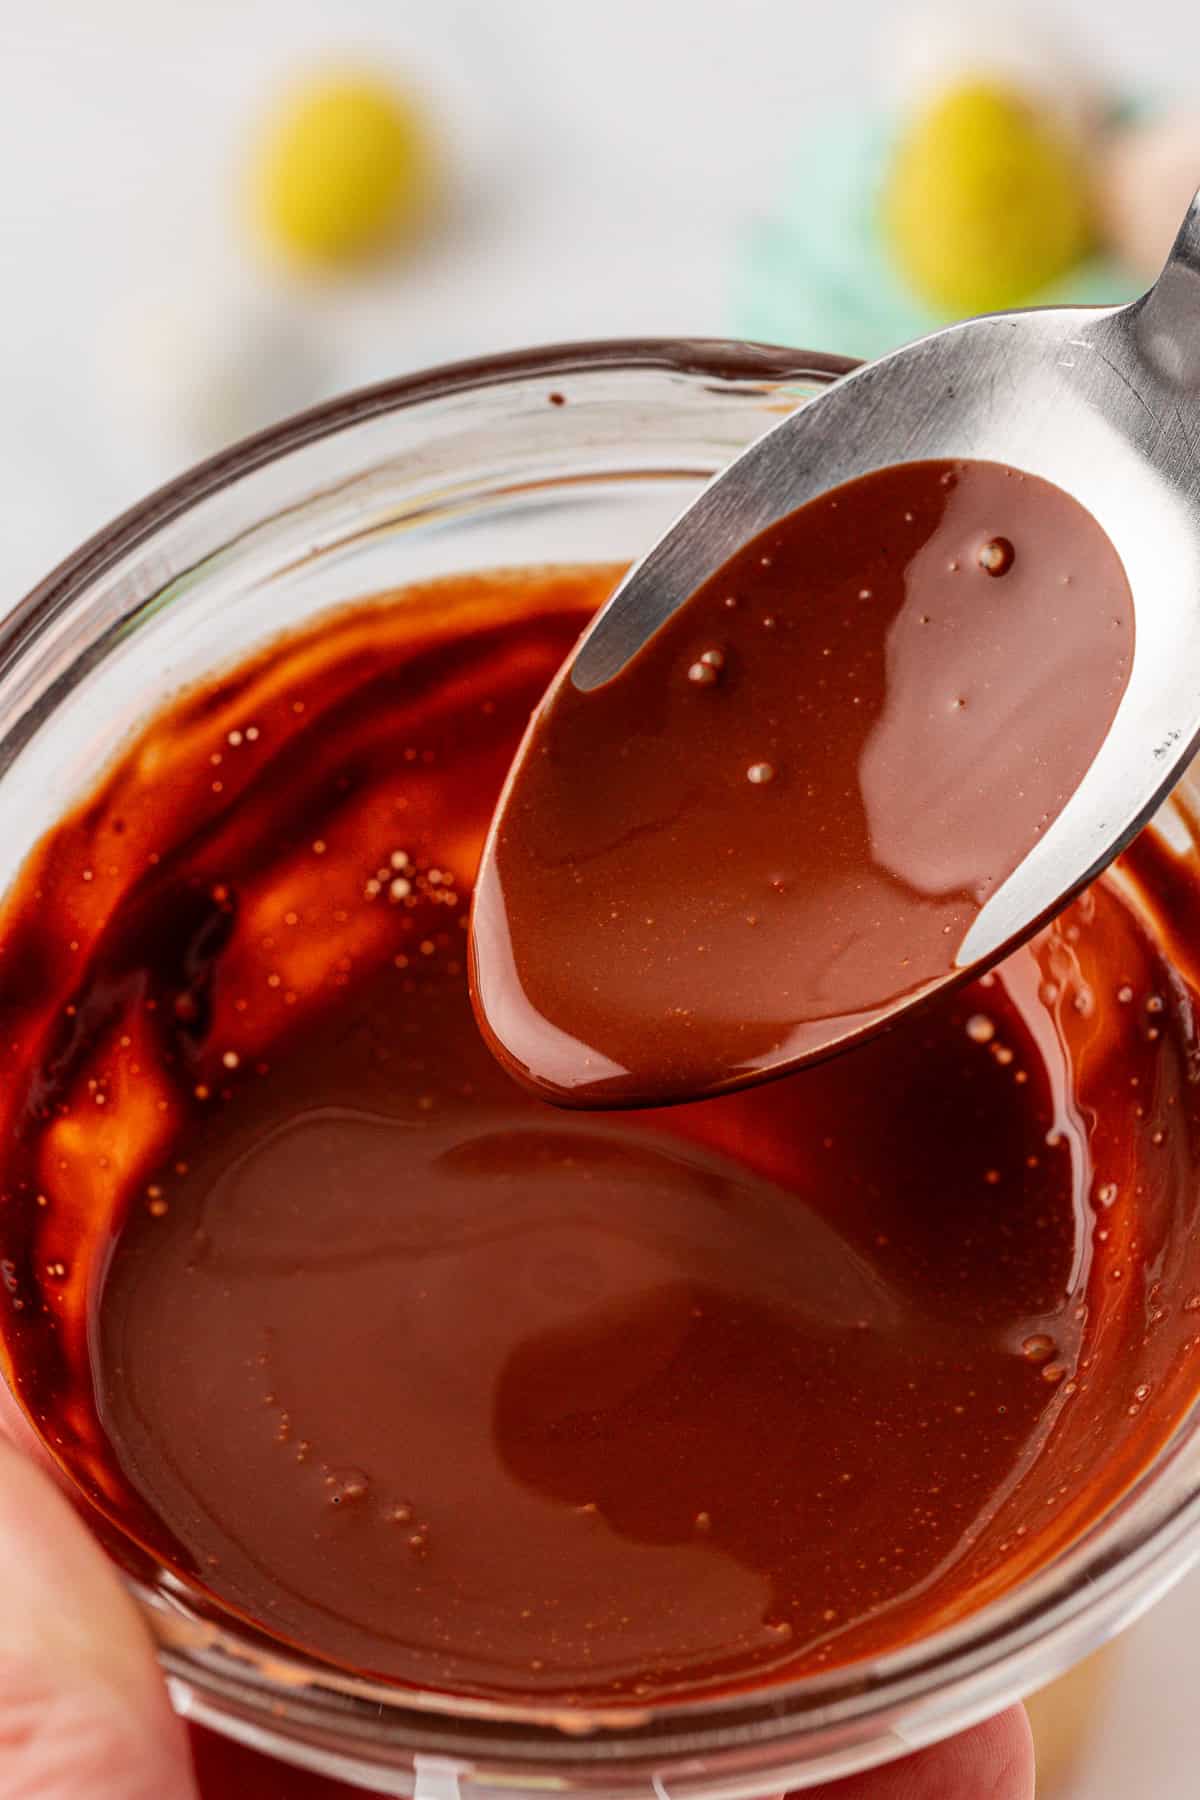
- Make the Cocoa Speckle Paint: In a small bowl, stir together: 1 tsp unsweetened cocoa powder and ½ tsp vanilla extract. The consistency should be watery.
- Speckle the Cupcakes: Dip a small food-safe paintbrush or new toothbrush into the cocoa paint. Hold it a few inches above the cupcakes and flick the brush bristles with your finger to splatter cocoa speckles across the frosting. Pro Tip: Do this over a baking sheet or parchment paper to contain any mess.
Tips for Moist and Easy Easter Cupcakes
Even novice bakers can make delicious cupcakes at home, just follow my pro tips:
- Properly measure the flour: Use a spoon to scoop the flour into the measuring cup. Then use a butter knife to level off the excess flour perfectly. Do not stick the measuring cup into the bag of flour, and do not pack the flour into the cup – both will result in an increase in flour, making your cupcakes dry. Learn more about how to properly measure flour below.
- Don’t overfill the muffin liners: Only fill them halfway full! They will overflow if you fill them too high.
How to Properly Measure Flour
The most accurate way to measure flour is to use a kitchen scale, weighing it in grams. If you don’t have a kitchen scale, follow this method.
- Aerate the flour with a whisk or spoon. Flour becomes heavy and compact as it sits. Aerating is the same as fluffing the flour, but not the same as sifting it. Do not sift the flour unless the recipe specifically calls for it.
- Use a spoon to sprinkle the flour into the measuring cup. Do not tap the cup against the counter, as this will compact the flour.
- Use the back of a butter knife to level off the excess. You’ll need to repeat the aerating process after filling each cup.
Easter Cupcakes
I have had great success making delicious cupcake recipes gluten-free by using King Arthur’s Gluten Free Measure for Measure Flour. Simply swap it in as a direct one-to-one substitute for regular flour.
Storage Suggestions for Easy Easter Cupcakes
Store any leftover cupcakes at room temperature. Keep them in an airtight container and they’ll be good for 2-3 days.
More Easter Recipes
Easter Cupcakes Decorating Ideas FAQs
Yes, feel free to use a box of cake mix or follow my tutorial on how to make box cake better for a semi-homemade version!
Bake the cupcakes and let them cool completely, then store unfrosted in an airtight container at room temperature for up to 2 days or in the fridge for up to 5 days. For longer storage, freeze tightly wrapped cupcakes for up to 3 months. Thaw at room temperature while still wrapped, then frost once fully thawed.
Tap stars to rate!
Easy Easter Cupcakes
Ingredients
Cupcakes
- 2 ½ cups (300g) all-purpose flour
- 2 tsp baking powder
- ½ tsp baking soda
- 1 tsp salt
- ¾ cup (170g) unsalted butter, room temperature
- 1 ¾ cups (346g) granulated sugar
- ¼ cup (59ml) vegetable oil
- 4 large eggs, room temperature
- 1 cup (227g) sour cream
- ½ cup (118ml) milk, I used whole milk
- 1 Tbsp vanilla extract
Vanilla Frosting (makes enough to frost 24 cupcakes)
- 2½ cups (565g) unsalted butter, room temperature
- 2 Tbsp vanilla extract
- ⅛ tsp salt
- 6-10 cups (681-1135g) powdered sugar
- 3-6 Tbsp milk or heavy cream
Decorations
- Yellow gel food coloring
- Orange gel good coloring
- Yellow sanding sugar
- Mini chocolate chips
- Large marshmallows
- Pink sanding sugar
- Pink jelly beans
- Blue gel food coloring
- Cadbury Mini Eggs
- Unsweetened cocoa powder
- Vanilla extract
Video
Instructions
Cupcakes
- Preheat the oven to 350ºF (180°C). Line a muffin pan with liners and set aside.
- In a small bowl, whisk together flour, baking powder, baking soda, and salt. Set aside.2 ½ cups (300g) all-purpose flour, 2 tsp baking powder, ½ tsp baking soda, 1 tsp salt
- In a stand mixer or using a hand mixer, beat the butter, sugar, and oil on medium speed for 2 minutes until light and fluffy. Add eggs, sour cream, milk, and vanilla extract, then beat for 1 minute.¾ cup (170g) unsalted butter, 1 ¾ cups (346g) granulated sugar, ¼ cup (59ml) vegetable oil, 4 large eggs, 1 cup (227g) sour cream, ½ cup (118ml) milk, 1 Tbsp vanilla extract
- On low speed, mix in the dry ingredients until fully combined.
- Fill the muffin liners halfway. Bake for 17-19 minutes, or until a toothpick inserted into the center comes out with a few moist crumbs. Let the cupcakes cool completely before frosting.
Vanilla Frosting
- Beat butter, vanilla extract, and salt on medium speed for 2 minutes until light and fluffy. Gradually add powdered sugar and 3 tablespoons of milk or cream, mixing on low until smooth. Adjust sweetness by adding more powdered sugar if desired. If too thick, thin with 2-4 additional tablespoons of milk or cream.2½ cups (565g) unsalted butter, 2 Tbsp vanilla extract, ⅛ tsp salt, 6-10 cups (681-1135g) powdered sugar, 3-6 Tbsp milk or heavy cream
Chick Design
- Use gel food coloring to dye about 1 ½ cups frosting yellow and about 2 Tablespoons frosting orange. Mix until fully tinted.Yellow gel food coloring, Orange gel good coloring
- Using an offset spatula or butter knife, frost the top of each cupcake with a generous amount of yellow frosting, smoothing it into a dome shape.
- Gently roll or sprinkle the frosted top with yellow sanding sugar until it’s fully coated. This gives the chicks a fluffy, sparkly look.Yellow sanding sugar
- Place 2 mini chocolate chips, point side down, near the top center of each cupcake for the eyes.Mini chocolate chips
- Use the orange frosting in a piping bag (or a zip-top bag with the tip snipped) to pipe a small triangle beak just below the eyes. Pipe two small orange feet at the bottom using the same piping bag.
Bunny Design
- Using a piping bag or spatula, frost each cupcake with a generous swirl of vanilla frosting. For a tall swirl, use a large round tip and pipe in a spiral from the outer edge inward.
- Make the Bunny Ears: Lightly dip your kitchen scissors in water before cutting to prevent the marshmallow from sticking. Cut each marshmallow in half on the diagonal to create two teardrop-shaped pieces—these will be the ears. Immediately dip the sticky cut side of each piece into pink sanding sugar to create the “inner ear” look. Gently press two ears into the top of each frosted cupcake.Large marshmallows, Pink sanding sugar
- Add the Face: Place two mini chocolate chips, tip side down, for the bunny’s eyes. Press a pink jelly bean below the eyes for the nose.Mini chocolate chips, Pink jelly beans
Robin’s Egg Design
- Add a small amount of blue gel food coloring to your buttercream to create a soft, robin’s egg blue. Mix well until the color is evenly distributed.Blue gel food coloring
- Frost the Cupcakes: Using a piping bag or spatula, frost each cupcake with a generous swirl or dome of blue frosting. Smooth the tops for a clean look.
- Gently press 2–3 Cadbury Mini Eggs into the top center of each frosted cupcake to resemble a little nest of eggs.Cadbury Mini Eggs
- Make the Cocoa Speckle Paint: In a small bowl, stir together: 1 tsp unsweetened cocoa powder and ½ tsp vanilla extract. The consistency should be watery.Unsweetened cocoa powder, Vanilla extract
- Speckle the Cupcakes: Dip a small food-safe paintbrush or new toothbrush into the cocoa paint. Hold it a few inches above the cupcakes and flick the brush bristles with your finger to splatter cocoa speckles across the frosting. Pro Tip: Do this over a baking sheet or parchment paper to contain any mess.