This post may contain affiliate links. Please read our disclosure policy.
I’ve spent years perfecting muffin recipes, and my peanut butter muffins are hands-down the best you’ll find on the internet. As the muffin expert, I know that a great peanut butter muffin needs to be incredibly moist, packed with rich peanut butter flavor, and have the perfect tender crumb—without being dense or dry.
OMG! These are amazing!!! Your tips for allowing them to rest, and how to make them big- are on point!!! They moist and delicious!!!
-Kate
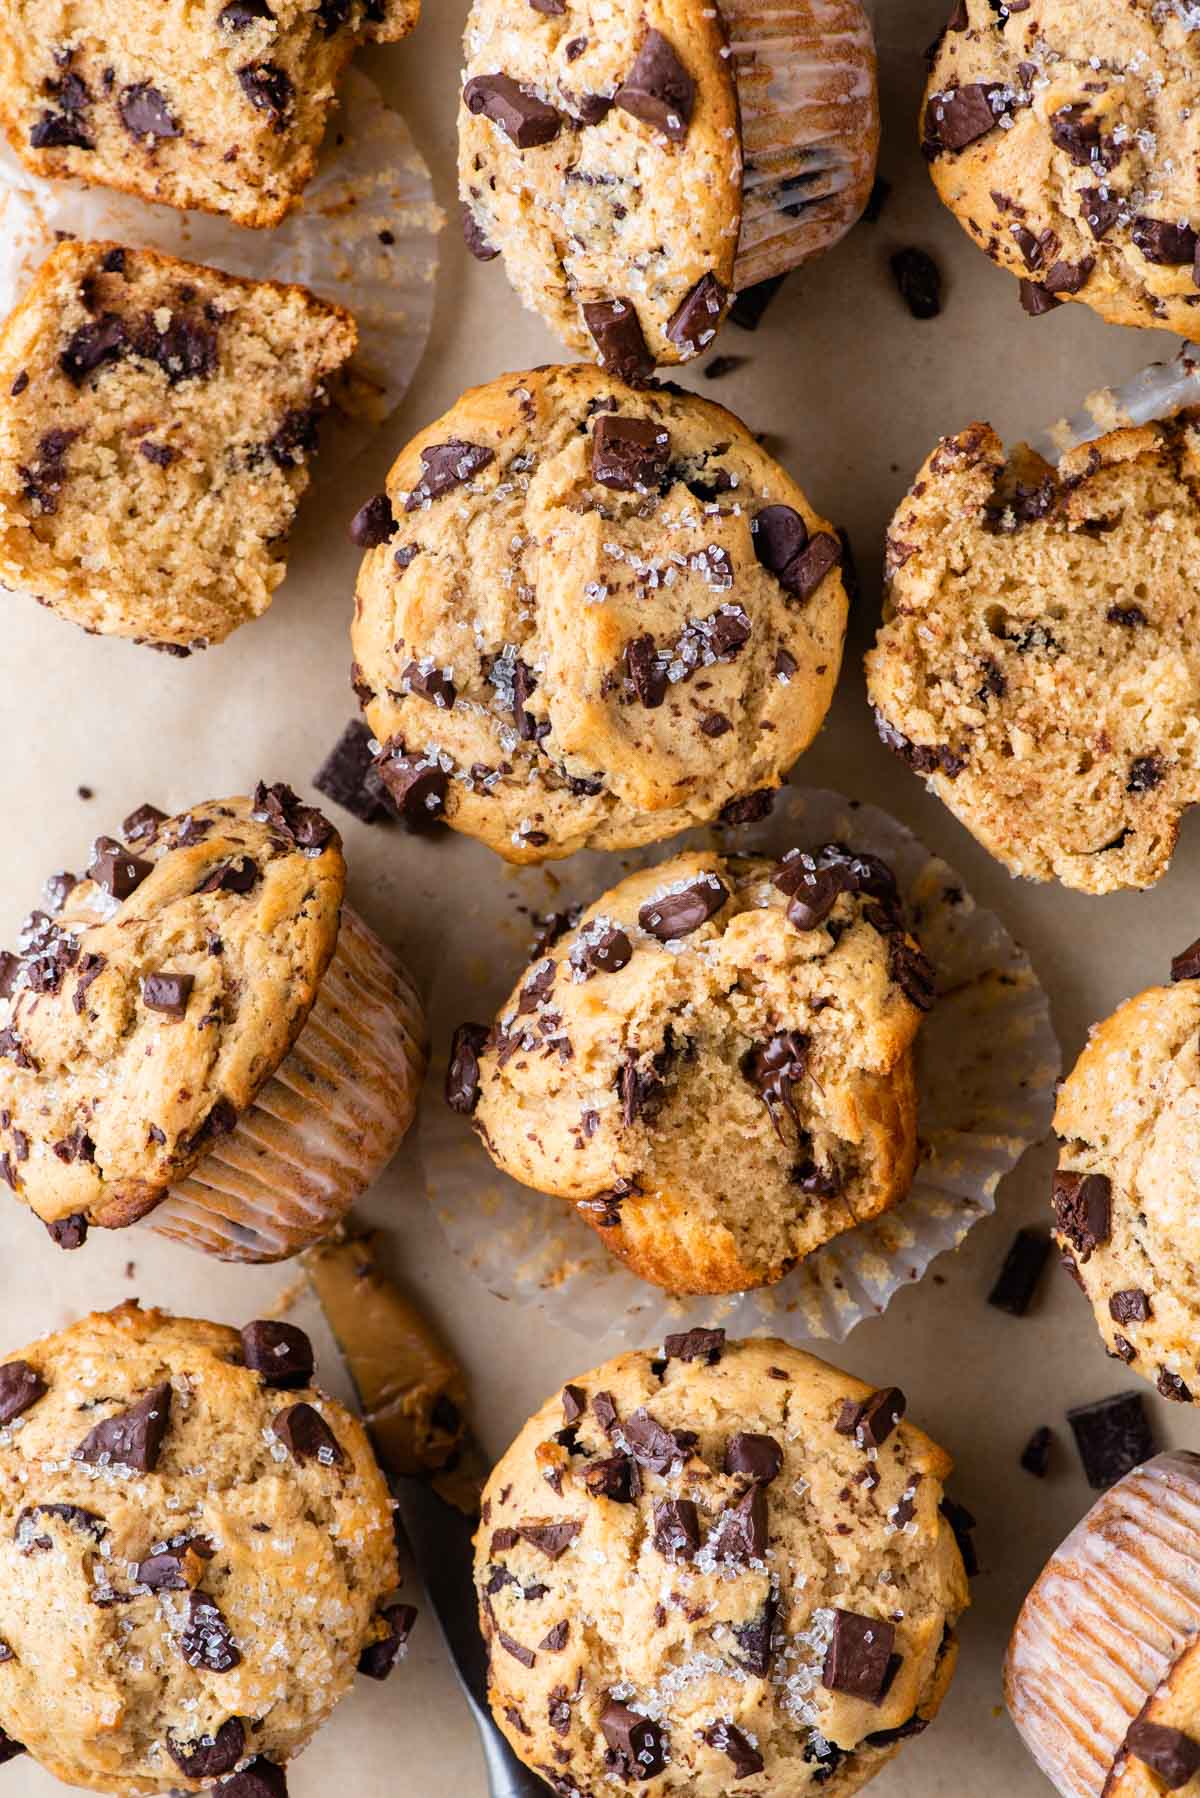

As the muffin expert, I know that the perfect peanut butter muffin needs to be incredibly moist, packed with bold peanut butter flavor, and have a soft, tender crumb—without being dense or dry. After extensive testing, I’ve found the ideal ingredient balance to create muffins that are bakery-worthy, yet easy to make at home.
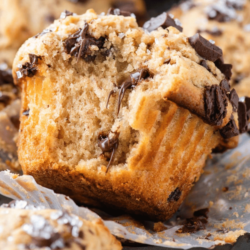
If you love peanut butter and chocolate together, these muffins will remind you of a giant Reese’s cup!
Over the years, I’ve refined my techniques for creating bakery-style muffins into a few simple, step-by-step instructions that even beginner bakers can follow with confidence. But these aren’t just any peanut butter muffins—they’re big, bakery-style muffins with gorgeous domed tops that impress every time. And yes, you can make them right in your own kitchen with a regular muffin pan!
With thousands of bakers successfully using my four key tips for bakery-style muffins, I’ve earned the title of muffin expert. Keep reading for all my best secrets to achieving muffin perfection!
Why these are the best peanut butter muffins
- Packed with peanut butter
- Made with everyday ingredients & prepped in 10 minutes
- Add in chocolate chips for extra delicious bakery muffins
- Moist, soft muffins with tender crumb
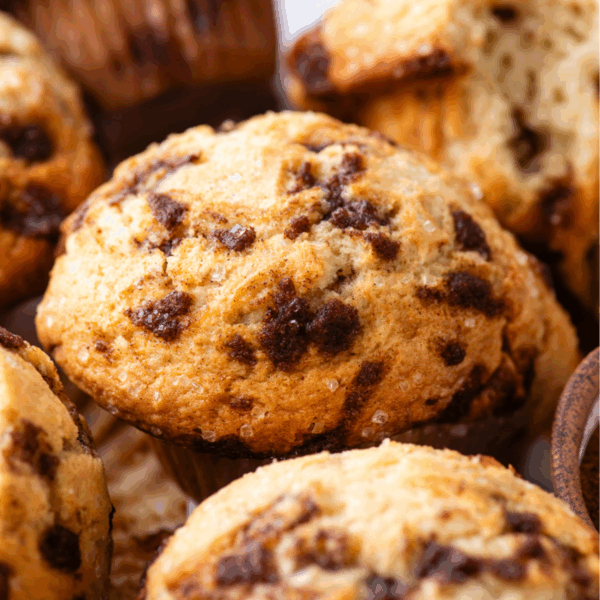
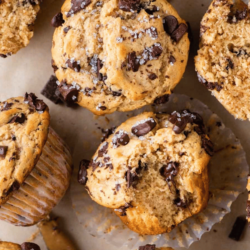
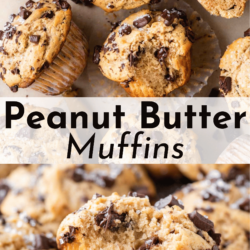
- Tall and domed muffin tops (bakery style!)
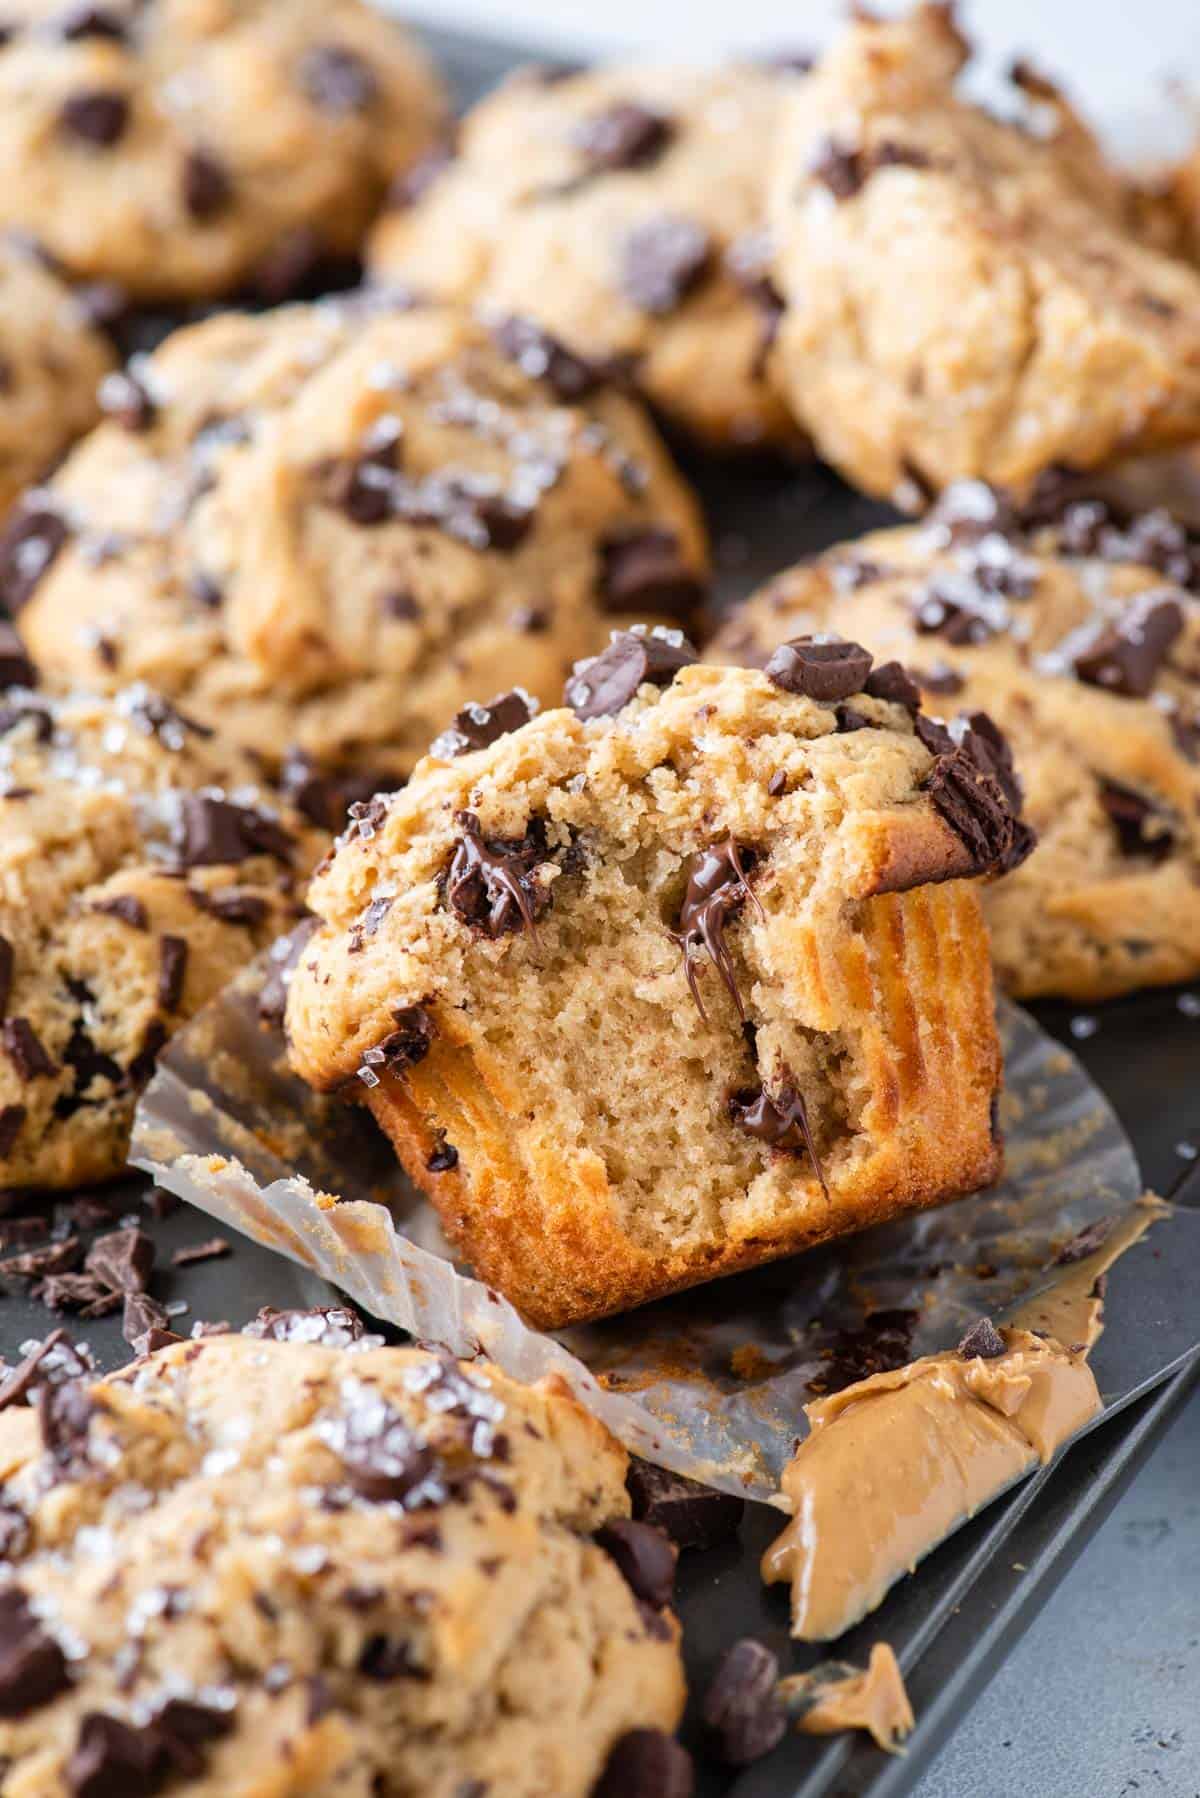
What You’ll Need for Peanut Butter Muffins
These simple ingredients make the best peanut butter muffins! Keep scrolling to get the full measurements and instructions in the recipe card below.
- creamy peanut butter: adds flavor
- granulated sugar: adds sweetness and flavor
- egg: binds the batter together by providing structure
- vegetable oil: adds fat and moisture
- buttermilk: makes the bread moist & fluffy
- vanilla extract: adds flavor
- all purpose flour: flour is necessary to build structure
- baking powder: helps to leaven and lift the batter
- salt: just a pinch to balance the sweetness and enhances the other flavor
How to Make Peanut Butter Muffins
These easy peanut butter muffins look like they came from a bakery, but are so easy to make! Get the entire recipe in the recipe card below.
- Combine dry ingredients. In a mixing bowl combine the flour, granulated sugar, baking powder, and salt. Stir with a spoon to combine, set aside.
- Combine wet ingredients. In a larger mixing bowl combine the eggs, buttermilk, vegetable oil, vanilla extract and peanut butter. Stir to combine.
- Combine batter. Gradually mix the dry ingredients and 1 ½ cups chocolate chips into the wet ingredients, mixing just until combined. The batter will be very thick!
- Rest. Cover the bowl with a towel and allow the batter to rest for 15 minutes. During this time, preheat the oven to 425ºF / 220ºC.
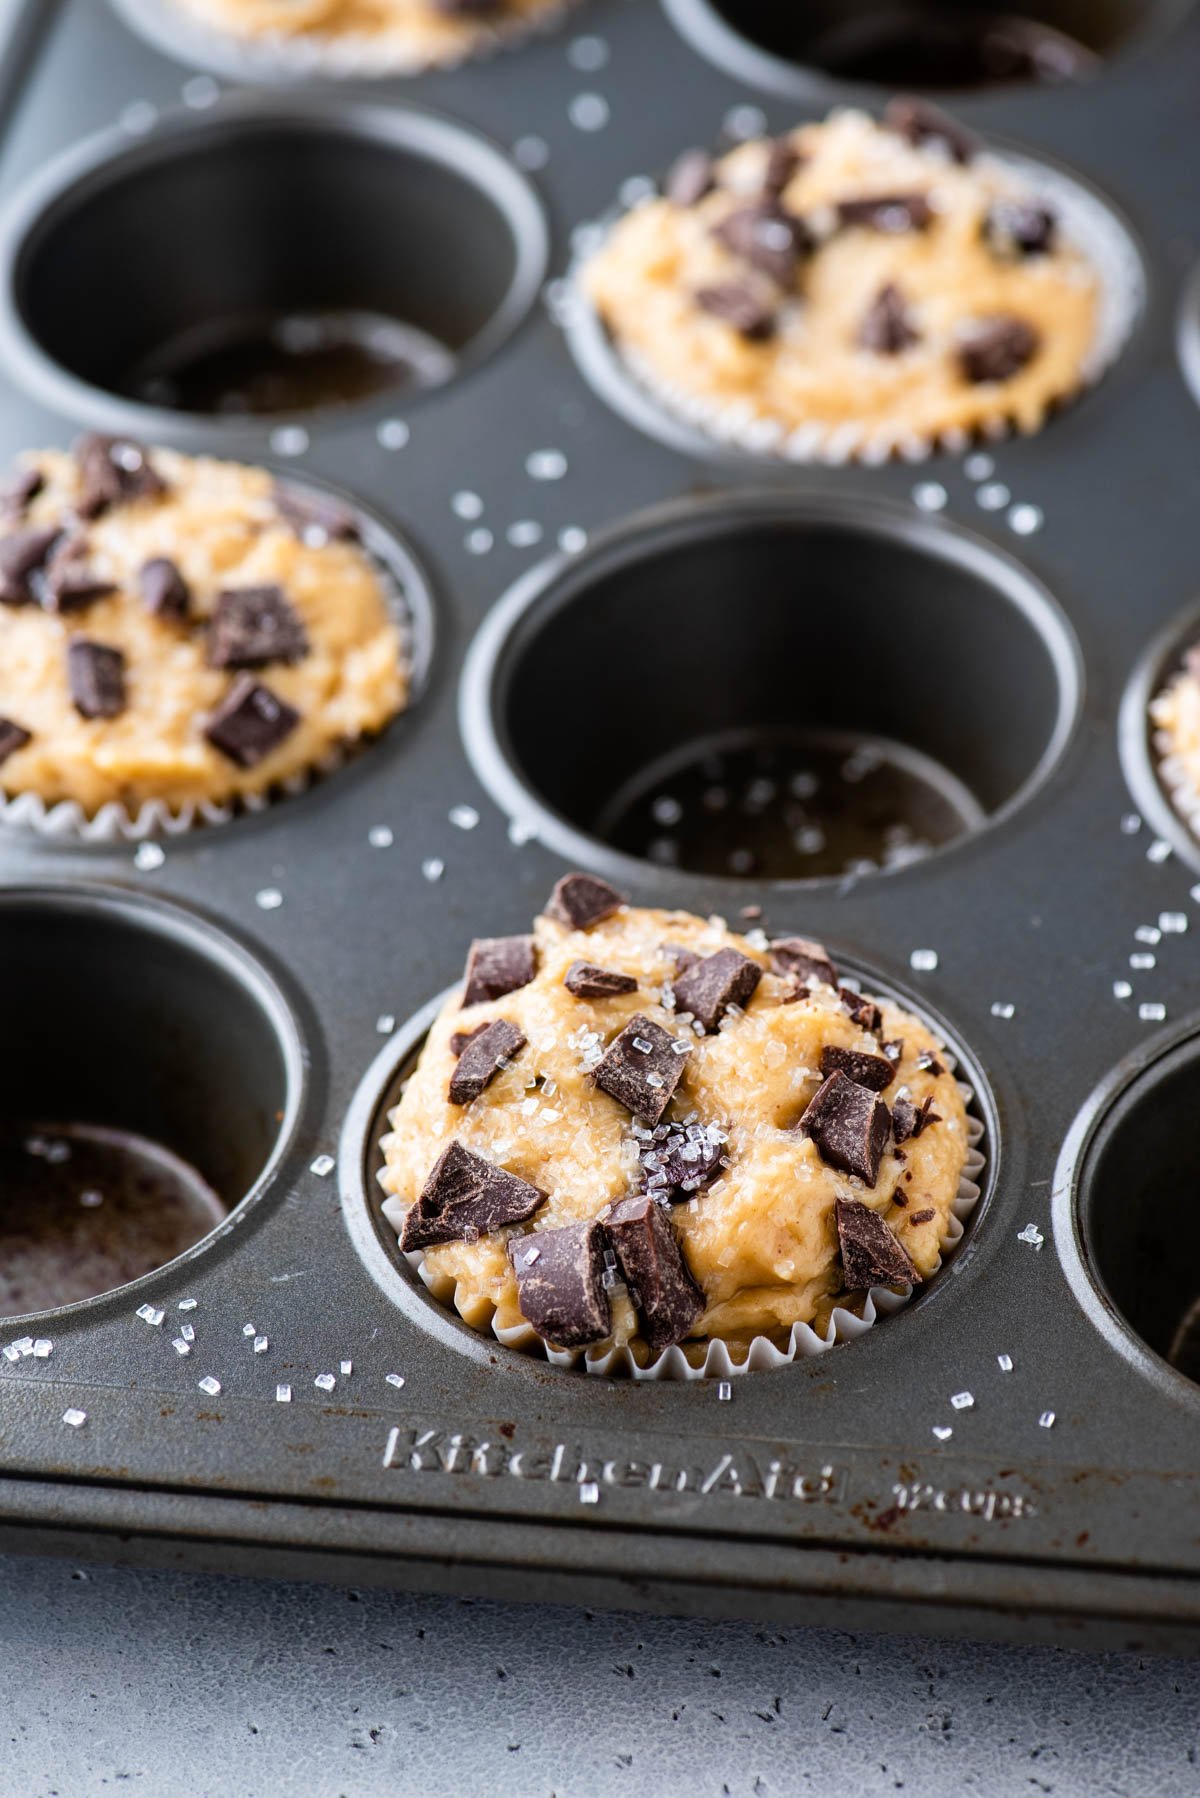
- Prepare pan. For bakery style muffins, line a 12 count muffin pan with 6 muffins liners, meaning you’ll only fill every other muffin well with batter. Fill the liners with 6-8 heaping tablespoons of batter. Add the remaining chocolate chips to the tops of the muffins. Sprinkle them with sanding sugar.
- Bake. Place one pan in the center of the oven and bake for 7 minutes at 425ºF / 220ºC, then keep the muffins in the oven, turn the temperature down to 350ºF and bake for 16-19 minutes or until a toothpick inserted in the center comes out clean. Allow the muffins to cool in the pan. Repeat with the remaining batter, bumping the temperature back up to 425ºF.
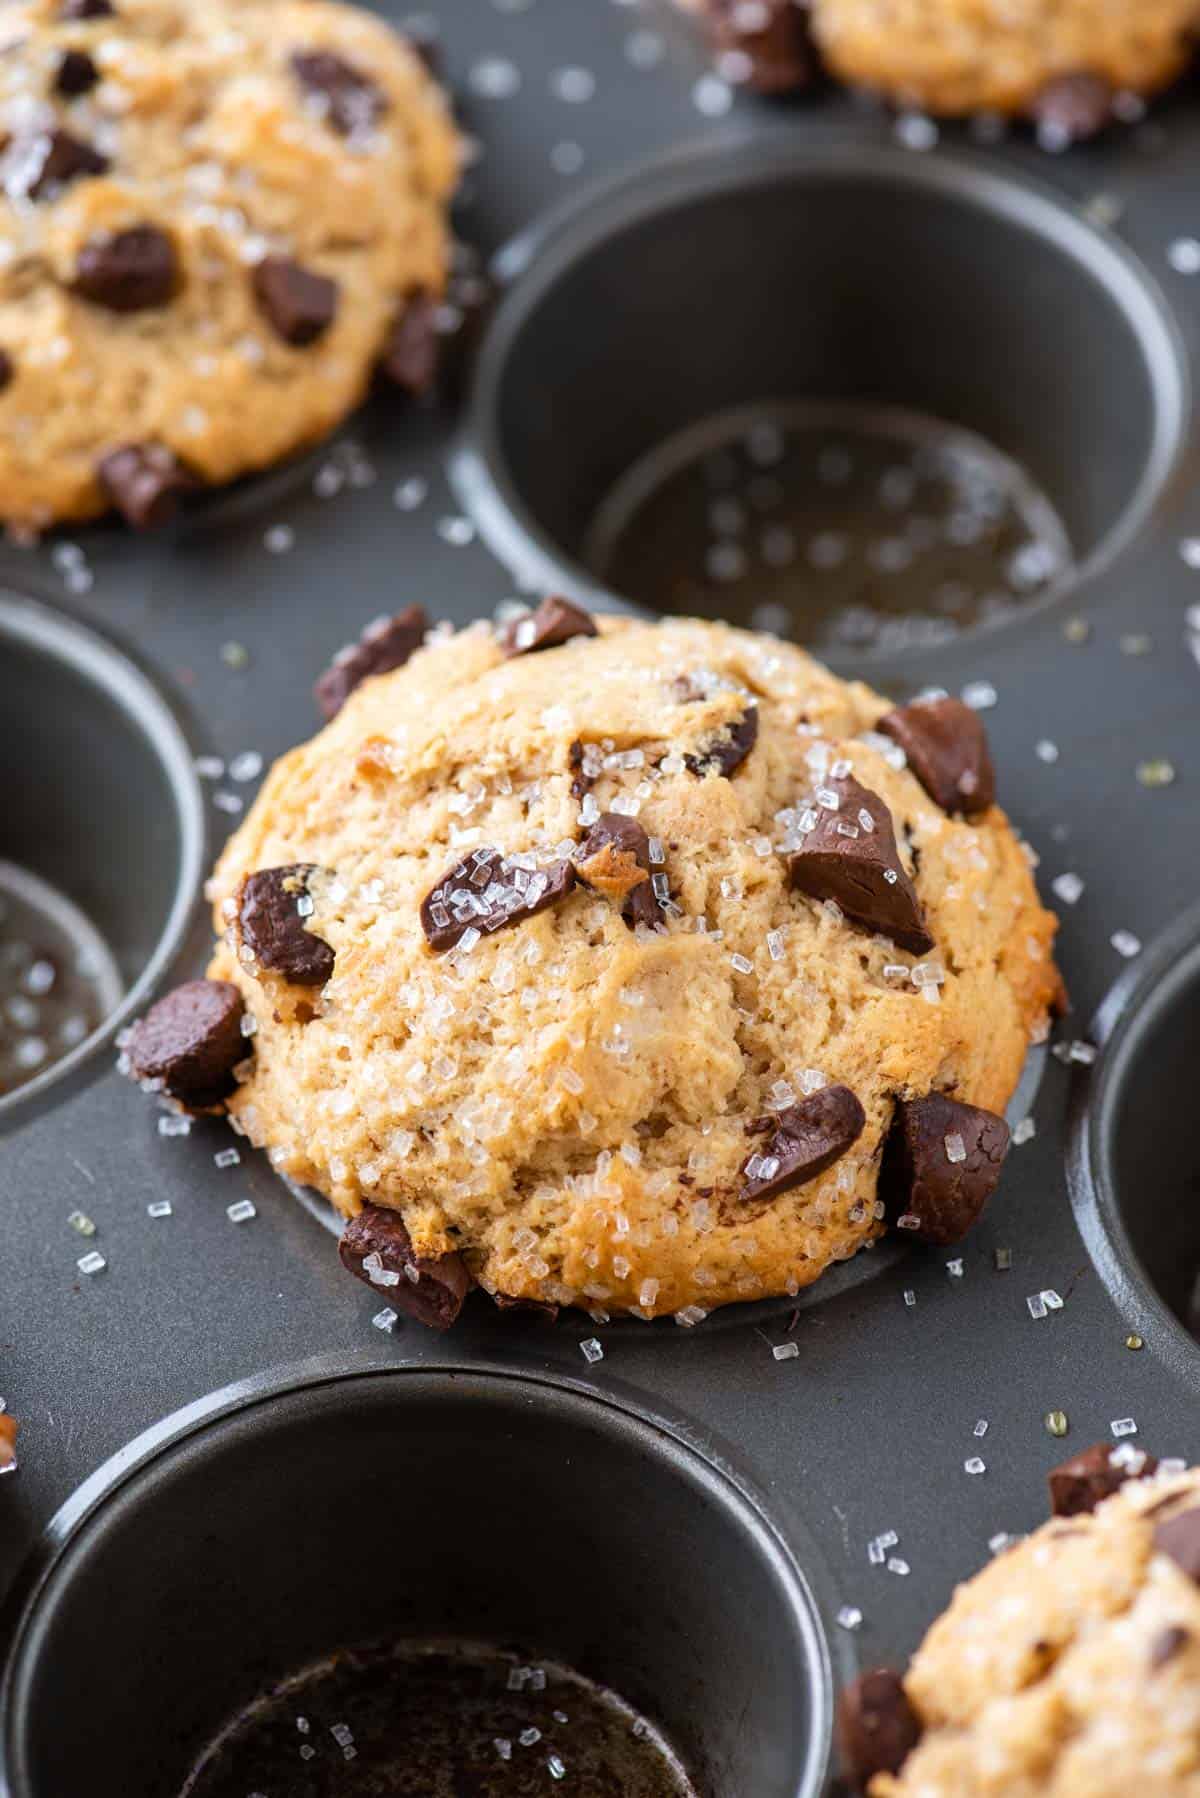
How to Properly Measure Flour
The most accurate way to measure flour is to use a kitchen scale, weighing it in grams.
If you don’t have a kitchen scale, follow this method.
- Aerate the flour with a whisk or spoon. Flour becomes heavy and compact as it sits. Aerating is the same as fluffing the flour, but not the same as sifting it. Do not sift the flour unless the recipe specifically calls for it.
- Use a spoon to sprinkle the flour into the measuring cup. Do not tap the cup against the counter, as this will compact the flour.
- Use the back of a butter knife to level off the excess.
Gluten free peanut butter muffins
I have made this recipe multiple times with King Arthur’s Gluten Free Measure for Measure Flour with great success. You can also try another brand of gluten free all purpose flour. Be sure to measure the flour properly.
How to Create Bakery Style Muffins
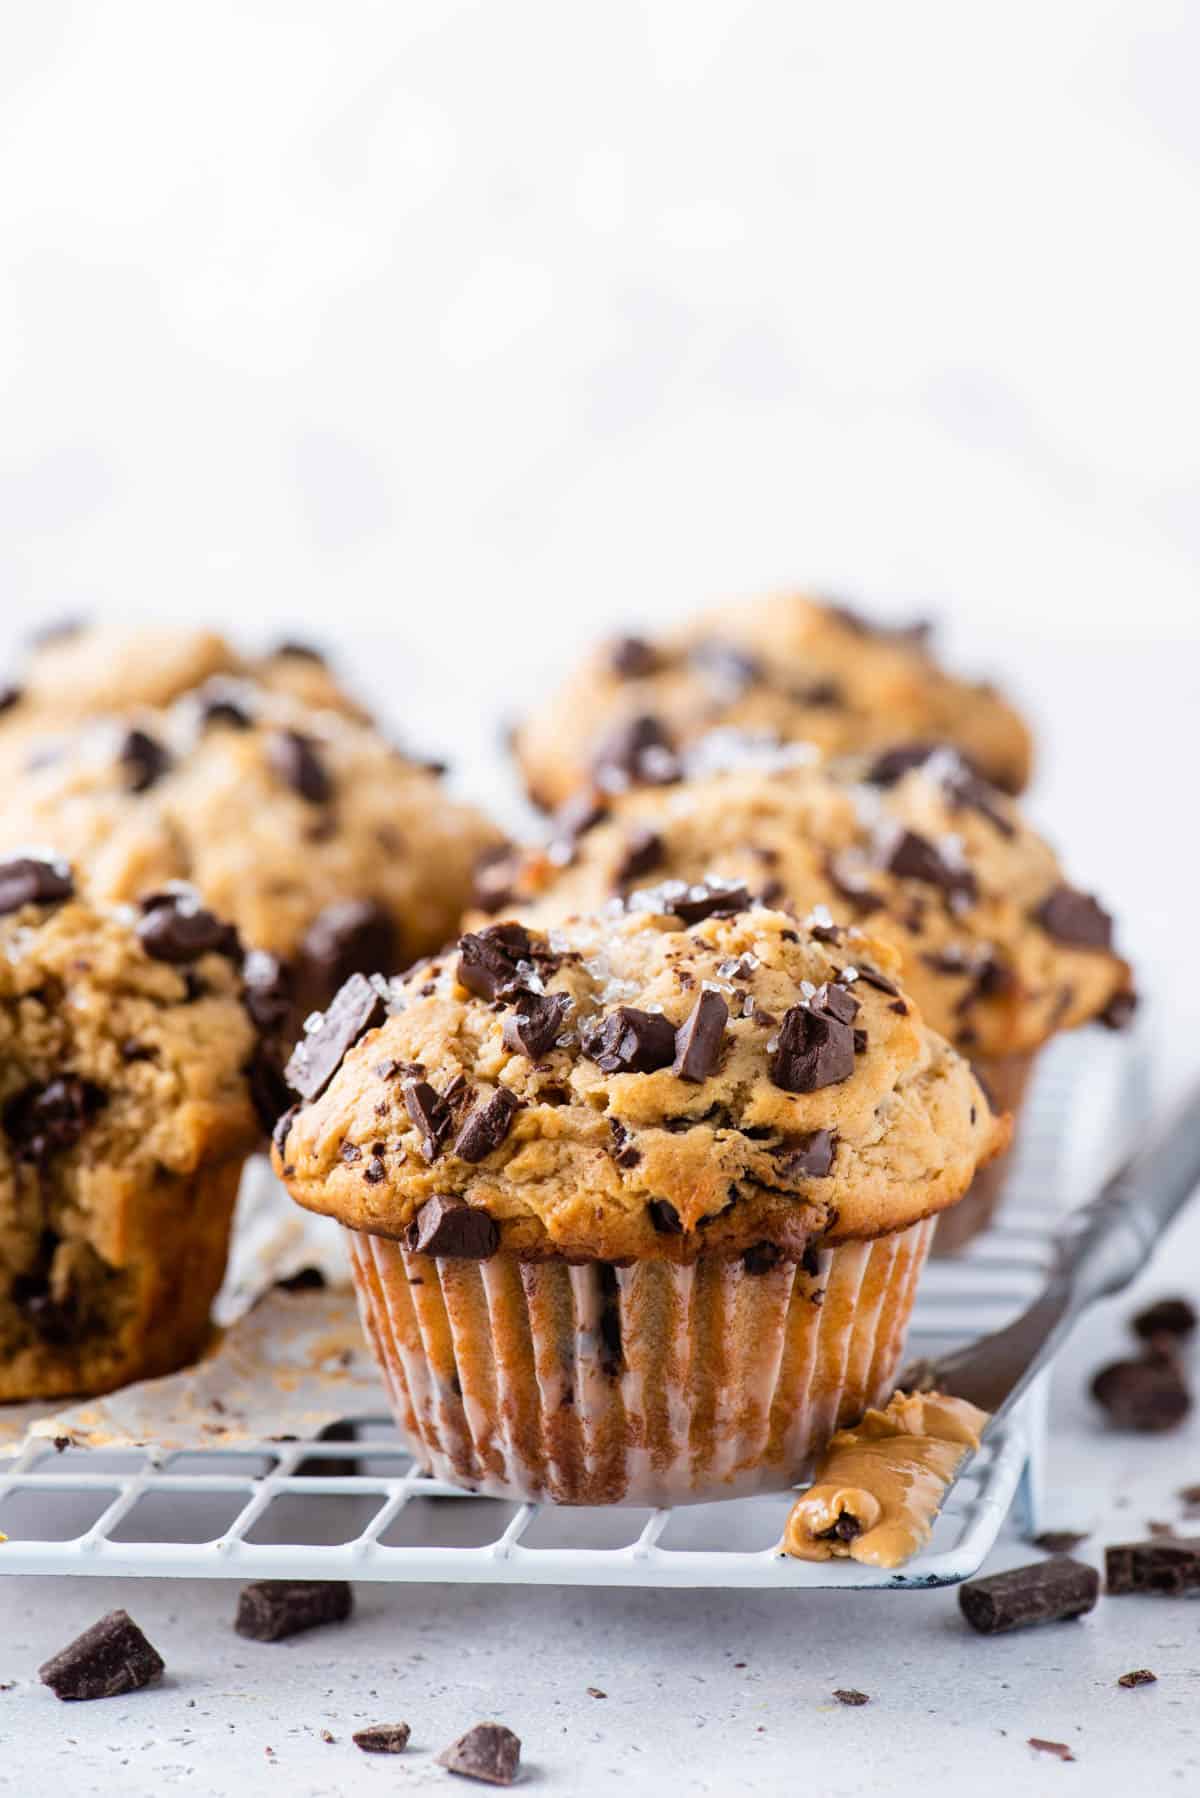
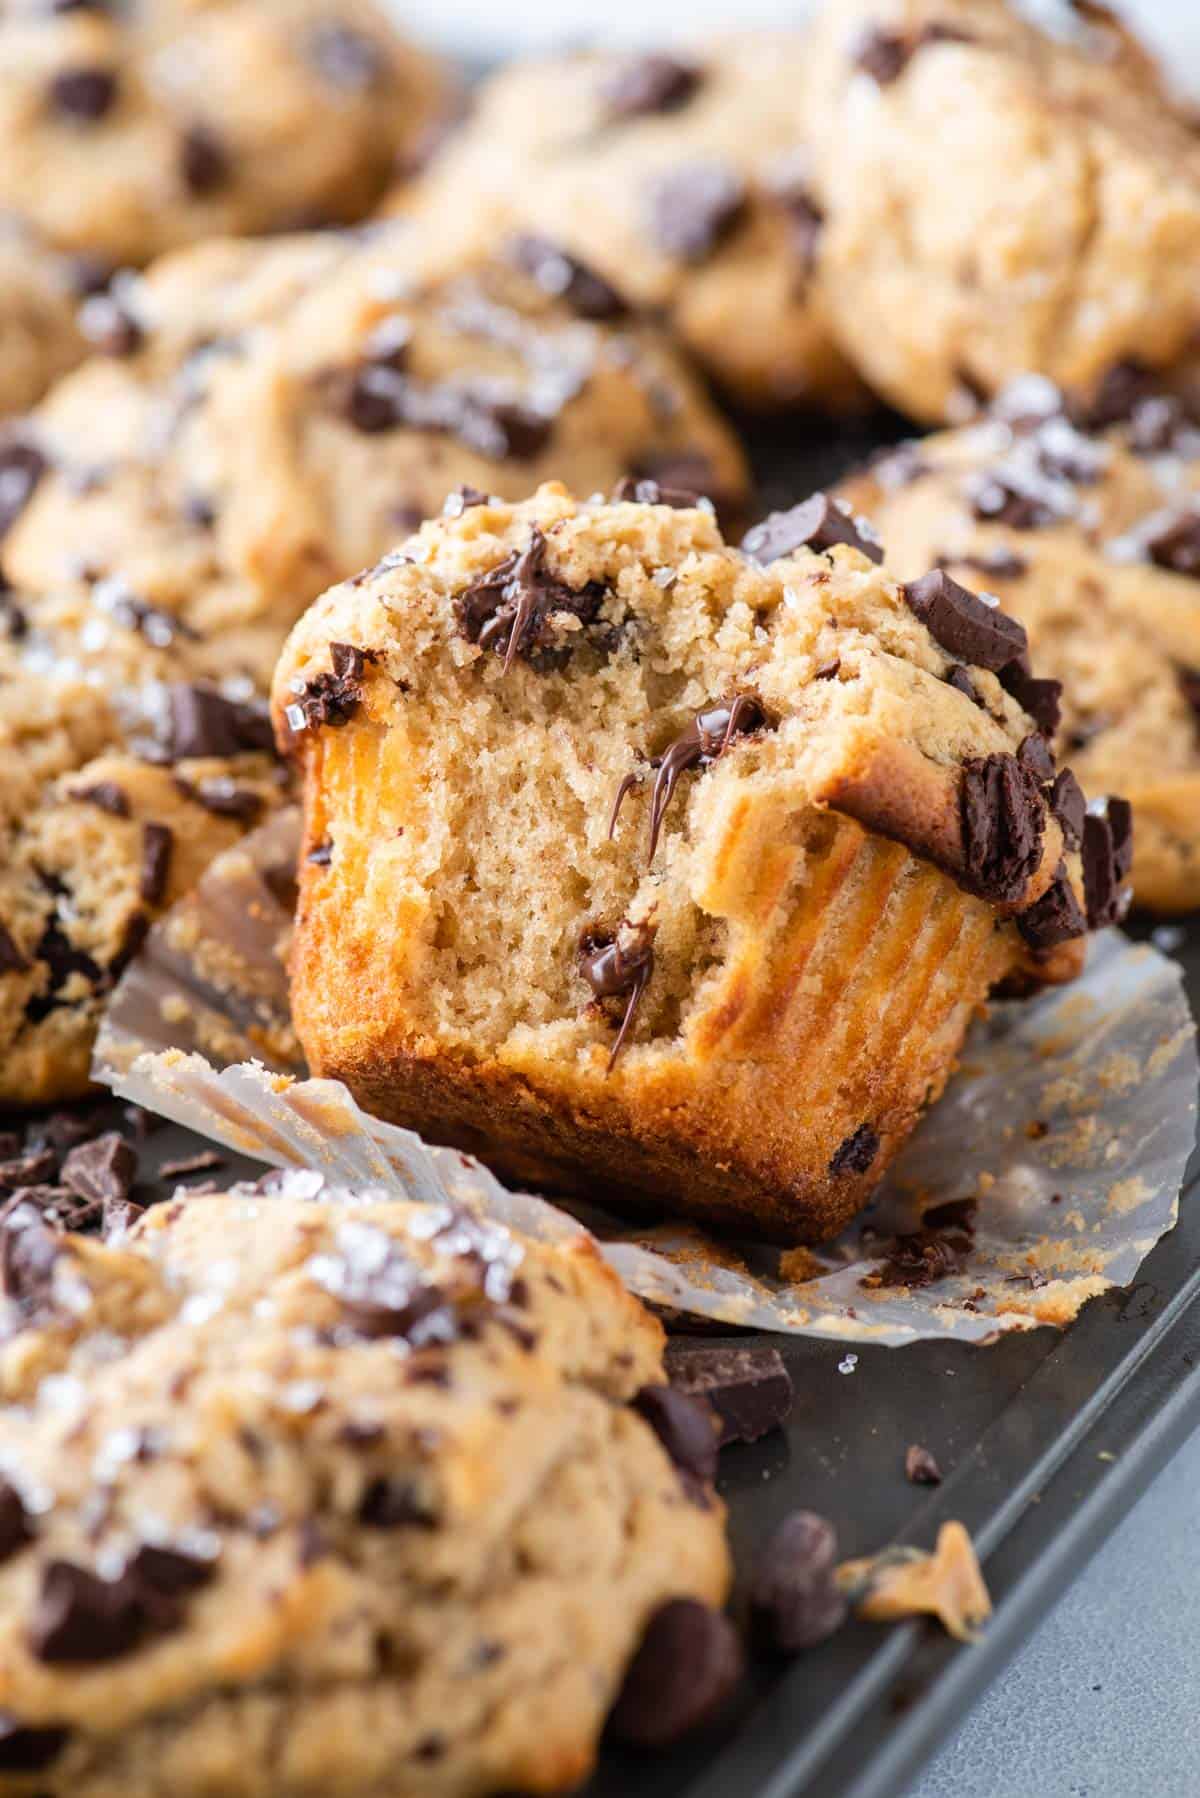
Bakery style muffins are known for their domed tops. Plus who doesn’t love them? I used a few techniques to help “lift” these muffins so they would have large, domed tops!
1. The Rest Period
Let the batter rest for 15 minutes after it’s mixed and before you scoop it into the muffin pan. During the resting period, starch molecules in the flour are absorbing the liquid in the batter, causing them to swell and giving the batter a thicker consistency (ref the kitchen whisper). Our 15 minute rest is just a quick rest.
2. Fill Every Other Muffin Cup
This tip has been a game changer! For bakery style muffin tops, line a 12 count muffin pan with 6 muffin liners, meaning you’ll only fill every other muffin well with batter. Filling every other cup allows the muffins to spread and dome without running into each other. This technique also encourages the muffins to brown, creating a golden muffin top.
3. Fill Them To The Top
Fill your muffin liners to the top with batter. Yes, this goes against everything you’re heard but it’s important in helping the muffin gain that height.
4. Bake at High Temperature Initially
Bake the muffins at a high temperature (425ºF) initially, then lower to 350ºF. Starting the muffins off at a higher temperature causes the batter to rise rapidly, setting the outer surface of the muffin, producing a dome shape.
Storing and Freezing Muffins
Muffin Storage
If you’ll be eating the muffins within 24 hours of baking, you can leave them uncovered on the counter. The muffins will not dry out while left at room temperature for 1 day.
In fact, muffins are so moist they can become soggy and those crunchy, sugary tops can disappear when stored in an airtight container.
But I have a trick to help that – paper towels.
For longer storage, 2-4 days, line the bottom of an airtight container with paper towels. Place the muffins in a single layer in the container then cover the muffins with any additional layer of paper towels. The paper towels will act like a sponge, absorbing the moisture they release while they are stored.
If the paper towels become too moist around day 2 or day 3, replace them with fresh paper towels.
How To Freeze Muffins
Individually wrap each muffin in plastic wrap. Then place them in a ziploc bag or airtight container and place in the freezer for up to 3 months.
To thaw, leave them at room temperature until defrosted, about 1 hour. Or unwrap them and microwave at 20 second intervals until defrosted.
More Peanut Butter Recipes
Peanut Butter Muffins Recipe FAQs
Although there isn’t a single secret to making moist muffins, I find that using buttermilk helps make them tender and more moist. It’s also important to maintain the correct ingredient ratios and bake them for the proper amount of time.
I design my muffin recipes to create a thick batter, which not only results in a high-domed, bakery-style muffin but also prevents any add-ins, like chocolate chips, from sinking to the bottom.
Chocolate chips don’t fully melt in muffins due to the stabilizers they contain, which help them retain their shape. They also have a lower fat content compared to baking chocolate, making them less prone to melting. Additionally, the moderate baking temperature and time allow the chips to soften without losing their shape. The sugar in chocolate chips also contributes to their stability during baking.
Tap stars to rate!
Peanut Butter Muffin Recipe
Equipment
Ingredients
- 3 cups (360g) all-purpose flour
- 1 ½ cups (297g) granulated sugar
- 3 tsp baking powder
- ½ tsp salt
- 2 large eggs
- 1 ½ cups (354ml) buttermilk
- ½ cup (118ml) vegetable oil
- 1 tsp vanilla extract
- 1 cup (270g) creamy peanut butter, not natural
- 2 cups (340g) semi-sweet chocolate chips, optional

Instructions
- In a mixing bowl combine the flour, granulated sugar, baking powder, and salt. Stir with a spoon to combine, set aside.3 cups (360g) all-purpose flour, 1 ½ cups (297g) granulated sugar, 3 tsp baking powder, ½ tsp salt
- In a larger mixing bowl combine the eggs, buttermilk, vegetable oil, vanilla extract and peanut butter. Stir to combine.2 large eggs, 1 ½ cups (354ml) buttermilk, ½ cup (118ml) vegetable oil, 1 tsp vanilla extract, 1 cup (270g) creamy peanut butter
- Gradually mix the dry ingredients and 1 ½ cups chocolate chips into the wet ingredients, mixing just until combined. The batter will be very thick!2 cups (340g) semi-sweet chocolate chips
- Cover the bowl with a towel and allow the batter to rest for 15 minutes. During this time, preheat the oven to 425ºF / 220ºC.
- For bakery style muffins, line a 12 count muffin pan with 6 muffins liners, meaning you’ll only fill every other muffin well with batter. Fill the liners with 6-8 heaping tablespoons of batter. Add the remaining chocolate chips to the tops of the muffins. Sprinkle them with sanding sugar.
- Place one pan in the center of the oven and bake for 7 minutes at 425ºF / 220ºC, then keep the muffins in the oven, turn the temperature down to 350ºF and bake for 16-19 minutes or until a toothpick inserted in the center comes out clean. Allow the muffins to cool in the pan. Repeat with the remaining batter, bumping the temperature back up to 425ºF.


All of your recipes turn out exactly perfect each time I make them, we love any muffin recipe with the buttermilk. I’ve been using your suggestion using 2 muffins pans to crate bakery style muffins and there are so good.
If anyone follows the recipe exactly they will have perfect muffins that are amazing each time .
My batter isn’t as thick as it’s supposed to be, should I add more flour
Hi Julie! How did you measure the flour? The batter will thicken during the 15 minute rest as well.