This post may contain affiliate links. Please read our disclosure policy.
plan from Ana White.
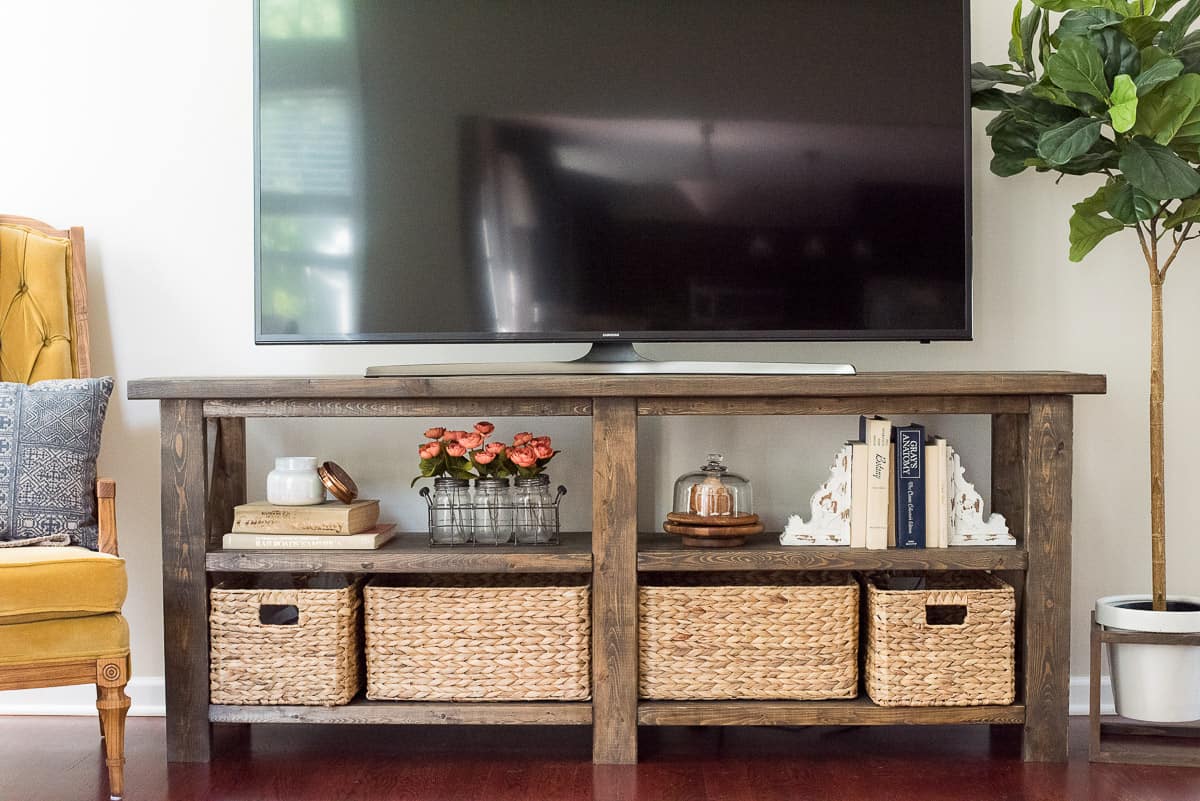
I’ve been so excited to share this post with you guys! This post is going to be very photo heavy. I wanted to include a lot of step by step pictures so you can tackle this project yourself!
I also have a VIDEO!! Feeling like bit of a vlogger ????
If you follow along on instagram, you’ll know that I have been talking about trying new things. It’s my 2018 motto.
I know that I let fear hold me back or keep me from trying something, so I am intentionally working through that this year.
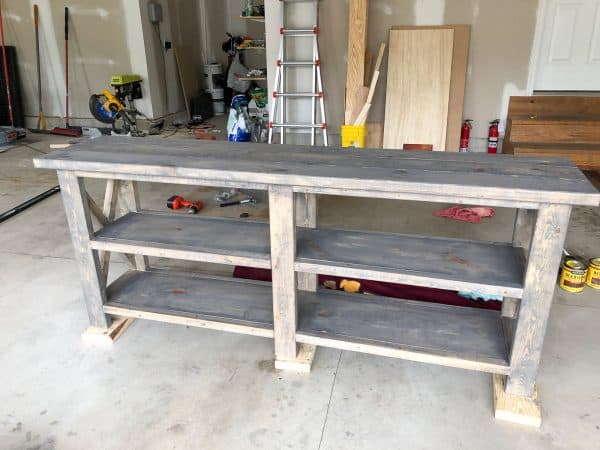
This post is going to outline the process of how I made the farmhouse TV table. Our post isn’t a full blown tutorial for how to make this table, but think of it as additional material to the building plan. This is the online building plan I used.
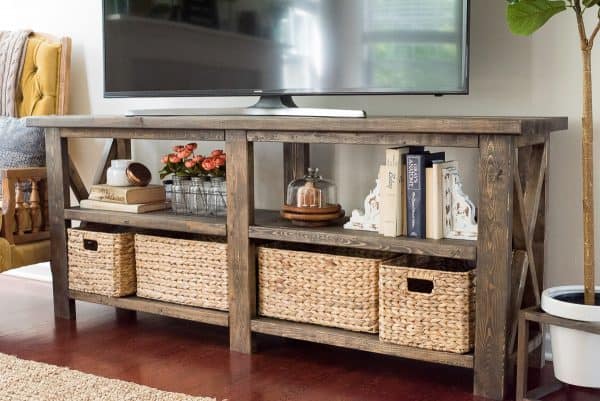
Why the farmhouse tv table? I like farmhouse design and we were needing a new tv stand to fit our larger tv, so instead of buying one, I found a plan online that I liked and I was determined that I could make it!
Are you into wood building? I am! My first actual wood project was our shiplap fireplace wall. I chronicled some of that process in my instagram stories. After I learned how to use a miter saw and a nail gun, and I saw the wall come together, I knew I wanted to make something else. I love seeing what people can make with 2x4s (because they are so cheap) and I love that I can make a piece of furniture without having to search in tons of stores AND save myself money in the process.
Is Ryan into wood building? We both started getting into it around the same time. But we’re not necessarily interested in the same type of building projects. He’s more of the fine craftsman and into details and I just want functionality (while still looking cute) but it doesn’t have to be 100% perfect.
Was it hard? Looking back on it, I would say no. But before I got started, I’ll admit I was a little confused. The building plan I followed wasn’t 100% clear, so I did need Ryan’s help to interrupt some of the steps. But once I started to see the table coming together it was easier to understand what I was doing.
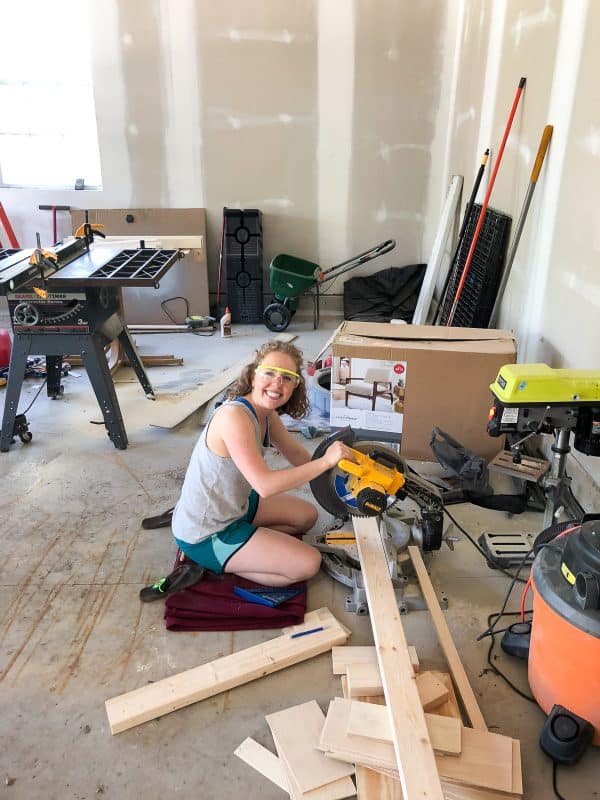
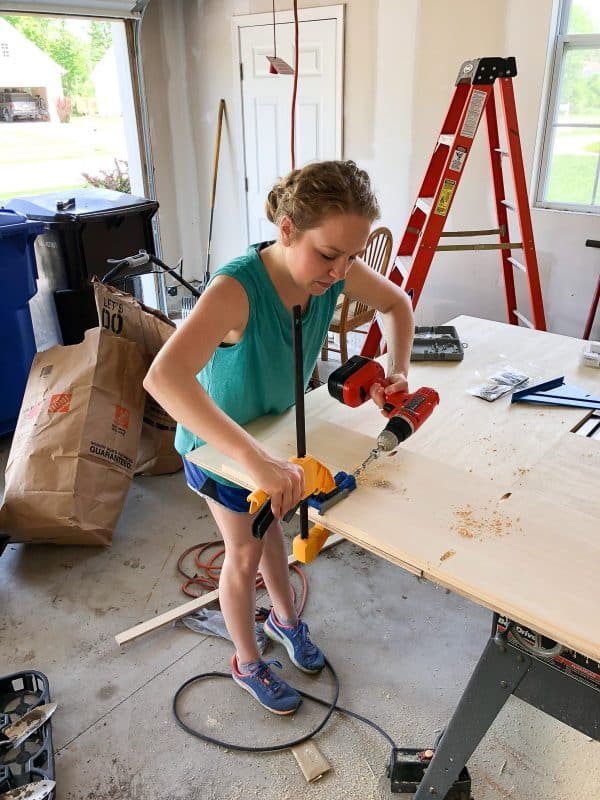
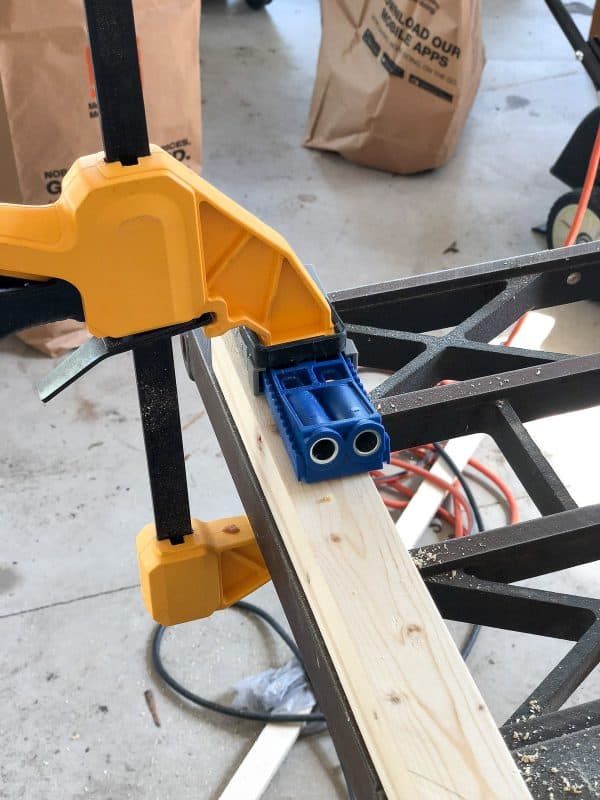
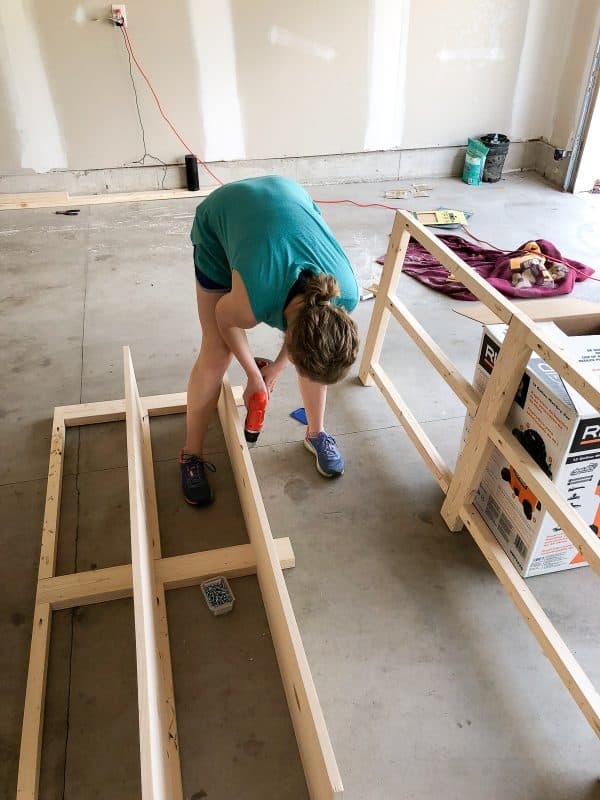
What tools did you use? A miter saw, a table saw, power sander, pocket hole kreg jig, a drill, speed square, clamps, and screws.
I know that sounds like a lot of tools. We were able to buy a heavy duty table saw at a garage sale last fall for $60 which was an incredible deal. I also looked around and bought a used 12 inch miter saw for a great price. Those are the two biggest tool expenses. But they are super handy to have around! However, before we bought a miter saw, I asked around and was able to borrow a friends so that’s a great option too!
The table saw isn’t necessary. We used it to cut 2x4s in half the long way (hot dog style LOL) to get 2x2s. You can buy 2x2s at the lumber store, but a lot of the ones I saw were curved, so I opted to cut the 2x4s in half. And by I, I really mean Ryan. I’m not 100% comfortable with the table saw, but Ryan’s teaching me how to use it with confidence.
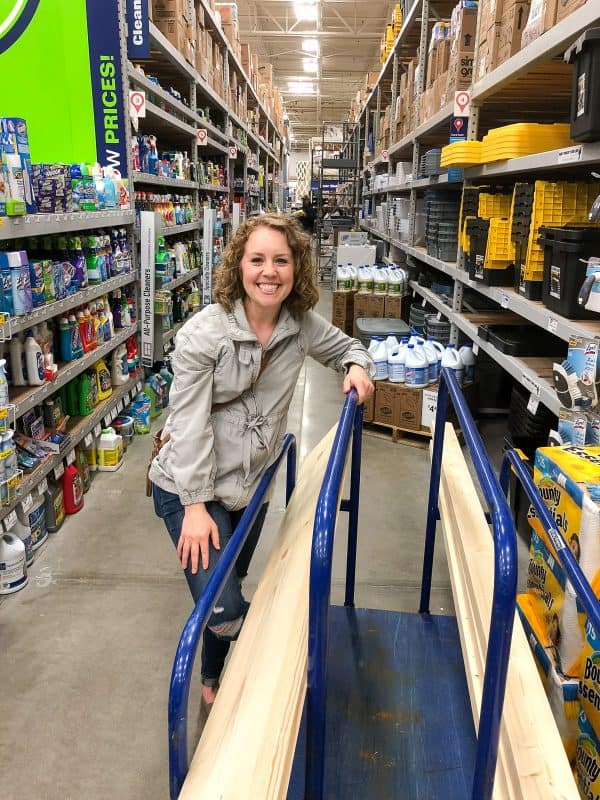
How much help did you really need? I feel like I did 70% of the work by myself. Although it was a little imitating going to the lumber store by myself to pick out wood, that it definitely something I can do by myself.
Ryan helped with the sanding because he wanted too, not that I needed his help. But bless his soul.
Ryan taught me how to use the pocket hole jig, and then I was able to do it myself.
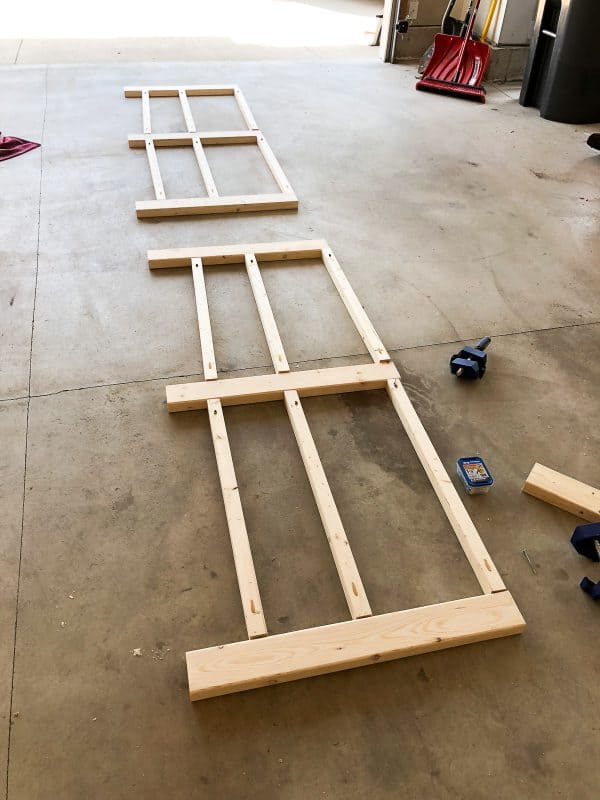
I built the 2 frames (the front and the back) all by myself. !!!!
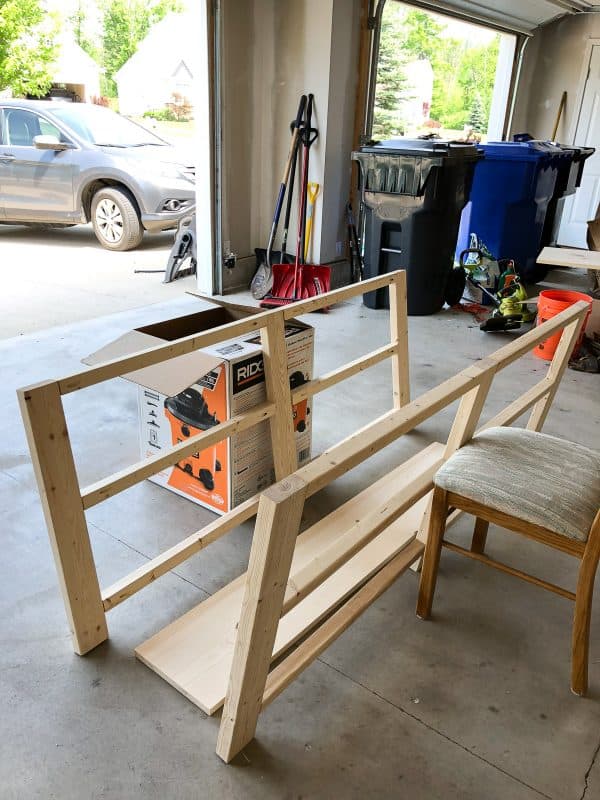
I needed Ryan’s help to attach the frames together. More as an extra set of hands to hold the frames upright.
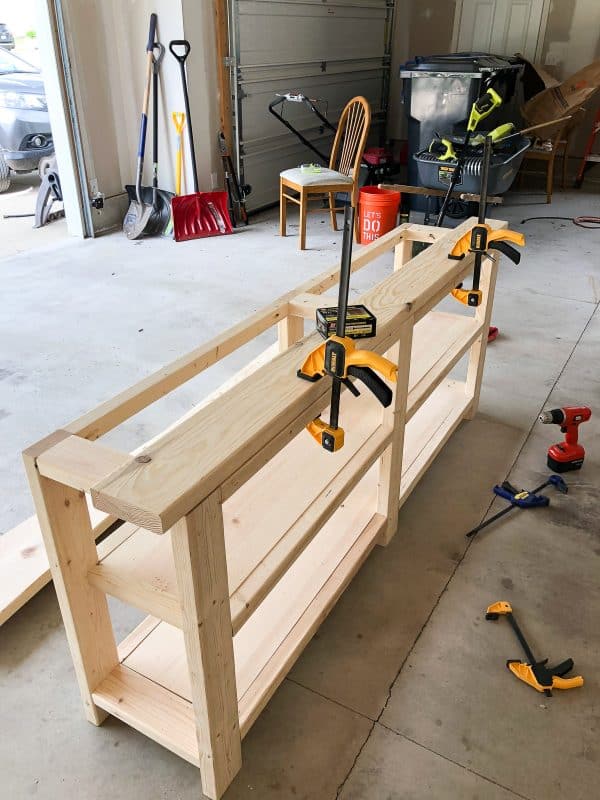
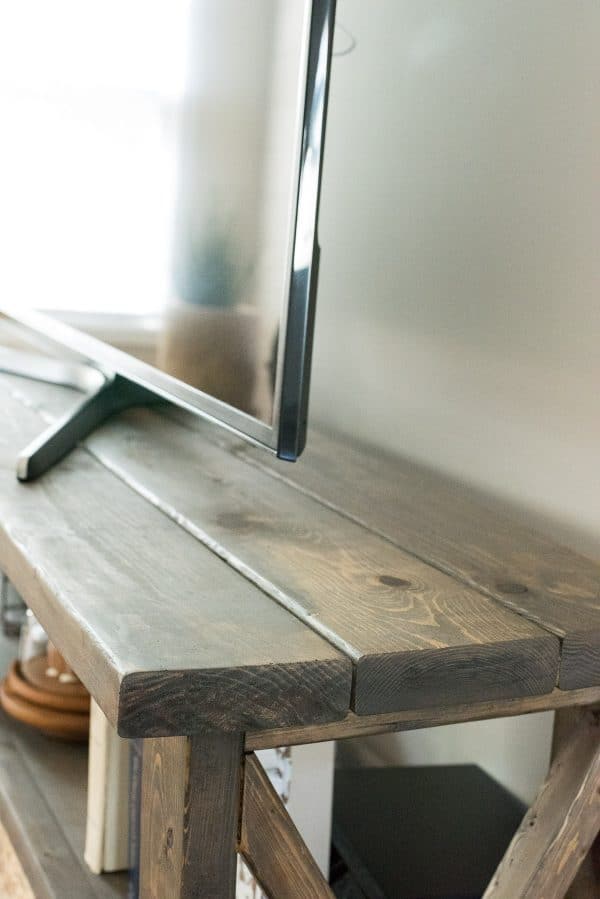
Ryan helped me get the top 3 boards lined up on the table, making sure they were even on both sides before I screwed them in.
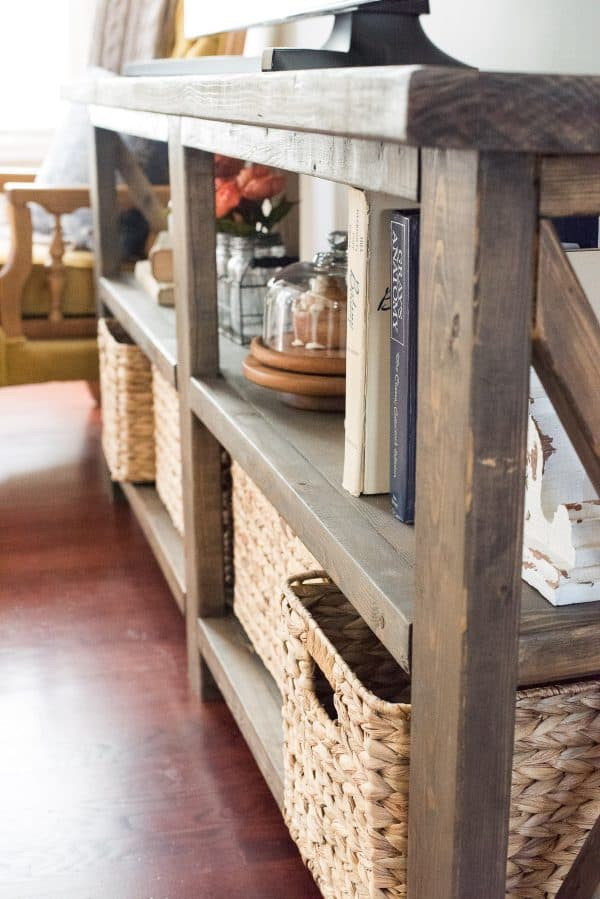
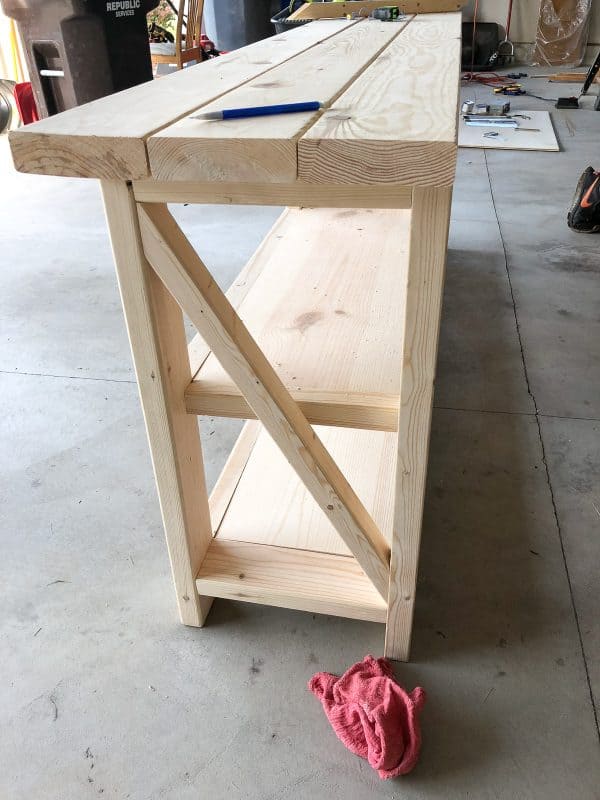
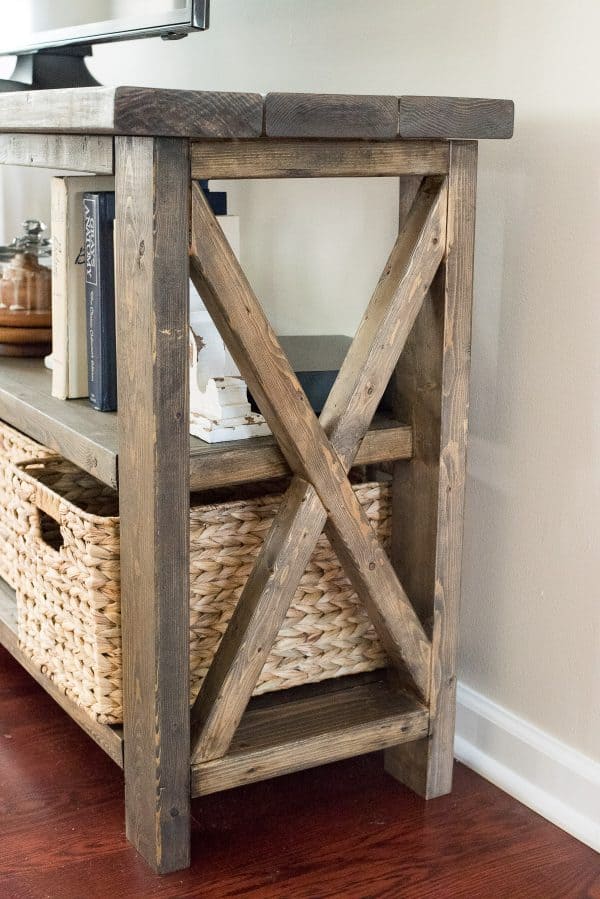
Then the table was complete! At least, it was structurally sound. But one of the reasons why I picked this plan was because of the X feature on the sides of the table. I did have Ryan help me with the Xs, making sure the angles were correct. It was a little tricky trying to figure out how to clamp those pieces in place so the wood glue would dry, but creativity was key.
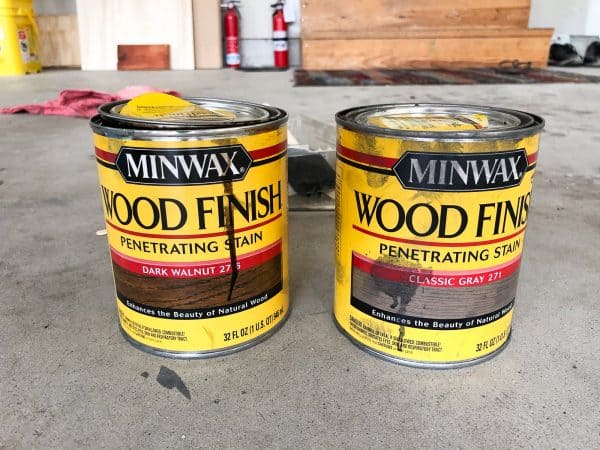
Next step, the staining, which I did myself! I did one coat of classic gray and then went over that with a coat or dark walnut.
And that brings us to the conclusion of the building.
I don’t think I would need as much help for the next project, especially because I have a better understanding of how to use certain tools and follow a plan. However, there will always be certain parts where another pair of hands is helpful.
Would you do this project again? Absolutely! I love how the table turned out and fits my home decor style. This piece means a lot more to me because I made it, so I’m guessing we’ll have it for a long time.
How much did this project cost? $89.22
That’s for all the lumber, wood glue, screws, kreg screws, the kreg jig system, and a longer driver bit for the drill.
I already had the stain from a previous project and all the tools.
Do you have any more building projects in the works? YES! I have lots of ideas – like adding shelves in our bathroom and making a small hallway table.
Start building your own farmhouse console table – here’s the online plan I used from Ana White.








Great job on the table, Beth. If the cooking thing doesn’t work out for you, check out carpentry.
Awwww!! Thank you Lauri LOL!
Love the t.v. stand. Just a note to readers: most tools can be rented from home hardware places like Home Depot.
Thank you Bridget! And yes, great advice on renting item from home depot!