This post may contain affiliate links. Please read our disclosure policy.
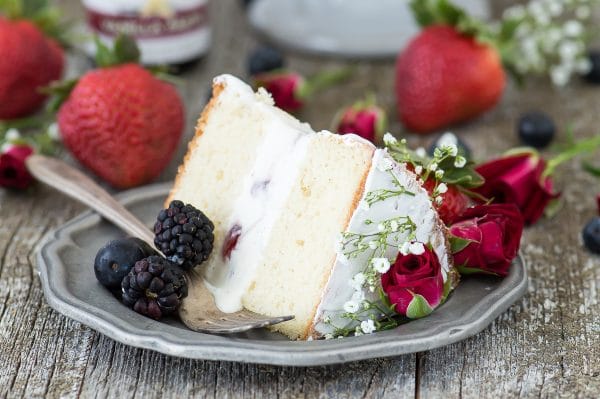
Naked berry ice cream cake recipe. A naked cake featuring 2 layers of vanilla bean cake and a layer of homemade vanilla bean berry ice cream.
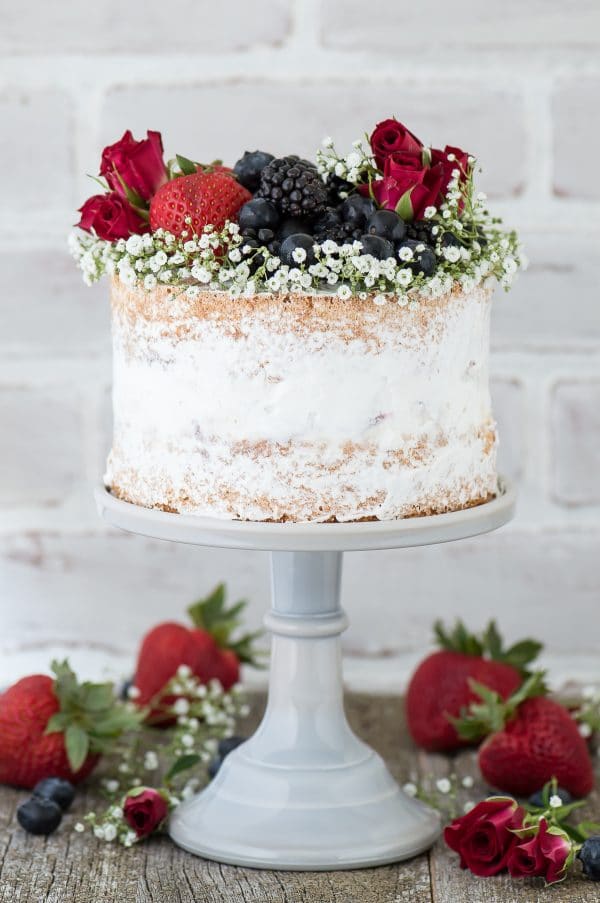
I think we might have invented a new thing – a naked ice cream cake!
Naked cakes, cakes that have no or minimal frosting on the outside, have been gaining popularity.. I mean how can they not, they are gorgeous and simple to make.
But combining a naked cake with an ice cream cake – that’s what I call summer’s perfect cake. A little cake, a little ice cream and you don’t have to have perfect decorating skills because a naked cake is suppose to look natural.
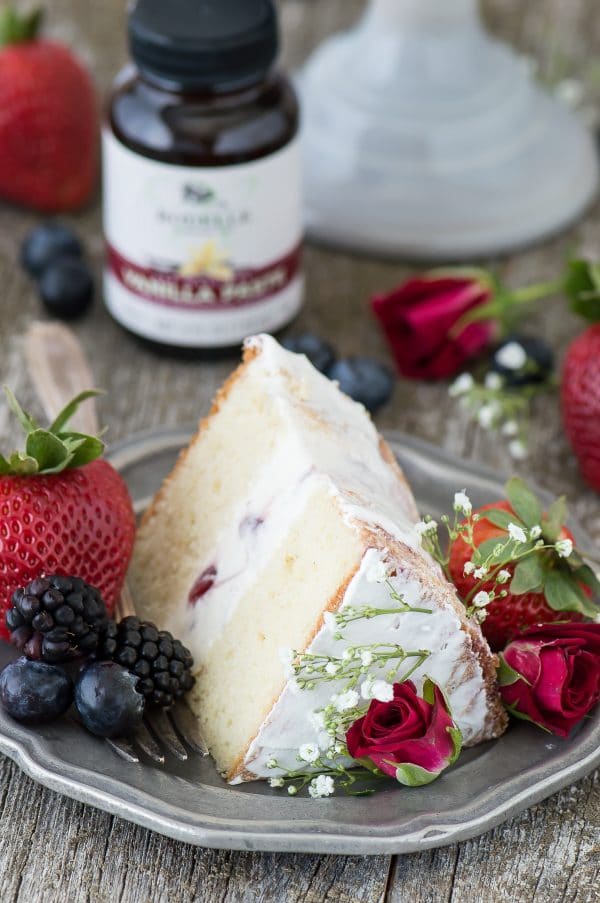
There are two layers of vanilla bean cake with a layer of homemade vanilla bean berry ice cream in the middle.
In the recipe section below I’ve outlined a few different ways you can make the ice cream. The base of the ice cream will be the same, but you could choose to use blueberry and strawberry syrup (like pancake syrup), blueberry and strawberry jam/jelly or fresh blueberries and strawberries. I used blueberry and strawberry syrup for a more smooth ice cream – but any of those options would be tasty!
Vanilla beans are one of my favorite ingredients. They add so much flavor in comparison to vanilla extract. Rodelle, one of the companies we love, has jarred vanilla paste which is amazing! It’s so easy to add to any recipe, just measure it out like you would vanilla extract. The best part is you don’t have to scrape the pods out of the vanilla bean to get that rich vanilla flavor and those fun vanilla specks in your baked goods!
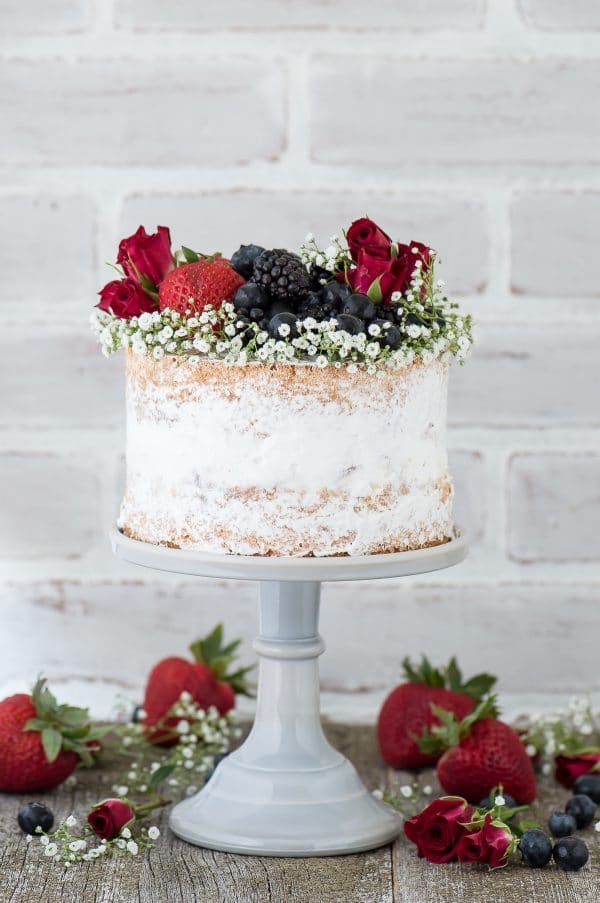
We have detailed instructions below on how to make and assemble the cake but right here we’ll highlight how to “decorate” the cake.
Once the layers are assembled and the cake has been frozen, take a small amount of cool whip and a small metal spatula and cover the sides and top of the cake in a very light layer of cool whip.
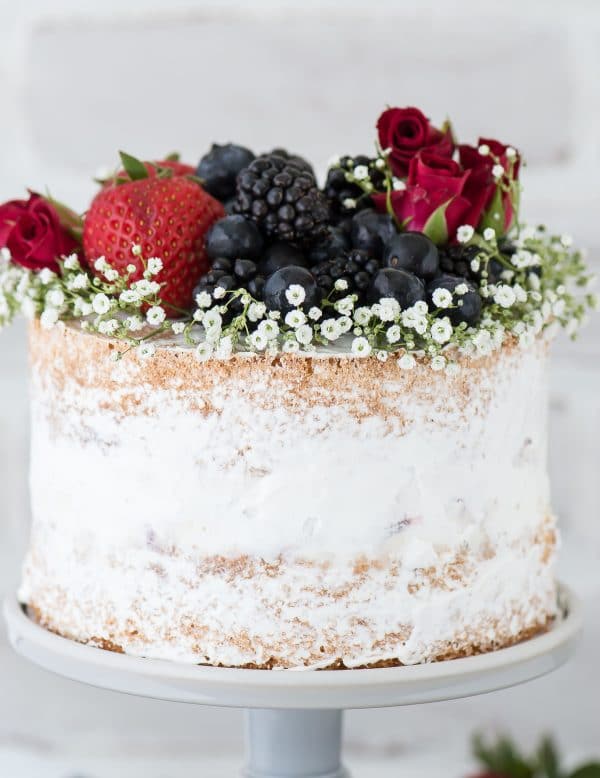
I like to spread the cool whip on the cake and then use the long edge of the spatula and hold it against the cake to gently scrap away some of the cool whip so the cake underneath is revealed.
As for decorating the top of the cake, there isn’t really any magic way to do it. But the best part is that you can add a few things here or there and reevaluate and move things around. I chose to use baby’s breath, small red roses, strawberries, blueberries and blackberries to decorate the top.
I lined the outside of the cake with pieces of baby’s breath, then added the fruit, the roses and then went back in and added additional pieces of baby’s breath and fruit to fill in the gaps where needed.
Because this is an ice cream cake, keeping it cold and frozen is the key before serving it. You could even decorate the top of the cake and stick the whole thing in the freezer until you’re ready to serve it. I would recommend freezing the cake for less than an hour once the berries and flowers are on it.
This recipe is a two day project – but it’s not overly time intensive. Make and bake the cake and allow it to cool completely. Make the ice cream and assemble the cake, then allow it to freeze overnight. The next day add the thin layer of cool whip, decorate the top of the cake, and freeze it until ready to serve!
I created this recipe in partnership with Rodelle as one of their brand ambassadors.
Tap stars to rate!
Naked Berry Ice Cream Cake
Ingredients
White Cake
- 6 tbsp butter, softened
- ⅔ cup sugar
- 3 large egg whites
- ½ cup sour cream
- ½ tbsp [Rodelle Vanilla Paste]
- 1 cup + 2 tbsp all purpose flour
- 1 ½ tsp baking powder
- ¼ tsp salt
Ice Cream
- 1 cup heavy cream
- ¾ cup sweetened condensed milk
- 1 tsp [Rodelle Vanilla Paste]
- Blueberry syrup, could substitute jam or jelly or fresh blueberries
- Strawberry syrup, could substitute jam or jelly or fresh chopped strawberries
To decorate the cake
- 1/4-1/2 cup cool whip
- Fresh blueberries, strawberries, blackberries
- Baby’s breath and small red roses

Instructions
White Cake
- Preheat the oven to 350º F.
- Using butter, grease the bottom and sides of two 6 inch round cake pans or springform pans and line the bottoms with a round piece of parchment paper. To ensure even baking, place a bake even strip around the pan. You can make your own homemade bake even strip by cutting a towel or shirt to fit the size of your pan. Get the fabric really wet, then squeeze out the dripping water but do not squeeze it too dry. Secure the fabric around the pan with a safety pin.
- In a mixing bowl, combine the butter and sugar, beat using an electric mixer until fluffy. Add in the egg whites, beat again.
- Add in the sour cream and vanilla paste, mix until smooth with a spatula.
- In a smaller bowl, combine the flour, baking powder and salt, gently mix with a spoon. Gradually add half of the flour mixture to the wet ingredients, do not dump it in, rather take spoonfuls of the flour mixture and gently shake it over the wet ingredients, as if you were sifting in the flour. Fold in the mixture until no flour remains. Repeat with the other half of the flour, folding it in and scraping the sides and bottom of the bowl to incorporate everything.
- Divide the batter evenly between both pans, with about 1 & 1/4 cups of batter in each pan.
- Bake for 22-26 minutes, or until a toothpick inserted in the center comes out clean.
- Once the cake is done, allow it to cool in the pan on a cooling rack for 10 minutes. After 10 minutes, carefully remove the cake from the pan. If using a springform pan, remove the sides and bottom. Allow the cake to cool completely on a cooling rack. Once cool, remove the parchment paper round from the bottom of the cake. If you need to level the top of your cake, do so now using either a cake lever or knife.
- Make sure the cake is completely cool before moving forward.
- If you’d like to make the cake several days in advance, wrap the cake in plastic wrap and place it in the refrigerator.
Ice Cream
- In a metal mixing bowl, use an electric mixer to beat the heavy cream into stiff peaks, about 2 minutes.
- Add in the sweetened condensed milk and vanilla paste, mix well with a spatula.
To assemble the ice cream cake
- Place one layer of white cake in the bottom of a 6 inch springform pan. If you do not have a springform pan, use a regular 6 inch round pan lined with plastic wrap that hangs over the sides. This will help you remove the cake from the pan once frozen.
- On top of the first layer of cake, add the homemade ice cream. Swirl in the blueberry and strawberry sauce/jam, adding as much or as little as you like. If using fresh fruit, mix the fruit into the ice cream and then add on top of the first layer of cake.
- Place the cake in the freezer for 30-60 minutes to harden the ice cream before adding the second layer of cake.
- Place the second layer of white cake on top of the ice cream layer. The cake will stick up past the sides of the cake pan.
- Allow the ice cream cake to freeze completely, 6-8 hours.
- Once frozen, carefully remove the sides from the springform pan. You may find it helpful to use a flat metal spatula to go around the edges of the pan to loosen the cake before removing the springform pan.
- Use a small offset spatula to add a thin layer of cool whip to the sides and top of the cake. Don’t completely cover the cake layers as they are suppose to still be visible.
- Return the cake to the freezer and keep frozen until ready to serve.
- If desired before serving, decorate the cake with fresh blueberries, strawberries, blackberries, baby’s breath and small red roses.


You kill me with these GORGEOUS cakes!! This is absolute perfection, Beth!
Awwww thanks Jessica!
This is one seriously stunning cake, Beth! I think naked cakes were made with me in mind because I am the absolute worst at frosting cakes. I love this!
You should make one, I want to see it!
You make the best cakes! I still remember your turkey cake and I see that witch cake in the sidebar. Both so cute! And I’m all for naked cakes. I don’t have time to be messing around with making the frosting look good. ;)
I love those 2 themed ones you mentioned!!
SUCH A PRETTY CAKE, BETH! Perfect for a wedding shower!
That would be a fun dessert for a shower!
What a gorgeously perfect cake! I really love that you added ice cream in the middle!
What a stunning cake! I am in awe! It’s absolutely perfect! It would be lovely for a bridal shower.
This honestly couldn’t be any prettier. What a beautiful cake for almost any occasion.
Baby’s breath as I understand is mildly toxic, how do you make your floral decorations food safe
The baby’s breath is used only as a decoration. You can also wrap the bottom of the stems in plastic wrap before inserting them into the cake or laying them on the cake.
Something is off with the cake ingredients, I tried it three times following the recipe exactly and it just doesn’t rise enough. I think my be too many eggs. I will try to adjust the amount next time