This post may contain affiliate links. Please read our disclosure policy.
Our new and improved turtle cheesecake recipe can be found here!
I have bad news guys.
The nearest Cheesecake Factory is 121 miles away from me. And that’s not a good thing when you have cheesecake on your mind. I suppose it’s drivable. 2 hours for cheesecake.. but if I’m driving 2 hours I’ll be ordering at least 3 pieces. One to eat while I’m there, one for the drive home, and one for Ryan. Awww, best wife ever award?
My friend, Ashley, has been talking about cheesecake for a few months. She’s pregnant. Any other pregnant women craving cheesecake?! I’ve been hearing about cherry cheesecake, chocolate cheesecake, and no bake cheesecake. I’m pretty sure she convinced me that I NEED cheesecake too!
Of course she suggested that I should make us some. Uhhh.. one tiny problem.. I’ve only made one baked cheesecake before. And it was in a small pan and it didn’t turn out very tall. But I realized it was probably more time efficient for me to learn how to make a good baked cheesecake rather than drive 121 miles every other month for cheesecake.
Guys, this is a GOOD cheesecake. It’s like the cheesecake of my dreams and Ashley (and baby) couldn’t agree more either!
The base of the cheesecake is incredibly easy and with my baking tips, you’ll be able to bake a rich, thick, tall cheesecake right in your own kitchen!
For the base you’ll need a lot of cream cheese (this is a no judgment zone friends!), sugar, vanilla, eggs, and heavy cream. But here’s the awesome secret. If you’re not a regular baker, you might not have heavy cream on hand but if you love coffee, you can use your favorite coffee creamer in place of heavy cream in baking! Woohoo!
To give this turtle cheesecake extra flavor I used caramel coffee creamer in the base of the cheesecake! It definitely gave the cheesecake extra caramel flavor, and when you’re making a turtle cheesecake you can never have too much caramel or chocolate.
There are 2 other important details to follow when making cheesecake.
1. Don’t be afraid of the water bath! I know it sounds weird, putting your cheesecake in a water bath, but it’s the secret to creating moist, perfectly baked cheesecake. It’s really not scary. Be sure to wrap the pan your baking your cheesecake in with 2 layers of tinfoil before you fill it with the cheesecake mixture. Place the cheesecake pan inside a larger pan, like a 9×13, and fill the 9×13 inch pan with water, about 1-2 inches below the top of the cheesecake pan.
2. Don’t rush the cooling process. Once the cheesecake is done baking, let it sit in the oven for 1 hour or longer with the oven door cracked. A slow cooling process will help prevent the cheesecake from cracking. Don’t forget to refrigerate your cheesecake over night before serving.
How to Prevent your Cheesecake Water Bath from Leaking
This is the best trick ever to prevent your cheesecake water bath from leaking and ruining your cheesecake.
Place the springform pan inside a large oven safe turkey bag or slow cooker liner bag and roll down the top of the bag so it doesn’t cover the cheesecake. If you have a lot of excess bag space, twist one side tight and knot it so the bag is tight around the pan. Place the springform pan that’s inside the bag in the large roasting pan and fill with water.
The water bath will not leak into your cheesecake!
Tips for Turtle Cheesecake
- Allow the cream cheese to come to room temperature before beating it. Room temperature cream cheese is easier to whip.
- The eggs are the last ingredient that get mixed into the cheesecake batter. Be sure to mix them in, one at a time, just until the yolk breaks. Over beating the eggs is the number one cause of air bubbles and cracking.
- Using a different size springform pan will alter the baking time. I used a 8 inch springform pan.
- Allow the cheesecake to cool in the oven (with the door cracked) for 1 hour.
Tap stars to rate!
Turtle Cheesecake
Ingredients
Cheesecake
- 24 oz (678g) full fat cream cheese, 8 oz each
- ½ cup (99g) granulated sugar
- 1 tsp vanilla extract
- ½ cup (118ml) caramel coffee creamer
- 3 large eggs
Crust
- 1 ½ cups (170g) graham cracker crumbs
- 5 Tbsp (72g) butter, melted
Chocolate Ganache
- ¼ cup (59ml) heavy cream
- ¾ cup (129g) chocolate chips
Caramel Sauce
- 1 cup (198g) sugar
- ½ cup (113g) butter, 1 stick
- ⅓ cup (79ml) heavy cream

Instructions
Crust
- Preheat the oven to 350º F.
- Pulse graham crackers or similar crackers/cookies in a blender or food processor until they are very fine. Measure out 1 & 1/2 cups of crumbs. Combine the crumbs and melted butter in a small bowl and mix well until incorporated.1 1/2 cups (170g) graham cracker crumbs, 5 Tbsp (72g) butter
- Before adding the crumbs to the pan, wrap the bottom and sides of the pan in 2 layers of aluminum foil. This will help keep the water out during the water bath.
- Add the crumbs to the 8 inch pan, distribute them evenly, using a cup or the bottom of something flat to press the crumbs into the pan. If desired, you can have the crumbs go up the sides of the pan a bit.
- Place the pan in the oven, bake the crust for 8-10 minutes or until golden.
- Remove the pan from the oven, and allow it to cool to room temperature before adding the cheesecake mixture.
- Turn the oven down to 325º F.
Cheesecake
- In a large mixing bowl, beat the 3 packages of cream cheese until smooth, about 2-3 minutes.24 oz (678g) full fat cream cheese
- Add in the sugar and vanilla, beat again.1/2 cup (99g) granulated sugar, 1 tsp vanilla extract
- Add in the coffee creamer, beat again to combine.1/2 cup (118ml) caramel coffee creamer
- Add in the eggs, ONE at a time, beating after each one.3 large eggs
- Beat the mixture for 1 additional minute.
- Pour the cheesecake mixture on top of the crust. Make sure the crust and pan have cooled before doing so.
- Place the 8 inch pan inside a 9×13 inch cake pan. Carefully fill the 9×13 inch pan with water, filling it about 1 inch below the top of the tin foil on the 8 inch pan.
- I like to place the cake pan on top of a large baking sheet, this makes moving the water bath easier.
- Place the water bath with cheesecake inside in the oven and bake at 325º F for 60 minutes.
- The cheesecake is done with the center wobbles a little when you giggle the pan. The edges of the cheesecake should look firmer than the center.
- Once your cheesecake looks done, turn the oven off and open the oven door a little. Allow the cheesecake to cool to room temperature inside the oven before removing.
- Once cooled, remove the cheesecake from the oven. Take the aluminum foil off carefully and place the cheesecake (still in the pan) in the fridge for at least 6 hours or overnight.
- Before serving, carefully unmold the pan from the cheesecake. Allow the pan to do most of the work, some of the cheesecake may stick to the pan, but the cheesecake should naturally separate from the pan.
To make the caramel sauce
- In a medium saucepan over medium heat, combine the sugar and butter, stirring constantly until the mixture begins to bubble. Continue cooking and stirring for 1 minute then remove the pan from the heat and slowly add in the heavy cream, stirring until it’s smooth. Allow the caramel to cool while you make the chocolate.1 cup (198g) sugar, 1/2 cup (113g) butter, 1/3 cup (79ml) heavy cream
To make the chocolate ganache
- Place the chocolate chips in a heat proof bowl.
- In a small saucepan over medium heat, bring the heavy cream to a boil. Once boiling, pour the heavy cream over the chocolate chips. Allow the mixture to sit for 1-2 minutes, melting the chocolate chips, then stir well to mix. Allow the chocolate to cool for 10-15 minutes.1/4 cup (59ml) heavy cream, 3/4 cup (129g) chocolate chips
To assemble
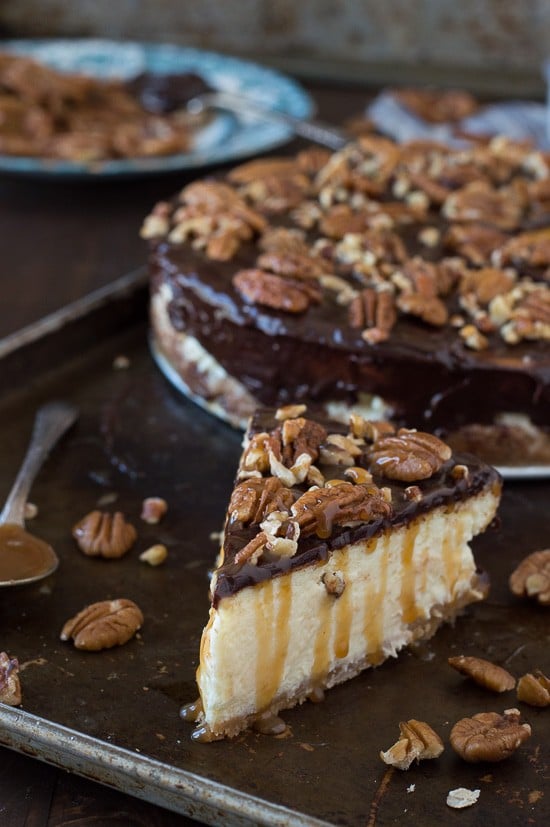
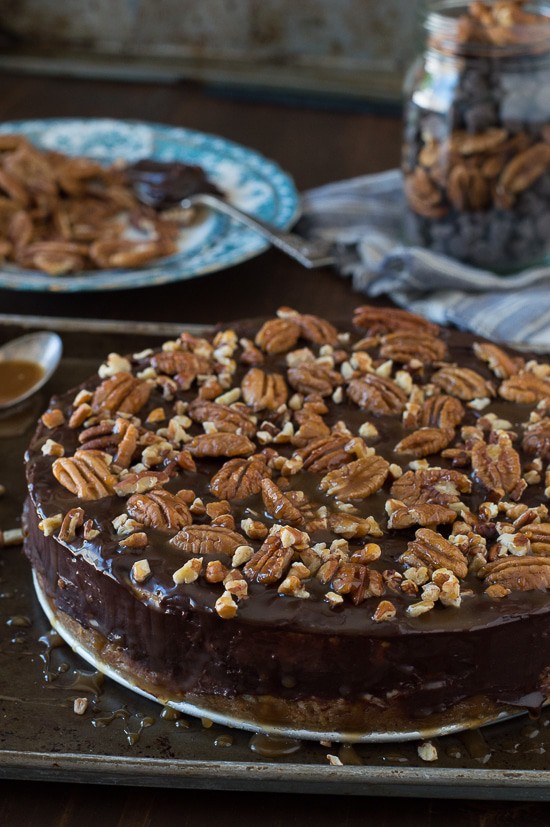
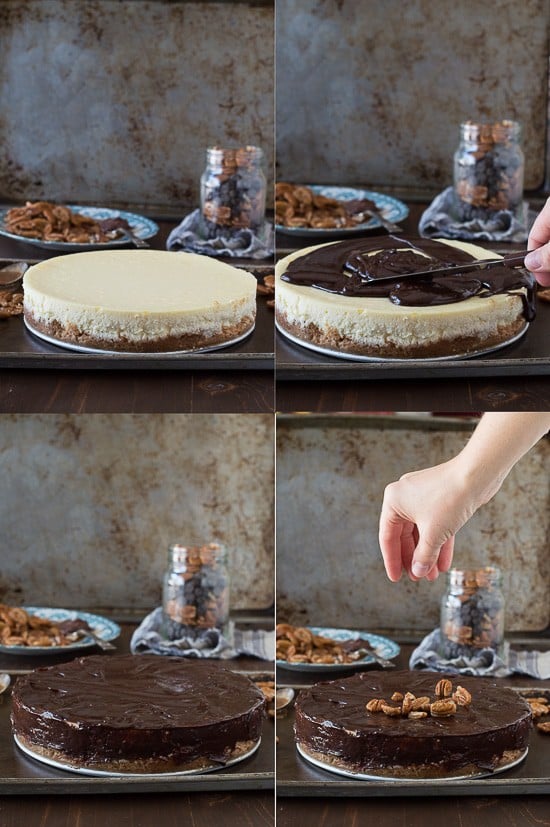
- Pour the chocolate ganache on top of the cheesecake, using a spatula to spread it around. I also spread the ganache on the sides of the cheesecake.
- Add pecans (whole and broken) on top of the ganache.
- Once the caramel is cooled, drizzle it generously over the cheesecake.
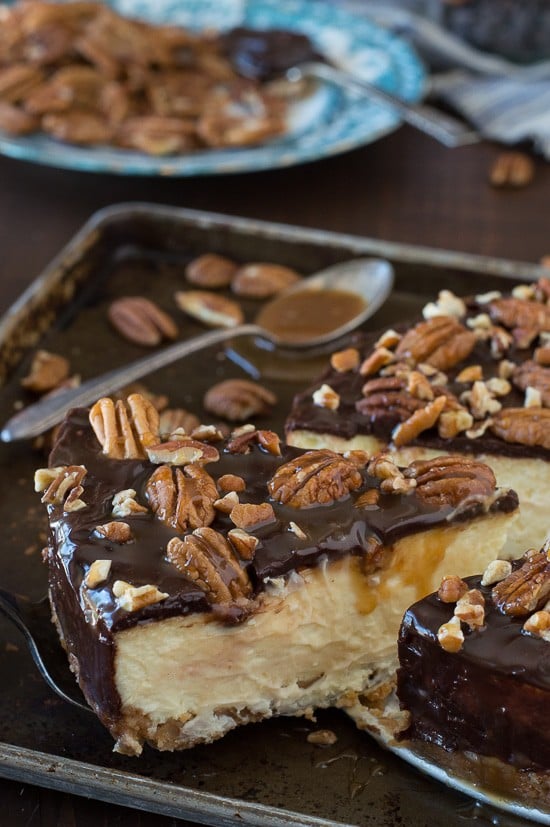
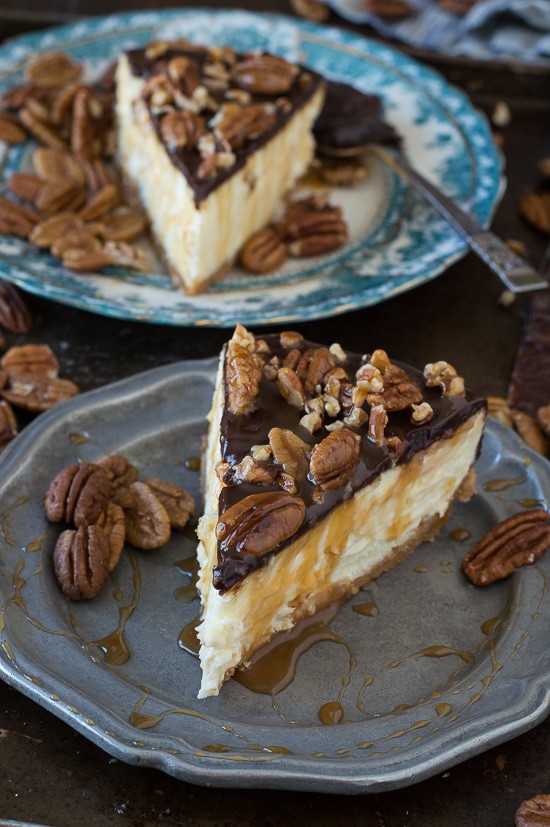
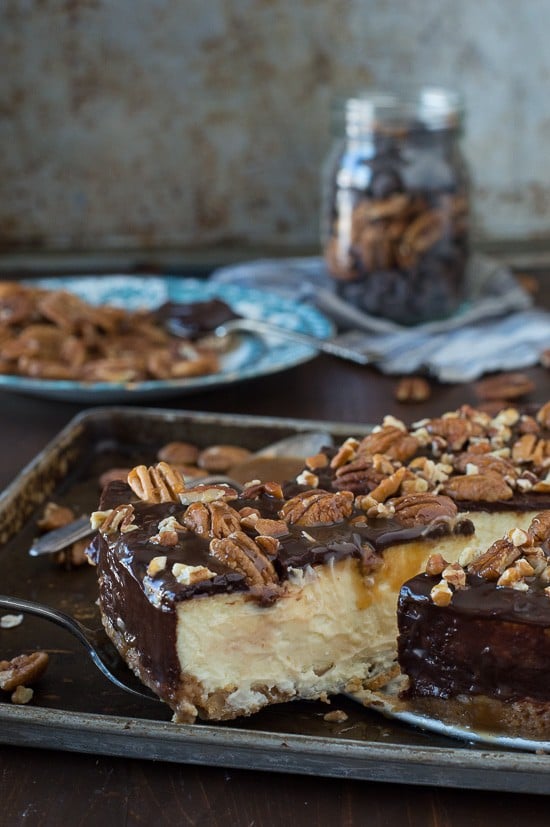
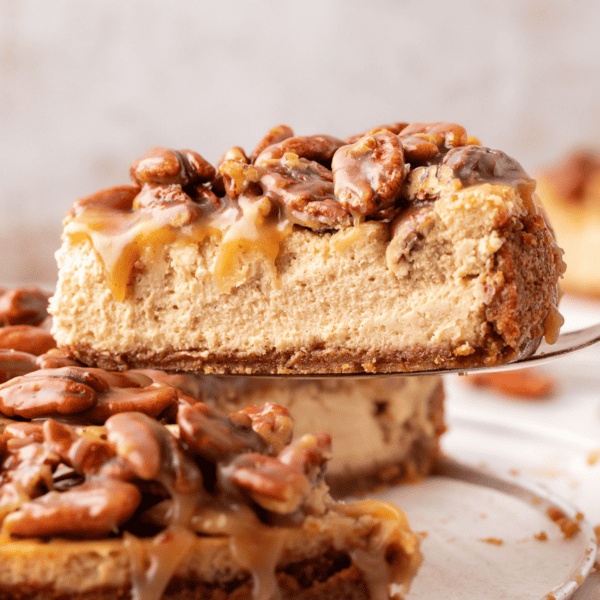
- Enjoy the best turtle cheesecake ever!
- Cover and refrigerator any leftovers.


Dear Beth, how decadent and divine. I love this turtle inspired cheesecake….two of my favorites in one! I hope you saved as slice for me! xo, Catherine
1. I feel your pain. Growing up, the closest cheesecake factory was in Boston and I only went there one or twice on my entire childhood.
2. Now I live much closer and it is one of my favorite spots. hands down.
3. I am a HUGE cheesecake lover, and this one looks perfect
4. I too fear the water bath and cheesecake baking in general. As such, I stick to no-bake versions.
5. Did I say I love this?
6. Water baths are so easy, you can make a baked cheesecake, I know it!!
What a gorgeous cheesecake! So decadent!
Super duper decadent!!
Total chocolate heaven right here! And girl, your cheesecake slice is PERFECTION! I battled with a slice of cheesecake yesterday trying to get it just right. Yours might have to be my new model. :)
Oh gosh! I like to obsessively wipe my knife when I cut anything to make sure I get clean cuts!!
This cheesecake has me drooling….cheesecake is totally my guilty pleasure! Loving this, pinned!
Thanks for pinning my friend!
Your instructions for caramel sauce does not make caramel. I tried it. Upon further study after this mess, caramel is made from browning the sugar first, either alone or with water. There is no mention of that. So please, for others not to make the same mistake, put more detailed information about how to make the caramel.
Hi Amy! In the instructions it says “In a medium saucepan over medium heat, combine the sugar and butter, stirring constantly until the mixture begins to bubble.” It will take the mixture 5-10 minutes to bubble – meaning you are browning the sugar.