This post may contain affiliate links. Please read our disclosure policy.
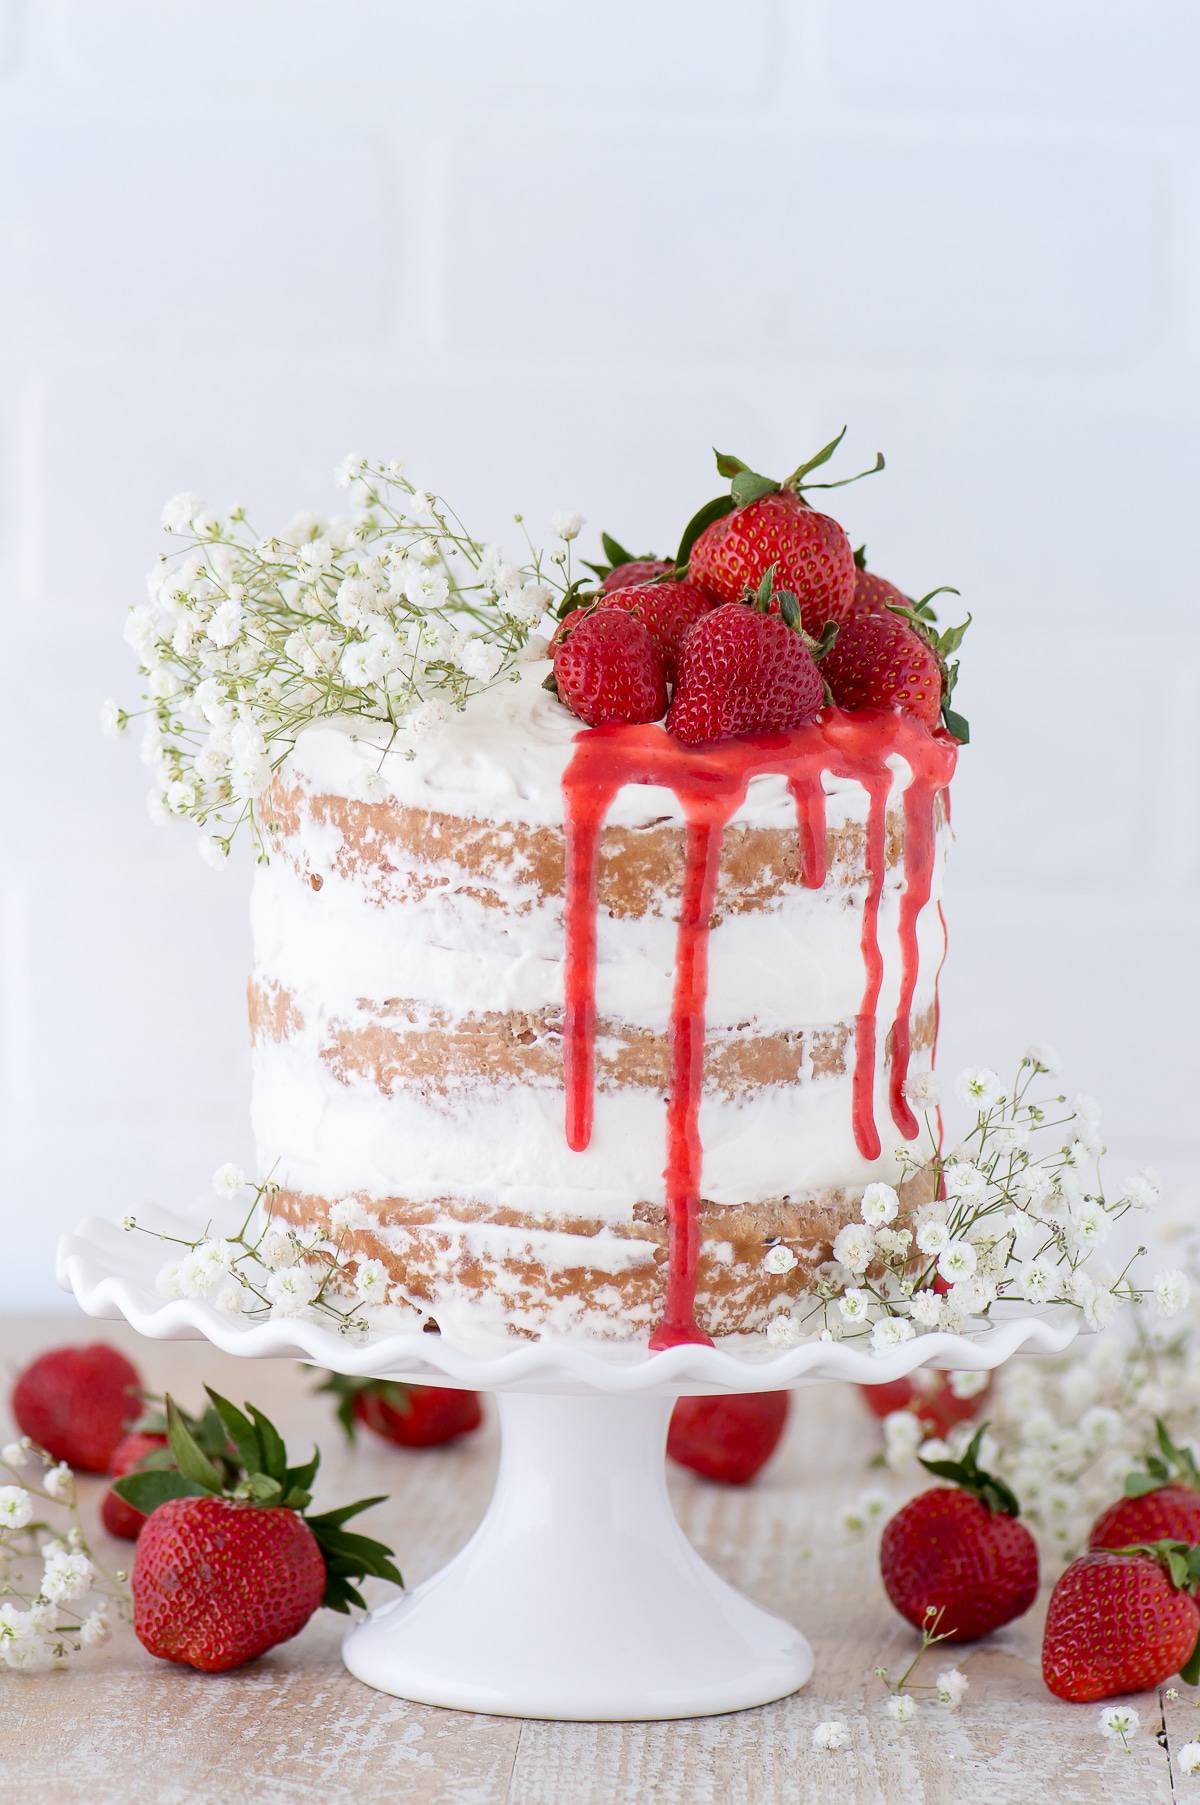 This is a real deal strawberry cake.
That means it’s made with real strawberries!
I sure wish it was as easy as throwing some strawberries and flour in a bowl and voila, it would magically make a cake. Haha, in my dreams!
There is a little more effort required than that, but it is worth it. It’s a 2 bowl kind of recipe, one of the dry ingredients and one for the wet ingredients. The cake is really moist and has a nice sweet, strawberry flavor.
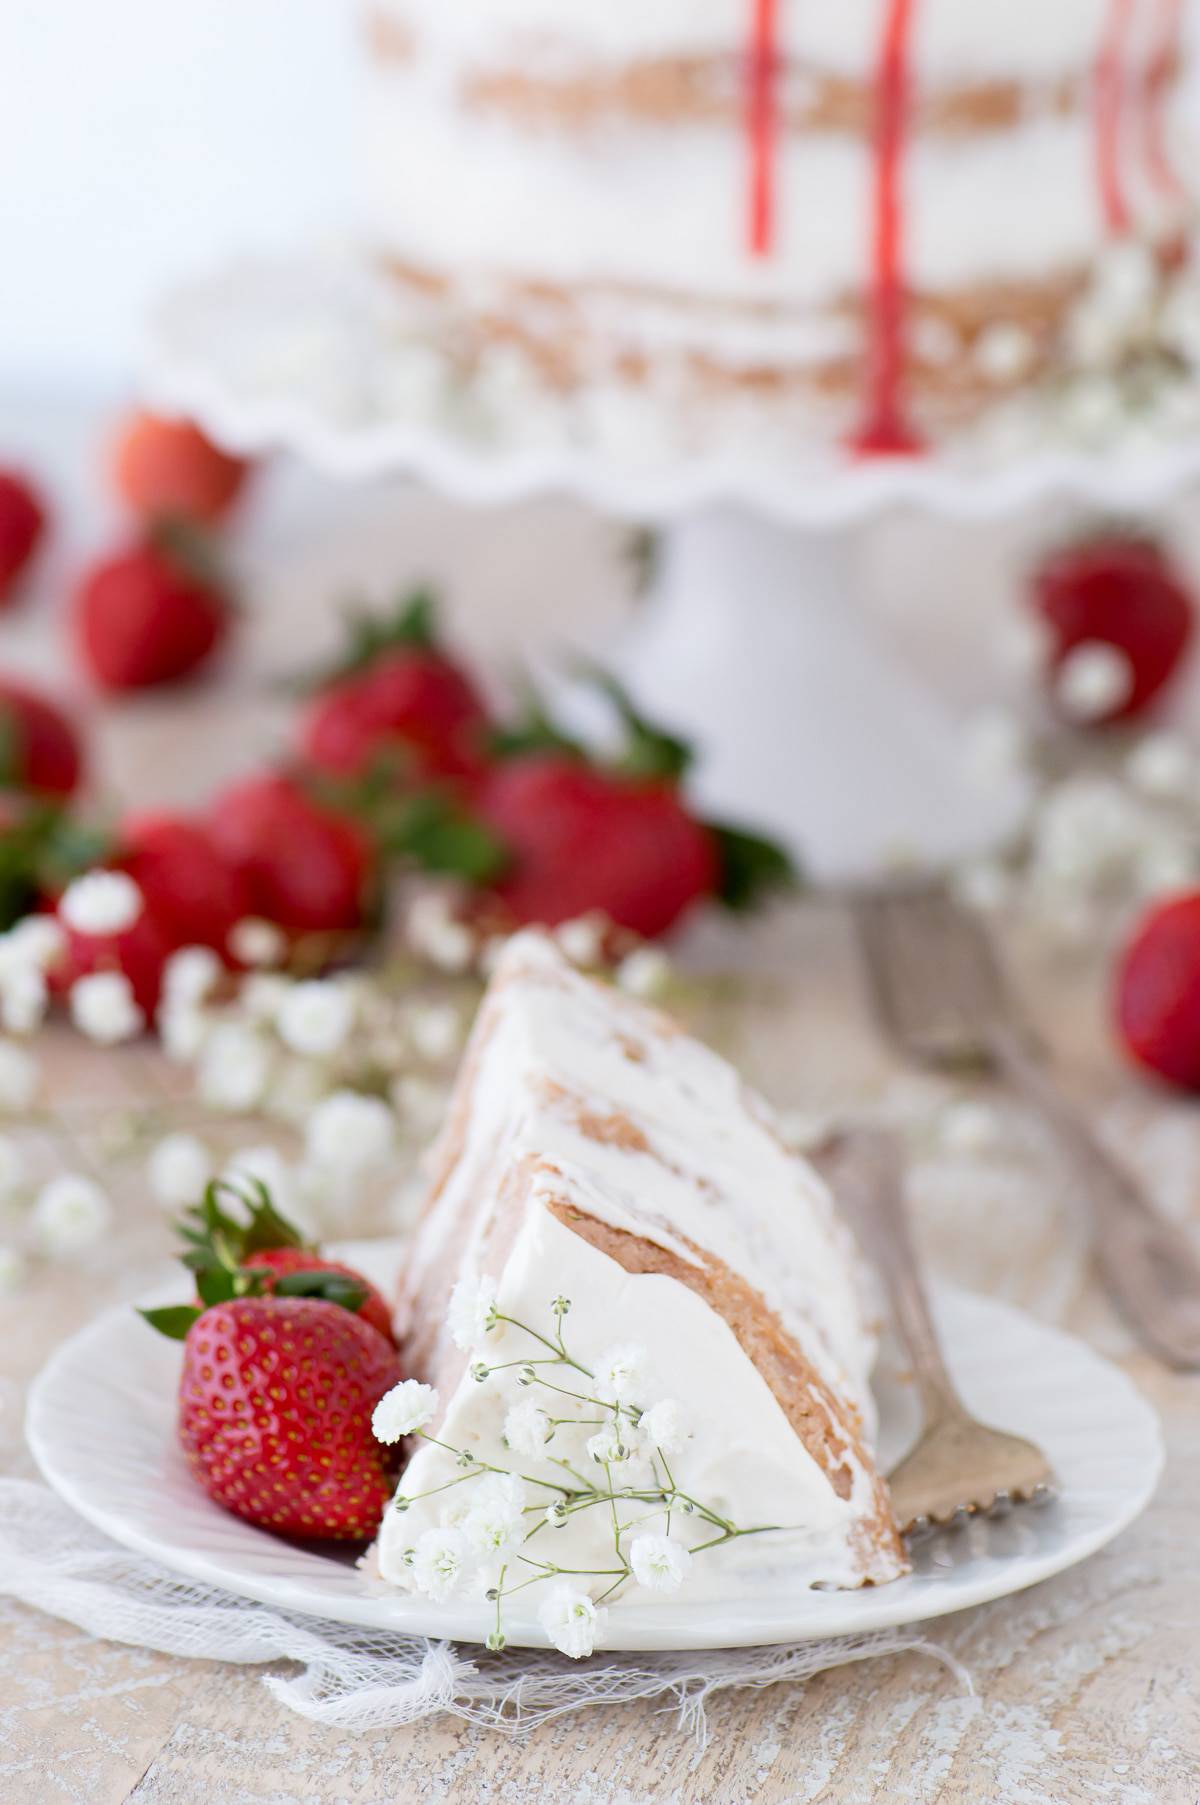 But there is another star in this recipe .. the whipped cream! We could call it a “sweet vanilla oh my gosh this is the best homemade whipped cream ever”.
And I’m going to be honest, I typically don’t like homemade whipped cream because it seems kind of tasteless to me. But this version is amped up with a lot of flavor from the International Delight sweet cream creamer and the excess of vanilla extract that I accidentally dumped in, but it turned out to be a great thing :)
If you have a sweet tooth (guilty!) this homemade whipped cream would be perfect with angel food cake or for dipping fruit in.
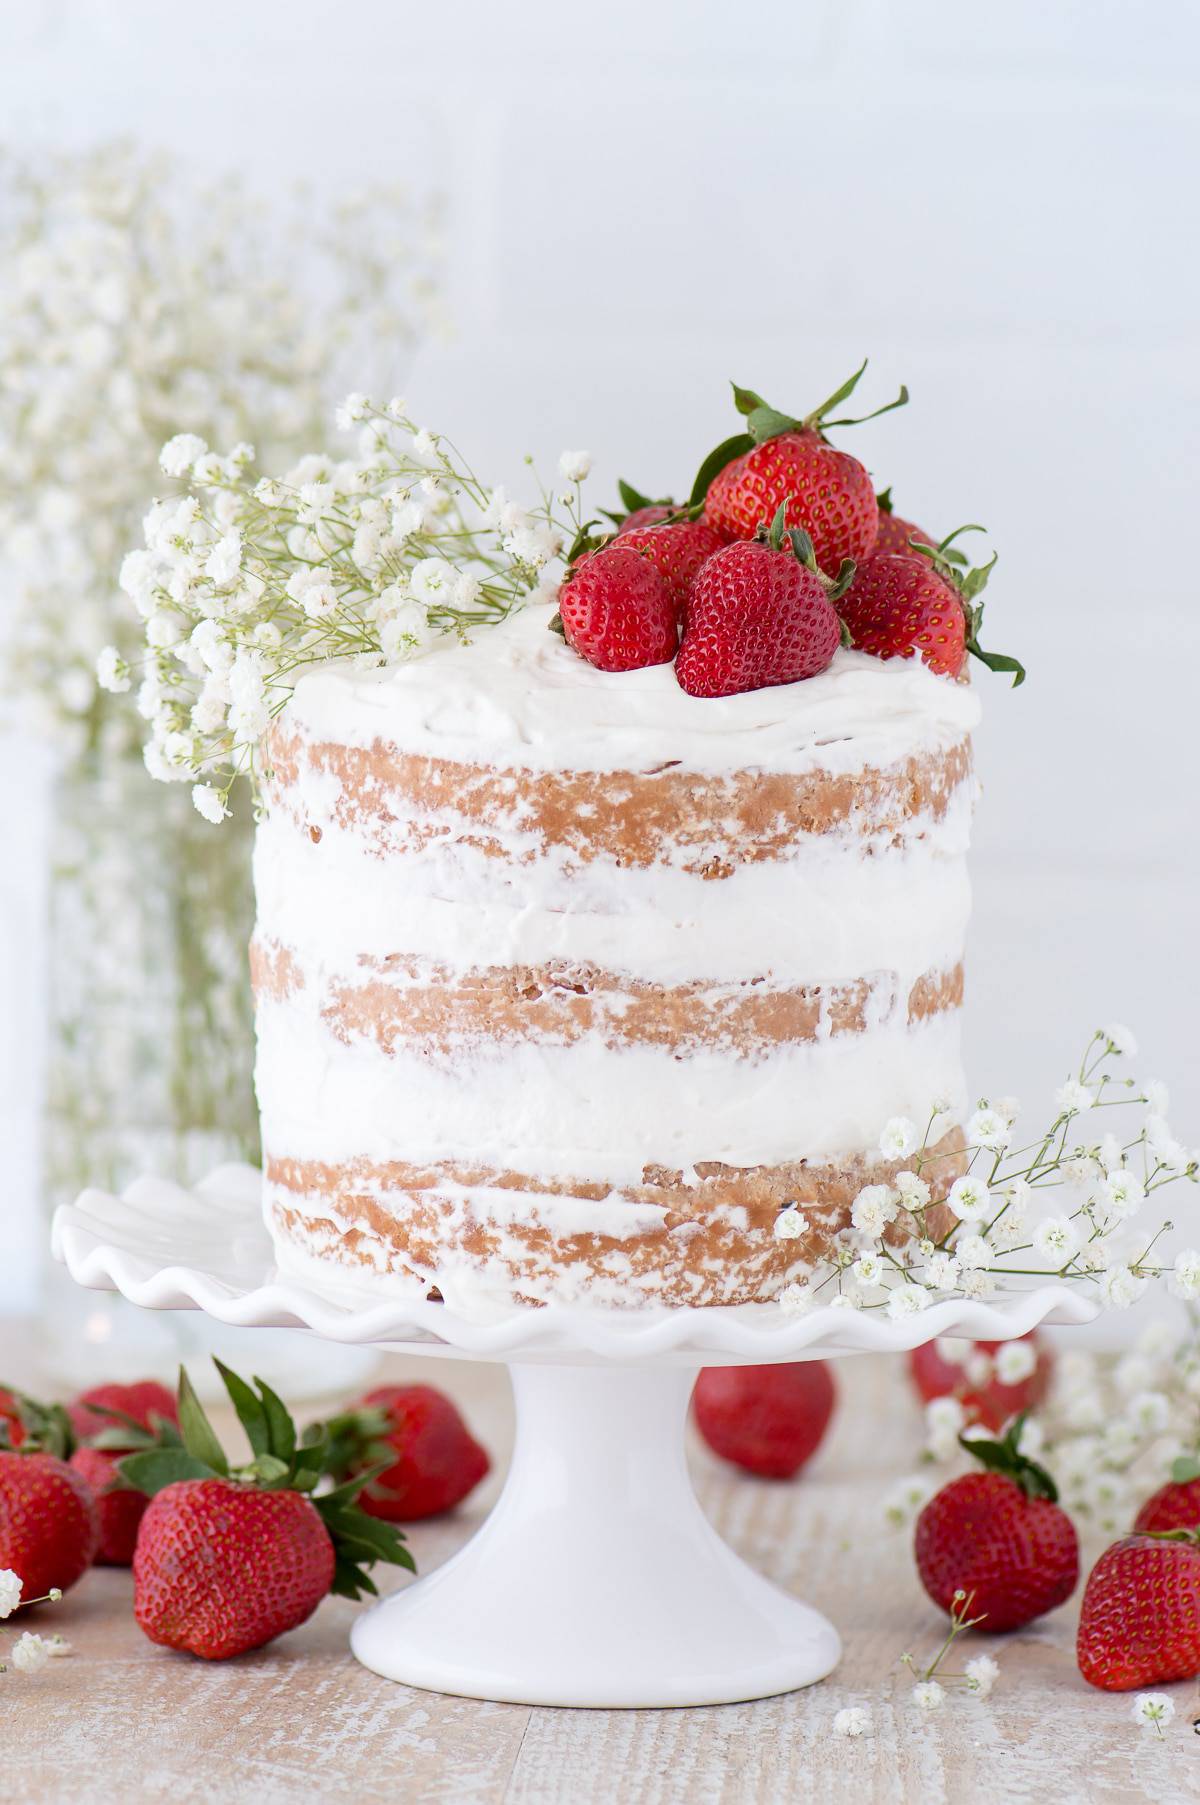
 While pairing a whipped cream frosting with a traditional butter cake is not typical, I like that the lightness of the whipped cream balances out the sweetness of the cake. I think that using buttercream frosting could have made the cake overly sweet – unless it was a lemon buttercream or a cream cheese buttercream, those could add some nice tang!
I love how delicate naked cakes look. They are suppose to be imperfect and of course I struggle with wanting to make them look perfect, haha! But I do think they are the easiest type of layered cake to make. Plus you can decorate them and then no one’s really looking at the frosting anyway!
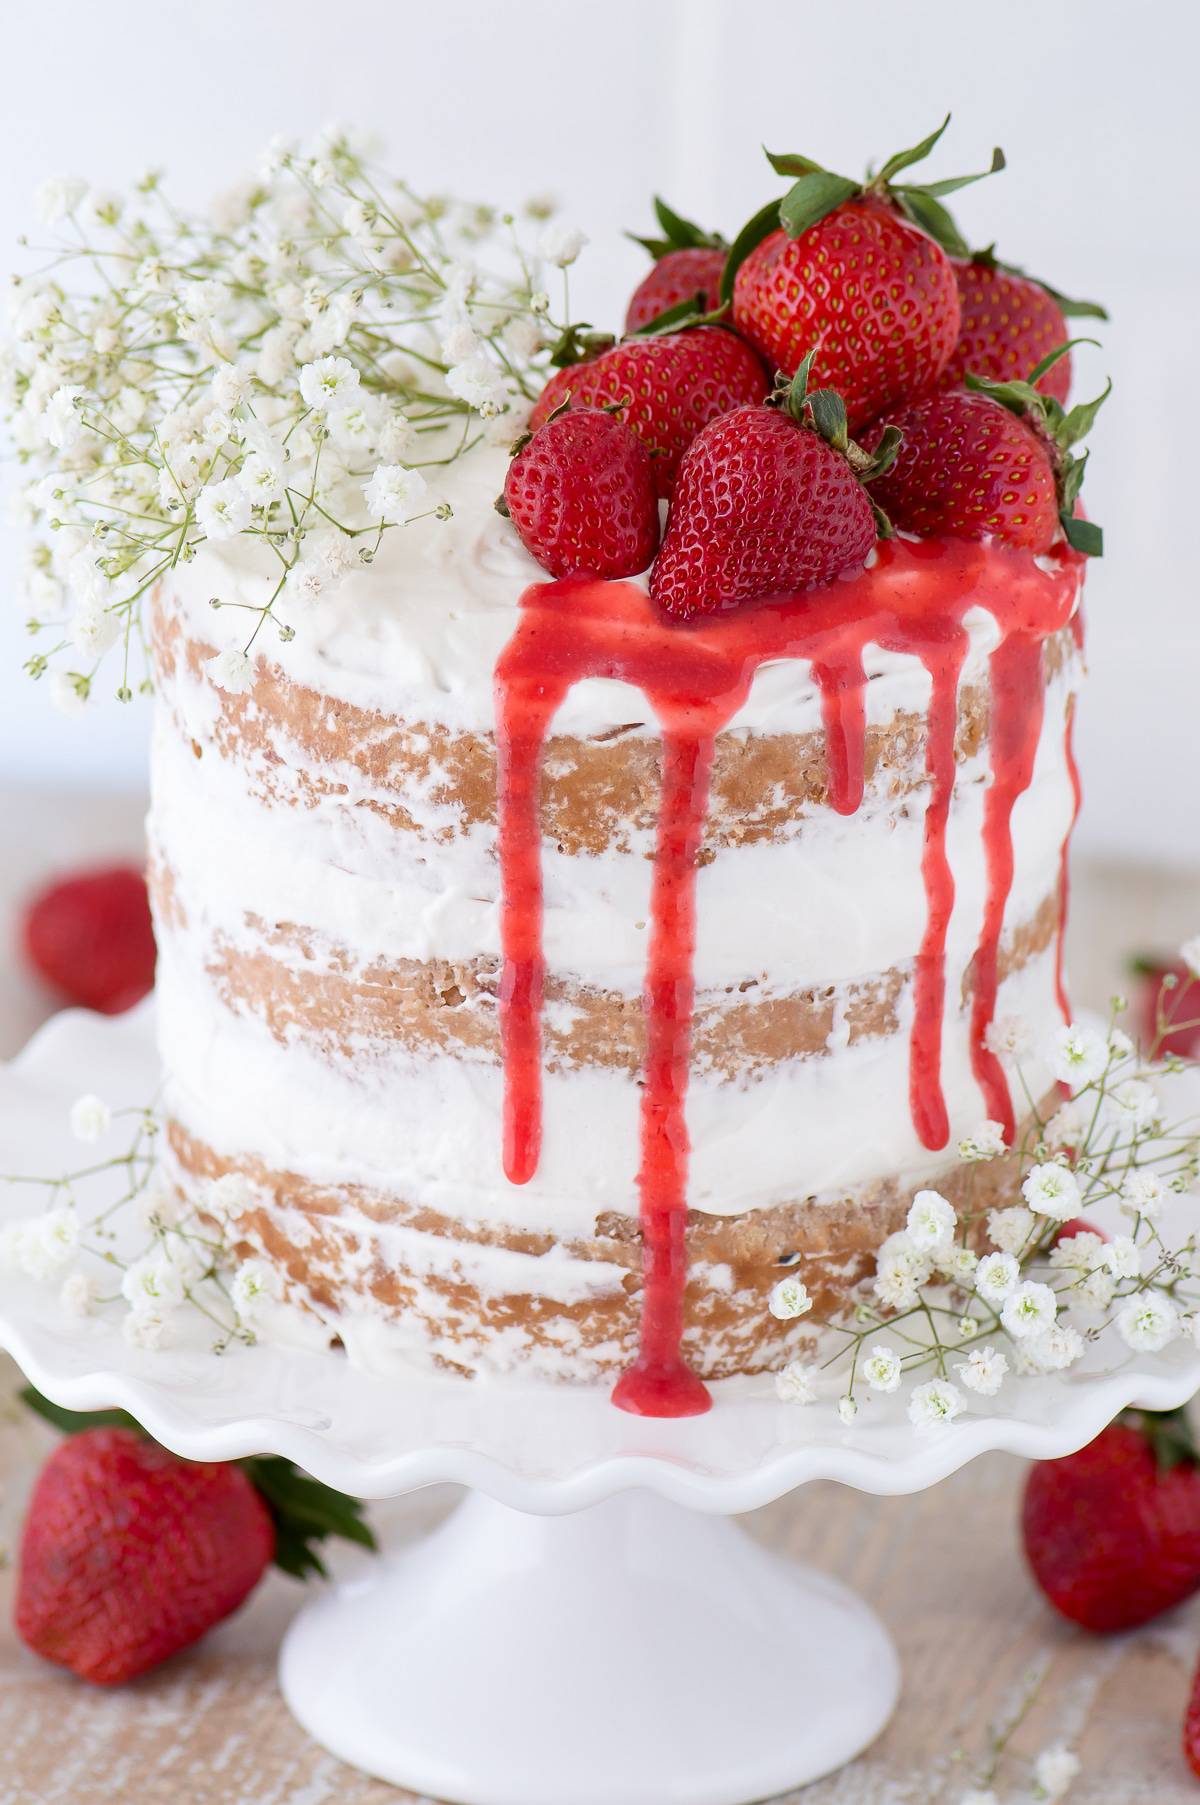 I baked this strawberry cake in three 6 inch springform pans. You could easily bake this cake in three 8 inch pans, the layers won’t be as thick, but it would still be perfect! You could also bake this cake in a 9×13 inch pan, be sure to watch the baking time, could be between 27-40 minutes – huge estimate, haven’t tried it yet!
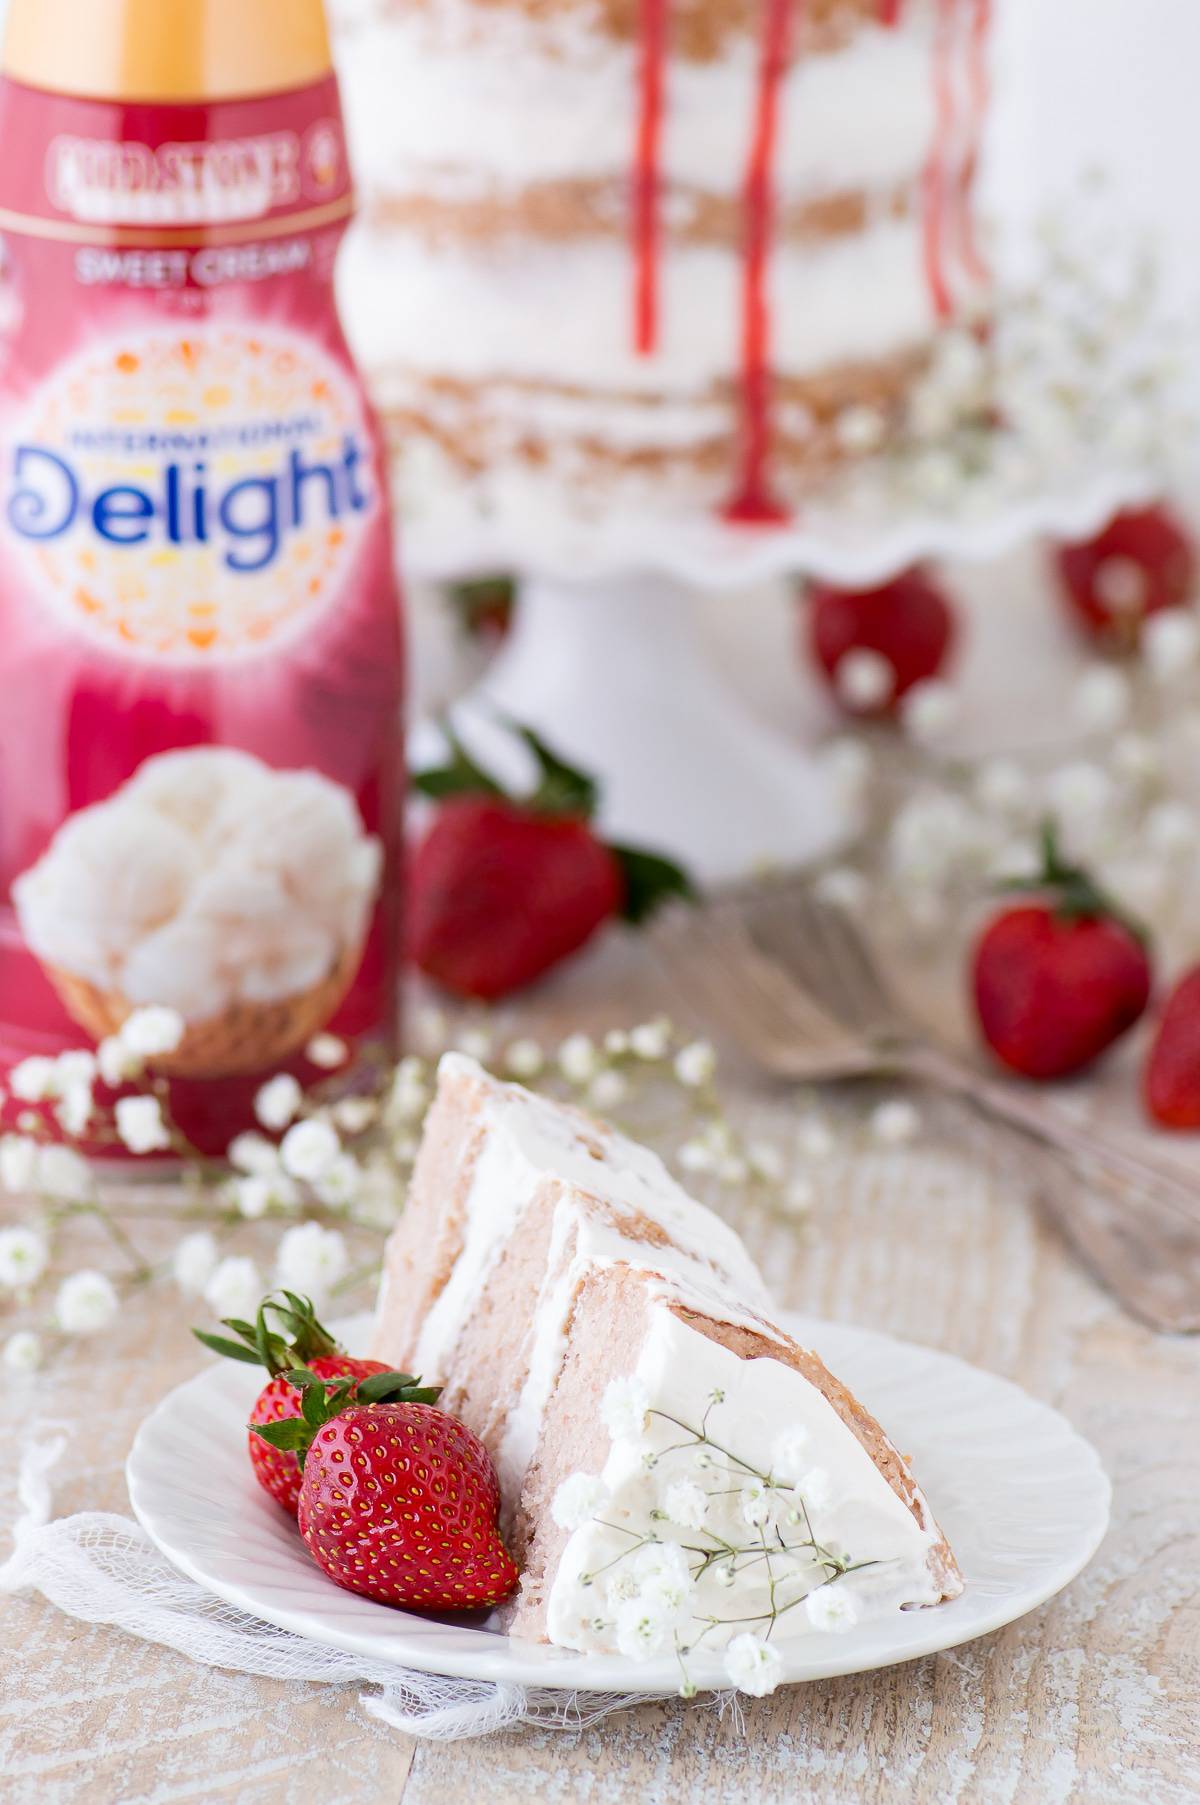 This is a sponsored conversation written by me on behalf of International Delight. The opinions and text are all mine.
Tap stars to rate!
Strawberries and Cream Cake
Ingredients
Strawberry Cake
- 2 cups (240g) all purpose flour
- 1 tsp baking powder
- ½ tsp baking soda
- ¼ tsp salt
- 1 ¼ cups (248g) sugar
- ½ cup (113g) butter, 1 stick, softened
- 2 large eggs
- ⅔ cup pureed strawberries
- 1 cup strawberry yogurt
- ¼ cup (59ml) Sweet Cream International Delight creamer
Whipped Cream
- 1 ½ cups (354ml) heavy cream
- ½ cup (118ml) Sweet Cream International Delight creamer
- ½ cup (56g) powdered sugar
- 2 tsp vanilla
- 8 tsp water, cold
- 2 tsp gelatin
Instructions
Strawberry Cake
- Preheat the oven to 350º F.
- In a smaller bowl, combine the flour, baking powder, baking soda, and salt. Mix gently. Set aside.2 cups (240g) all purpose flour, 1 tsp baking powder, 1/2 tsp baking soda, 1/4 tsp salt
- In a larger mixing bowl, beat the sugar and butter with an electric mixer until fluffy, 1-2 minutes.1 1/4 cups (248g) sugar, 1/2 cup (113g) butter
- Add in the eggs, lightly beat with the mixer.2 large eggs
- Add in the pureed strawberries, mix with a spatula.2/3 cup pureed strawberries
- In a separate bowl combine the yogurt and sweet cream creamer, mix with a spoon until you have watered down yogurt.1 cup strawberry yogurt, 1/4 cup (59ml) Sweet Cream International Delight creamer
- Add this to the cake mixture, and mix with a spatula to combine.
- Gradually add in the flour mixture, mixing with a spatula until the flour is just incorporated.
- Using butter grease the bottom and sides of three 6 inch round cake pans or springform pans (you could also use two or three 8 inch round pans) and line the bottoms with a round piece of parchment paper. To ensure even baking, place a bake even strip around each pan. You can make your own homemade bake even strip by cutting a towel or shirt to fit the size of your pan. Get the fabric really wet, then squeeze out the dripping water but do not squeeze it too dry. Secure the fabric around the pan with a safety pin.
- Divide the batter among the pans, if using three 6 inch pans, about 1 & 1/2 cups of batter will go in each pan.
- Bake for 36-42 minutes or until a toothpick inserted in the center comes out with minimal crumbs.
- Once the cake is done baking, allow it to cool in the pan on a cooling rack for 10 minutes. After 10 minutes, carefully remove the cake from the pan. If using a springform pan, remove the sides and bottom. Allow the cake to cool completely on a cooling rack. Once cool, remove the parchment paper round from the bottom of the cake. If you need to level the top of your cake, do so now using either a cake lever or knife.
- If you’ll be assembling the cake later, wrap the cake layers really well in plastic wrap and place them in the refrigerator, they are good for up to one week like this.
Whipped Cream
- Be sure to place metal mixing bowl and beaters in freezer for 30 minutes before making the whipped cream.
- In small bowl, combine the 8 tsp of cold water with the 2 tsp of gelatin. Set aside and allow the gelatin to bloom.8 tsp water, 2 tsp gelatin
- Remove the mixing bowl and beaters from the freezer.
- Add the heavy cream, sweet cream creamer, powdered sugar, and vanilla to the chilled bowl.1 1/2 cups (354ml) heavy cream, 1/2 cup (118ml) Sweet Cream International Delight creamer, 1/2 cup (56g) powdered sugar, 2 tsp vanilla
- Beat the mixture into soft peaks using an electric mixer. Could take 5+ minutes.
- Microwave the gelatin and water for 10 seconds, the mixture will now be liquid-y. Slowly add the gelatin to the whipped cream.
- Beat the mixture until stiff peaks form. Could take 4+ minutes.
To assemble the cake
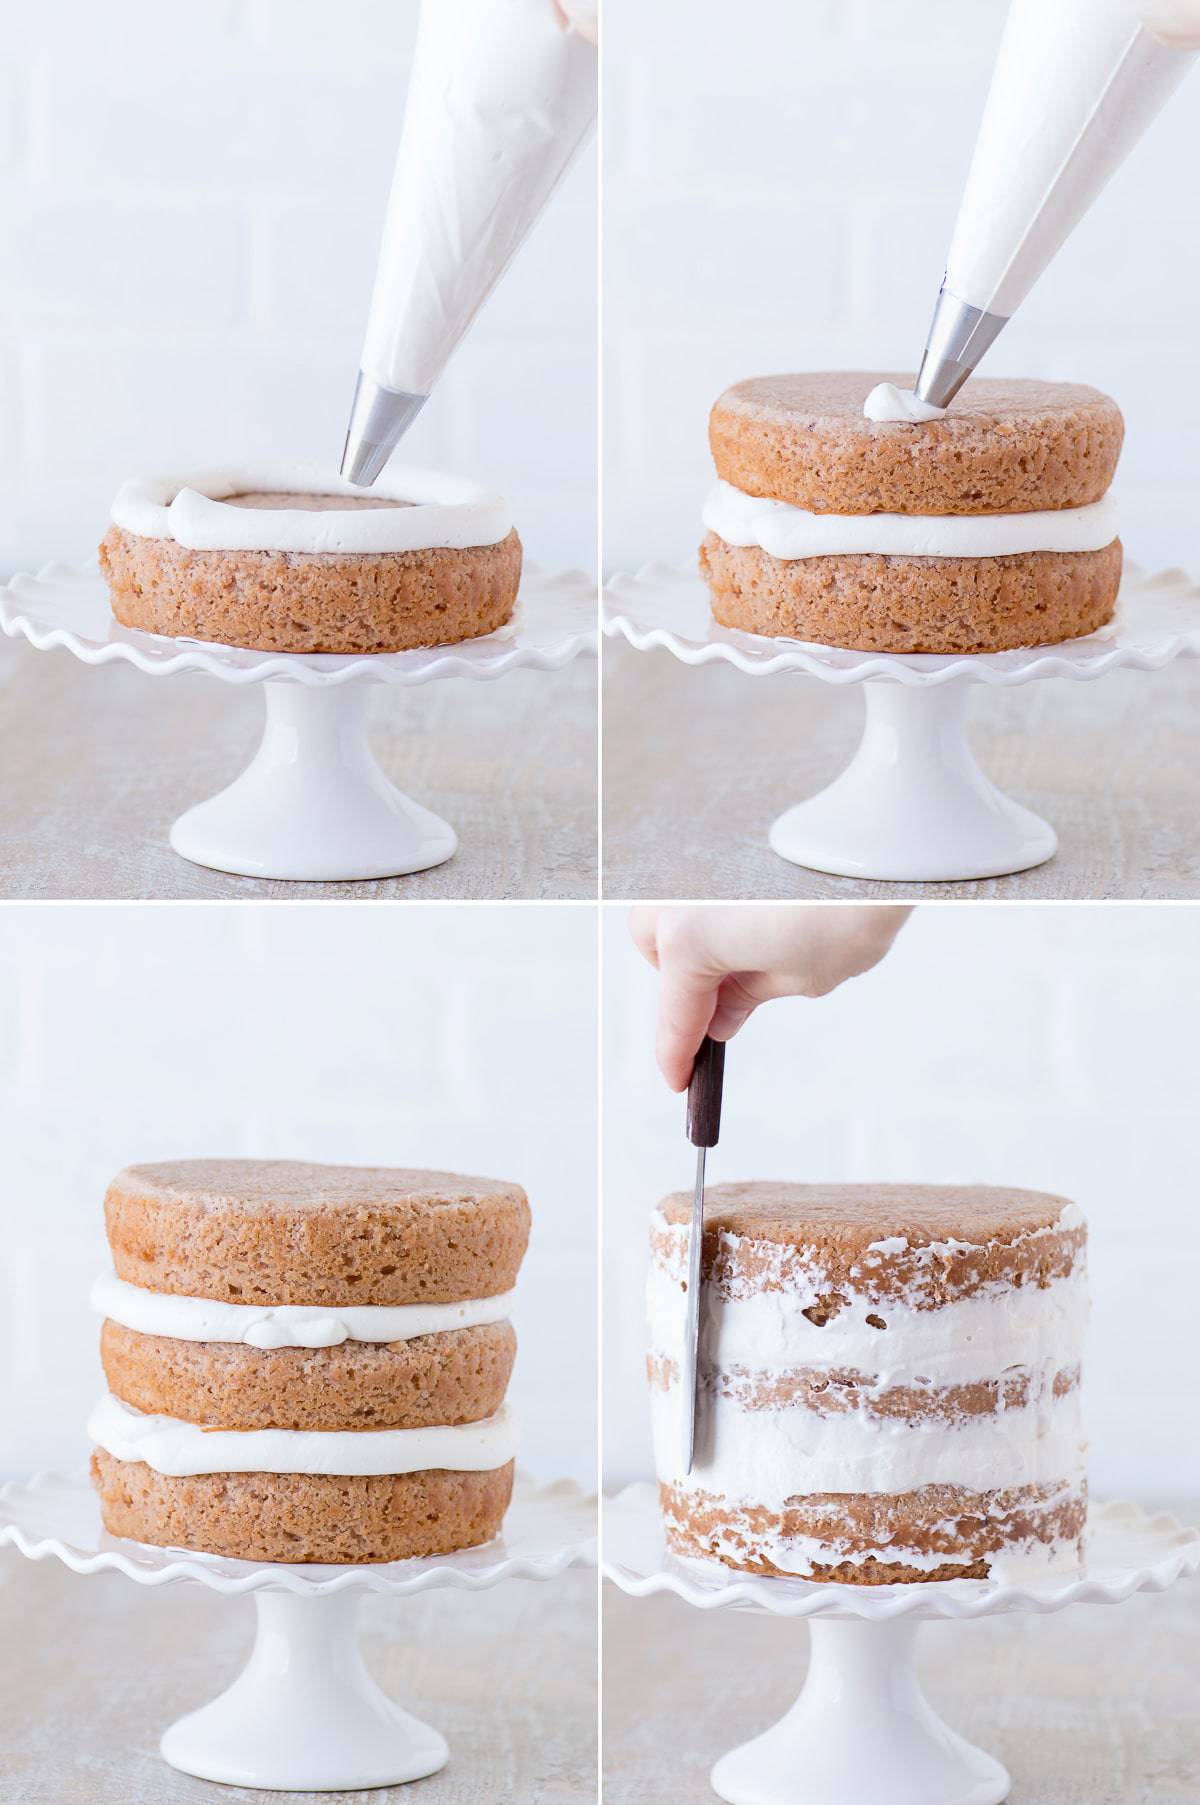
- Spread a small amount of whipped cream on a 6 inch round cardboard cake circle. Place your first layer of cake on top of the cardboard.
- Fill a piping bag fit with a large round piping tip with a good amount of whipped cream.
- Pipe a generous amount of whipped cream on top of the first layer, covering the entire layer.
- Repeat this processor each layer of cake. Once all of the layers and stacked, pipe a generous amount of whipped cream on top of the cake.
- Next, use a small offset spatula to add a thin layer of whipped cream to the sides of the cake.
- Don’t completely cover the cake layers as they are suppose to still be visible.
- You can refrigerate the assembled cake for up to 3-5 hours loosely covered or serve immediately. Keeping the cake in the fridge for a longer amount of time is not recommended as the whipped cream will not hold up the best.
- If desired before serving, decorate the cake with flowers, fresh strawberries and strawberry puree drizzle.
Notes



I’m looking at the comments for suggestions… But has anyone actually tried to make this cake? I have been beating for almost 30 minutes to be exact measurements of the frosting and followed each detailed step-by-step, but I am nowhere near stiff peaks.
Hi Jenny! Did you freeze your metal bowl and beaters before making the whipped cream? 30 minutes is way too long, maybe you over-beat it and now it won’t form stiff peaks. Have you made whipped cream before?
Can I make the layers ahead and freeze them? I have to make 6 triple layer cakes for a shower and want to get the cakes all done, not frosted but the baking part
Yes you can! Use Mandy’s site for reference: https://www.bakingwithblondie.com/how-to-store-cake-layers/
How many people will this cake feed?
You can get about 8-12 pieces from a 6 inch 3 layer cake.
Beautiful cake, but isn’t babys breath toxic to put on cakes?
Hi Val! I remove any flowers before cutting and serving the cake. You can also wrap the stems in plastic wrap if sticking them into the cake.
Do you use a cakeboard between each layer?
No I don’t!
How awful will the cake turn out if I decide to put icing on tonight and serve tomorrow afternoon/evening? Twin baby birthday party and not much time to make it perfect!!
I would not recommend putting the icing on that far in advance, whipped cream icing isn’t as stable as buttercream frosting.
How awful will the cake turn out if I decide to put icing on tonight and serve tomorrow afternoon/evening? Twin baby birthday party and not much time to make it perfect!!