
This post may contain affiliate links. Please read our disclosure policy.
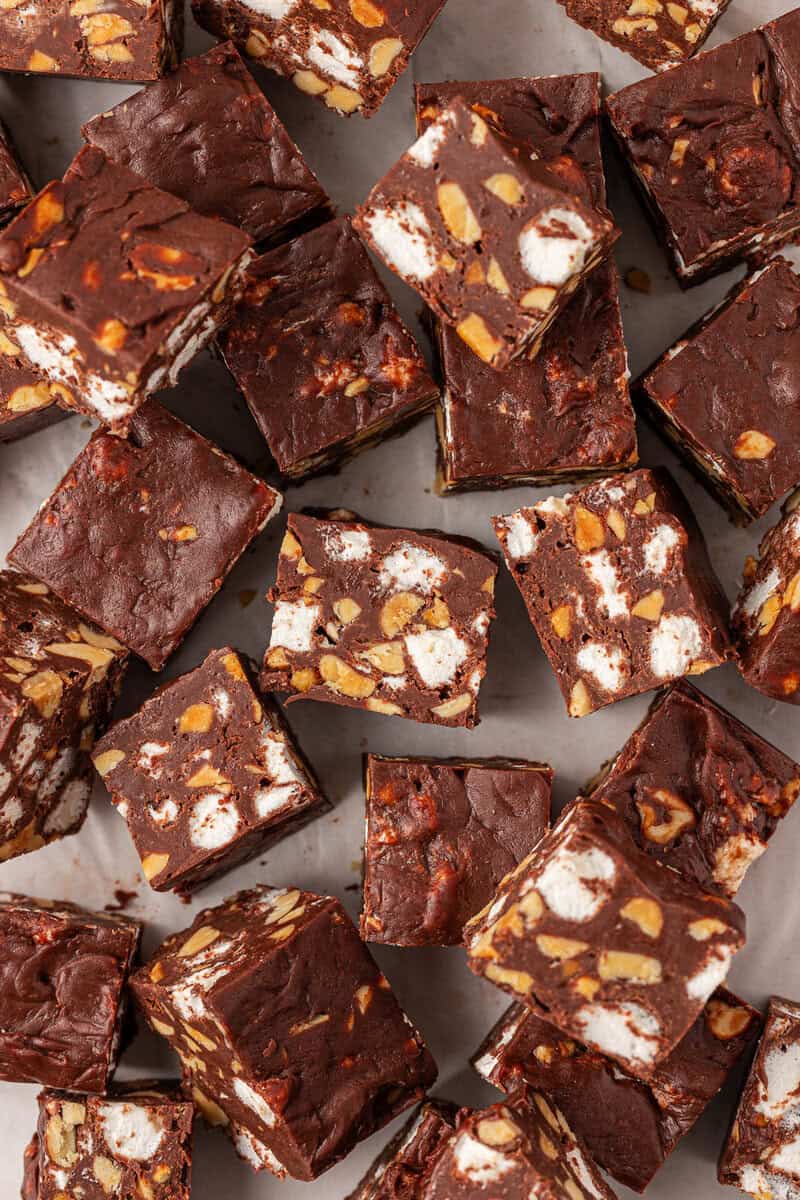
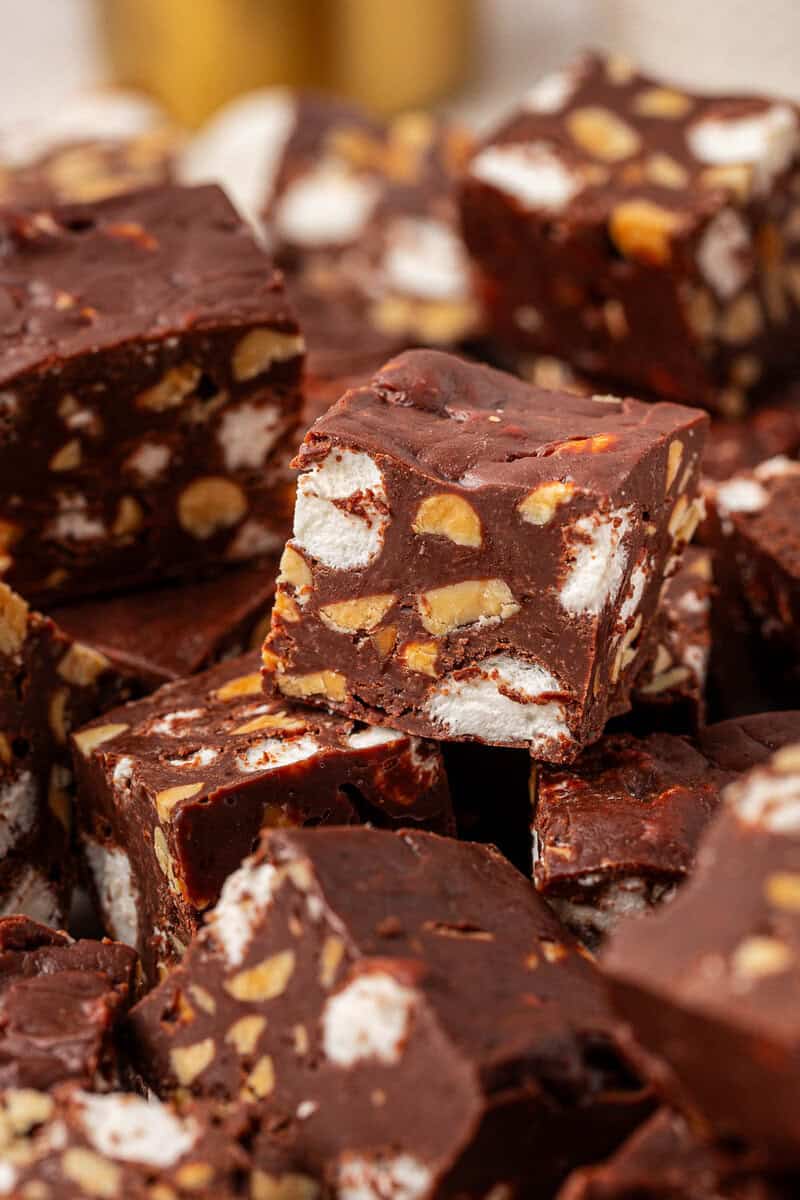
Rocky road fudge should be thick, creamy, and packed with marshmallows and peanuts in every bite. This recipe starts with my easy microwave chocolate fudge base that sets into tall candy shop style squares every time. No thermometer, no complicated candy stages. Just rich chocolate fudge that comes together in minutes.
Rocky Road Fudge That Sets Tall and Creamy
Rocky road fudge is one of those desserts that proves homemade candy does not need to be complicated. I have been making microwave fudge for years and it is one of the easiest candy recipes I share with readers. This version builds on my chocolate fudge recipe that consistently produces tall, thick squares that look like they came straight from a candy counter.
One of the biggest mistakes people make when making fudge with sweetened condensed milk is overheating the chocolate. I have tested this recipe enough times to know that once the bowl comes out of the microwave it will look like the chocolate chips are not fully melted. Trust the process and keep stirring. The residual heat melts the chocolate perfectly and keeps the texture smooth.
This rocky road version is loaded with mini marshmallows and salted peanuts which creates the classic rocky road flavor that so many of us grew up loving. The salty crunch from the peanuts balances the sweetness of the chocolate and the marshmallows create those chewy pockets throughout the fudge.
Every year when we make Christmas cookie tins, fudge always makes the list because it is fast, reliable, and feeds a crowd. This rocky road fudge takes about five minutes to prep and then the hardest part is simply waiting for it to set.
Why This Microwave Fudge Method Works So Well
- This fudge works because chocolate chips and sweetened condensed milk melt together to create a rich base that thickens naturally as it cools. The method is simple and very reliable, which is why it is one of my favorite ways to make fudge at home.
- No candy thermometer needed. The condensed milk helps create the structure so you do not have to cook sugar to a specific temperature.
- Consistent creamy texture. Gently melting the chocolate keeps the fudge smooth instead of dry or crumbly.
- Fast to make. The chocolate and condensed milk only need about a minute in the microwave before everything comes together as you stir.
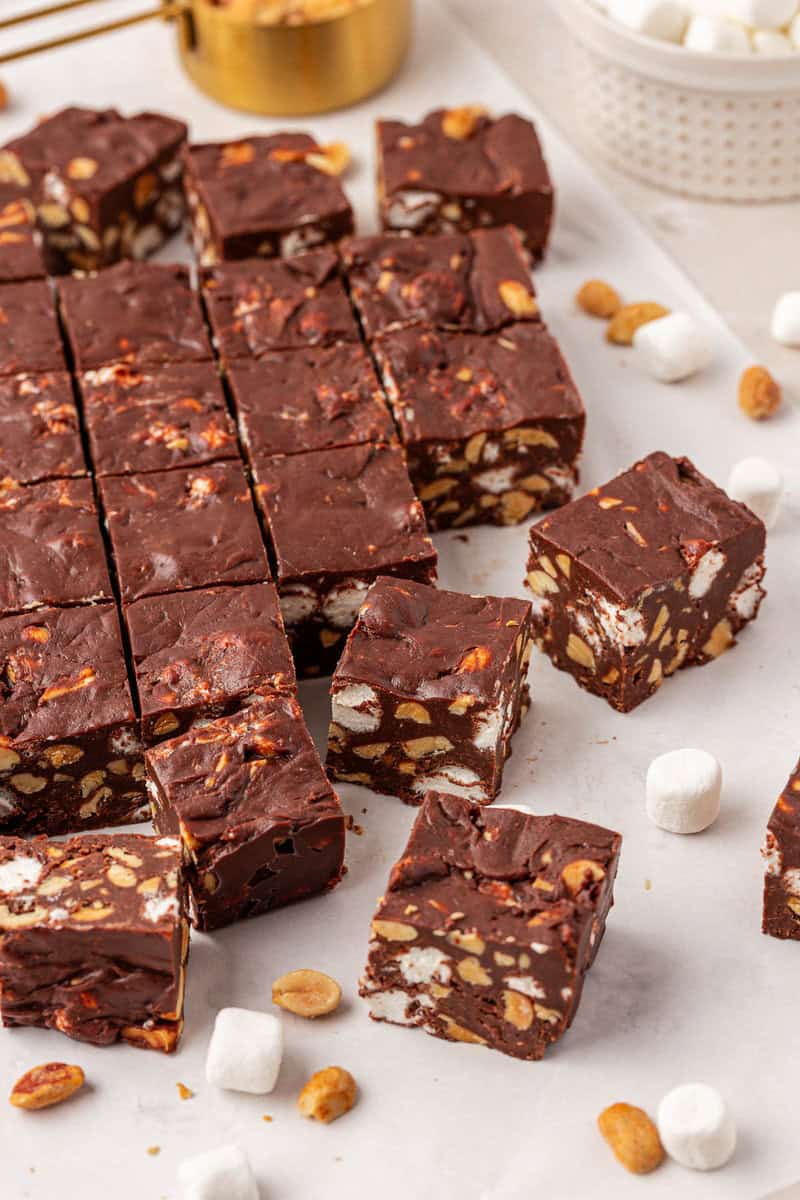
One thing readers love about this recipe is how thick the fudge sets up. I pour the mixture into an 8 inch pan, which gives you tall fudge squares similar to what you would see in a candy shop. Instead of thin, flat pieces, you get thick, rich squares that feel more like traditional candy counter fudge.

The One Microwave Mistake That Ruins Fudge
The biggest mistake people make when making microwave fudge is overheating the chocolate. When chocolate chips get too hot, the chocolate can scorch or seize, which leads to fudge that turns out dry, crumbly, or dull instead of smooth and creamy.
When you first pull the bowl out of the microwave, it may look like the chocolate chips have not fully melted. This is completely normal. The heat from the sweetened condensed milk and the warm chocolate chips will continue melting everything as you stir.
The key is to trust the process and keep stirring. Gentle stirring distributes the heat and melts the chocolate without overheating it, which is what keeps the fudge smooth and rich instead of grainy or dry.
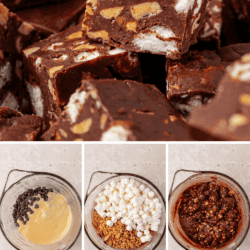
How to Make Rocky Road Fudge Step by Step
Follow my easy step-by-step instructions below, or jump to the recipe card below for the full recipe.
Prep pan: Line a 8×8 or 9×9 inch square pan with aluminum foil or parchment paper. Set aside.
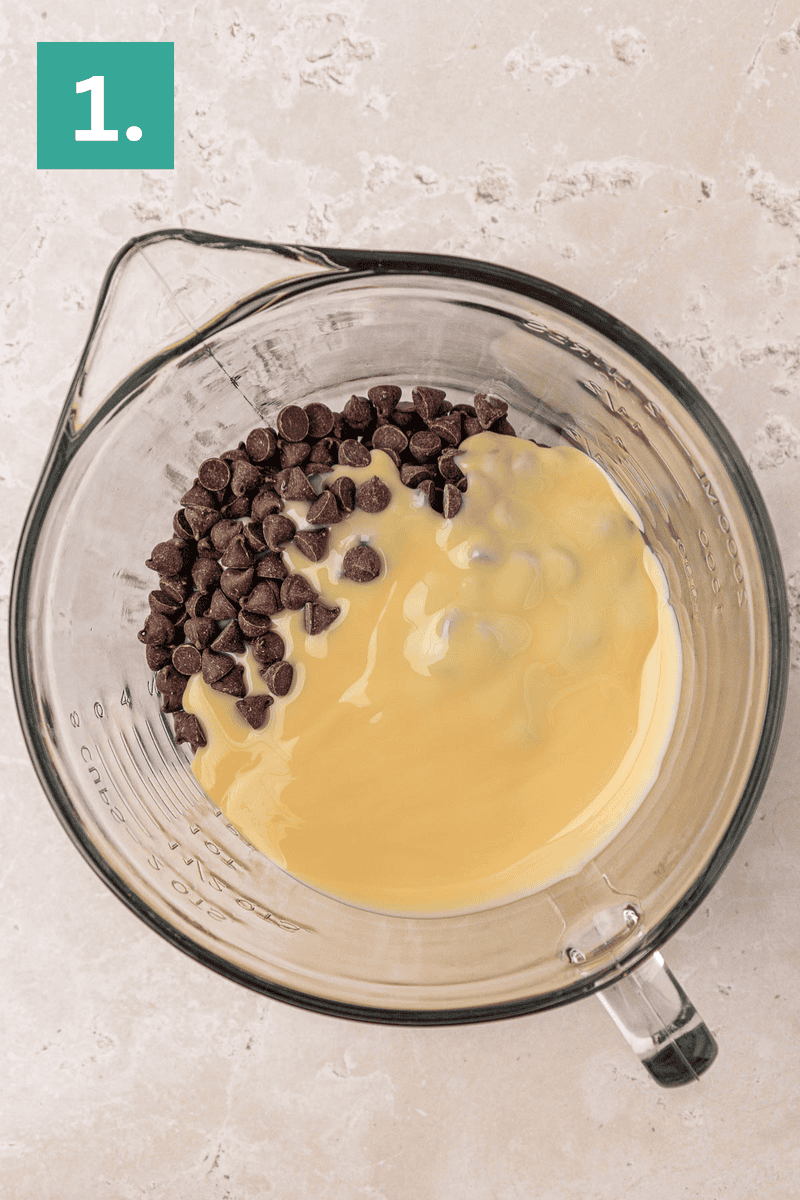
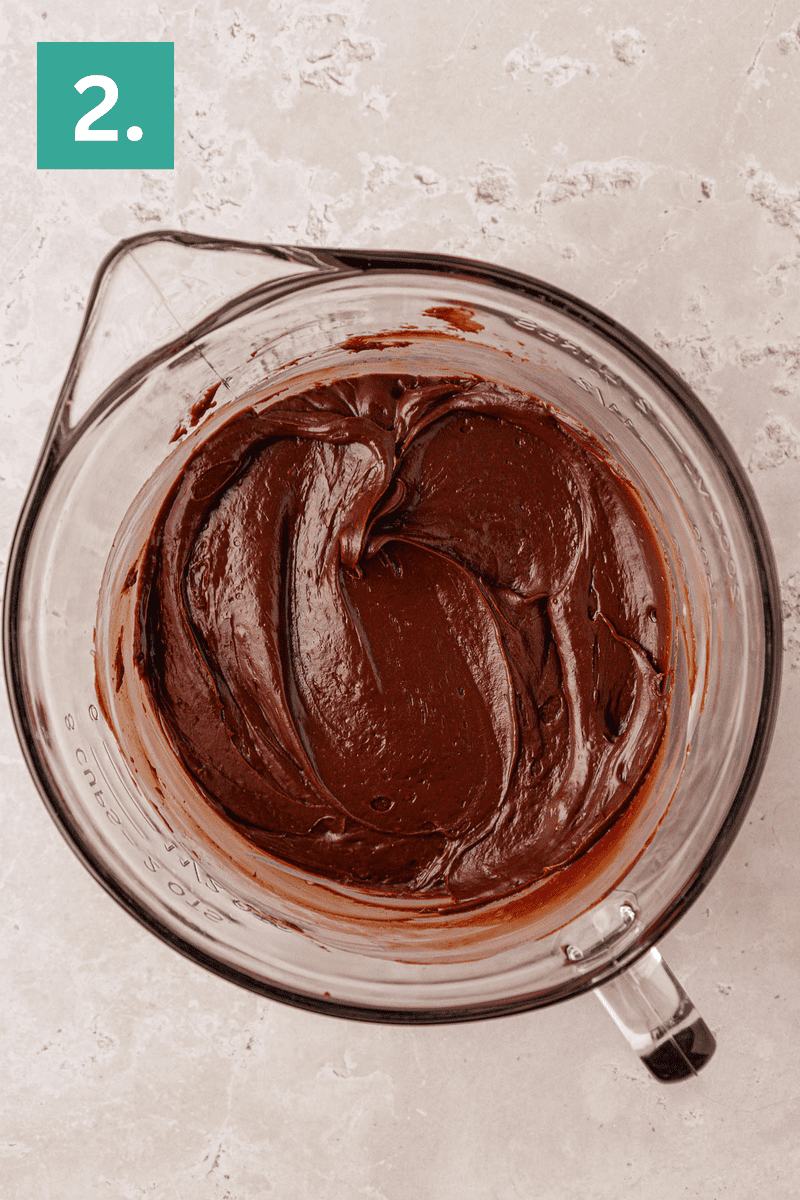
Melt chocolate: In a large, glass microwave safe bowl, combine the sweetened condensed milk and chocolate chips. Microwave on full power for 1 minute. Microwave in 10 second intervals if needed. The mixture will melt and come together as you stir.
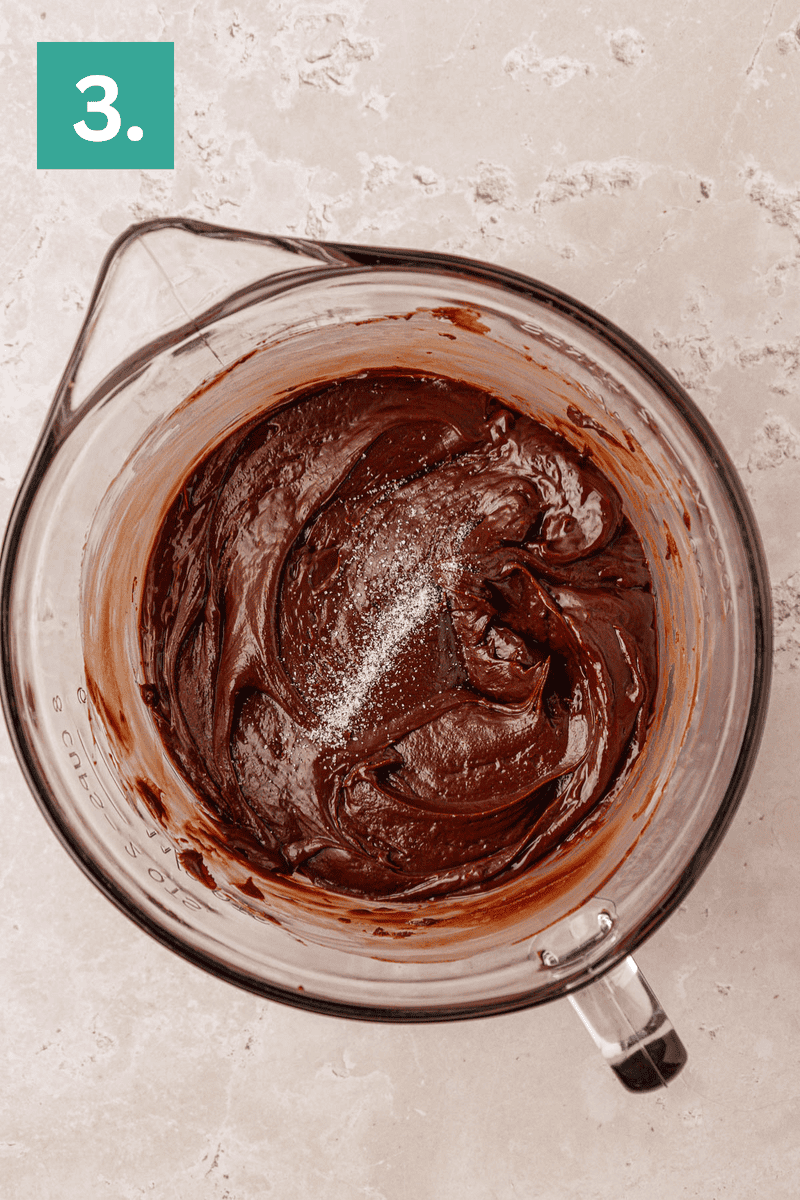
Stir in the salt and vanilla extract.
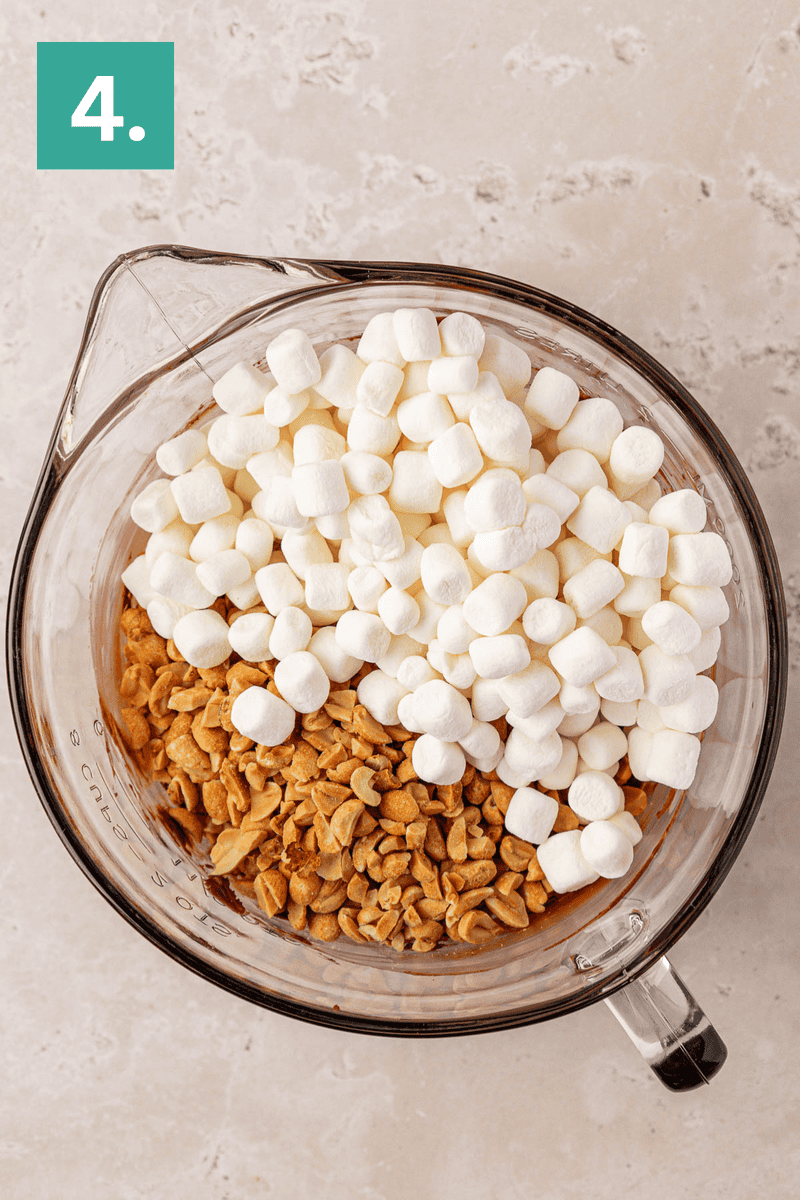
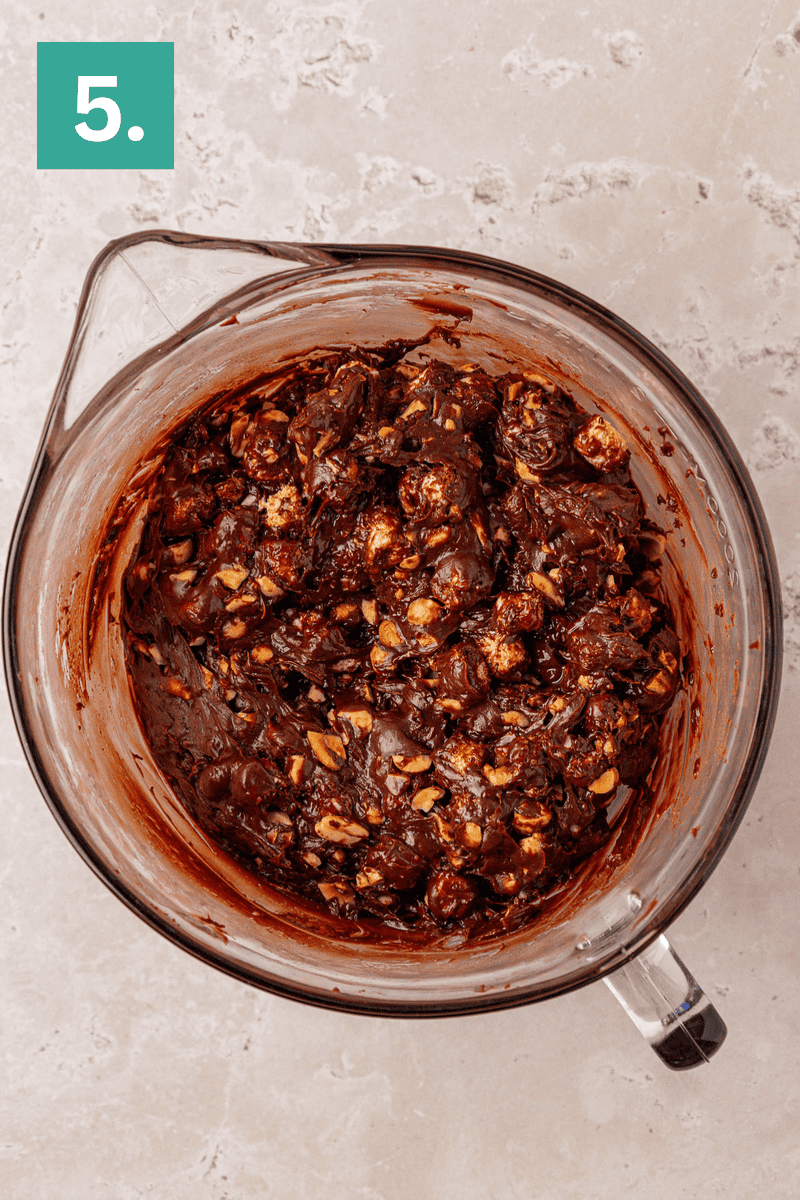
Stir in the mini marshmallows and peanuts.
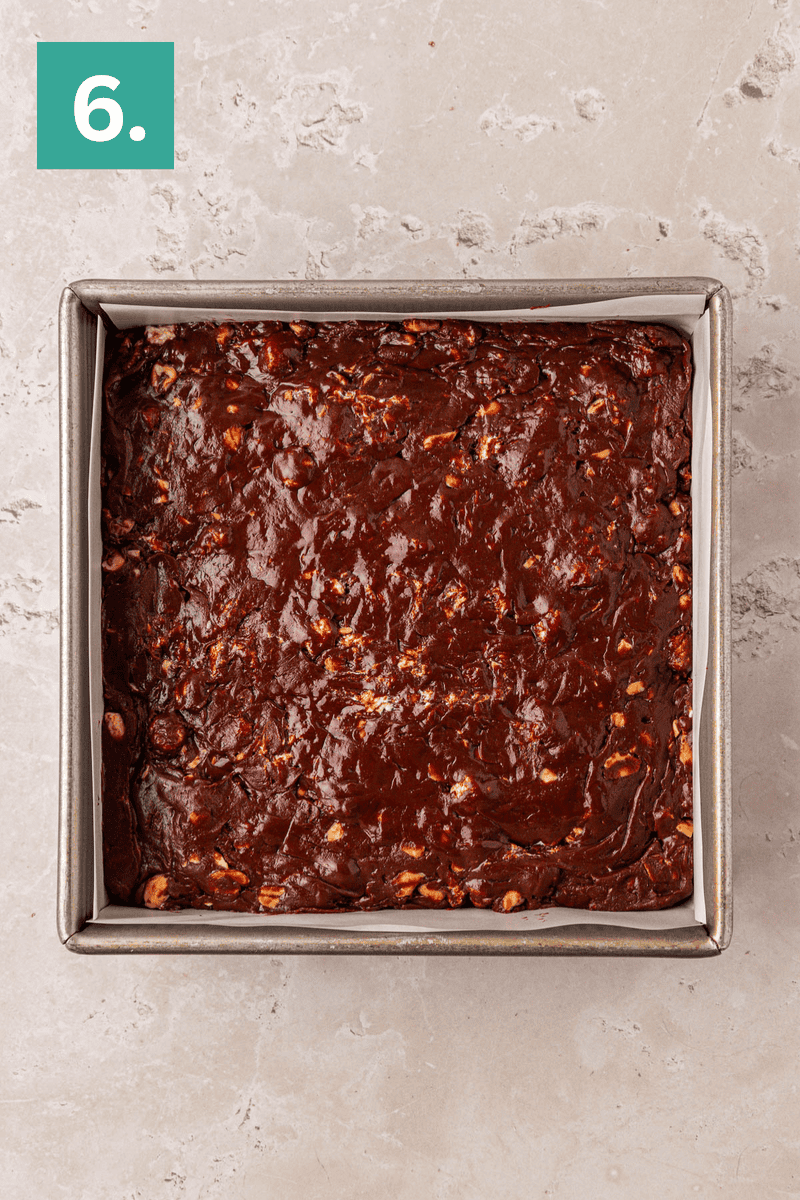
Transfer and set: Transfer the fudge to the pan and spread into an even thickness. Allow the fudge to fully set and cool before cutting, 4-6 hours minimum, but I recommend overnight.
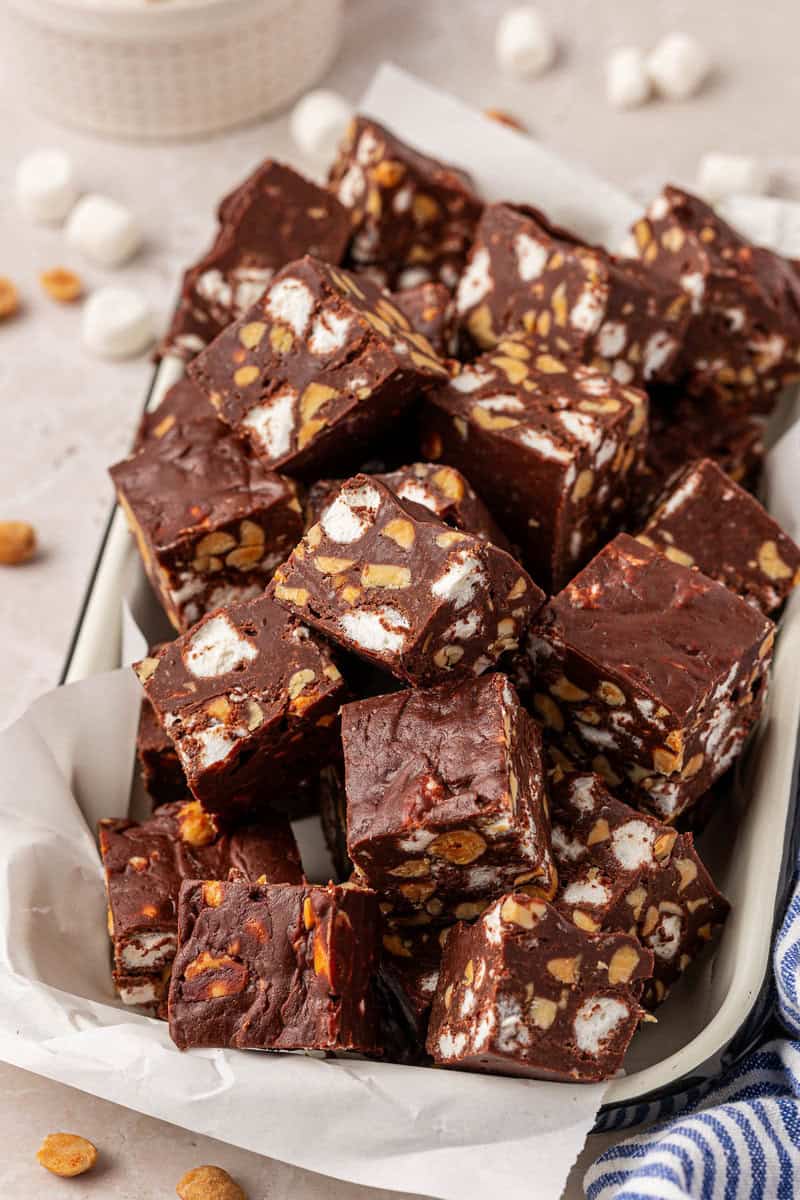
Cut: Once the fudge is set, cut into squares. Store in an airtight container on the counter for up to 1-2 weeks.
How Long Fudge Actually Needs to Set
Once the fudge is spread into the pan, it simply needs time to firm up as it cools. Because this recipe is an easy microwave fudge that uses chocolate chips and sweetened condensed milk, it sets very reliably without needing anything special.
That means you can let the fudge set on the counter at room temperature or it is perfectly fine to place the pan in the refrigerator or in a cold garage!
While the fudge will usually be firm after about 4 to 6 hours, overnight is even better. By the next day the squares will be fully set and much easier to cut cleanly.
Cutting Clean Fudge Squares
Once the fudge is fully set, you can lift the entire slab out of the pan using the foil or parchment lining. This makes cutting much easier than trying to slice it directly in the pan.
For the cleanest cuts, warm a knife under hot water and dry it before slicing. The warm blade glides through the chocolate without dragging the marshmallows.
Wipe the knife clean between cuts to keep the edges neat. This simple step makes a big difference when you want tidy fudge squares for serving or gifting.
Storage and Make Ahead Tips
Store rocky road fudge with marshmallows in an airtight container at room temperature for up to one week. Separate layers with parchment paper to prevent sticking. If your kitchen runs warm, you can refrigerate it, but let it come back to room temperature before serving for the best texture.
Fudge also freezes well. I have a whole post about how to freeze fudge. Wrap it tightly in plastic wrap and place it in a freezer safe container for up to three months. Thaw at room temperature before slicing or serving.
If you love making homemade treats, be sure to browse all of my candy recipes for more sweet ideas, and don’t miss my full collection of Christmas dessert recipes for festive favorites perfect for gifting and holiday gatherings.
More Fudge Recipes:
- Maple Fudge Made with Real Maple Syrup
- Vanilla Fudge That Sets Perfectly Every Time
- Chocolate Peanut Butter Fudge
- Caramel Apple Fudge
Tap stars to rate!
Easy Rocky Road Chocolate Fudge
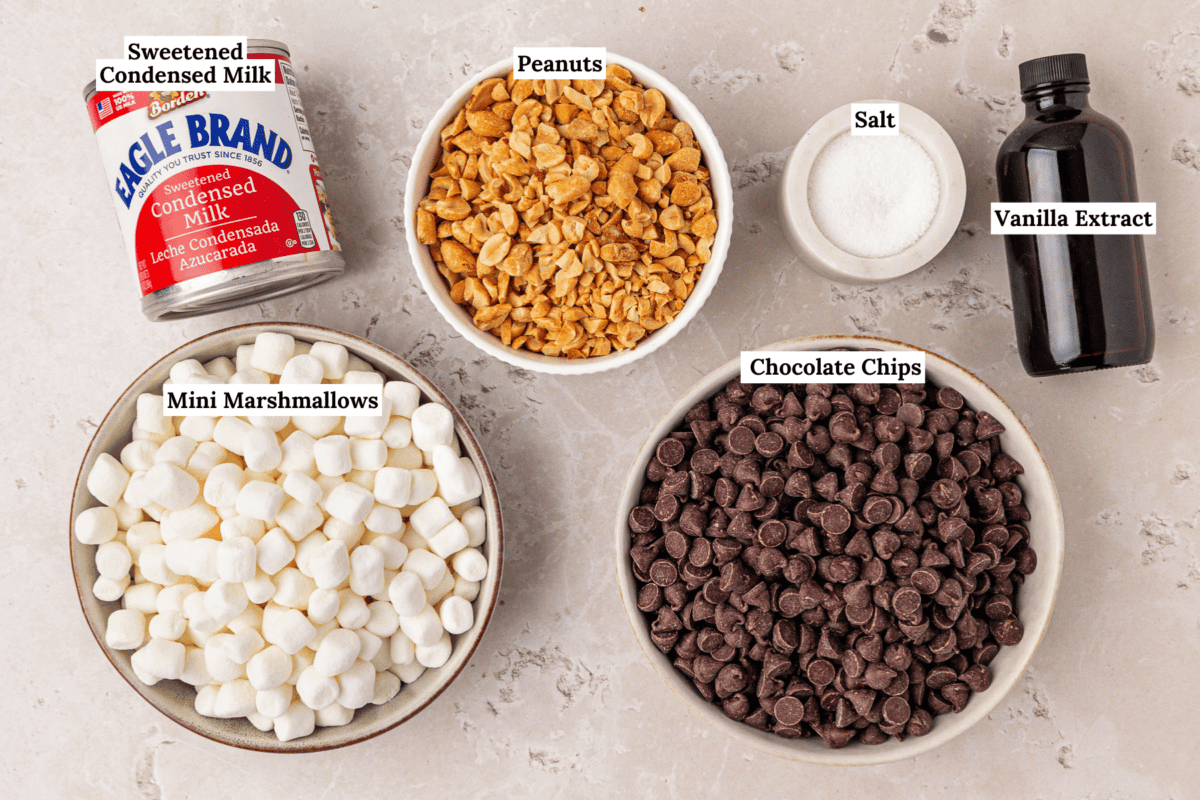
Ingredients
- 14 oz can sweetened condensed milk
- 2 ½ cups (425g) semi-sweet chocolate chips
- ¼ tsp salt
- ½ tsp vanilla extract
- 2 ½ cups mini marshmallows
- 1 ½ cups salted peanuts, roughly chopped
Video
Instructions
- Line a 8×8 or 9×9 inch square pan with aluminum foil or parchment paper. Set aside.
- In a large, glass microwave safe bowl, combine the sweetened condensed milk and chocolate chips. Microwave on full power for 1 minute. Microwave in 10 second intervals if needed. The mixture will melt and come together as you stir.14 oz can sweetened condensed milk, 2 ½ cups (425g) semi-sweet chocolate chips
- Stir in the salt and vanilla extract.¼ tsp salt, ½ tsp vanilla extract
- Stir in the mini marshmallows and peanuts.2 ½ cups mini marshmallows, 1 ½ cups salted peanuts
- Transfer the fudge to the pan and spread into an even thickness. Allow the fudge to fully set and cool before cutting, 4-6 hours minimum, but I recommend overnight.
- Once the fudge is set, cut into squares. Store in an airtight container on the counter for up to 1-2 weeks.
Notes


Can you use dairy free heavy cream or coconut milk instead of condensed milk?
I haven’t tried this recipe using dairy free alternatives!