
This post may contain affiliate links. Please read our disclosure policy.
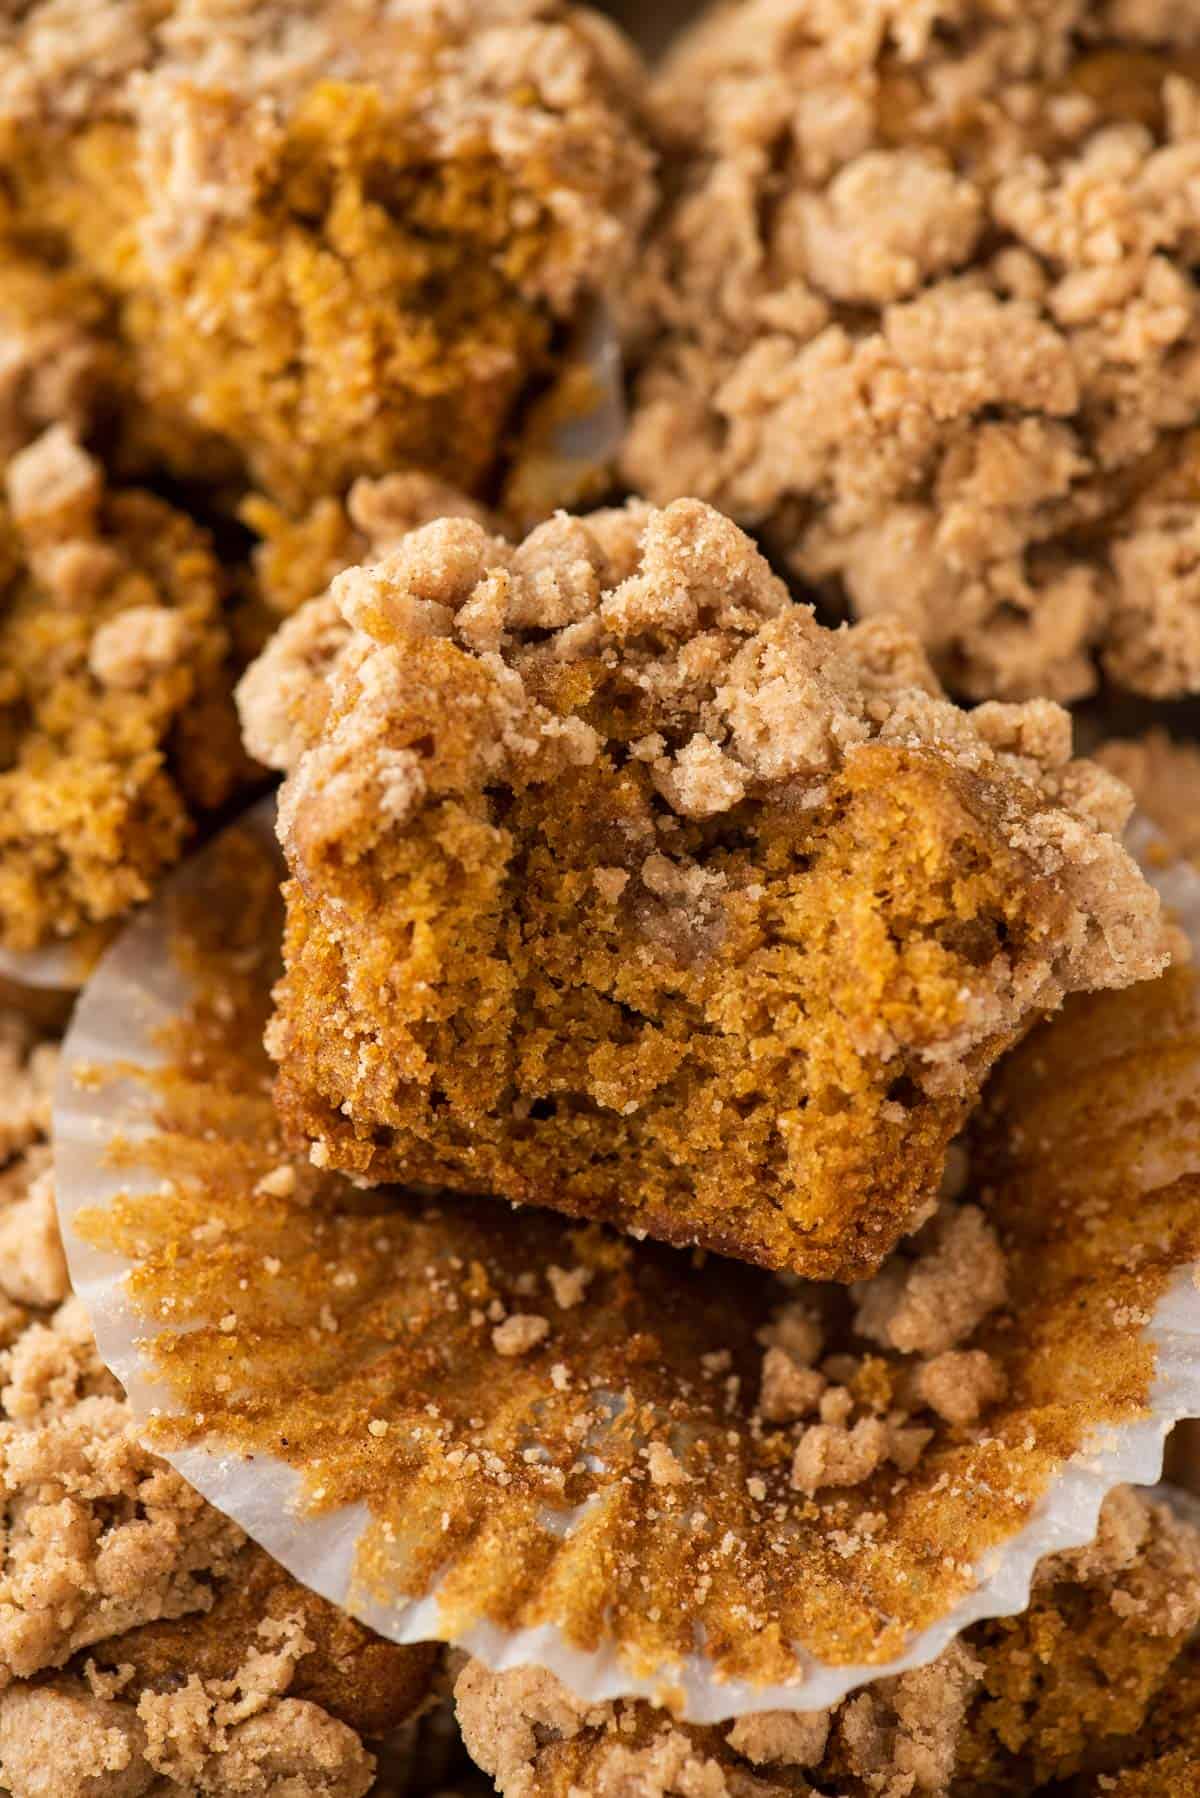
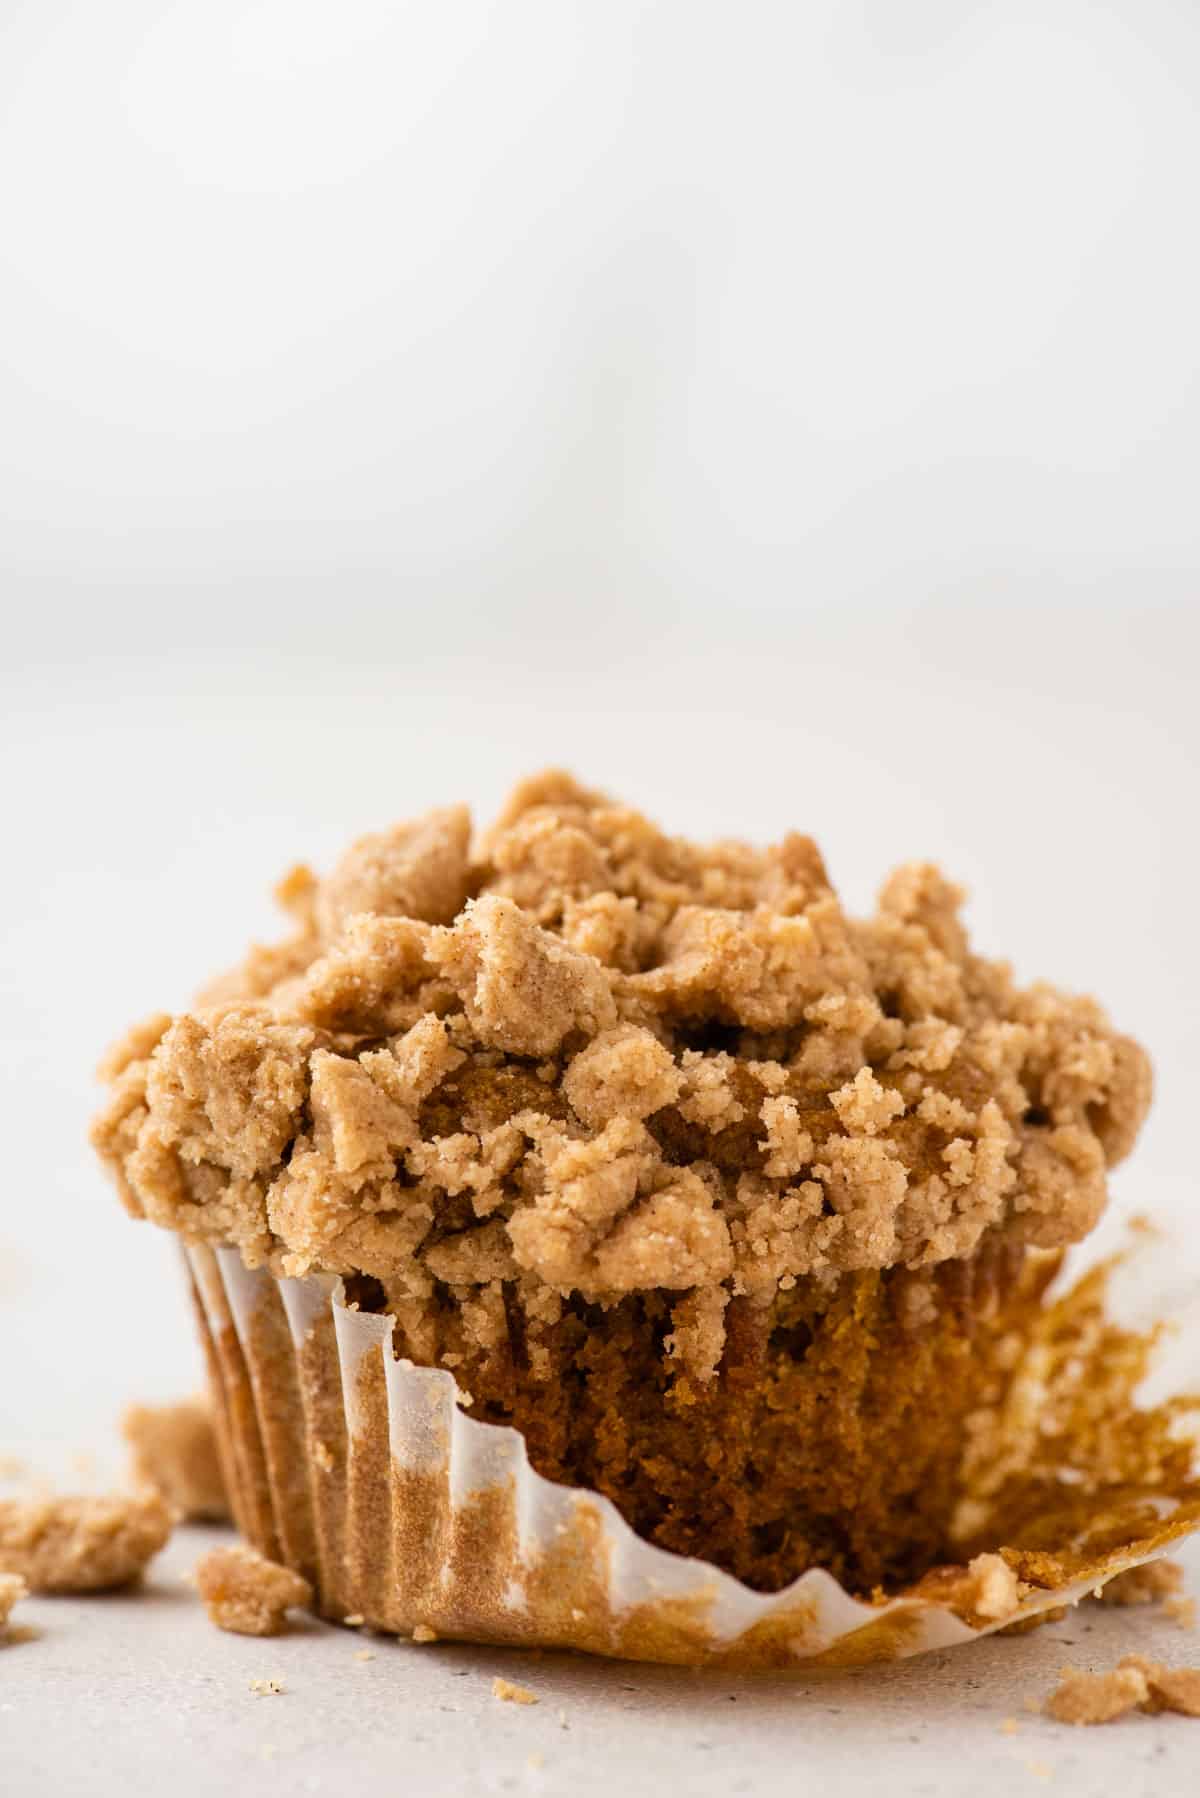
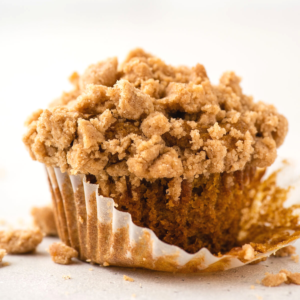
With over 15 years of experience in gluten-free baking (I’ve been gluten-free myself since 2006), I’ve meticulously tested this gluten-free pumpkin muffin recipe that I’m thrilled to share with you. These muffins boast beautifully domed, bakery-style tops that make it impossible to tell they’re gluten-free.
Best muffins ever! They are not dense like most gf baked goods! I have made them twice now once with crumble and once with chocolate chips, both ways are good!
-Melissa
Packed with moisture and bursting with pumpkin flavor, you’ll want to make this year round, not just in the Fall. Plus, I’ll share four essential tips to help you achieve big, fluffy gluten-free muffins every time!
This recipe for gluten-free pumpkin muffins won’t disappoint. Like my gluten-free vanilla cupcakes, you’ll get a tender crumb, perfect texture, and all those fall flavors you’ve been craving! They’re so good, you can share them with friends and no one will suspect that they’re gluten-free!
Gluten Free Pumpkin Muffin Recipe Ingredients
Scroll down to the recipe card below this post for ingredient quantities and full instructions.
FOR THE CRUMB TOPPING:
- Gluten-free all purpose flour – I recommend King Arthur’s Gluten Free All Purpose Flour
- Brown sugar
- Cinnamon
- Salt
- Unsalted butter – straight from the fridge is fine because we’re going to melt the butter
FOR THE MUFFINS:
- Gluten-free all purpose flour – I recommend King Arthur’s Gluten Free All Purpose Flour
- Baking powder
- Baking soda
- Salt
- Cinnamon, nutmeg, and ginger – classic fall spices
- Pumpkin puree – not pumpkin pie mix
- Granulated sugar
- Brown sugar
- Vegetable oil
- Eggs
If adding chocolate chips, I recommend using 1 & 1/2 cups semi-sweet chocolate chips.
WHAT IS THE BEST GLUTEN-FREE FLOUR SUBSTITUTE?
The key to a good gluten-free pumpkin muffin is in the flour blend. I’ve tested just about all of them at this point and my favorite is King Arthur Gluten-Free All-Purpose Flour. If you don’t use that, I recommend a measure-for-measure all-purpose flour substitute; a single flour like almond or coconut won’t work in this recipe.
How to Make Gluten Free Pumpkin Muffins
Make the crumb topping:
- Mix all ingredients. In a mixing bowl combine the flour, brown sugar, cinnamon, salt and melted butter. Use a spatula to mix the crumb. The mixture will be thick and you must stir well to combine all the dry ingredients.
- Continue to combine until the mixture looks wet. It’s okay if the mixture is “sandy” in texture. Use your hands to squeeze clumps together, forcing the mixture together.
- Set aside. Set the crumb aside until ready to use. The streusel topping can be made in advance and stored in an airtight container in the fridge for 3 days.
Make the muffins:
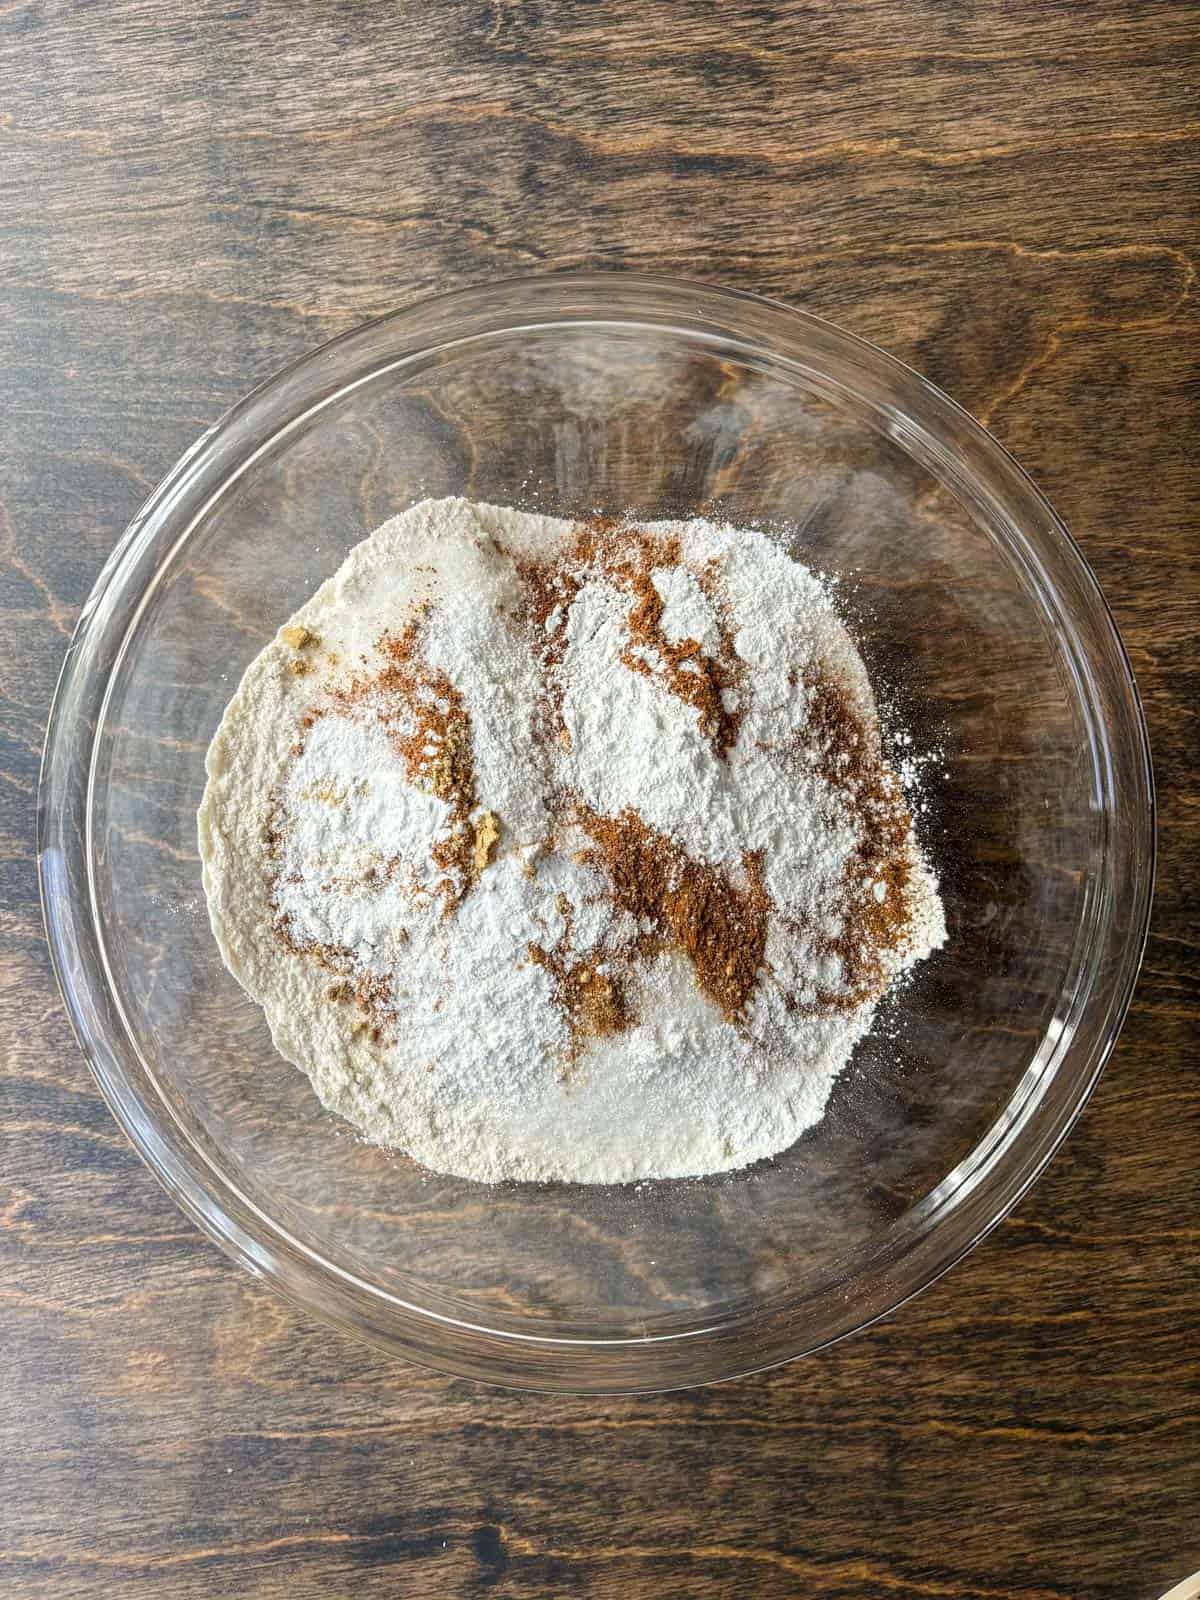
- Mix the dry ingredients. In a mixing bowl combine the flour, baking powder, baking soda, salt, cinnamon, nutmeg and ginger. Stir with a spoon to combine and set aside.
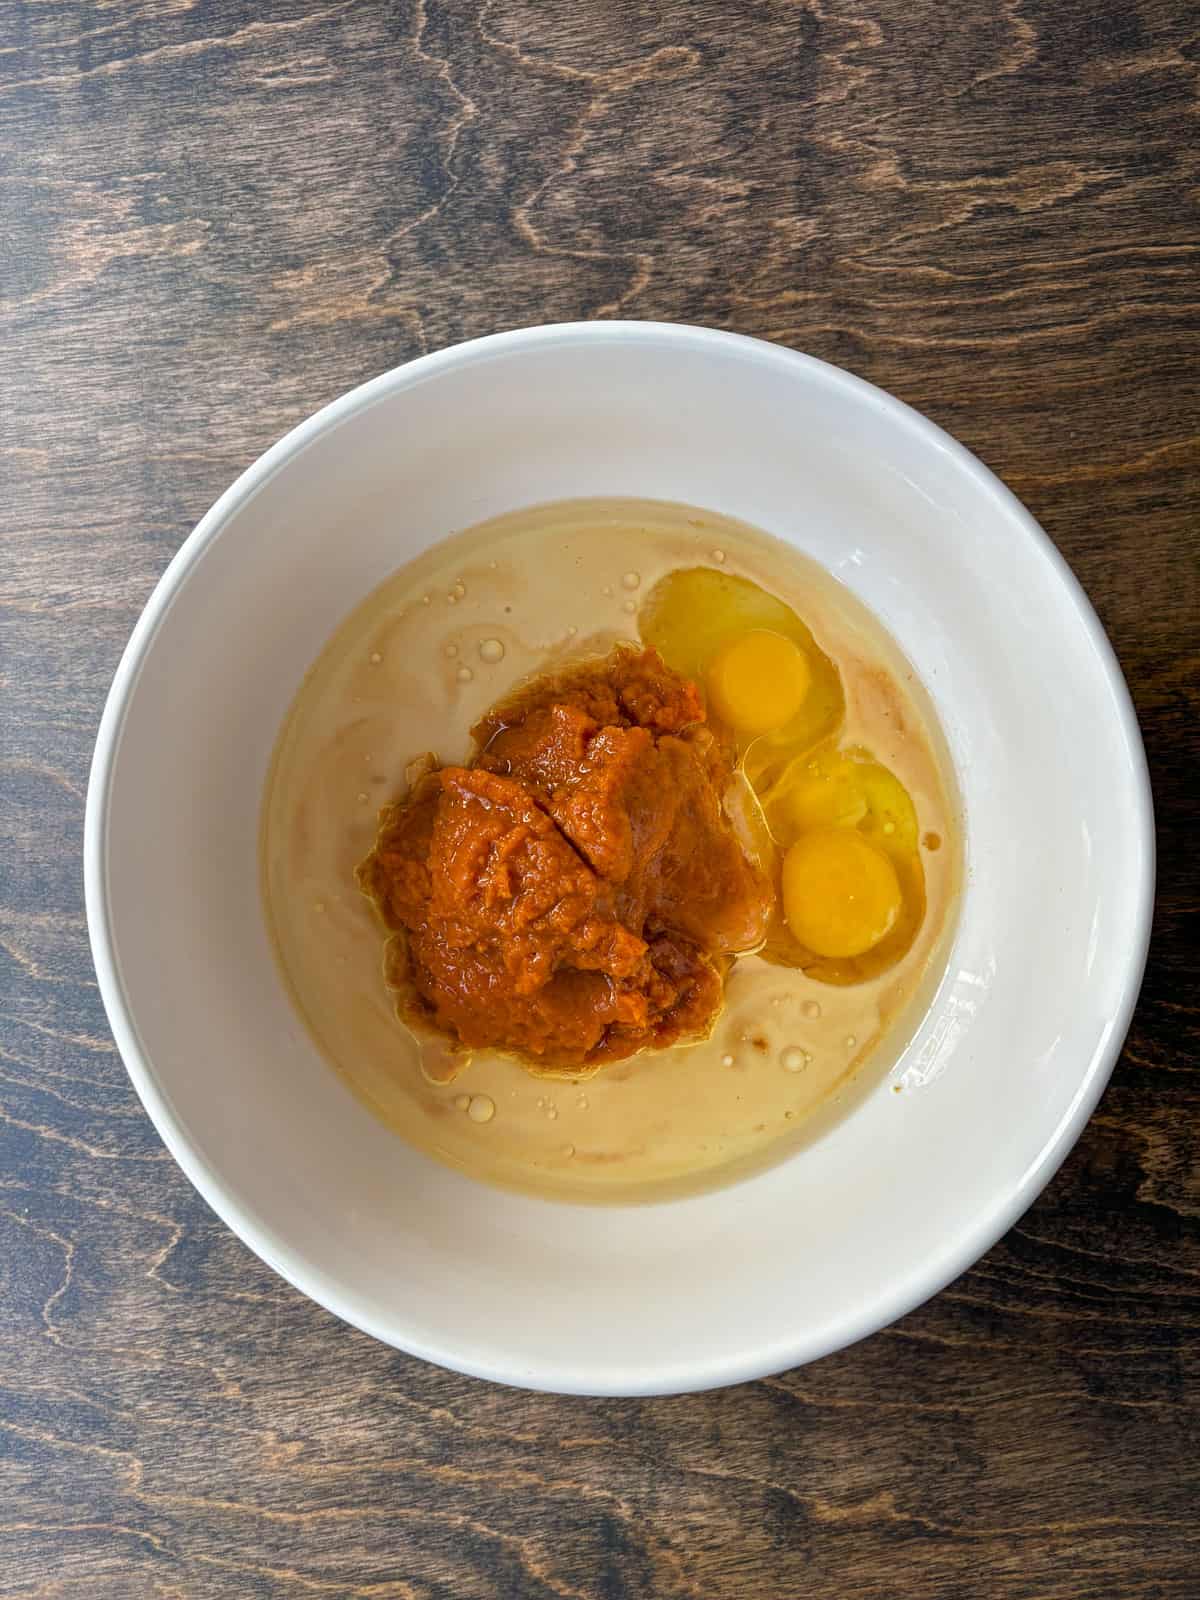
- Mix the wet ingredients. In a larger mixing bowl combine the pumpkin puree, granulated sugar, brown sugar, vegetable oil and eggs. Stir to combine with a spatula or mixer on low for 30 seconds.
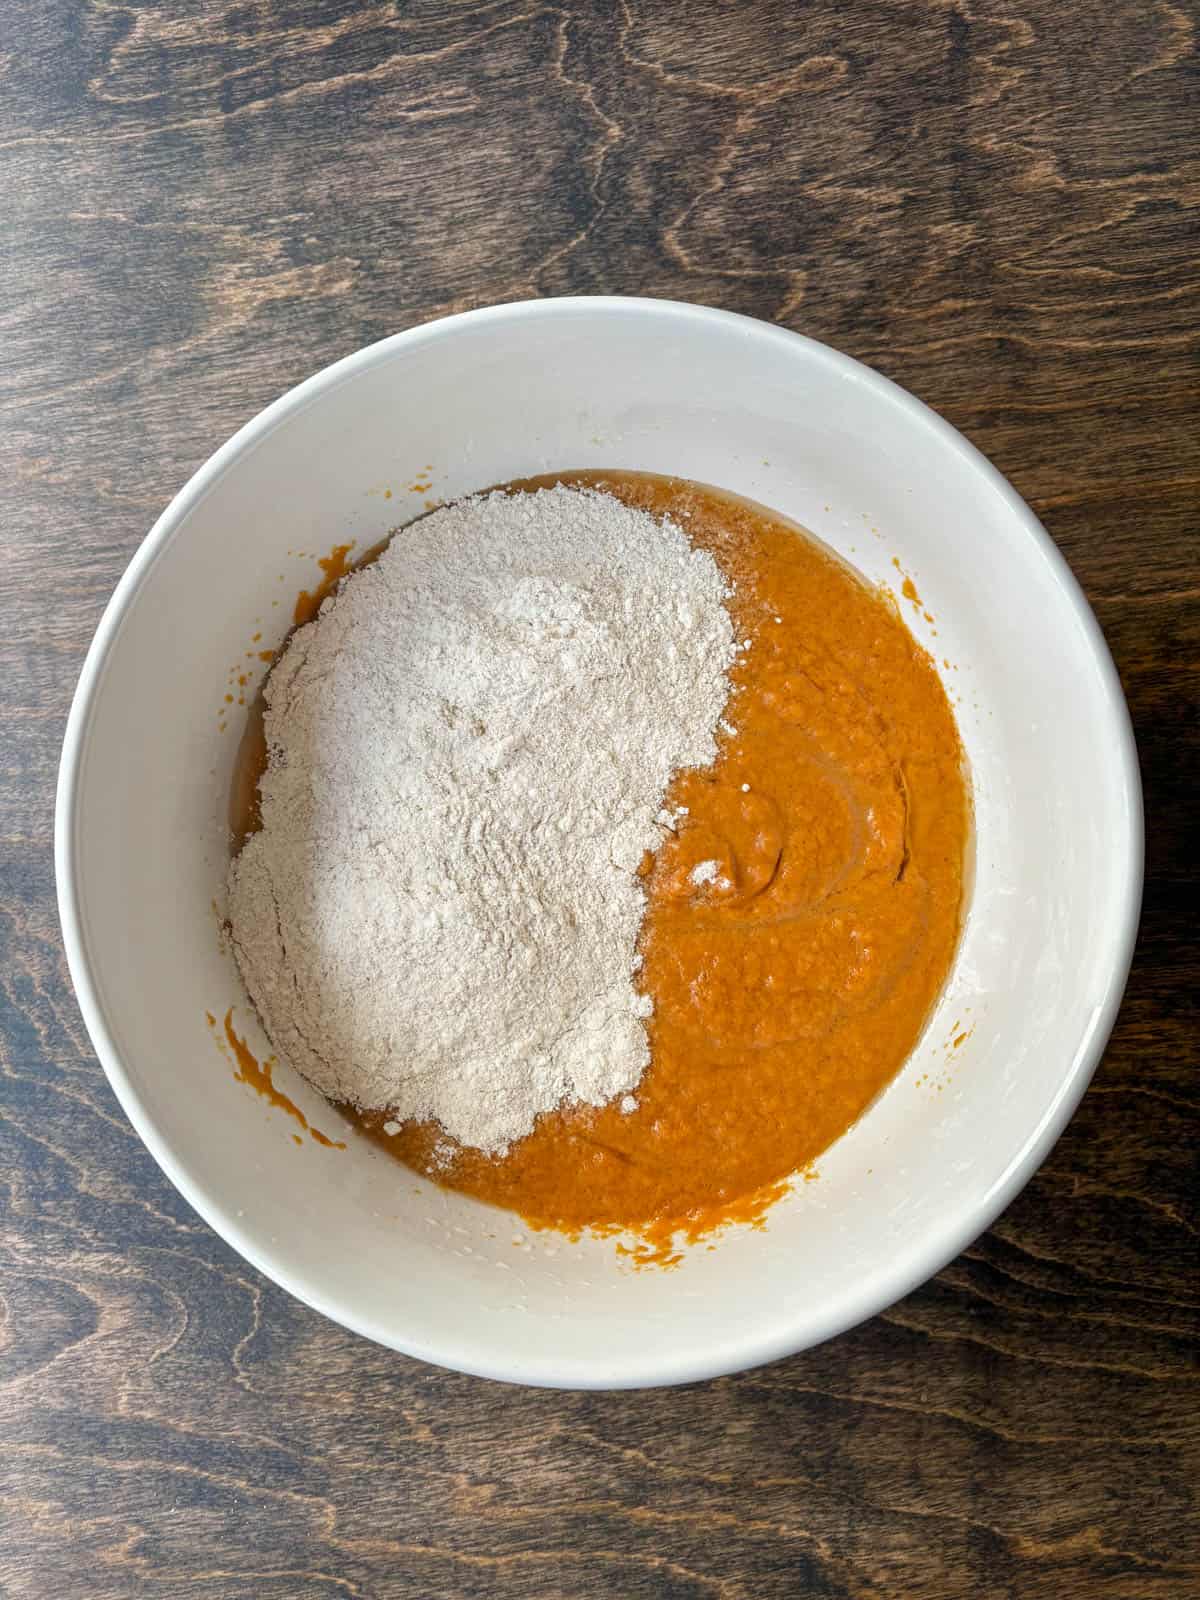
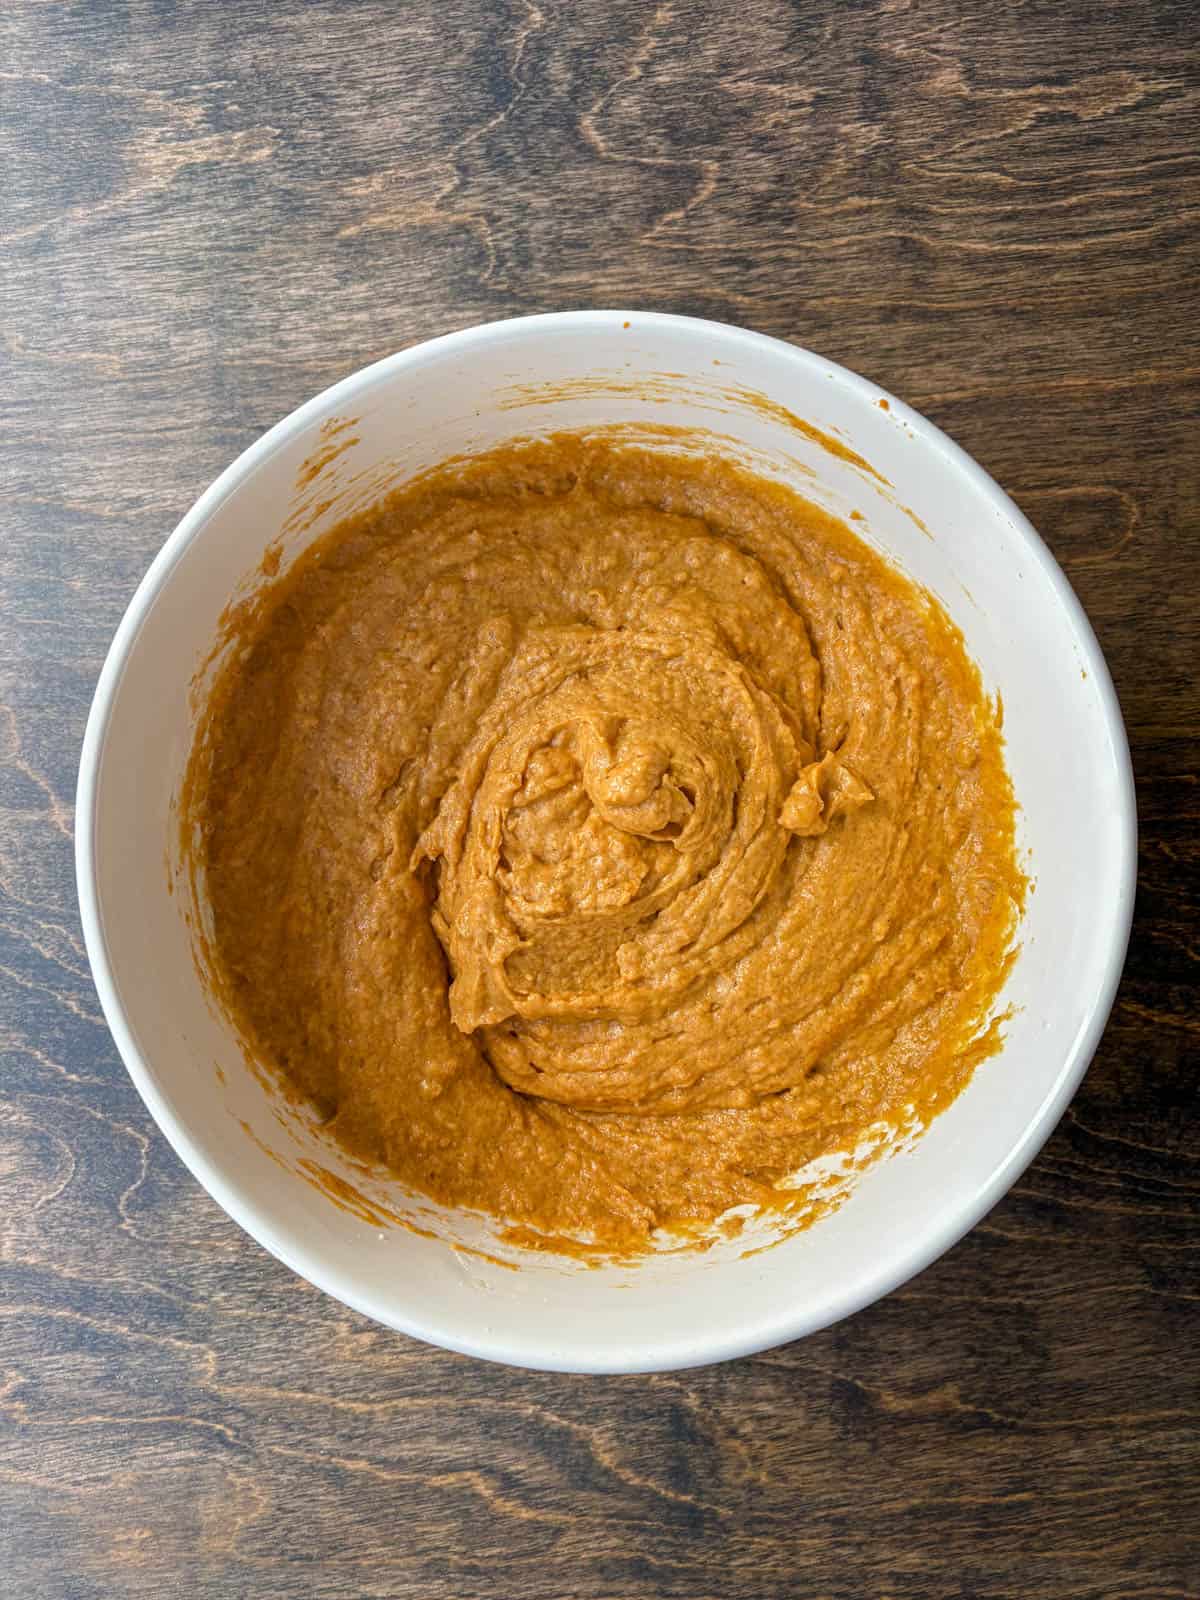
- Finish the batter. Gradually mix in the dry ingredients, mixing by hand or with a mixer on low just until combined. The batter will be very thick!
- Rest. Cover the bowl with a towel and allow the batter to rest for 15 minutes.
- Prepare. Preheat the oven to 425ºF. For bakery style muffin tops, line a 12 count muffin pan with 6 muffins liners, meaning you’ll only fill every other muffin well with batter. Filling every other well allows the muffins to spread and dome without running into each other.
- Fill. Fill the liners to the top with batter. Yes – to the top! You might think there is no way to fit all the batter in 12 liners, but keep dividing the batter among the cups and fill the liners FULL! Use a butter knife to smooth the tops of the muffins if lumpy.
Ready to start baking? Here’s what you’ll need to do.
Assemble GF Pumpkin Muffins
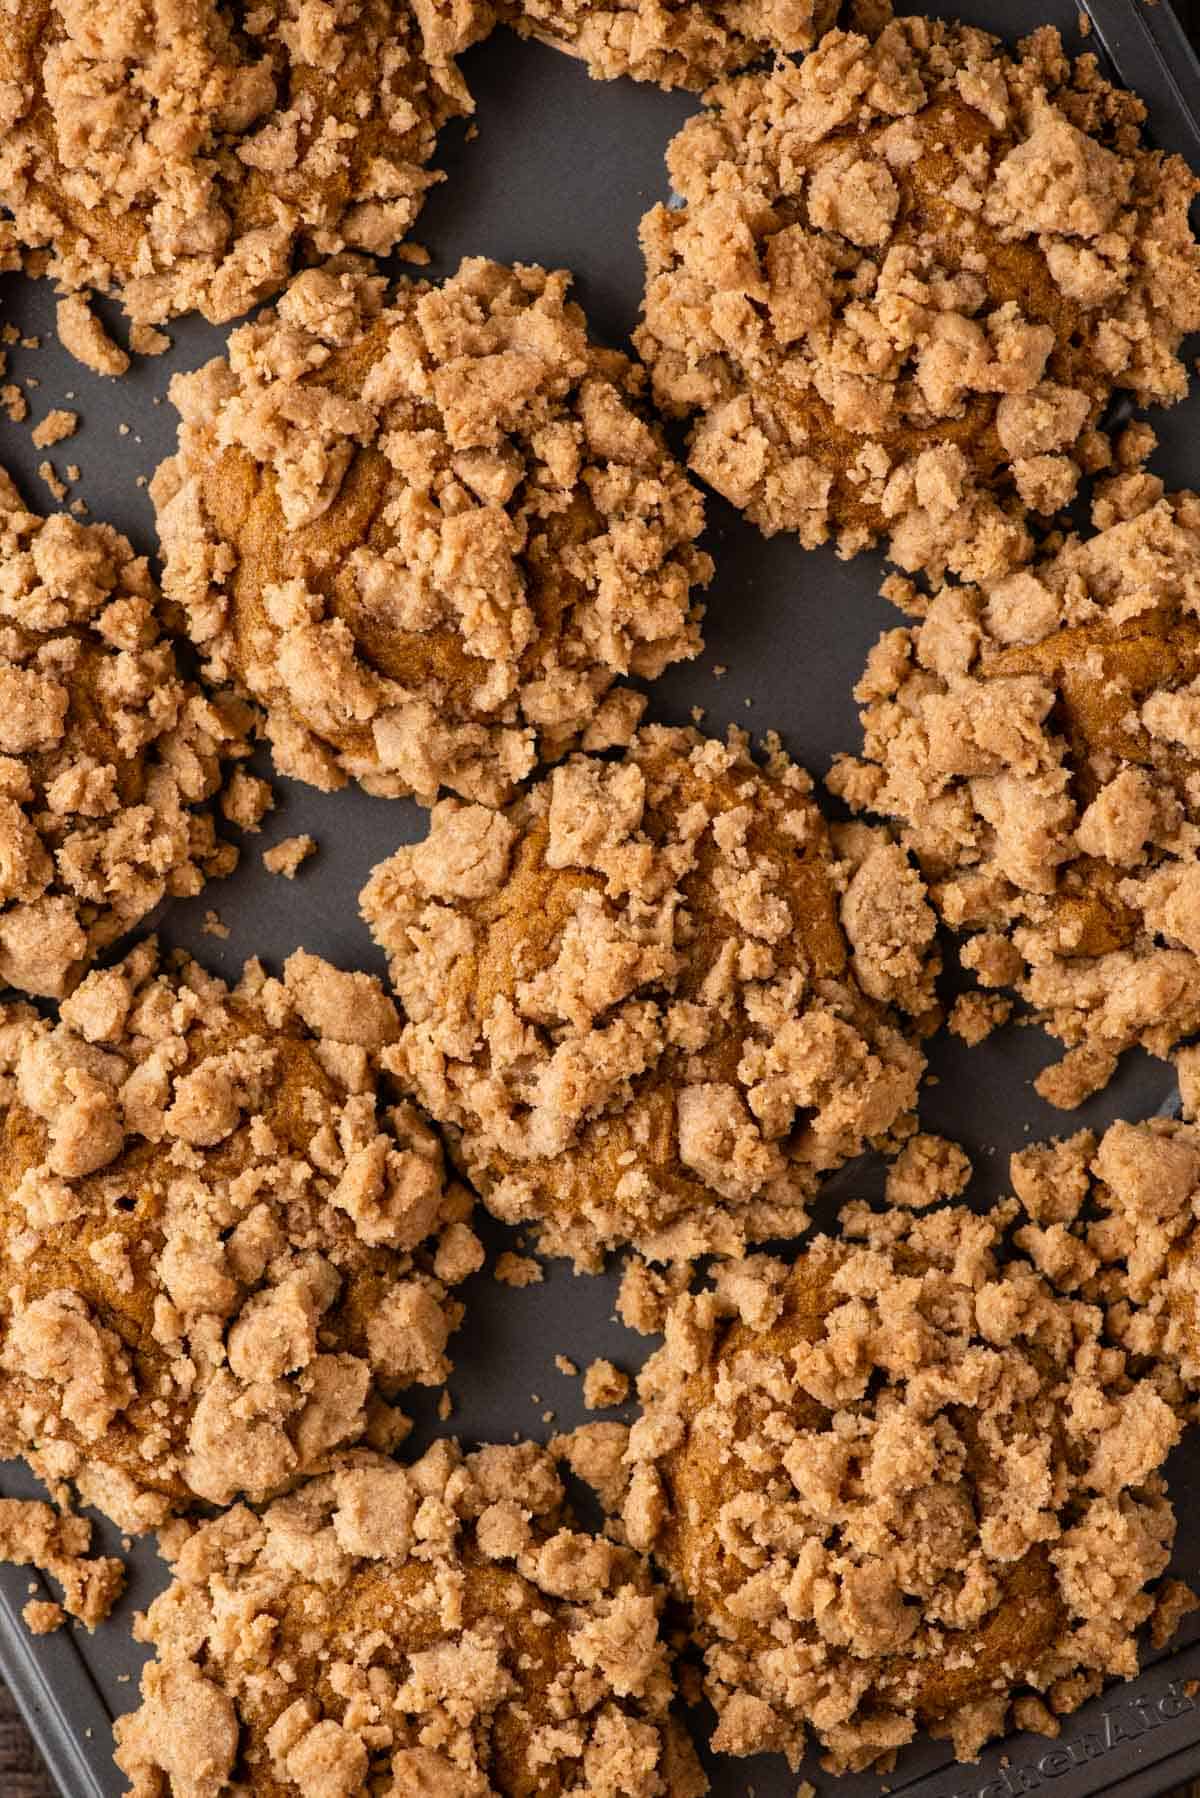
Add streusel topping. Break the crumb into small pieces and begin to generously pile the crumb topping on each muffin. I found it easiest to squeeze some of the crumb in my hands, forming a ball, then break off smaller pieces, lightly pressing the crumb into the batter.
Bake. Bake at 425ºF for 7 minutes, then after those initial 7 minutes, remove the muffins from the oven and quickly press the crumb topping back into the batter. You’ll notice that some of the crumbs are falling off the sides. The goal here is to get those crumbs back on the muffins while the batter is still wet.
Return the muffins to the oven, then drop the temperature to 350ºF for 17-20 minutes or until a toothpick inserted in the center comes out clean. Allow the muffins to cool in the pan for 10 minutes before moving them to a cooling rack.
Pumpkin Muffins Gluten Free Variations
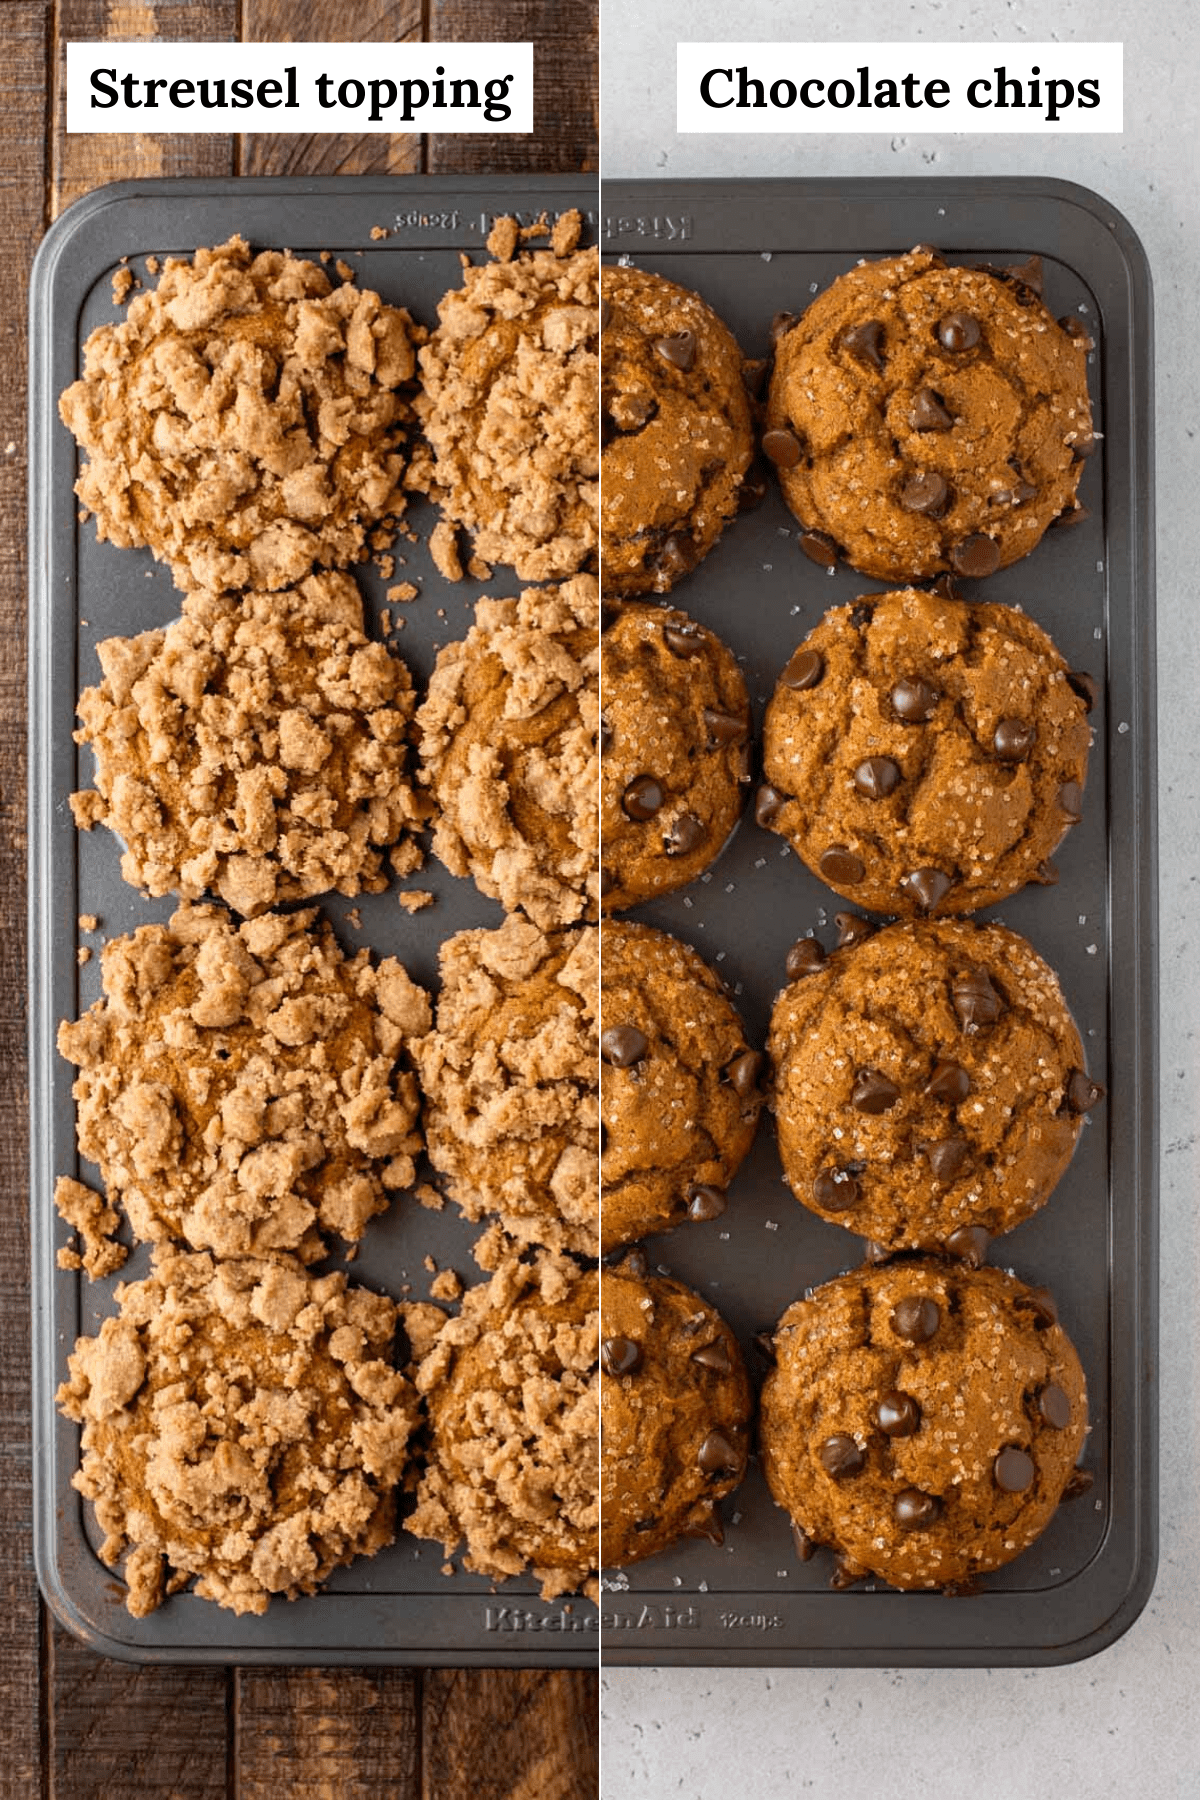
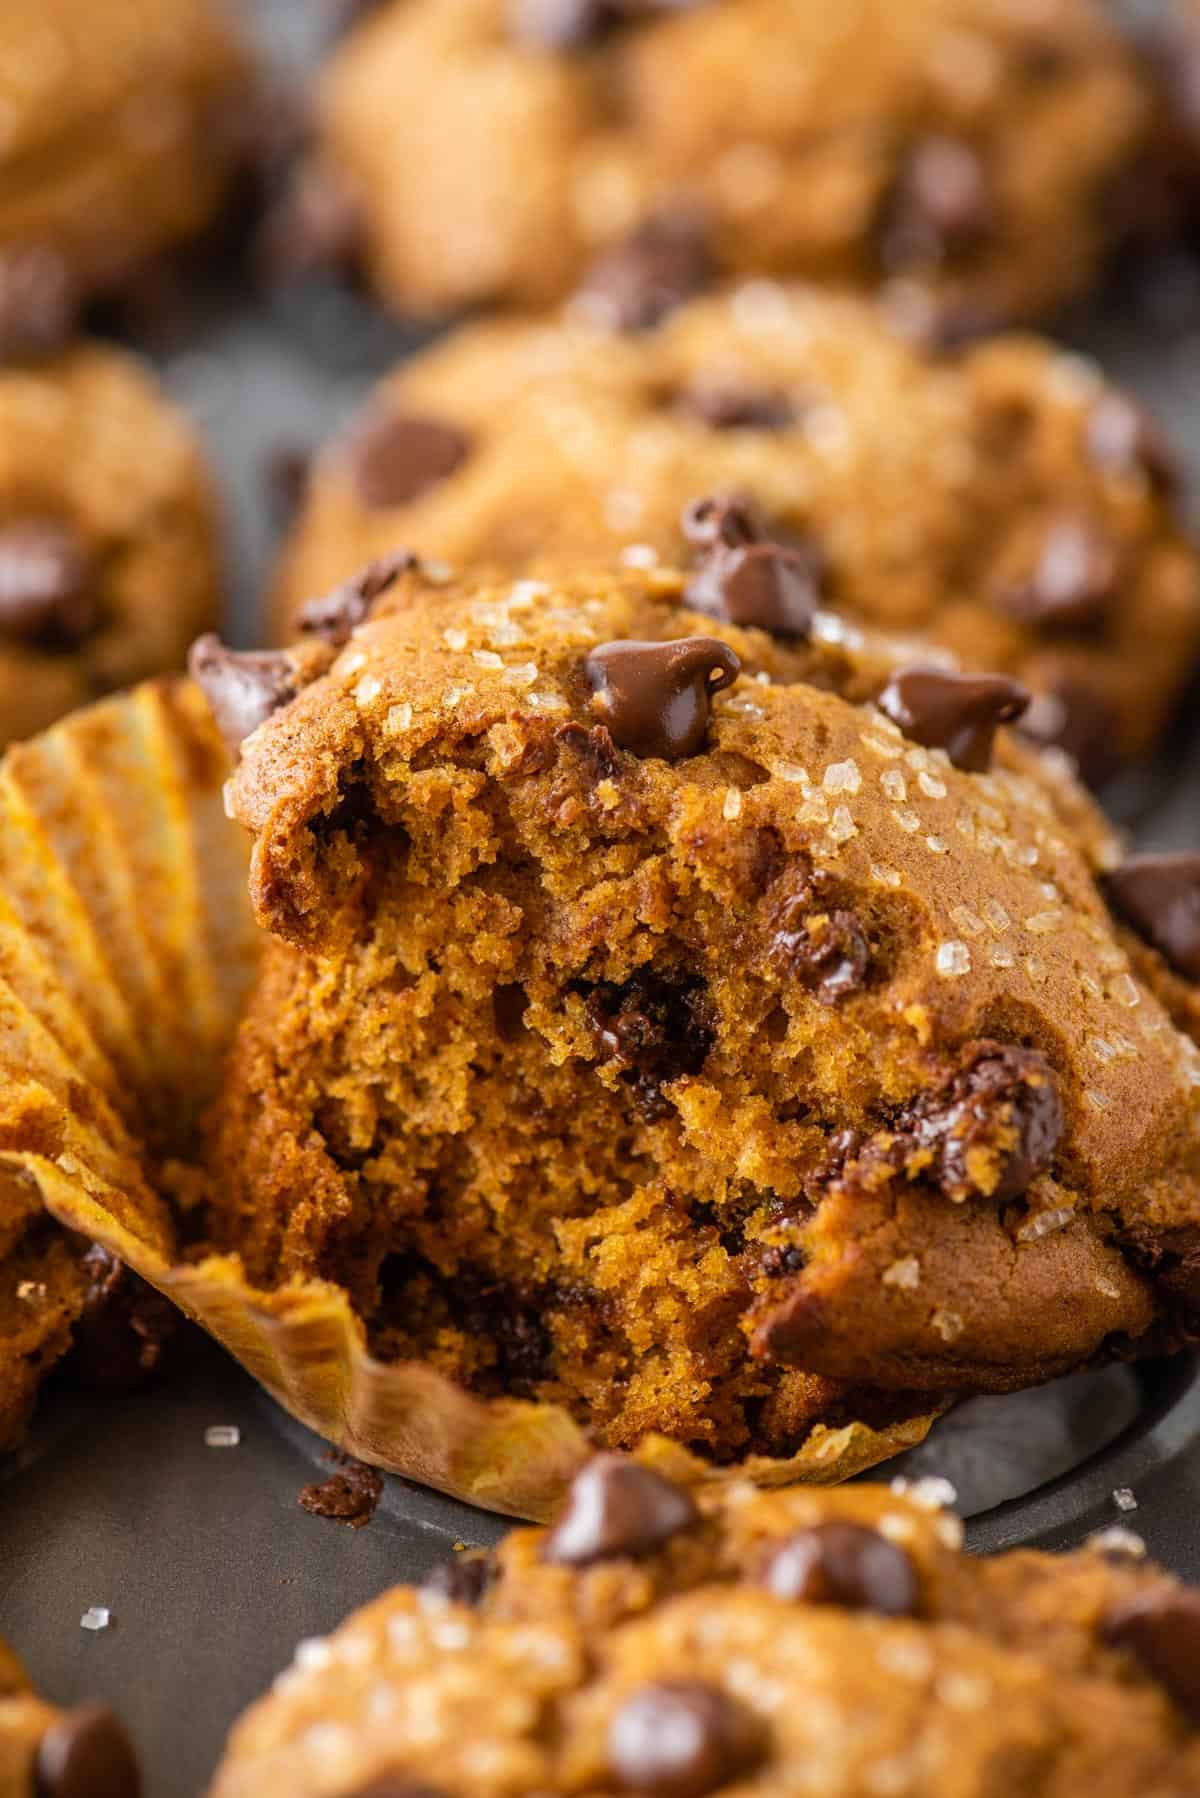
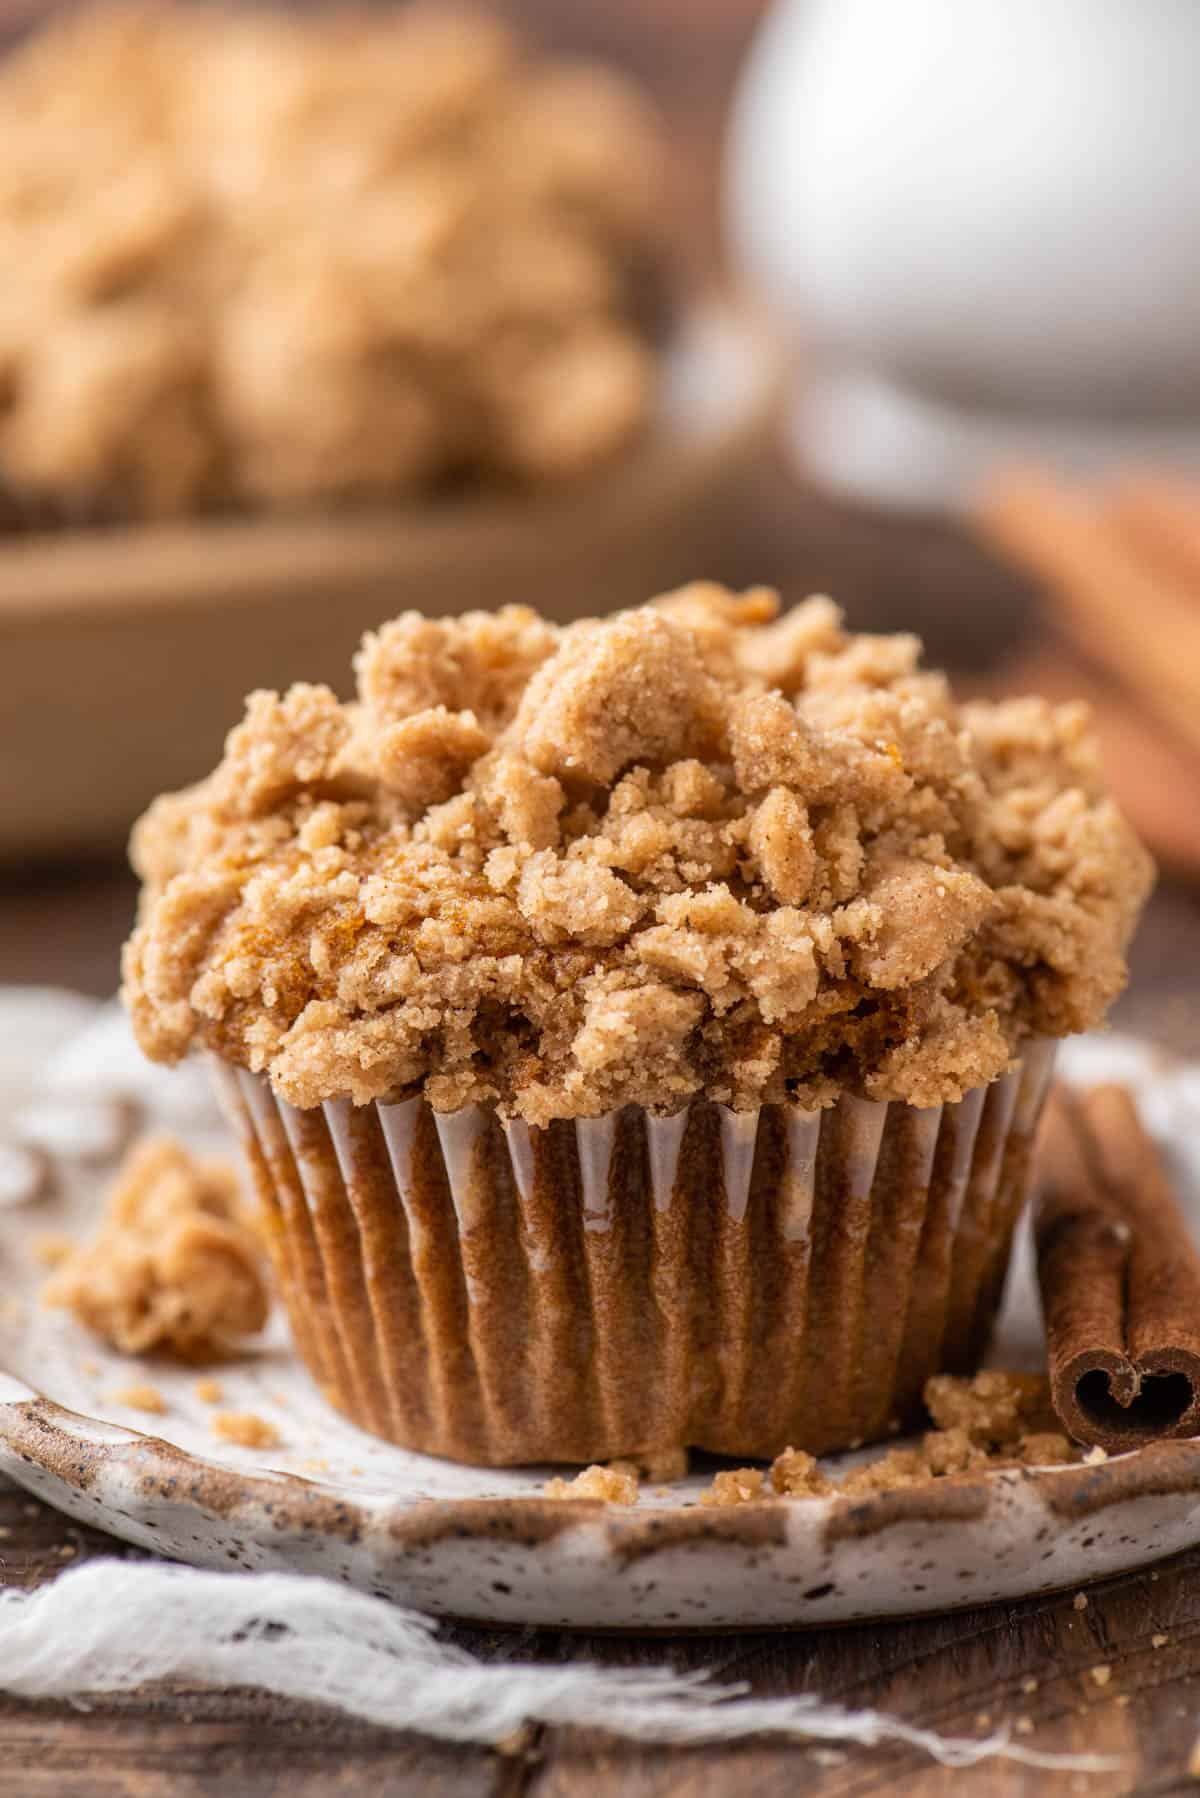
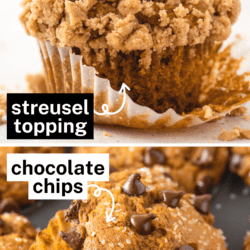
Our base recipe for gluten free pumpkin muffins can be easily transformed into gluten free pumpkin muffins with streusel topping or gluten free pumpkin chocolate chip muffins!
To add a crumb topping, follow our streusel topping directions in the recipe card. If you want to make pumpkin chocolate chip muffins, add 1 cup of semi-sweet chocolate chips to the batter while mixing. Then press an additional 1/2 cup of chocolate chips on top of the muffins before baking.
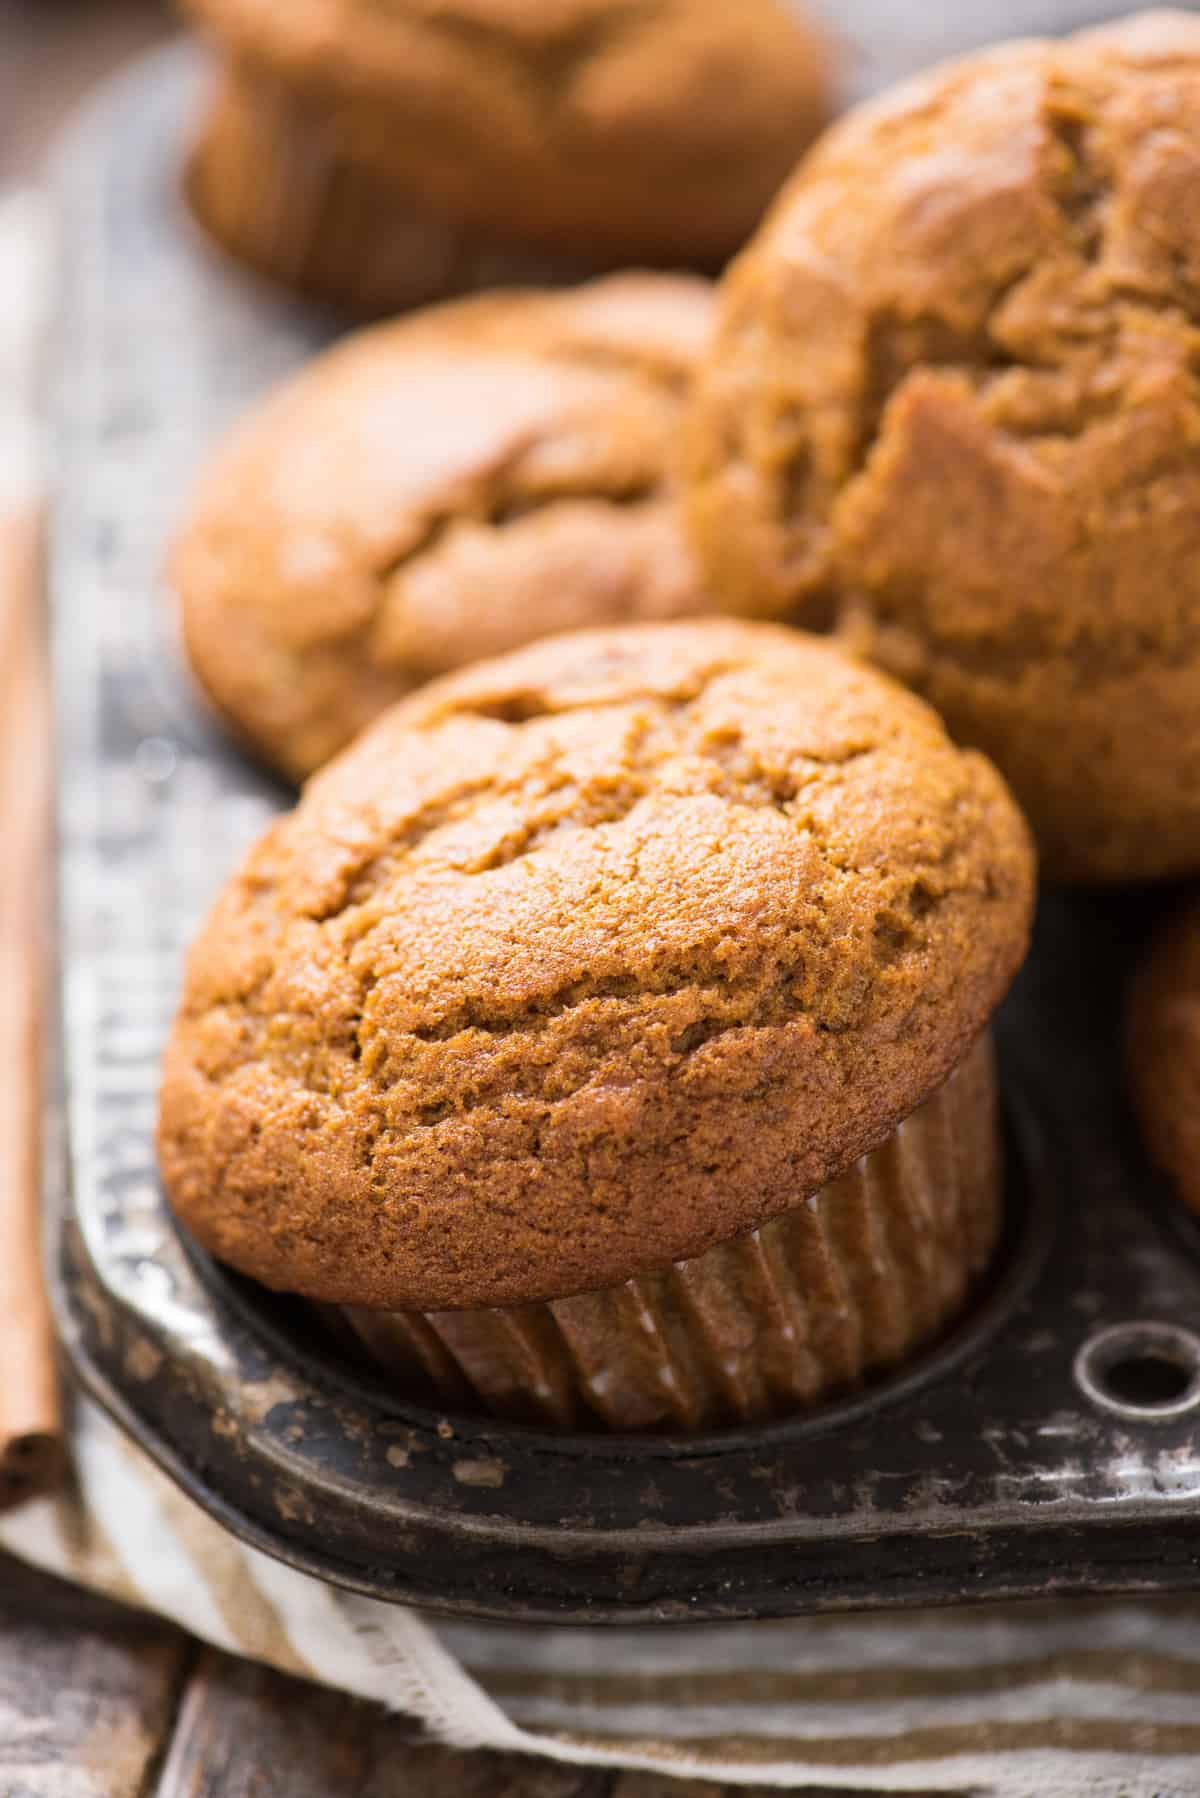
You can also opt to skip the streusel and the chocolate chips, and make plain pumpkin muffins!
Total Time Required
- 10 minutes to prep the batter
- 15 minute rest (this helps produce domed tops!)
- Bake for 7 minutes at 425ºF
- Bake for 17-20 minutes at 350ºF
- 20-30 minutes to cool
How to Properly Measure Flour
The most accurate way to measure flour is to use a kitchen scale, weighing it in grams. If you don’t have a kitchen scale, follow this method.
- Aerate the flour with a whisk or spoon. Flour becomes heavy and compact as it sits. Aerating is the same as fluffing the flour, but not the same as sifting it. Do not sift the flour unless the recipe specifically calls for it.
- Use a spoon to sprinkle the flour into the measuring cup. Do not tap the cup against the counter, as this will compact the flour.
- Use the back of a butter knife to level off the excess. You’ll need to repeat the aerating process after filling each cup.
How to Create Bakery Style Muffins
Bakery style muffins are known for their domed tops. Plus who doesn’t love them? I used a few techniques to help “lift” these muffins so they would have large, domed tops!
1. The Rest Period
Let the batter rest for 15 minutes after it’s mixed and before you scoop it into the muffin pan. During the resting period, starch molecules in the flour are absorbing the liquid in the batter, causing them to swell and giving the batter a thicker consistency (ref the kitchen whisper). Our 15 minute rest is just a quick rest.
2. Fill Every Other Muffin Cup
This tip has been a game changer! For bakery style muffin tops, line a 12 count muffin pan with 6 muffin liners, meaning you’ll only fill every other muffin well with batter. Filling every other cup allows the muffins to spread and dome without running into each other. This technique also encourages the muffins to brown, creating a golden muffin top.
3. Fill Them To The Top
Fill your muffin liners to the top with batter. Yes, this goes against everything you’re heard but it’s important in helping the muffin gain that height.
4. Bake at High Temperature Initially
Bake the muffins at a high temperature (425ºF) initially, then lower to 350ºF. Starting the muffins off at a higher temperature causes the batter to rise rapidly, setting the outer surface of the muffin, producing a dome shape.
5. Push the Crumb Back On
After those initial 7 minutes, remove the muffins from the oven and quickly press the crumb topping back into the batter. You’ll notice that some of the crumbs are falling off the sides. The goal here is to get those crumbs back on the muffins while the batter is still wet. Return the muffins to the oven, drop the temperature to 350ºF and bake for 17-20 minutes.
Storing and Freezing Muffins
Muffin Storage
If you’ll be eating the muffins within 24 hours of baking, you can leave them uncovered on the counter. The muffins will not dry out while left at room temperature for 1 day.
In fact, muffins are so moist they can become soggy and those crunchy, sugary tops can disappear when stored in an airtight container.
But I have a trick to help that – paper towels.
For longer storage, 2-4 days, line the bottom of an airtight container with paper towels. Place the muffins in a single layer in the container then cover the muffins with any additional layer of paper towels. The paper towels will act like a sponge, absorbing the moisture they release while they are stored.
If the paper towels become too moist around day 2 or day 3, replace them with fresh paper towels.
How To Freeze Muffins
Individually wrap each muffin in plastic wrap. Then place them in a ziploc bag or airtight container and place in the freezer for up to 3 months.
To thaw, leave them at room temperature until defrosted, about 1 hour. Or unwrap them and microwave at 20 second intervals until defrosted.

Tap stars to rate!
GF Pumpkin Muffins
Ingredients
- 2 ¼ cups (270g) gluten free all-purpose flour
- 1 ½ tsp baking powder
- 1 ½ tsp baking soda
- 1 tsp salt
- 2 ½ tsp cinnamon
- ½ tsp nutmeg
- ¼ tsp ground ginger
- 1 can 15 oz (425g) 100% pure pumpkin puree
- 1 cup (198g) granulated sugar
- ½ cup (107g) brown sugar, packed
- ½ cup (100g) vegetable oil
- 2 large eggs
If adding chocolate chips
- 1 ½ cups (255g) semi-sweet chocolate chips
If adding crumb topping
- 1 ½ cups (180g) gluten free all purpose flour
- ⅔ cup (142g) brown sugar, packed
- 1 ½ tsp cinnamon
- ¼ tsp salt
- ½ cup (113g) unsalted butter, melted
Instructions
- In a mixing bowl combine the flour, baking powder, baking soda, salt, cinnamon, nutmeg and ginger. Stir with a spoon to combine and set aside.2 ¼ cups (270g) gluten free all-purpose flour, 1 ½ tsp baking powder, 1 ½ tsp baking soda, 1 tsp salt, 2 ½ tsp cinnamon, ½ tsp nutmeg, ¼ tsp ground ginger
- In a larger mixing bowl combine the pumpkin puree, granulated sugar, brown sugar, vegetable oil and eggs. Stir to combine with a spatula or mixer on low for 30 seconds.1 can 15 oz (425g) 100% pure pumpkin puree, 1 cup (198g) granulated sugar, ½ cup (107g) brown sugar, ½ cup (100g) vegetable oil, 2 large eggs
- Gradually mix in the dry ingredients (and 1 cup chocolate chips if using), mixing by hand or with a mixer on low just until combined. The batter will be very thick! Cover the bowl with a towel and allow the batter to rest for 15 minutes. During this time, preheat the oven to 425ºF.1 ½ cups (255g) semi-sweet chocolate chips
- For bakery style muffin tops, line a 12 count muffin pan with 6 muffins liners, meaning you’ll only fill every other muffin well with batter. Filling every other well allows the muffins to spread and dome without running into each other. Fill the liners to the top with batter. Yes – to the top! You might think there is no way to fit all the batter in 12 liners, but keep dividing the batter among the cups and fill the liners FULL! Use a butter knife to smooth the tops of the muffins if lumpy. If you are choosing to add chocolate chips and skip the crumb topping, press the remaining 1/2 cup chocolate chips into the muffins.
- Begin to generously pile the crumb topping on each muffin. I found it easiest to squeeze some of the crumb in my hands, forming a ball, then break off smaller pieces, lightly pressing the crumb into the batter. Ideally you want substantial pieces of crumb.1 ½ cups (180g) gluten free all purpose flour, ⅔ cup (142g) brown sugar, 1 ½ tsp cinnamon, ¼ tsp salt, ½ cup (113g) unsalted butter
- Bake at 425ºF for 7 minutes, then after those initial 7 minutes, remove the muffins from the oven and quickly press the crumb topping back into the batter. You’ll notice that some of the crumbs are falling off the sides. The goal here is to get those crumbs back on the muffins while the batter is still wet.
- Return the muffins to the oven, then drop the temperature to 350ºF for 17-20 minutes or until a toothpick inserted in the center comes out clean. Allow the muffins to cool in the pan for 10 minutes before moving them to a cooling rack.Repeat with the remaining batter, making sure to bump the temperature back up to 425ºF.
Notes


Made them for book club, so good! I’m GF, but no one could tell they were GF, everyone loved them!
One of the best gluten free muffin recipes I have tried in years!!! Will make another batch soon!
Best muffins ever! They are not dense like most gf baked goods! I have made them twice now once with crumble and once with chocolate chips both ways are good!
Can you substitute for different oil?
Good flavor, but the texture was a bit dry and the streusel needed maybe more butter.
How did you measure the flour? Did you measure by grams on a kitchen scale, did you aerate, then spoon the flour into the cup and level OR did you stick the measuring cup into the flour then level? All 3 of these methods change the actual weight of the flour – sometimes by adding an additional 1/2 cup without knowing it!
I measure all my flour in grams on a kitchen scale.
If you don’t have a kitchen scale, aerate the flour with a fork, use a spoon to spoon it into the measuring cup, then level it off with a kitchen knife. You’ll need to repeat the aerating process after filling each cup.
These muffins are PERFECT!
Moist but not mushy, flavourful and the crumb makes it perfect! I will be using this as my go-to pumpkin muffin recipe!
Could apple sauce be used instead of oil, then lesson sugar some since the apple sauce makes it sweeter?
Hi Jennifer! You can replace part of the oil with applesauce, but I don’t recommend replacing all of it. Oil is what helps create that tall bakery-style dome and tender crumb. Applesauce will make them more dense and flatter. I also wouldn’t reduce the sugar much, since sugar affects structure and moisture, not just sweetness.