This post may contain affiliate links. Please read our disclosure policy.
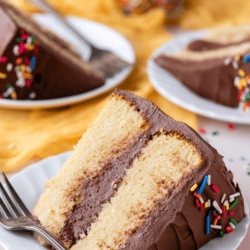
As a baker who has been gluten free since 2006, I’ve spent a ton of time tweaking and perfecting gluten free cake recipes. It can be a challenge to create the right texture in a cake without gluten, but I’ve mastered it and now I’m sharing my recipe with you!
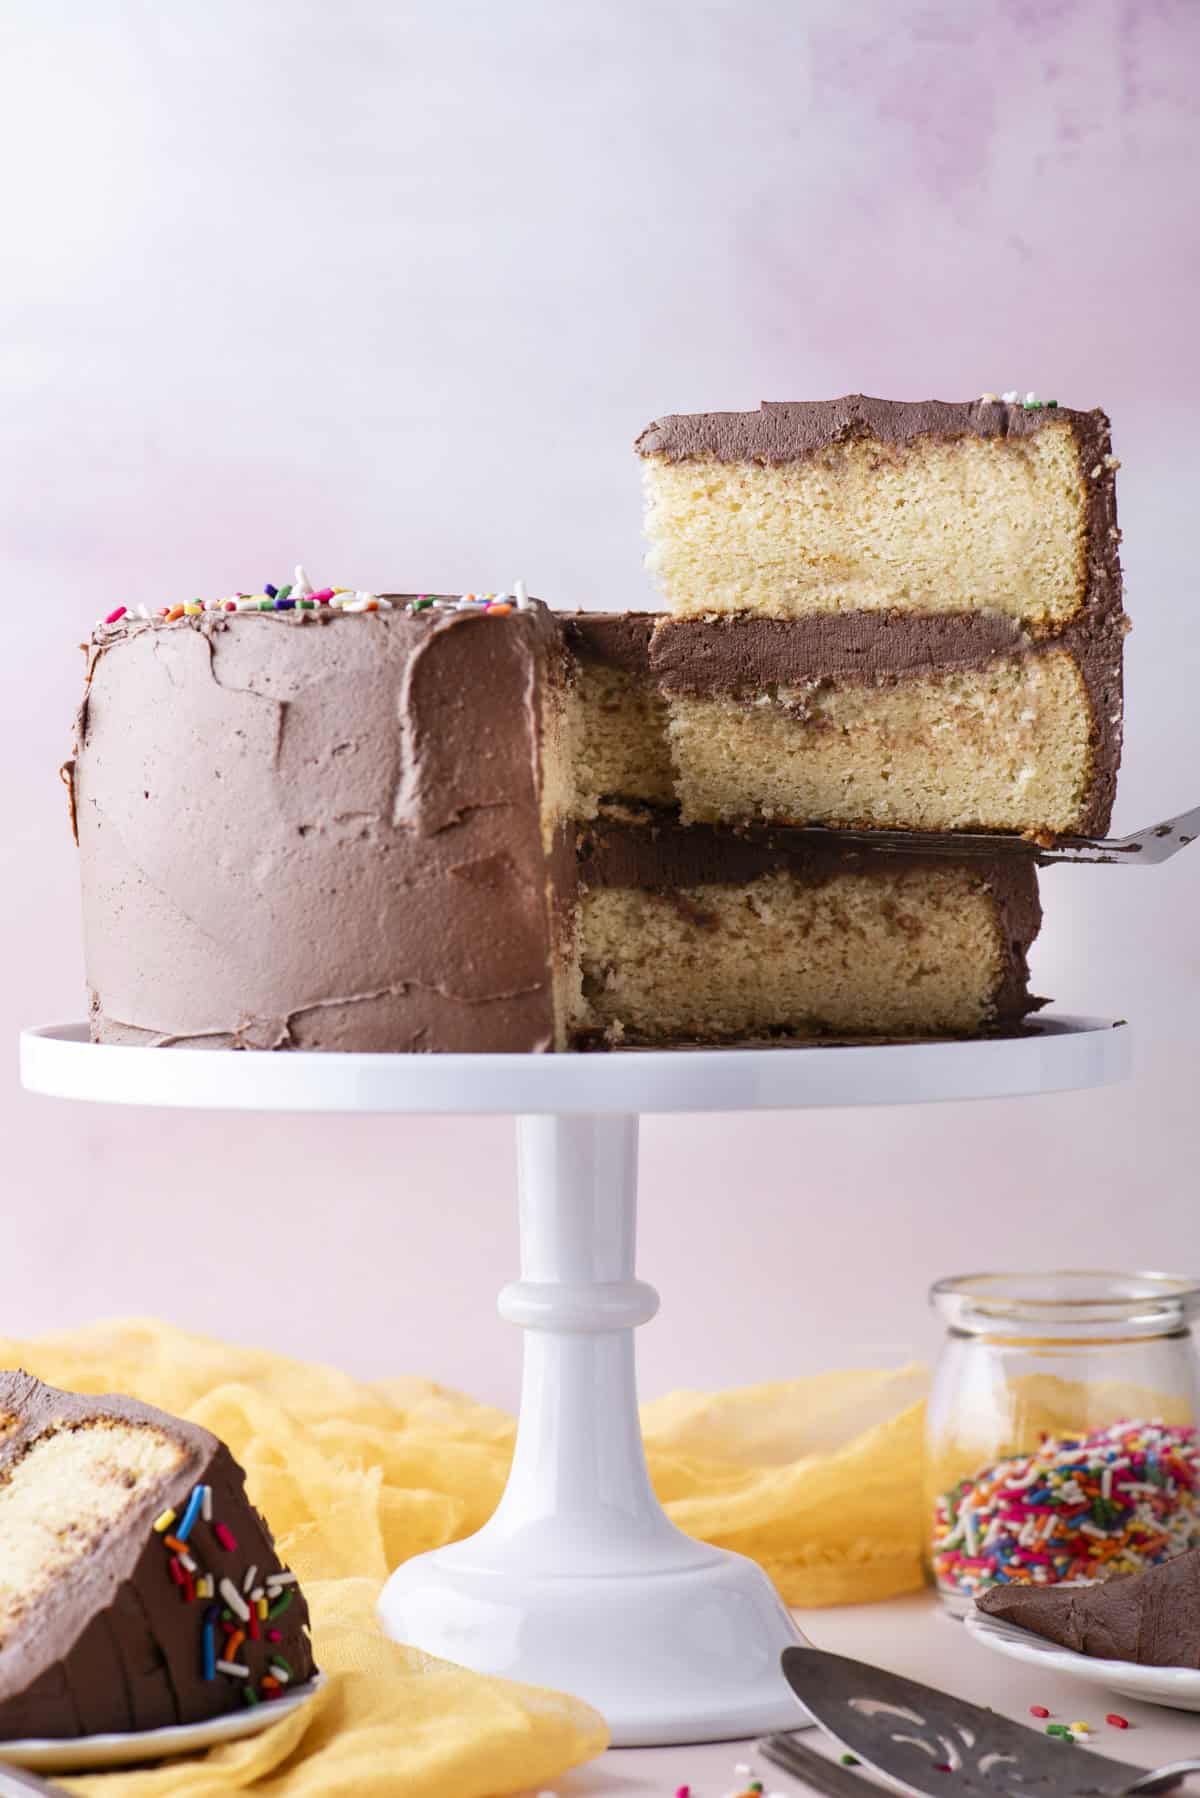
Why we love this Gluten Free Birthday Cake
If you’ve ever tried to make your own gluten free cake and ended up with a cake that is too dense, too dry, too crumbly or didn’t rise, you are not alone! These are common issues with gluten-free cake recipes. But now, you’ve found me, your gluten-free baking expert!
I am going to walk you through my tried and true recipe and give you all my tips and tricks for making the best gluten free cake you’ve ever had. Here are just a few of the reasons you’ll love this recipe:
- Simple layer cake that even beginner bakers can make
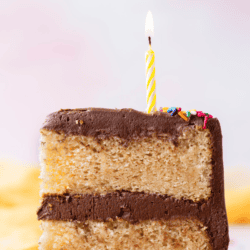
- Perfect for a special occasion like a birthday
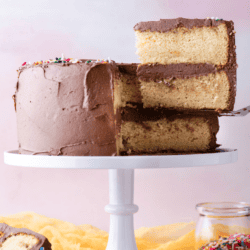
- Moist and tender with the perfect texture
- Yellow cake that perfectly with any icing (see below for ideas)
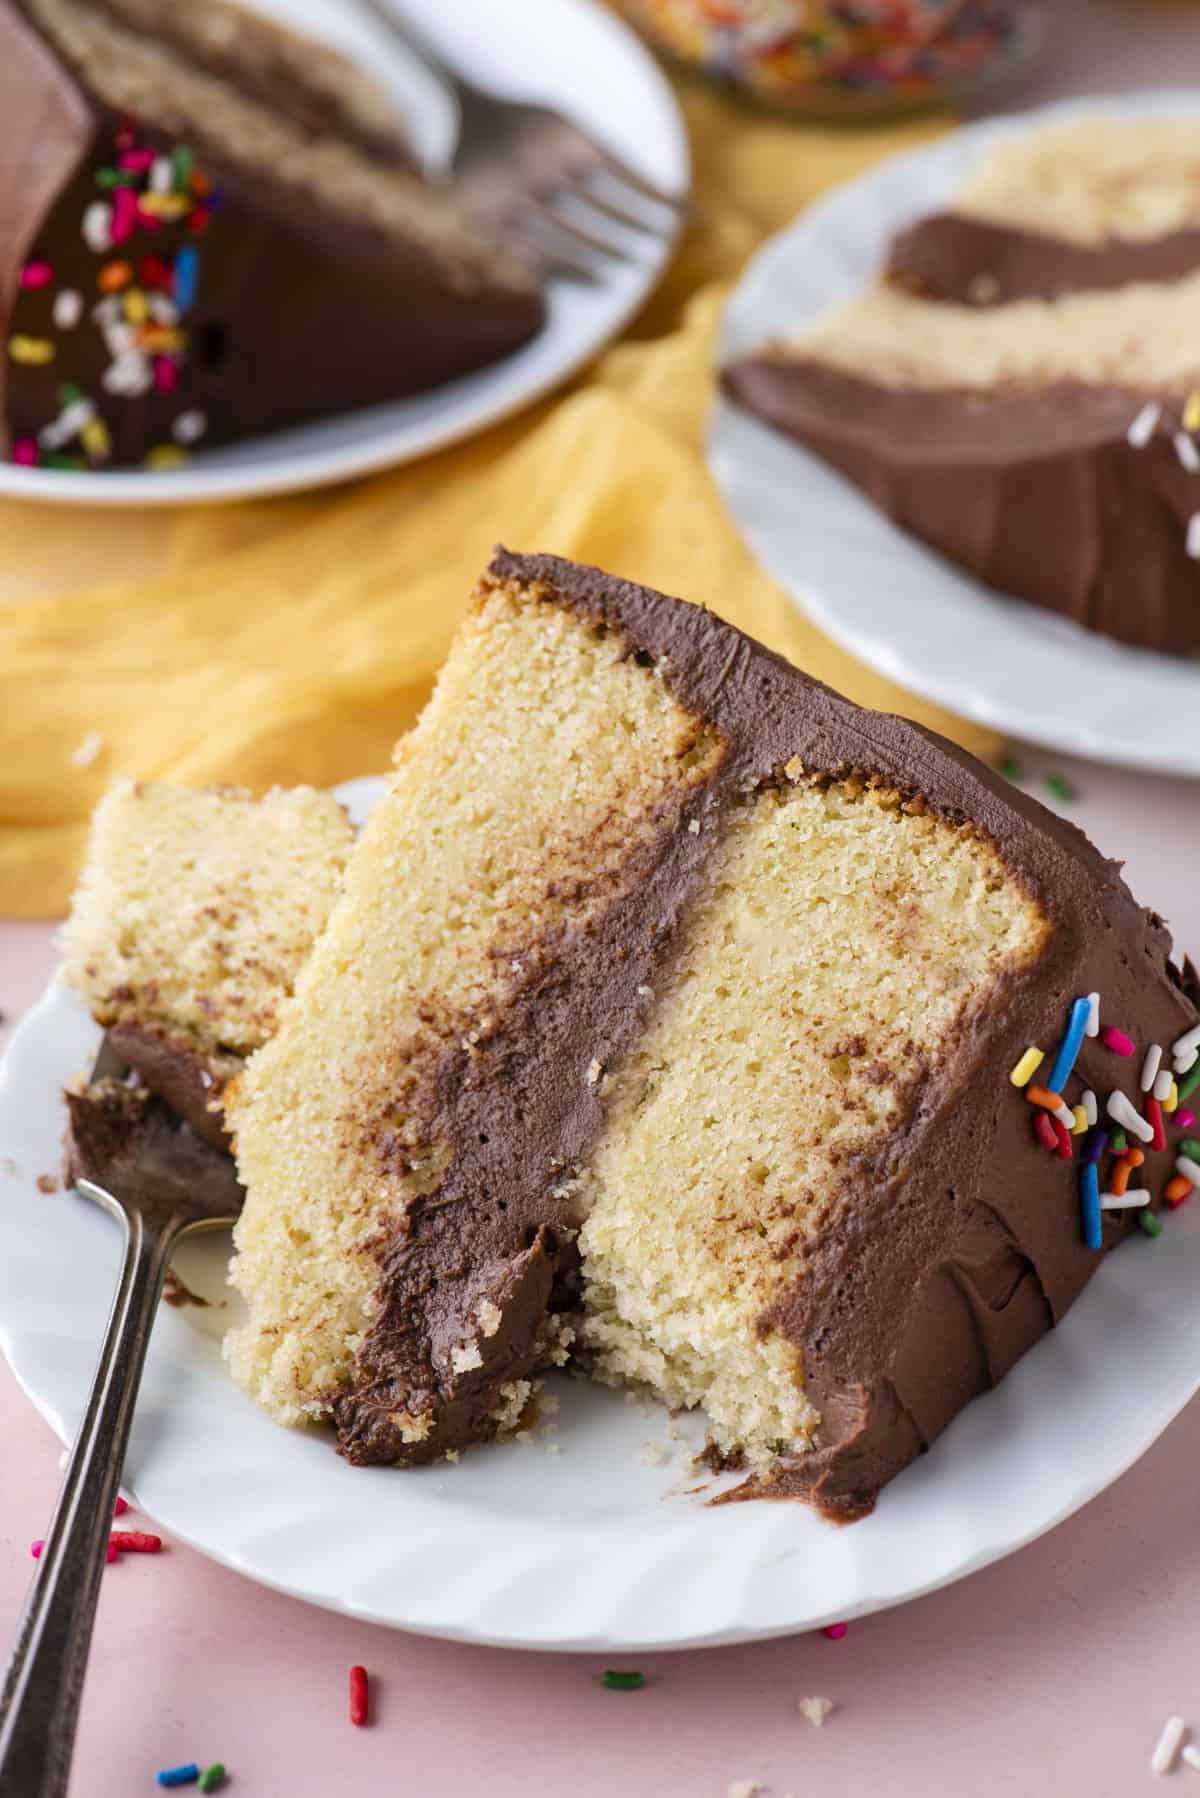
Gluten Free Cake Recipe Ingredients
This cake uses gluten-free flour and other very simple ingredients to make a delicious cake perfect for a gluten-free diet. Keep reading for my best tips and tricks, and get the full recipe in the recipe card below. Here’s what you’ll need:
Cake
- Gluten free measure for measure flour: I used King Arthur’s Gluten Free Measure for Measure Flour.
- Cornstarch
- Baking powder
- Baking soda
- Salt
- Unsalted butter: room temperature
- Granulated sugar
- Vegetable oil
- Eggs: room temperature
- Sour cream
- Milk: I used whole milk.
- Vanilla extract
Vanilla Frosting
- Unsalted butter: room temperature
- Vanilla extract
- Salt
- Powdered sugar
- Milk or heavy cream: if frosting becomes too thick
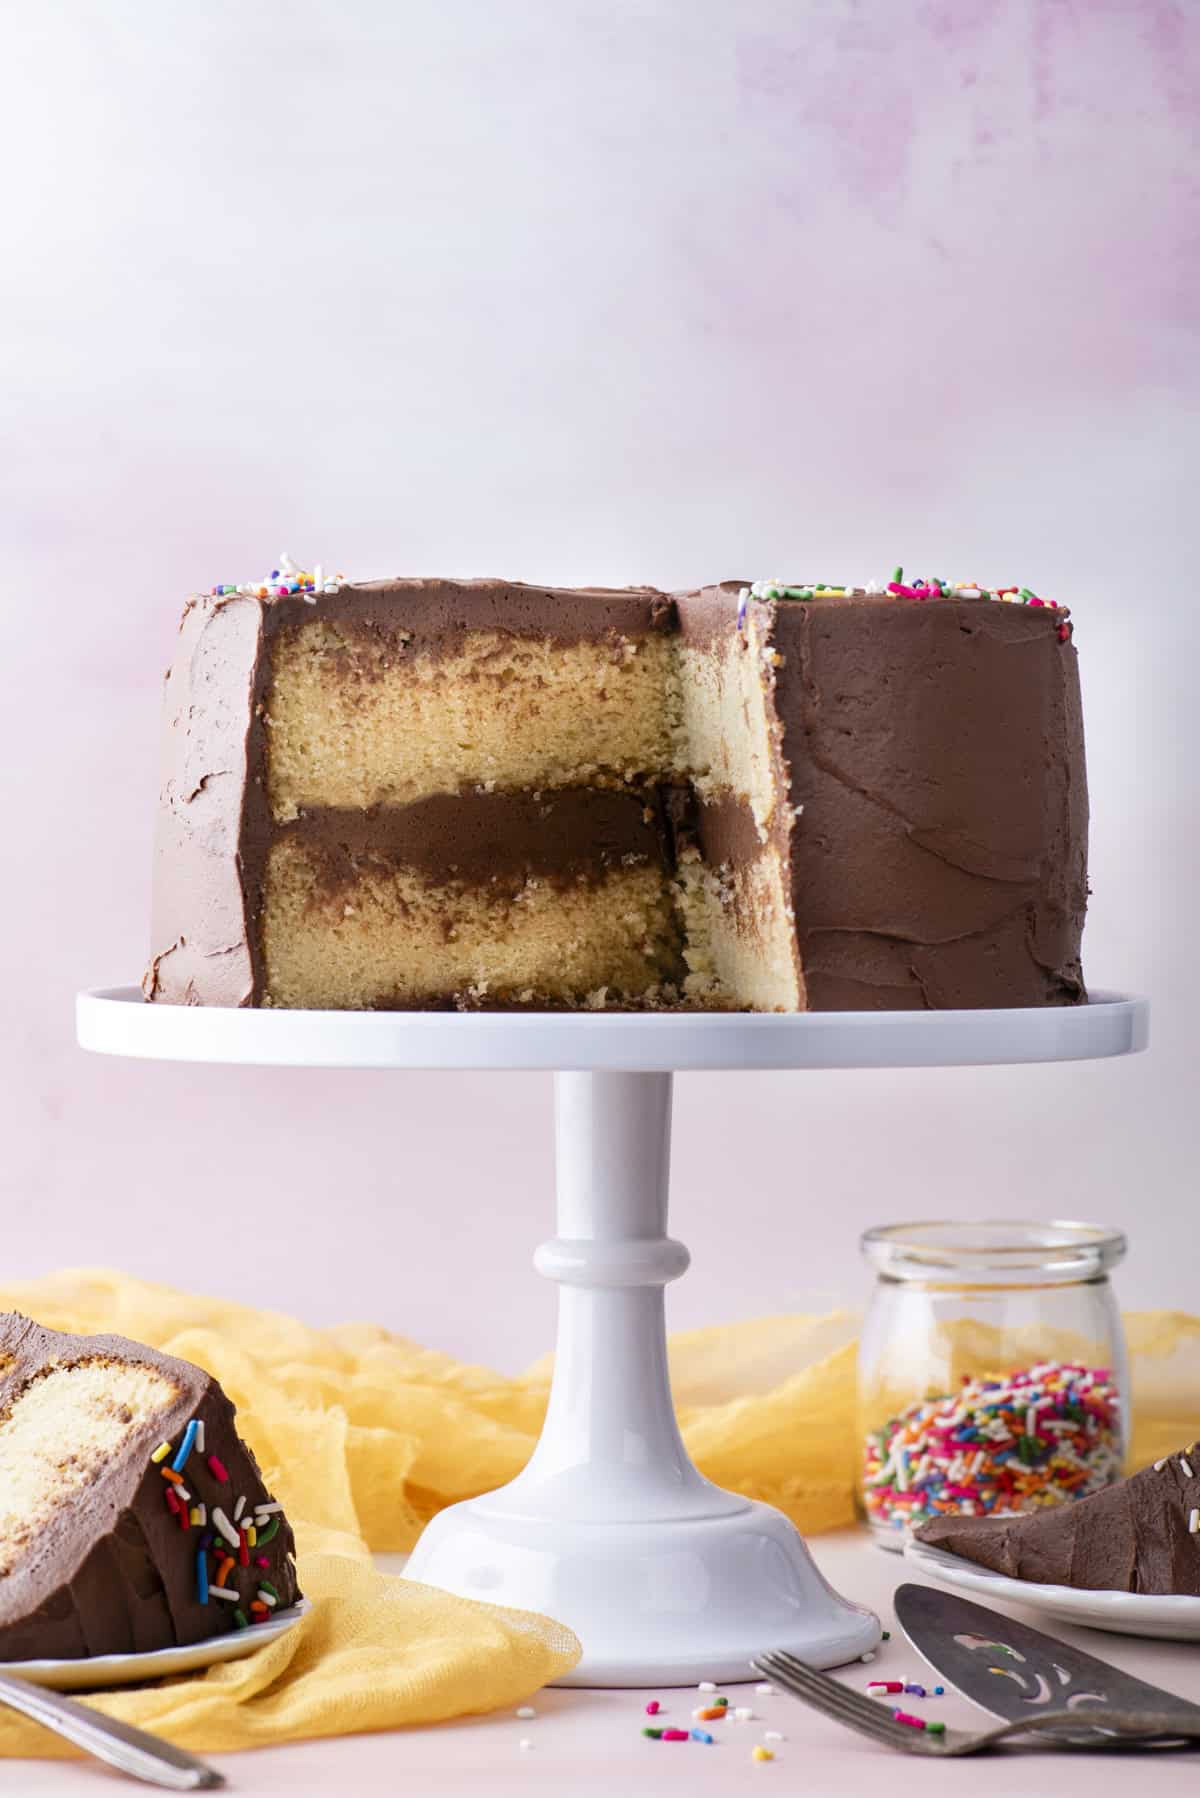
How to Make Gluten Free Cake
This easy gluten free cake is made in just 8 simple steps, then frosted and assembled. Follow my step-by-step guide here, or get the full recipe in the recipe card below.
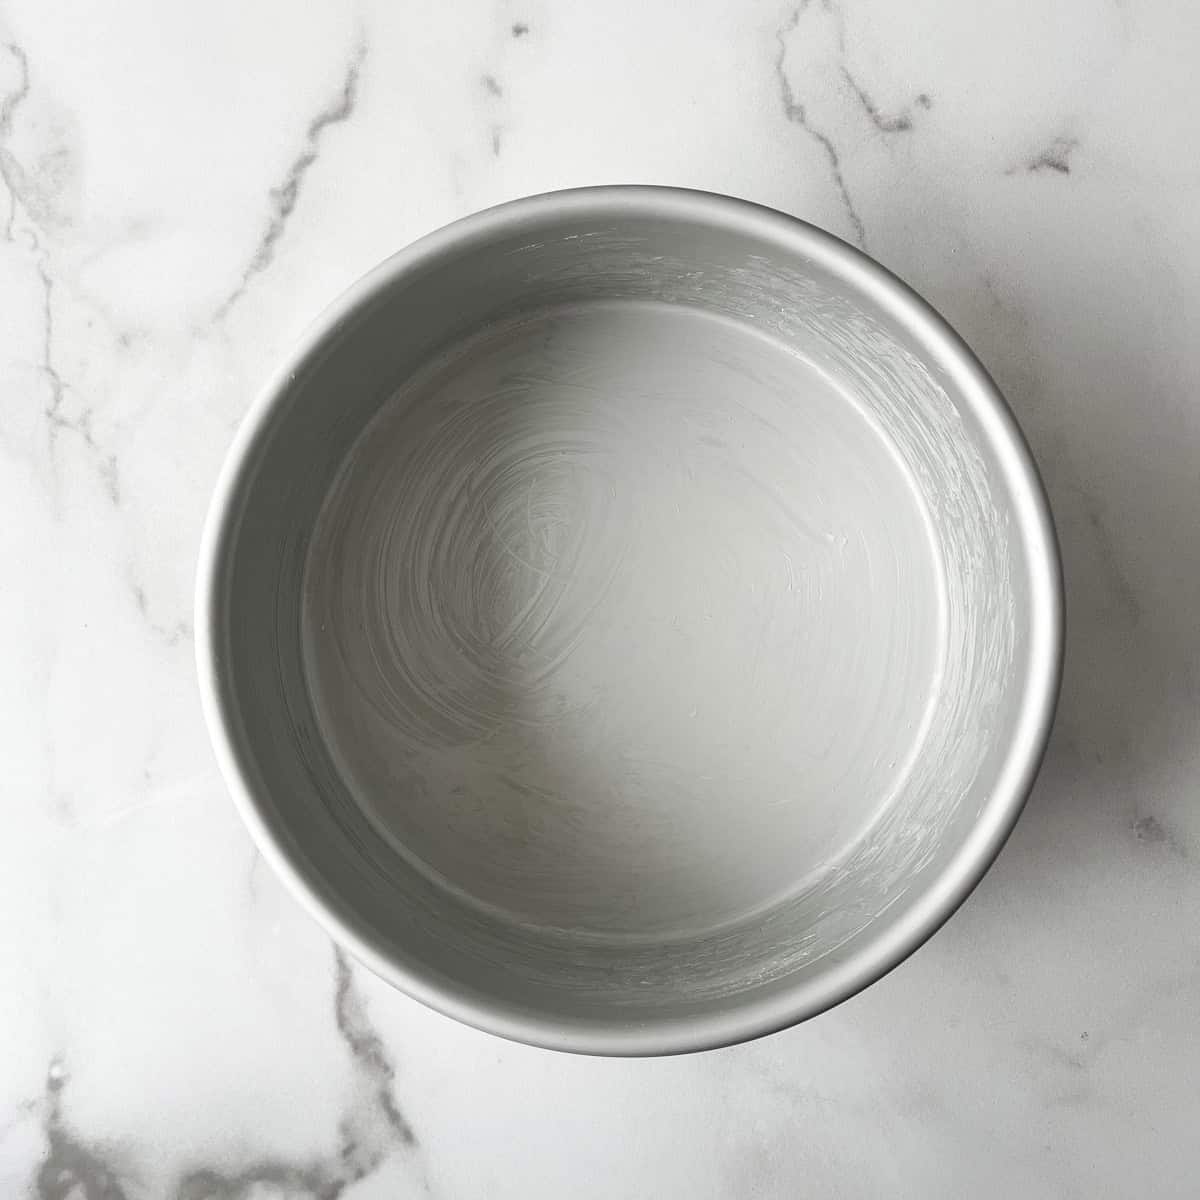
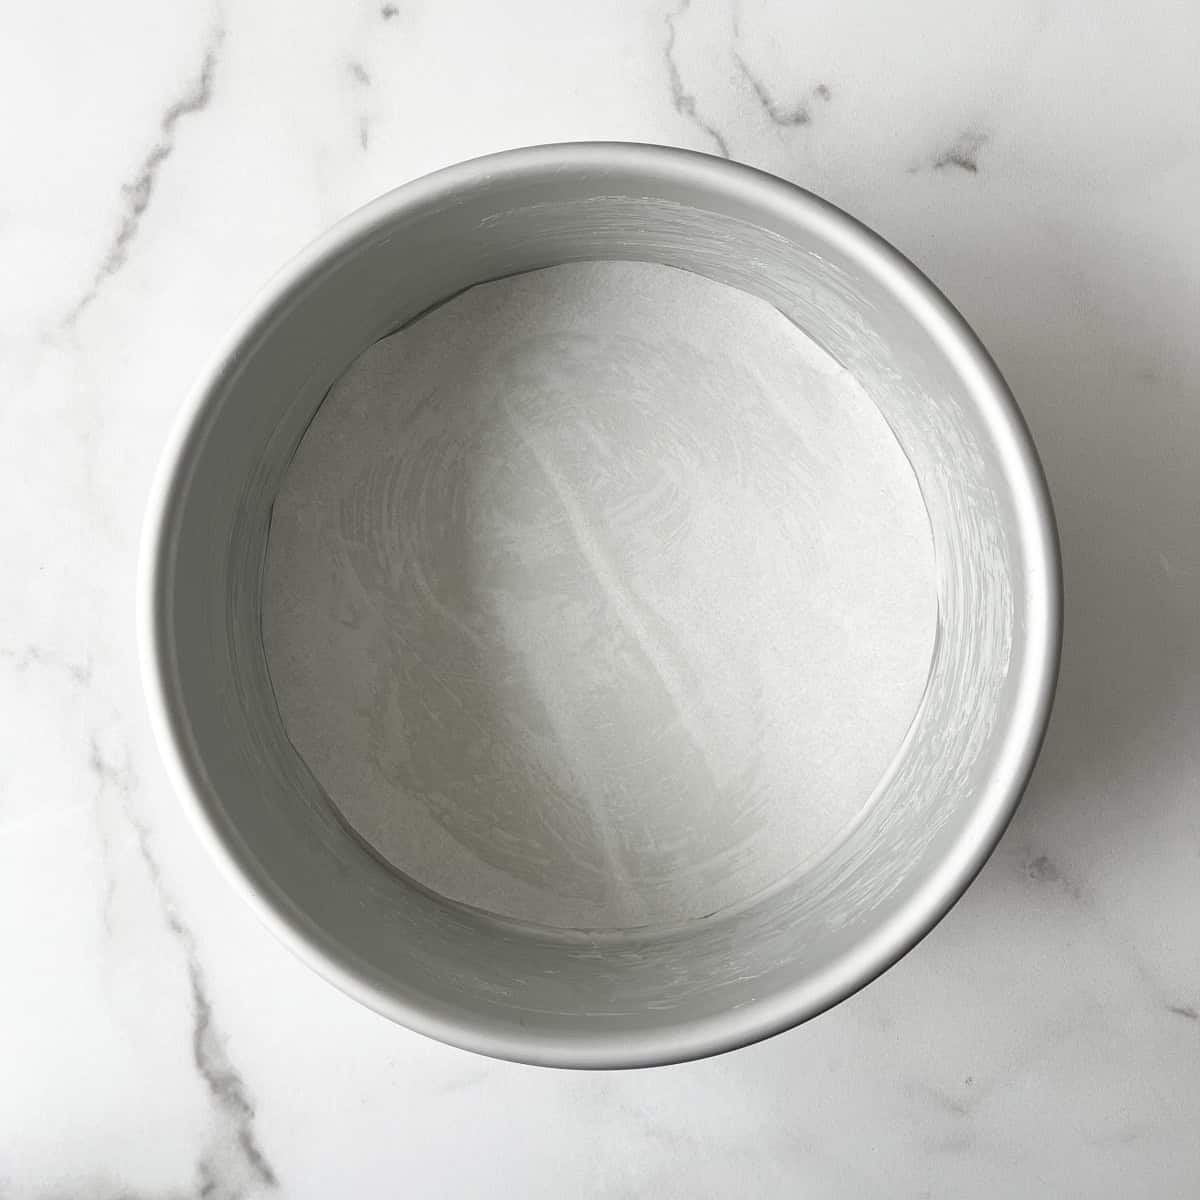
- Prep oven and pans. Preheat the oven to 350º F. Grease two or three 8 inch springform pans with butter (butter the sides and bottom) and line each pan with a parchment paper circle for easy cake removal. Set aside.
- Mix dry ingredients. In a small mixing bowl combine the flour, cornstarch, baking powder, baking soda, and salt.
- Mix some wet ingredients. In a large mixing bowl combine the butter, sugar, and vegetable oil, beat using an electric mixer, 1-2 minutes until fluffy.
- Mix in remaining wet ingredients. Add in the eggs, sour cream, milk, and vanilla extract. Beat with the electric mixer.
- Combine wet and dry ingredients. Gradually add the flour mixture to the wet ingredients, mixing just until the flour is incorporated.
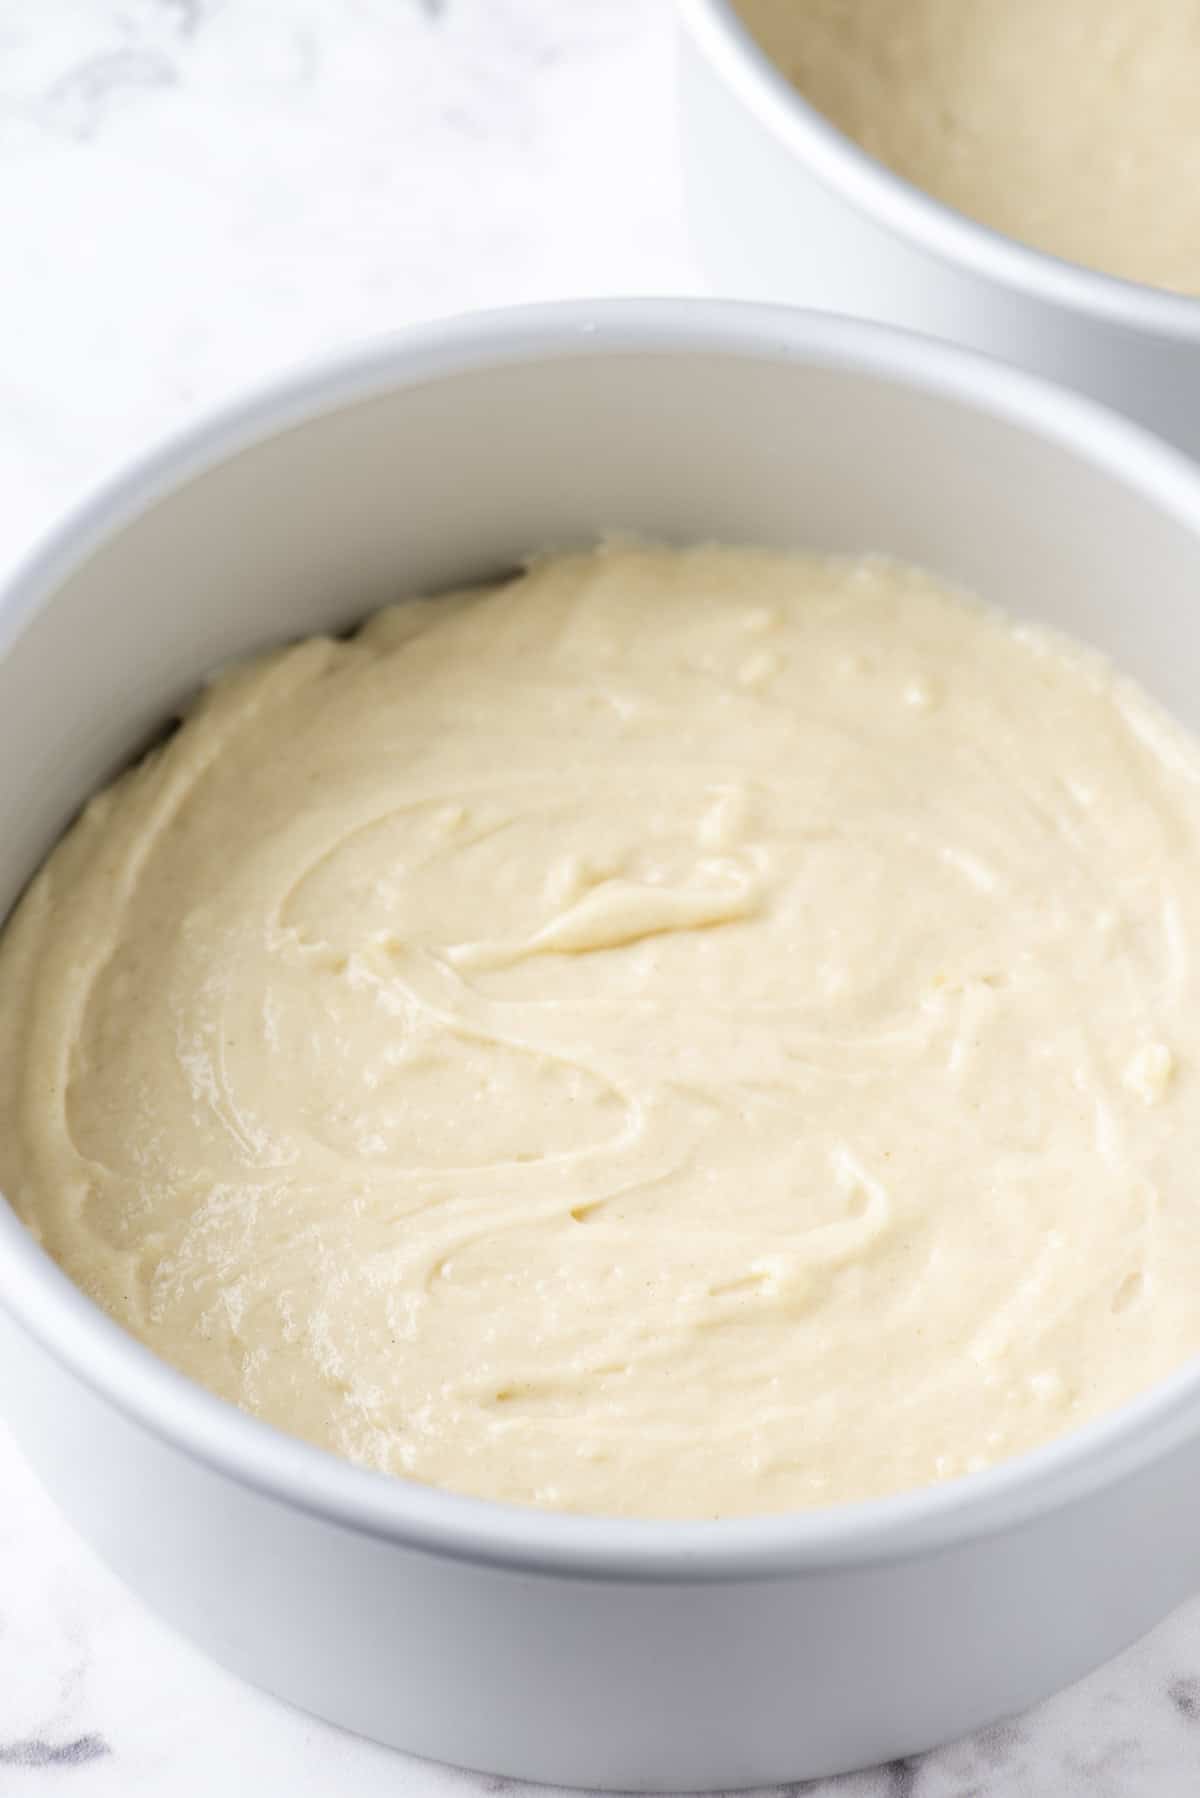
- Evenly divide the batter among the pans. If using 2 pans, that’s 3 cups of batter per pan, if using 3 pans, that’s 2 cups of batter per pan. If you have bake even cake strips, secure them around the outside of the pans.
- Bake. Bake time varies depending on the number of layers you are making. Bake 2 pans for 40-50 minutes or 3 pans for 32-37 minutes or until a toothpick inserted in the center comes out clean.
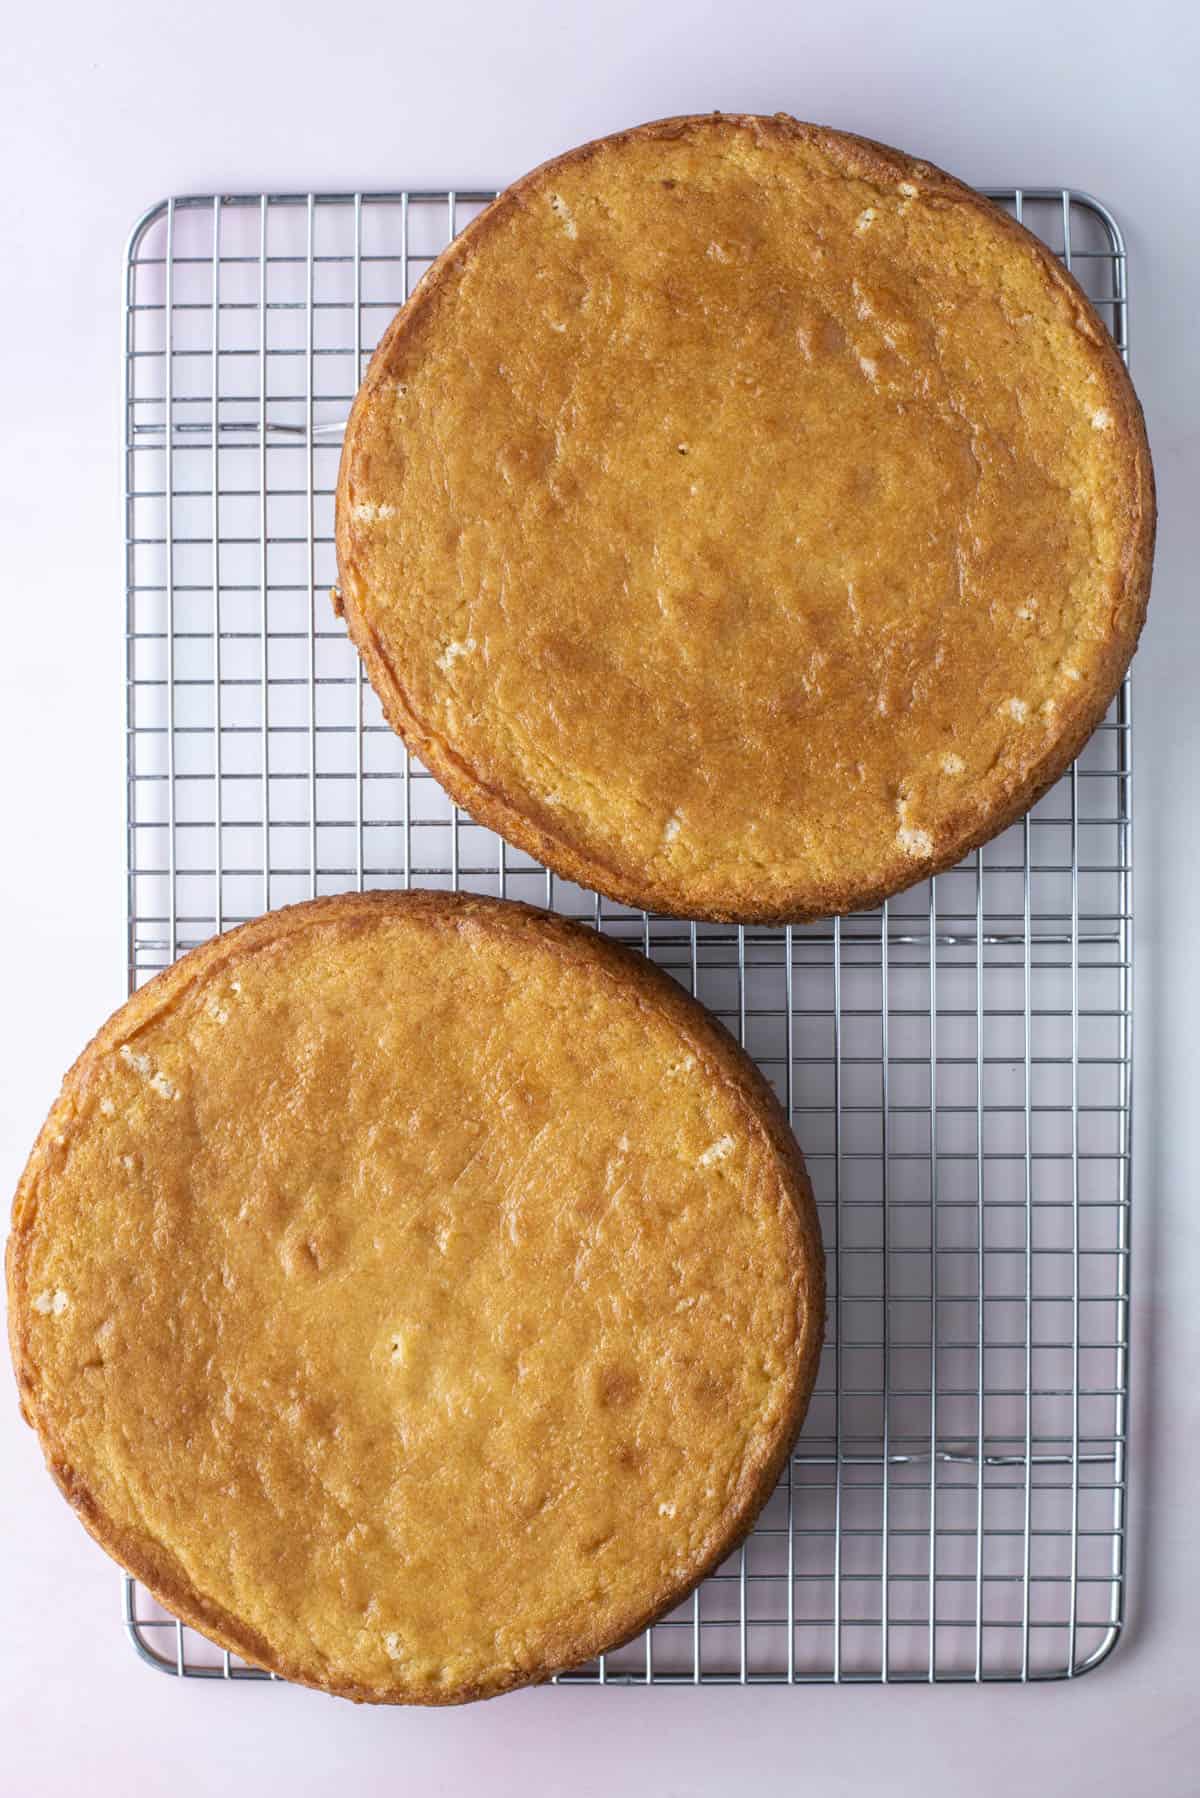
- Cool. Allow the cakes to cool for 20-30 minutes in the pans, then use a small spatula to loosen the cake from the edge of the pan. Remove the cake from the pans and allow them to cool completely on a cooling rack.
Frosting
- Begin mixing ingredients. In a mixing bowl, combine the butter, vanilla extract and salt, beat using an electric mixer until fluffy, 1-2 minutes.
- Add remaining ingredients. Gradually add the powdered sugar and 3 tbsp of heavy cream, mixing on low until combined.
- Adjust as needed. Taste as needed to determine if you want more powdered sugar. If the frosting becomes too thick, add 2-4 tablespoons of milk or heavy cream.
Assemble the Cake
- Level cakes. If needed, level the cooled cakes using a cake levered or serrated knife.
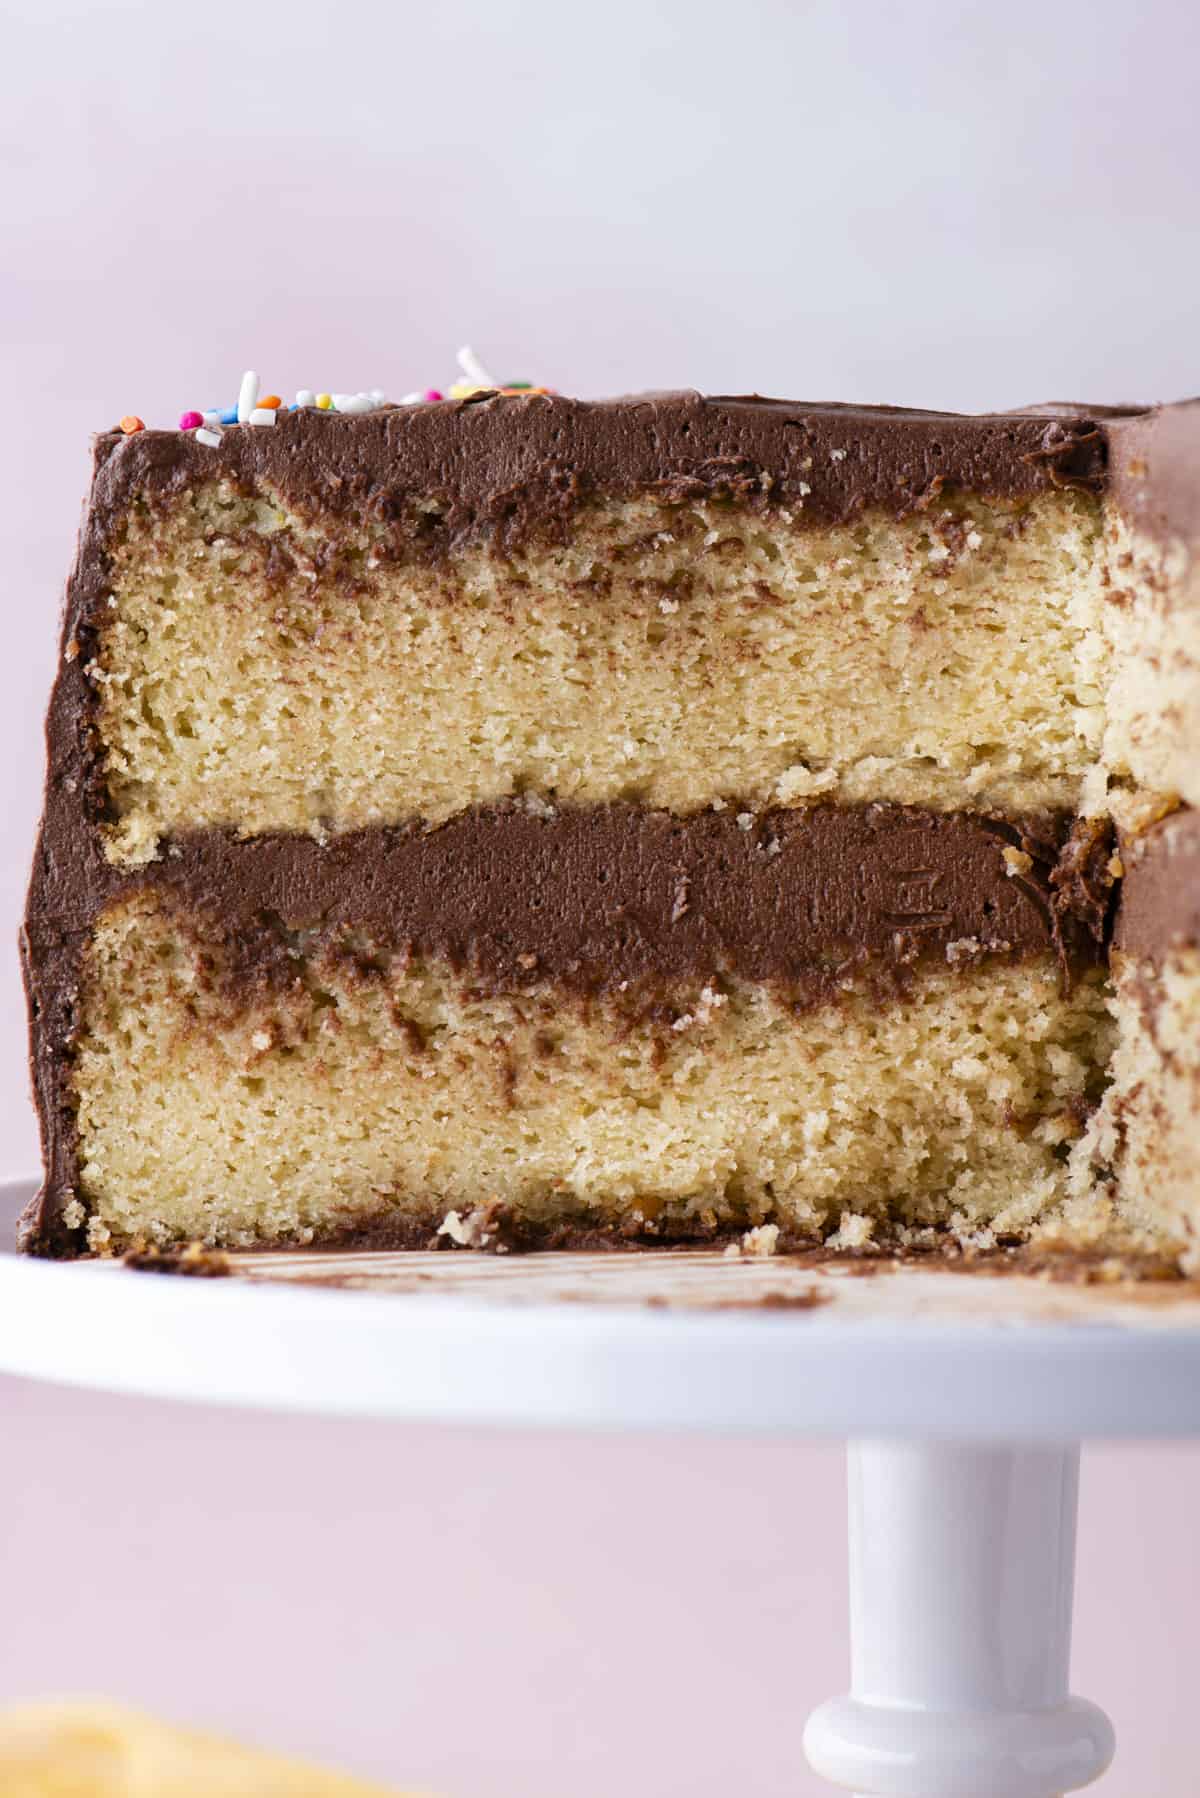
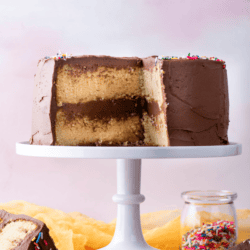
- Assemble layers. Spread a small amount of frosting on the bottom of your cake plate / stand, this acts as “glue” to prevent the cake from moving. Place one cake layer over the frosting. Measure 3/4 to 1 cup of frosting and evenly spread that on top of the first layer. Top with the second cake layer and spread another ¾ to 1 cup of frosting on top of that layer. Use the remaining frosting around the sides and top of the cake.
Tips for the Best Gluten Free Cake
For best results, follow my tried and true gluten free cake tips:
- Use the right gluten free flour blend: The flour you choose must contain xanthan gum and is intended for baking. I prefer King Arthur’s Gluten Free Measure for Measure Flour. Choosing the right flour is also important because it can change the flavor and texture of your cake. Some gluten-free flours, such as those made from rice or corn, can have a gritty texture. Others, particularly those made from beans or certain grains, can have strong flavor that doesn’t lend itself well to a cake recipe. King Arthur flour is my go-to for gluten free baking, but there are some other good ones!
- Properly measure the flour. Use the spoon and level method to properly measure your flour.
- Cornstarch: Don’t skip this! It’s an important ingredient because it helps to create a fluffier, more tender and delicate crumb.
- Bake in the center of the oven: This helps the cake bake evenly.
- Beat the butter, sugar and vegetable oil until fluffy. This is an important step. We want to get this light and fluffy to create air bubbles that create a more lifted cake (so you don’t have one of those gluten free cakes that don’t rise).
- Use room temperature eggs: If the eggs are cold, especially because there are 4 eggs in this recipe, they can significantly change the temperature of the batter, which can lead to uneven baking.
- Let the cake fully cool before frosting: I know it’s tempting, but your frosting will melt if the cake is not cooled completely.
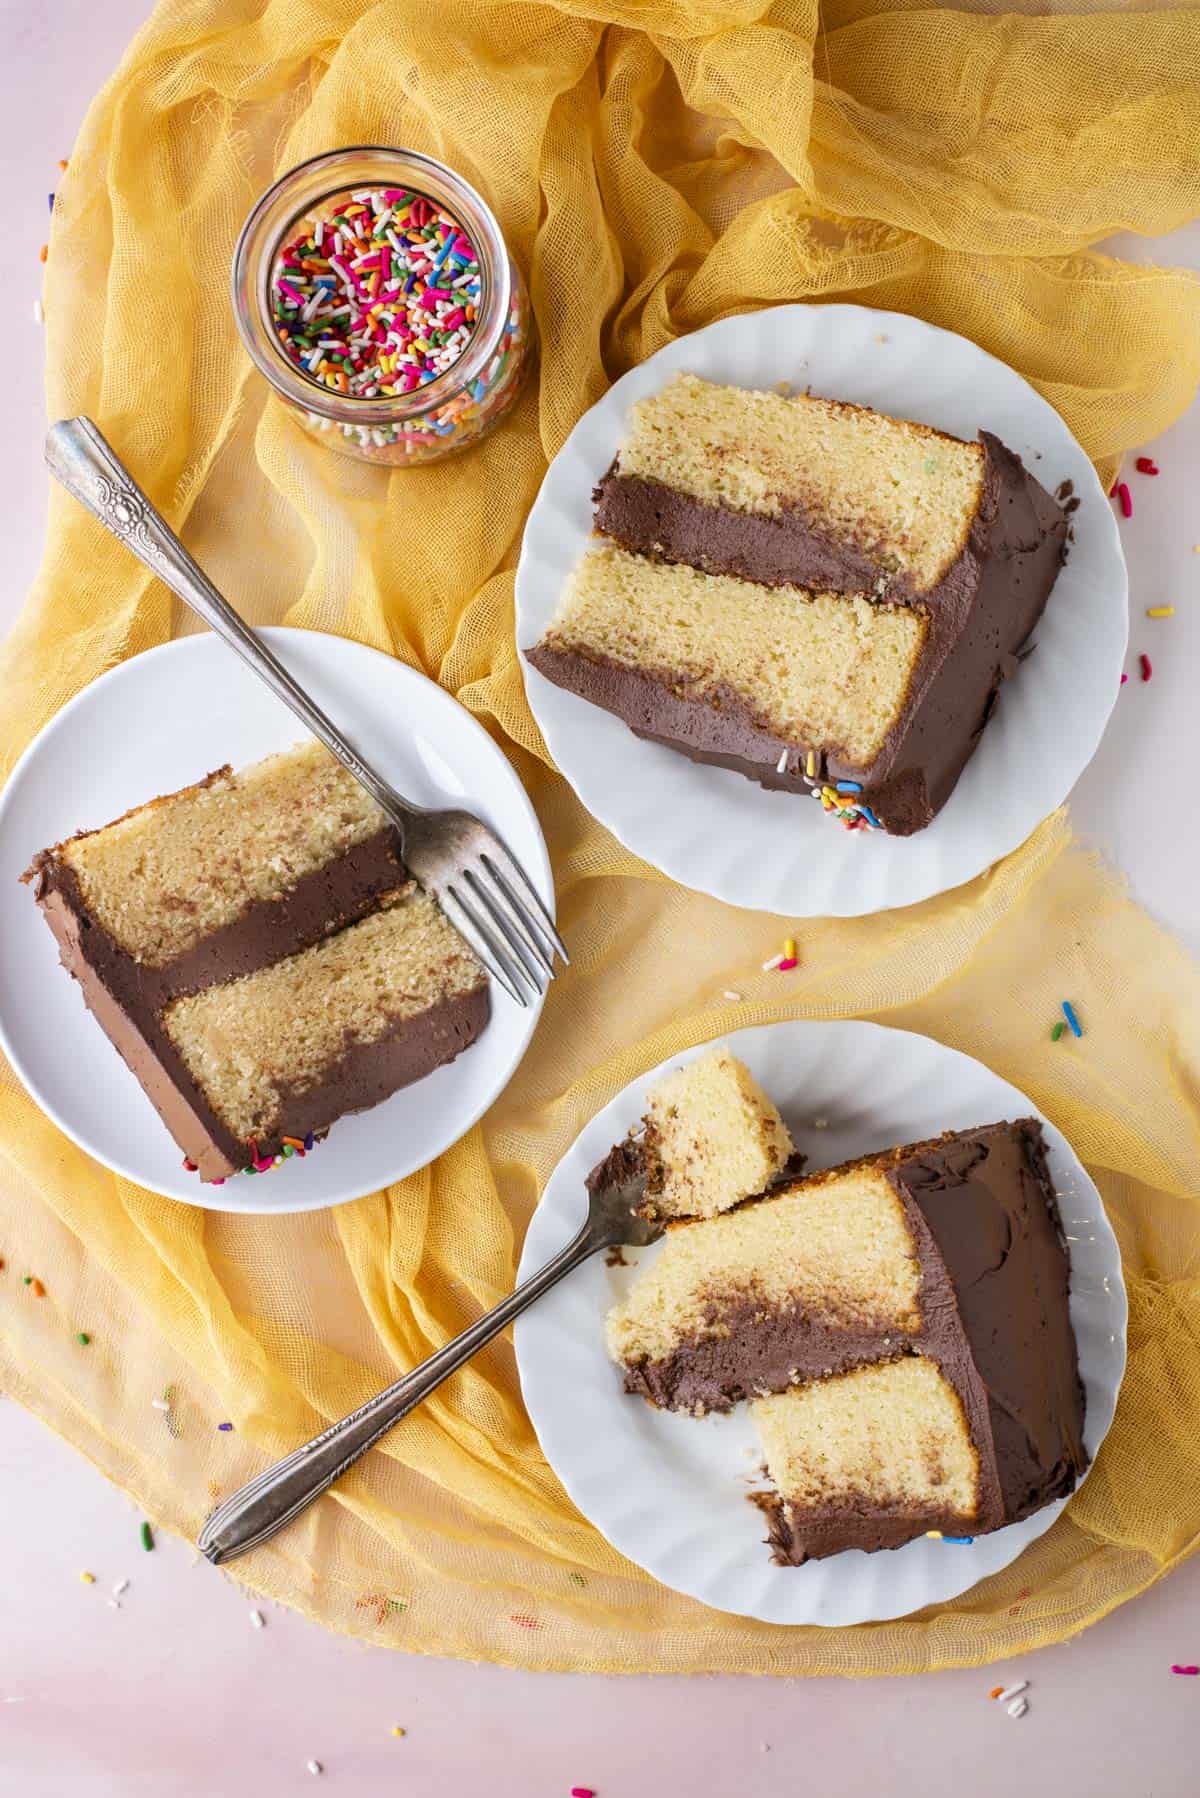
Icing for this Gluten Free Birthday Cake
This cake recipe pairs perfectly with any icing. Here are some recommendations:
- Vanilla Frosting
- Strawberry Cream Cheese Frosting
- Oreo Frosting (just be sure to use gluten-free oreos)
- Cream Cheese Frosting
- Peanut Butter Frosting
- Lemon Frosting
- Chocolate Frosting
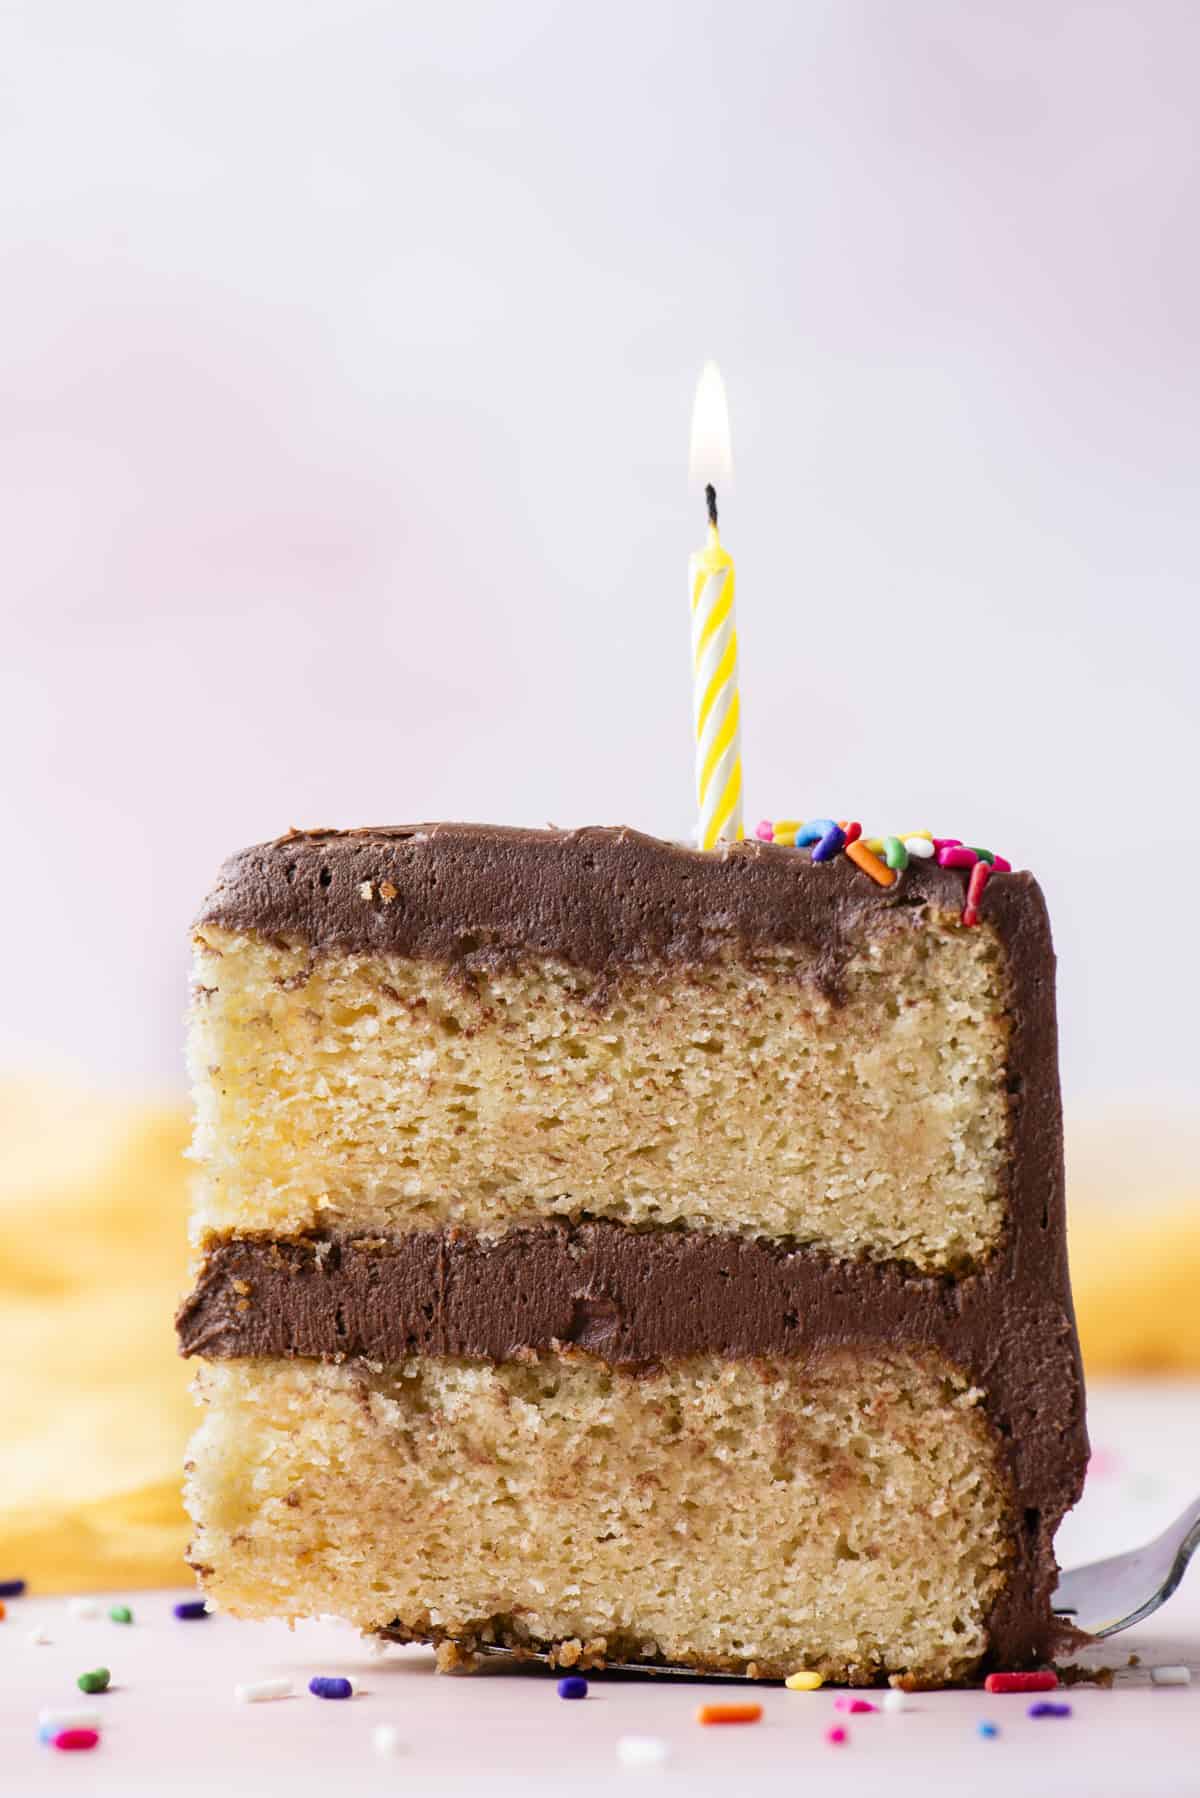
How to Store Gluten Free Vanilla Cake
Store leftover cake in an airtight container in the refrigerator for up to a week. It should stay soft and moist and won’t dry out even when refrigerated.
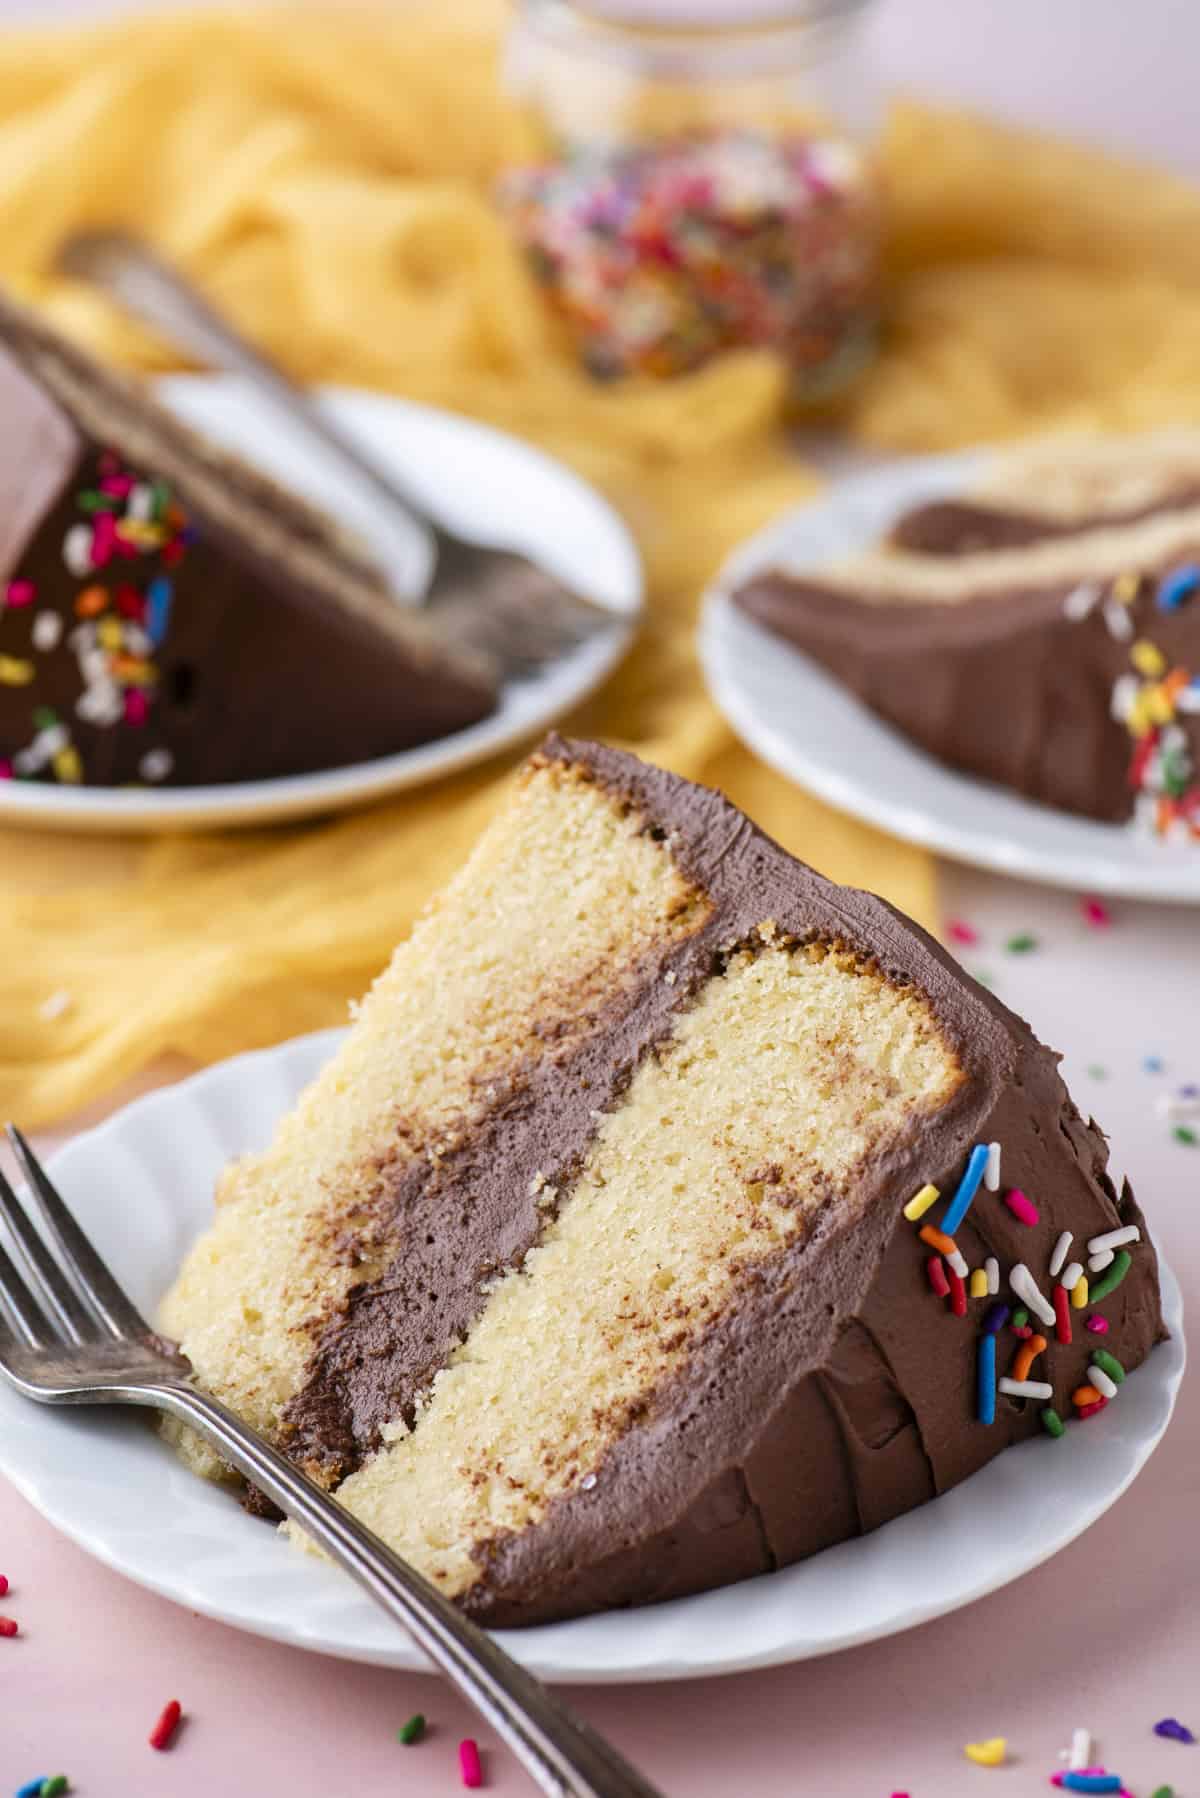
Gluten Free Vanilla Cake Recipe FAQs
Some gluten free cakes do taste different than regular cake, however my goal was to create a gluten-free cake recipe that mirrors the taste and texture of a traditional cake, featuring a light and tender crumb. When you use a high quality gluten free flour, this gluten free cake doesn’t taste different than regular cake.
My gluten free cake uses moist ingredients including sour cream, vegetable oil, and milk to make it moist and tender.
The trick to keeping a gluten-free cake from crumbling is all about the balance of ingredients. This means using enough fat and leaveners, using a high quality gluten free flour, plus adding cornstarch to create a fluffier, more tender, and delicate crumb.
More Gluten-Free Recipes
- Gluten Free Banana Muffins
- Gluten Free Chocolate Chip Cookies
- Gluten Free Sugar Cookie Cut Outs
- Gluten Free Donuts
Tap stars to rate!
Gluten Free Vanilla Cake Recipe
Ingredients
Cake
- 2 ½ cups (300g) gluten free measure for measure flour, I used King Arthur’s Gluten Free Measure for Measure Flour
- ¼ cup (28g) cornstarch
- 2 tsp baking powder
- ½ tsp baking soda
- 1 tsp salt
- ¾ cup (170g) unsalted butter, room temperature
- 1 ¾ cups (347g) granulated sugar
- ½ cup (118ml) vegetable oil
- 4 large eggs, room temperature
- 1 cup (227g) sour cream
- ½ cup (118ml) milk, I used whole milk
- 1 Tbsp vanilla extract
Vanilla Frosting
- 2 ½ cups (565g) unsalted butter, room temperature
- 2 Tbsp vanilla extract
- ⅛ tsp salt
- 6-10 cups (681-1135g) powdered sugar
- 3-6 Tbsp milk or heavy cream, if frosting becomes too thick
Video
Instructions
- Preheat the oven to 350º F. Grease two or three 8 inch springform pans with butter (butter the sides and bottom) and line each pan with a parchment paper circle for easy cake removal. Set aside.
- In a small mixing bowl combine the flour, cornstarch, baking powder, baking soda, and salt.2 ½ cups (300g) gluten free measure for measure flour, ¼ cup (28g) cornstarch, 2 tsp baking powder, ½ tsp baking soda, 1 tsp salt
- In a large mixing bowl combine the butter, sugar, and vegetable oil, beat using an electric mixer, 1-2 minutes until fluffy.¾ cup (170g) unsalted butter, 1 ¾ cups (347g) granulated sugar, ½ cup (118ml) vegetable oil
- Add in the eggs, sour cream, milk, and vanilla extract. Beat with the electric mixer.4 large eggs, 1 cup (227g) sour cream, ½ cup (118ml) milk, 1 Tbsp vanilla extract
- Gradually add the flour mixture to the wet ingredients, mixing just until the flour is incorporated.
- Evenly divide the batter among the pans. If using 2 pans, that’s 3 cups of batter per pan, if using 3 pans, that’s 2 cups of batter per pan. If you have bake even cake strips, secure them around the outside of the pans.
- Bake 2 pans for 40-50 minutes or 3 pans for 32-37 minutes or until a toothpick inserted in the center comes out clean.
- Allow the cakes to cool for 20-30 minutes in the pans, then use a small spatula to loosen the cake from the edge of the pan. Remove the cake from the pans and allow them to cool completely on a cooling rack.
Frosting
- In a mixing bowl, combine the butter, vanilla extract and salt, beat using an electric mixer until fluffy, 1-2 minutes.2 ½ cups (565g) unsalted butter, 2 Tbsp vanilla extract, ⅛ tsp salt
- Gradually add the powdered sugar and 3 tbsp of heavy cream, mixing on low until combined.6-10 cups (681-1135g) powdered sugar, 3-6 Tbsp milk or heavy cream
- Taste as needed to determine if you want more powdered sugar. If the frosting becomes too thick, add 2-4 tablespoons of milk or heavy cream.
Assemble the Cake
- If needed, level the cooled cakes using a cake levered or serrated knife.
- Spread a small amount of frosting on the bottom of your cake plate / stand, this acts as “glue” to prevent the cake from moving. Place one cake layer over the frosting. Measure 3/4 to 1 cup of frosting and evenly spread that on top of the first layer. Top with the second cake layer and spread another ¾ to 1 cup of frosting on top of that layer. Use the remaining frosting around the sides and top of the cake.
Notes



Could it be baked in a 9×13 pan, if so how long? Thankyou
The recipe as written will probably yield too much batter for a single 9×13, but you could bake the extra batter in another pan or in a cupcake pan. I would recommend checking the 9×13 inch cake around 22 minutes, but it really depends on how much batter you put in the pan.
Could regular cake pans be used instead of springform pans?
Yes! Be sure to butter and line with parchment paper!
Could this be made into cupcakes?
Cakes and pastries are loved by everyone. Having gluten free recipes like these can actually help a lot. Thank you very much. Such great work you people are doing.