This post may contain affiliate links. Please read our disclosure policy.
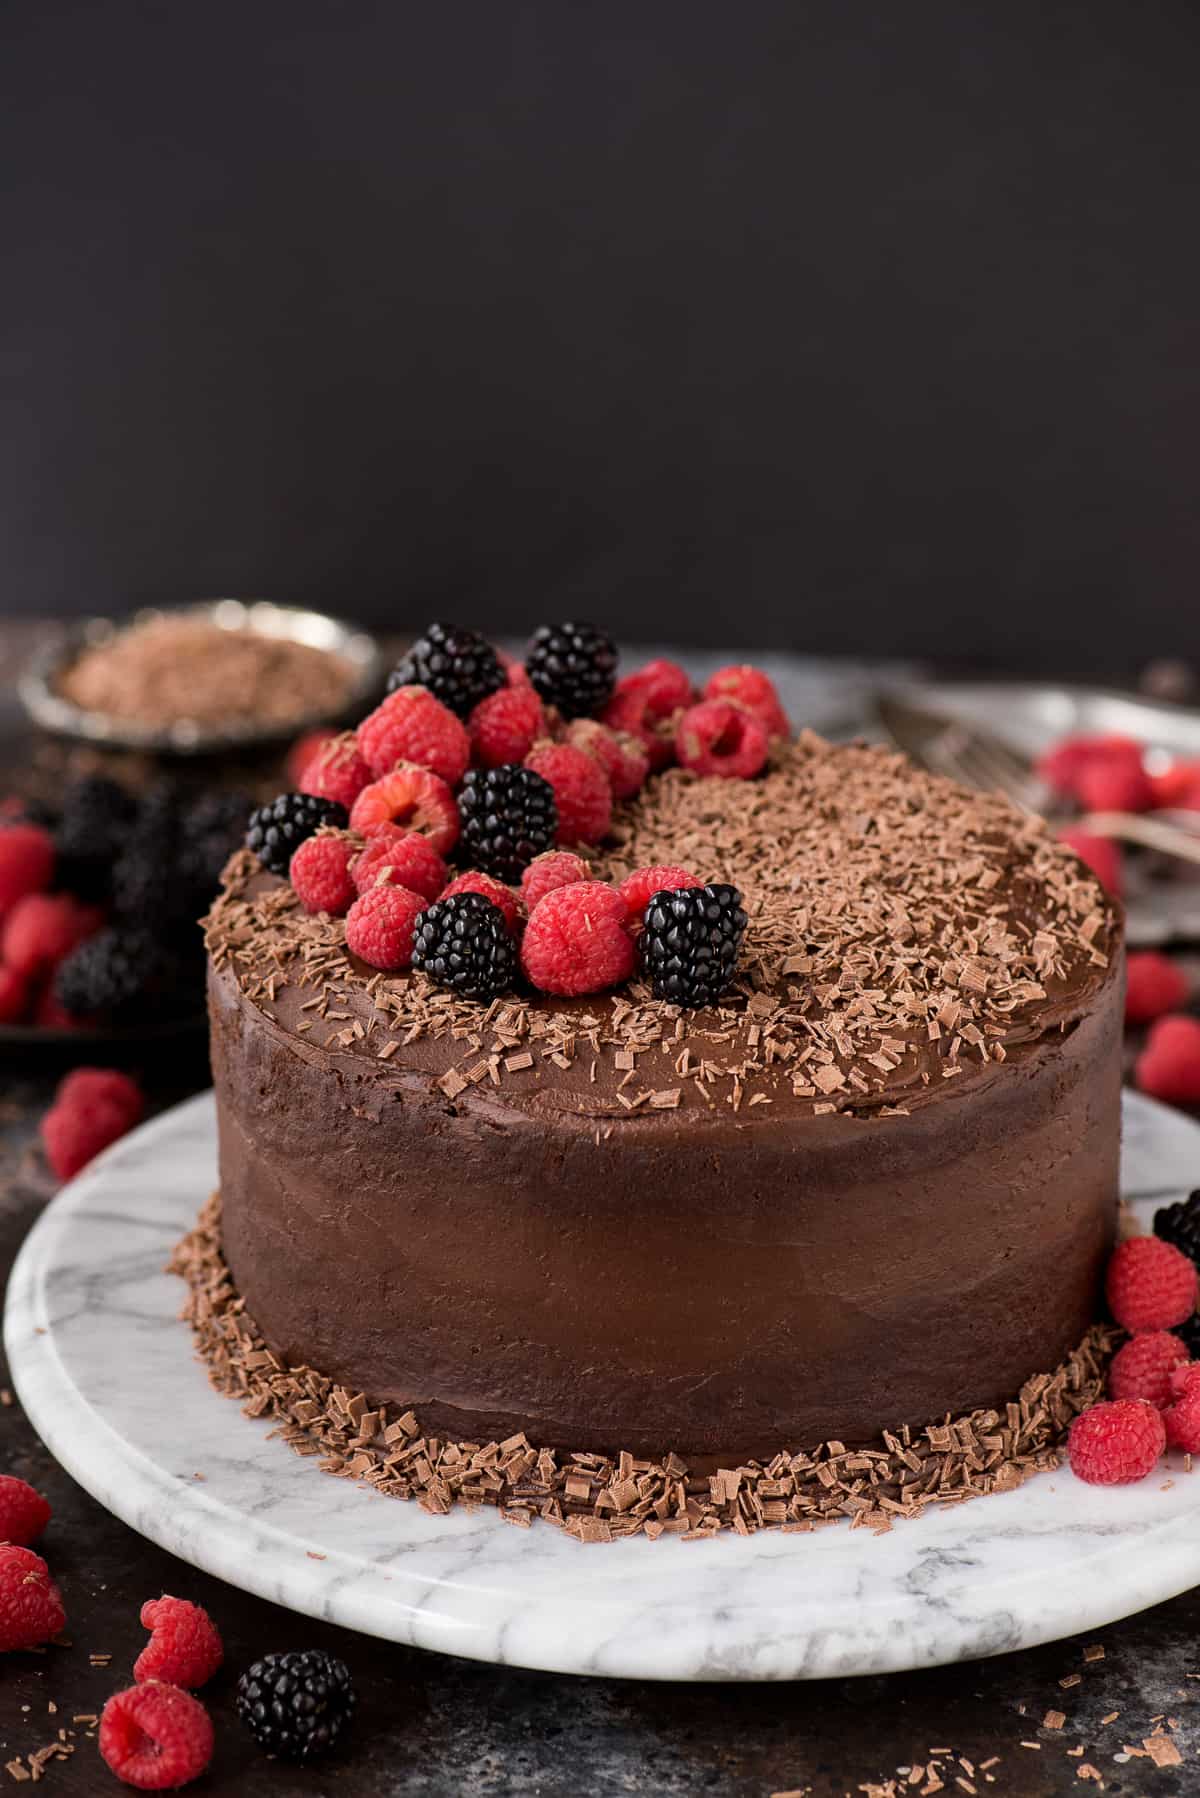
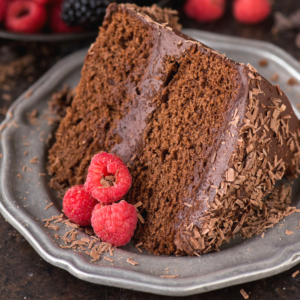
Decadent and moist 2 layer chocolate velvet cake with chocolate milk in the batter! Top with fresh berries, chocolate shavings, chocolate chips – whatever you want!
I’ve never baked a double layered cake before but this was a breeze! The cake itself tasted great- a wonderful depth of flavor but not too rich. My only regret was that I didn’t have a glass of milk to wash it down with. About to go have another slice now!
-Erin
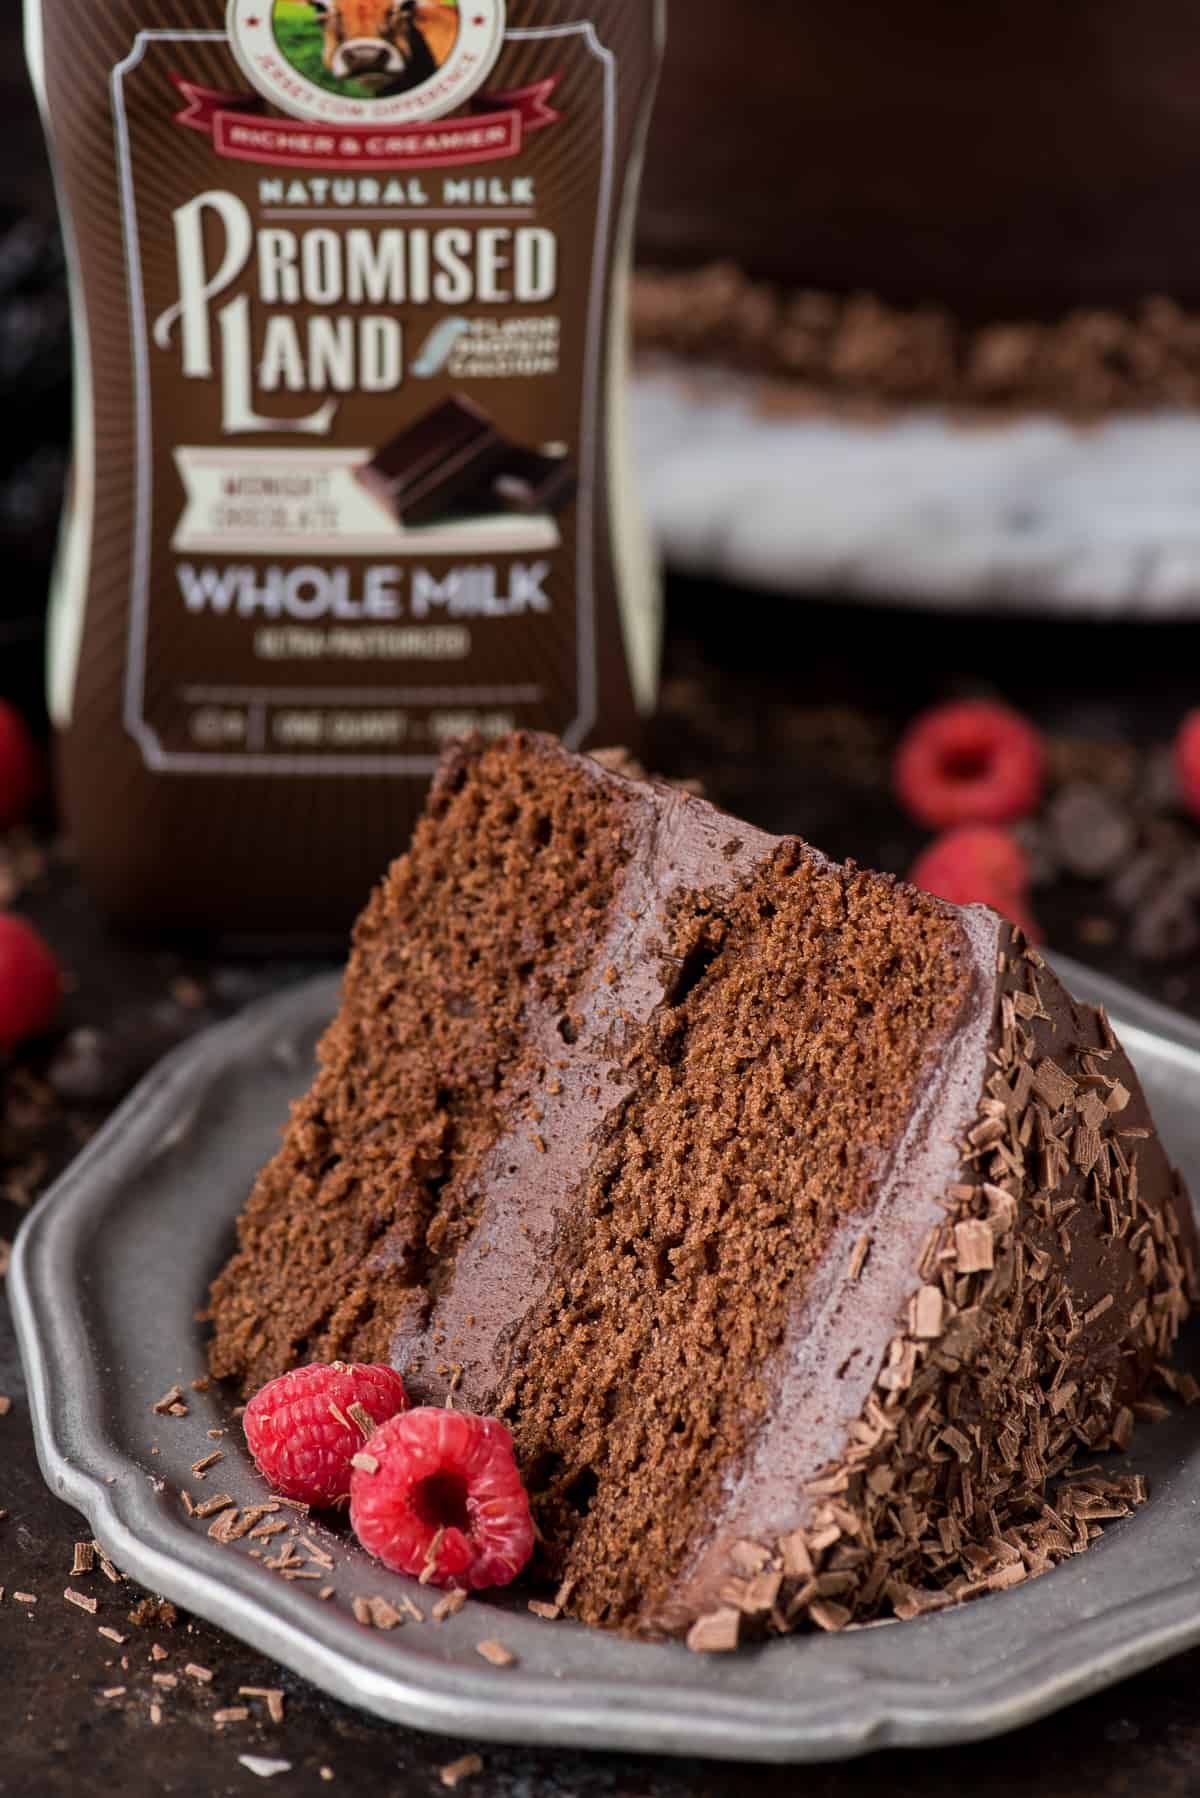
I created the recipe in partnership with Promised Land Dairy.
What’s a chocolate velvet cake you ask?
It’s a layered chocolate cake that’s so smooth and delicious that it gets to have velvet as a part of its name!
The one thing I love about cake (besides eating it!!) is that you can “dress it up” however you want! For this recipe I decided to do more of a naked cake feel – although admittedly, it’s hard to tell because both the cake and the buttercream are chocolate!
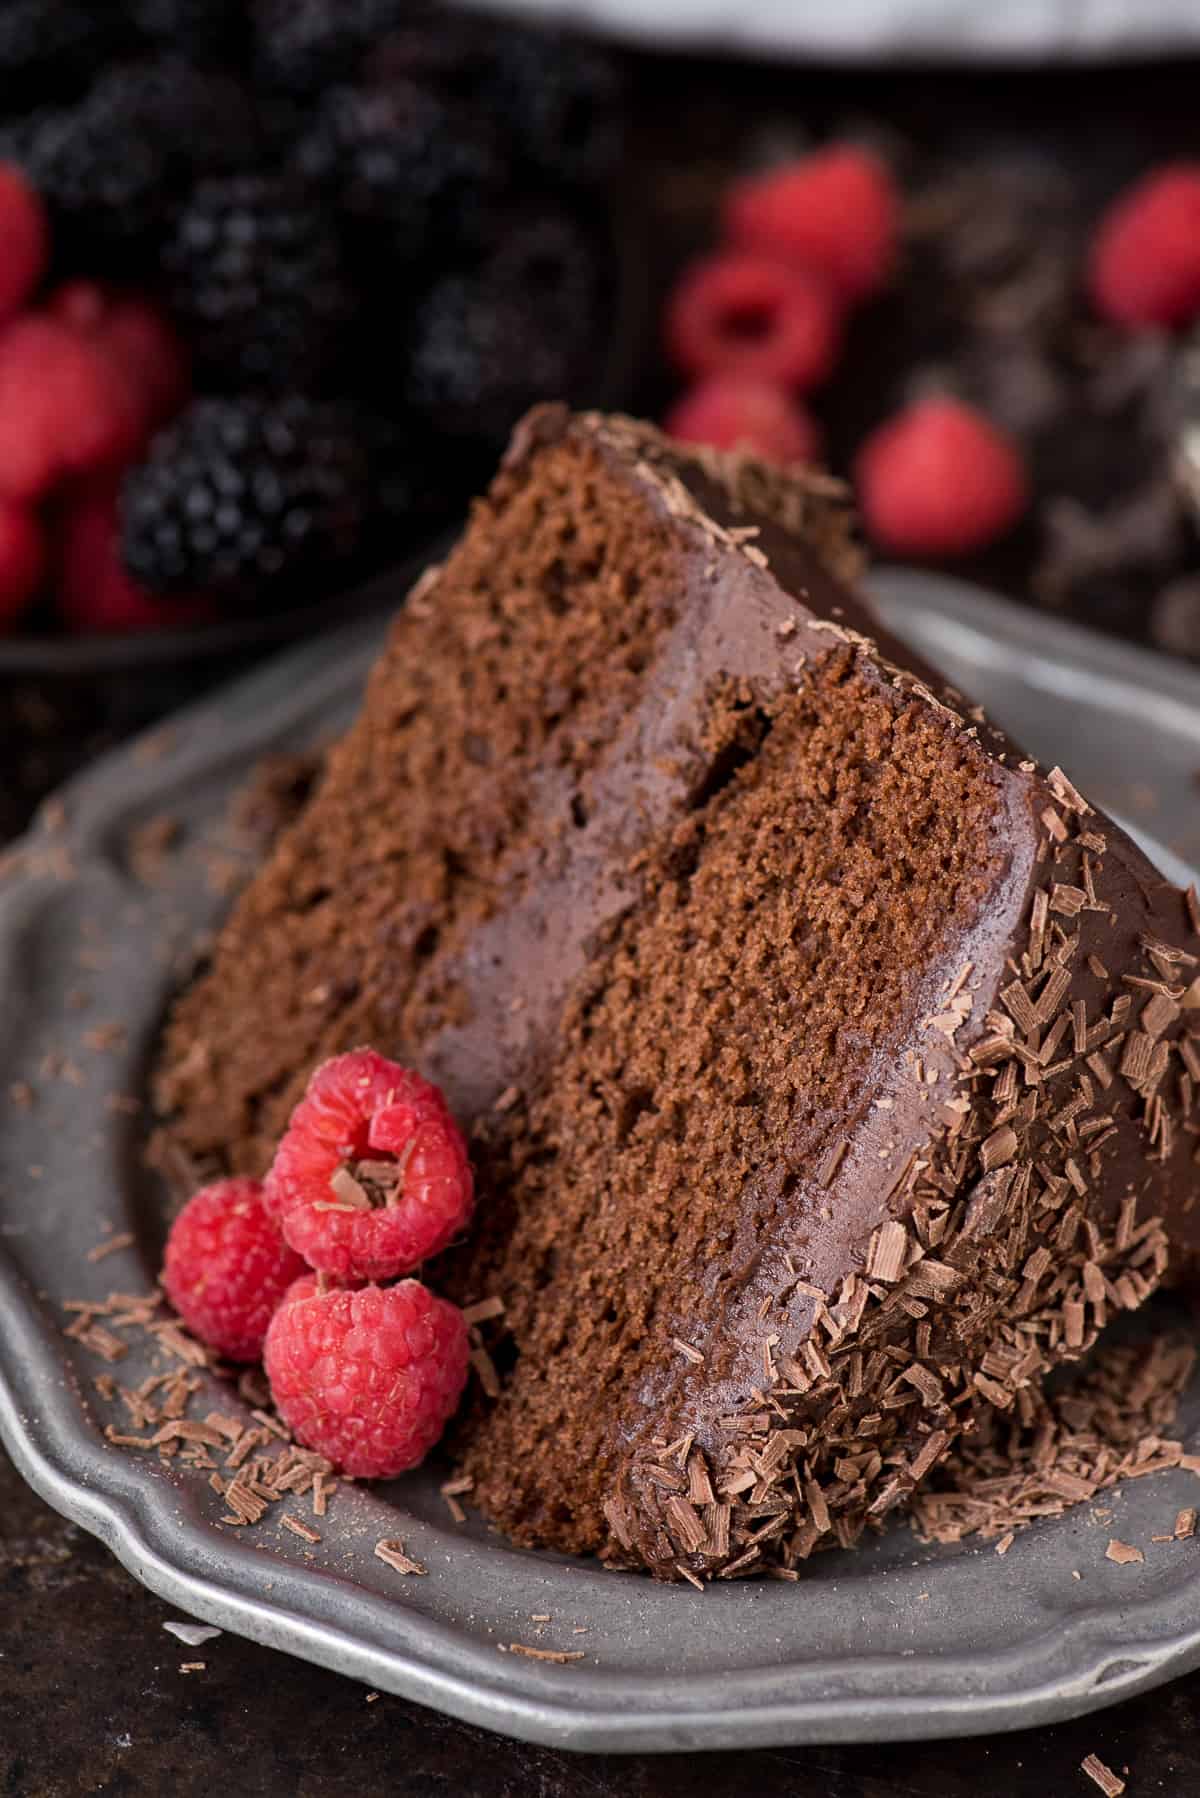
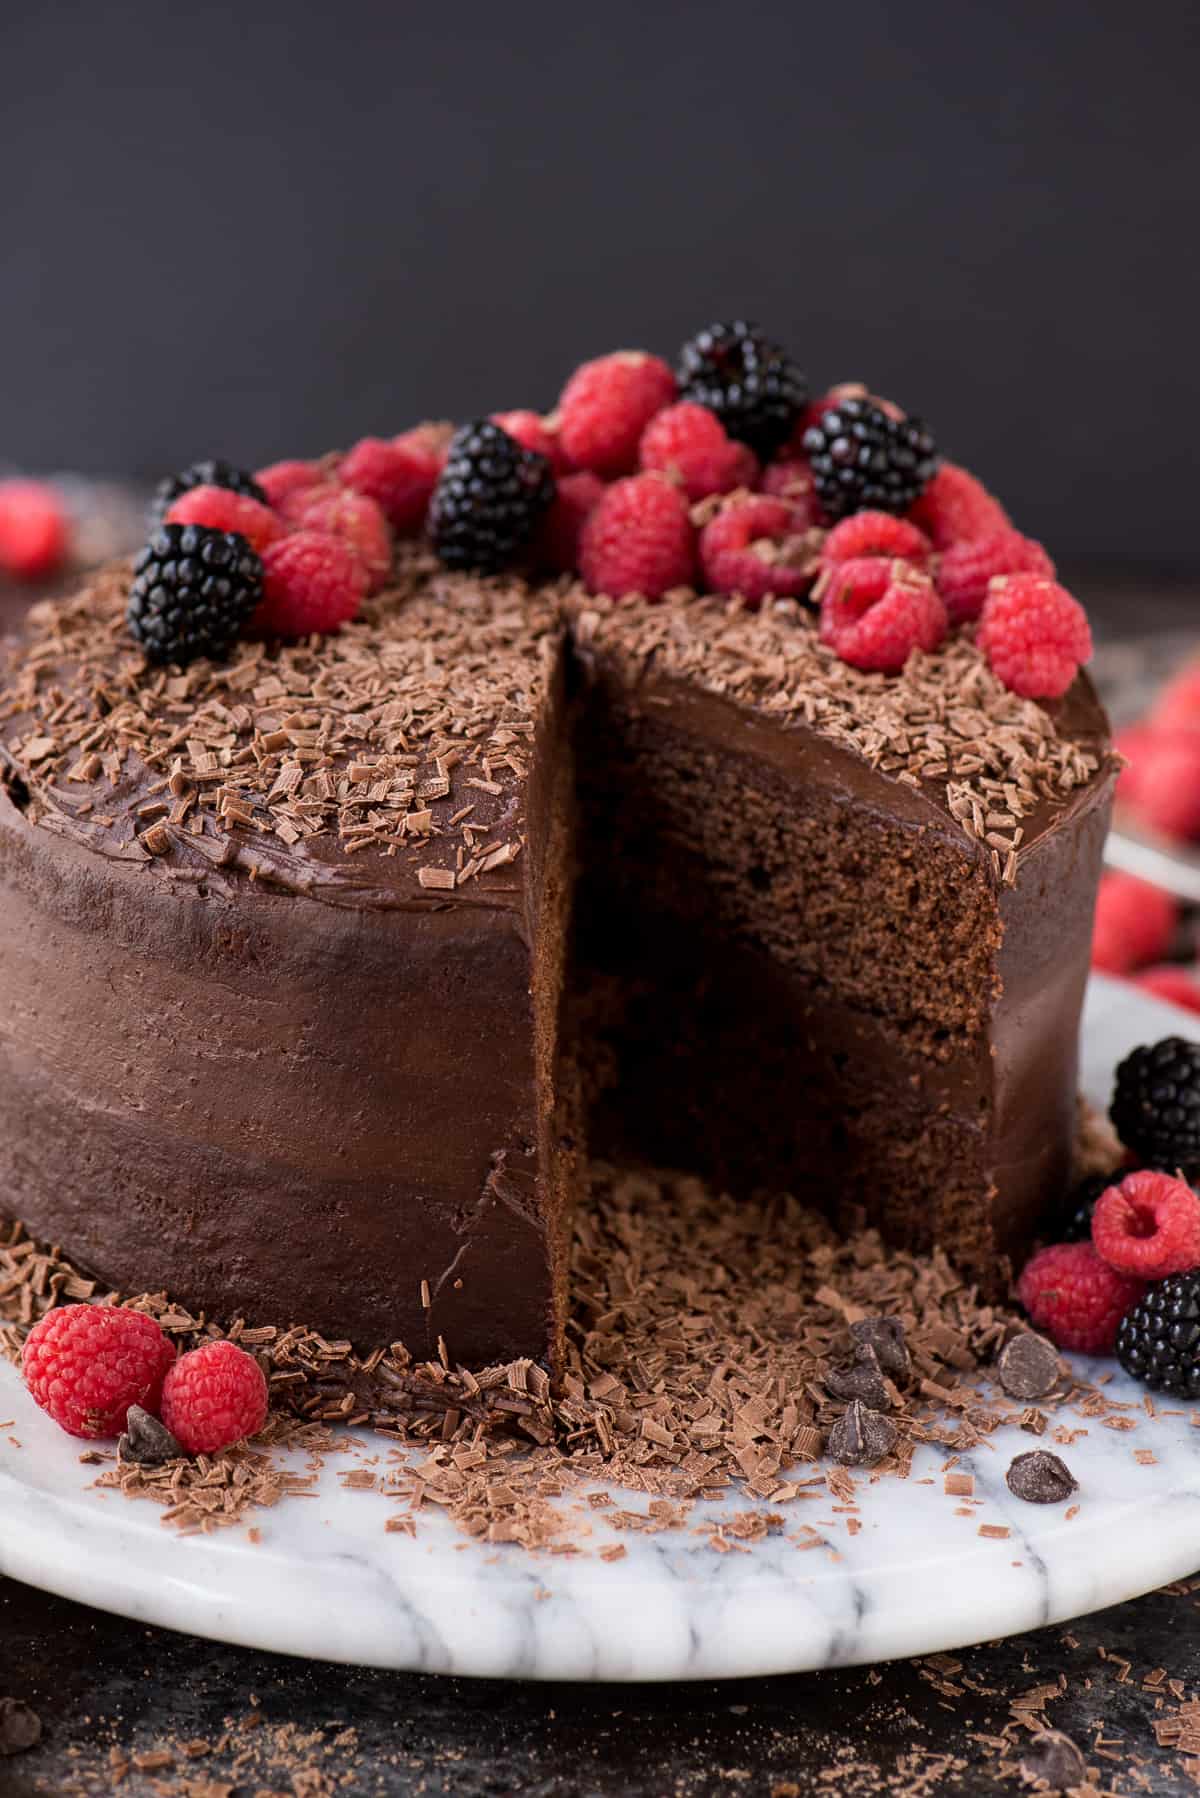
A naked cake is a cake that doesn’t have as much buttercream on the sides of the cake, so you can see the cake layers peeking through. See our other naked cakes to get a better idea.
I topped this particular cake with fresh raspberries and blackberries and lots of chocolate shavings.
And I am going to let you in on my secret.. I use a chocolate bar and a vegetable peeler to make chocolate shavings! It’s a time saver.
How to Properly Measure Flour
- Fluff the flour with a fork
- Use a spoon to scoop the flour into your measuring cup
- Use a butter knife to level off the flour in the measuring cup
Sticking the measuring cup straight into the bag of flour will result in too much flour to be packed into the cup, which can result in dry cake.
How to Prepare a Cake Pan
I recommend greasing your cake pan with butter or shortening, not non-stick cooking spray. Liberally butter the entire pan. I find that butter works better to grease the pan to ensure the cake doesn’t stick.
Place your hand inside a ziplock bag or paper towel, use 1/2 tablespoon of butter or shortening and liberally butter the pan. The bag or paper towel will prevent the butter from getting all over your hands.
For super easy cake removal, cut out a circle of parchment paper that is the same size as your pan and place it in the bottom of the pan after you buttered it. I trace the bottom of my springform pan onto the paper, then cut it out.
Recommended Cake Baking Tools
How To Bake Even Flat Cakes
I use bake even cake strips around the outside of my springform pans to ensure that my cakes bake with flat even tops. It works every time and a 2 pack is about $10 on Amazon!
You can also use a cake leveler or serrated knife to level your cakes before assembling them.
How To Make Ahead of Time
Make the cake layers, allow them to cool completely, then wrap them well in plastic wrap and refrigerate for 2 days. Alternatively, you can freeze them for up to 3 months.
Chocolate buttercream can also be made ahead of time. Cover the bowl with plastic wrap and refrigerate for 2 days. When ready to use, allow the buttercream to come to room temperature and briefly beat with a mixer.
How Much Frosting Between Cake Layers
For an 8 inch 2 layer cake I recommend 3/4 to 1 cup of frosting between the cake layers. The remaining frosting will be used to frost the sides and top of the cake.
Total Time Required
- 15 minutes to prep the cake batter
- 35-40 minutes to bake
- 1+ hour to cool the cake completely
- 5 minutes to make the frosting
- 10-20 minutes to assemble and frost the cake
More cake recipes
Tap stars to rate!
Chocolate Velvet Cake
Ingredients
Chocolate Cake
- 2 ¼ cups (270g) cake flour *see note below
- 2 ½ tsp baking powder
- 1 tsp salt
- ½ cup (113g) unsalted butter, 1 stick, room temperature
- 1 ½ cups (297g) sugar
- 3 oz unsweetened baking chocolate, melted & cooled
- 2 large eggs
- ¼ tsp baking soda
- 2 Tbsp hot tap water
- 1 cup (236ml) chocolate milk
Chocolate Buttercream
- 2 cups (452g) unsalted butter, 4 sticks, room temperature
- 1 ½ cups (126g) cocoa powder
- 3-4 cups (339-454g) powdered sugar
Video
Instructions
Chocolate Cake
- Preheat the oven to 350ºF.
- Using butter, grease the bottom and sides of two 8 inch round cake pans or springform pans and line the bottoms with a round piece of parchment paper. To ensure even baking, place a bake even strip around the pan. You can make your own homemade bake even strip by cutting a towel or shirt to fit the size of your pan. Get the fabric really wet, then squeeze out the dripping water but do not squeeze it too dry. Secure the fabric around the pan with a safety pin.
- In a small mixing bowl combine the cake flour, baking powder and salt. Set aside.2 1/4 cups (270g) cake flour *see note below, 2 1/2 tsp baking powder, 1 tsp salt
- In a mixing bowl combine the butter and sugar, beat with an electric mixer until fluffy, 2 minutes. Add in the melted chocolate and eggs, beat to combine.1/2 cup (113g) unsalted butter, 1 1/2 cups (297g) sugar, 3 oz unsweetened baking chocolate, 2 large eggs
- Place the 2 tbsp of hot tap water in a small bowl, stir in the baking soda then add to the batter. Add half of the chocolate milk to the batter, stir by hand with spatula to combine. Gradually add half of the flour mixture, mixing lightly. Repeat with the second half of the chocolate milk and second half of the flour mixture – mixing just until combined.1/4 tsp baking soda, 2 Tbsp hot tap water, 1 cup (236ml) chocolate milk
- Divide the batter evenly between both pans, with about 2 & 1/4 cups of batter in each pan. Bake for 30-32 minutes or until a toothpick inserted in the center comes out clean.
- Once the cake is done, allow it to cool in the pan on a cooling rack for 10 minutes. After 10 minutes, carefully remove the cake from the pan. If using a springform pan, remove the sides and bottom. Allow the cake to cool completely on a cooling rack. Once cool, remove the parchment paper round from the bottom of the cake. If you need to level the top of your cake, do so now using either a cake lever or knife.
- Make sure the cake is completely cool before moving forward. If you’d like to make the cake several days in advance, wrap the cake in plastic wrap and place it in the refrigerator.
CHOCOLATE BUTTERCREAM
- In a mixing bowl, beat the butter using an electric mixer until fluffy. Add in the cocoa powder, and gently mix by hand with a spatula.2 cups (452g) unsalted butter, 1 1/2 cups (126g) cocoa powder
- Begin to add the powdered sugar, about 1-2 cups at a time, mixing by hand first, then with the electric mixer. Continue adding powdered sugar until the frosting tastes good to you and is well mixed.3-4 cups (339-454g) powdered sugar
HOW TO ASSEMBLE
- Spread a small amount of chocolate buttercream on an 8 inch round cardboard cake circle (or whatever you are choosing to put your cake on). Place your first layer of cake on top of the cardboard.
- Add a generous amount of buttercream on top of the first layer, covering it in an even layer.
- Place the next layer of cake on top of the previous one. Evenly cover the top of the cake with buttercream. Use a small offset spatula to add a thin layer of buttercream to the sides of the cake. Don’t completely cover the cake layers as they are suppose to still be visible – however if you prefer, you can cover them fully.
- Add fresh raspberries, blackberries, and chocolate shavings to the top of the cake.
- Slice and serve.
Notes



Beautiful looking cake and gorgeous pictures. Finally, someone else who knows how to frost in between the layers…nice and thick the way I like it (hee,hee). Nothing worse than getting a slice of cake with frosting so thin you’re not even sure it’s there. You have a very nice blog and I enjoy following it. Take Care.
LOL, yes, nothing worse than too little frosting between the layers!
Seriously girl you’re killing me with all of these yummy desserts! I can’t pick which ones to make when my family comes for Christmas!
4 sinks of butter is not 1 cup. So is this for 4 sticks or 1 cup butter?
Hi Terri! You are correct, 4 sticks is 2 cups, I’ll change that! Please use 4 sticks (2 cups) for the frosting.
Hi Beth, is it possible for you to add grams & ml to your recipes for ease of measuring for us folk in the UK please? Many thanks
Tried my hand at this recipe yesterday and had so much fun with it! The cake smelled delicious coming out of the oven. I’ve never baked a double layered cake before but this was a breeze. The frosting whipped up beautifully and I had plenty leftover which was fine with me because I’m a frosting kind of gal and was happy to have a spoonful straight from the bowl. The cake itself tasted great- a wonderful depth of flavor but not too rich. My only regret was that I didn’t have a glass of milk to wash it down with. About to go have another slice now! Thanks and great work on this one, Beth!