
This post may contain affiliate links. Please read our disclosure policy.
Through extensive testing, I discovered a game-changing technique for transforming leftover apple juices into a rich, flavorful syrup that takes apple pie to the next level.
I’ve done all the trial and error for you by testing different methods and condensing my best tips along the way. Now, I’m excited to share everything I’ve learned, so you can bake with confidence and create the perfect apple pie every time!
It came out SO beautiful, and smelled wonderful!! Making the filling early is a game-changer time wise. It made the assembly so much easier. If I can do it, you can!
-Claudia
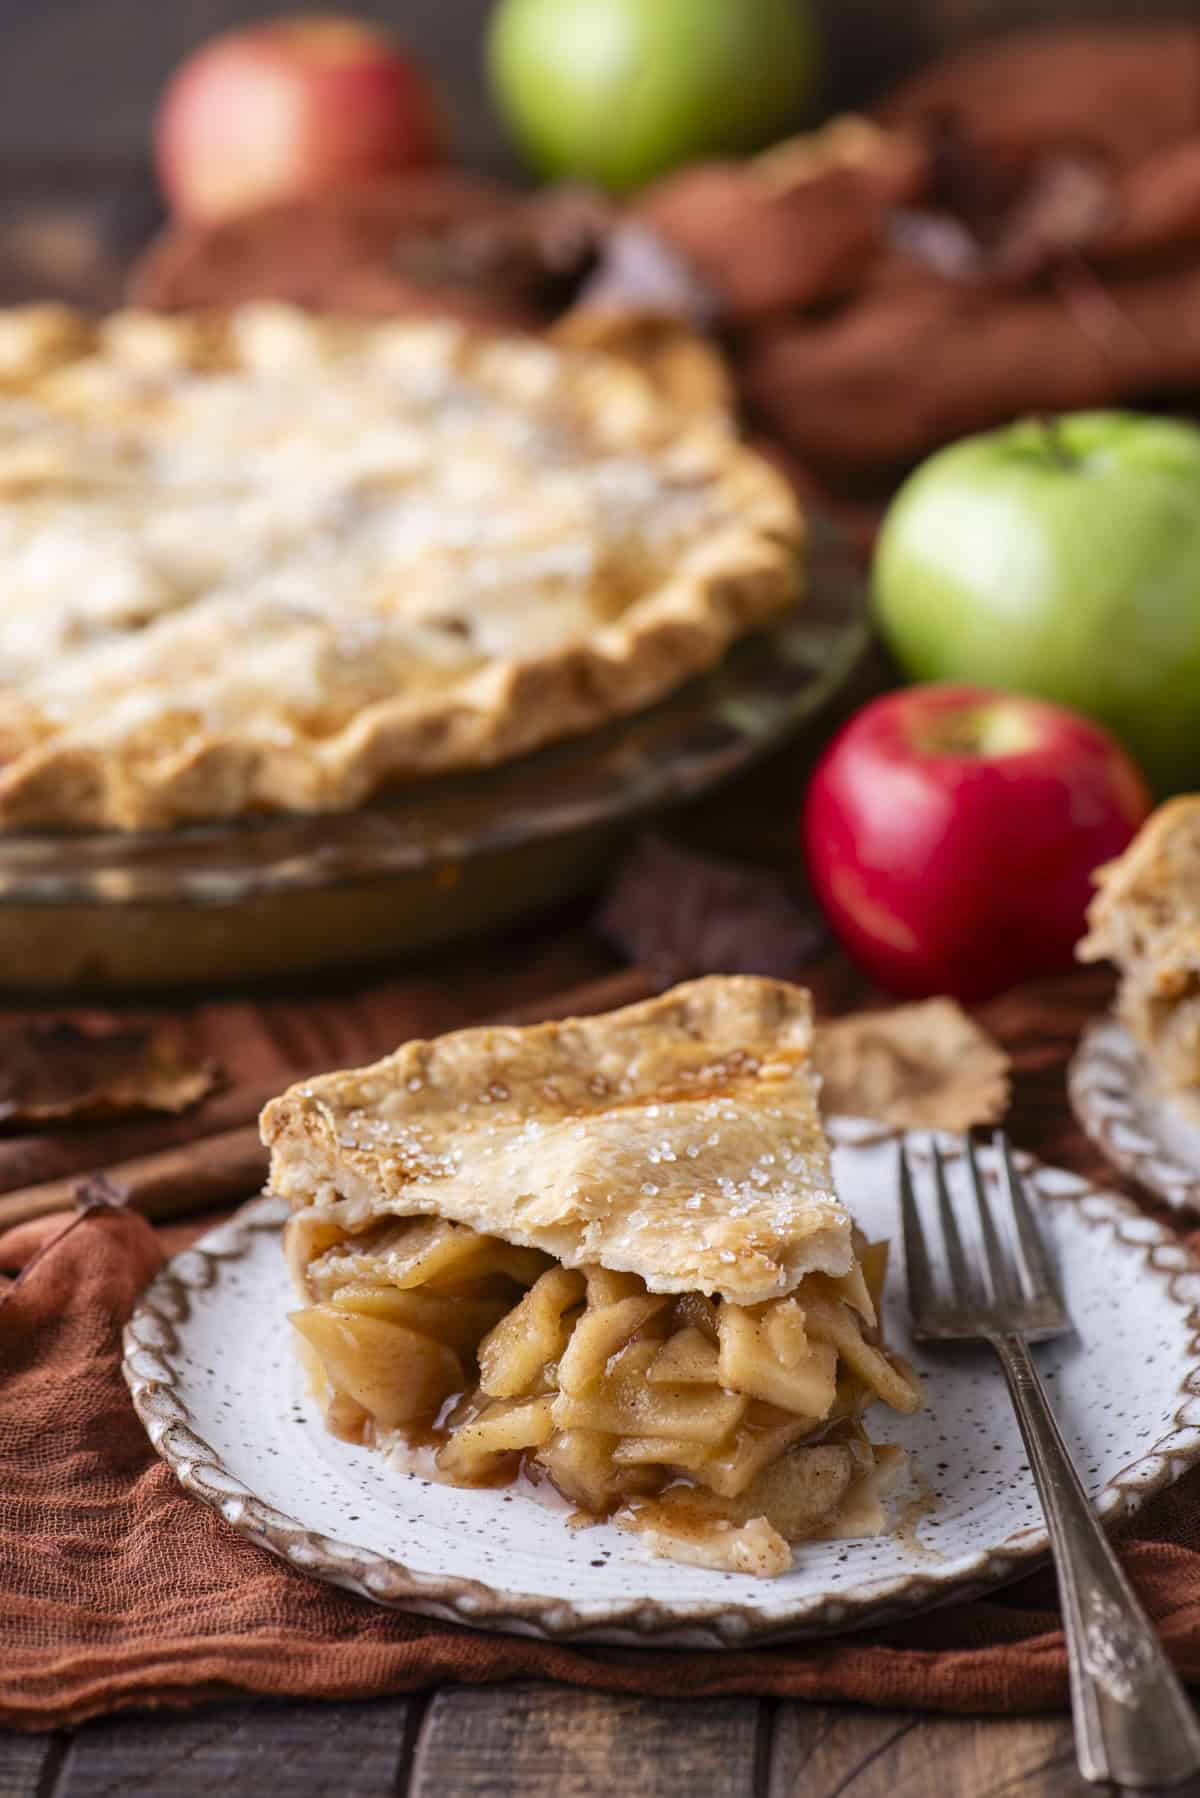
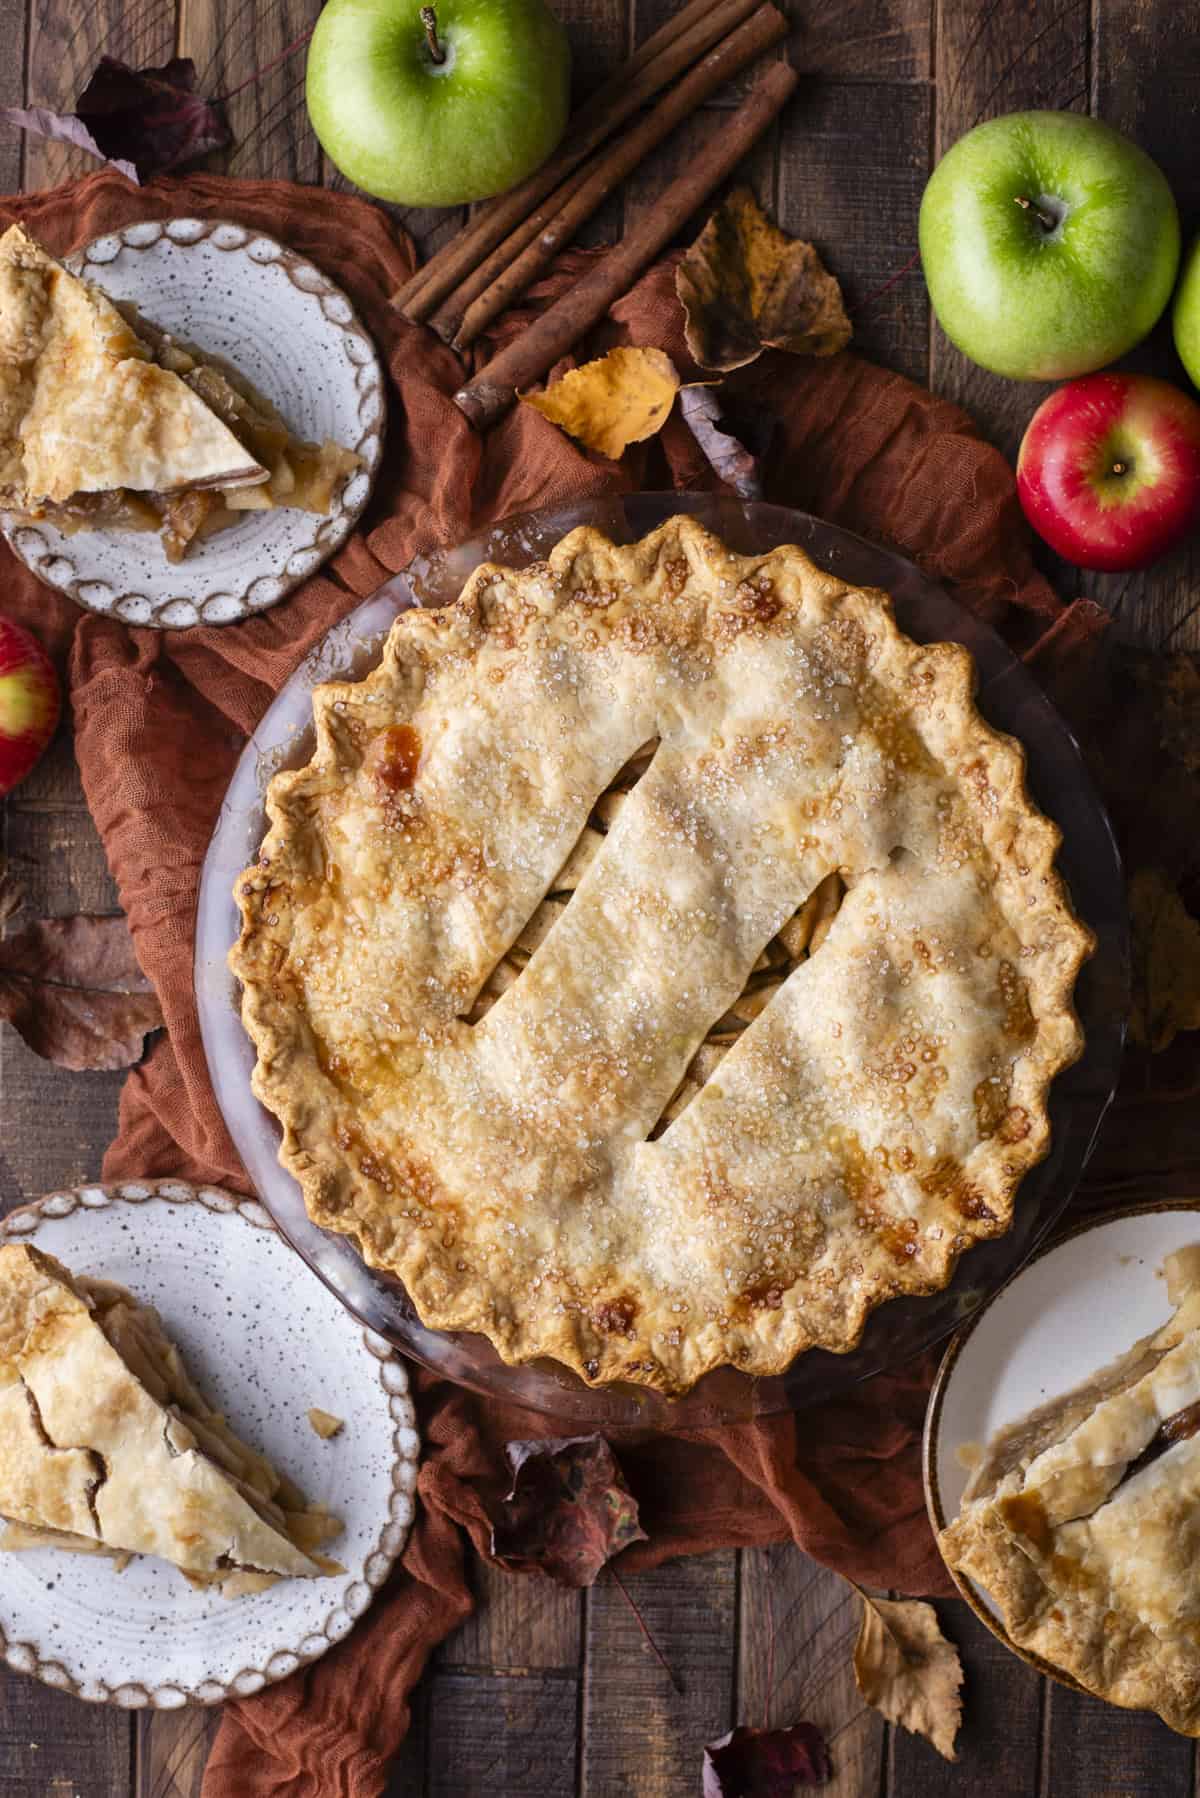
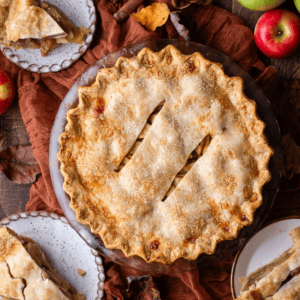
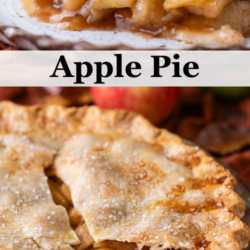
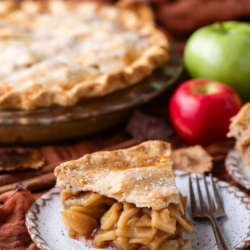
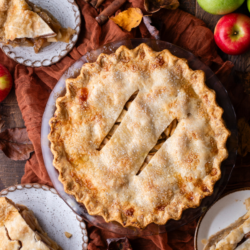
Homemade Apple Pie
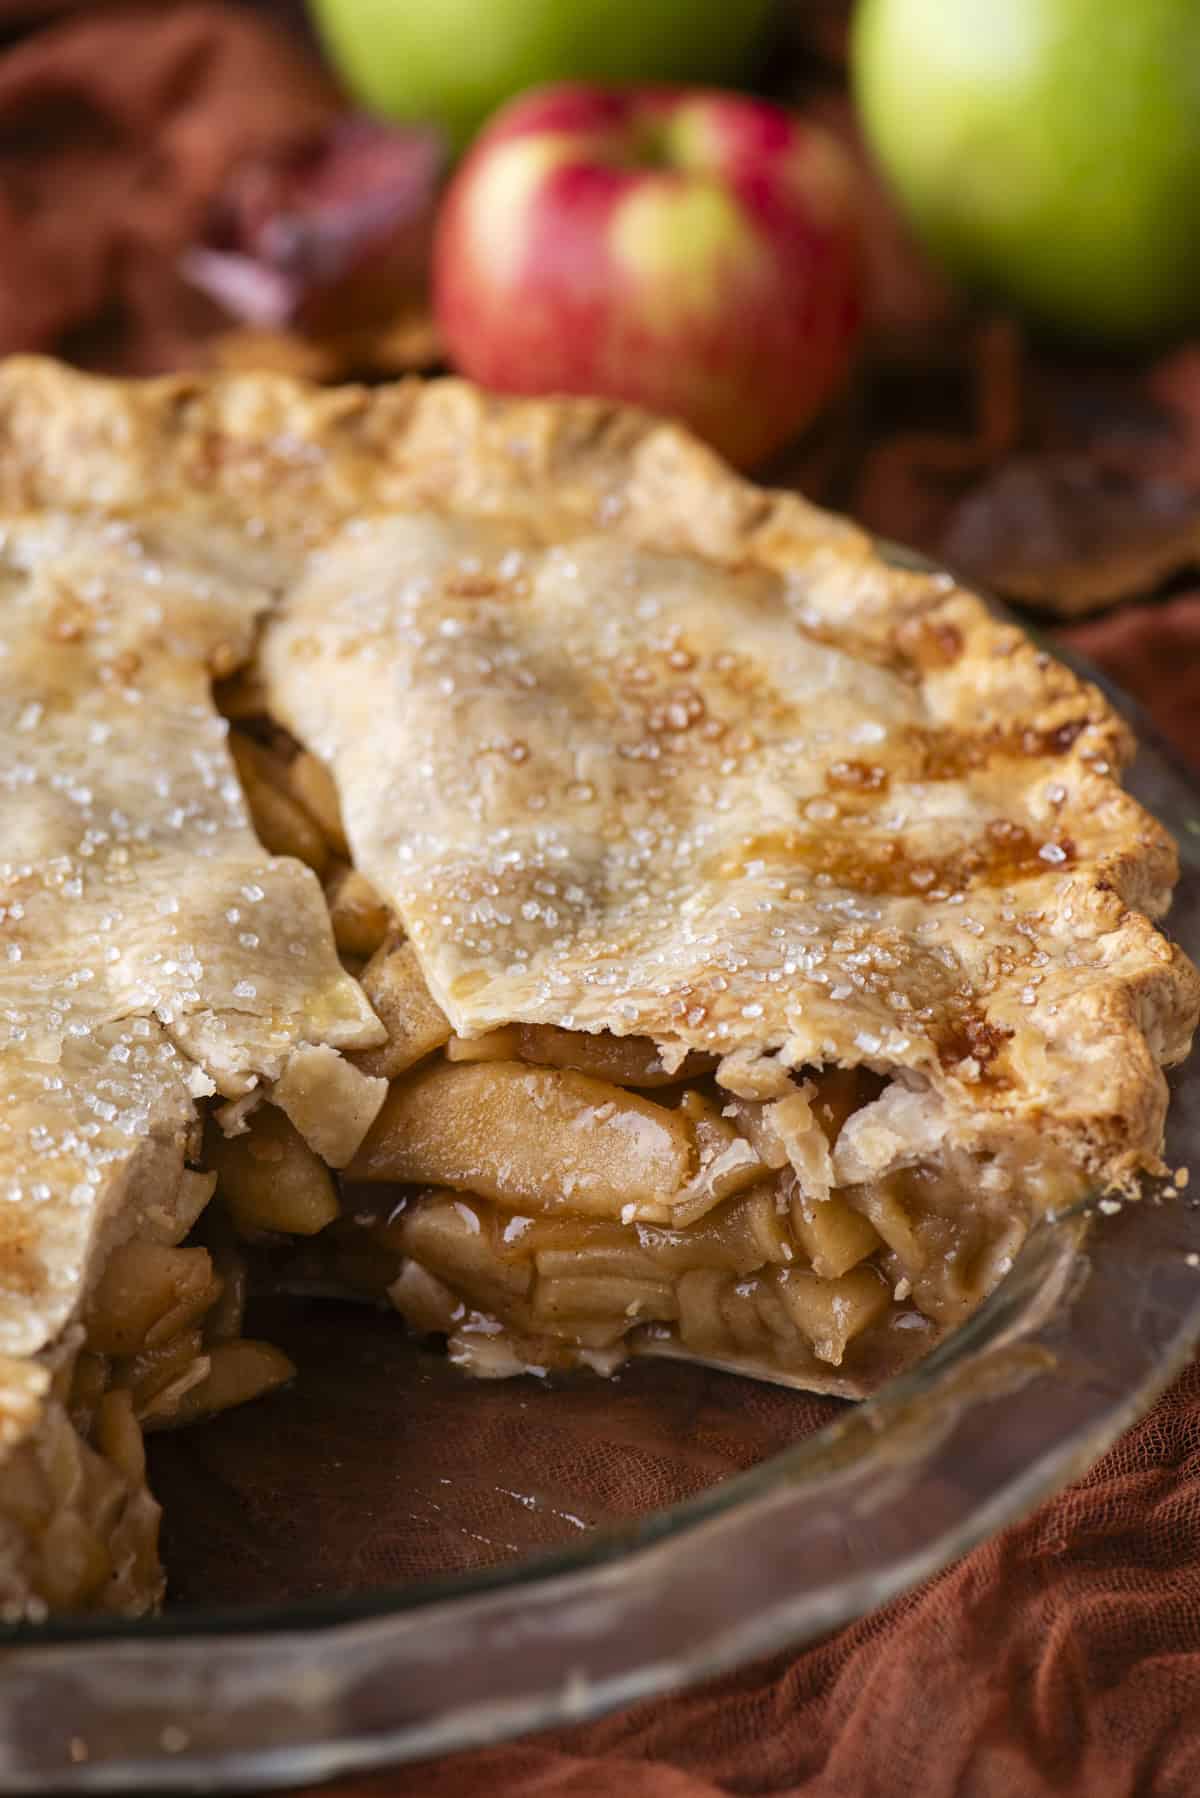
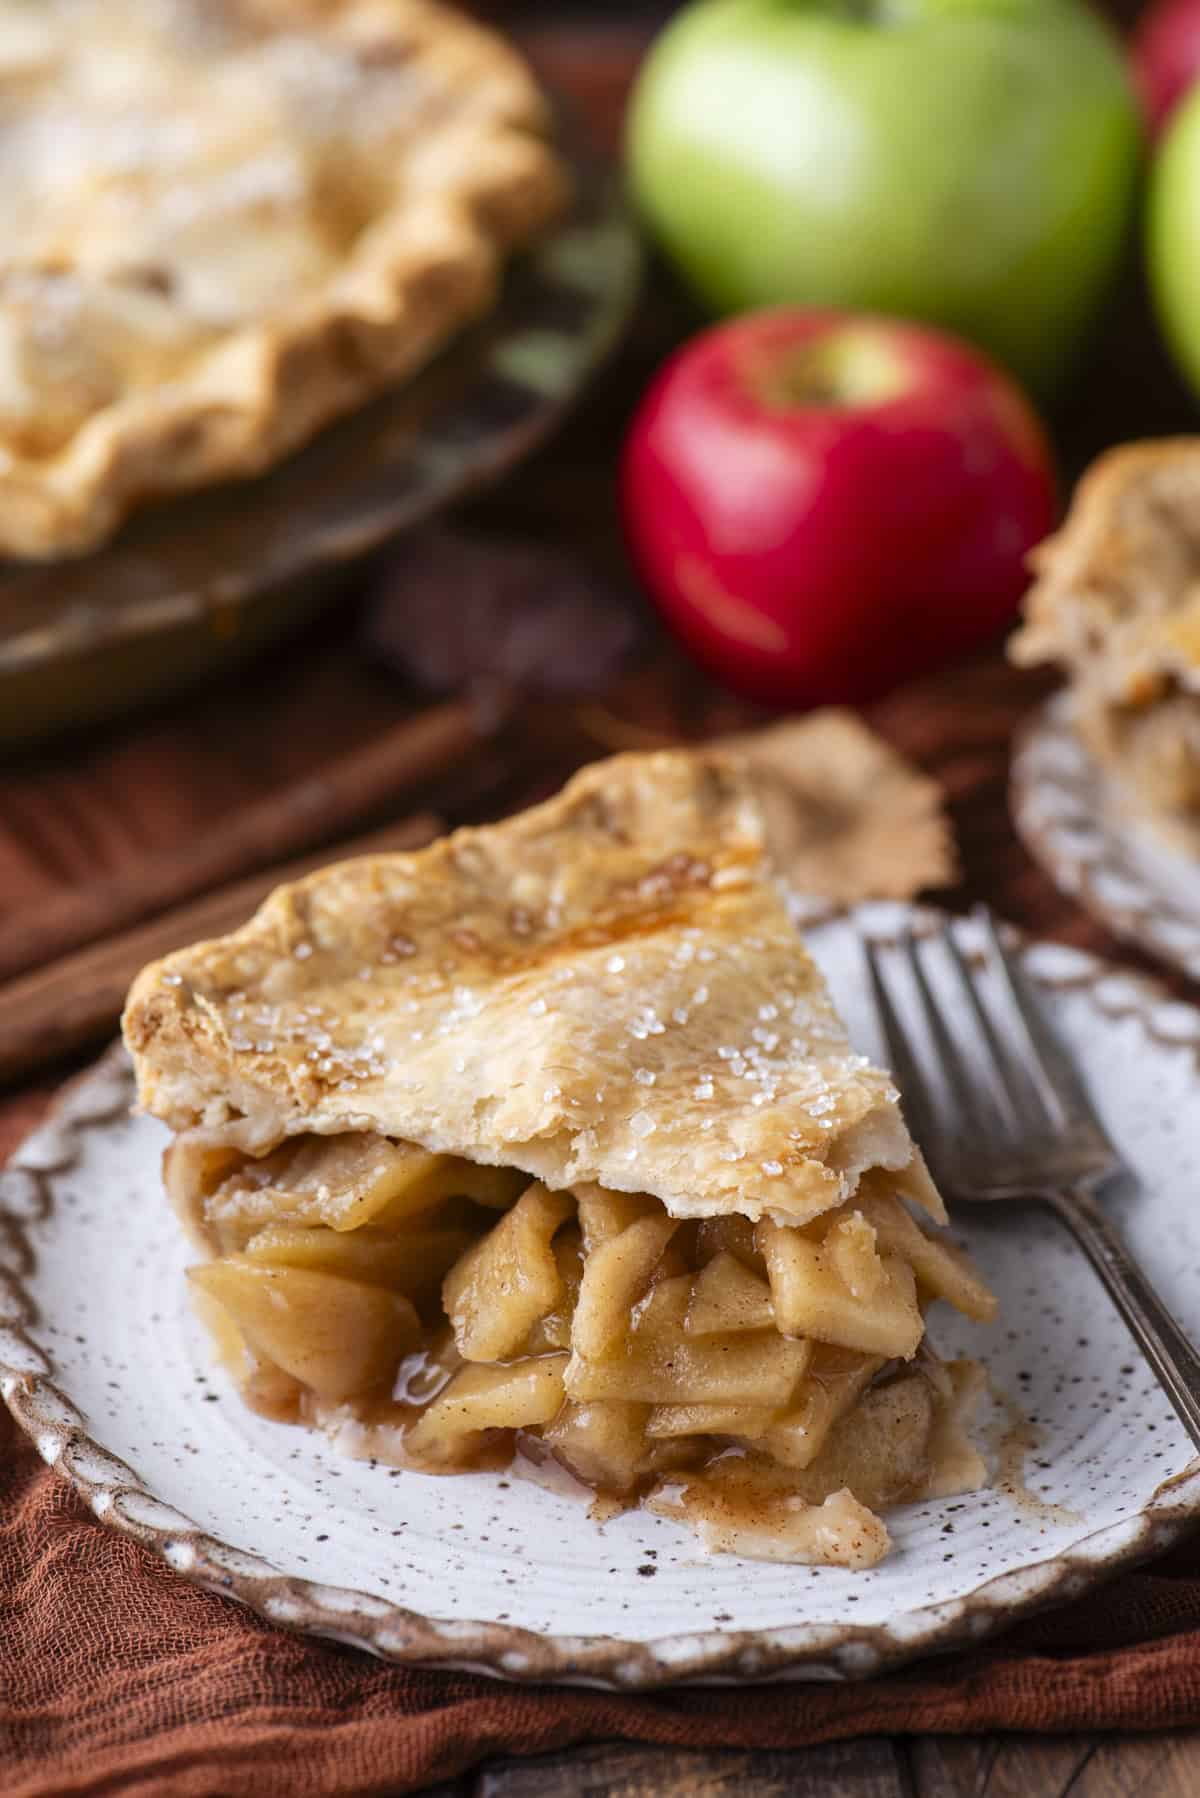
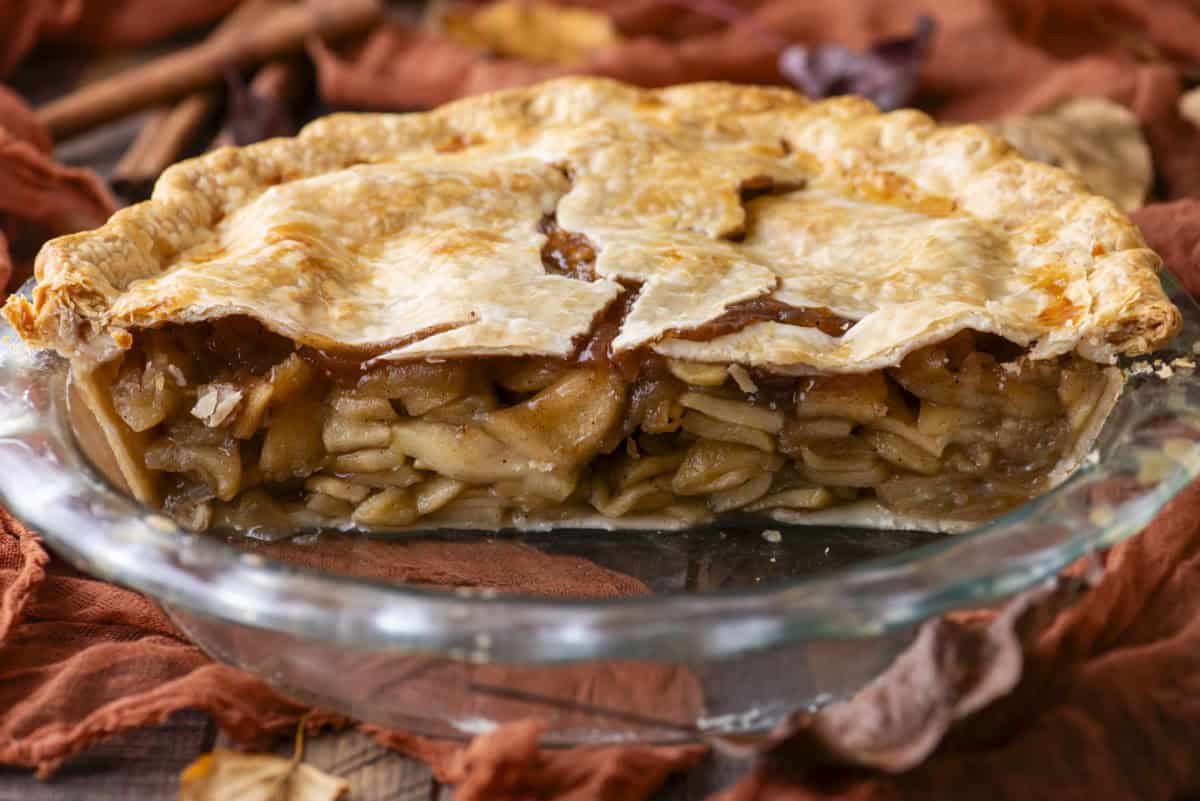
When making apple pie filling, you can use either raw or cooked apples. After testing both methods, I found that cooking the apples first prevents the filling from sinking or the crust from collapsing, as it helps release excess moisture on the stove.
Another benefit of precooking the filling is the ability to turn the leftover apple juices into a syrup, which concentrates the apple flavor and adds richness to the pie. The syrup helps bind the filling together, giving it a glossy, cohesive consistency without being too runny. This makes it easier to cut clean slices of pie.
Apple pie requires a lot of apples to create a generous filling that balances the crust and delivers that classic, hearty taste. A full pie typically uses about 5 to 6 cups of sliced apples to ensure a satisfying texture and flavor in every slice.
Why you’ll love this Recipe For Apple Pie
Here are just a few of the reasons you’ll love this recipe:
- Can use storebought crust or my homemade pie crust recipe
- Bakes to golden brown perfection without sinking
- Learn how to make a delicious apple filling that can also be used in other recipes
- Amazing with a scoop of vanilla ice cream
Ingredients to Make This Apple Pie Recipe From Scratch
This classic apple pie recipe uses simple ingredients, upgraded with my technique for creating the best filling. Keep reading for all my best tips, and the full recipe in the recipe card below. Here’s what you’ll need:
- Homemade pie crust or 2 store-bought crusts
Apple Pie Filling
- Apples: cut into 1/4-inch-thick slices
- Brown sugar
- Ground cinnamon
- Ground allspice
- Ground nutmeg
- Salt
- Water
- Cornstarch
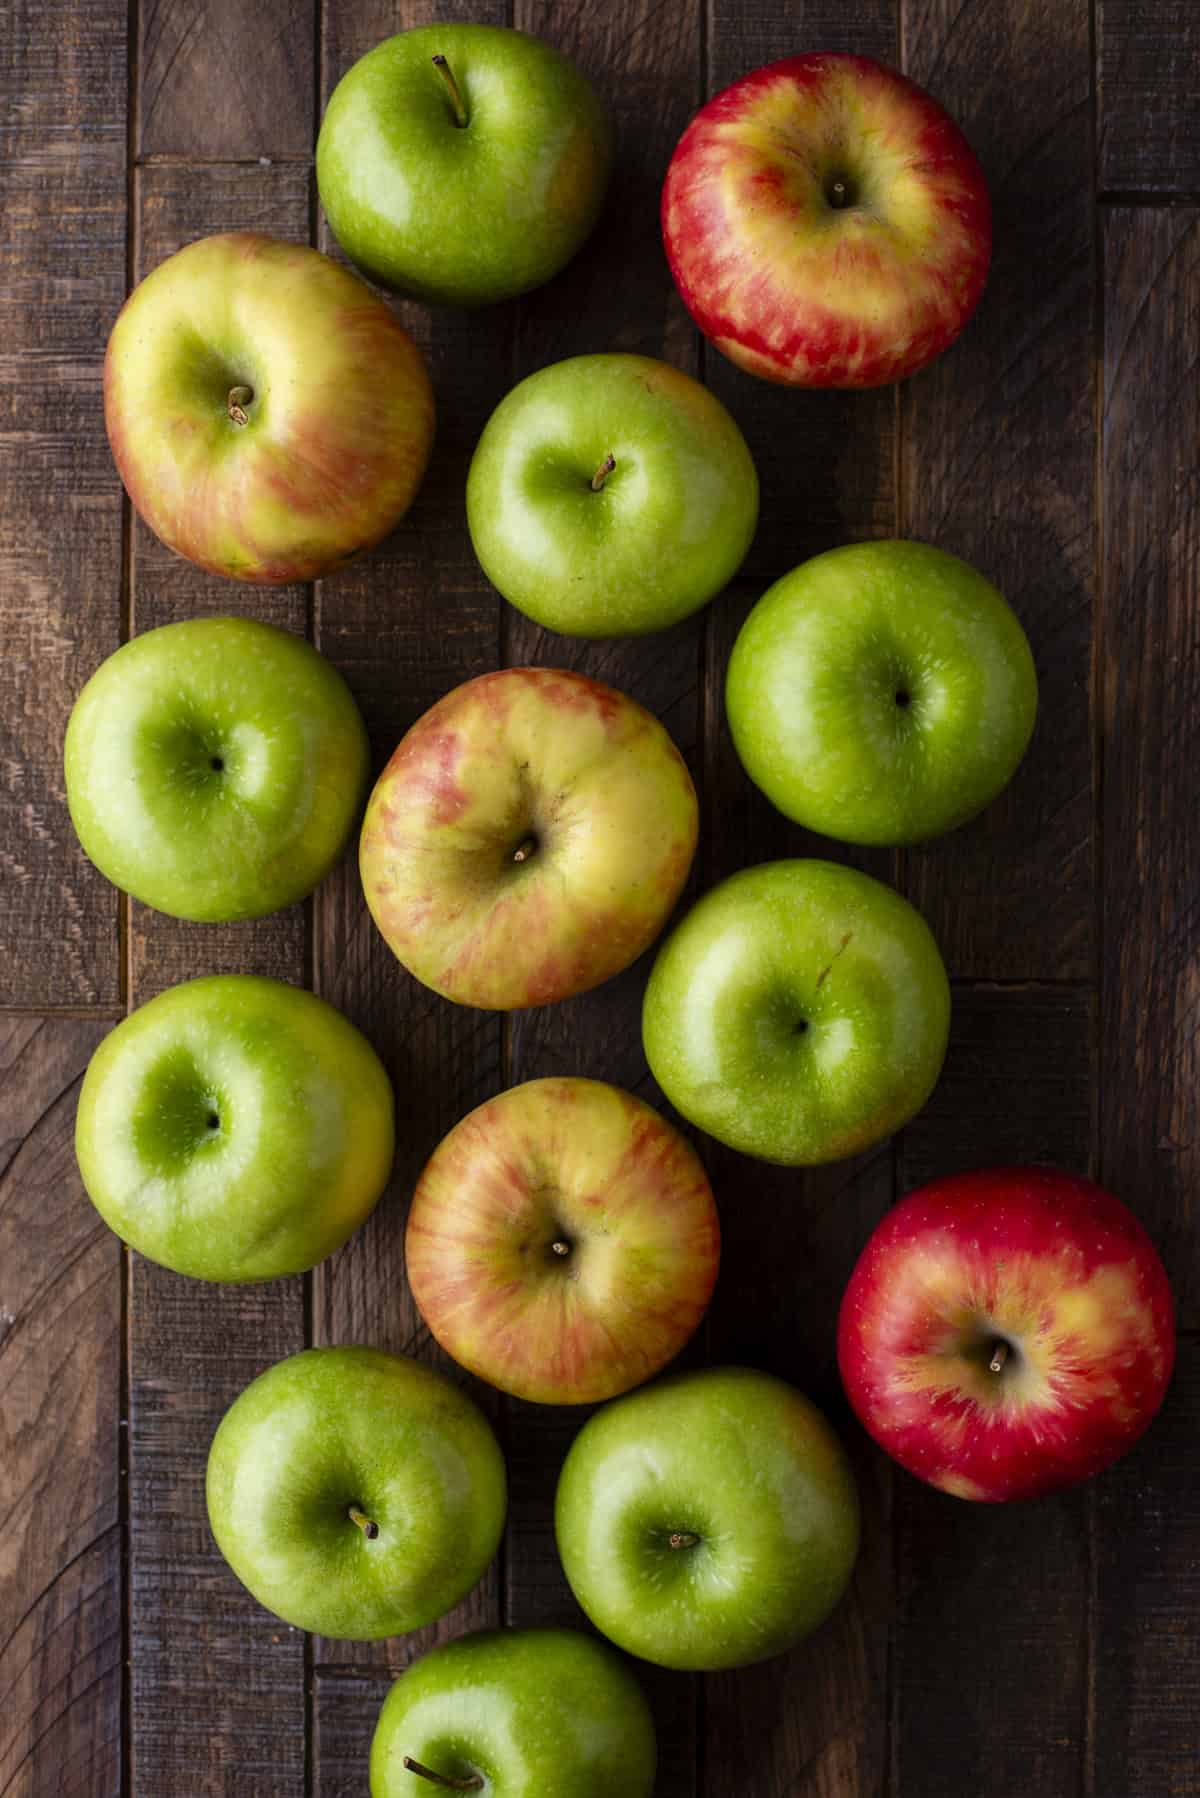
Best Apples For Homemade Apple Pie
I recommend using a variety of apples for the best flavor balance. Of course, fresh apples are best. Some of the best apple varieties to use are:
- Granny Smith Apples
- Honeycrisp Apples
- Golden Delicious Apples
- Pink Lady Apples
- Braeburn Apples
How to Make Apple Pie From Scratch
I dedicated a ton of time to ensure this is the best apple pie recipe, and then I spent additional time ensuring the steps are precise and easy to follow so you can make an amazing pie, even if it’s your first time baking. Get the full recipe with ingredients in the recipe card below. Here are the step-by-step instructions:
Pie Crust
- Prepare crust: You can either use our homemade flaky crust recipe or a store-bought option. If you’re making the homemade crust, stop after step 6 and refrigerate the discs of dough while you prepare the apple pie filling. If you’re using a store-bought crust, start by preparing the filling first.
Apple Pie Filling
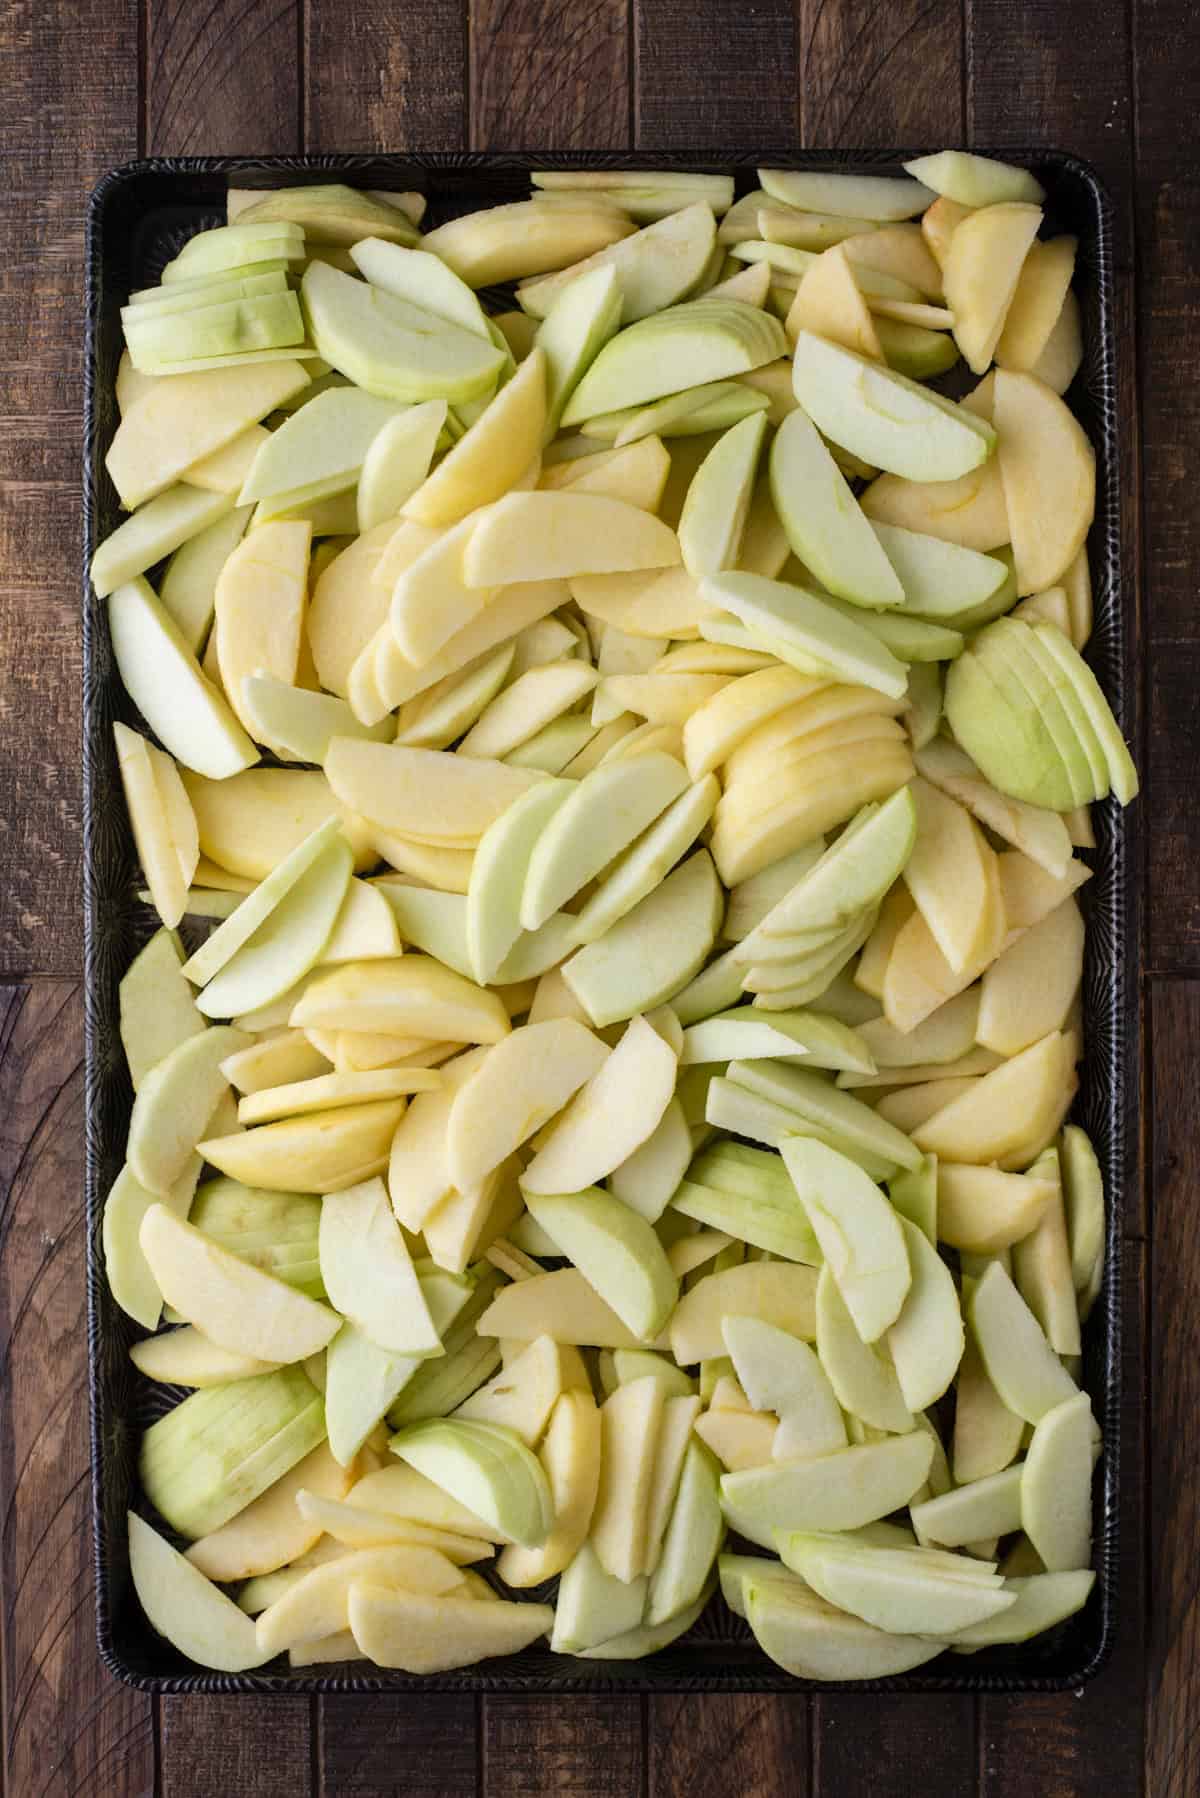
- Prep apples: Peel and slice 5 pounds of apples into ¼-inch-thick slices.
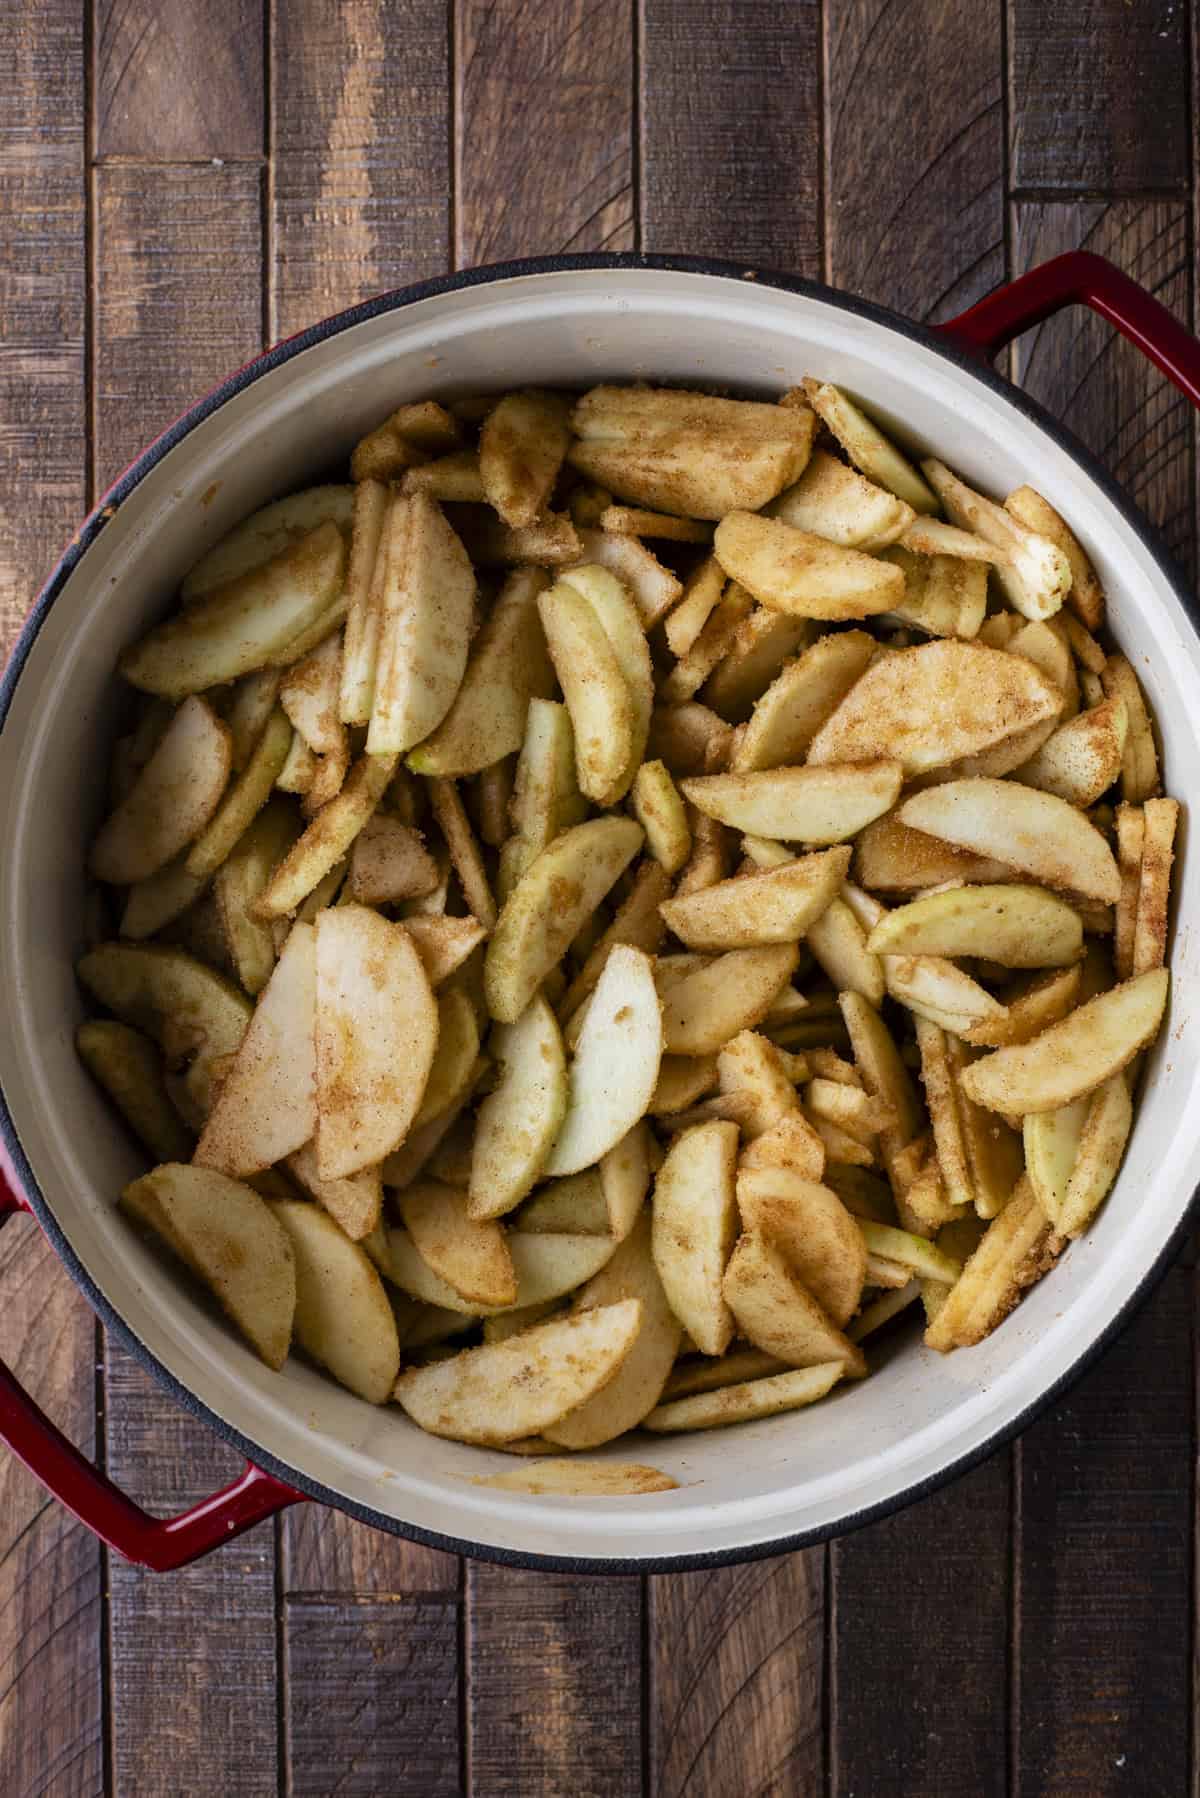
- Cook filling: In a large pot, combine the sliced apples, brown sugar, cinnamon, allspice, nutmeg, and salt. Cook over medium heat for 10-15 minutes, stirring occasionally, until the apples are tender.
- Cool: Using a slotted spoon, transfer the cooked apples to a large baking sheet to cool. For faster cooling, place the sheet in the fridge or freezer for 20 minutes.
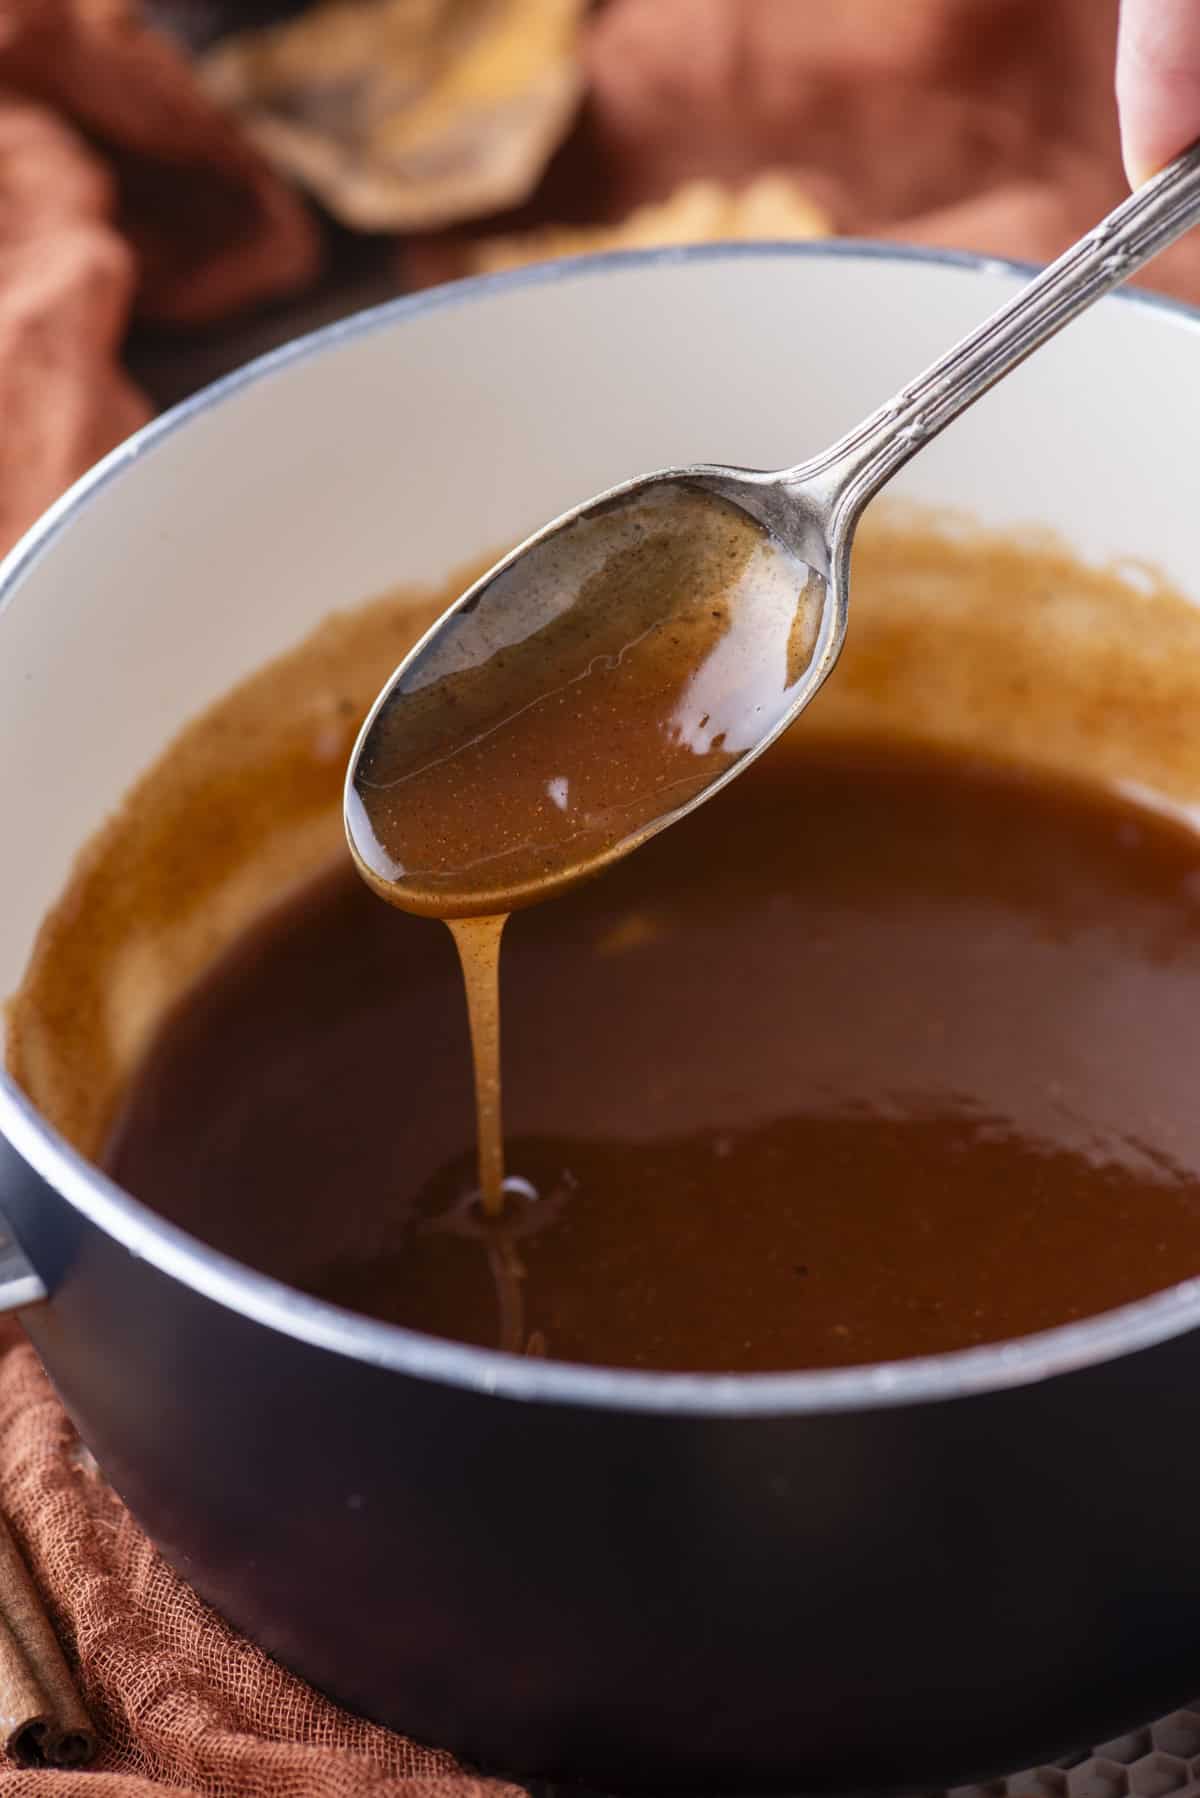
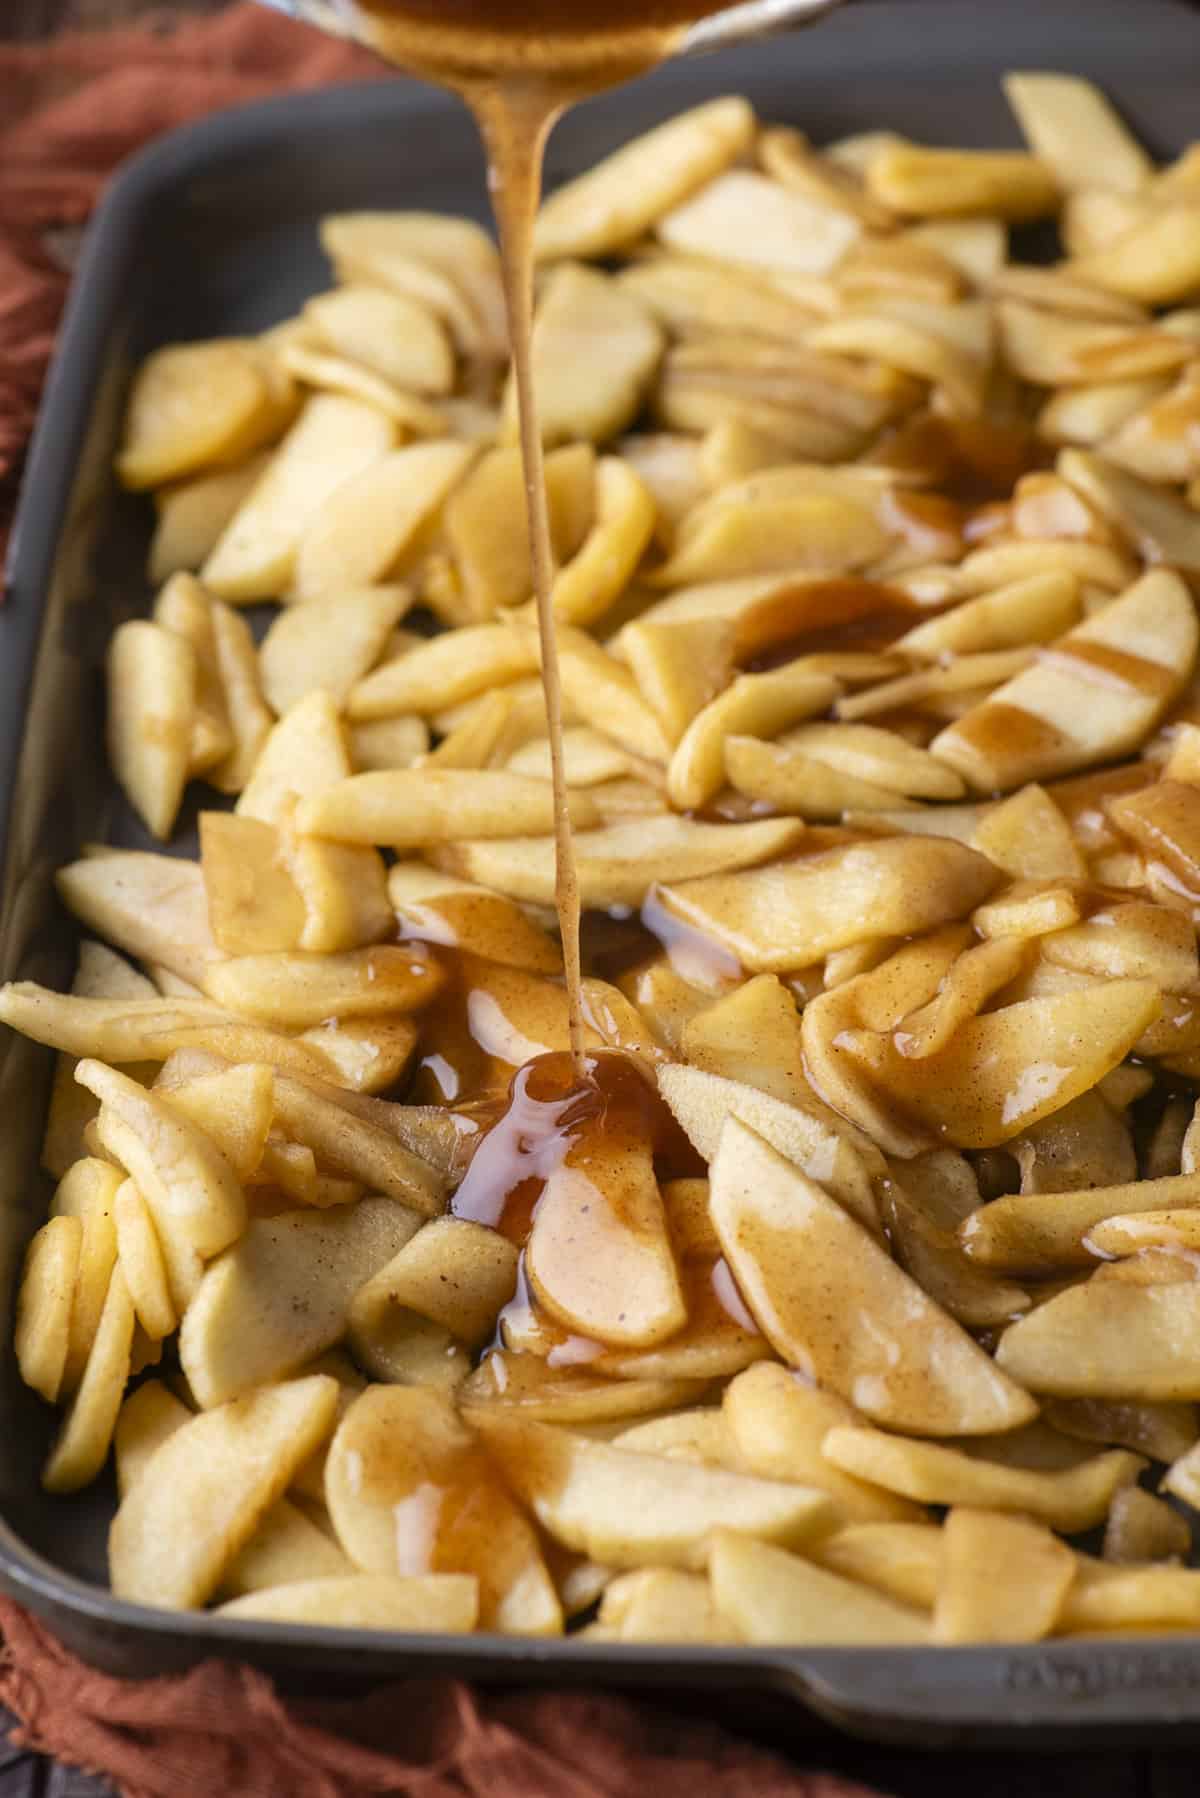
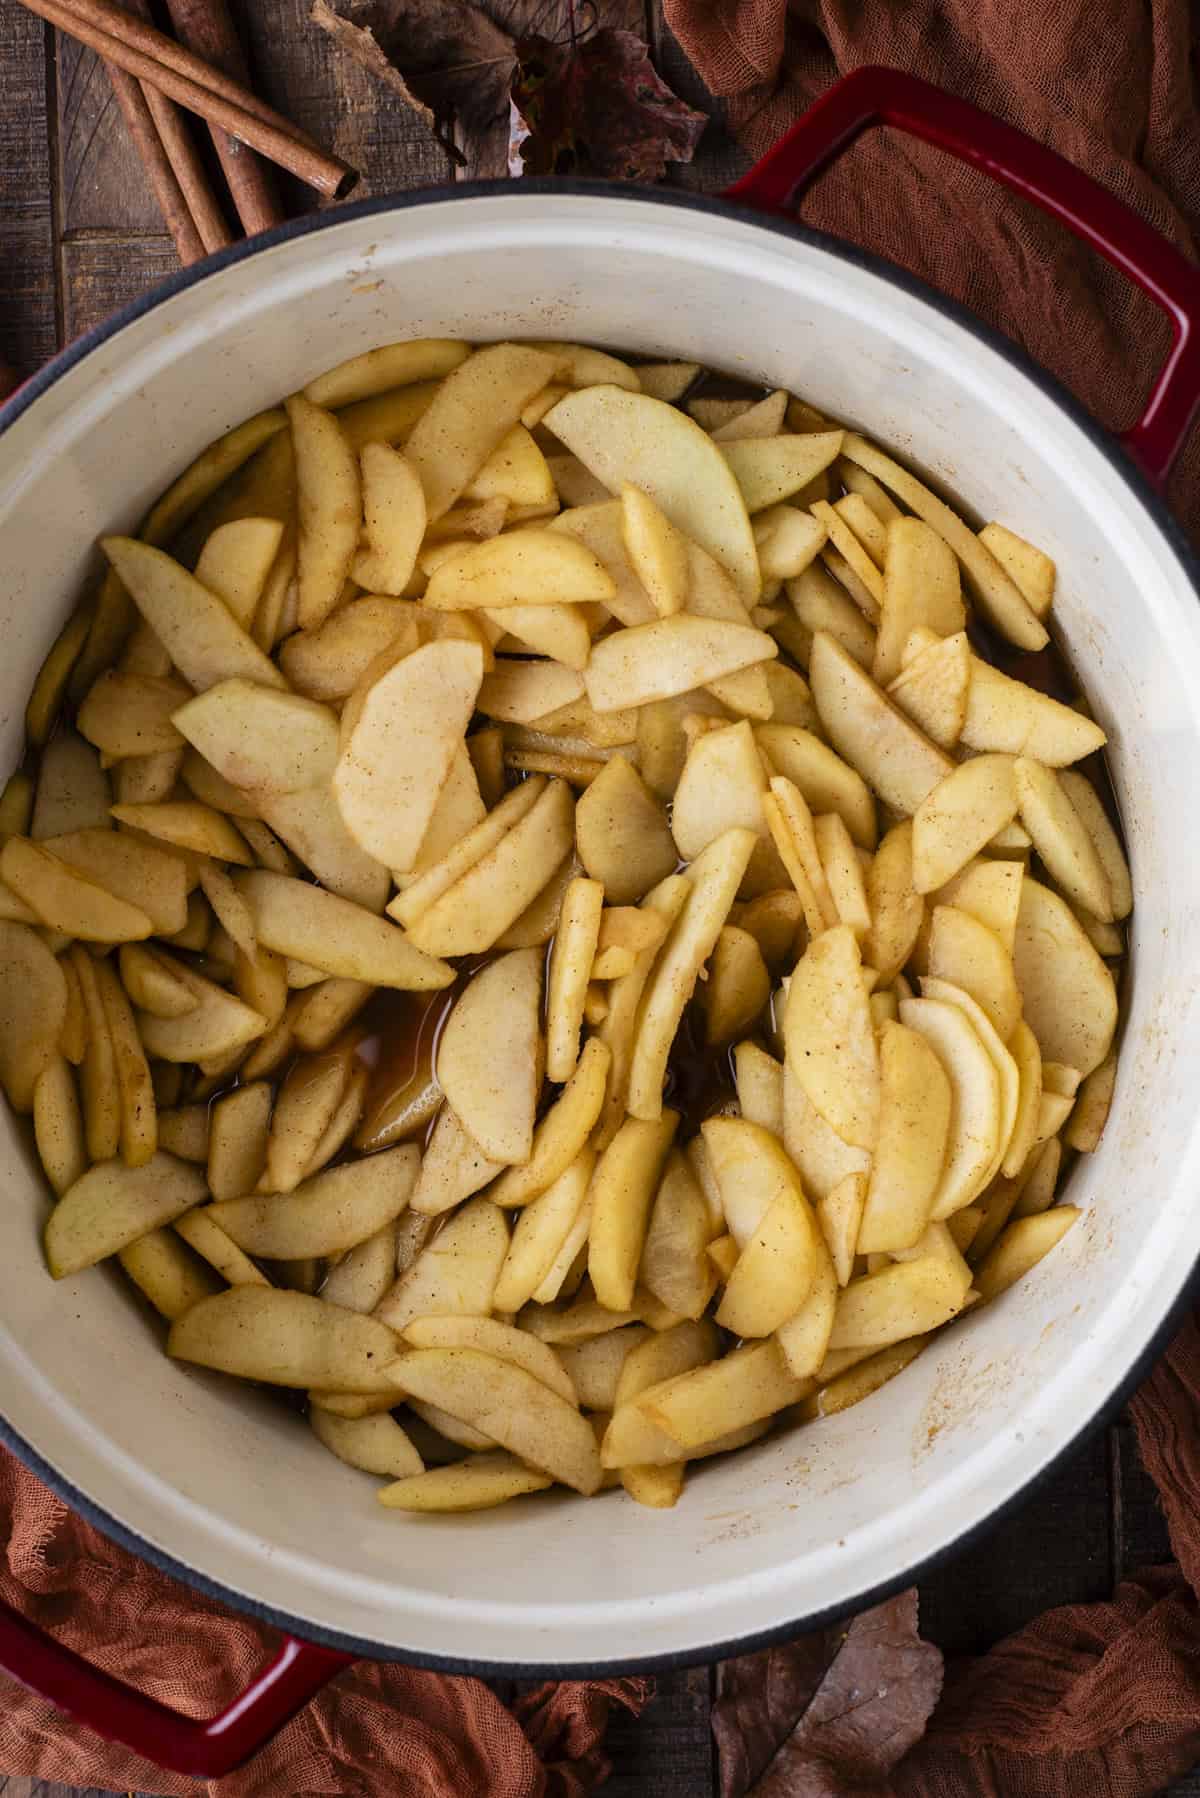
- Make syrup: Meanwhile, make a syrup from the apple juices. Transfer the juice to a smaller pot. Simmer over medium-low heat. Dissolve the cornstarch in water, then stir into the simmering syrup. Cook and stir until the syrup thickens, about 3-5 minutes.
- Combine: Once the syrup has thickened and the apples are cool, mix them together.
Assemble
- Prep oven: Preheat the oven to 425ºF. Rearrange the baking racks so you can put the pie on the bottom rack.
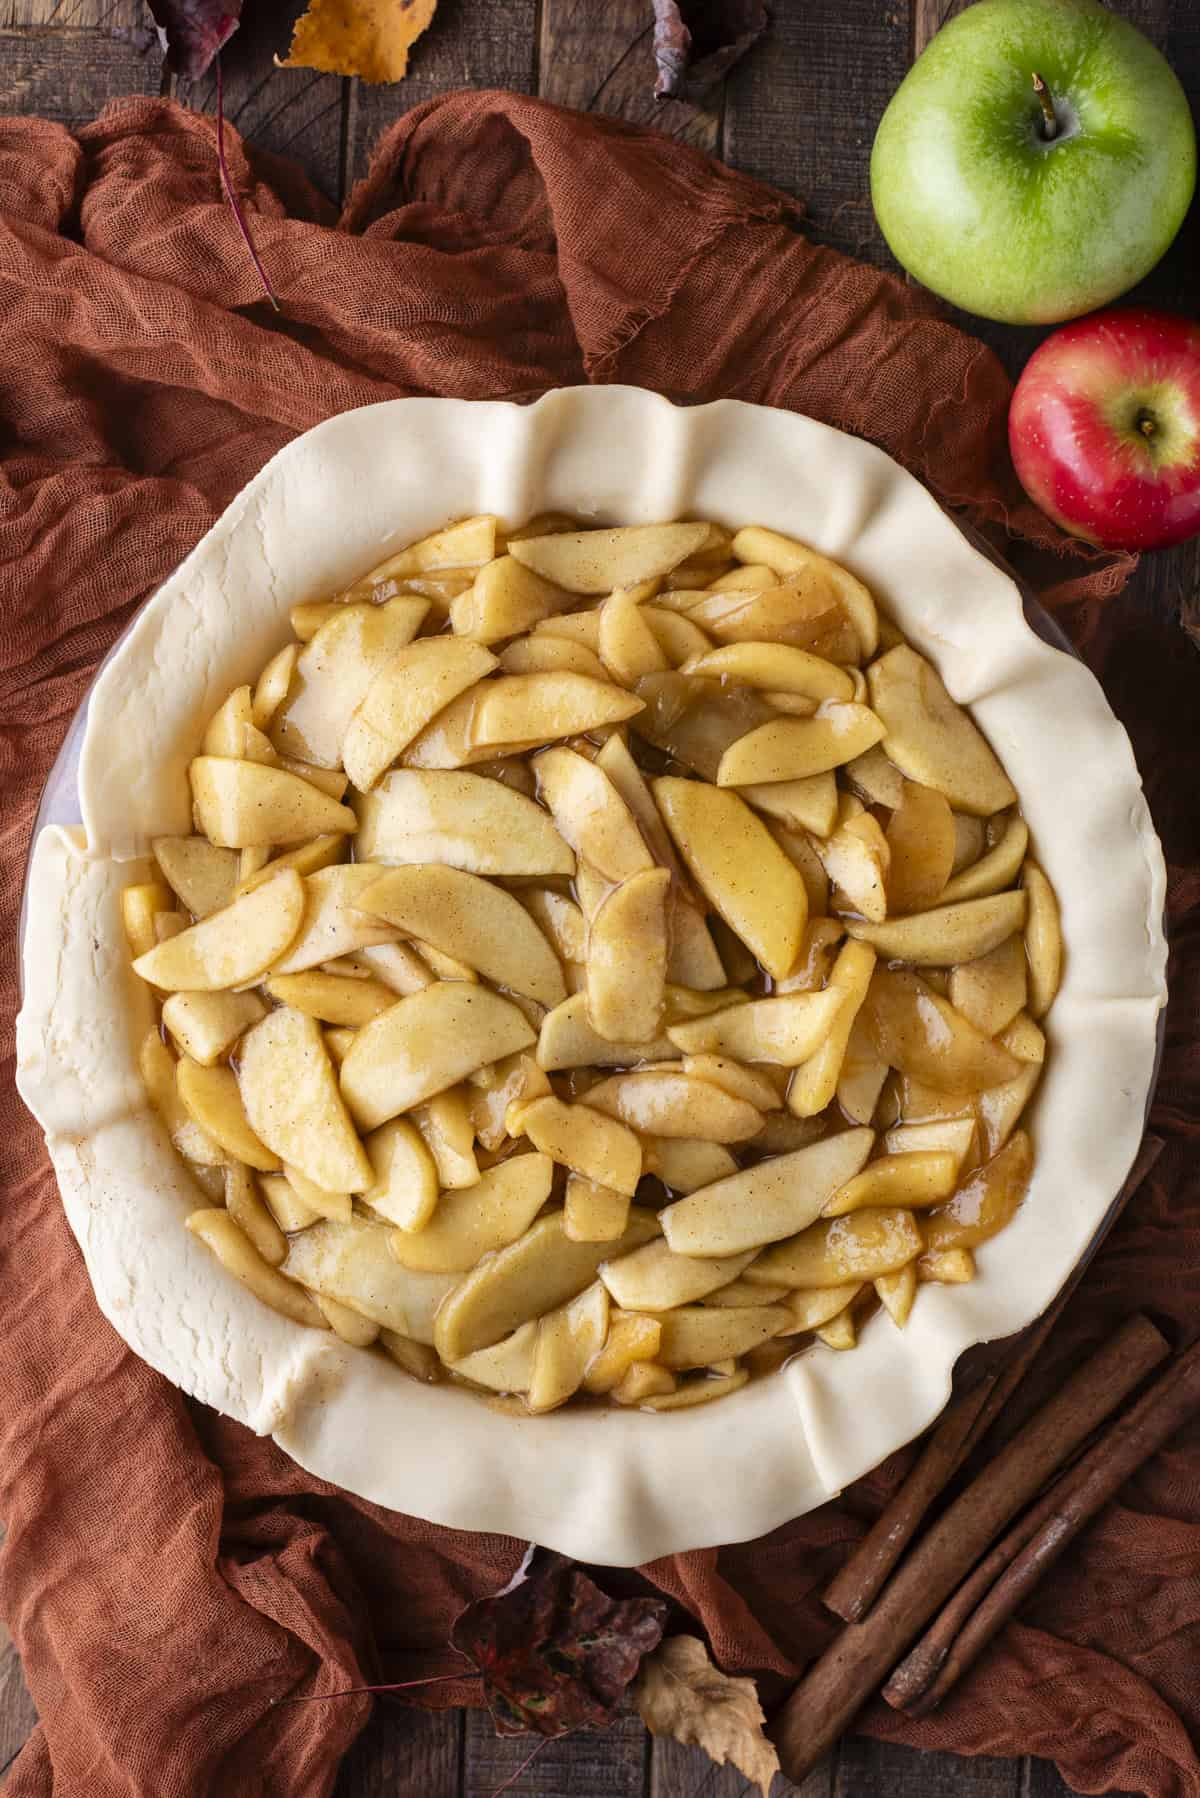
- Prepare the Bottom Crust: Roll out your pie dough on a floured surface into a circle about 13-14 inches in diameter. Gently place it into a 9-inch pie dish, making sure the dough drapes over the edges slightly. Press it lightly into the dish to ensure it fits snugly.
- Add the Filling: Pour your prepared apple pie filling into the bottom crust, spreading it evenly.
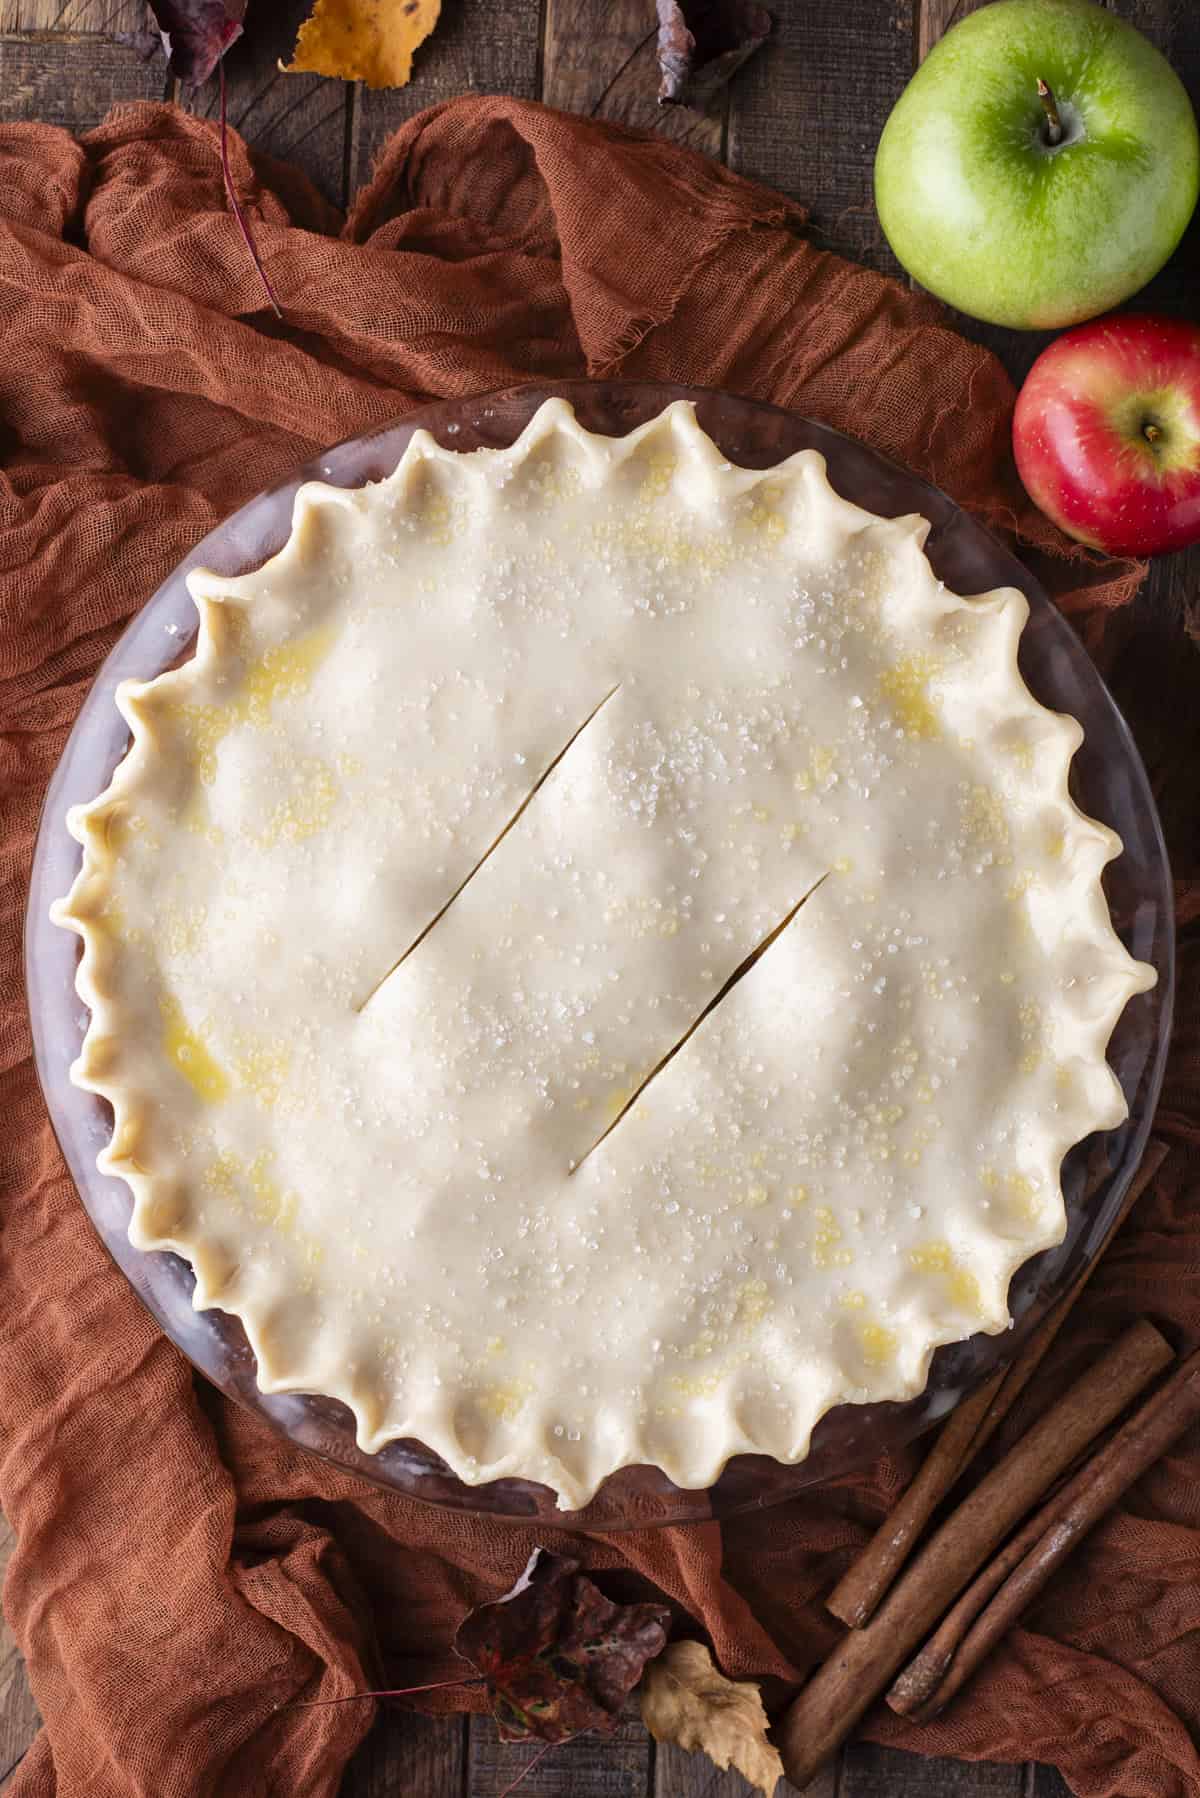
- Roll Out the Top Crust: Roll out the second piece of dough into a circle about 12-13 inches in diameter. Carefully lay it over the apples.
- Trim and Flute the Edges: If needed, trim the excess dough from both the top and bottom crusts, leaving about 1-inch overhang. Pinch or crimp the edges together by pressing them with your fingers or a fork to create a fluted edge.
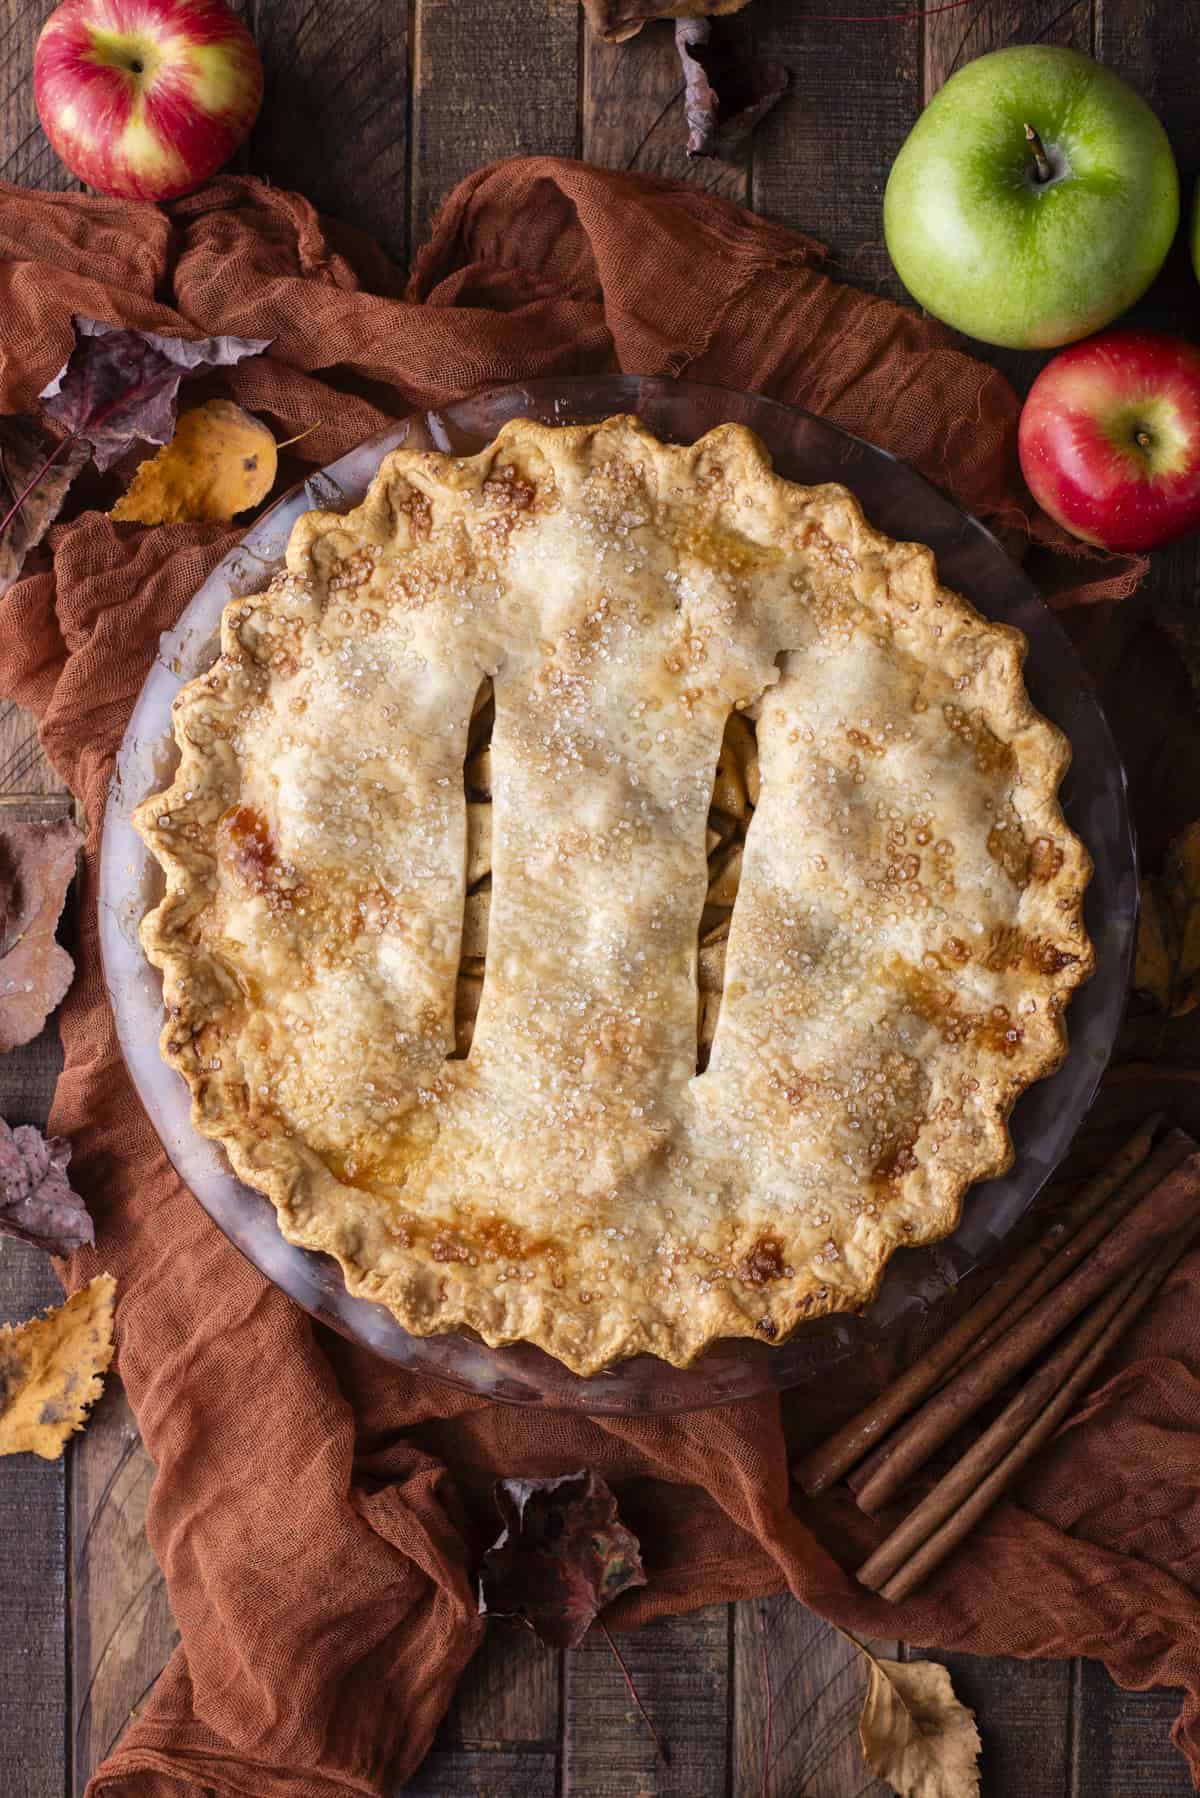
- Egg Wash and Vent Holes: Brush the top crust with a light layer of egg wash (1 egg beaten with 1 Tbsp water or milk). Cut a few small vent holes in the top crust to allow steam to escape while baking. For added texture and sweetness, sprinkle the top with sanding sugar.
- Baking: Position the pie on a baking sheet to catch any juices that may overflow during baking. Bake the pie at 425°F for 30 minutes. After 30 minutes, lower the oven temperature to 375°F. Check the pie after 20 minutes—if the edges are browning too quickly, cover them with aluminum foil or a pie shield. Continue baking until the pie is done, about another 15-30 minutes. The filling should be bubbling, and the internal temperature should reach 200°F.
- Cool: Allow the pie to cool for at least 4 hours before slicing to let the filling set.
Homemade Apple Pie Recipe Tips
- Keep the pie crust cold: One of the most crucial factors for flakiness is to keep your ingredients as cold as possible. Use cold butter, cold shortening, and ice-cold water. Cold butter creates steam as the pie bakes in the oven and the butter melts, which is what leads to flakiness. Learn more about making the best flaky pie crust.
- Use a variety of apples:
- Use a variety of apples: Using a variety of apples creates the best flavor, because of the balance of sweet-tart in different types of apples.
- Cut the apples into ¼ inch slices: Cutting the apples uniformly into just the right size apple slices ensures they cook evenly and result in perfectly tender apples. I’ve tested the slice sizes and cook times to master the best texture, and this is what I found to be the most successful (no mushy apples, no crunch apples).
- Use the juice to make a syrup: The juices that are leftover from cooking the apples are full of natural apple flavor. Using them to make syrup enhances the flavor and texture of your apple pie filling. Making a syrup concentrates and returns that flavor to the filling for a richer taste.
- Use a baking sheet for less mess: Place the pie on a baking sheet lined with aluminum foil when baking, which helps to catch any overflowing juices.
Storing Homemade Apple Pie
Store leftover pie covered or in an airtight container for up to 2 days at room temperature, or up to 5 days in the refrigerator. Be sure it’s fully cooled before covering or placing in a container. so the warmth doesn’t create condensation and make the pie soggy.
Can you freeze Apple Pie?
Apple pie freezes well. Cool completely and then wrap tightly in a few layers of plastic wrap. Place in a freezer bag or airtight container and freeze for up to 3 months. When you’re ready to serve it, let it thaw at room temperature and then reheat.
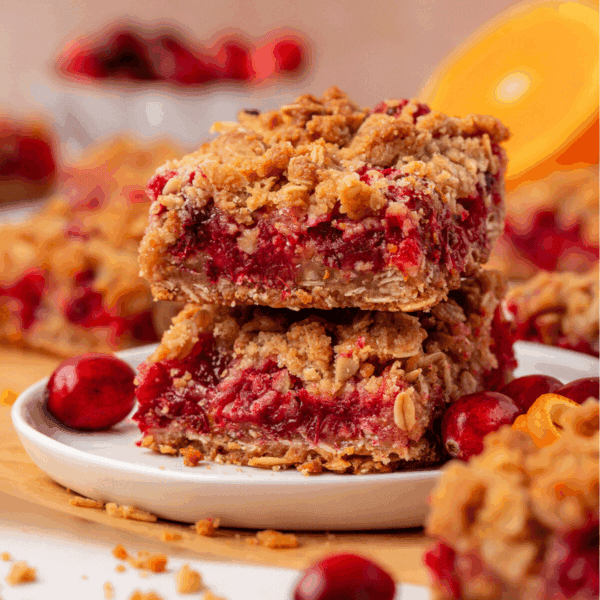
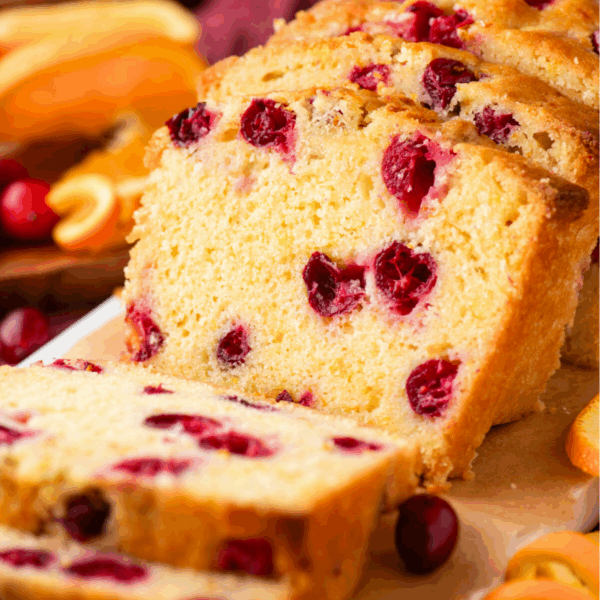
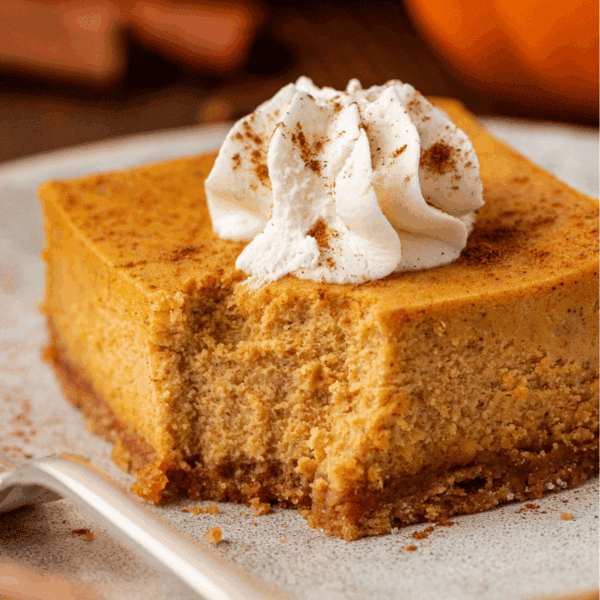
More Apple Recipes
Tap stars to rate!
Best Apple Pie Recipe From Scratch
Ingredients
Apple Pie Filling
- 5 pounds apples, cut into 1/4-inch-thick slices
- 1 cup (213g) packed brown sugar
- 1 ½ tsp ground cinnamon
- ¼ tsp ground allspice
- ¼ tsp ground nutmeg
- ⅛ tsp salt
- 1 Tbsp water
- 1 Tbsp cornstarch
Video
Instructions
Pie Crust
- You can either use our homemade pie crust recipe or a store-bought option. If you’re making the homemade crust, stop after step 6 and refrigerate the discs of dough while you prepare the apple pie filling. If you’re using a store-bought crust, start by preparing the filling first.Homemade pie crust or 2 store bought crusts
Apple Pie Filling
- Peel and slice 5 pounds of apples into ¼-inch-thick slices.
- In a large pot, combine the sliced apples, brown sugar, cinnamon, allspice, nutmeg, and salt. Cook over medium heat for 10-15 minutes, stirring occasionally, until the apples are tender.5 pounds apples, 1 cup (213g) packed brown sugar, 1 ½ tsp ground cinnamon, ¼ tsp ground allspice, ¼ tsp ground nutmeg, ⅛ tsp salt
- Using a slotted spoon, transfer the cooked apples to a large baking sheet to cool. For faster cooling, place the sheet in the fridge or freezer for 20 minutes.
- Meanwhile, make a syrup from the apple juices. Transfer the juice to a smaller pot. Simmer over medium-low heat. Dissolve the cornstarch in water, then stir into the simmering syrup. Cook and stir until the syrup thickens, about 3-5 minutes.1 Tbsp water, 1 Tbsp cornstarch
- Once the syrup has thickened and the apples are cool, mix them together.
Assemble
- Preheat the oven to 425ºF. Rearrange the baking racks so you can put the pie on the bottom rack.
- Prepare the Bottom Crust: Roll out your pie dough on a floured surface into a circle about 13-14 inches in diameter. Gently place it into a 9-inch pie dish, making sure the dough drapes over the edges slightly. Press it lightly into the dish to ensure it fits snugly.
- Add the Filling: Pour your prepared apple pie filling into the bottom crust, spreading it evenly.
- Roll Out the Top Crust: Roll out the second piece of dough into a circle about 12-13 inches in diameter. Carefully lay it over the apples.
- Trim and Flute the Edges: If needed, trim the excess dough from both the top and bottom crusts, leaving about 1 inch overhang. Pinch or crimp the edges together by pressing them with your fingers or a fork to create a fluted edge.
- Egg Wash and Vent Holes: Brush the top crust with a light layer of egg wash (1 egg beaten with 1 Tbsp water or milk). Cut a few small vent holes in the top crust to allow steam to escape while baking. For added texture and sweetness, sprinkle the top with sanding sugar.
- Baking: Position the pie on a baking sheet to catch any juices that may overflow during baking. Bake the pie at 425°F for 30 minutes. After 30 minutes, lower the oven temperature to 375°F. Check the pie after 20 minutes—if the edges are browning too quickly, cover them with aluminum foil or a pie shield. Continue baking until the pie is done, about another 15-30 minutes. The filling should be bubbling, and the internal temperature should reach 200°F.
- Allow the pie to cool for at least 4 hours before slicing to let the filling set.


It is so good will have to make it again it’s a 10 inmy boòķ
I haven’t made an apple pie in years. But when I saw that Beth showed a way to prevent a huge gap between the filling and the crust, I thought I had to give it a try again. So I made the filling a couple of days in advance and put it in the fridge. Then on the Tuesday before Thanksgiving, I made the crust and put the whole thing together. I was really glad that Beth told us to make sure the filling reached an internal temp of 200 degrees. THAT made a huge difference because I would have taken it out too soon, just by judging how the crust looked. But long story short, it came out SO beautiful, and smelled wonderful!! The filling looks and smells incredible too. Tomorrow is Thanksgiving and I can’t wait to taste it. Making the filling early is a game-changer time wise. It made the assembly so much easier. If I can do it. You can. Try it!
What’s your favorite combo of apples to use?
Which oven shelf should it be bake on? Thanks!
Gorgeous
I’m going to make your apple pie recipe this year, instead of mine. I love everything I’ve baked of yours i hope I do you justice.
Merry Christmas and Happy Holidays to you and your family !
Kathy Nichols