This post may contain affiliate links. Please read our disclosure policy.
These lemon bars are proof that a classic recipe doesn’t have to be complicated. With a crisp shortbread crust, bright and tangy filling, and my best-tested tips, these bars come out perfectly set, easy to slice, and packed with fresh lemon flavor. Whether you’ve made lemon bars before or this is your first time, I’ll walk you through each step for foolproof results.
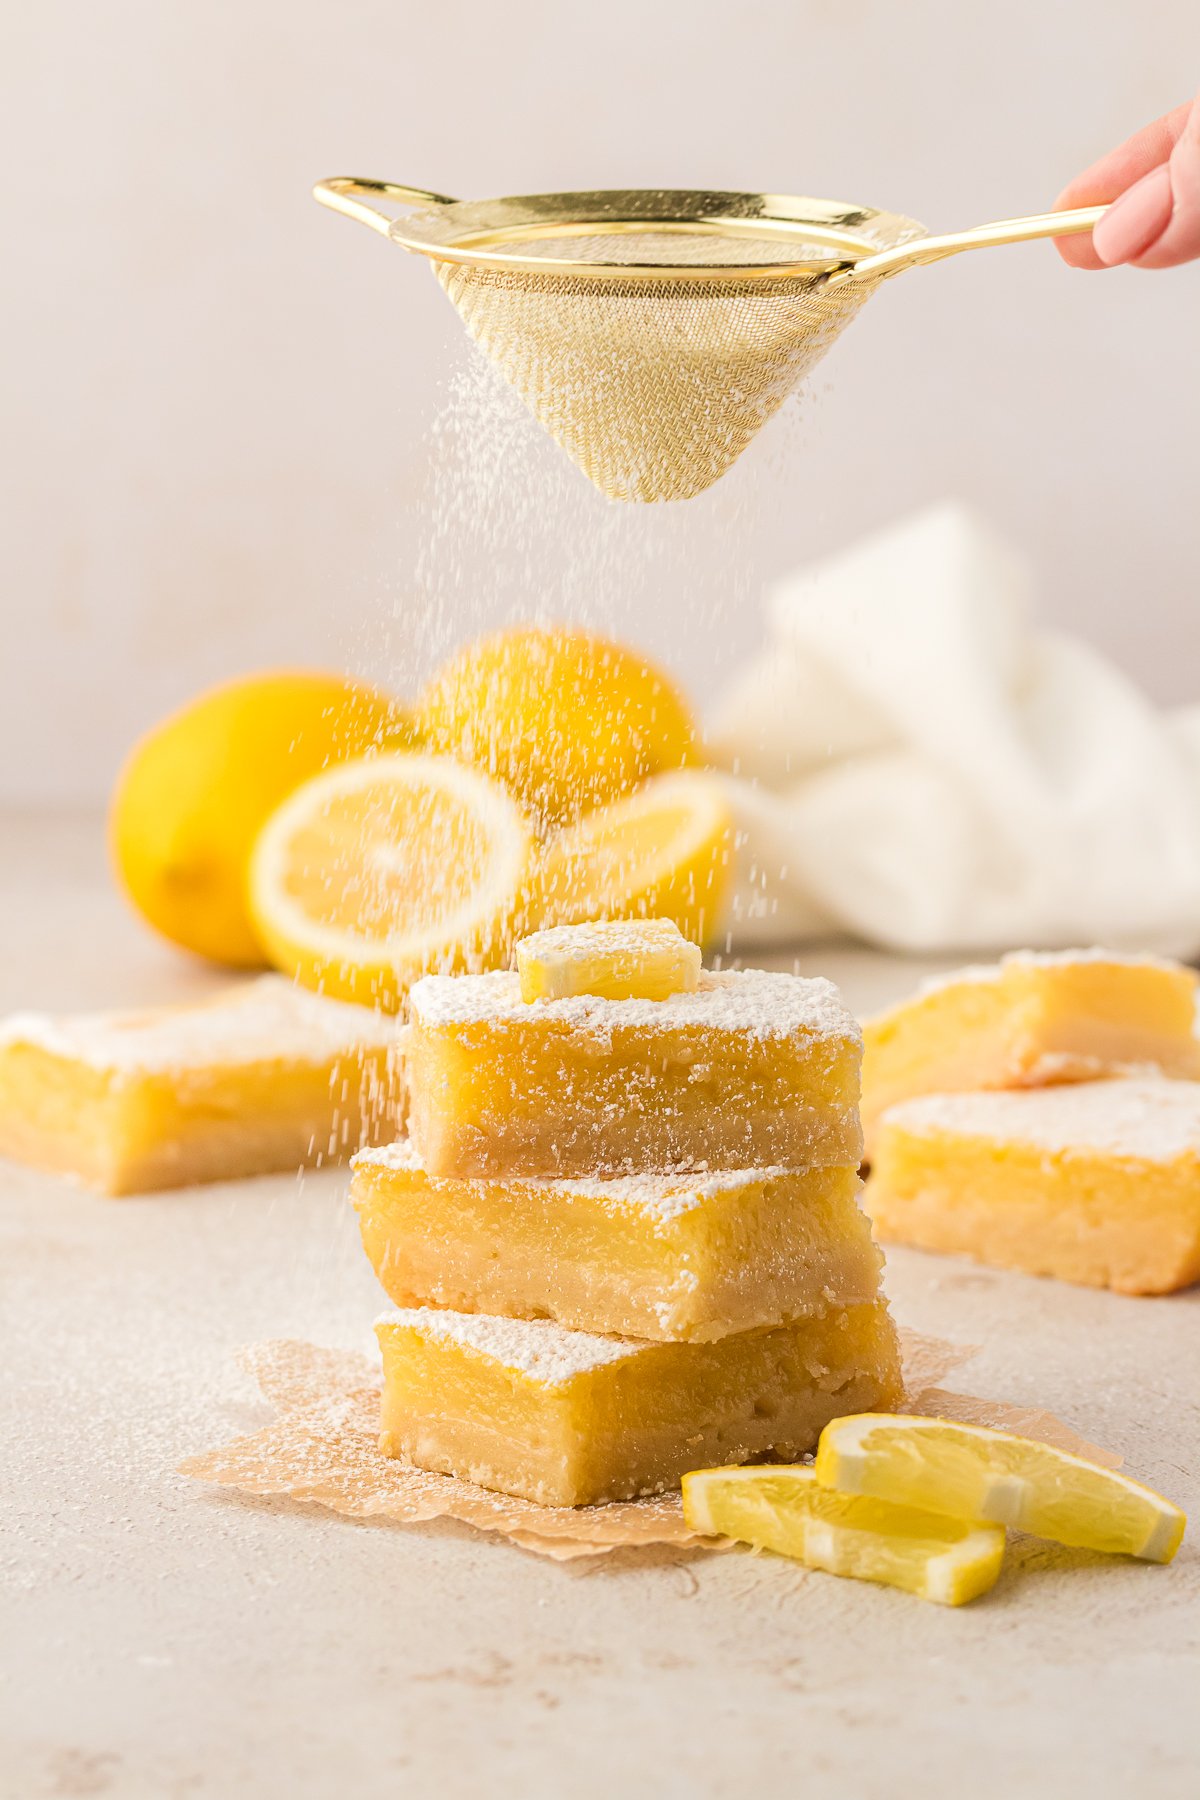
Best and easiest recipe so yummy!! Everyone asked for more!
-Brittany
This is the best recipe for Lemon Bars!
Lemon bars used to feel intimidating to me, but after making them countless times and dialing in just the right steps, I can confidently say this is a foolproof version of a classic dessert.
I use a buttery, balanced shortbread crust—just enough flour, sugar, and salt to complement the tart lemon filling—and I always recommend using fresh lemon juice for the best flavor (trust me, you can taste the difference).
I’ve tested these in different pans, and found that glass is best to avoid any metallic taste from metal bakeware.
Lining the pan with parchment paper makes for easy removal and clean edges. If your bars don’t look fully set right away, don’t worry—they continue to set as they cool, and chilling them ensures they slice beautifully.
One reader shared..
Best and easiest recipe—so yummy!! Everyone asked for more, even my 4.5-year-old!
-Brittany
With just a handful of ingredients and all my best-tested tips, these lemon bars are simple, bright, and always a crowd favorite.
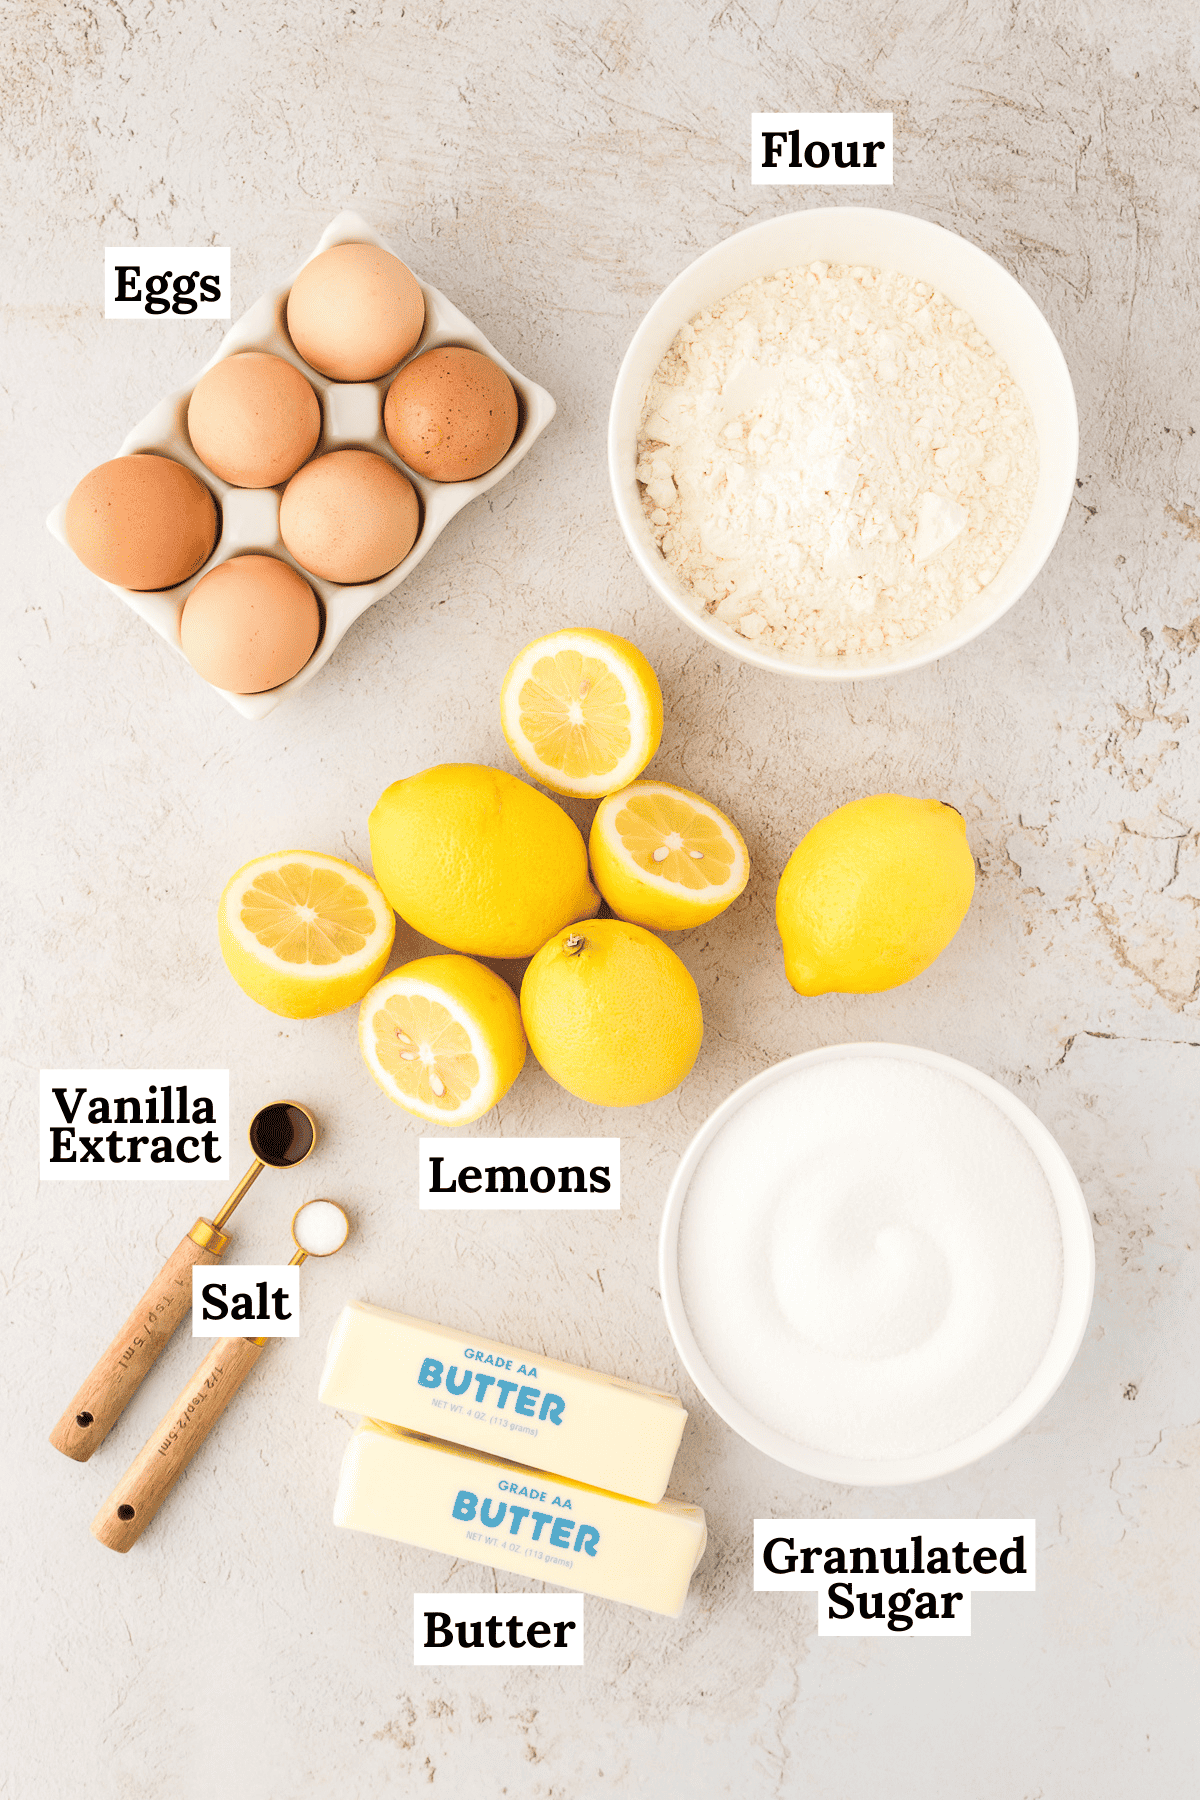
Best Lemon Bar Ingredients
These delicious lemon bars only have nine simple ingredients, starting with the simple shortbread crust and then the lemon bar filling.
Any lemon lover will not be able to resist these! Get the full recipe with measurements and instructions in the recipe card below. Keep reading for more tips for the best lemon bars!
Crust Ingredients
- All-purpose flour: The base of the shortbread crust—it creates a sturdy but tender structure that holds up to the lemon filling.
- Granulated sugar: Adds just enough sweetness to balance the tangy filling and helps create a lightly crisp, golden crust.
- Salt: A pinch of salt enhances all the flavors and keeps the crust from tasting flat or overly sweet.
- Unsalted butter
- Vanilla extract
Lemon Curd Filling Ingredients
- Granulated sugar: Sweetens the filling while balancing the tart lemon. Don’t reduce the amount too much or the bars may be overly sour.
- All-purpose flour: A small amount thickens the lemon curd slightly and helps the bars set properly as they bake and cool.
- Large Eggs: The heart of the filling! Eggs give the lemon bars their smooth, custardy texture and help the filling set. Use room temperature eggs for best mixing.
- Fresh lemon juice: The star of the show! Always use freshly squeezed lemon juice for a bright, vibrant flavor. Bottled lemon juice tends to taste dull or slightly bitter.
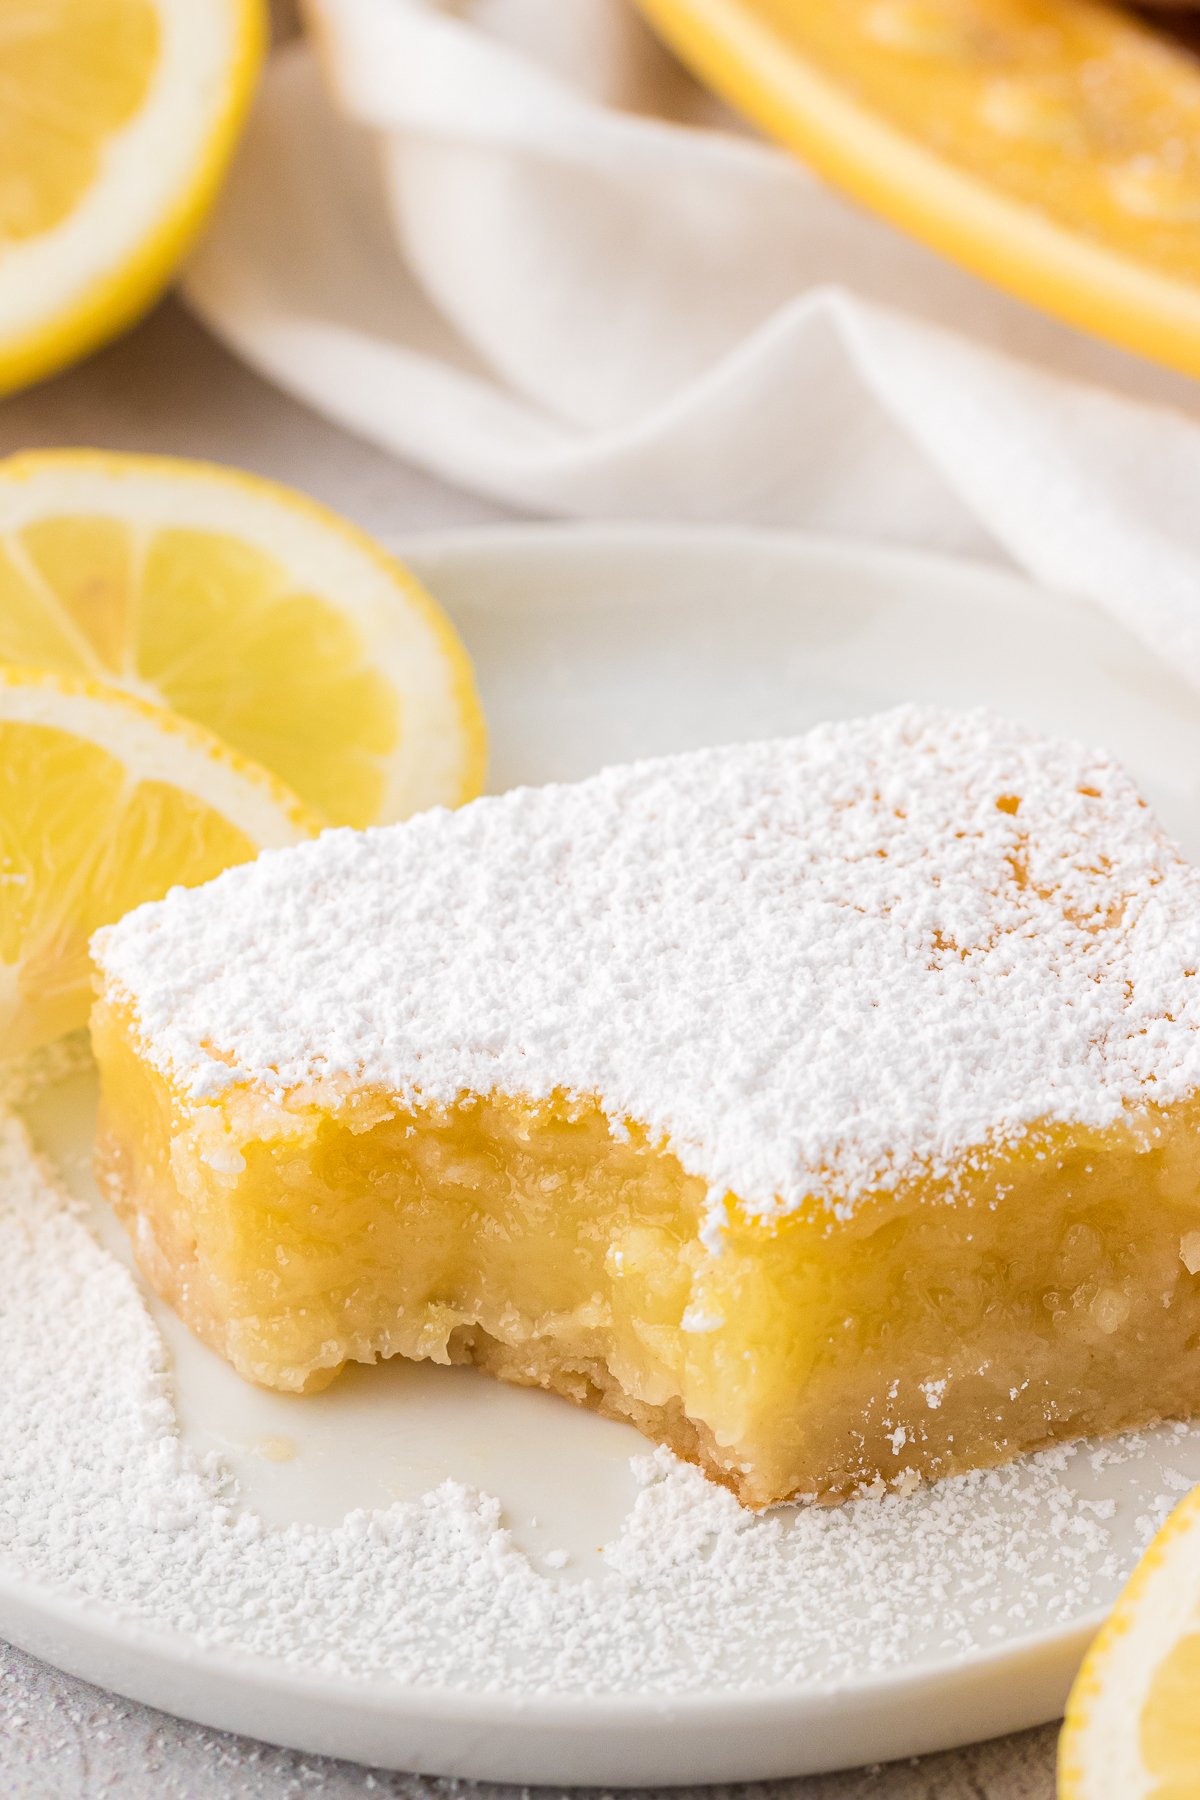
Variations
Gluten free lemon bars: To make gluten free lemon bars, substitute the all-purpose flour for gluten free flour. I like King Arthur gluten free all purpose flour.
How to Make Lemon Bars
The best part is, my favorite lemon bar recipe is easy to make! This is my go-to recipe for family gatherings or parties where I want to seriously impress! Keep reading for the full recipe with measurements and ingredients in the recipe card below.
Crust
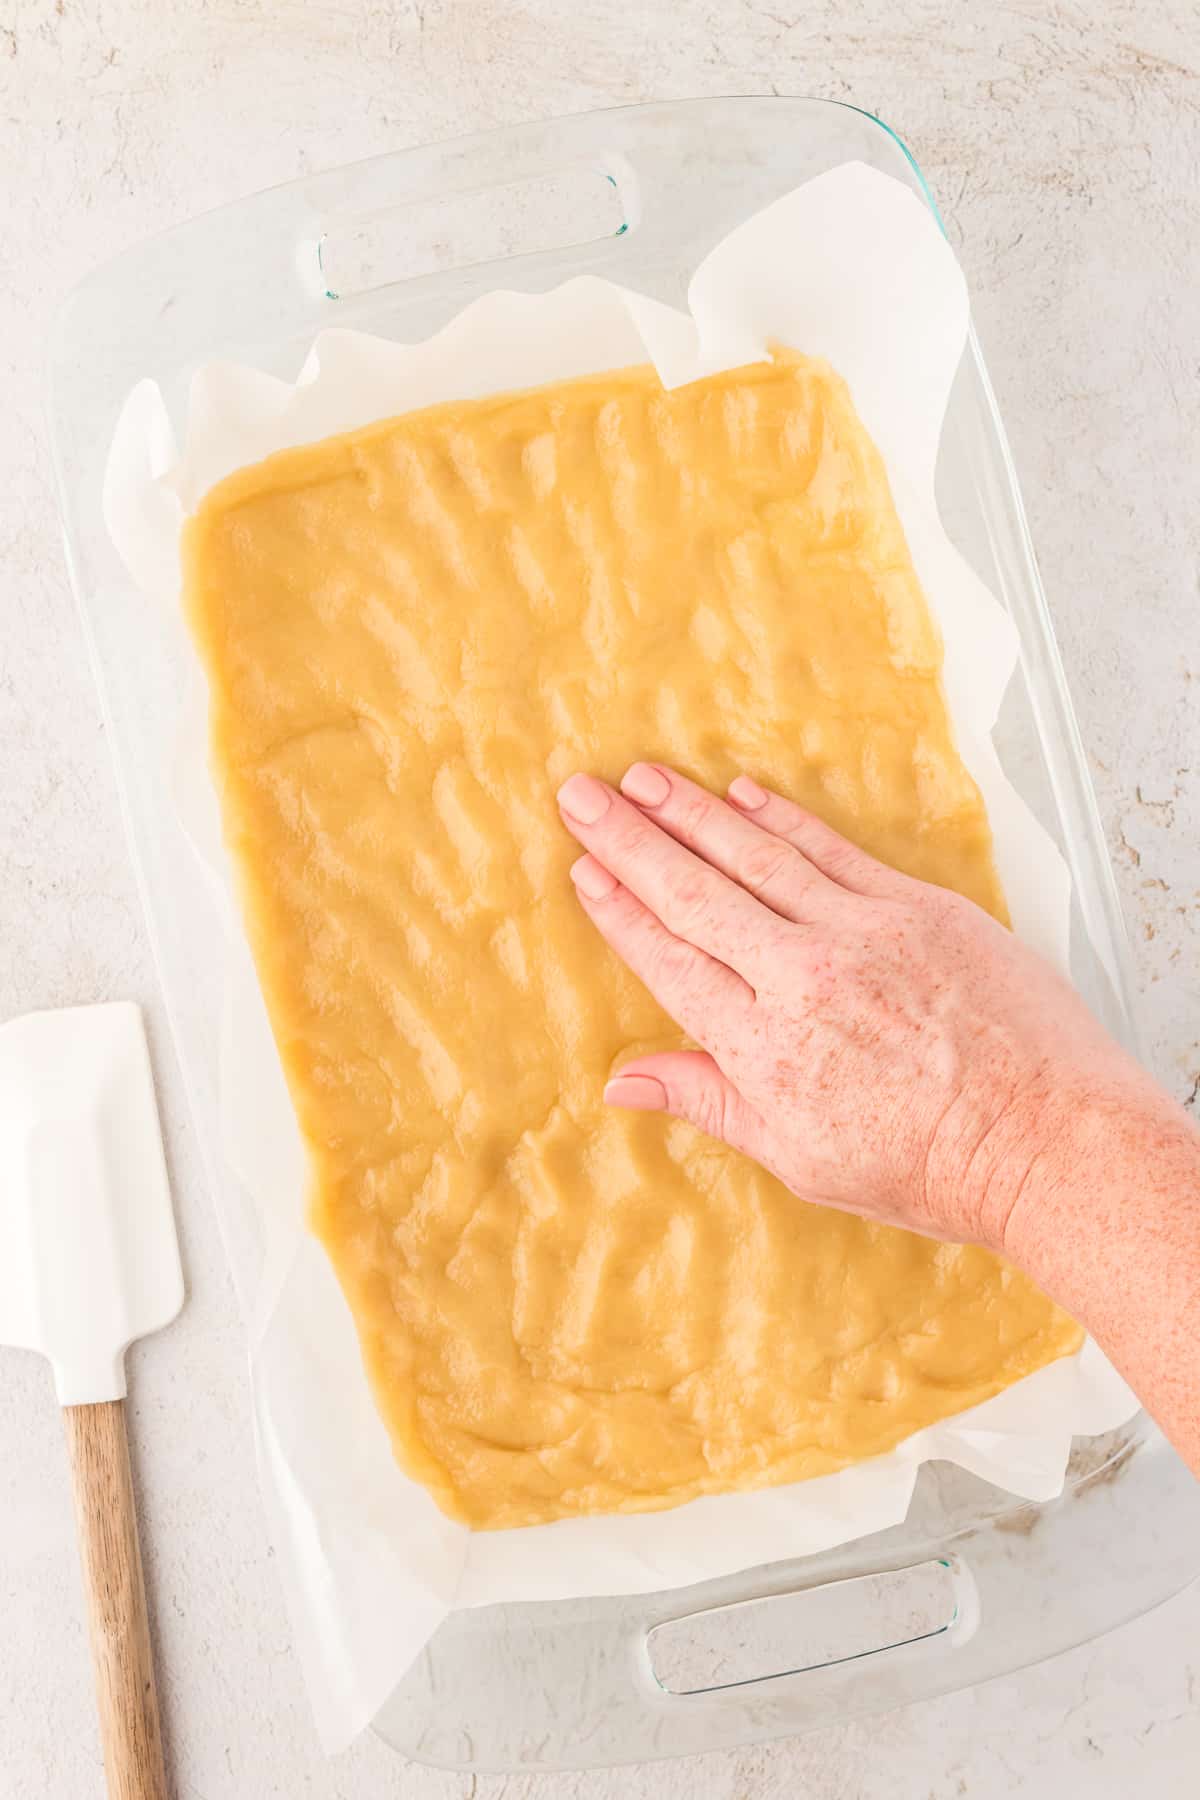
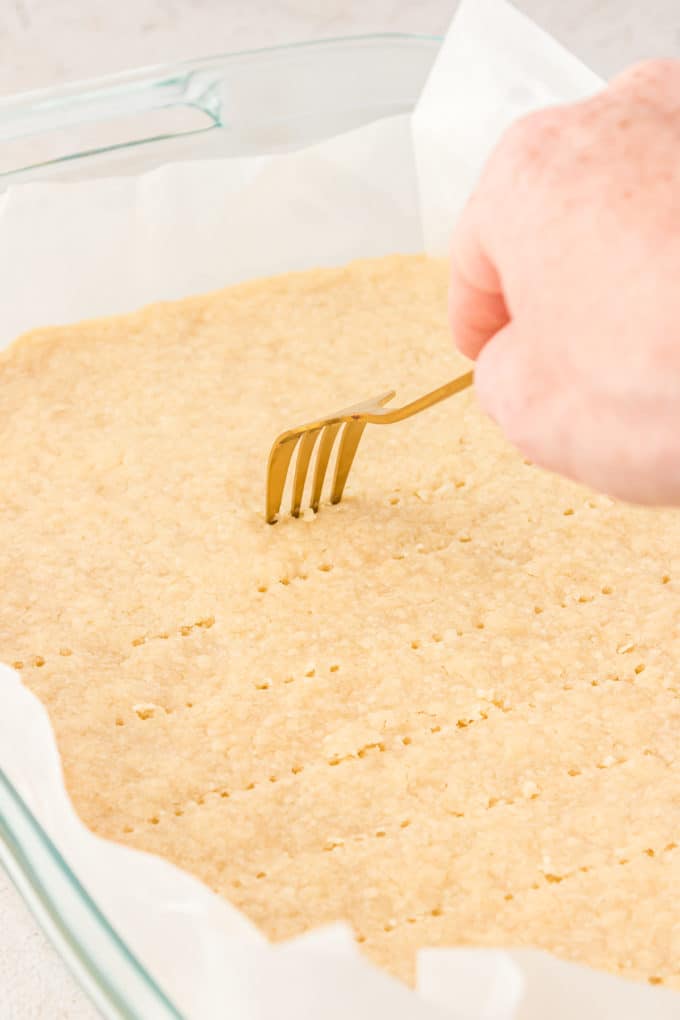
- Preheat the oven to 350ºF. Line a glass 9×13 inch baking dish with parchment paper, allowing the paper to hang over.
- In a mixing bowl, combine the flour, granulated sugar and salt. Add in the melted butter and vanilla extract. Stir with a spatula to combine, the dough will be thick. Press the dough into the prepared pan and bake for 20 minutes, until golden in color. Remove from the oven and use a fork to make small holes all over the crust. Be sure to not poke fully through the crust. This tip helps the filling stick to the crust.
Filling
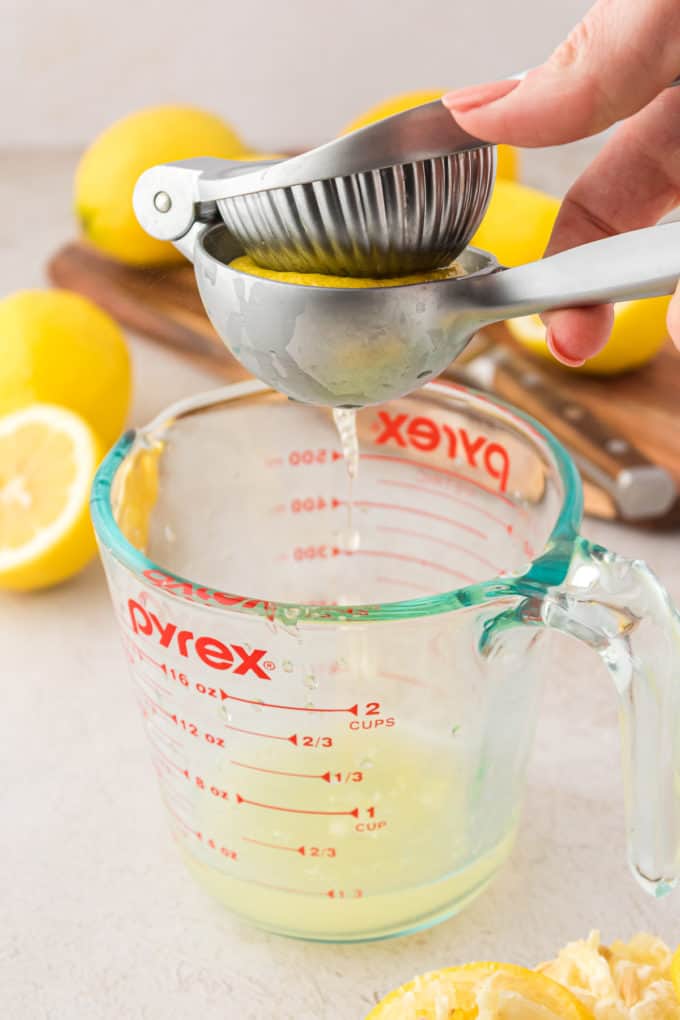
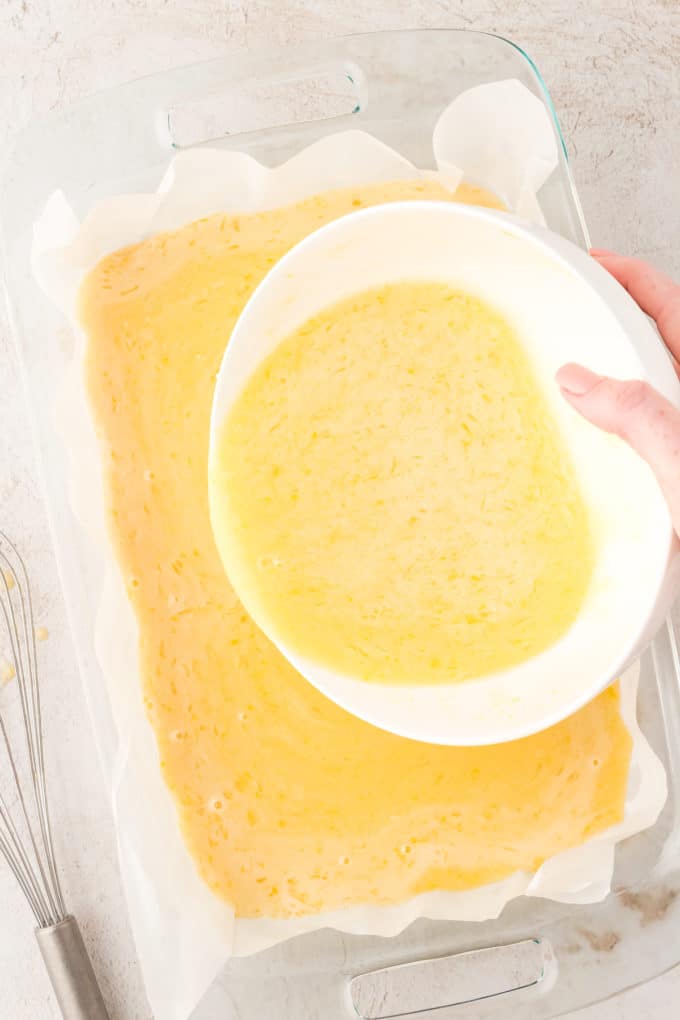
- Meanwhile, prepare the filling. In a mixing bowl combine the granulated sugar and flour. Add in the eggs and lemon juice, whisk until fully combined.
- Pour the filling over the hot crust. Return to the oven and bake for 20-25 minutes.
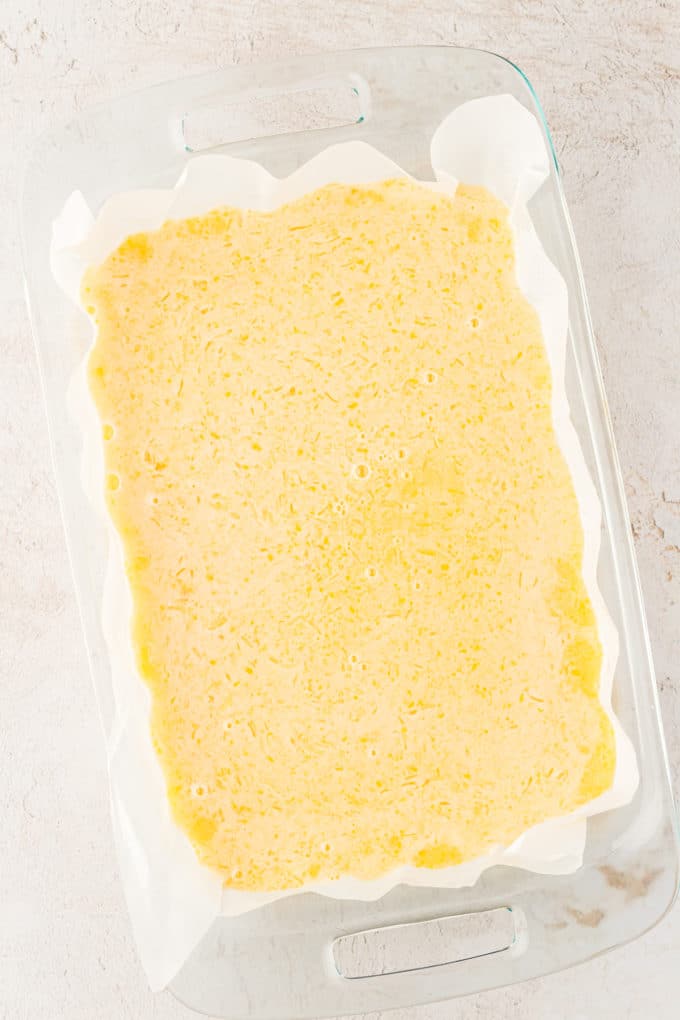
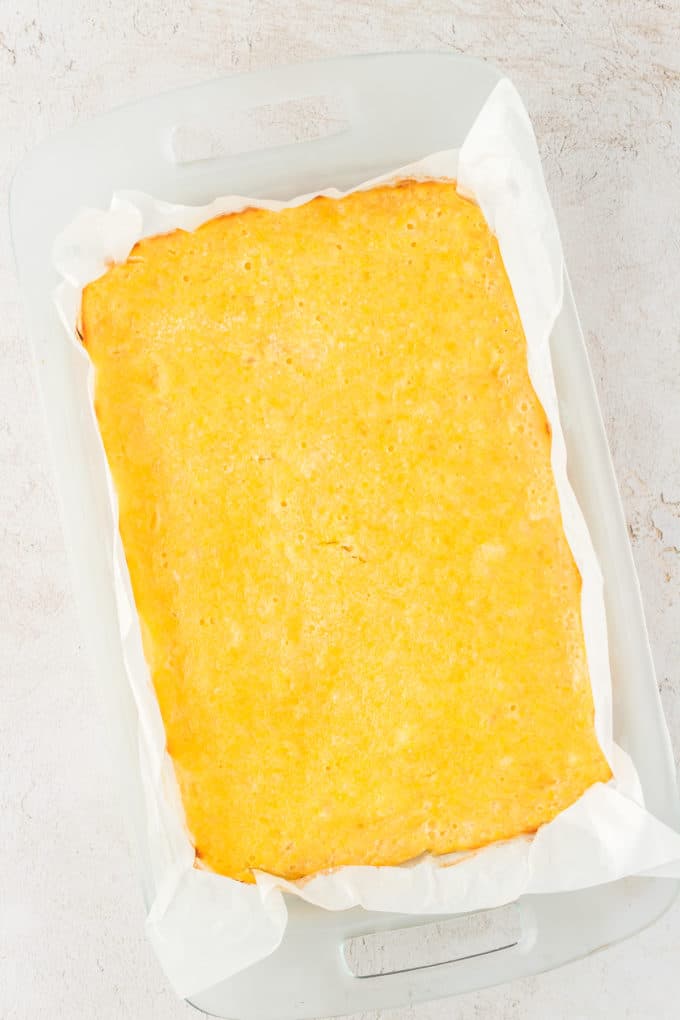
- Remove from the oven and allow the bars to cool to room temperature, about an hour.
- Then refrigerate the bars for 2 hours.
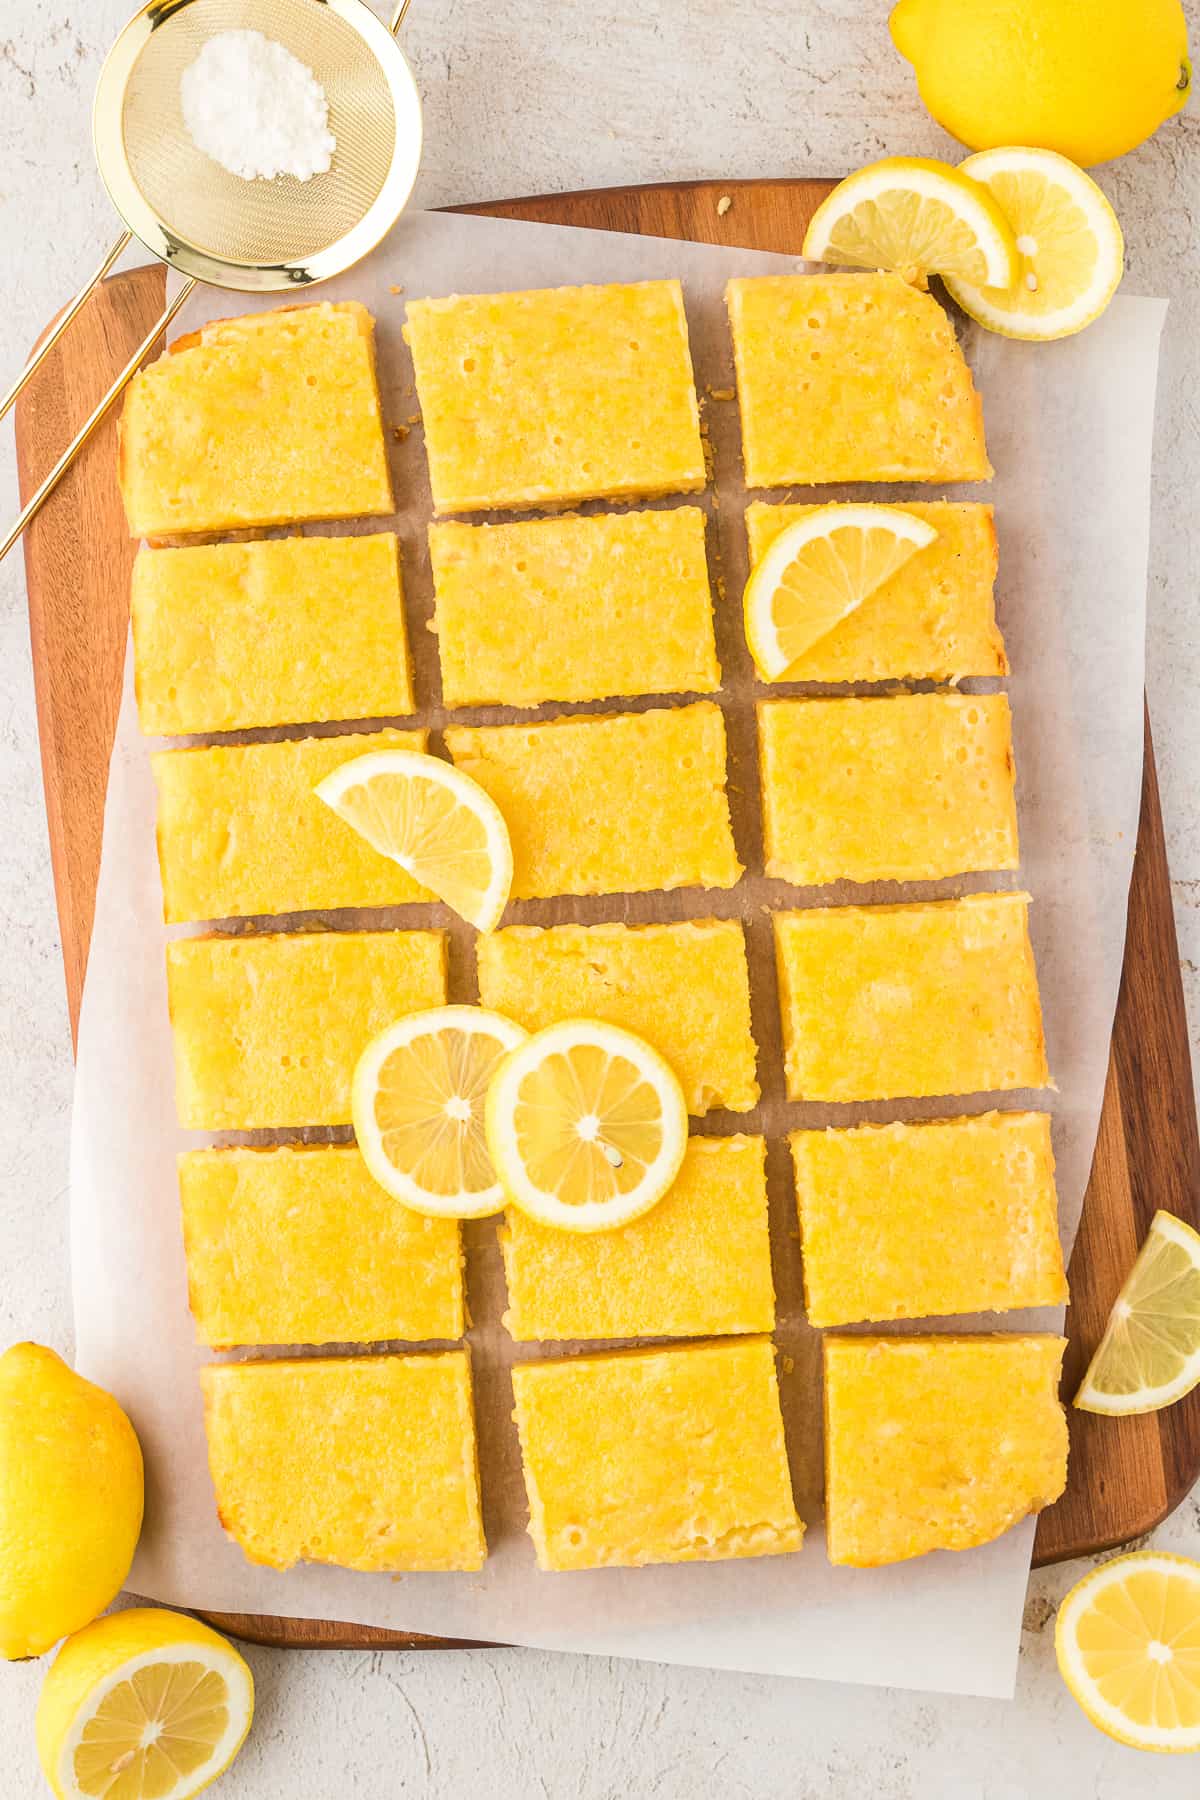
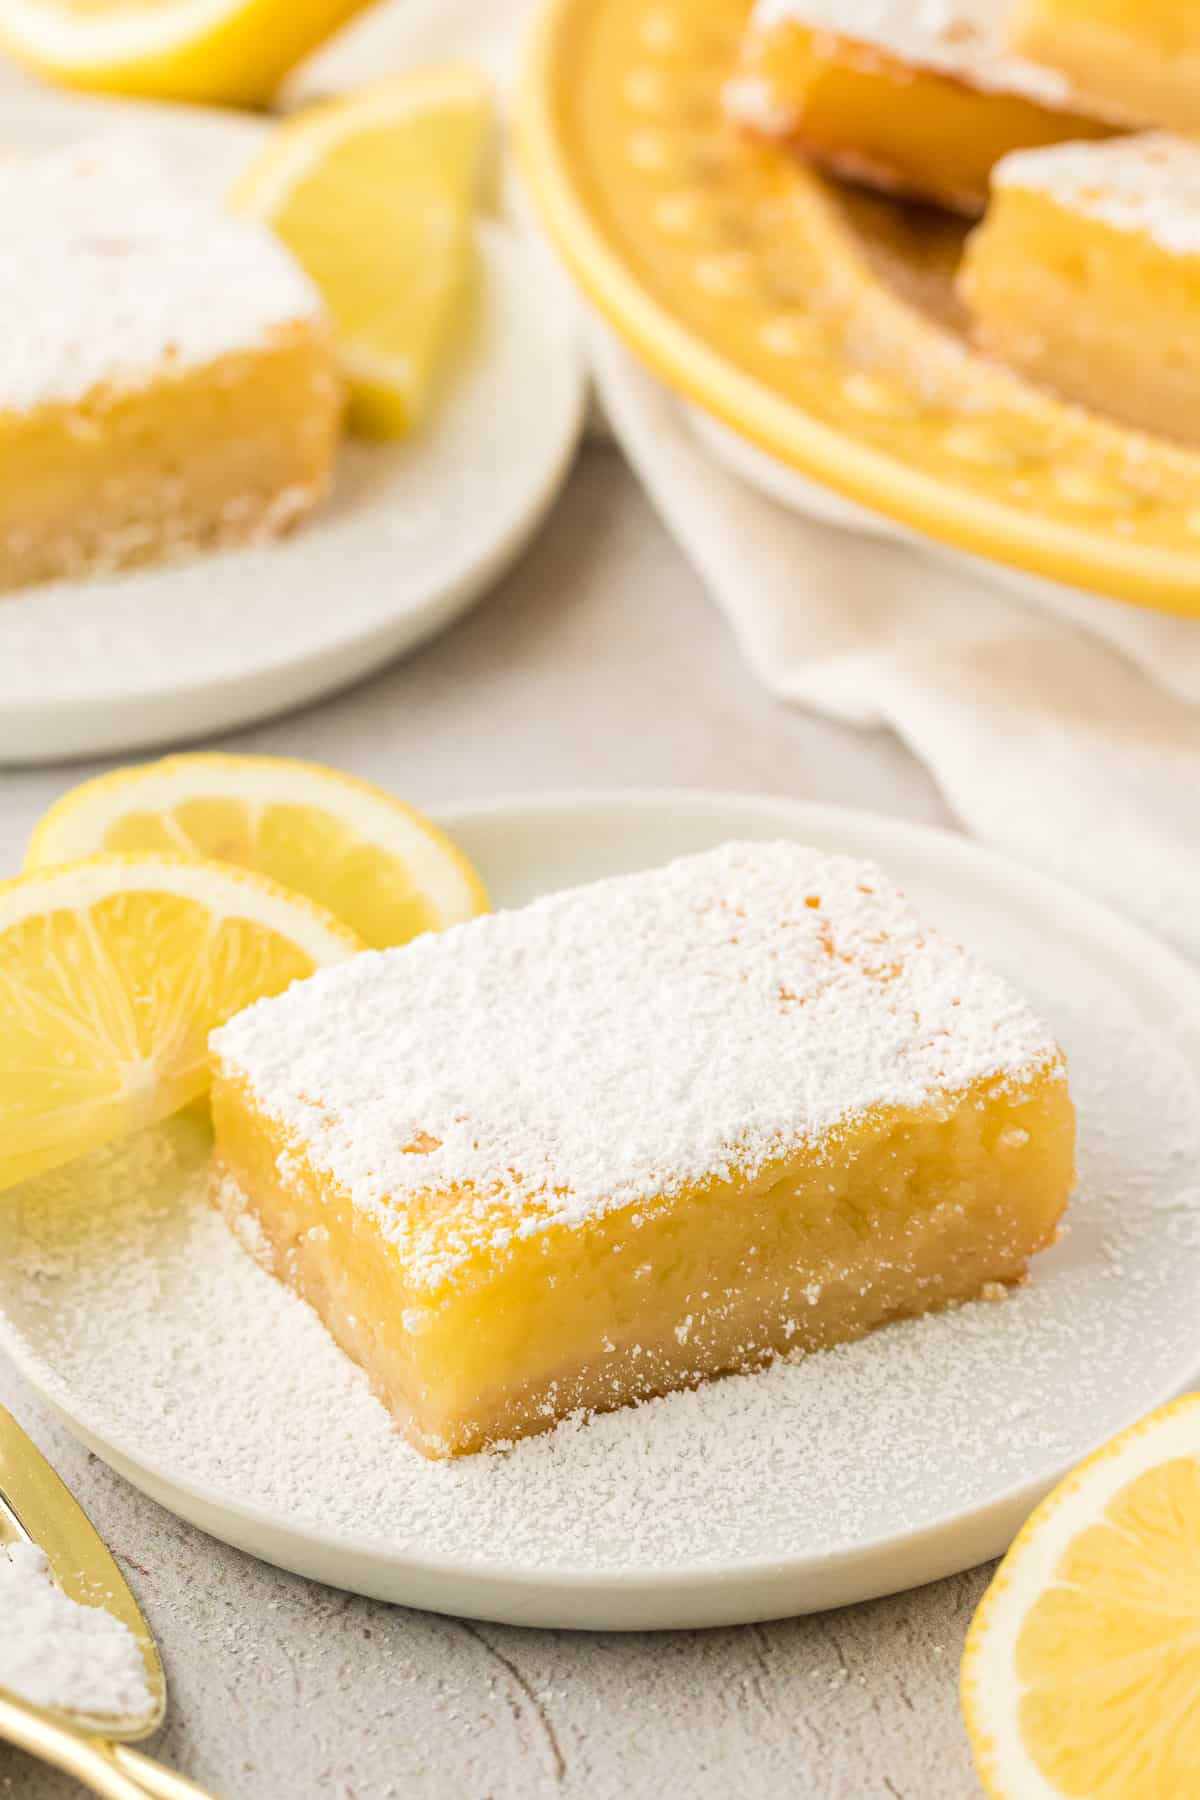
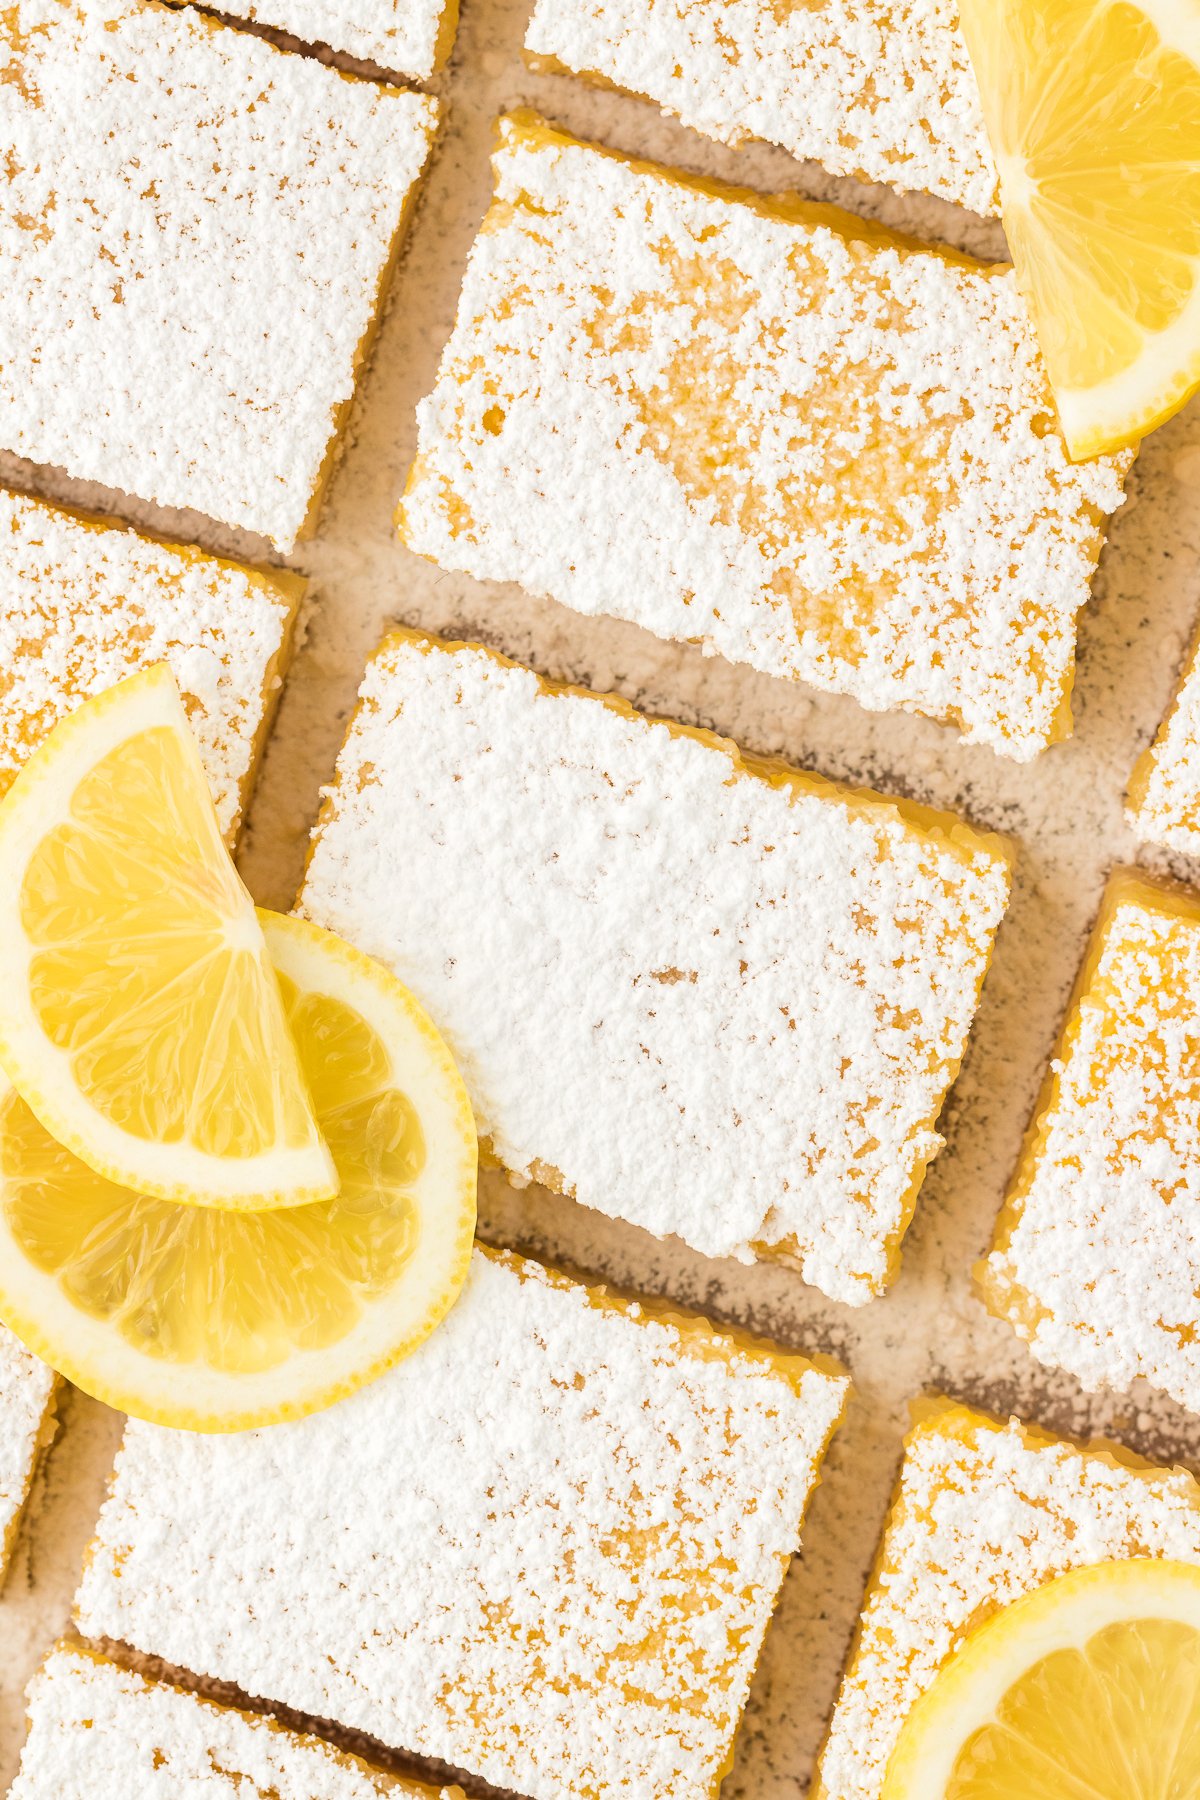
- Before serving, use the parchment paper to remove the bars from the pan. Dust with powdered sugar and use a sharp knife to cut into squares. To cut lemon bars cleanly, dip your knife in warm water, shake off the excess, and cut. Clean the knife off and re-wet for each cut.
How do you know when lemon bars are done?
The edges of the Lemon Bars should turn a light golden brown when they are done. This indicates that the crust has caramelized and the bars are likely cooked through. You can ensure the bars are done by gently jiggling the pan. When the lemon mixture no longer jiggles, your lemon bars should be done.
You can also do a toothpick test. Insert a toothpick or a thin skewer into the center of the Lemon Bars. If it comes out clean or with just a few moist crumbs attached, the bars are done. If the toothpick comes out wet or with raw batter clinging to it, they need more baking time.
Once you have determined that the Lemon Bars are done, remove them from the oven and let them cool in the pan for about an hour. This cooling period helps the bars to set properly.
Best Lemon Bar Recipe Tips
I have some expert tips I’ve learned over time so you can make the most perfect, easy lemon bars!
- Use fresh lemon juice: While you can use bottled lemon juice if you can’t get fresh lemons, for best results use fresh squeezed lemon juice! If you use bottled lemon juice, you will definitely notice the difference in flavor in your tart lemon filling.
- Use a glass pan: Avoid using a metal pan for making your lemon bars, as it may sometimes produce a metallic taste. I’ve tested this recipe and made lemon squares countless times, and always found that glass is best. If you need to, you can use a ceramic pan as well, but I definitely recommend a glass pan.
- Line the pan with parchment paper: This simple step ensures your lemon bars don’t stick to the sides of the pan, get nice and crispy as the crust bakes, and makes it super easy to remove the bars from the pan once it’s cooled.
- Let them set as they cool: If your bars don’t look one hundred percent set, let them cool and you’ll see that they finish setting as they cool.
- Let them chill: I know you’ll be eager to eat up these delicious lemon bars, but don’t skimp on the cooling time. It’s vital for the lemon bars to set up correctly.
How to Serve Lemon Bars
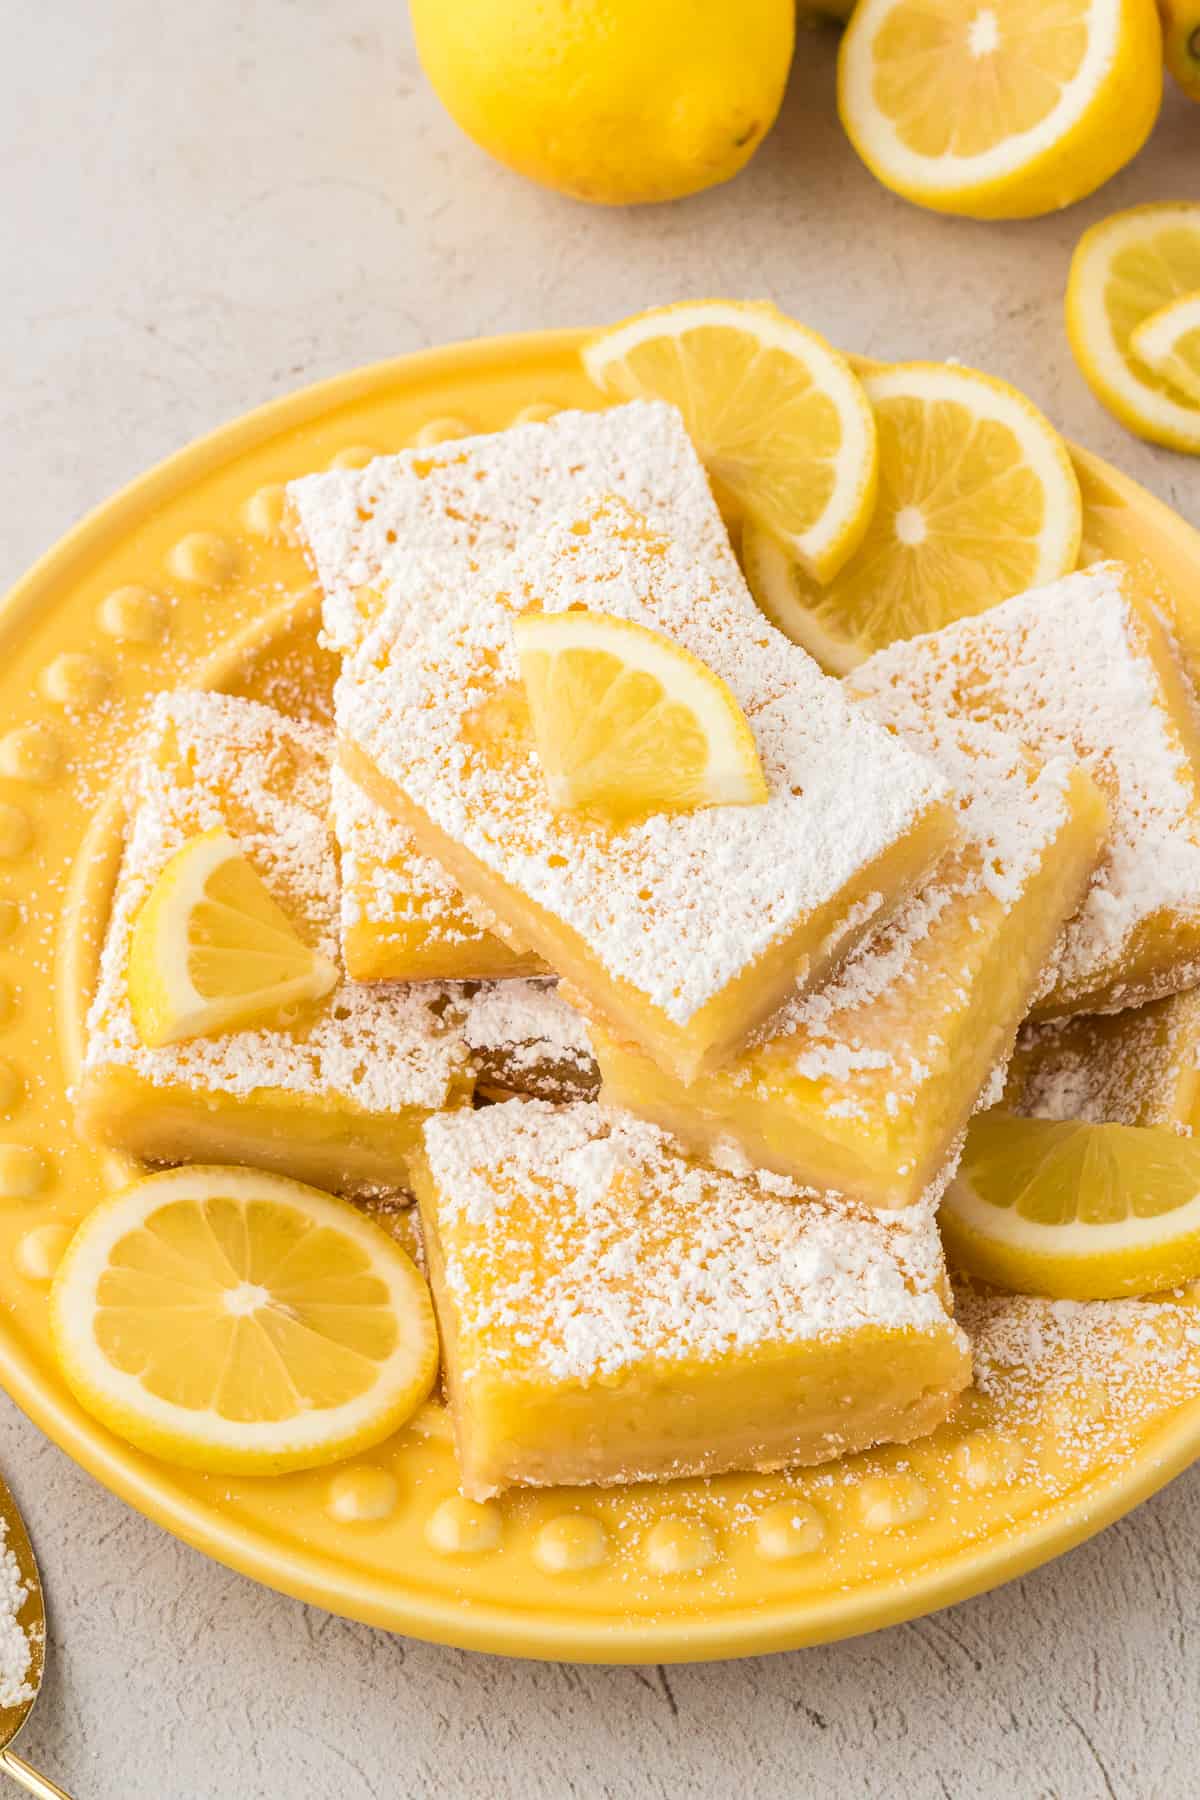
Once your lemon bars are cooled, use the parchment paper to easily remove them from the pan. Dust them with a generous dusting of confectioners’ sugar, and then use a sharp knife to cut the squares. For extra lemon flavor and a nice visual touch, you can also top lemon bars with lemon zest or lemon peels.
Pro Tip for Cutting Lemon Bars Cleanly
To cut clean slices, dip your knife in warm water, shake off the excess, and cut. Clean the knife off and re-wet it for each cut.
How to Store Lemon Bars
Lemon bars are easy to store and make a great make ahead dessert. You can store them in the refrigerator in an airtight container, or even freeze them!
How long do lemon bars last in the fridge?
Store leftover lemon bars in an airtight container in the refrigerator for up to one week.
Can you freeze lemon bars?
Lemon bars freeze very well. Once they are cut, layer them between parchment paper so they don’t stick and then store in an airtight container or ziploc freezer bag for up to three months. When ready to serve, thaw on the counter and then dust with powdered sugar before serving.
Tap stars to rate!
Lemon Bars Recipe (Easy!)
Ingredients
Crust
- 2 cups (240g) all-purpose flour
- ½ cup (99g) granulated sugar
- ½ tsp salt
- 1 cup (226g) unsalted butter, 2 sticks, melted
- 1 tsp vanilla extract
Filling
- 2 ½ cups (495g) granulated sugar
- ½ cup (60g) all-purpose flour
- 6 large eggs
- 1 cup (236ml) fresh lemon juice
Video
Instructions
Crust
- Preheat the oven to 350ºF. Line a glass 9×13 inch baking dish with parchment paper, allowing the paper to hang over.
- In a mixing bowl, combine the flour, granulated sugar and salt. Add in the melted butter and vanilla extract. Stir with a spatula to combine, the dough will be thick. Press the dough into the prepared pan and bake for 20 minutes, until golden in color. Remove from the oven and use a fork to make small holes all over the crust. Be sure to not poke fully through the crust. This tip helps the filling stick to the crust.2 cups (240g) all-purpose flour, 1/2 cup (99g) granulated sugar, 1/2 tsp salt, 1 cup (226g) unsalted butter, 1 tsp vanilla extract
Filling
- Meanwhile, prepare the filling. In a mixing bowl combine the granulated sugar and flour. Add in the eggs and lemon juice, whisk until fully combined.2 1/2 cups (495g) granulated sugar, 1/2 cup (60g) all-purpose flour, 6 large eggs, 1 cup (236ml) fresh lemon juice
- Pour the filling over the hot crust. Return to the oven and bake for 20-25 minutes.
- Remove from the oven and allow the bars to cool to room temperature, about an hour. Then refrigerate the bars for 2 hours. Before serving, use the parchment paper to remove the bars from the pan. Dust with powdered sugar and use a sharp knife to cut into squares. To cut lemon bars cleanly, dip your knife in warm water, shake off the excess, and cut. Clean the knife off and re-wet for each cut.




🤩💖
Best and easiet recipe so yummy!! Everyone asked for more even my 4.5 year old!
Hi your lemon bar recipe looks so good! I want to make them on Friday for an event on Saturday.
If I leave them in refrigerator overnight will they be okay?
Yes! You can store lemon bars in an airtight container in the refrigerator for up to one week.
Thankyou so much ! I want to make something for Passover this Holiday and this looks really really good !
I’ve made these several times. They always turn out perfectly. I was lucky to find some beautiful seedless lemons at Costco which were super juicy and had fantastic flavor. This recipe is definitely worth printing out. It I’d a keeper!
Is it possible to switch te lemons with limes, or is a combination better?
Can I half the ingredients for a glass 8*8?
Hi Beth
How many Lemons would I need?
Love your recipes
These Lemon Bars were delicious. My family and friends loved them!
Can’t wait to make the lemon bars! I have made so many different versions but this looks epic!❤️