This post may contain affiliate links. Please read our disclosure policy.
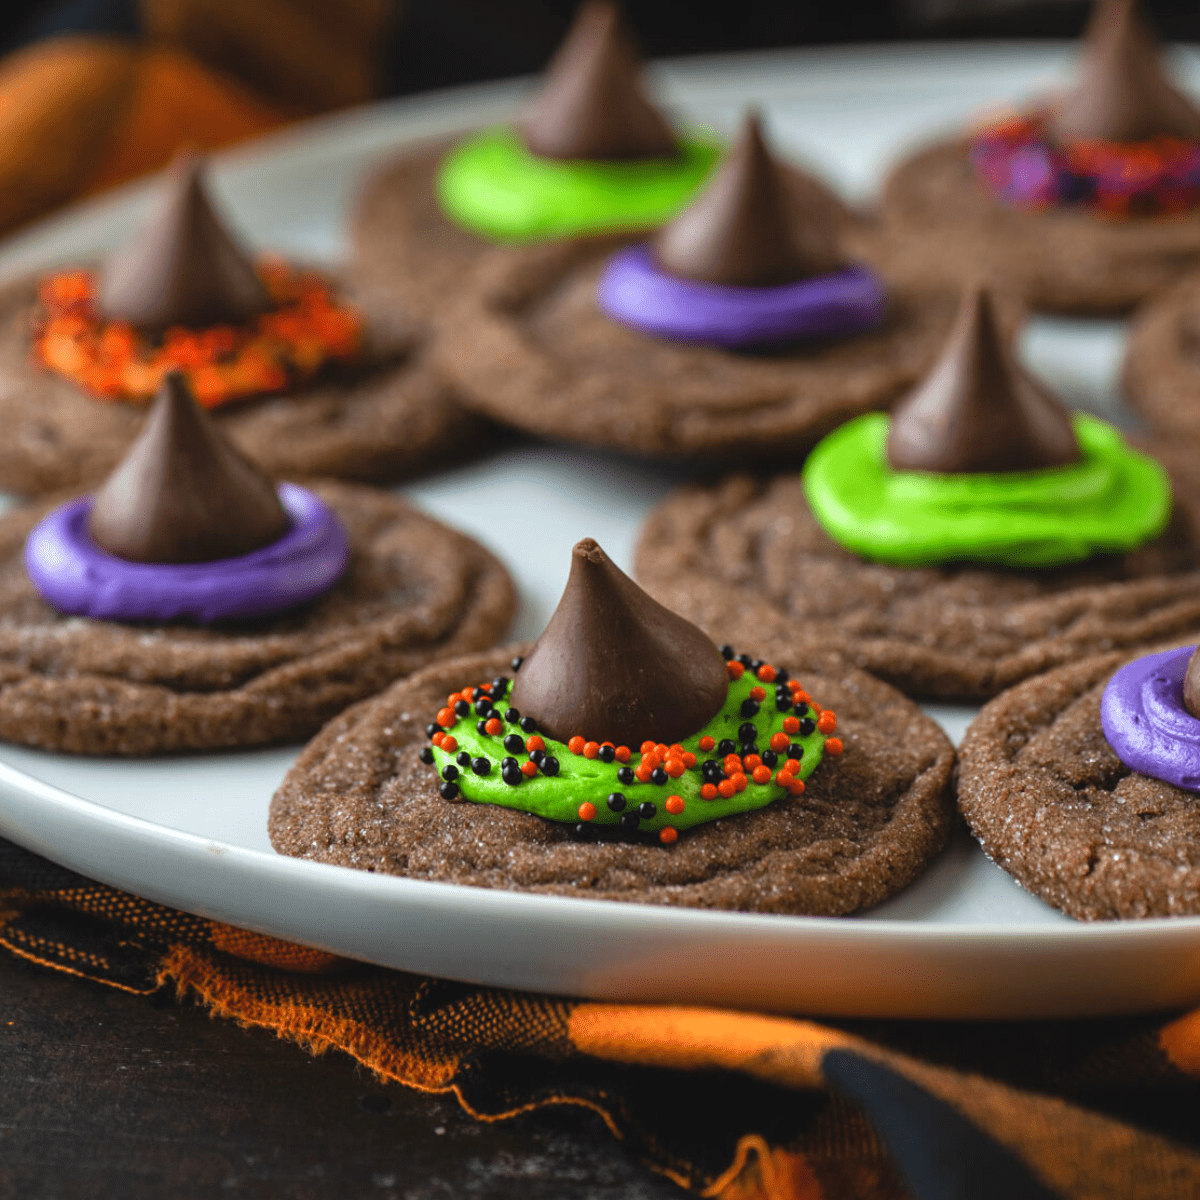
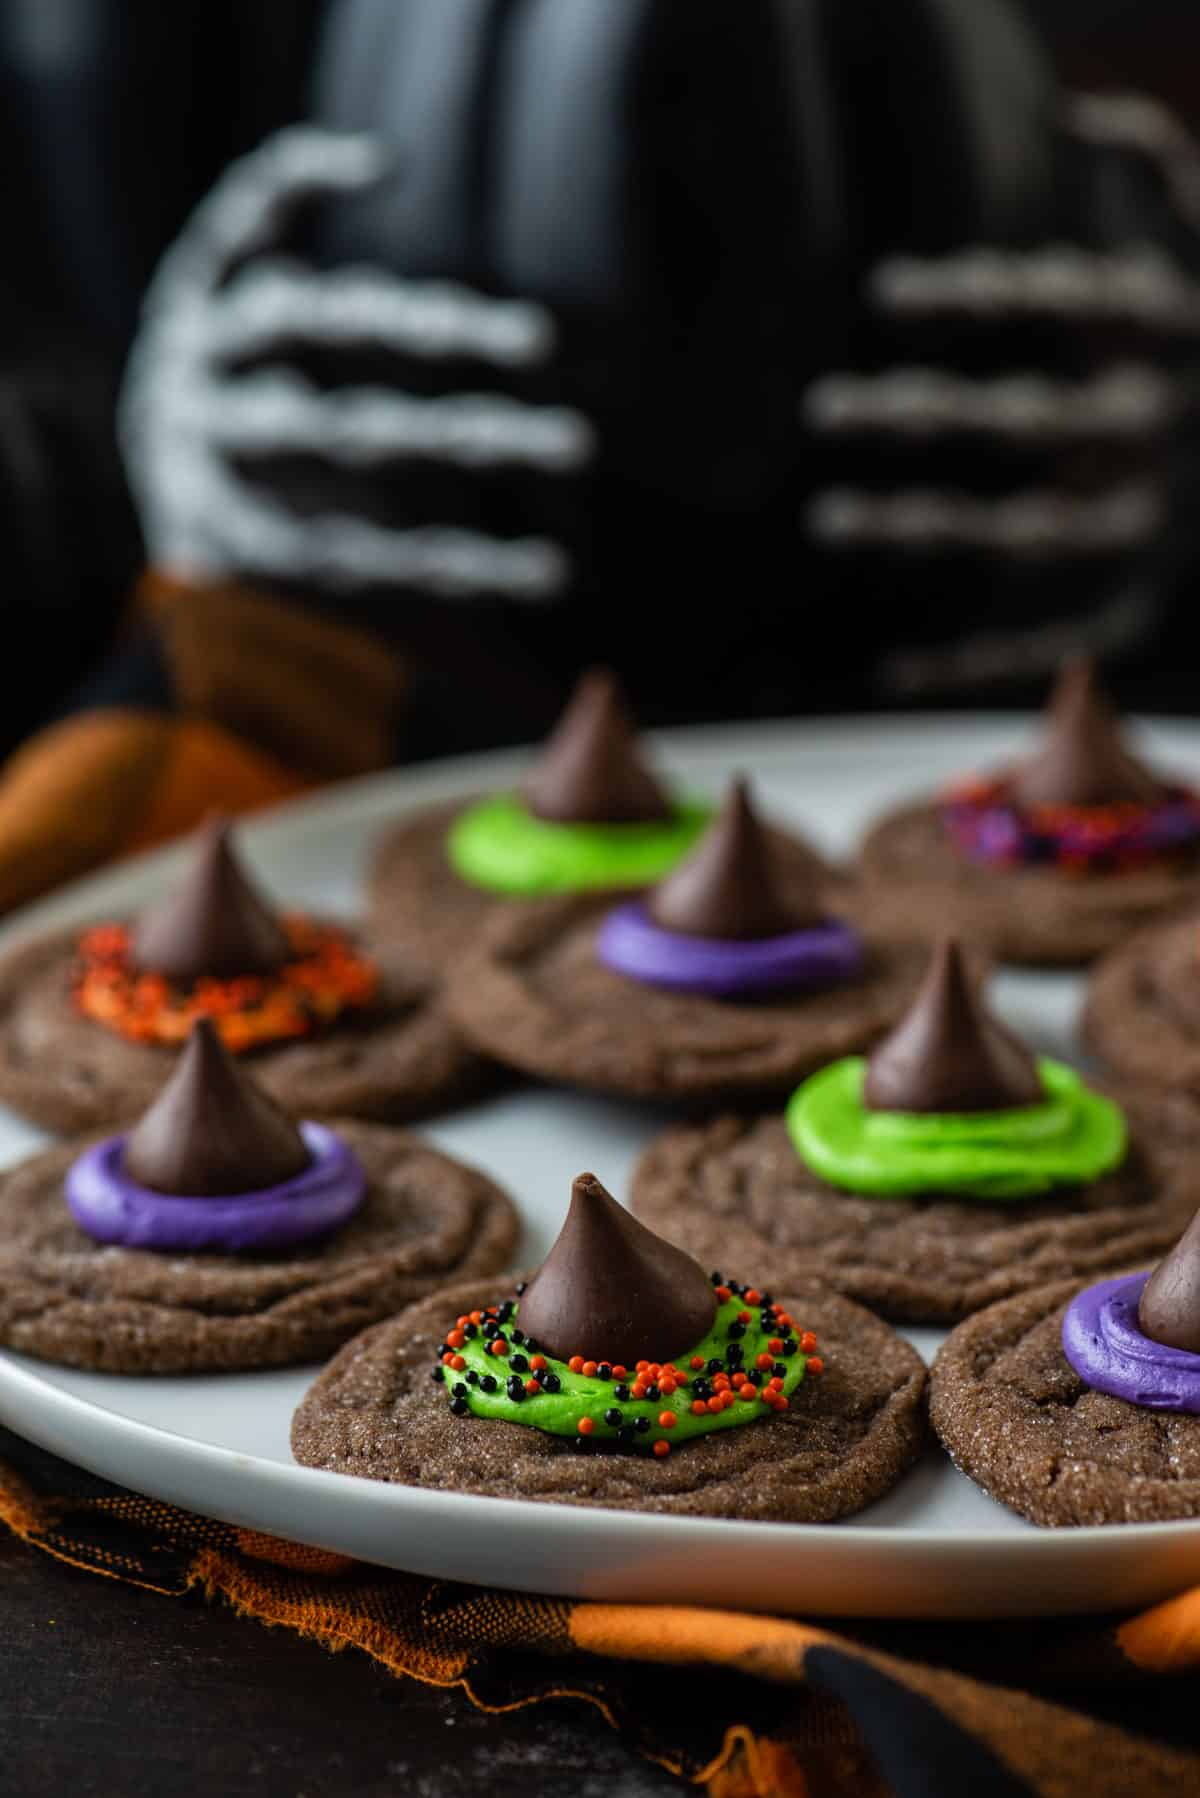
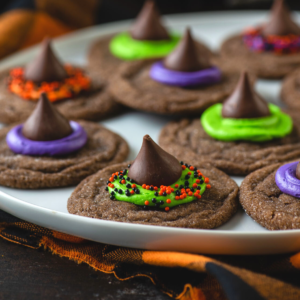
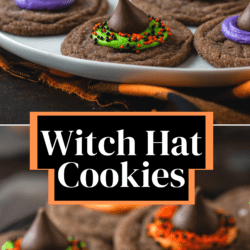
Soft chocolate cookies topped with a Hershey’s kiss, frosting, and sprinkles, these Witch Hat Cookies are an easy Halloween dessert the entire family will love. Ready in just 30 minutes!
Oh, Halloween. How I love thee. While I’ve made my fair share of spooky treats this year, many of them have been around a creepy-crawly spider theme.
While I certainly love my spider cookies and spider cupcakes, I needed to spread the love around to another Halloween favorite – witches.
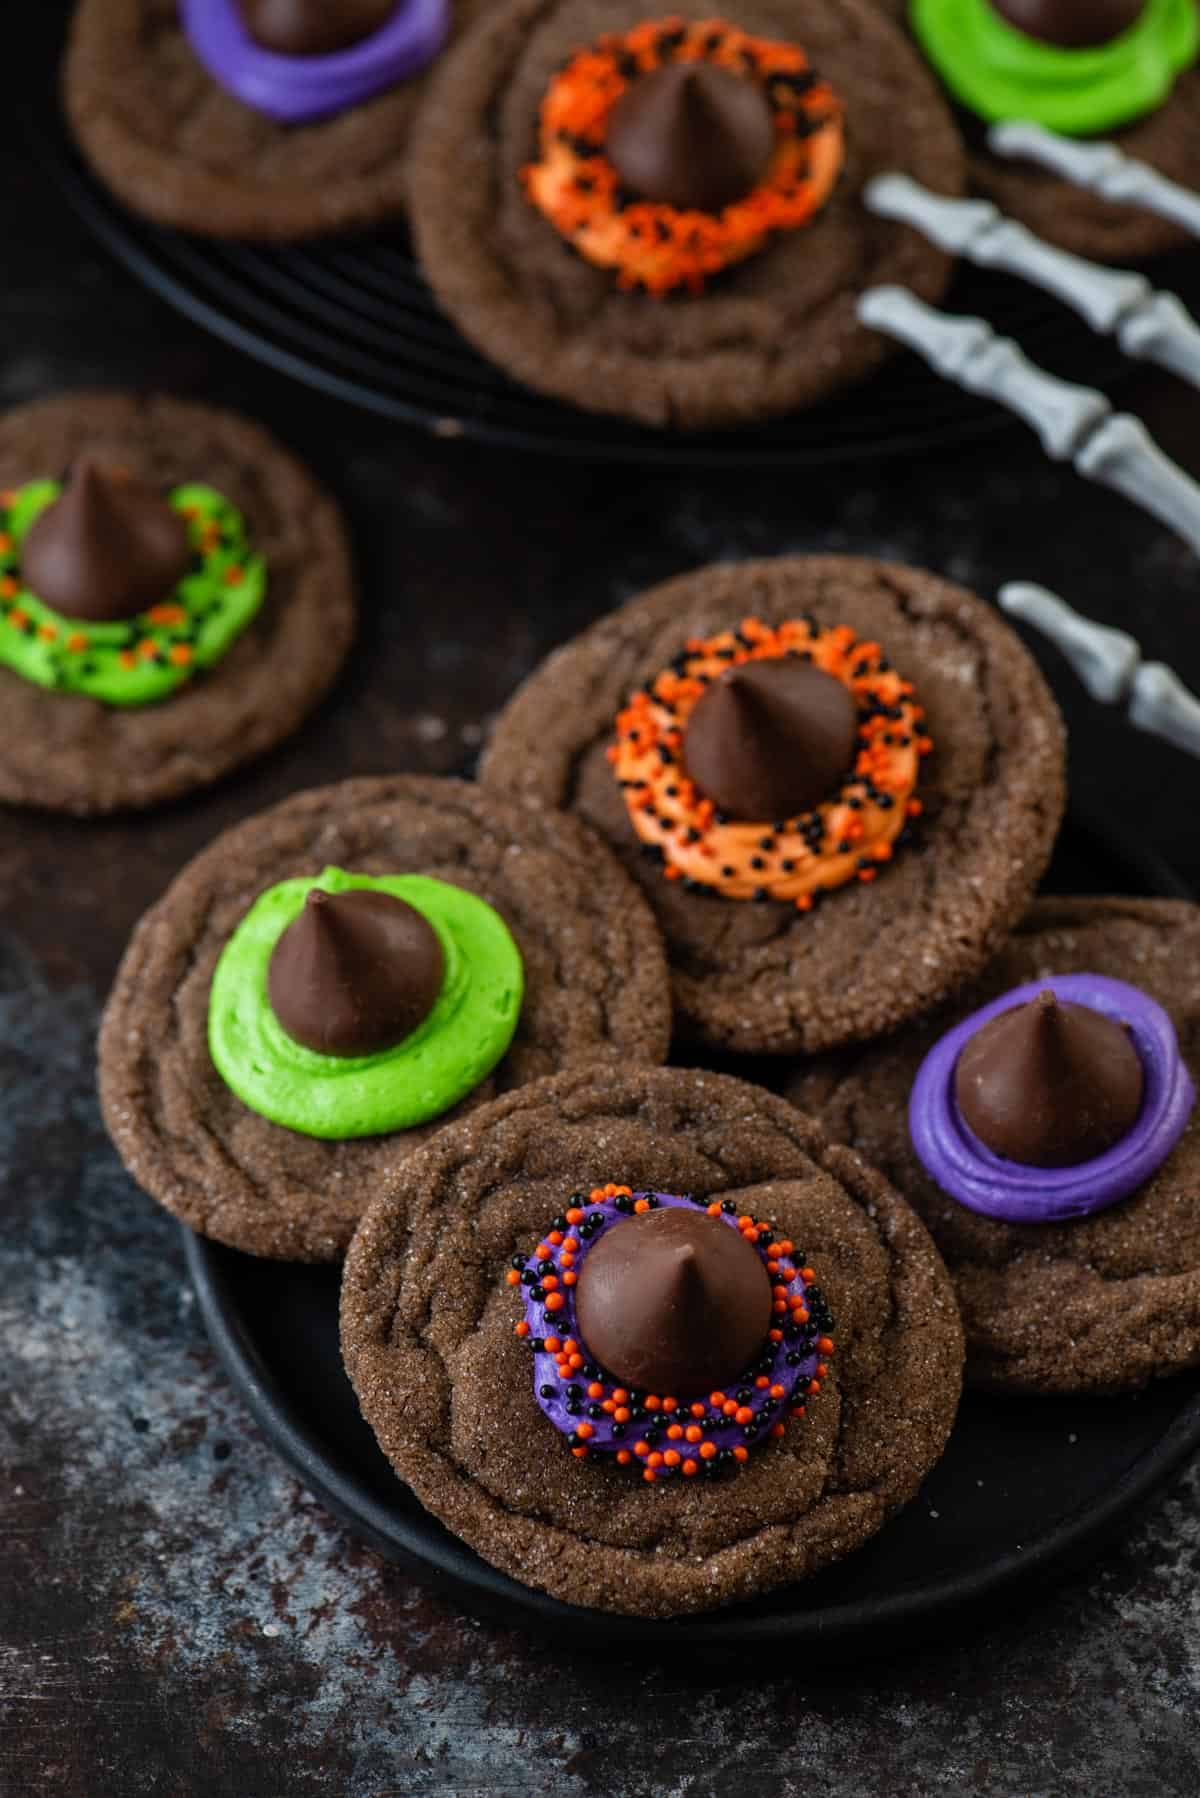
These Witch Hat Cookies are super cute and so easy to make. The cookies are soft and chewy and make the perfect base for the witch’s hat (aka a Hershey’s Kiss). A little dyed frosting and some sprinkles and this is a treat you’ll want to make again and again this spooky season.
Why You’ll Love These Chocolate Witch Hat Cookies
So why must these cookies make it to the dessert table of your next Halloween party? Let me tell you a few of the reasons…
- Ready in under 30 minutes. From start to finish, these cookies take less than 30 minutes to make. There’s not even any need to chill the dough.
- Made with pantry staples. You’ll likely find the majority of the ingredients needed to make this Halloween dessert already in your pantry, especially if you’re a chocolate lover.
- The perfect Halloween party food. These cookies are a guaranteed hit at any Halloween party. They’re cute, they’re festive, and they taste amazing.
Recipe Ingredients
These chocolate cookies are made with your typical pantry staples, plus cocoa powder. And you can’t forget the Hershey’s Kisses and sprinkles!
For the Cookies
- All-purpose flour
- Unsweetened cocoa powder – Be sure to grab natural unsweetened cocoa powder as sweetened will make these cookies too sweet.
- Baking soda – Helps the cookies rise.
- Salt
- Unsalted butter – Soften but do not melt. I always use unsalted so I can control the amount of salt in the recipe.
- Granulated sugar – Granulated sugar is used in the dough, as well as for rolling the dough balls.
- Brown sugar – The molasses in the brown sugar adds a warm flavor to the cookies.
- Egg
- Vanilla extract
For the Frosting
- Unsalted butter – The butter should be at room temperature but not too soft or the frosting will not hold its shape.
- Powdered sugar – Powdered sugar gives the frosting a spreadable texture, plus makes it nice and sweet.
- Vanilla extract – Adds a light vanilla flavor to the frosting.
- Gel food coloring – I recommend gel food coloring over other types of food coloring as it produces a more vibrant color.
- Hershey’s Kisses – The kisses form the witch’s hat.
- Halloween sprinkles – For extra Halloween flair.
How to Make Witch Hat Cookies
This Halloween dessert comes together in just a few easy steps. The cookie dough requires no chill time, which makes this ideal to whip up anytime.
Make the Cookies
Combine the dry ingredients. Combine the flour, cocoa powder, baking soda, and salt in a mixing bowl.
Cream the sugar. Cream the butter and both sugars in a mixer on low.
Add the remaining ingredients. Add the egg and vanilla. Mix again. Slowly mix in the dry ingredients, either on low or by hand.
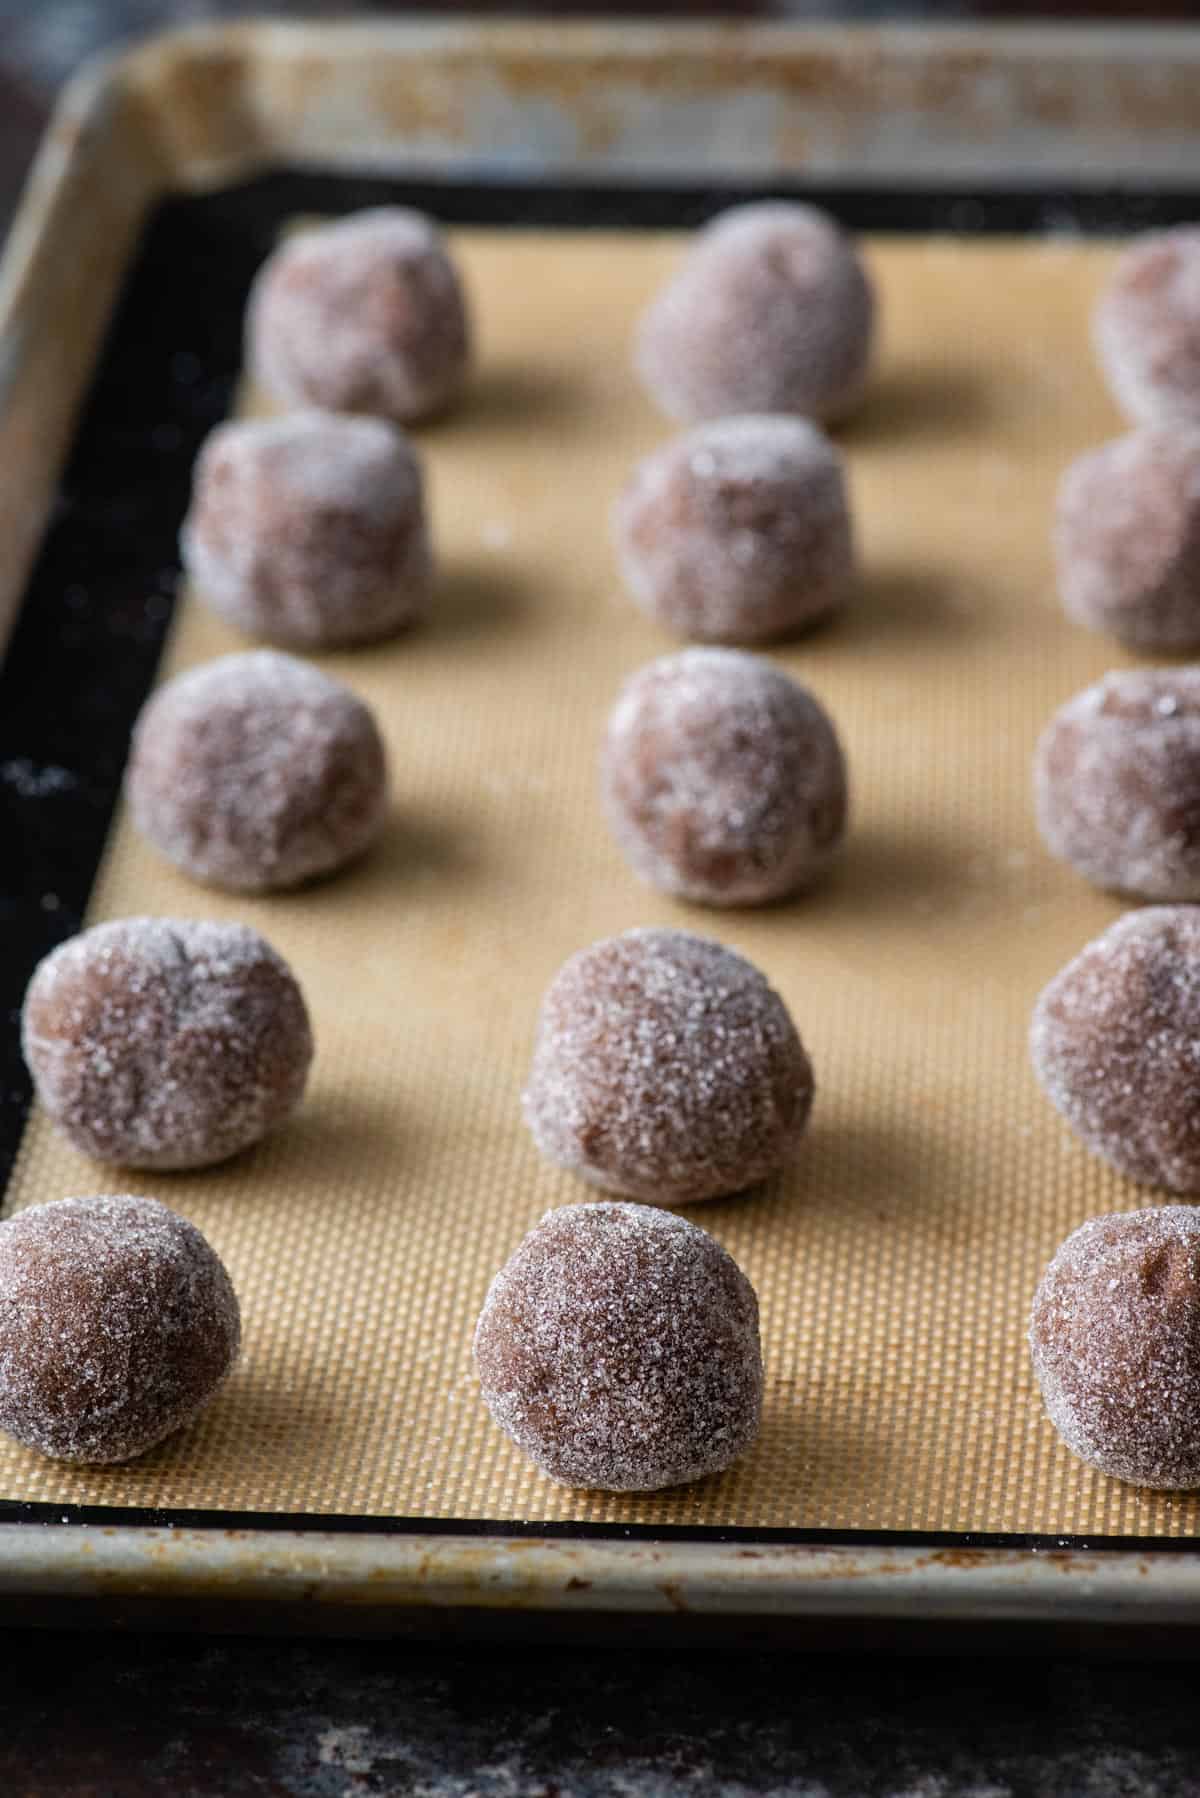
Bake. Form the dough into tablespoon-sized balls. Roll in granulated sugar and place on the baking sheet. Bake for 8 to 11 minutes.
Cool. Allow the cookies to cool for 10 minutes on the baking sheet before transferring to a cooling rack. Cool completely before frosting.
Make the Frosting
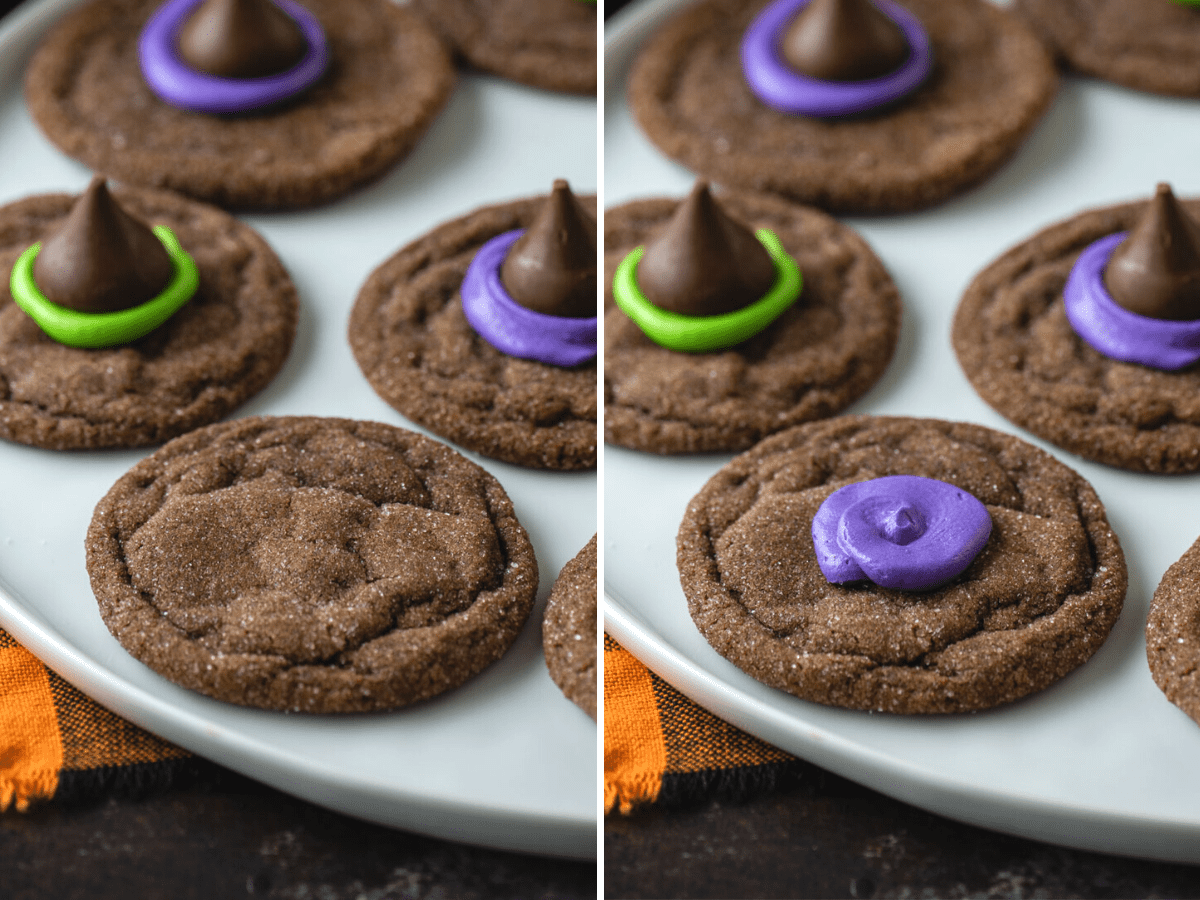
Make the frosting. Beat the sugar, butter, and vanilla on medium speed until fluffy. Divide into bowls and color the frosting as desired.
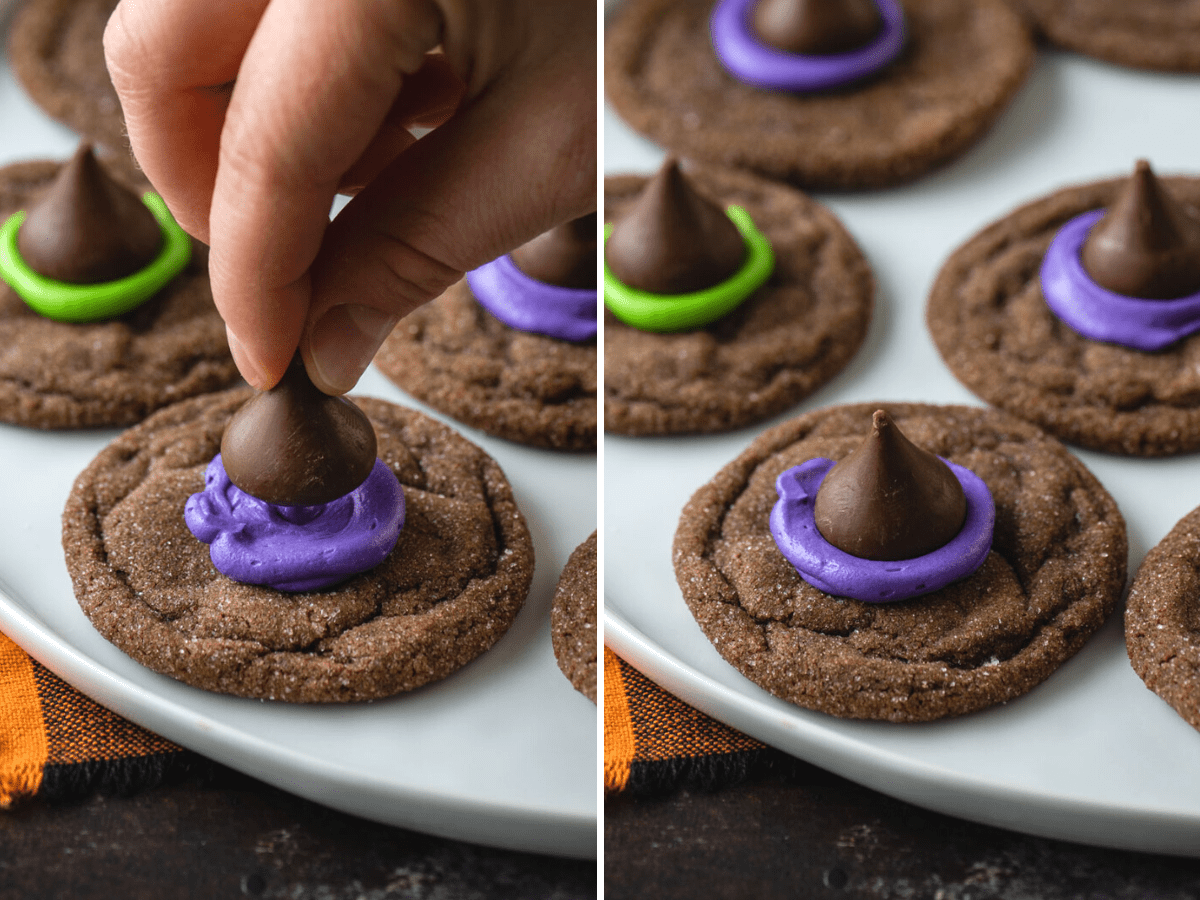
Assemble the cookies. Transfer the frosting to a piping bag and cut the corner off. Pipe a dollop on the center of each cookie, then press a Hershey’s kiss into the center. Add sprinkles. Repeat with all cookies.
Tips
These witch hat cookies are an easy Halloween dessert with pretty straightforward instructions but here are a few tips that may help you out, plus a few variations.
Do not overmix the dough. As you add the dry ingredients to the cookie dough, mix just enough to completely incorporate them. Over-mixing can lead to cookies that don’t rise or have a tender texture.
Bake one cookie sheet at a time. To ensure that each cookie bakes perfectly, bake just one cookie sheet in the oven at a time. I usually have a couple that I rotate through, allowing the cookies to cool on the sheet first.
Variations
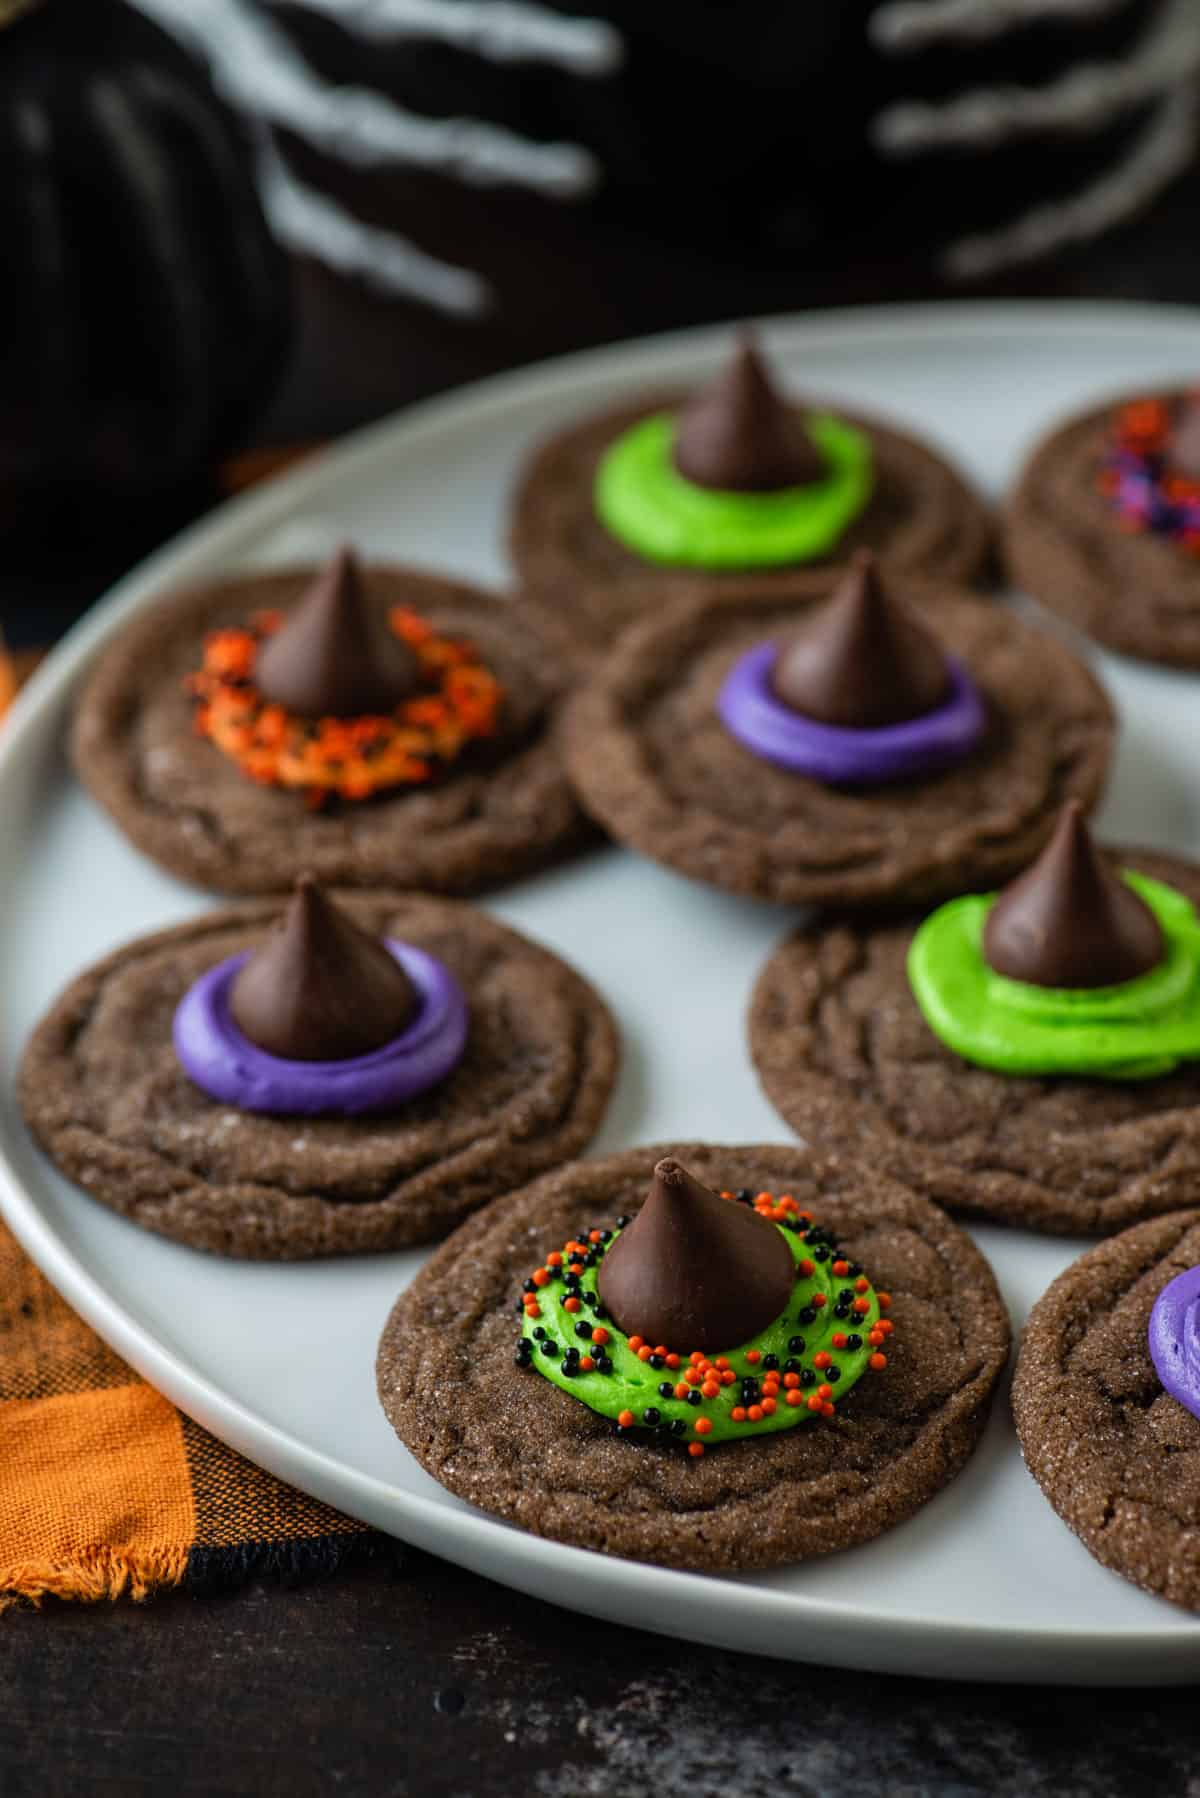
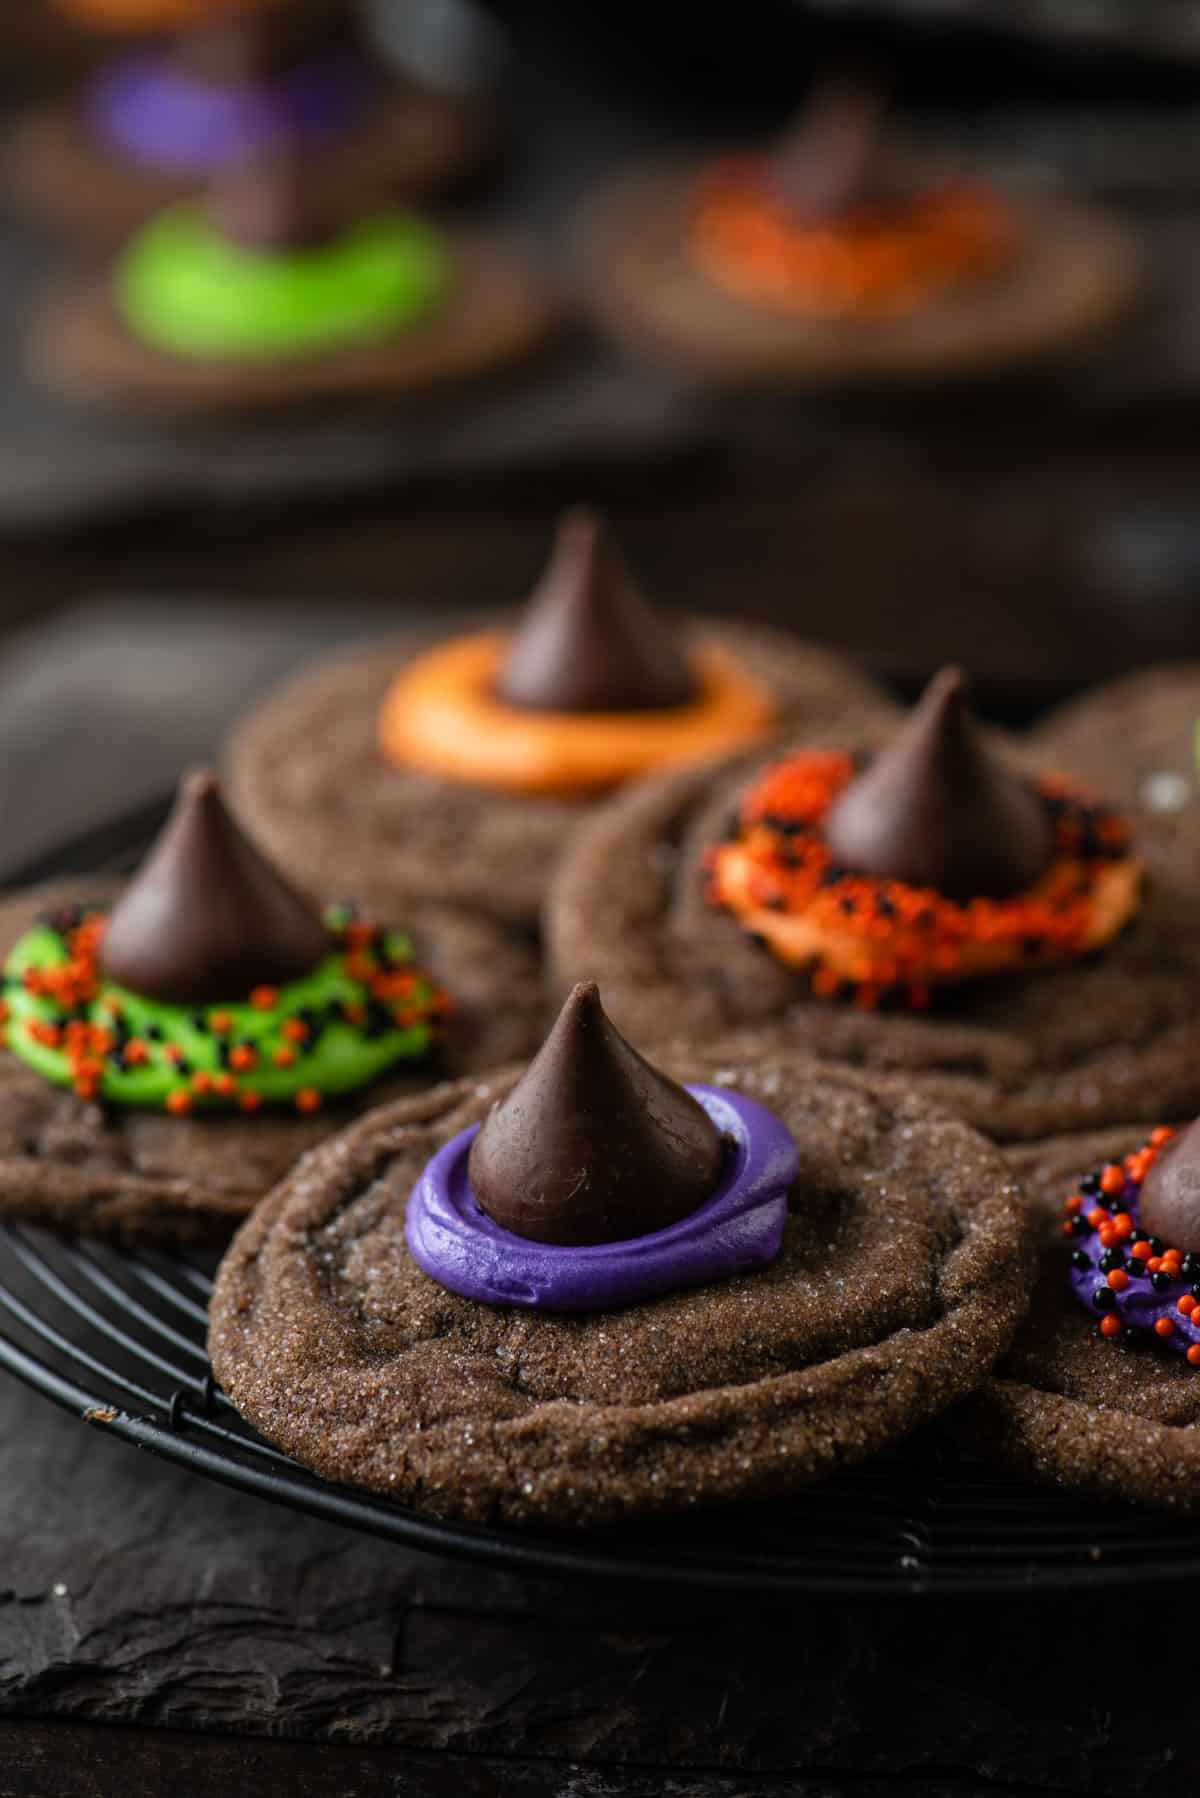
What gel colors should I use? As you can see in the photos, I used orange, purple, and green. These are the most Halloween-y colors to me but feel free to use any colors you’d like!
Try these with a peanut butter base. If you’re not a huge chocolate fan, witch hat cookies can also be made with a peanut butter cookie base.
Can I Make This Halloween Dessert in Advance?
Yes, absolutely. In fact, these cookies are best served a few hours after they’re prepared so the icing has time to set.
I would recommend preparing this Halloween dessert up to a day in advance. Just keep the cookies covered or in an airtight container on the counter.
These will stay fresh for up to 3 or 4 days.
More Halloween Food
- Peanut Butter Spider Cookies
- Ghost Cupcakes
- Halloween Sugar Cookies
- Spider Rice Krispie Treats
- Tombstone Oreo Balls
Tap stars to rate!
Witch Hat Cookies
Ingredients
For the Cookies
- 1 ½ cups (180g) all purpose flour
- ¼ cup (21g) natural unsweetened cocoa powder
- ½ tsp baking soda
- ½ tsp salt
- ½ cup (113g) unsalted butter, 1 stick, softened
- ½ cup (99g) granulated sugar
- ½ cup (107g) brown sugar
- 1 large egg
- 1 tsp vanilla extract
- ⅓ cup (66g) granulated sugar, for rolling
For the Frosting
- 1 stick unsalted butter, room temperature (1/2 cup)
- 1 cup (113g) powdered sugar
- 1 tsp vanilla extract
- Gel food coloring
- Hershey’s Kisses
- Halloween sprinkles
Video
Instructions
Cookies
- Preheat the oven to 350ºF. In a mixing bowl, combine the all purpose flour, cocoa powder, baking soda, and salt.1 ½ cups (180g) all purpose flour, ¼ cup (21g) natural unsweetened cocoa powder, ½ tsp baking soda, ½ tsp salt
- In a separate mixing bowl cream the butter, granulated sugar, and brown sugar together with a mixer on low.½ cup (113g) unsalted butter, ½ cup (99g) granulated sugar, ½ cup (107g) brown sugar
- Add in the egg and vanilla extract, mix again on low. Gently add in the dry ingredients, mixing on low or by hand just until combined.1 large egg, 1 tsp vanilla extract
- Use a small cookie scoop or tablespoon to form tablespoon sized balls from the dough. Roll the dough between your hands to form a uniform ball, then roll in 1/3 cup granulated sugar. Place the cookies 2-3 inches apart on a silicone lined baking sheet and bake for 8-11 minutes.1/3 cup (66g) granulated sugar
- Allow the cookies to cool on the sheet for 10 minutes before moving to a cooling rack. Bake one cookie sheet at a time. Allow the cookies to cool completely before adding the frosting.
Frosting
- In a mixing bowl combine the unsalted butter, powdered sugar, and vanilla extract, beat with an electric mixer on medium speed until fluffy. Divide into bowls and use gel food coloring to color the frosting as desired.1 stick unsalted butter, 1 cup (113g) powdered sugar, 1 tsp vanilla extract, Gel food coloring
- Transfer the frosting to a piping bag, or sandwich bag, with the corner cut off. Pipe a dollop of frosting into the center of each cookie. Press a hershey kiss into the frosting, so the frosting smooshes out the sides slightly. Add sprinkles if desired. Repeat until all the cookies are assembled.Hershey’s Kisses, Halloween sprinkles





These cookies are amazing! I am going to be making them after halloween, just without the kiss. The chocolate cookie and frosting are perfect together.