This post may contain affiliate links. Please read our disclosure policy.
I took my years of scone-making experience and perfected a pumpkin version by fine-tuning the flour-to-pumpkin ratio for ideal texture. With my tested tips and foolproof method, even beginners can bake tall, tender, bakery-worthy pumpkin scones at home.
Loved the recipe, really straight forward. It’s worth the extra steps of taking the moisture out of the pumpkin, resting the dough and popping in the freezer for 10 minutes before baking. I didn’t use the glaze and found they were sweet enough for me, would try the glaze next time to see the difference. It’s a keeper.
-Jill
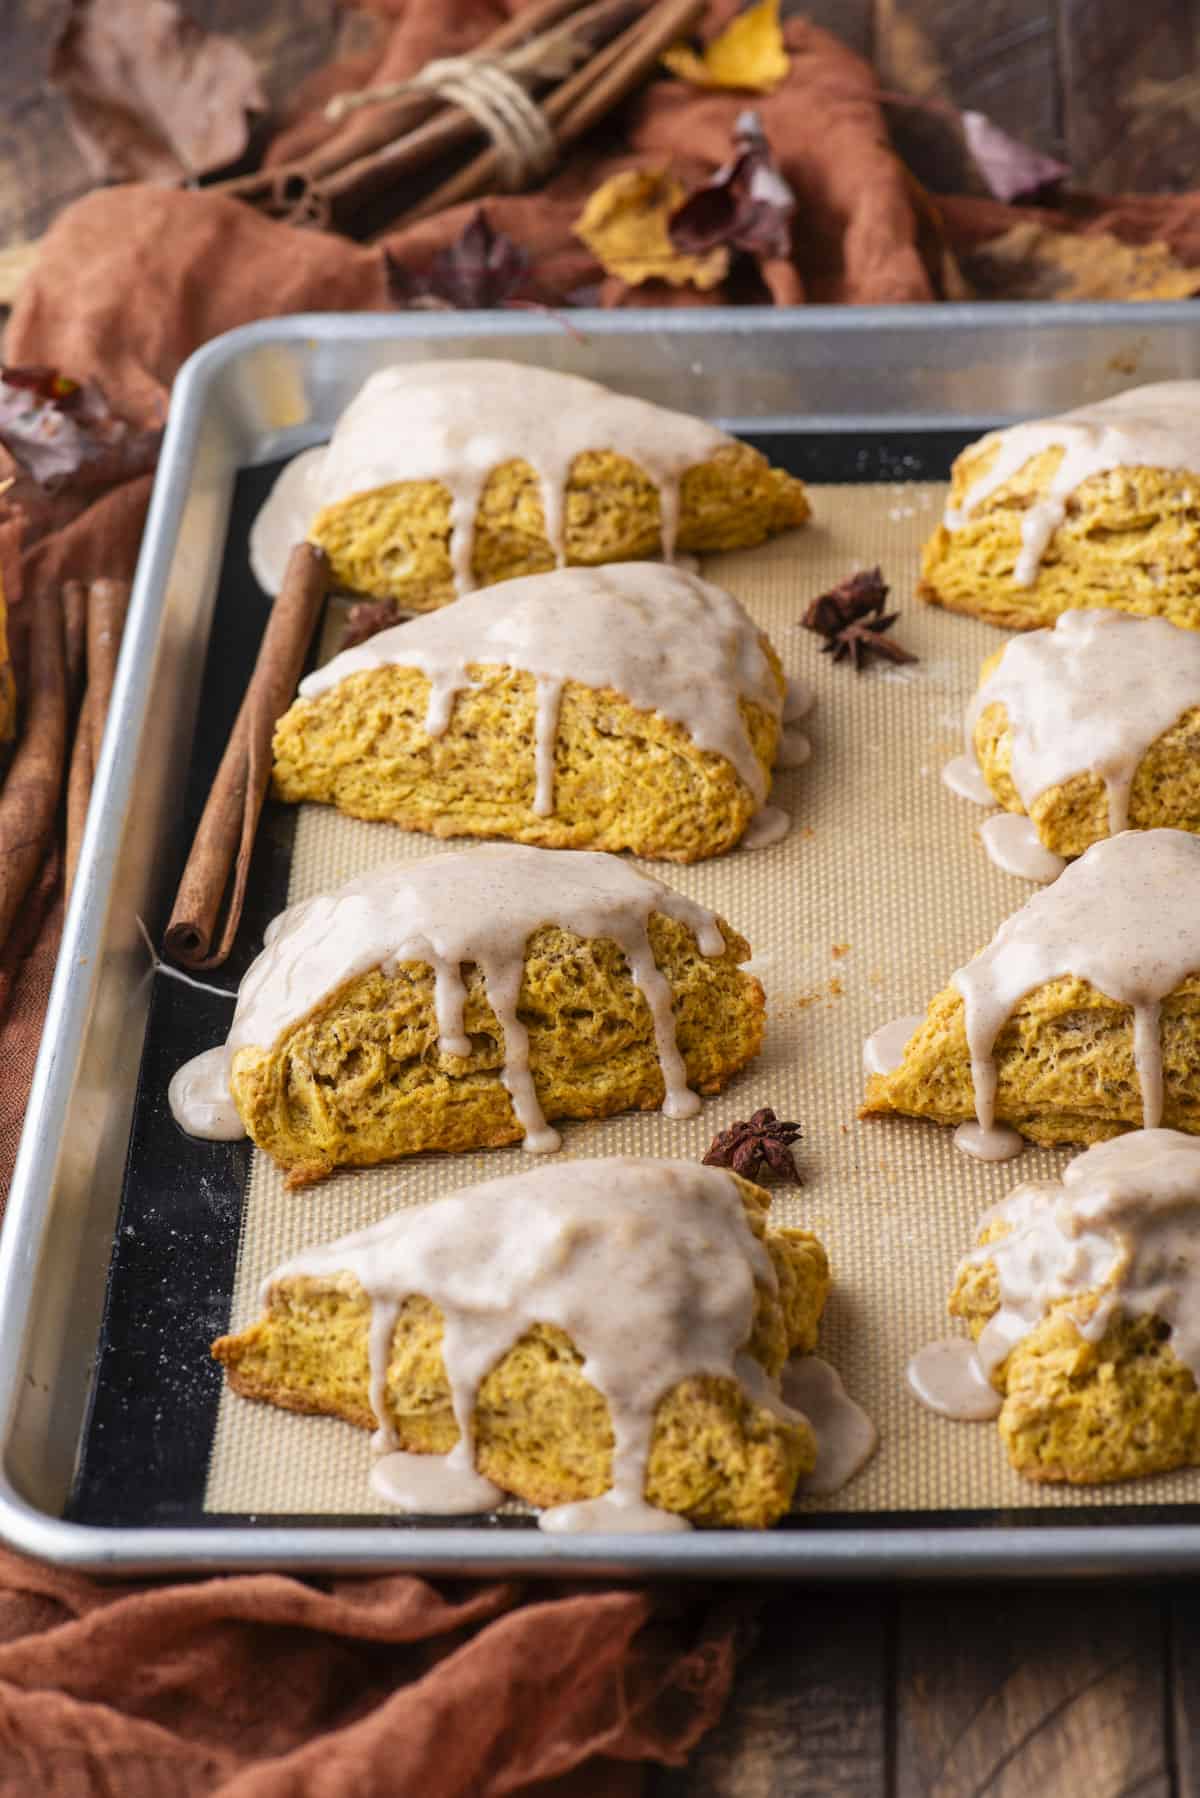
Why You’ll Love This Pumpkin Scones Recipe
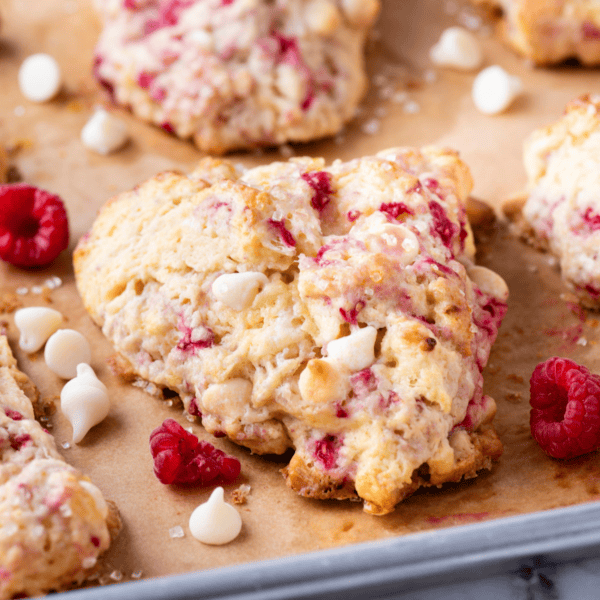
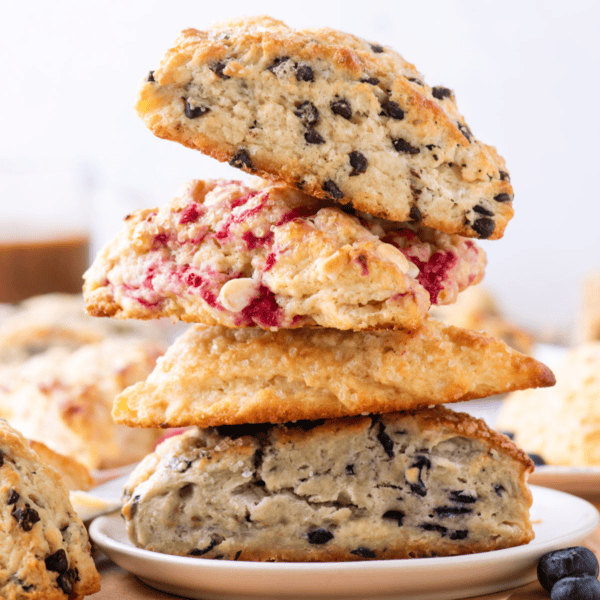
After years of perfecting my base scone recipe, from blueberry to raspberry white chocolate chip, I knew exactly what it would take to develop the ultimate pumpkin scones. Pumpkin puree, like juicy berries, adds a lot of moisture to dough and that meant adjusting my tried-and-true flour-to-liquid ratio for a tender yet sturdy crumb. Through multiple rounds of testing, I refined the balance until the scones baked up tall, golden, and bursting with cozy fall flavor.
This recipe uses my proven scone-making method, with precise steps that even beginner bakers can follow for bakery-worthy results. You’ll learn why proper flour measurement is non-negotiable, how to handle the dough without overworking it, and my favorite tips for getting that signature scone rise. The pumpkin pie spice brings warm, aromatic notes, while the texture is soft in the center with just the right amount of crust on the outside.
These pumpkin scones aren’t just good, they’re the best I’ve ever made, and I’m confident you’ll feel like a pro baker when they come out of your oven. If you’ve been intimidated by scones before, this recipe will change that for good.
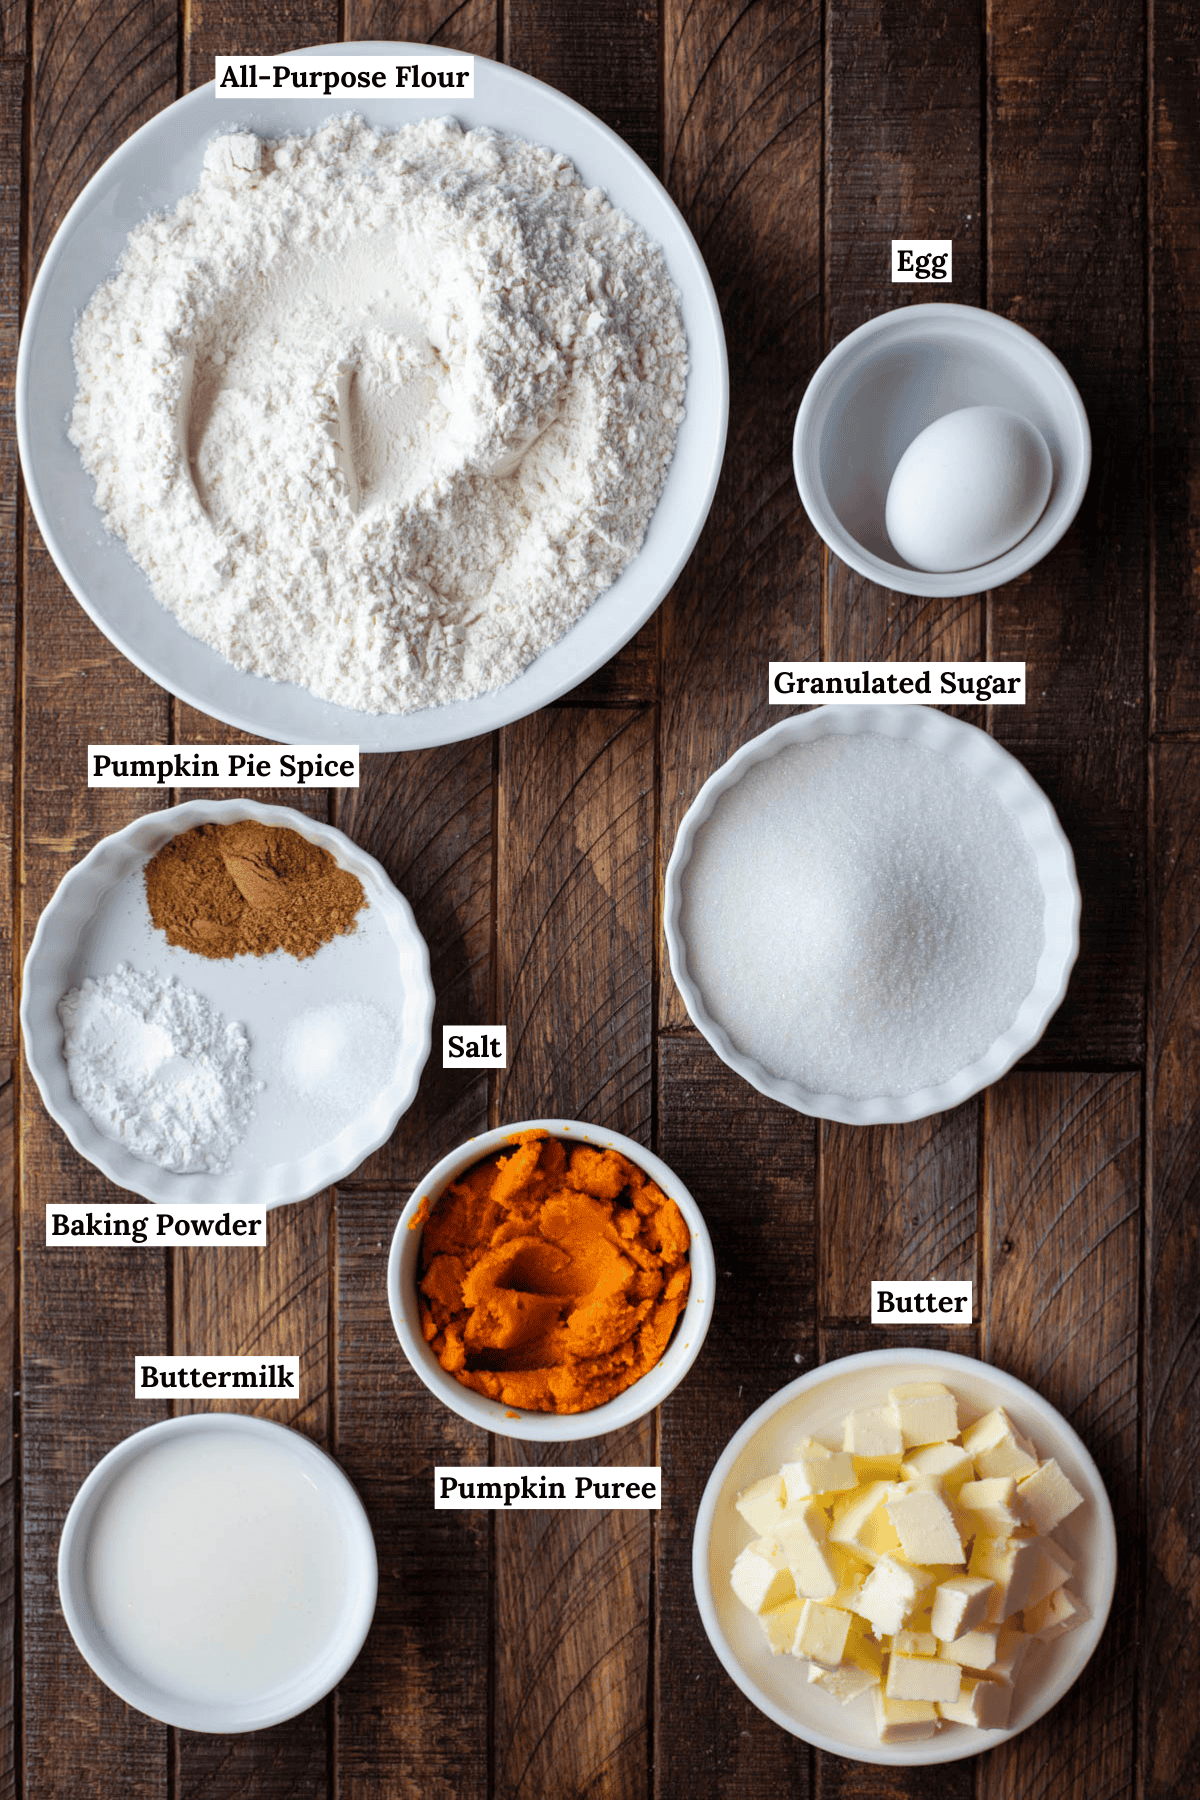
Pumpkin Scone Ingredients
These classic pumpkin scones use simple ingredients to create a delicious treat, perfect for Fall and pumpkin season. See the full recipe with measurements and instructions in the recipe card below. Here’s what you’ll need:
- All-purpose flour
- Granulated sugar
- Baking powder
- Pumpkin pie spice
- Salt
- Cold unsalted butter: cubed
- Buttermilk: Or make homemade buttermilk
- Pumpkin puree: I used 100% canned pumpkin puree
- Egg
Glaze
- Powdered sugar
- Milk
- Pumpkin pie spice
Have a pumpkin themed breakfast and include our pumpkin muffins, pumpkin donuts, and gluten free pumpkin bread!
The very best scones I’ve made to date!! Thank you for this great recipe!
-Shelley
What type of flour is best for scones?
All-purpose flour is the best flour for making scones, because it creates a scone that rises nicely and has that scone texture we all know and love. Just be sure to follow my tips below to properly measure your flour!
How to Properly Measure Flour
The most accurate way to measure flour is to use a kitchen scale, weighing it in grams.
If you don’t have a kitchen scale, follow this method.
- Aerate the flour with a whisk or spoon. Flour becomes heavy and compact as it sits. Aerating is the same as fluffing the flour, but not the same as sifting it. Do not sift the flour unless the recipe specifically calls for it.
- Use a spoon to sprinkle the flour into the measuring cup. Do not tap the cup against the counter, as this will compact the flour.
- Use the back of a butter knife to level off the excess.
What type of pumpkin puree is best for scones?
I recommend using canned 100% pure pumpkin puree. It contains only pumpkin and no other ingredients, so you can control the pumpkin spice flavor and the level of sweetness. Other options like pumpkin pie filling contain sugar and spices, so if you use this you won’t have control over the sweetness and spices.
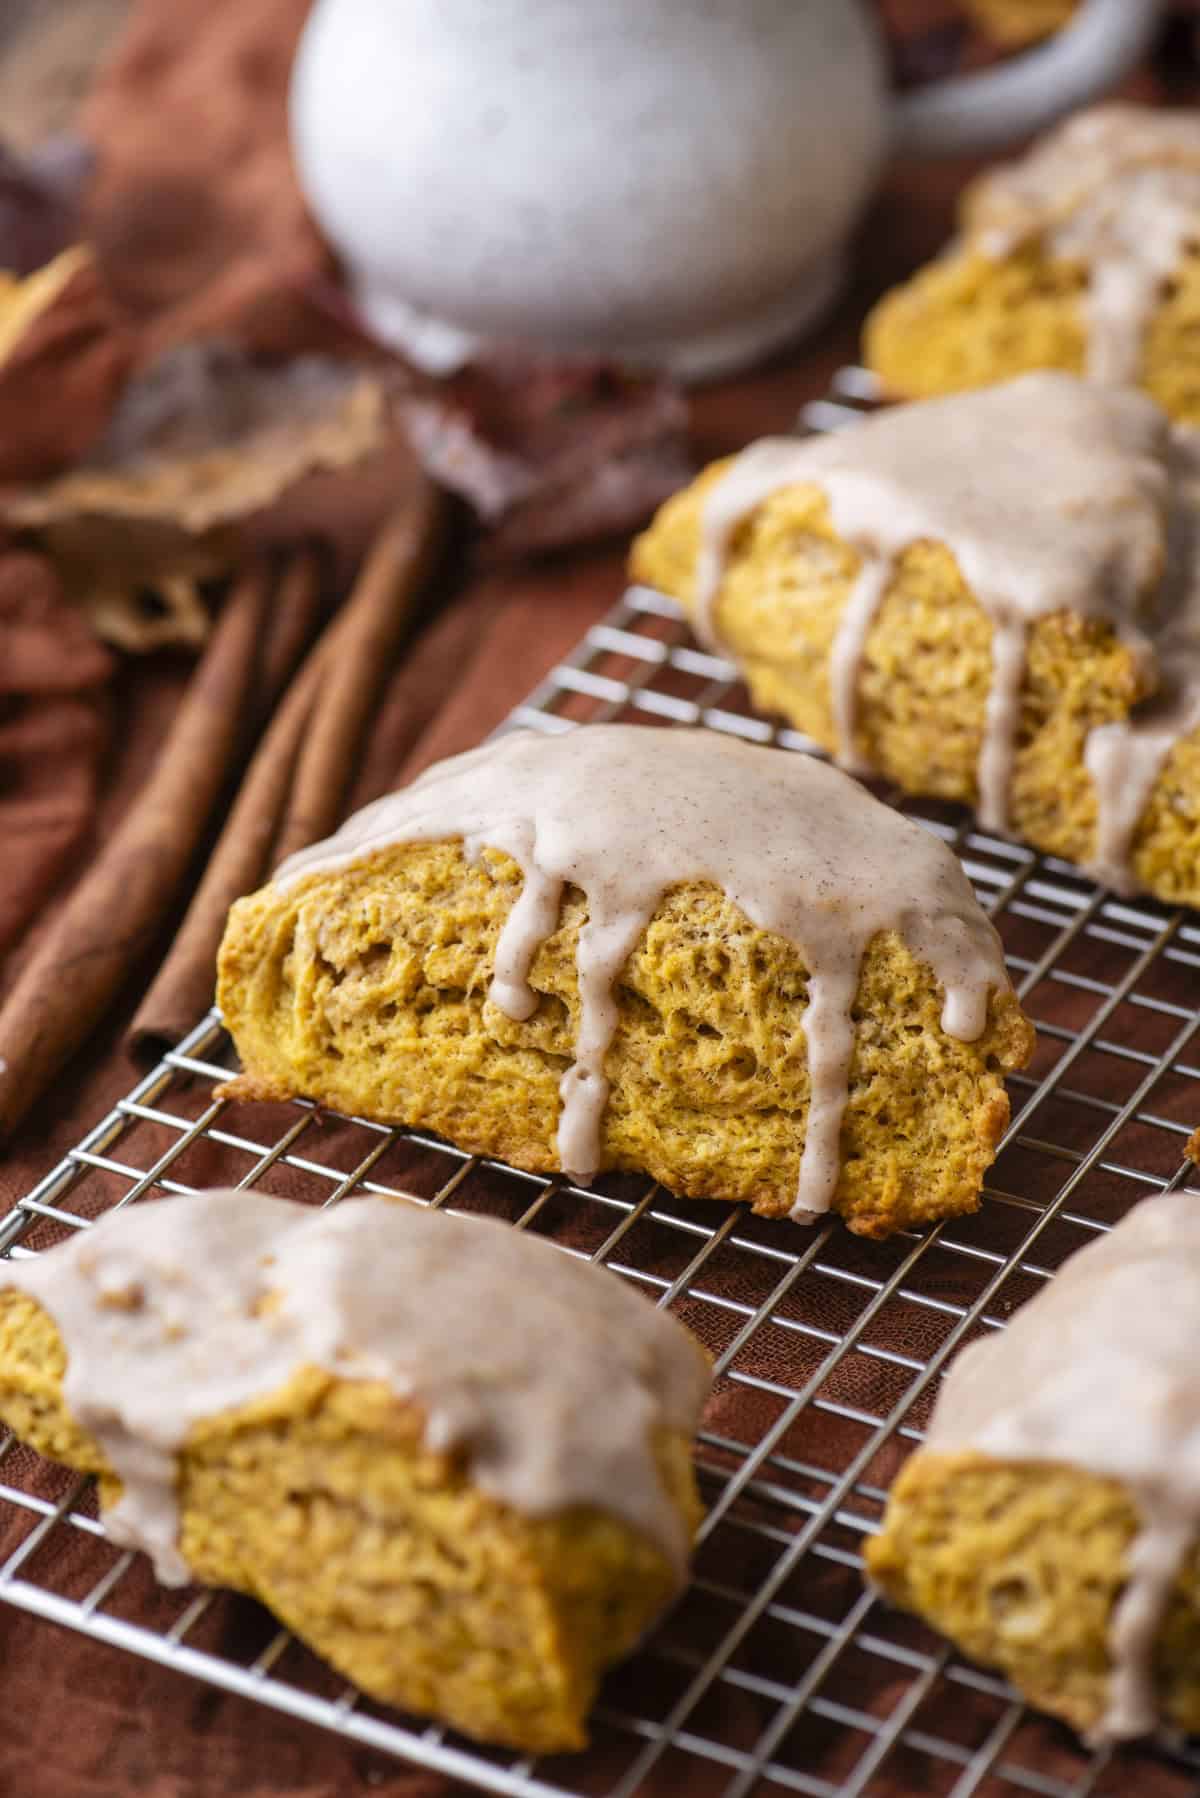
How to make Pumpkin Scones
You can feel confident that you can make a delicious pumpkin scone recipe at home, even with no baking experience, when you follow my easy recipe. Here are the step-by-step instructions:
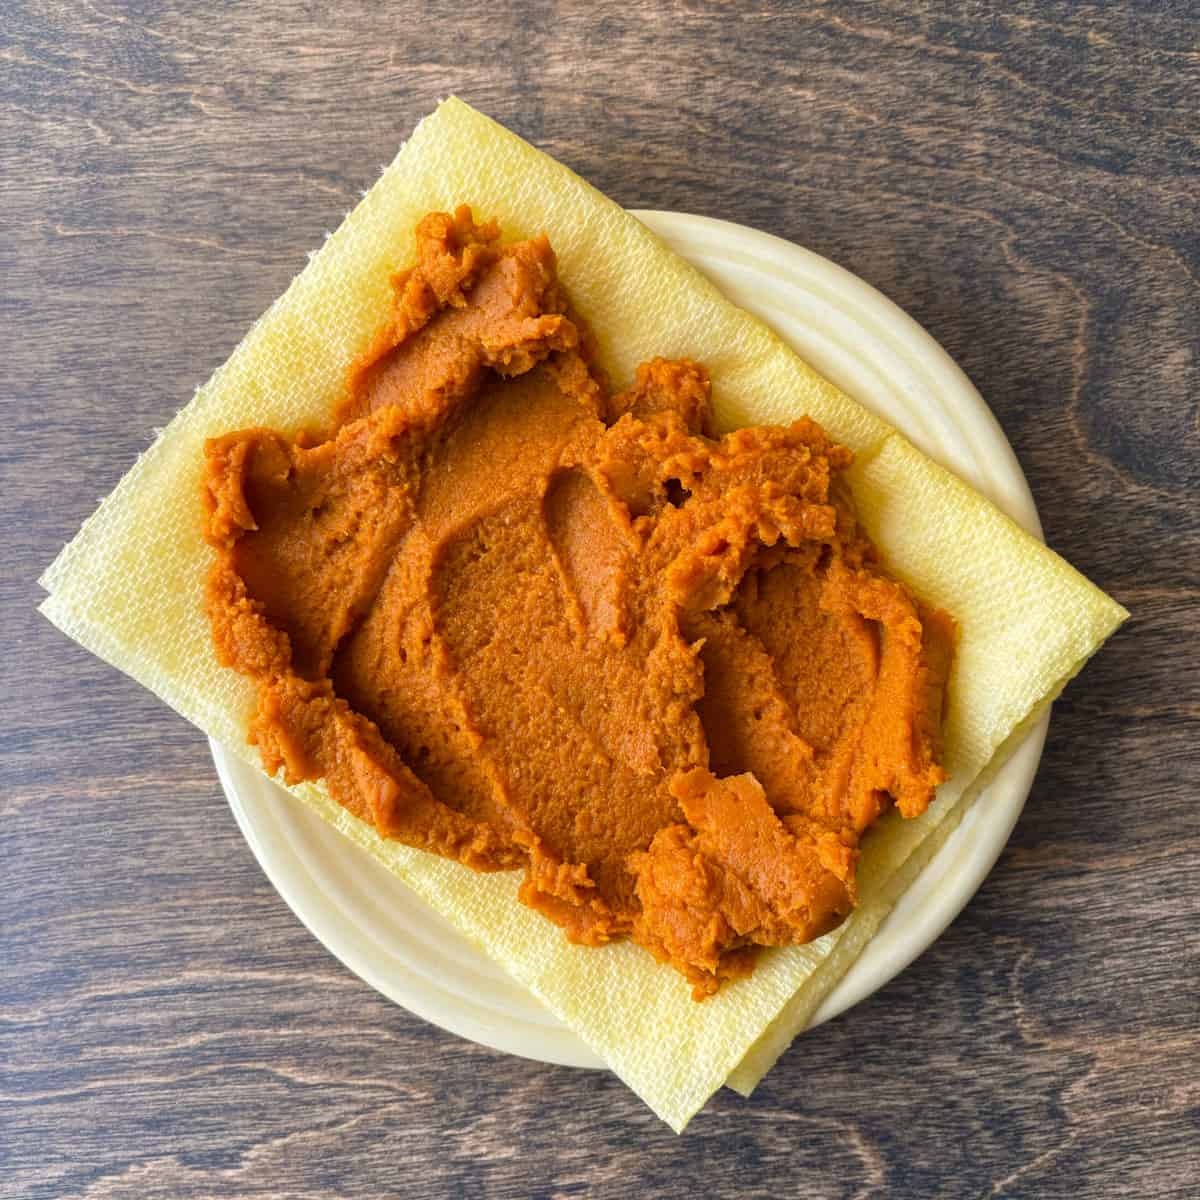
- Remove moisture from pumpkin puree. To remove excess moisture from the pumpkin puree, place the pumpkin puree in a few paper towels on a plate. Fold the paper towels over the puree, so it’s completely enclosed. The excess moisture will soak into the paper towels within a few minutes. This step is critical.
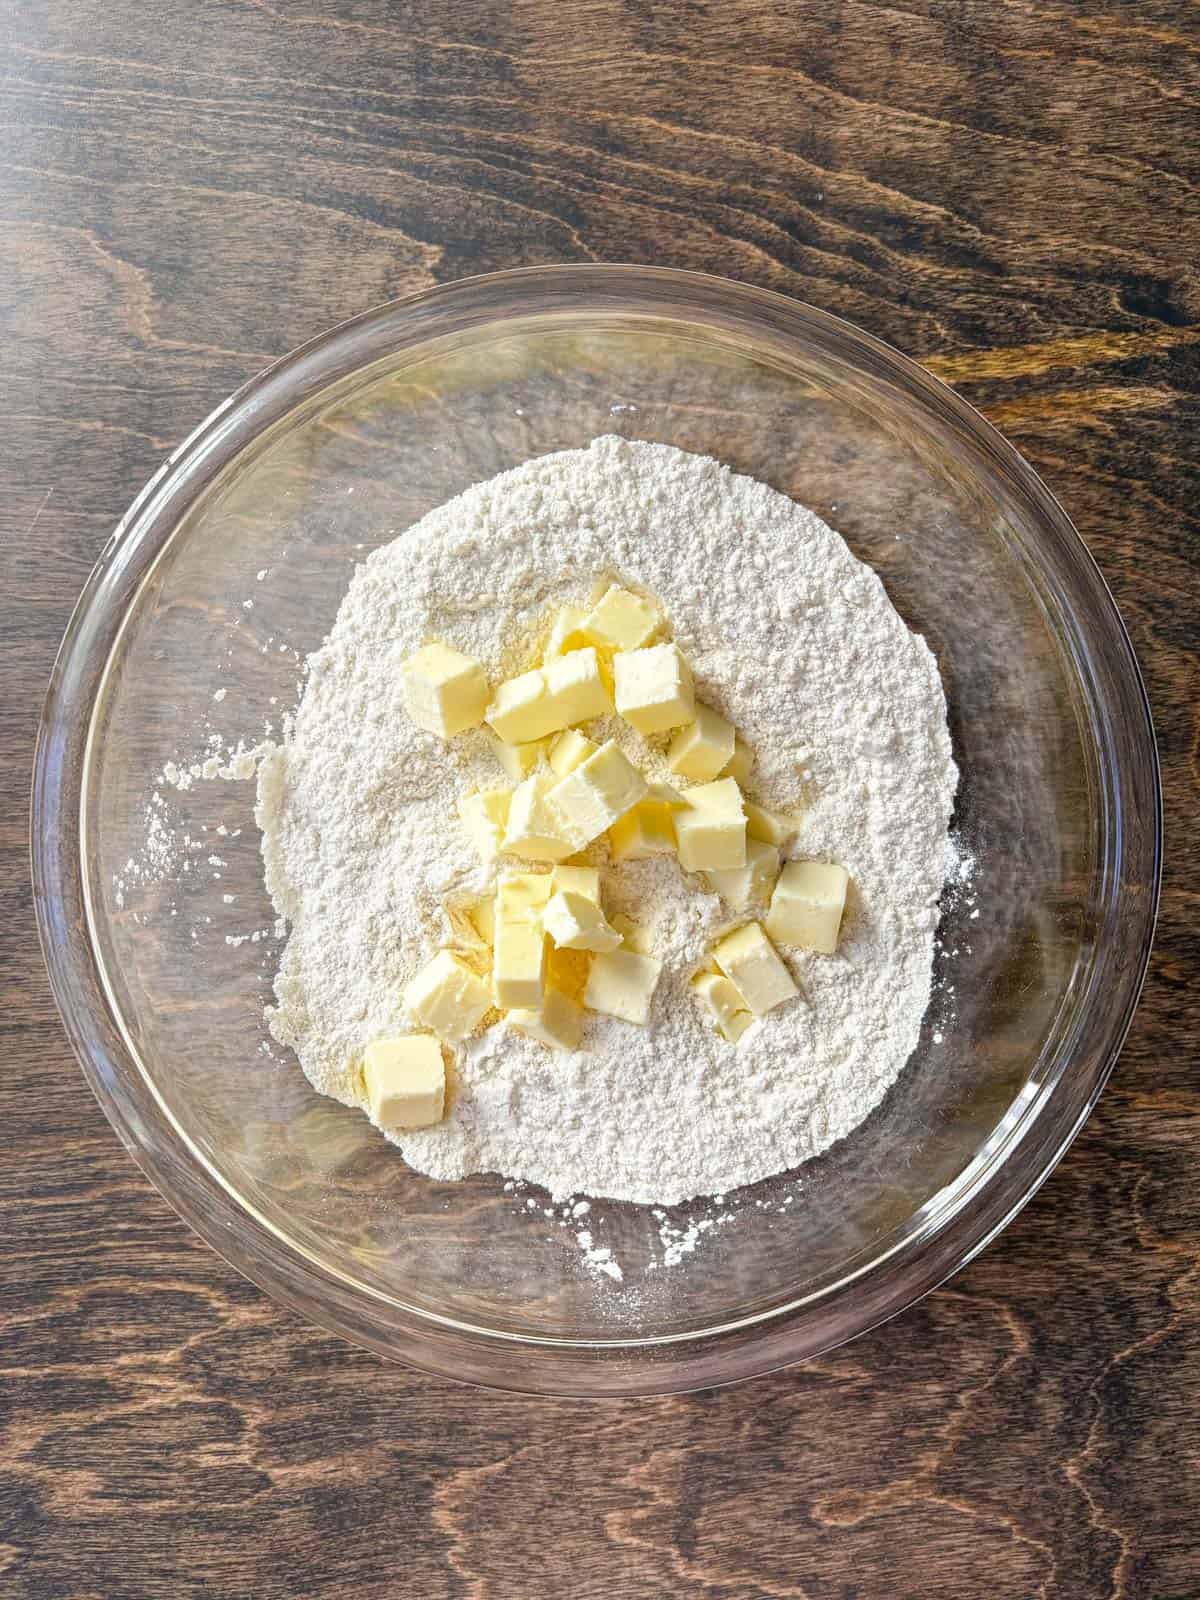
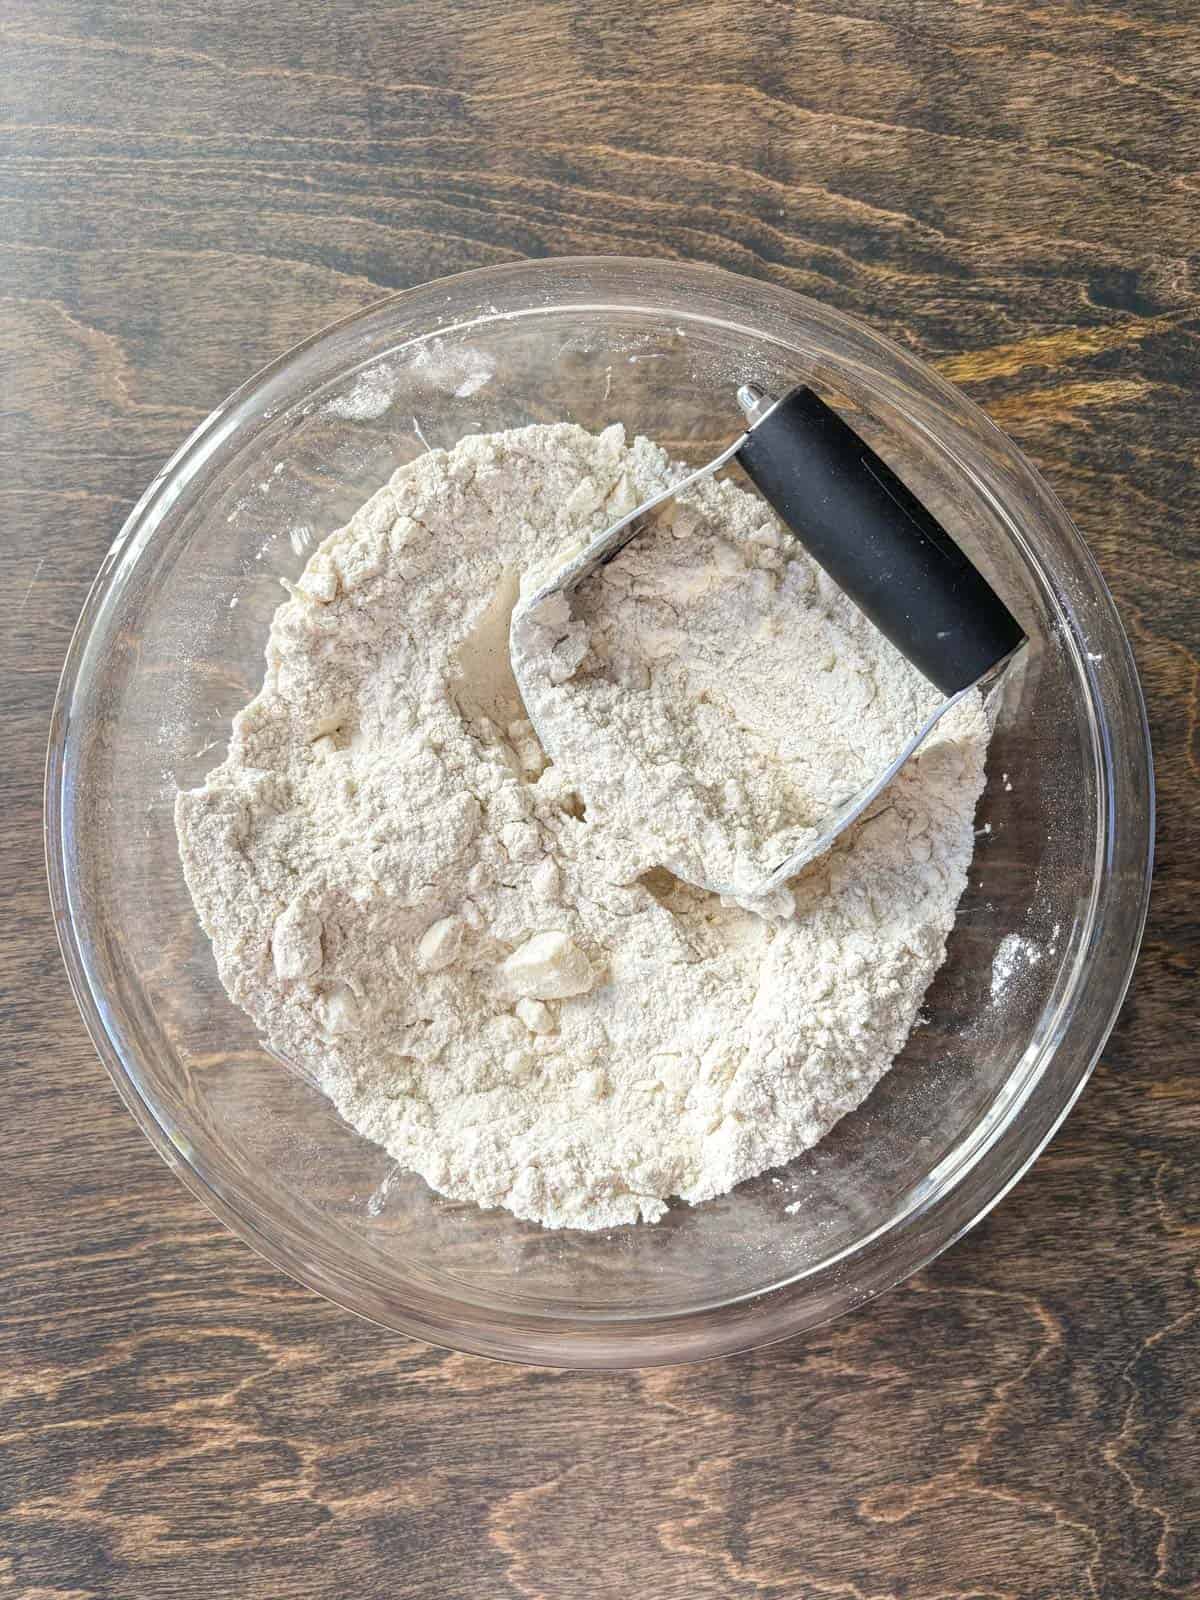
- Mix dry ingredients. In a large bowl combine the flour, granulated sugar, baking powder, pumpkin pie spice and salt. Add in the cold, cubed butter and use your hands or a pastry cutter to cut in the butter until pea sized amounts of butter remain.
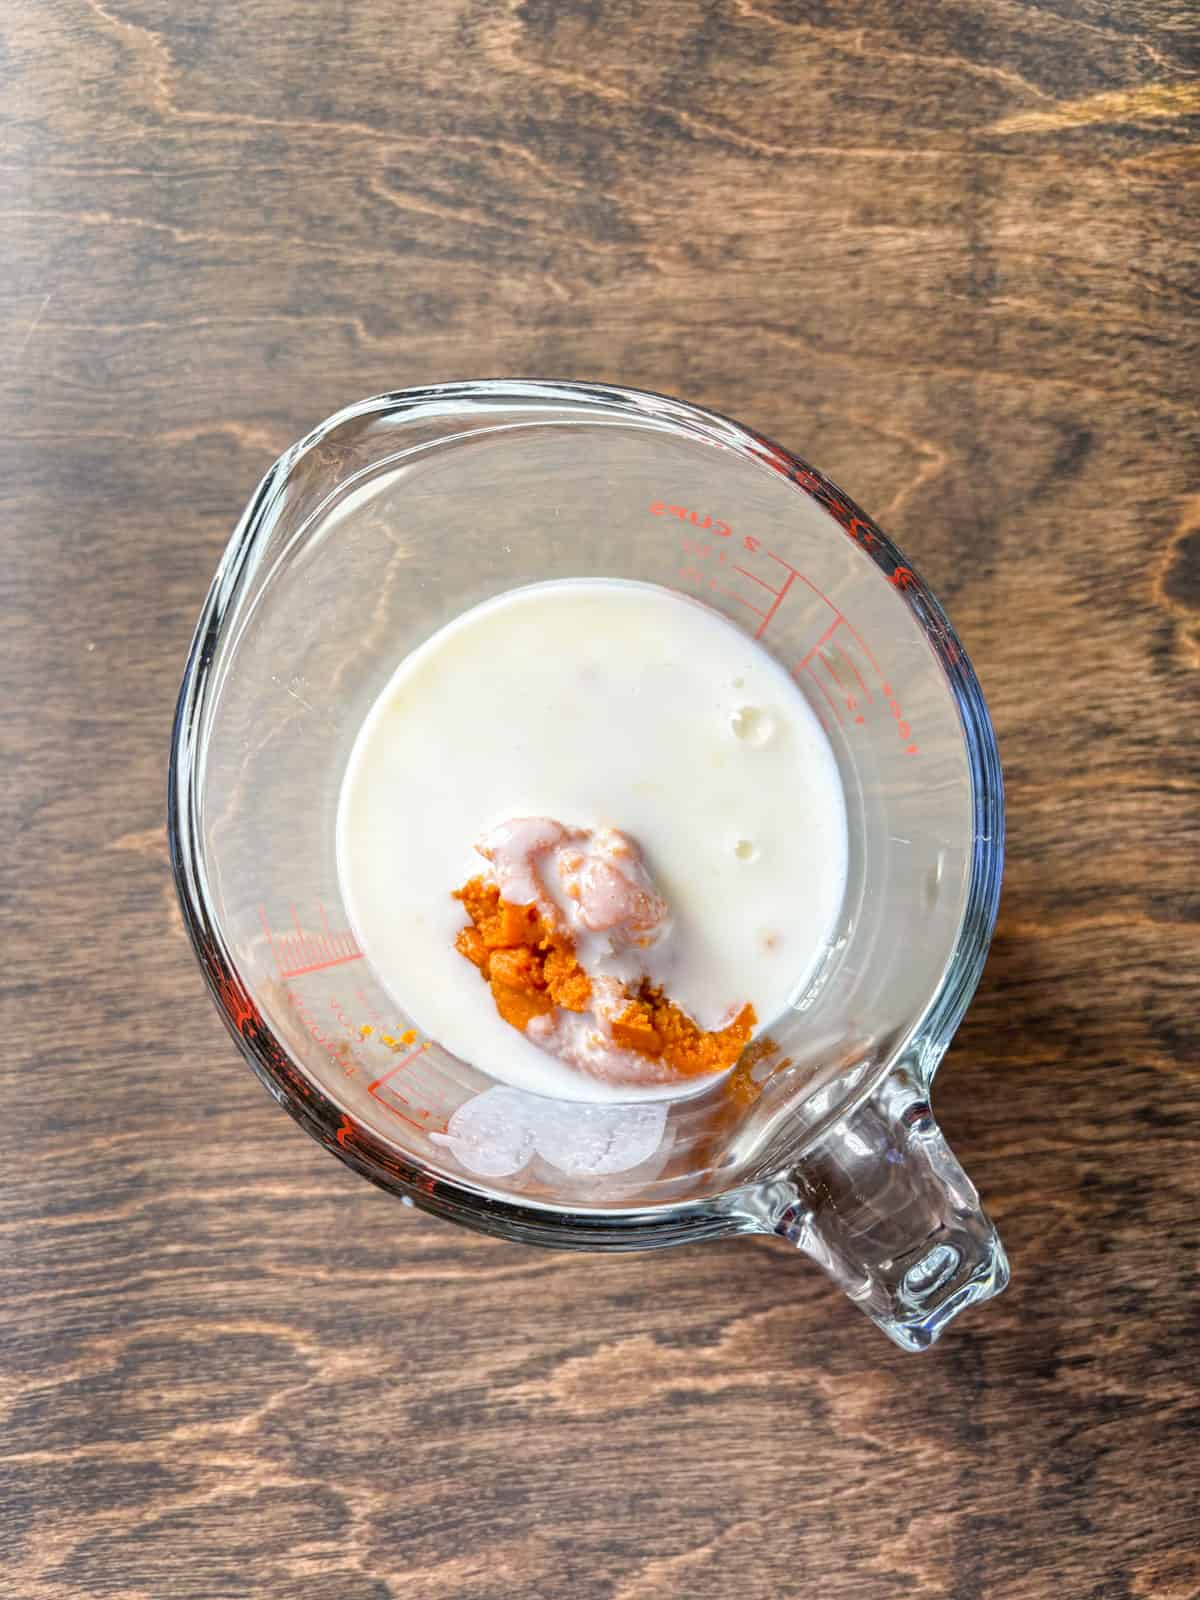
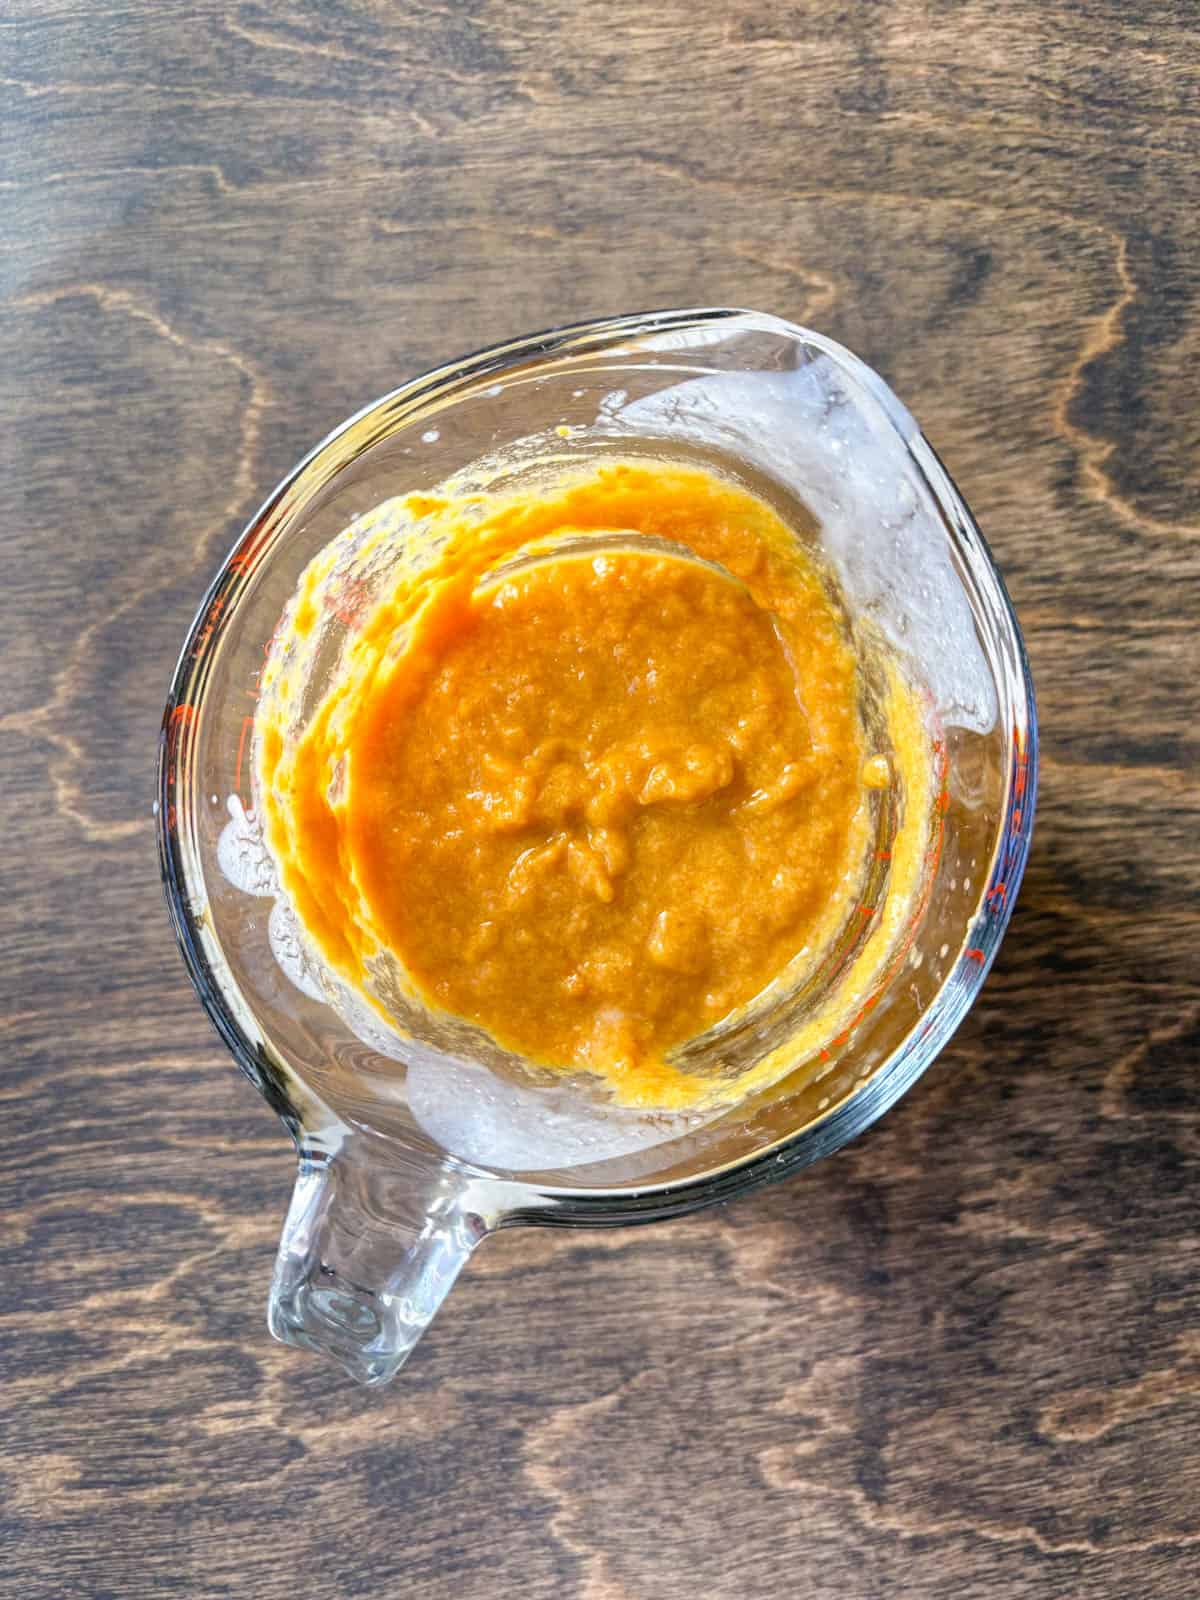
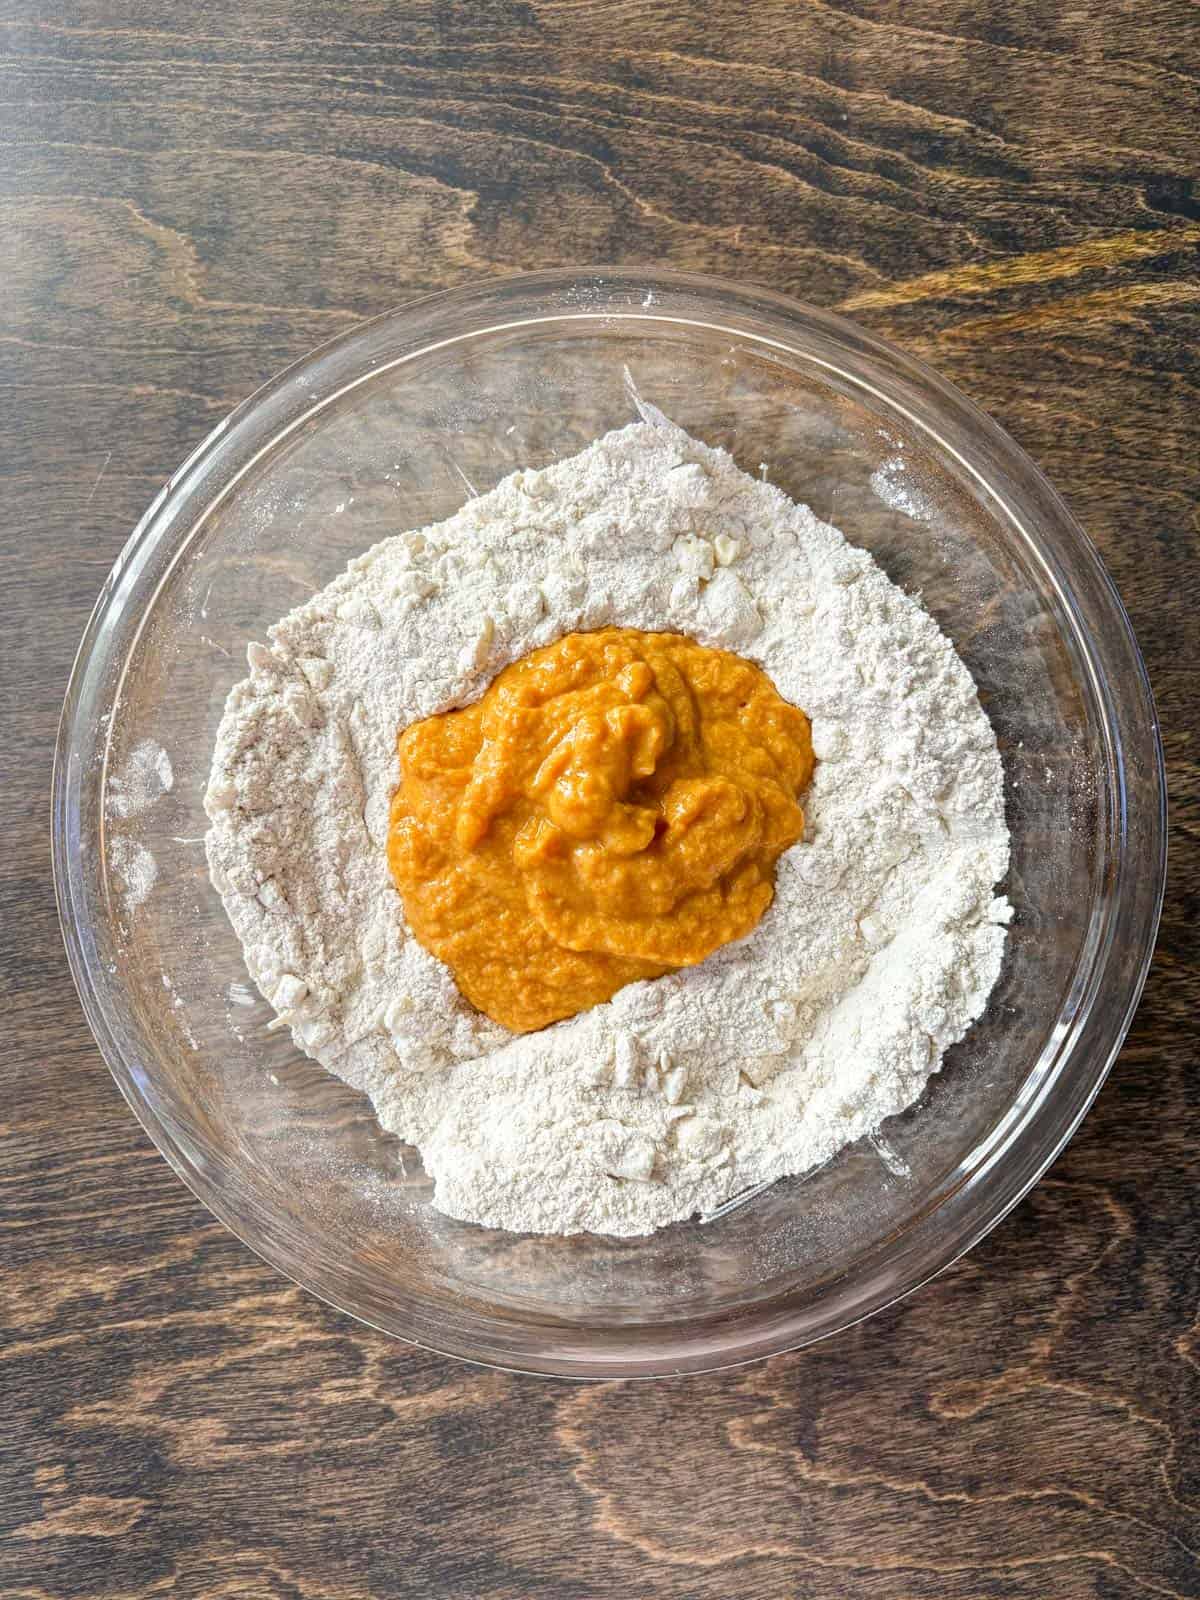
- Mix wet ingredients and add to dry ingredients. Create a well in the center of the flour mixture. In a small mixing bowl combine the buttermilk, pumpkin puree and egg. Pour this mixture into the flour and use a spatula to gently combine until the dough is thick and sticky.
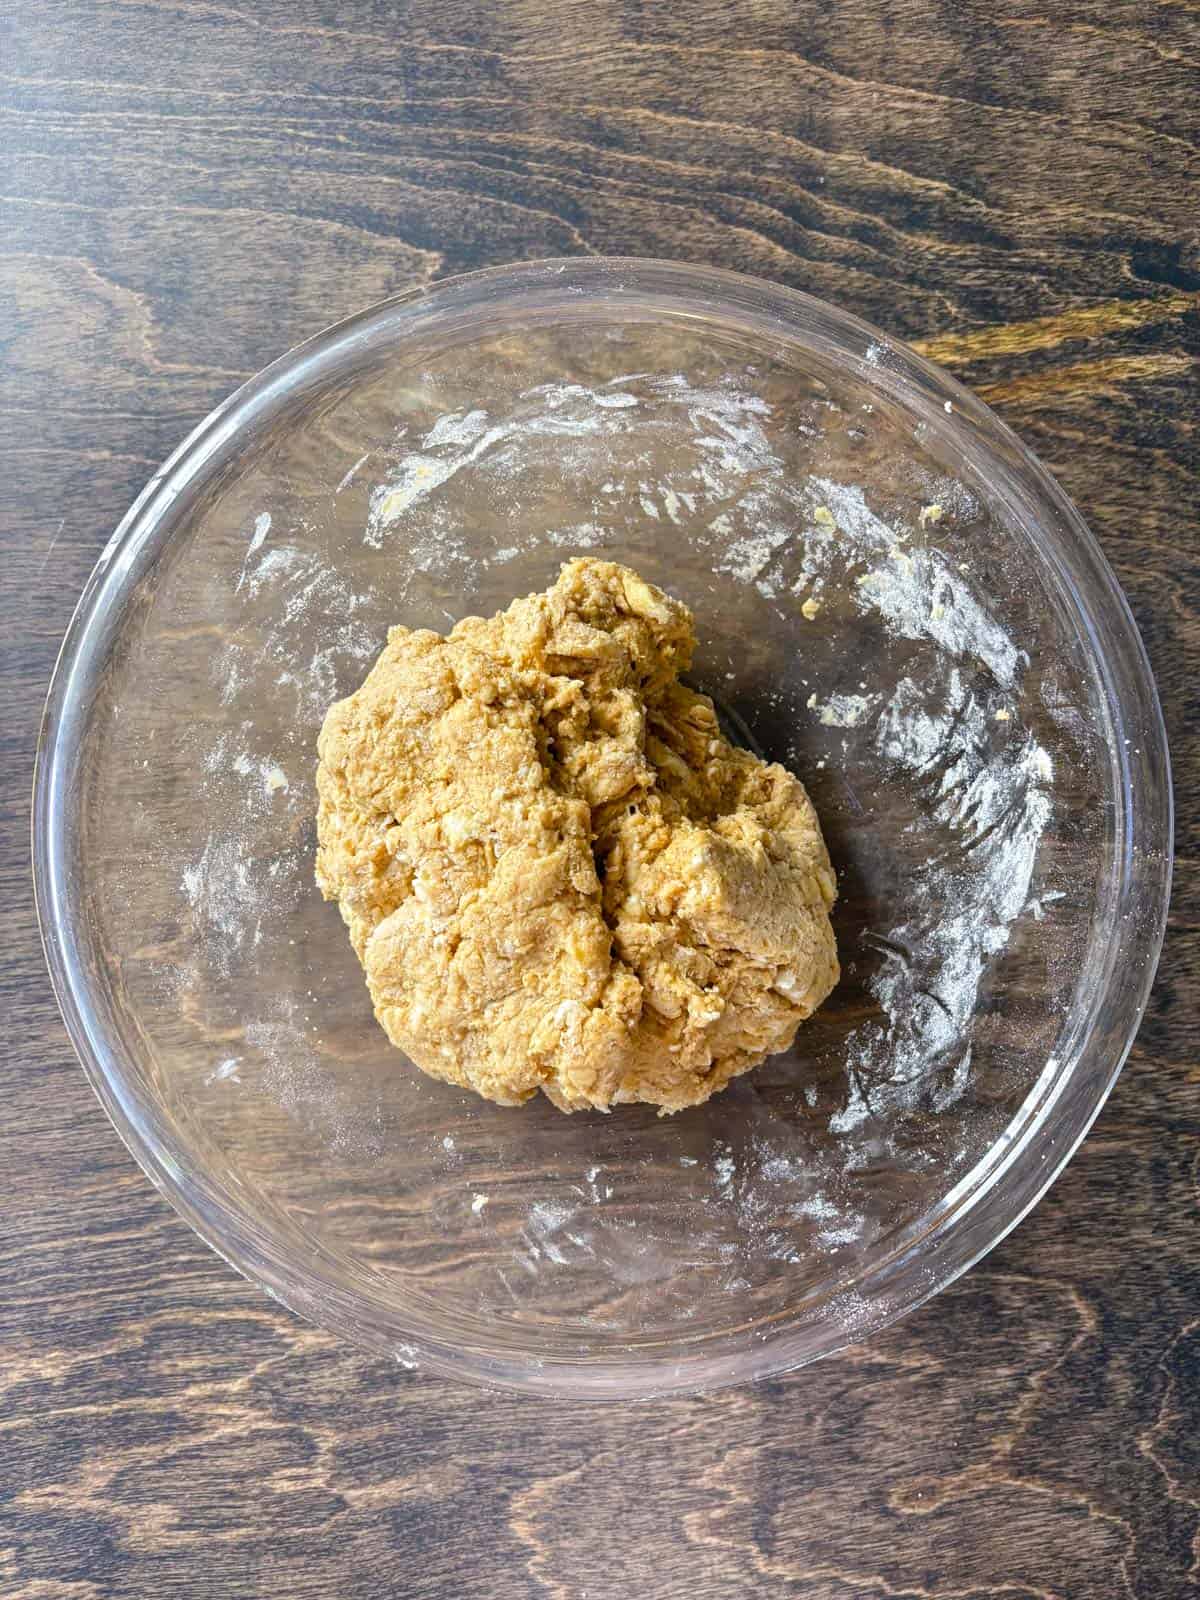
- Knead dough. On a silicone mat or kitchen counter, gently knead the dough, until all the flour is incorporated. Add 1-2 additional tablespoons of flour if the dough is too sticky.
- Lamination (folding the dough to create flaky layers!): Fold the dough in half, press it down slightly, then turn the dough 90 degrees and fold in half again. Repeat this folding and turning process 4-5 times.
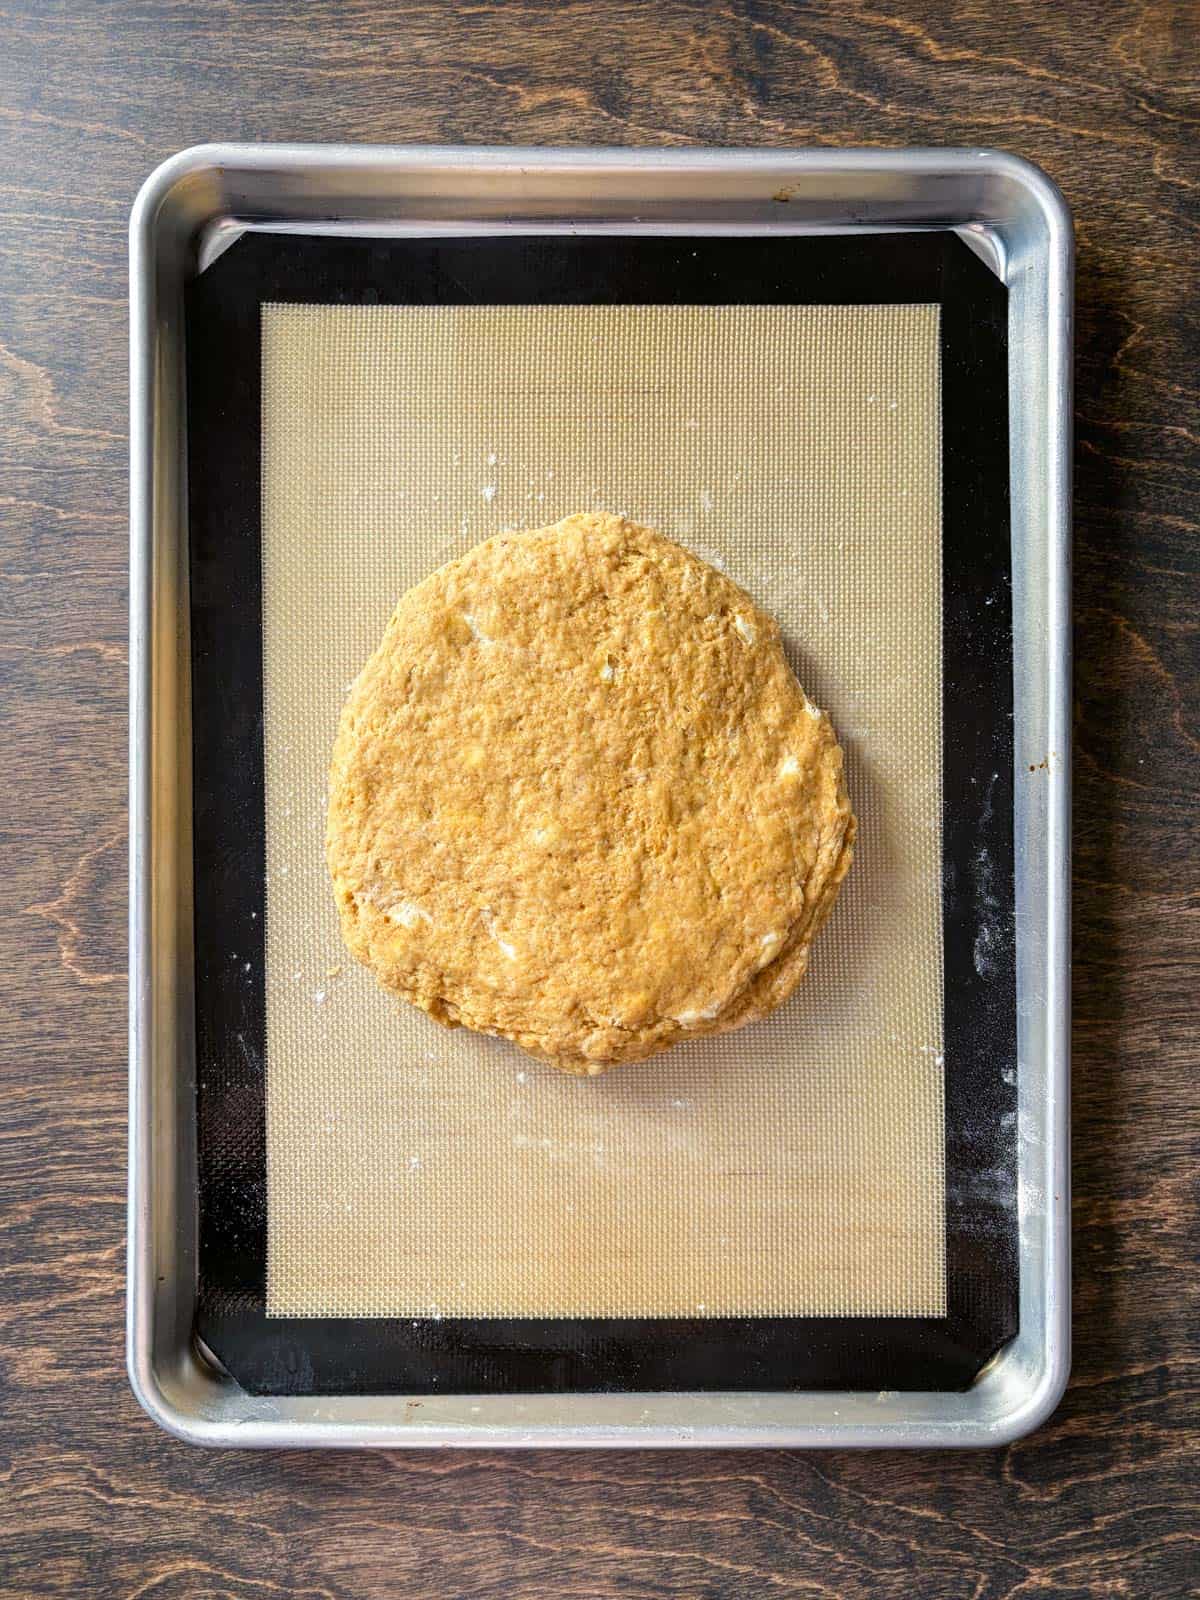
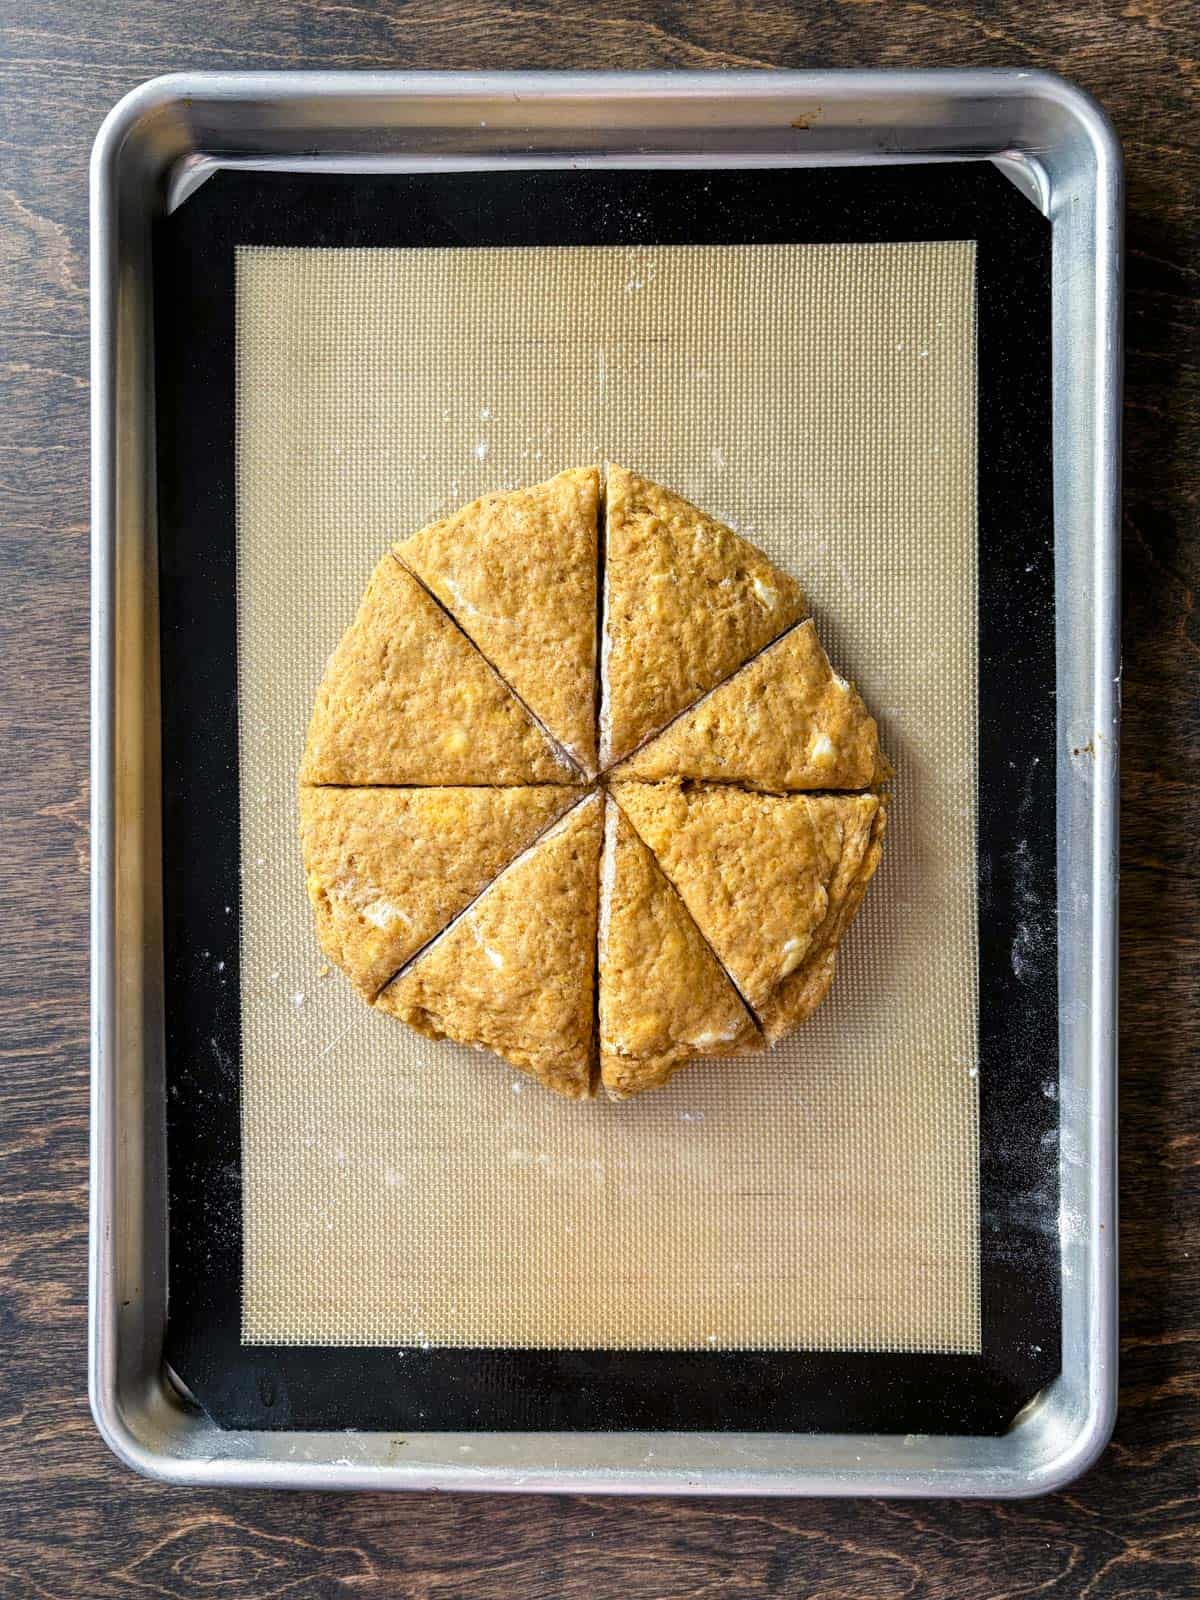
- Shape and chill. Shape the pumpkin scone dough into an 8-10 inch disc that is about 1.5 to 2 inches tall. Refrigerate the scone in a disc for 5-10 minutes.
- Cut scones. Use a sharp knife or pizza cutter to cut the scones into 8 equal wedges.
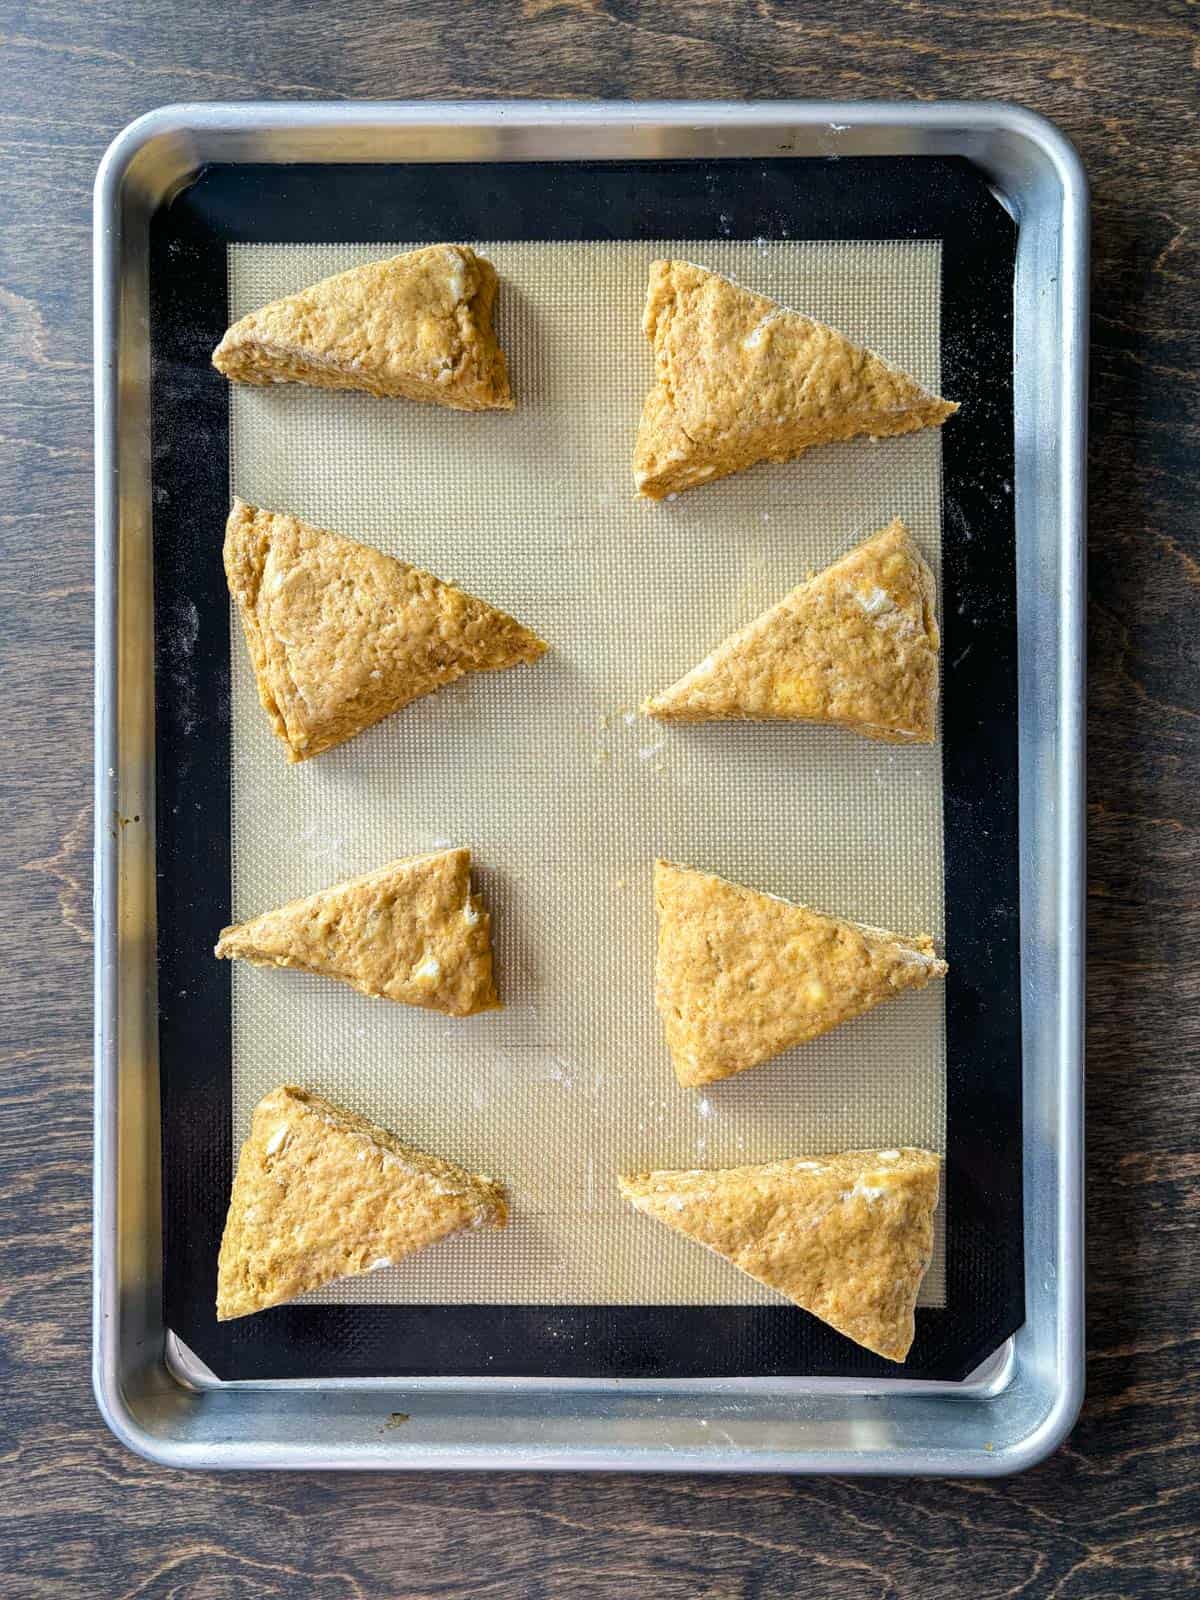

- Prep baking sheet with scones. Place the scones 2-3 inches apart on a baking sheet that’s lined with a silicone mat or parchment paper.
- Chill scones. Freeze the scones for 30 minutes. The last 5 minutes, preheat the oven to 400º F.
- Add egg wash. If you won’t be adding the glaze, brush the tops of the scones with egg wash (1 large egg + 1 Tbsp water), buttermilk or heavy cream. Add coarse sanding sugar to the top of the scones if desired.
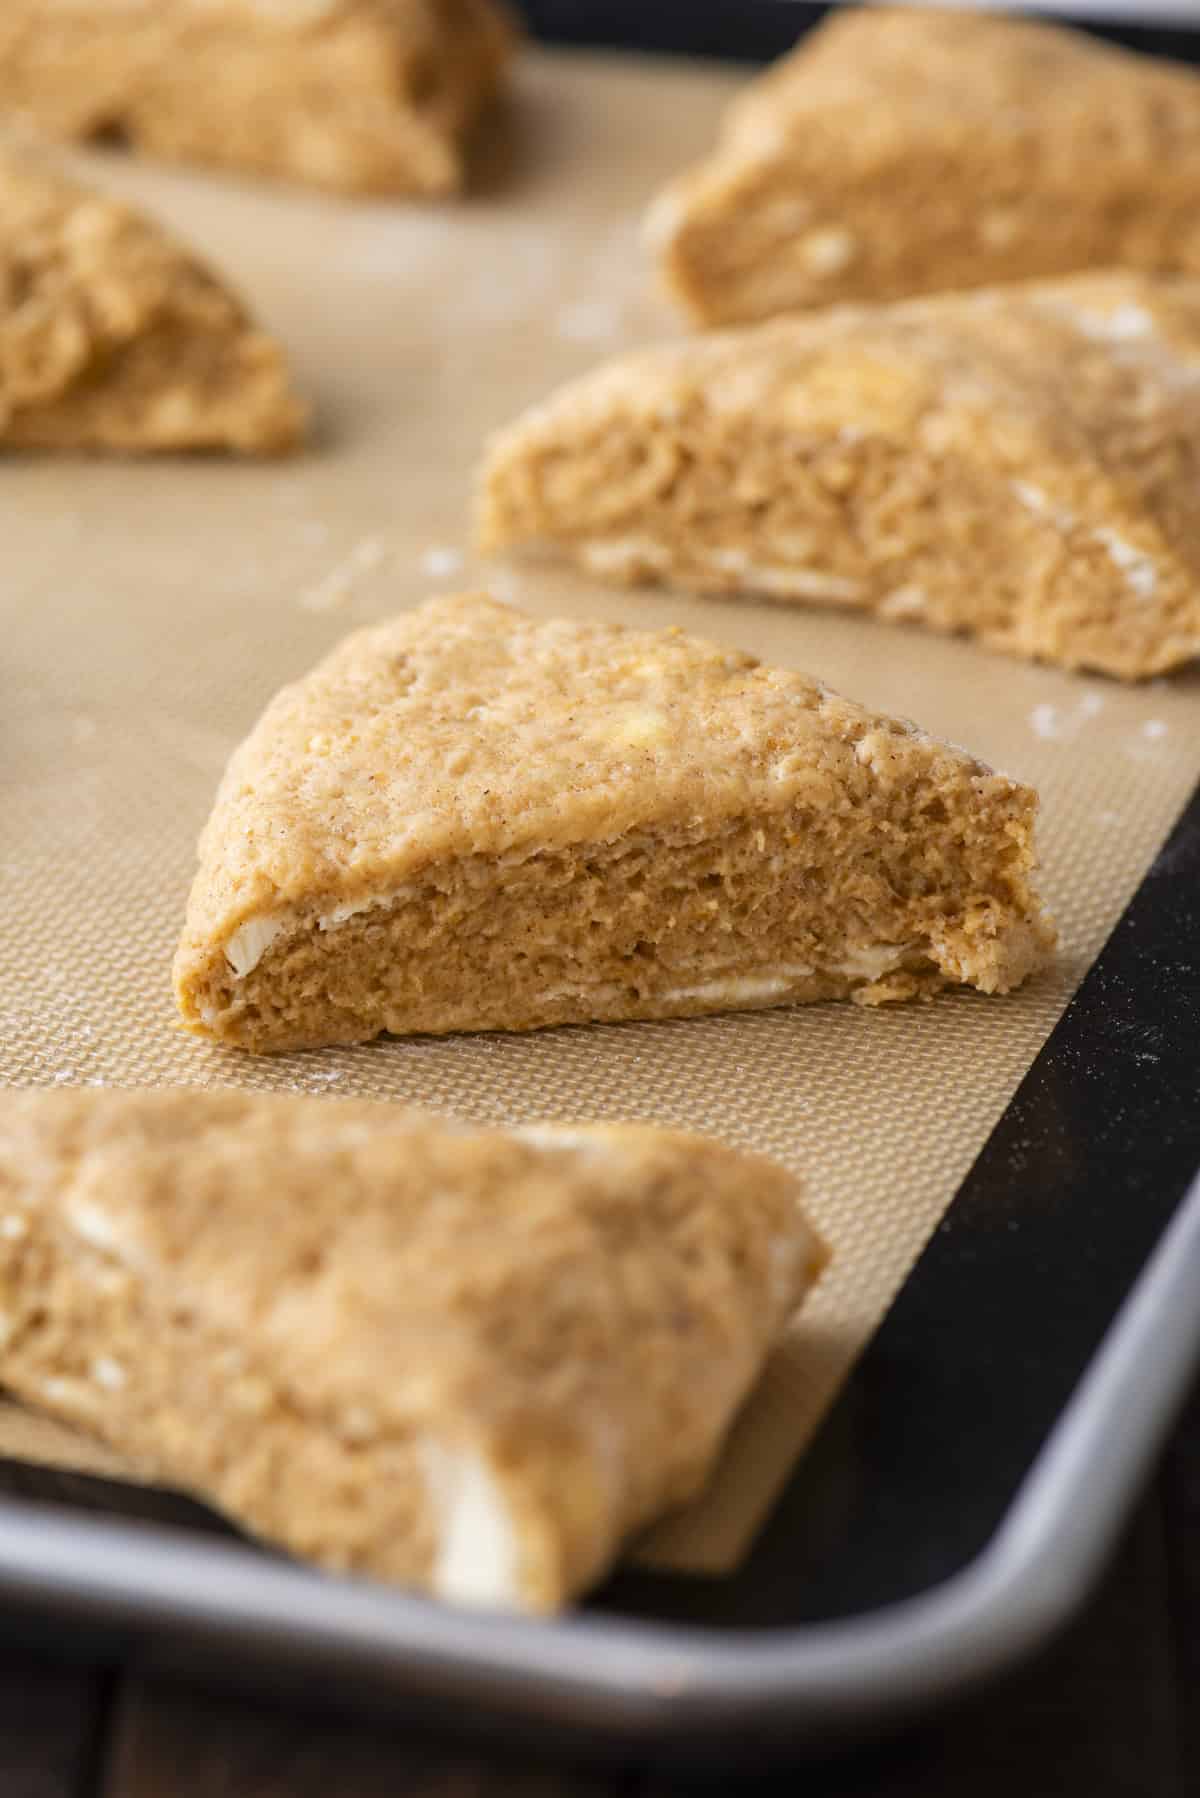
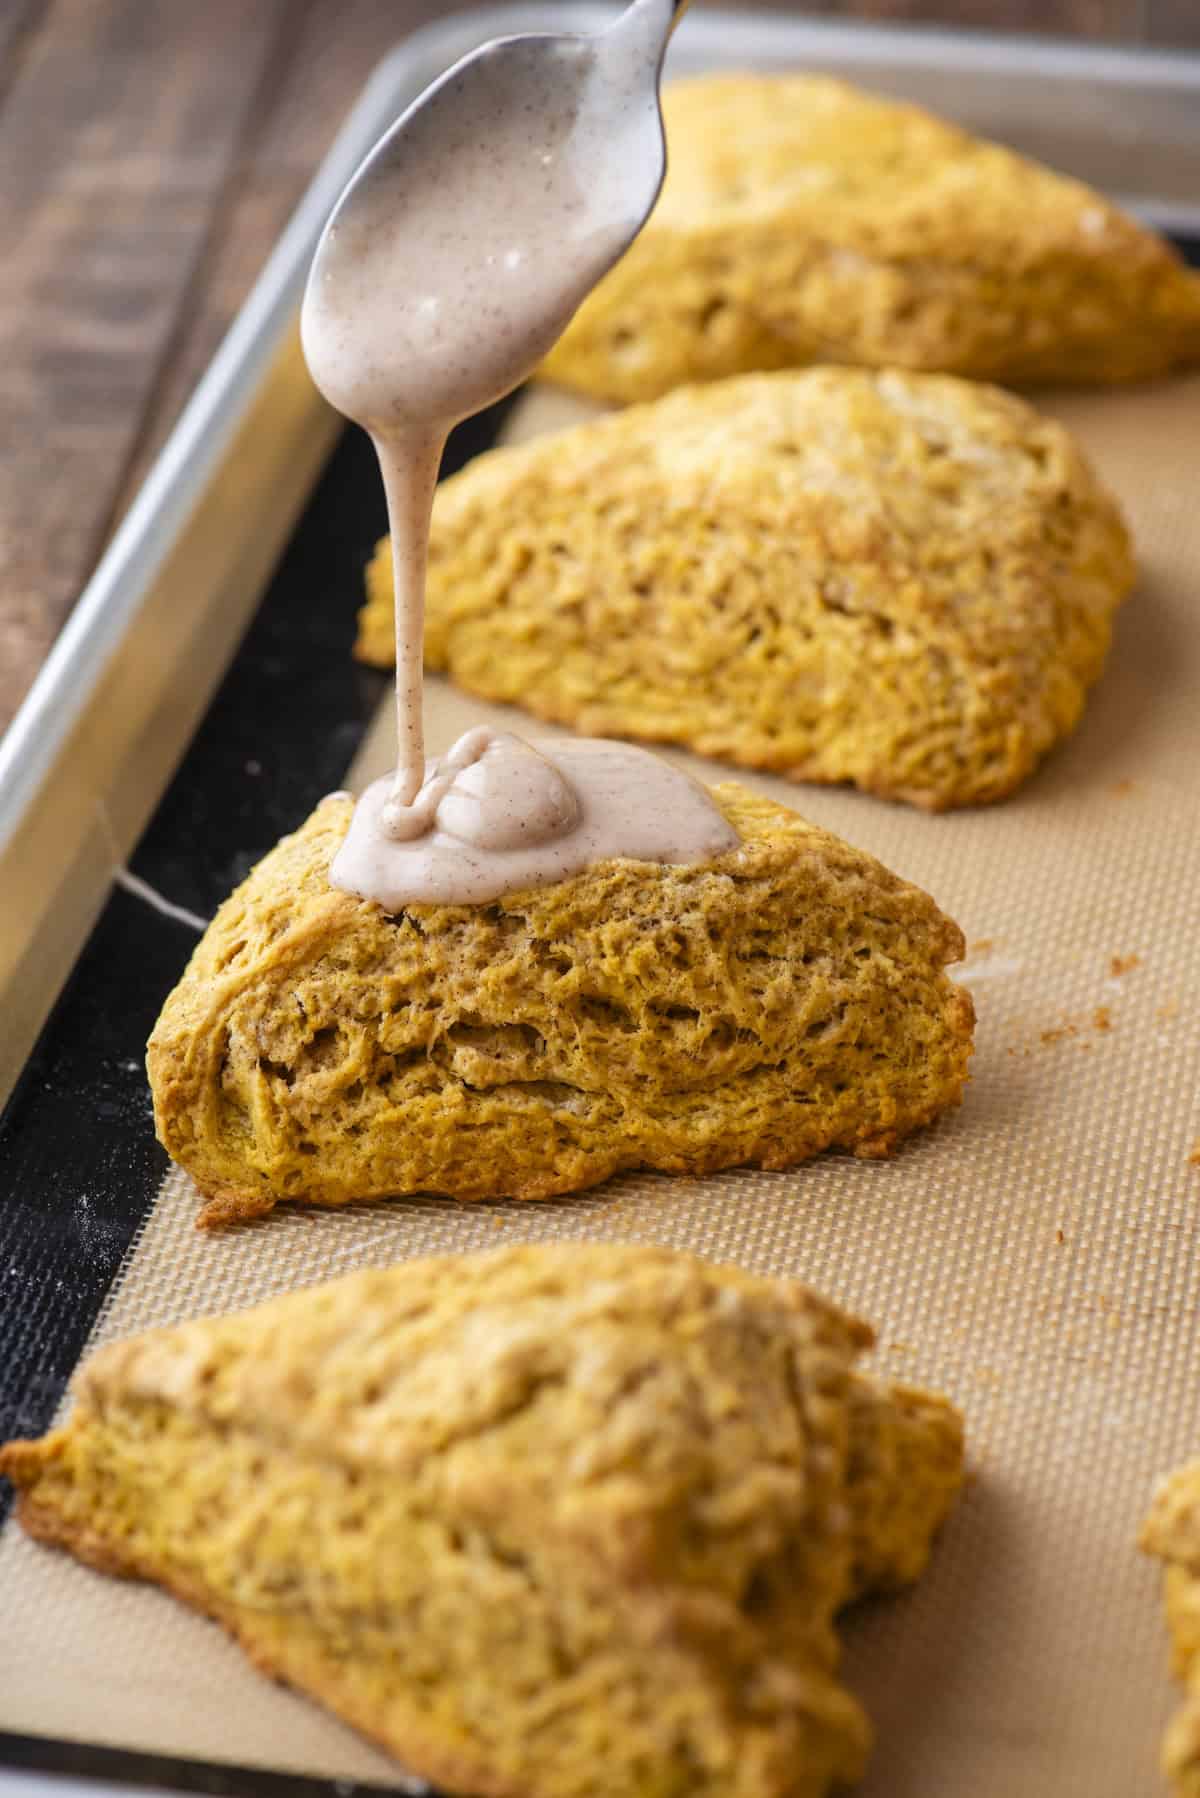
- Bake and cool. Bake on the prepared baking sheet for 20-26 minutes or until the scones are lightly golden. Allow the scones to cool.
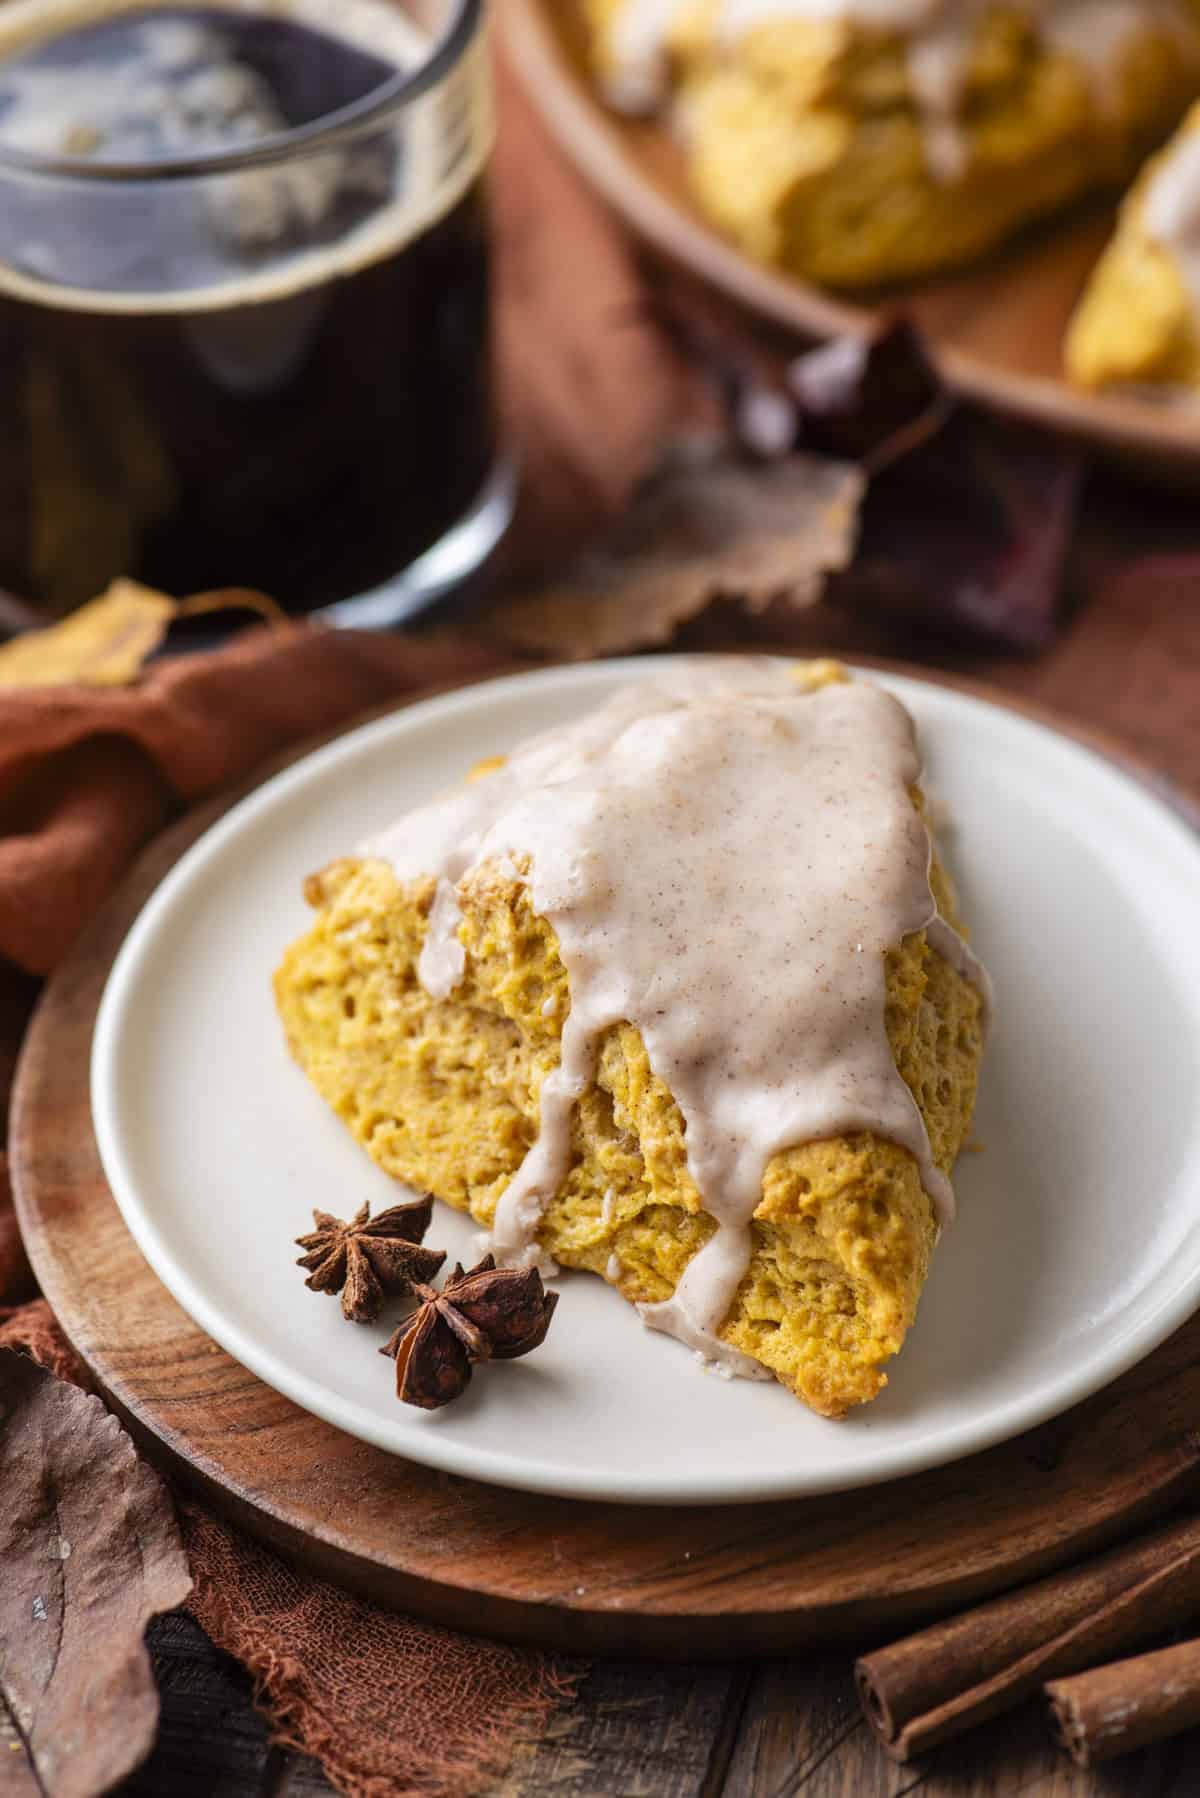
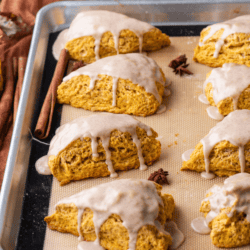
- Glaze. In a small mixing bowl combine the powdered sugar, milk, and pumpkin pie spice. If the glaze is too thin, add more powdered sugar 1-2 teaspoons at a time. Drizzle over the cooled scones.
Pumpkin Scones Recipe Tips
If you love pumpkin recipes, this is going to become one of your new favorites. For best results, follow these tips:
- Use cold unsalted butter: Starting with cold butter is key to success in this recipe. You can even cube and then freeze your butter before making your scone dough.
- Don’t skip the freezing step: Freezing scones before baking helps maintain their shape, prevents excessive spreading, and enhances the texture of the scone by keeping the butter cold. Scones are delicate and prone to spreading during baking. Freezing the dough helps to firm up the fat (the butter) in the dough which prevents excessive spreading and helps them retain their shape during baking. When these cold chunks of butter hit the heat of the oven, they create steam, which contributes to the flakiness and lightness of the scones.
- Gluten-free scones: If you need to make these gluten-free, just swap the flour for gluten-free flour. I recommend King Arthur’s Gluten Free Measure for Measure Flour.
Serving Suggestions for Pumpkin Scones
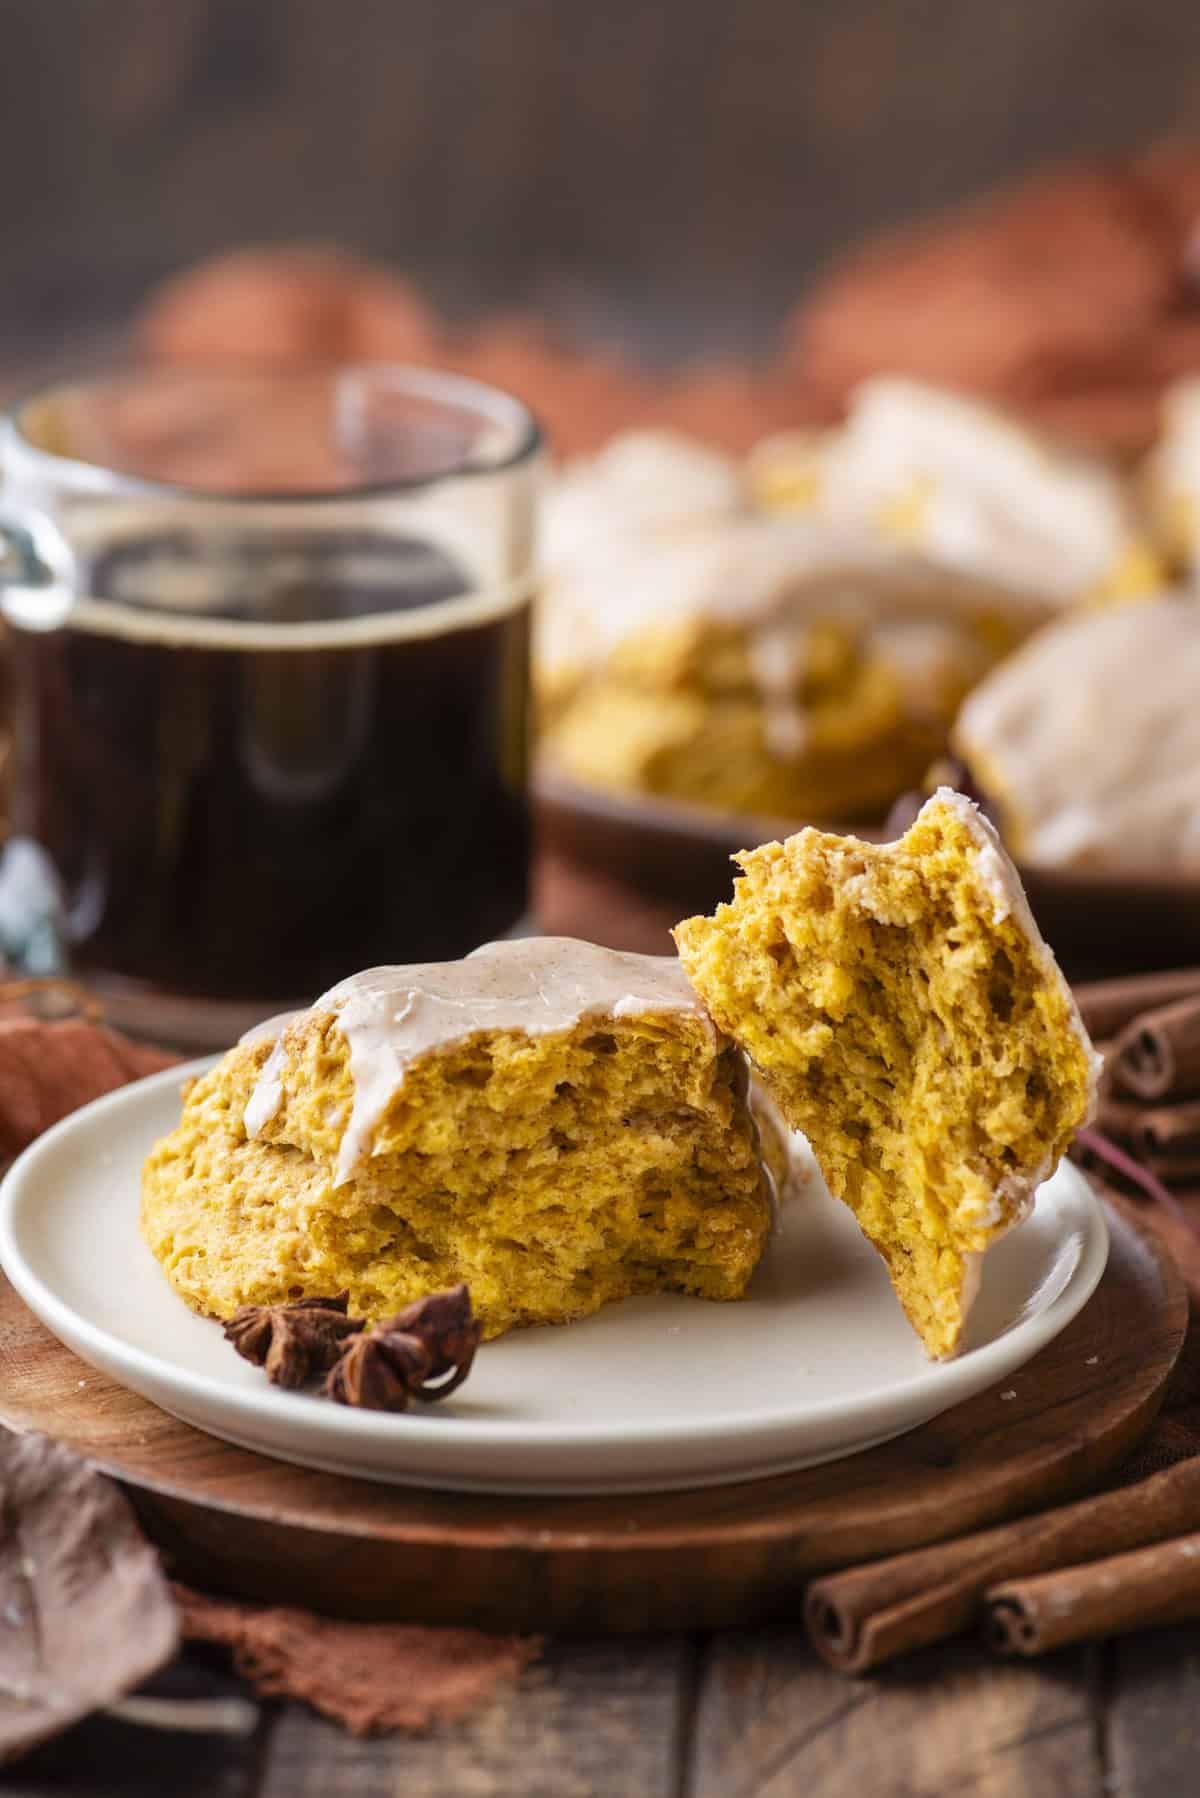
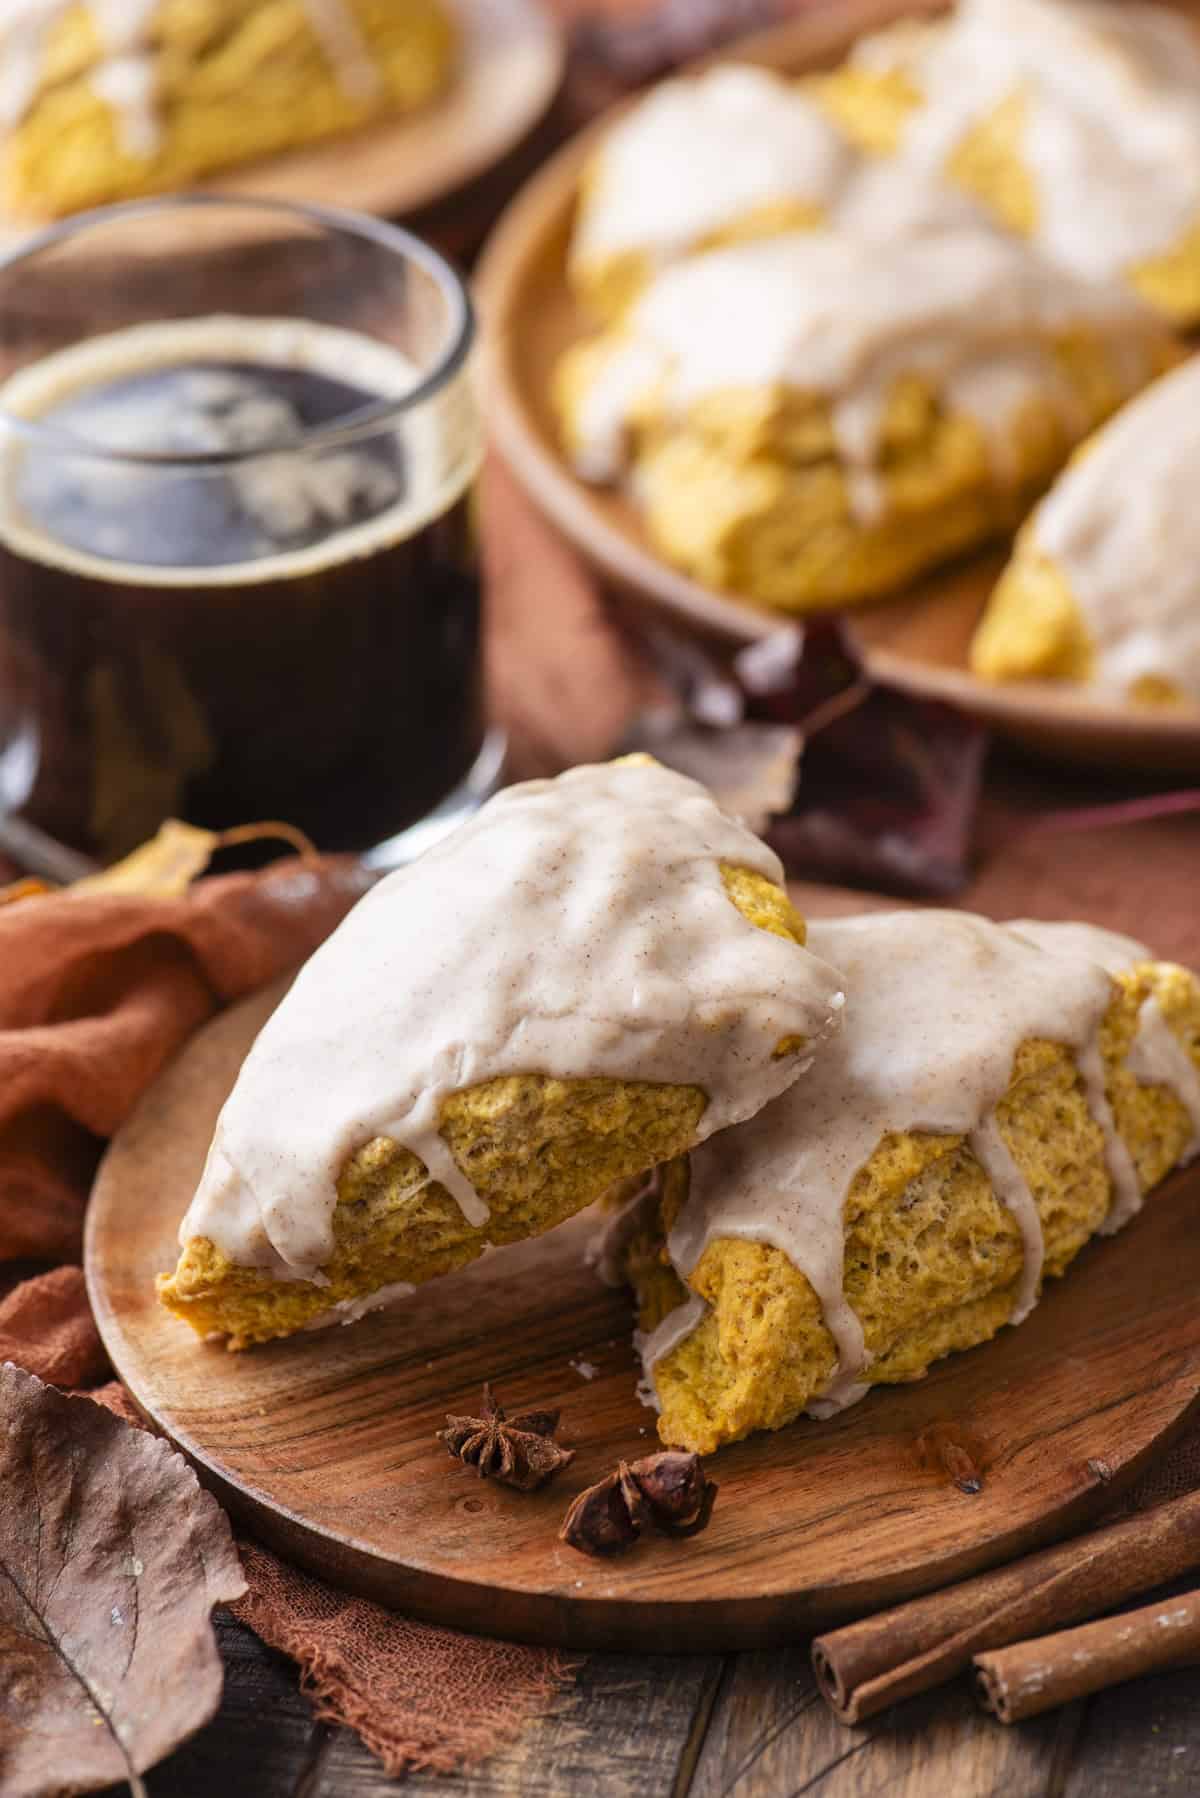
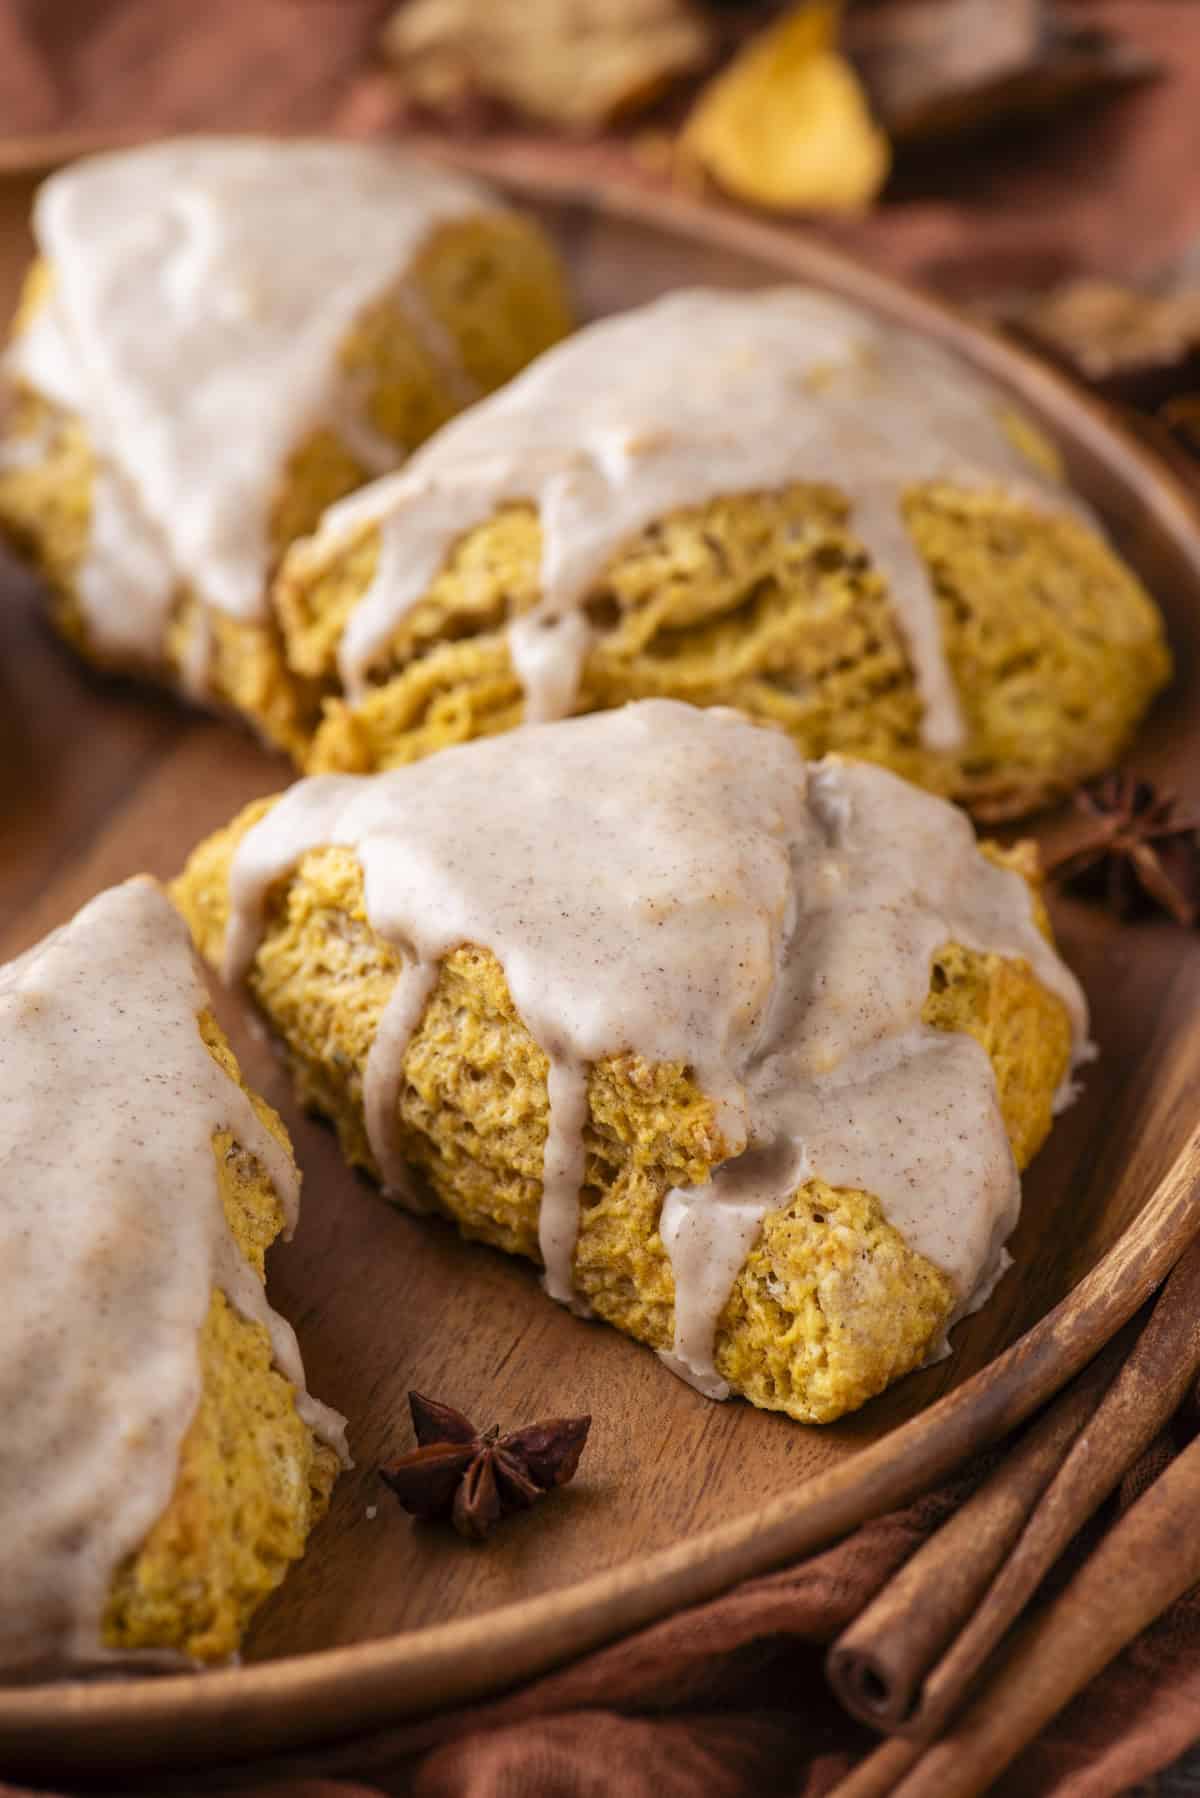
Serve pumpkin scones slightly warm or at room temperature for the best texture and flavor. Enjoy them plain, dusted with powdered sugar, or drizzled with a simple glaze for extra sweetness. They pair beautifully with coffee, chai tea, or hot apple cider, and can also be served alongside a fall breakfast spread with fresh fruit, yogurt, or scrambled eggs for balance.
How to Store Pumpkin Scones
To store the scones: To store scones, first make sure they cool completely. If you seal them up in a container while still warm, the condensation can make them soggy. Once completely cooled, store the scones in an airtight container or ziploc bag in a cool, dry place at room temperature for 1-2 days. Avoid refrigerating as they can dry out the scones.
Freezing scones: If you need to store them for longer, you can freeze them for up to one month. Just thaw them at room temperature before serving.
Pumpkin Spice Scones Recipe FAQs
There are a few things to avoid to make delicious scones. First, avoid overmixing the dough, as it can develop too much gluten and result in tough, dense scones. You also want to avoid letting the butter get too warm. Cold butter is key for creating the flaky texture of scones. Finally, avoid baking at a low temperature, as scones need a hot oven (around 400°F) to rise properly and develop a crisp exterior.
If your pumpkin scones aren’t rising, check your leavening agents to ensure they’re fresh and used in the right amount. Overmixing the dough or using butter that’s not cold enough can also cause dense scones. Additionally, too much moisture from the pumpkin puree may require more flour, and a hot oven (around 400°F) is crucial for a good rise. Lastly, make sure your scones are thick enough before baking to allow for proper lift.
More Fall Recipes
- Pumpkin Sugar Cookies
- Homemade Apple Crisp with Oatmeal
- Baked Pumpkin Spice Donuts
- Easy Apple Crumble Recipe
The very best scones I’ve made to date!! Thank you for this great recipe!
-Shelley
Tap stars to rate!
Pumpkin Scones Recipe
Ingredients
- 2 ¾ cups (330g) all-purpose flour
- ½ cup (99g) granulated sugar
- 1 Tbsp baking powder
- 2 tsp pumpkin pie spice
- ½ tsp salt
- ½ cup (113g) cold unsalted butter, cubed
- ½ cup (118ml) buttermilk
- ½ cup (113g) pumpkin puree
- 1 large egg
Glaze
- 1 ½ cups (171g) powdered sugar
- 1 Tbsp milk
- 1 tsp pumpkin pie spice
Video
Instructions
- To remove excess moisture from the pumpkin puree, place the pumpkin puree in a few paper towels on a plate. Fold the paper towels over the puree, so it’s completely enclosed. The excess moisture will soak into the paper towels within a few minutes. This step is critical.½ cup (113g) pumpkin puree
- In a large mixing bowl combine the flour, granulated sugar, baking powder, pumpkin pie spice and salt. Add in the cold, cubed butter and use your hands or a pastry cutter to cut in the butter until pea sized amounts of butter remain.2 ¾ cups (330g) all-purpose flour, ½ cup (99g) granulated sugar, 1 Tbsp baking powder, 2 tsp pumpkin pie spice, ½ tsp salt, ½ cup (113g) cold unsalted butter
- Create a well in the center of the flour mixture. In a small mixing bowl combine the buttermilk, pumpkin puree and egg. Pour this mixture into the flour and use a spatula to gently combine until the dough is thick and sticky.½ cup (118ml) buttermilk, 1 large egg
- On a silicone mat or kitchen counter, gently knead the dough, until all the flour is incorporated. Add 1-2 additional tablespoons of flour if the dough is too sticky.
- Lamination (folding the dough to create flaky layers!): Fold the dough in half, press it down slightly, then turn the dough 90 degrees and fold in half again. Repeat this folding and turning process 4-5 times.
- Shape the dough into a 8-10 inch disc that is about 1.5 to 2 inches tall. Refrigerate the scone in a disc for 5-10 minutes.
- Use a knife or pizza cutter to cut the scones into 8 equal wedges.
- Place the scones 2-3 inches apart on a baking sheet that’s lined with a silicone mat or parchment paper.
- Freeze the scones for 30 minutes. The last 5 minutes, preheat the oven to 400ºF.
- If you won’t be adding the glaze, brush the tops of the scones with egg wash (1 large egg + 1 Tbsp water), buttermilk or heavy cream. Add coarse sanding sugar if desired.
- Bake for 20-26 minutes or until the scones are lightly golden. Allow the scones to cool.
- In a small mixing bowl combine the powdered sugar, milk, and pumpkin pie spice. If the glaze is too thin, add more powdered sugar 1-2 teaspoons at a time. Drizzle over the scones.1 ½ cups (171g) powdered sugar, 1 Tbsp milk, 1 tsp pumpkin pie spice




Can heavy cream replace butter milk. I never have that. Usually only have almond or skim on hand
Yes, you can use heavy cream. Or follow my DIY buttermilk tutorial: https://thefirstyearblog.com/how-to-make-buttermilk/
The very best scones I’ve made to date!! Thank you for this great recipie!
Loved the recipe, really straight forward. It’s worth the extra steps of taking the moisture out of the pumpkin, resting the dough and popping in the freezer for 10 minutes before baking. I didn’t use the glaze and found they were sweet enough for me, would try the glaze next time to see the difference. It’s a keeper.
The very best scones ever .. loving this Pumpkin Scone recipie ! Thank you!
They turned out perfect the second time I made them and knew what I was doing. So soft and flavorful!
The ratio of the glaze seems off. I had to use much more than a tbsp of milk and it was very strong sugar taste. It does complement the scone but felt too sweet. I was excited to try this for fall and overall it did not disappoint :)
I think it depends on how thick or thin you like the glaze!