This post may contain affiliate links. Please read our disclosure policy.
 This sweet little blog of mine is getting ready to have a redesign. It’s been in the works for a while and I am super pumped for everyone to see it soon! Naturally with a new design, there is a little spring, er um.. summer cleaning to do. I’ve been working on cleaning up my recipe index and tags. If you’re unsure of what those things are, the recipe index is where you can see all of my recipes and search for recipes given a specific category, like cake or cheesecake. Tags are used when you want to search for recipes that use a specific ingredient, like when you want to see all of our recipes that use powdered sugar or cream cheese.
While I’ve been working on all that behind the scenes stuff, I’ve realized that I like to make cheesecake. I also like to make donuts, but I already knew that! So we’re adding another no bake cheesecake recipe to our repertoire. I’m pretty sure I’ve only shared 1 baked cheesecake recipe ever. I’ll have to start adding some more baked cheesecake recipes, but today’s no bake recipe is so easy. No oven, no water bath, no long baking time. You’ll just need a hand mixer!
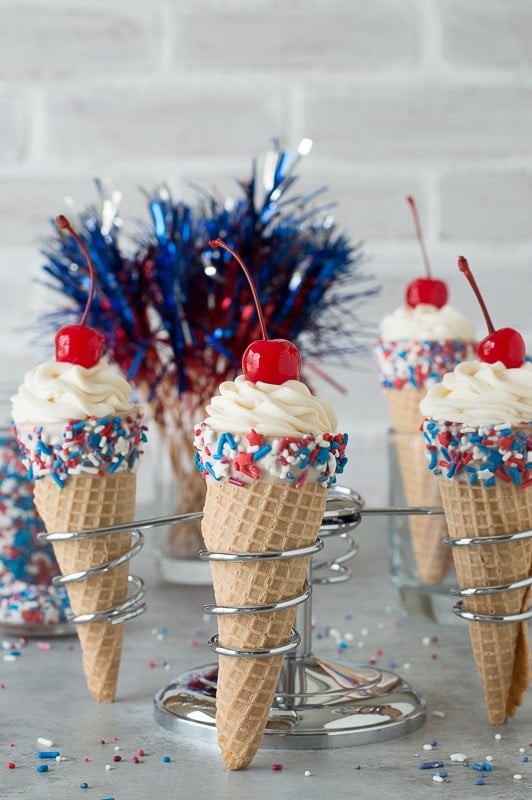
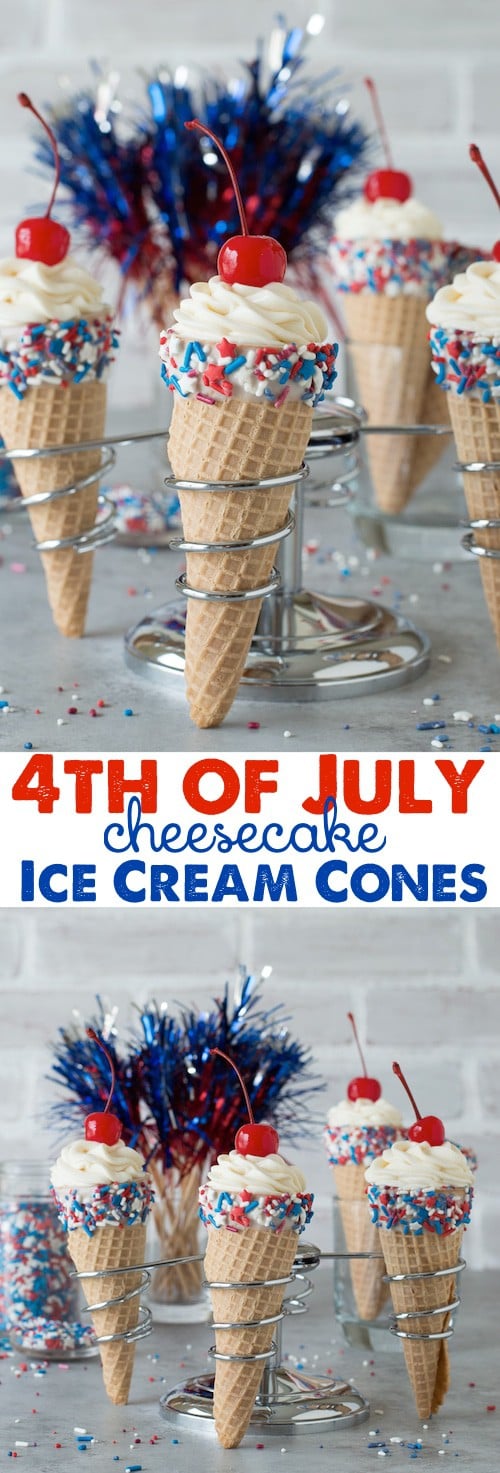
 To make this recipe, start off by making the 4th of july ice cream cones. Take regular sugar cones and dip the tops in melted white chocolate and then roll them in a bowl of 4th of july sprinkles. Allow the chocolate to harden.
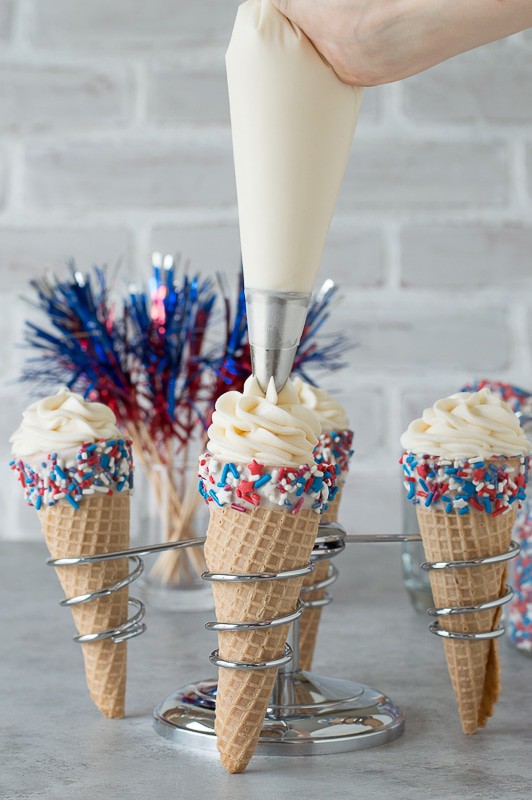
Next, using a hand mixer, beat together the cream cheese, sugar, and vanilla until smooth and fluffy. Then fold in the cool whip until combined.If your cheesecake mixture seems to loose, you can refrigerate it for a few hours or even overnight. That will help stabilize it. Transfer the cheesecake mixture to a piping bag fit with a piping tip (I used a wilton 2d tip) and pipe cheesecake into each cone. You will definitely want to pipe the cheesecake into the cones right before you plan to serve them. Or take a head count of how many people want a cheesecake ice cream cone and then prepare them.
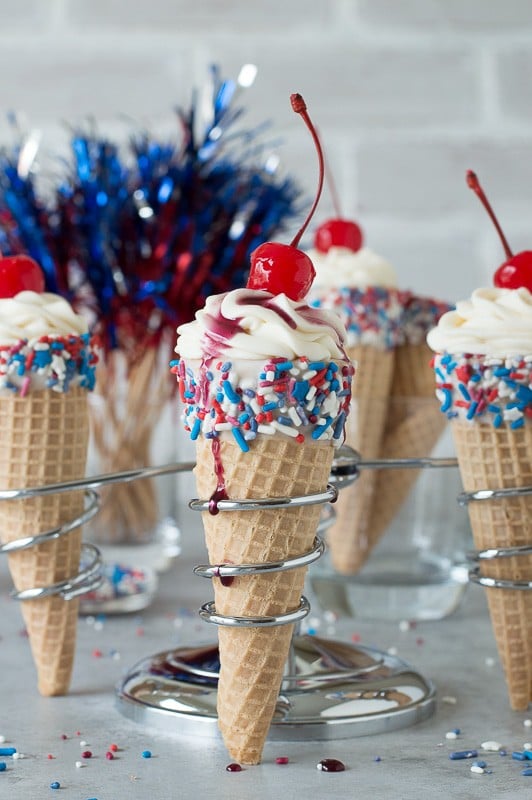 I added a little blueberry sauce and a maraschino cherry to each one. It’s too bad that blueberries are actually purple, but it’s close enough to red, white, and blue! If you’re looking to buy 4th of July sprinkles, I bought mine on amazon.
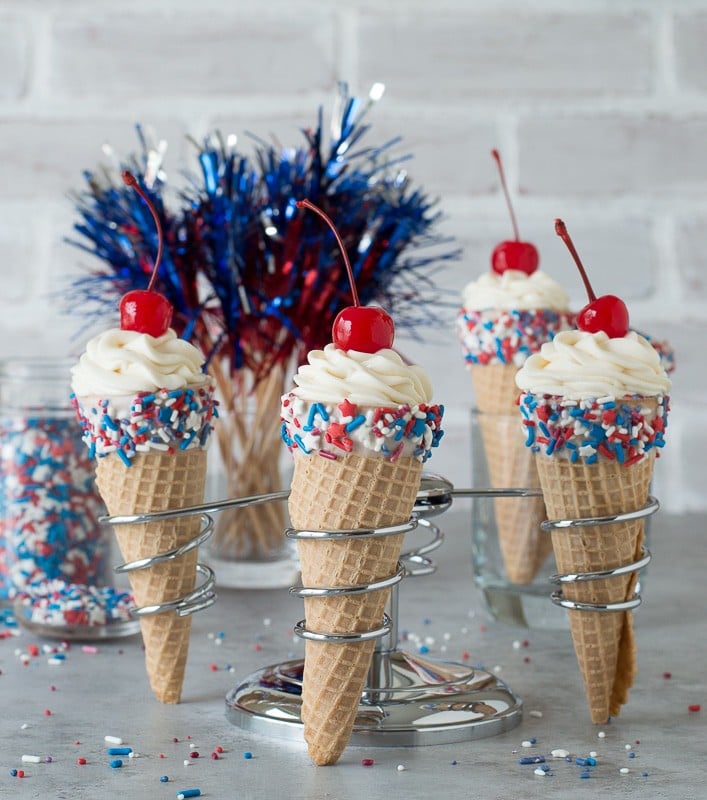
I’ll make a mental note to share a baked 4th of july cheesecake recipe next year. We’ll see how many more no bake cheesecake recipes I add between now and then :)
Tap stars to rate!
4th of July Cheesecake Ice Cream Cones
Ingredients
Vanilla cheesecake
- 16 oz (452g) cream cheese, softened
- ⅓ cup (66g) sugar
- ⅓ cup cool whip
- 1 ½ tsp vanilla
- Maraschino cherries and blueberry sauce
Ice Cream Cones
- 4 Ice cream cones
- Vanilla candiquik or white chocolate candy melts
- ½ tsp vegetable shortening
- 4th of july sprinkles
Instructions
Vanilla Cheesecake
- Combine the cream cheese, sugar, and vanilla in a bowl and beat using an electric mixer until everything is smooth and combined.16 oz (452g) cream cheese, 1/3 cup (66g) sugar, 1 1/2 tsp vanilla
- Fold in the cool whip until incorporated.1/3 cup cool whip
- Put the cheesecake mixture in a container with a lid and allow the mixture to cool in the fridge for 2 hours up to overnight.
To put the sprinkles on the cones
- Melt some vanilla candiquik or white chocolate candy melts with the vegetable shortening. This can be done in the microwave on 50% power or on the stove.Vanilla candiquik or white chocolate candy melts, 1/2 tsp vegetable shortening
- Once the chocolate is melted, dip the top portion of each cone into the chocolate, allowing excess chocolate to fall off.
- Roll the chocolate coated ice cream cones in sprinkles. Allow them to set.4th of july sprinkles
To assemble the ice cream cones
- In a piping bag fit with a wilton 2D tip, add in the vanilla cheesecake. Pipe the cheesecake into an ice cream cone. Top with a maraschino cherry and blueberry sauce.4 Ice cream cones, Maraschino cherries and blueberry sauce
Notes



You make the best treats, Beth! Love these adorable cones! They’re so pretty and festive! Yay, I’m getting a redesign too and can’t wait to see yours :)
Oh exciting! Who is redesigning yours?
I totally want one of these right now!! So fun! Love your new design!
Thanks Jaren! I’m loving it too!
So cute! And oh my goodness, these sound so delicious!
How long can you let these sit? Will they get soggy?
The cheesecake is best stored in the fridge since it’s a no bake cheesecake recipe.